DIY Greenhouse Using Old Windows
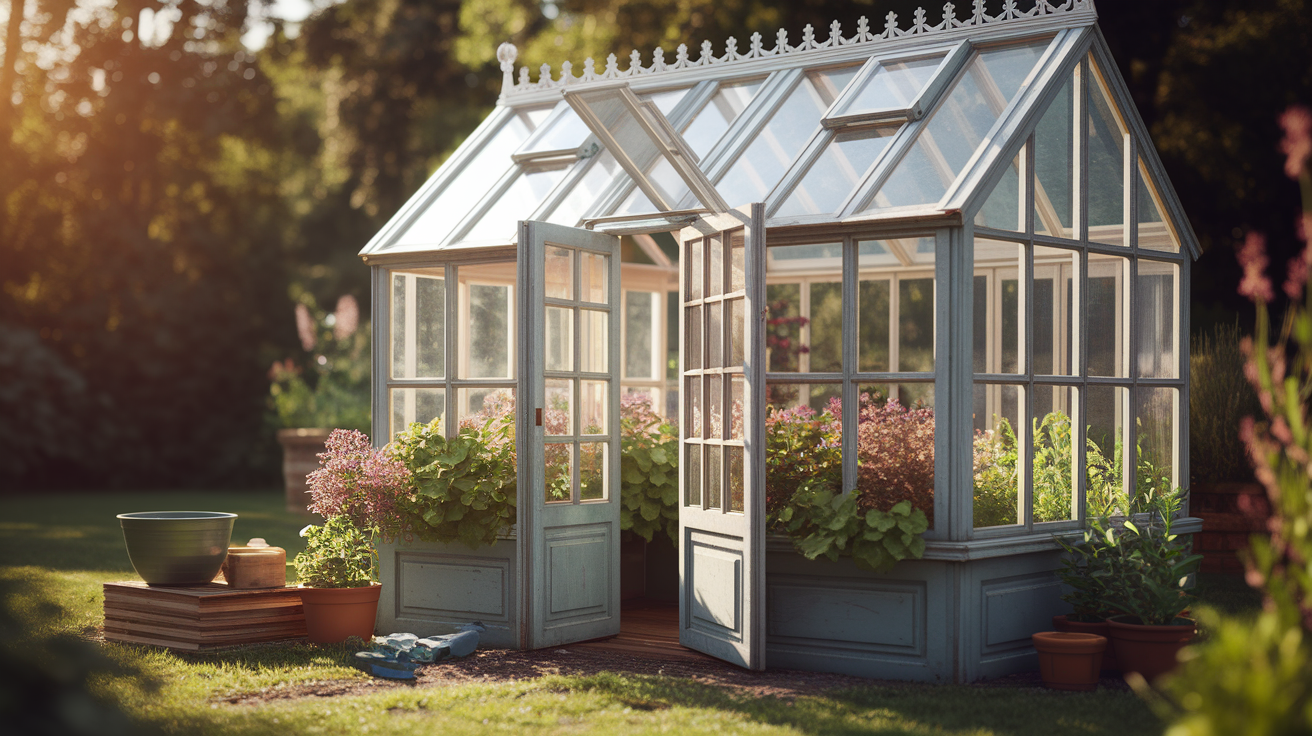
Have you been looking at those old windows in your shed and wondering what to do with them?
Turn them into a useful greenhouse. Old windows make wonderful materials for building a small, functional greenhouse.
This practical project not only gives those dusty windows new life but also provides a cozy spot for plants to grow.
Making a window greenhouse costs much less than buying a new one and adds a unique touch to your garden.
This blog covers the steps to building your vintage window greenhouse, from gathering materials to adding finishing touches, and offers some creative ideas for making your greenhouse look stylish and functional.
How to Plan Your Old Window Greenhouse
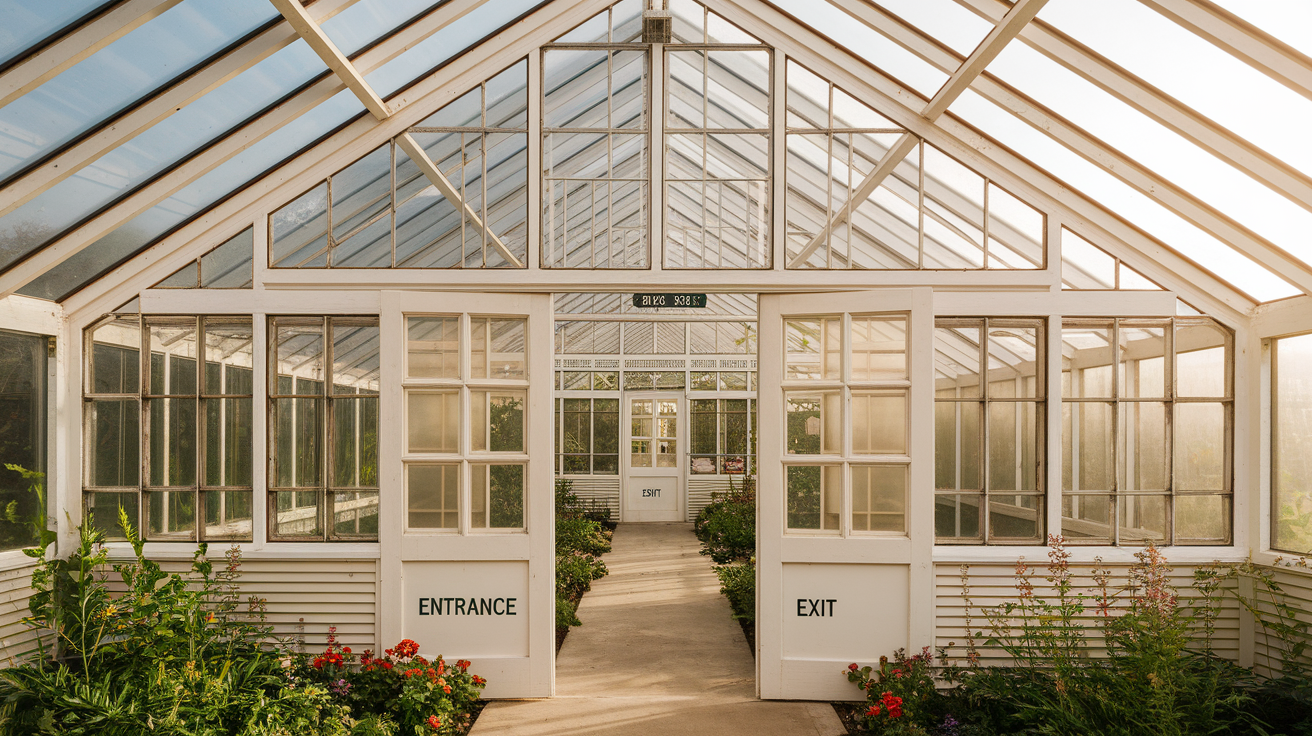
Planning helps you avoid costly mistakes and wasted time. First, count and measure the number of windows you have.
Draw a simple sketch showing how the windows will fit together. Consider the size, shape, and style of your greenhouse.
Will it be free-standing or attached to your home? How tall should it be? What about ventilation and access?
Planning answers these questions before you spend money on materials. Your design doesn’t need to be fancy, but a basic drawing with measurements will keep you on track and help make your greenhouse.
Tools and Materials Needed to Build an Old-Window Greenhouse
Before you start building, gather all your tools and materials. Having everything ready will make the process smoother and safer from start to finish.
- Old windows
- 2×4 lumber
- Hinges and screws
- Caulk and sealant
- Drill and saw
- Gravel
- Paint or wood stain
- Gloves and safety gear
- Brackets and braces
- Level and measuring tape
Approximate Cost: $100–$400. DIY project cost varies by material availability.
Steps to Build an Old Window Greenhouse
You can build a unique greenhouse with the old windows you already have. Follow these steps to create something special and useful.
Step 1: Choose the Perfect Space

Choose a sunny spot with at least 6 hours of light daily. Ensure the ground is level with good drainage, avoiding areas prone to pooling.
South-facing spots are ideal, but be cautious of nearby trees. Test soil drainage and observe sun patterns to ensure maximum plant growth potential.
Accessibility to water and protection from wind are key considerations for the location.
Step 2: Create a Simple Base Frame
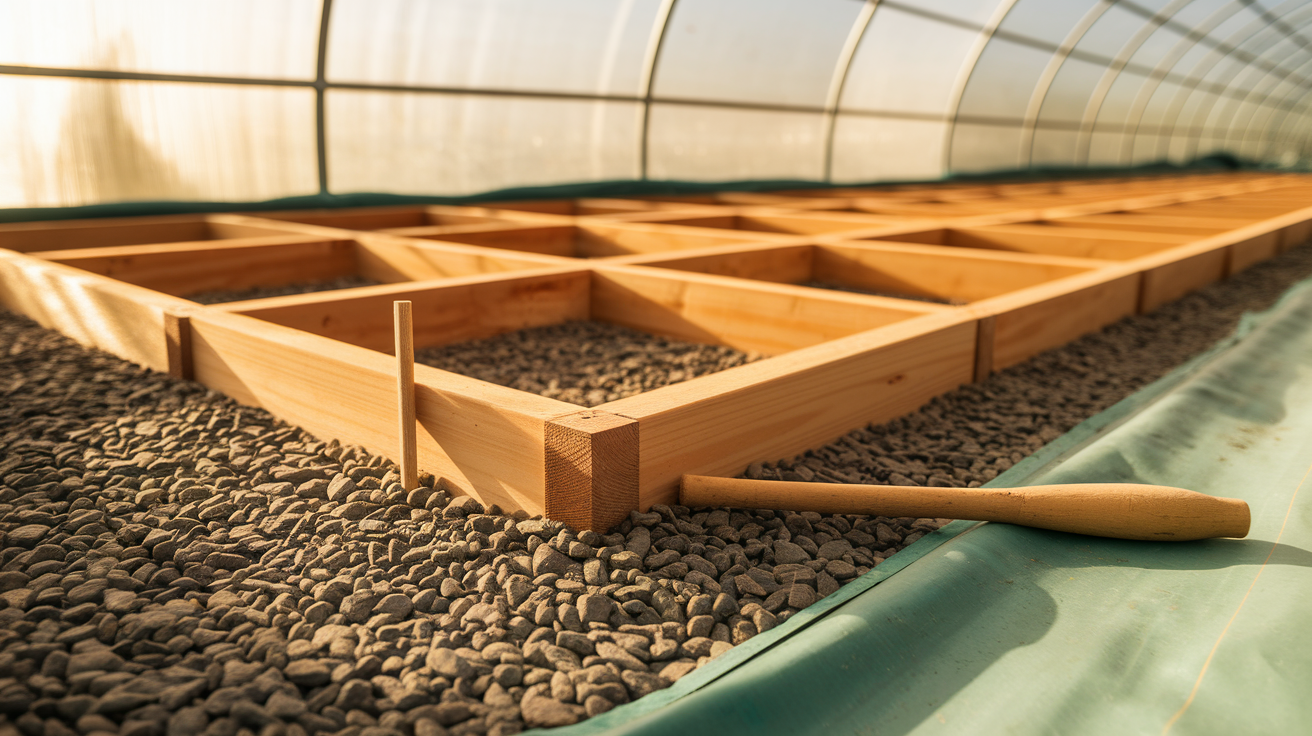
Build a base frame using pressure-treated lumber to prevent rot. Check its square by measuring diagonally across the corners.
Secure it with stakes or concrete blocks, and add a weed barrier underneath.
For stability, dig into soil and fill with gravel. Use a rubber mallet to position the frame, ensuring levelness for a strong foundation. Gravel helps with both stability and drainage.
Step 3: Plan the Layout

Lay windows on the ground and arrange them by size. Mark positions with chalk or tape and photograph the layout for reference.
Group similar-sized windows for balance and mark numbers on sticky notes. Make sure proper spacing for supports and check hinge directions for ventilation.
Account for frame thickness while arranging to achieve a symmetrical and functional design.
Step 4: Build the Frame Structure
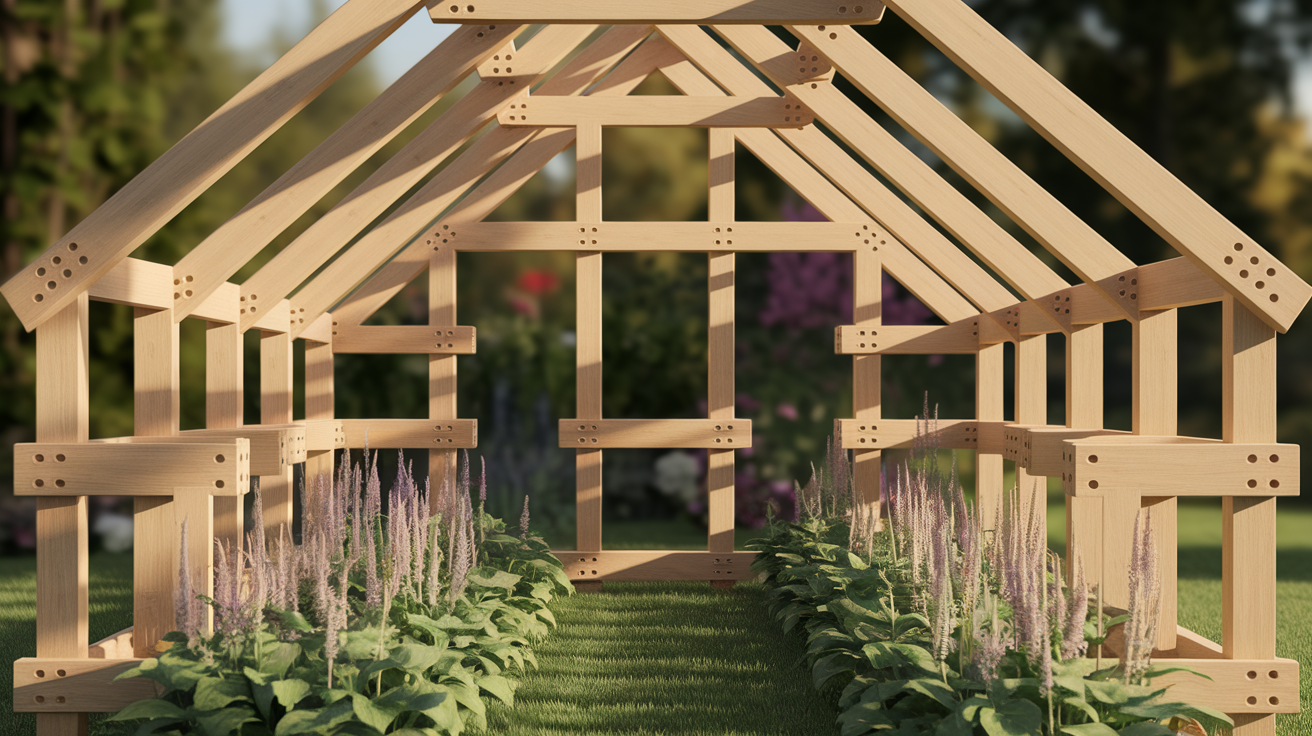
Build the wooden frame structure using 2x4s. Check square corners and level alignment, adding supports for window joints—pre-drill holes to avoid splitting and construct in sections, starting with corners.
Use corner braces for strength and notch beams for snug fits. Keep the height at a comfortable level (6-7 feet), and add horizontal supports for secure window installation.
Step 5: Attach the Windows
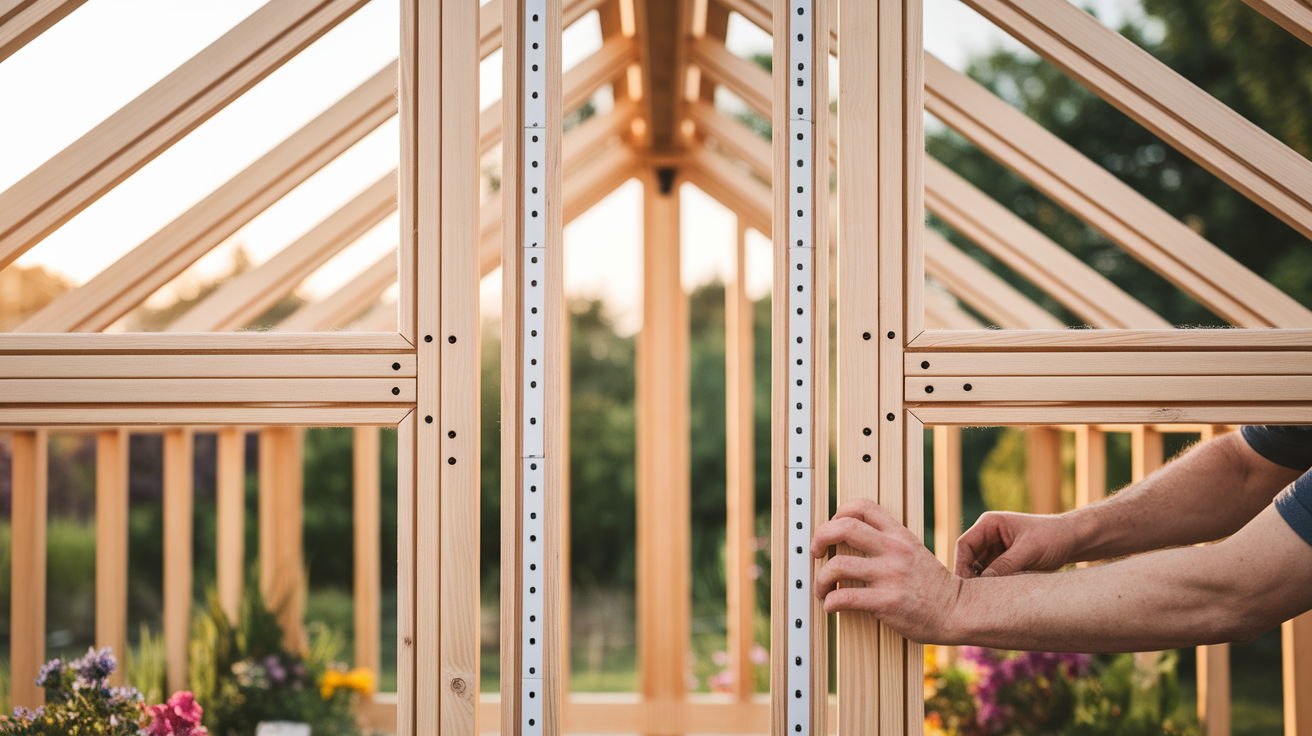
Secure windows one at a time with screws and brackets, starting with corners. Level each window before proceeding and leave space for the door.
Use the block to adjust the misfit windows and apply weather stripping for insulation. Pre-drill holes to prevent cracking, stagger screws to avoid splitting, and add extra support for multi-pane windows.
Pro Tip: Work with a helper to ensure safe and accurate attachment.
Step 6: Install the Roof

Build a sloped roof with a 10-15° angle for water runoff. Use clear plastic panels or windows, sealing all joints securely.
Overlap panels to avoid leaks and choose UV-resistant materials. Add bracing to support snow in colder climates and install a system for water diversion.
Consider ridge caps for waterproofing and roof vents for airflow, ensuring optimal conditions inside the greenhouse.
Step 7: Seal All Gaps
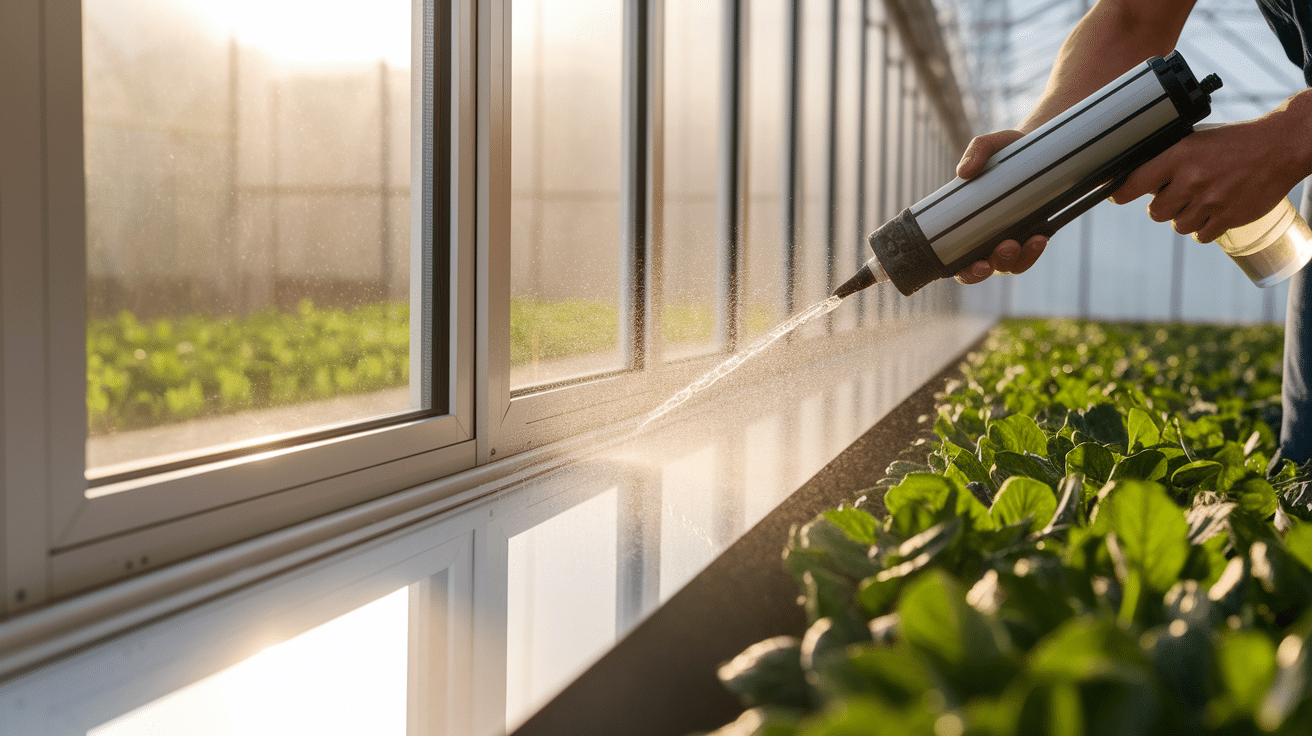
Seal gaps using clear silicone caulk on window seams to prevent water leaks and stabilize temperature. Apply on clean surfaces, smoothing caulk with a wet finger for a neat finish.
Let it dry completely before painting, and then test it with water to check for missed spots.
Work in mild conditions and use a cut caulk tube for precision. Properly sealed gaps ensure a weatherproof greenhouse environment.
Step 8: Add a Door
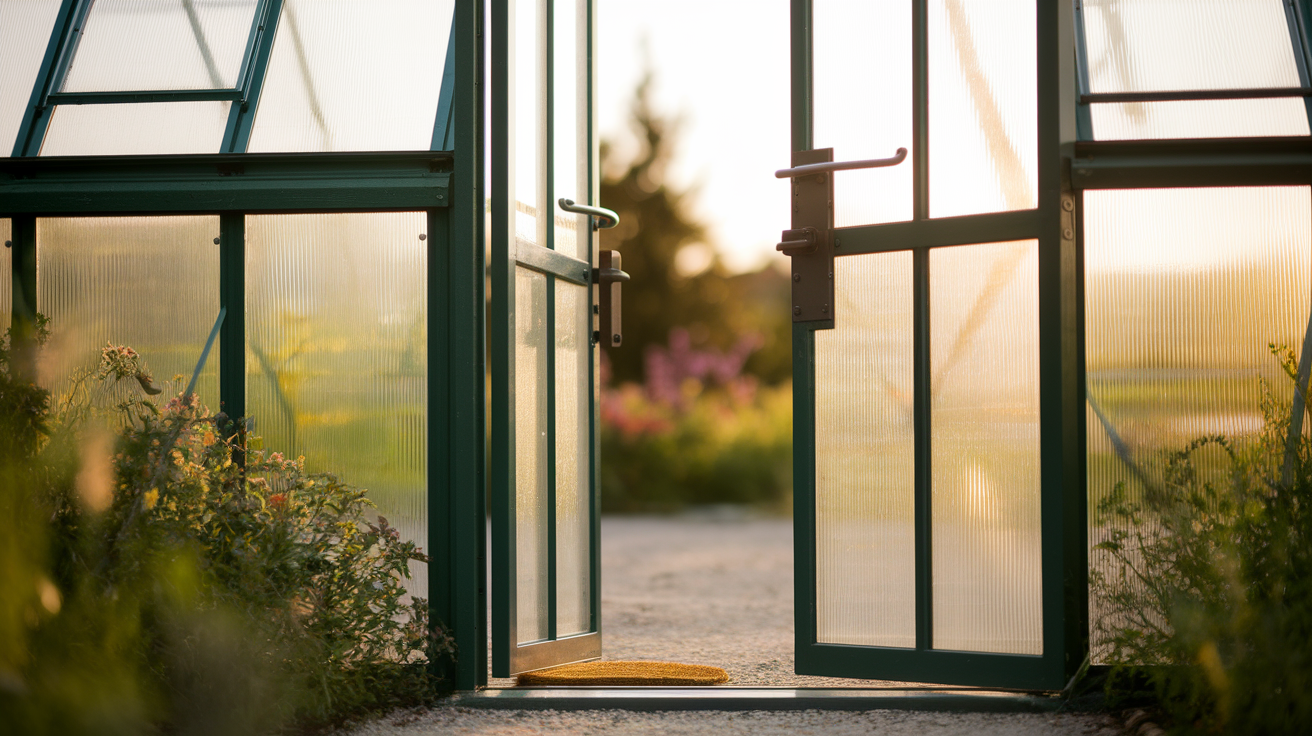
Attach a door made from a window with hinges, making sure of smooth swing and tight closure. Add a latch, handle, and threshold to prevent drafts.
Use three hinges for heavier doors to avoid sagging. Install a doorstop to protect plants and consider a hydraulic closer for convenience.
Magnetic catches prevent wind damage, and a welcome mat inside traps dirt and reduces slipping.
Step 9: Paint or Stain
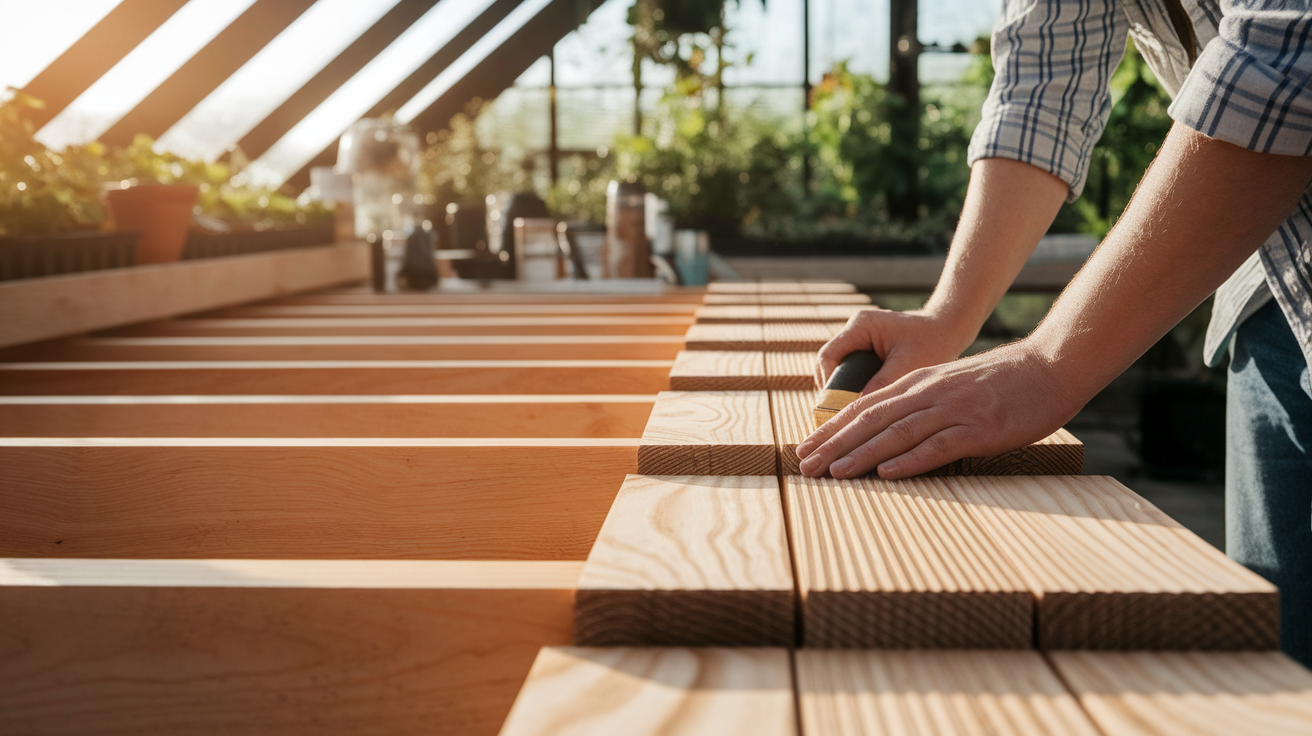
Cover wooden parts with outdoor paint or stain to keep them strong and long-lasting. Apply two coats for better durability, and lightly sand between layers to make it smooth.
Use safe, low-fume products, and choose white paint to help plants grow by bouncing light. Pay extra attention to the edges to stop water damage.
Keep paint inside during cold weather so it stays usable.
Creative Ideas to Style Your Old Window Greenhouse
These fun and simple ideas will give your old window greenhouse a personal touch, making it both beautiful and practical.
1. Rustic Charm
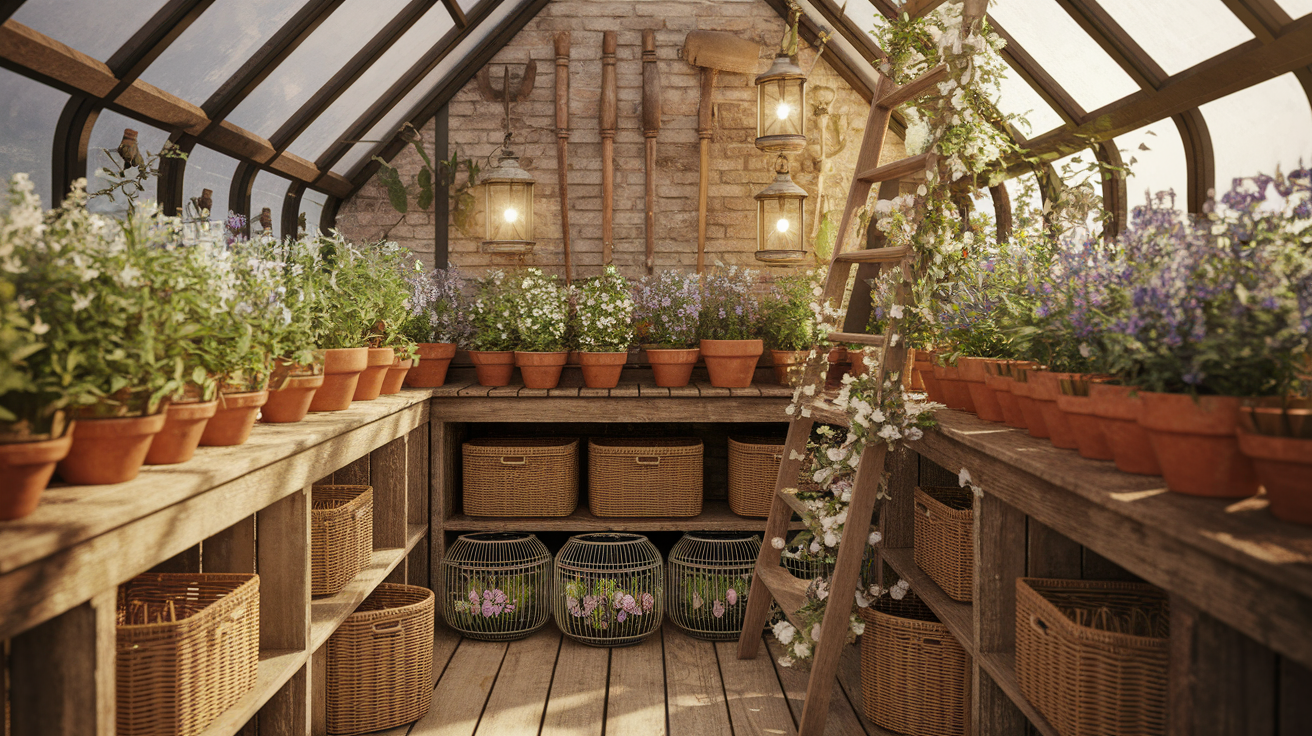
Create a cozy vintage atmosphere in your greenhouse with simple, rustic elements that add both character and practicality.
- Wooden crates and antique tools add a rustic feel.
- Garden signs and terra cotta pots bring character and warmth.
- Woven baskets and lanterns combine functionality with style.
- Egg baskets and ladders create creative planters and hanging spaces.
2. Mini Herb Garden
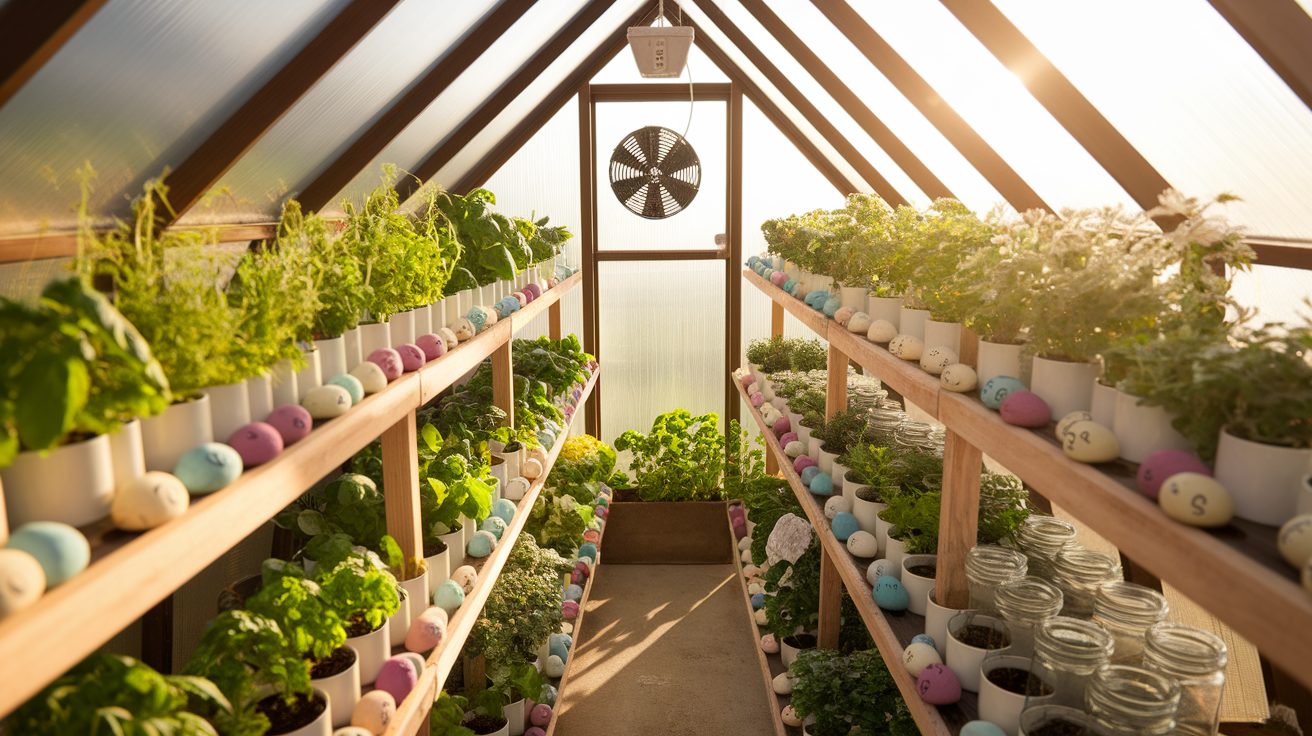
The design of a charming herb garden should include practical features that simplify care, improve organization, and enrich its overall visual appeal.
- Use teacups or mason jars as planters, grouped by watering needs.
- Add labels for organization, and place herbs near the door for convenience.
- Paint rocks as durable markers and group Mediterranean herbs together.
- Plant mint separately to prevent it from spreading.
- Use a solar-powered fan for strong stems and rich flavors.
3. Hinged Roof Panels
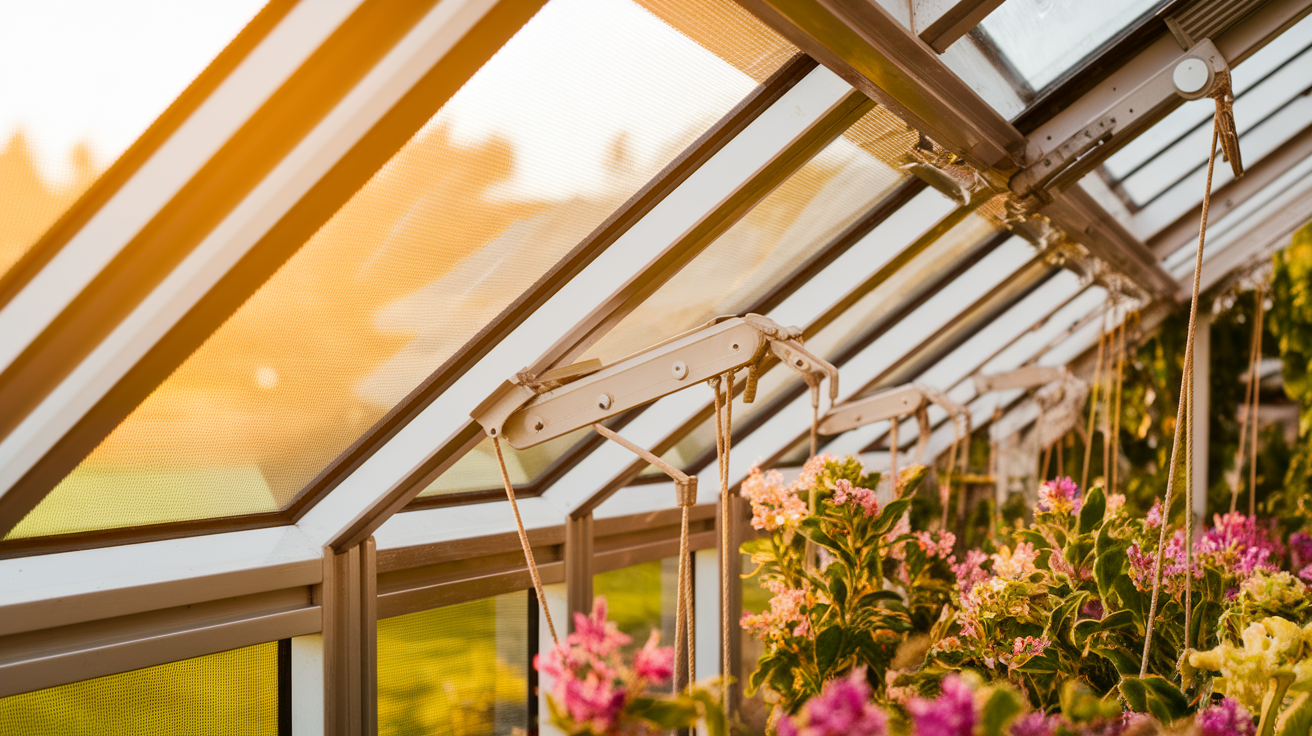
Boost your greenhouse’s functionality with hinged roof sections, which increase airflow, control temperature, and support plant growth year-round.
- Use piano hinges and pull ropes with pulleys for easy operation.
- Add screen material under the vents to block bugs while maintaining air circulation.
- Wax hinges regularly for smooth movement and durability.
- Install automatic vent openers with heat-sensitive cylinders for electricity-free convenience.
4. Built-In Shelves
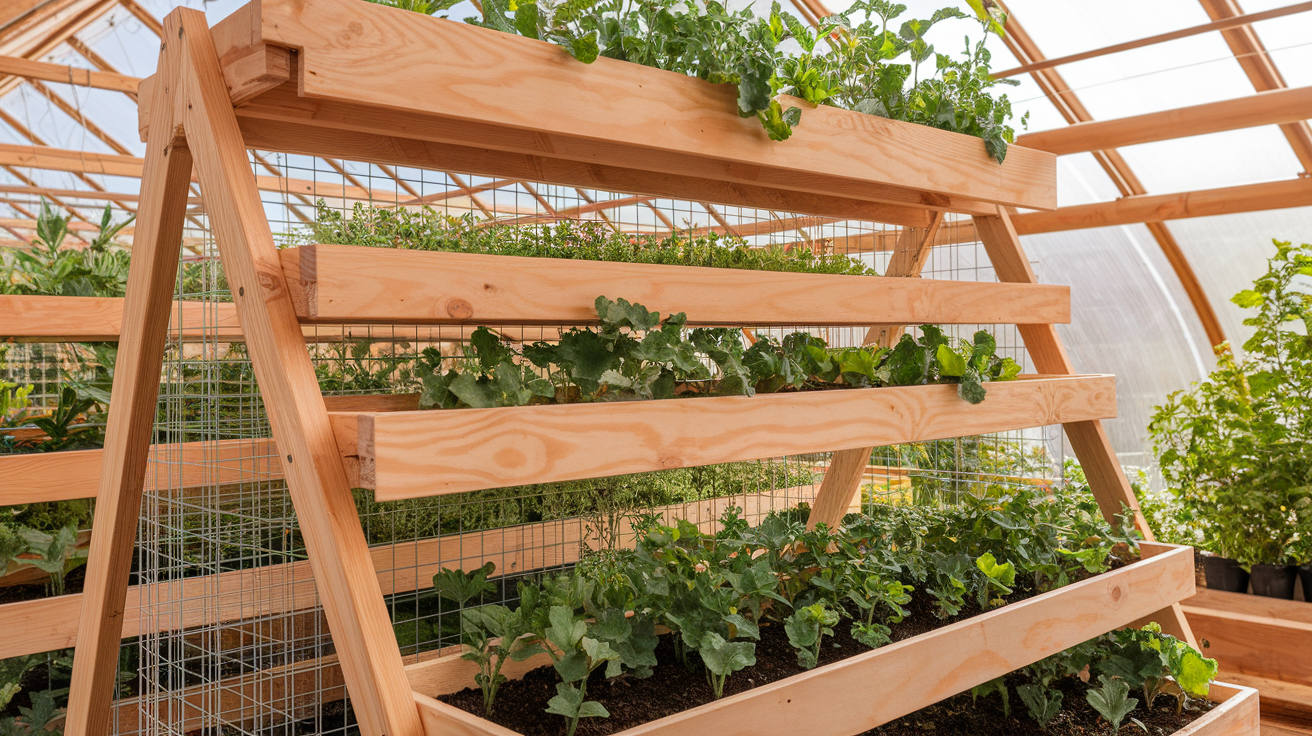
Optimize your greenhouse space with adjustable wooden shelves designed to improve organization, airflow, and plant growth efficiency.
- Use durable wood like cedar or redwood to prevent mold and improve longevity.
- Slope shelves toward the center for proper drainage and airflow.
- Apply non-toxic wood sealer to protect surfaces from damage.
- Include wire mesh shelving for better light penetration to lower plants.
- Add a peak-level shelf to provide extra warmth for starter plants, ensuring adaptability for growth stages.
What to Grow in a Small Greenhouse
A small greenhouse offers the ideal environment to nurture a variety of plants all year round. Here’s a list of some great options to get started.
| Plant Type | Greenhouse Benefit |
|---|---|
| Herbs (Basil, Parsley, Dill) | Year-round access to fresh, flavorful ingredients |
| Leafy Greens (Lettuce, Spinach) | Grow in cool temps; ideal for quick, cold-season growth |
| Starter Plants & Seedlings | Strong early growth in a protected, warm environment |
| Succulents & Cacti | Love warmth and sunlight; a low-maintenance greenhouse fit |
Seasonal Tips for Maintenance and Use
Caring for your greenhouse through the seasons ensures healthy plants and a lasting structure. Follow these simple maintenance tips to keep your greenhouse productive and protected all year long.
- Clean windows in spring to boost light and give seedlings the best growing conditions.
- Ventilate in spring and summer to prevent overheating and maintain healthy airflow.
- Use shade cloth in the summer to block intense sunlight and protect your plants.
- Water frequently in the summer as heat causes faster moisture loss in the soil.
- Close up the greenhouse at night in the fall to trap warmth inside.
- Seal gaps and use minimal heating in winter to guard against frost damage.
- Perform year-round maintenance like tightening screws and cleaning windows for durability.
A little seasonal attention goes a long way in greenhouse care. With these simple steps, you’ll enjoy a growing space that supports your plants throughout the year.
Conclusion
Ready to give those forgotten windows a second life? Building your old window greenhouse might take a weekend or two, but the rewards last for years.
The joy of stepping into your handmade greenhouse on a chilly morning and feeling the warm air makes every bit of effort worthwhile.
Your plants will thank you with better growth, and your garden will have a functional focal point that tells a story.
Don’t worry if your first attempt isn’t perfect. Each season brings new chances to adjust and improve.
The most important step is simply starting. Gather those windows, find your sunny spot, and begin creating your plant haven.

