How to Repair Furniture With a Simple Step-by-Step Guide

We’ve all had furniture that looks worn, scratched, or even broken, and replacing it can seem like the simplest solution.
But before you toss it, consider fixing it instead. Restoring furniture not only saves you money but also reduces waste, making it a more environmentally friendly option.
Plus, it’s a great way to express your creativity and develop useful DIY skills. Whether it’s a wobbly chair, a scratched table, or a faded finish, many common furniture problems are easy to fix with just a few tools and a bit of time.
This beginner-friendly guide will show you simple ways to revive your old pieces.
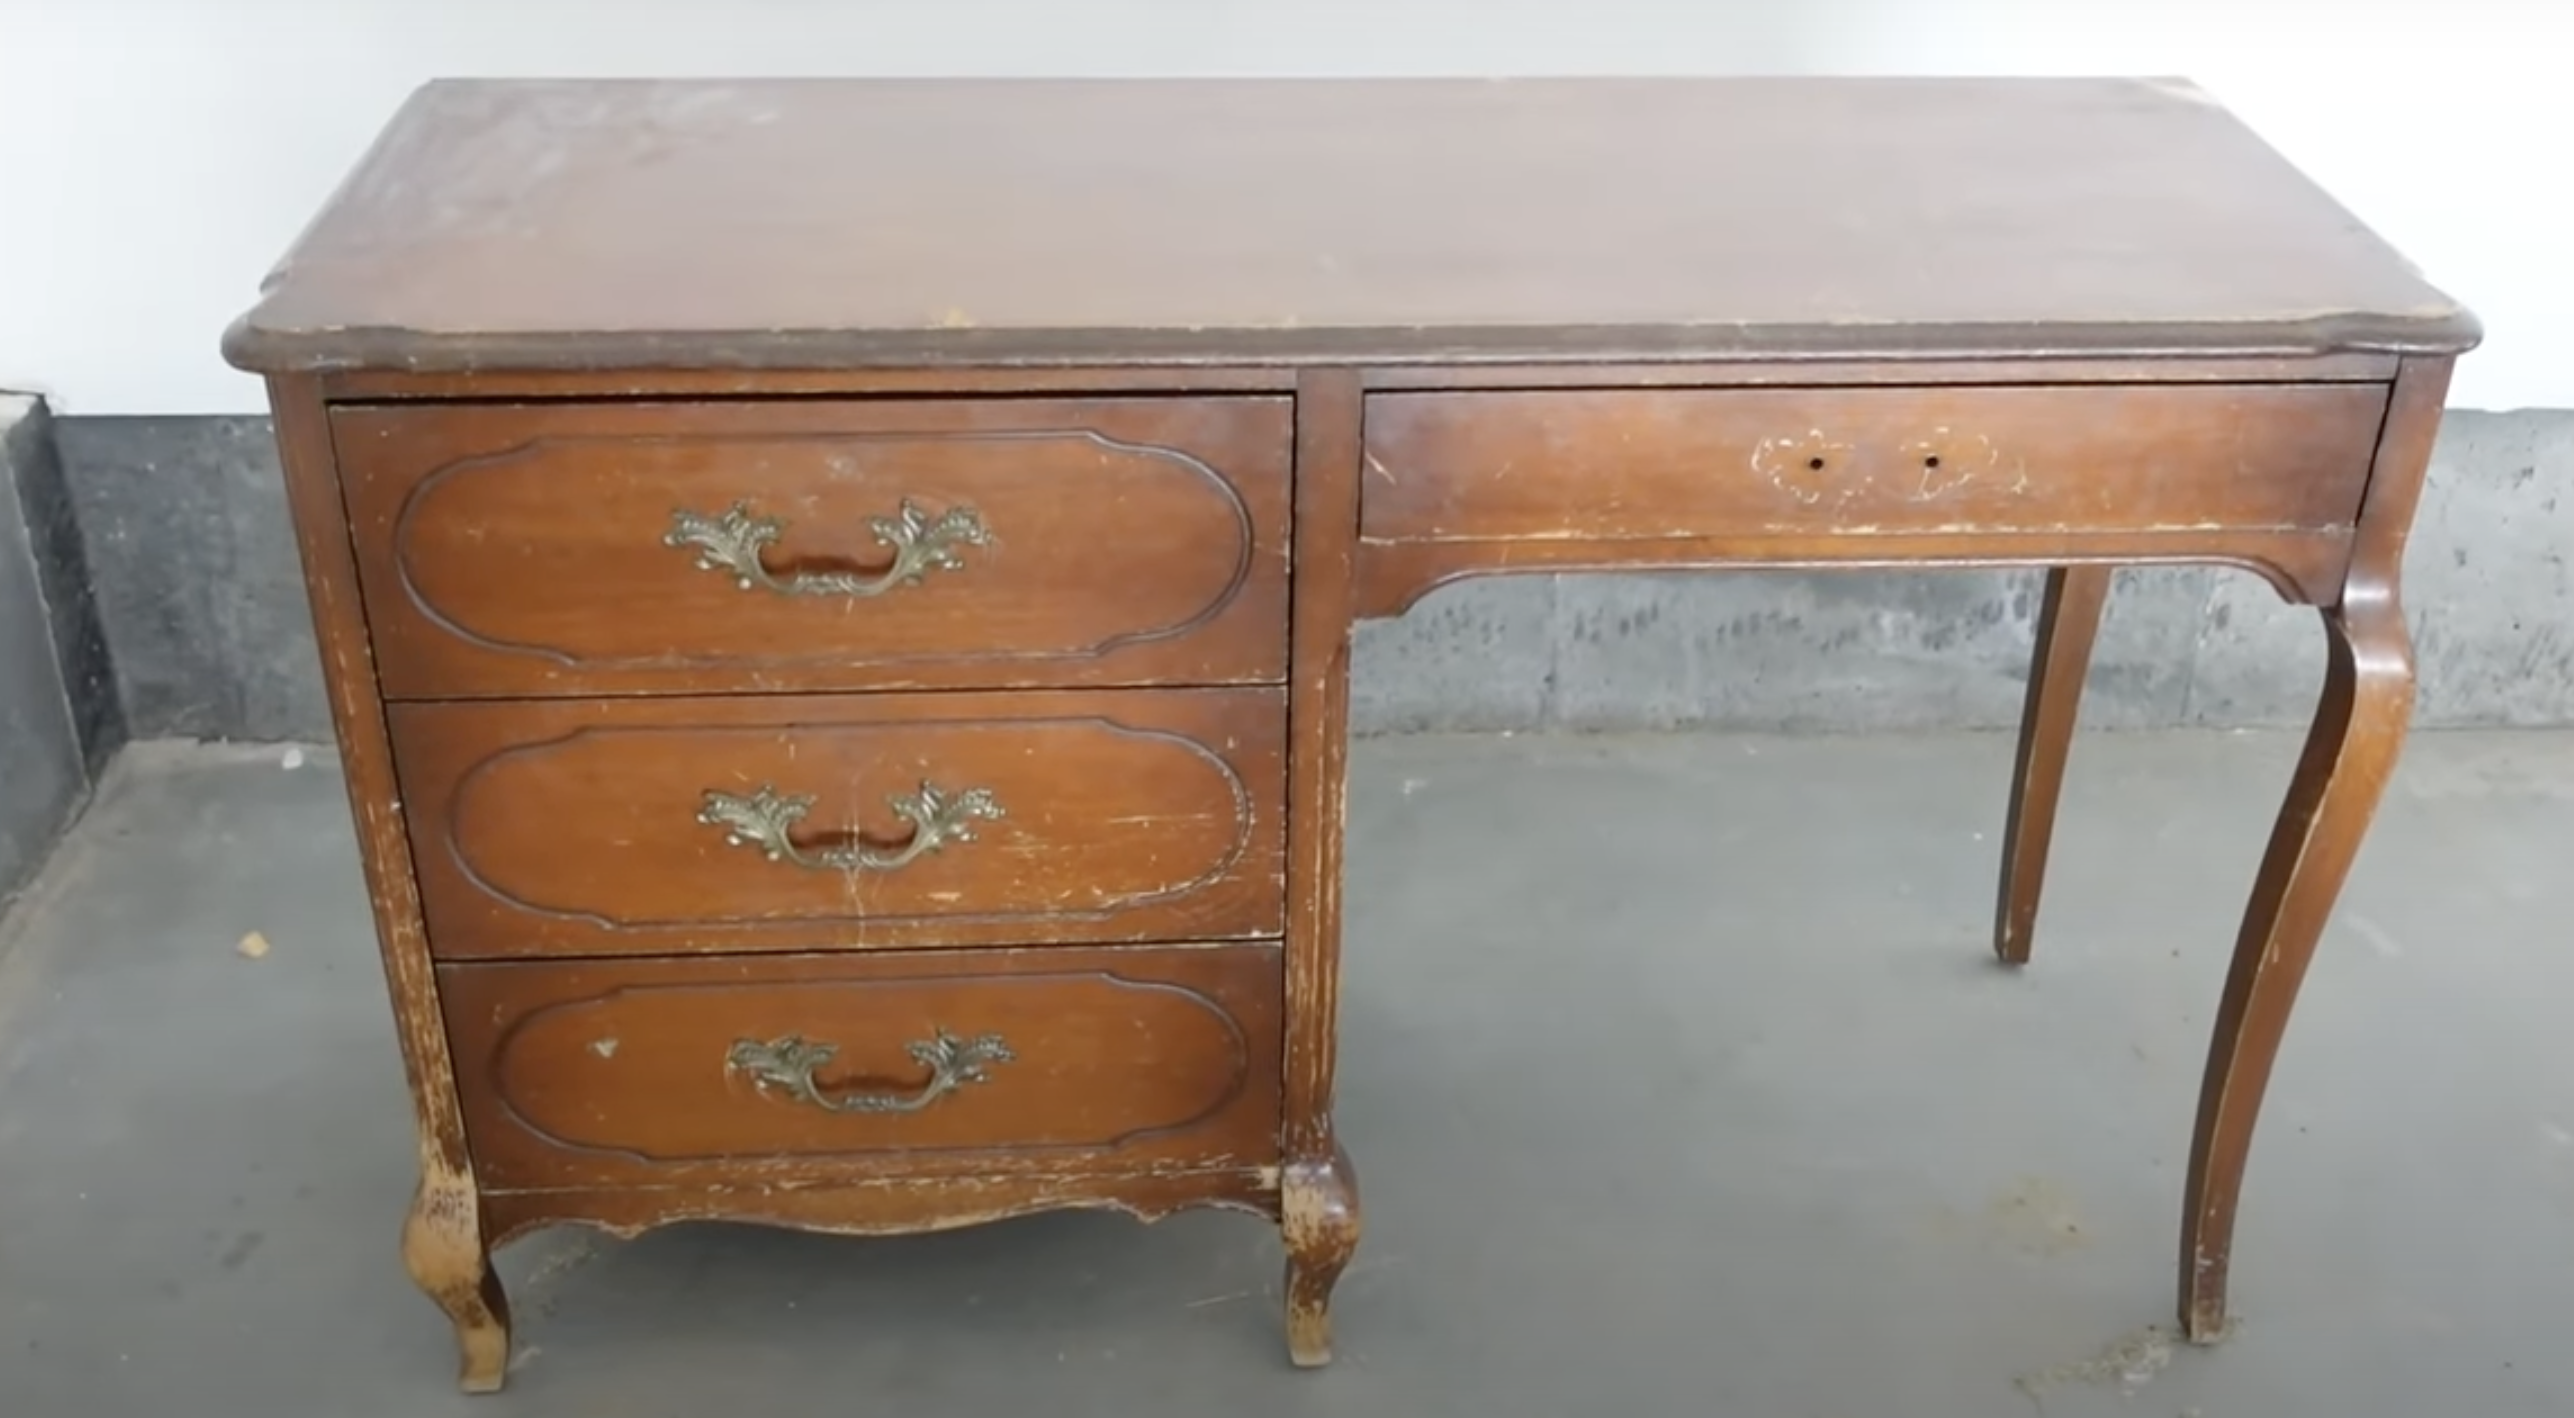
Finding the Right Piece to Restore
If you’re looking to restore furniture, great places to shop are thrift stores, garage sales, and online marketplaces. You can often find good deals here.
Look for pieces made from quality wood that have a strong frame. A little wear and tear is fine, but avoid anything that looks too damaged.
Be cautious with pieces that have water damage, as it can be difficult to repair. Also, avoid furniture that feels unstable or shaky, and try to steer clear of pieces with thick decorative wood, as it can peel off easily.
Materials Required to Restore Furniture
Total Approximate Cost: $53 – $125, this depends on the kind of materials you pick and whether you already have some tools at home.
Step-by-Step Process of Repairing Your Furniture
Repairing and restoring furniture can be a rewarding DIY project. If you’re restoring a vintage piece or renovating an old favorite, following a clear process will help you achieve great results. Here’s a simple step-by-step guide to get you started!
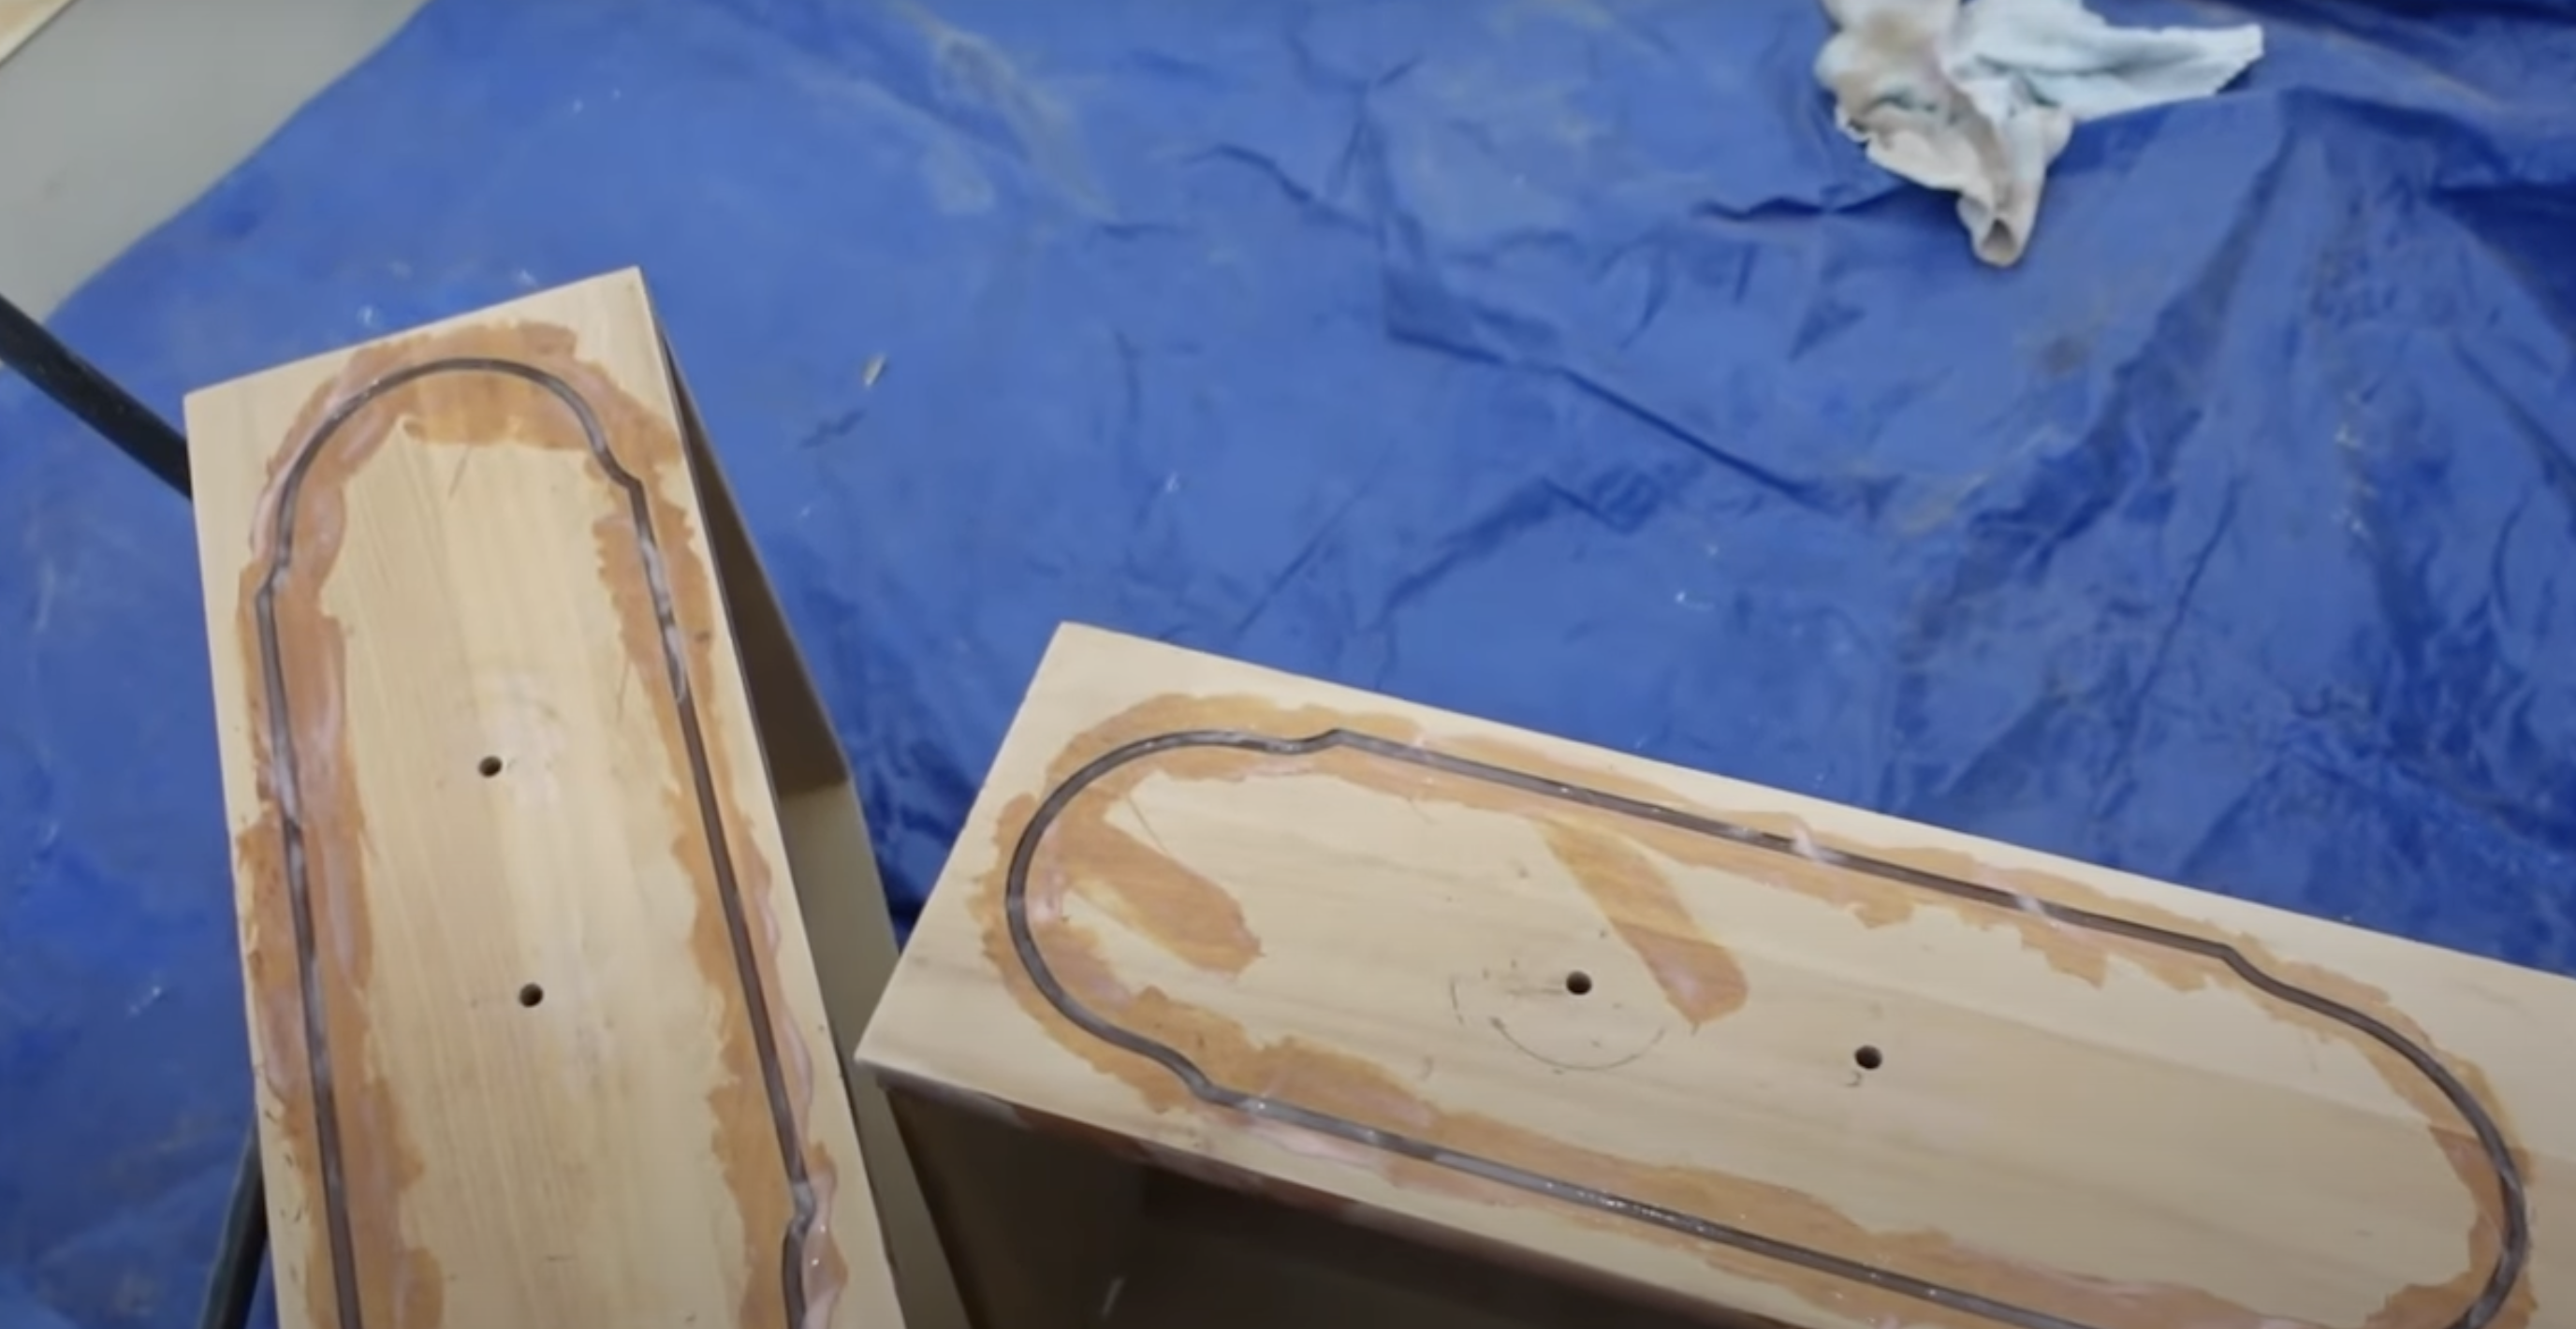
1. Prepping Your Furniture
Before you start the restoration process, it’s important to prepare the piece properly. Proper prep will ensure your work goes smoothly and that the finish lasts longer.
- Take off any knobs, handles, or hinges to avoid damage while working on the furniture.
- Use soap and water or a cleaner to remove buildup that could interfere with sanding or painting.
- Use wood filler for small cracks or holes. Fill in any imperfections, smooth it out, and allow it to dry before continuing.
2. Sanding Techniques
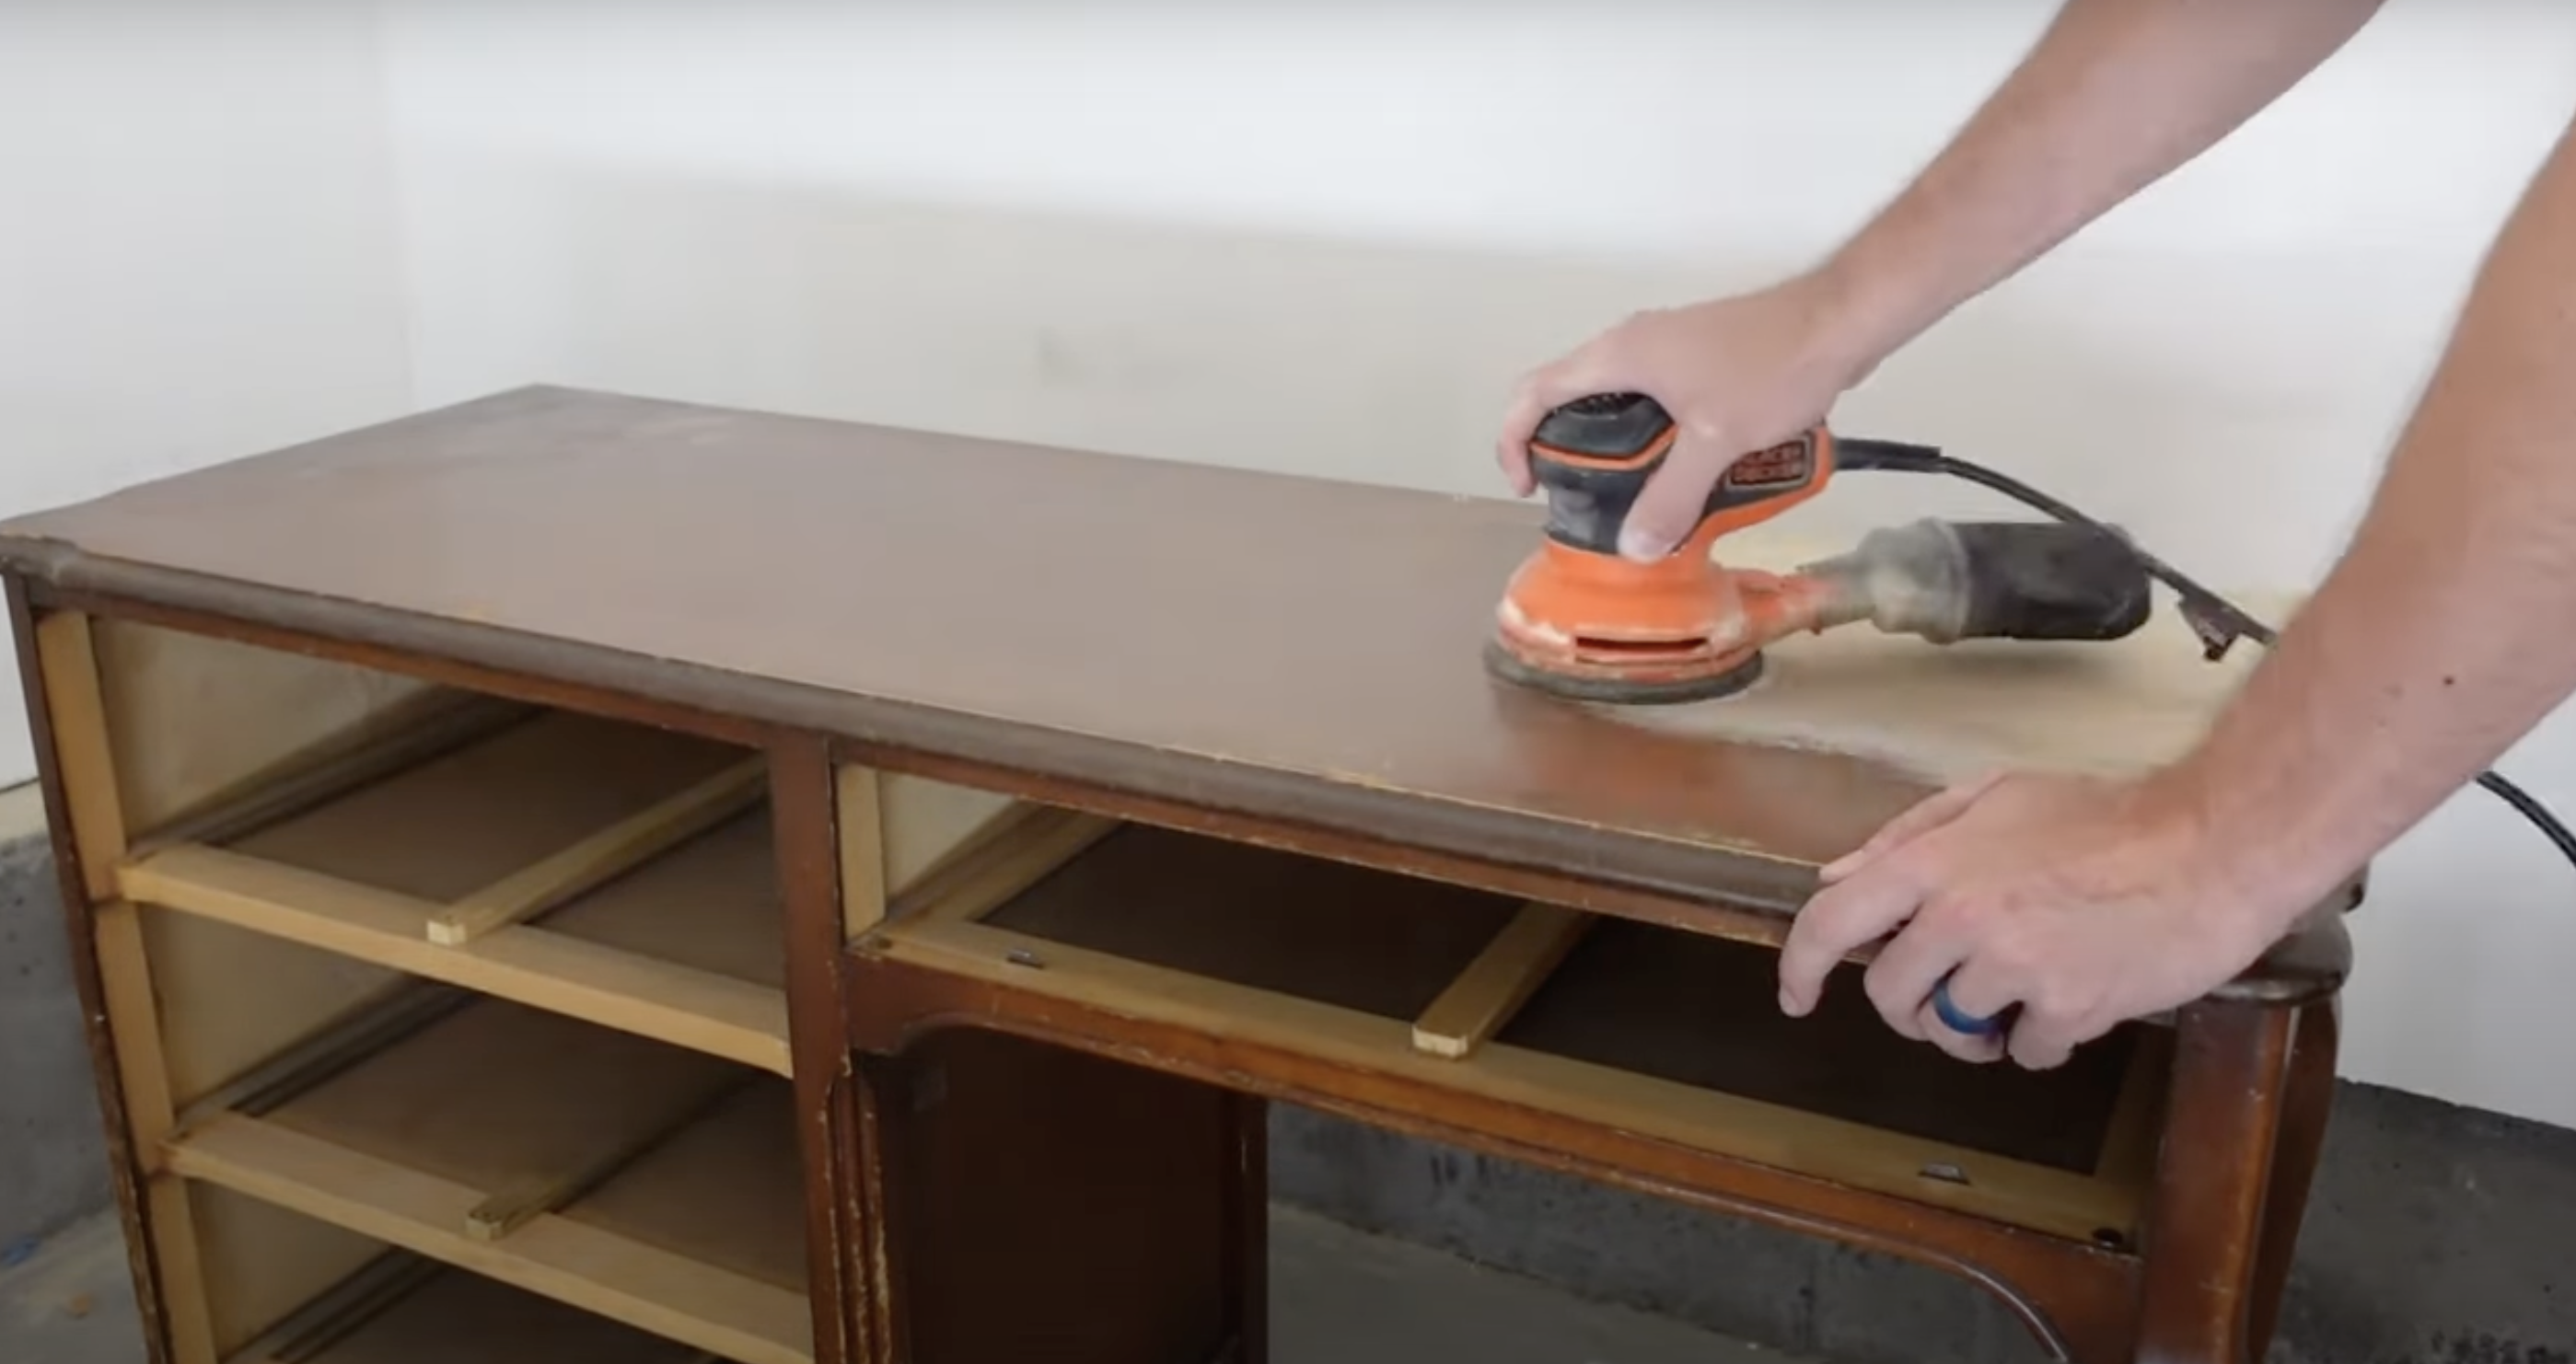
Sanding is an essential step in ensuring a smooth surface and preparing furniture for painting or staining. It helps remove old finishes and evens out imperfections.
- Start with coarse grit (80) to remove old finishes or imperfections, then use medium grit (120), and finish with fine grit (220) for a smooth finish.
- Manual sanding gives you more control, while electric sanders save time. Choose what works best for you.
- For tricky spots, use a detail sander or hand sand to reach those hard-to-reach areas.
3. Using Wood Stripper (When Necessary)
Sometimes, sanding alone will not be enough, especially when there is a thick layer of paint or varnish. A wood stripper can help effectively remove old finishes.
- A wood stripper is the best option if the furniture has a thick layer of paint or finish.
- Follow the product’s instructions, wear gloves and goggles for safety, and work in a well-ventilated area.
- After stripping, use mineral spirits to clean off any leftover residue for a smooth surface.
4. Staining and Sealing the Wood
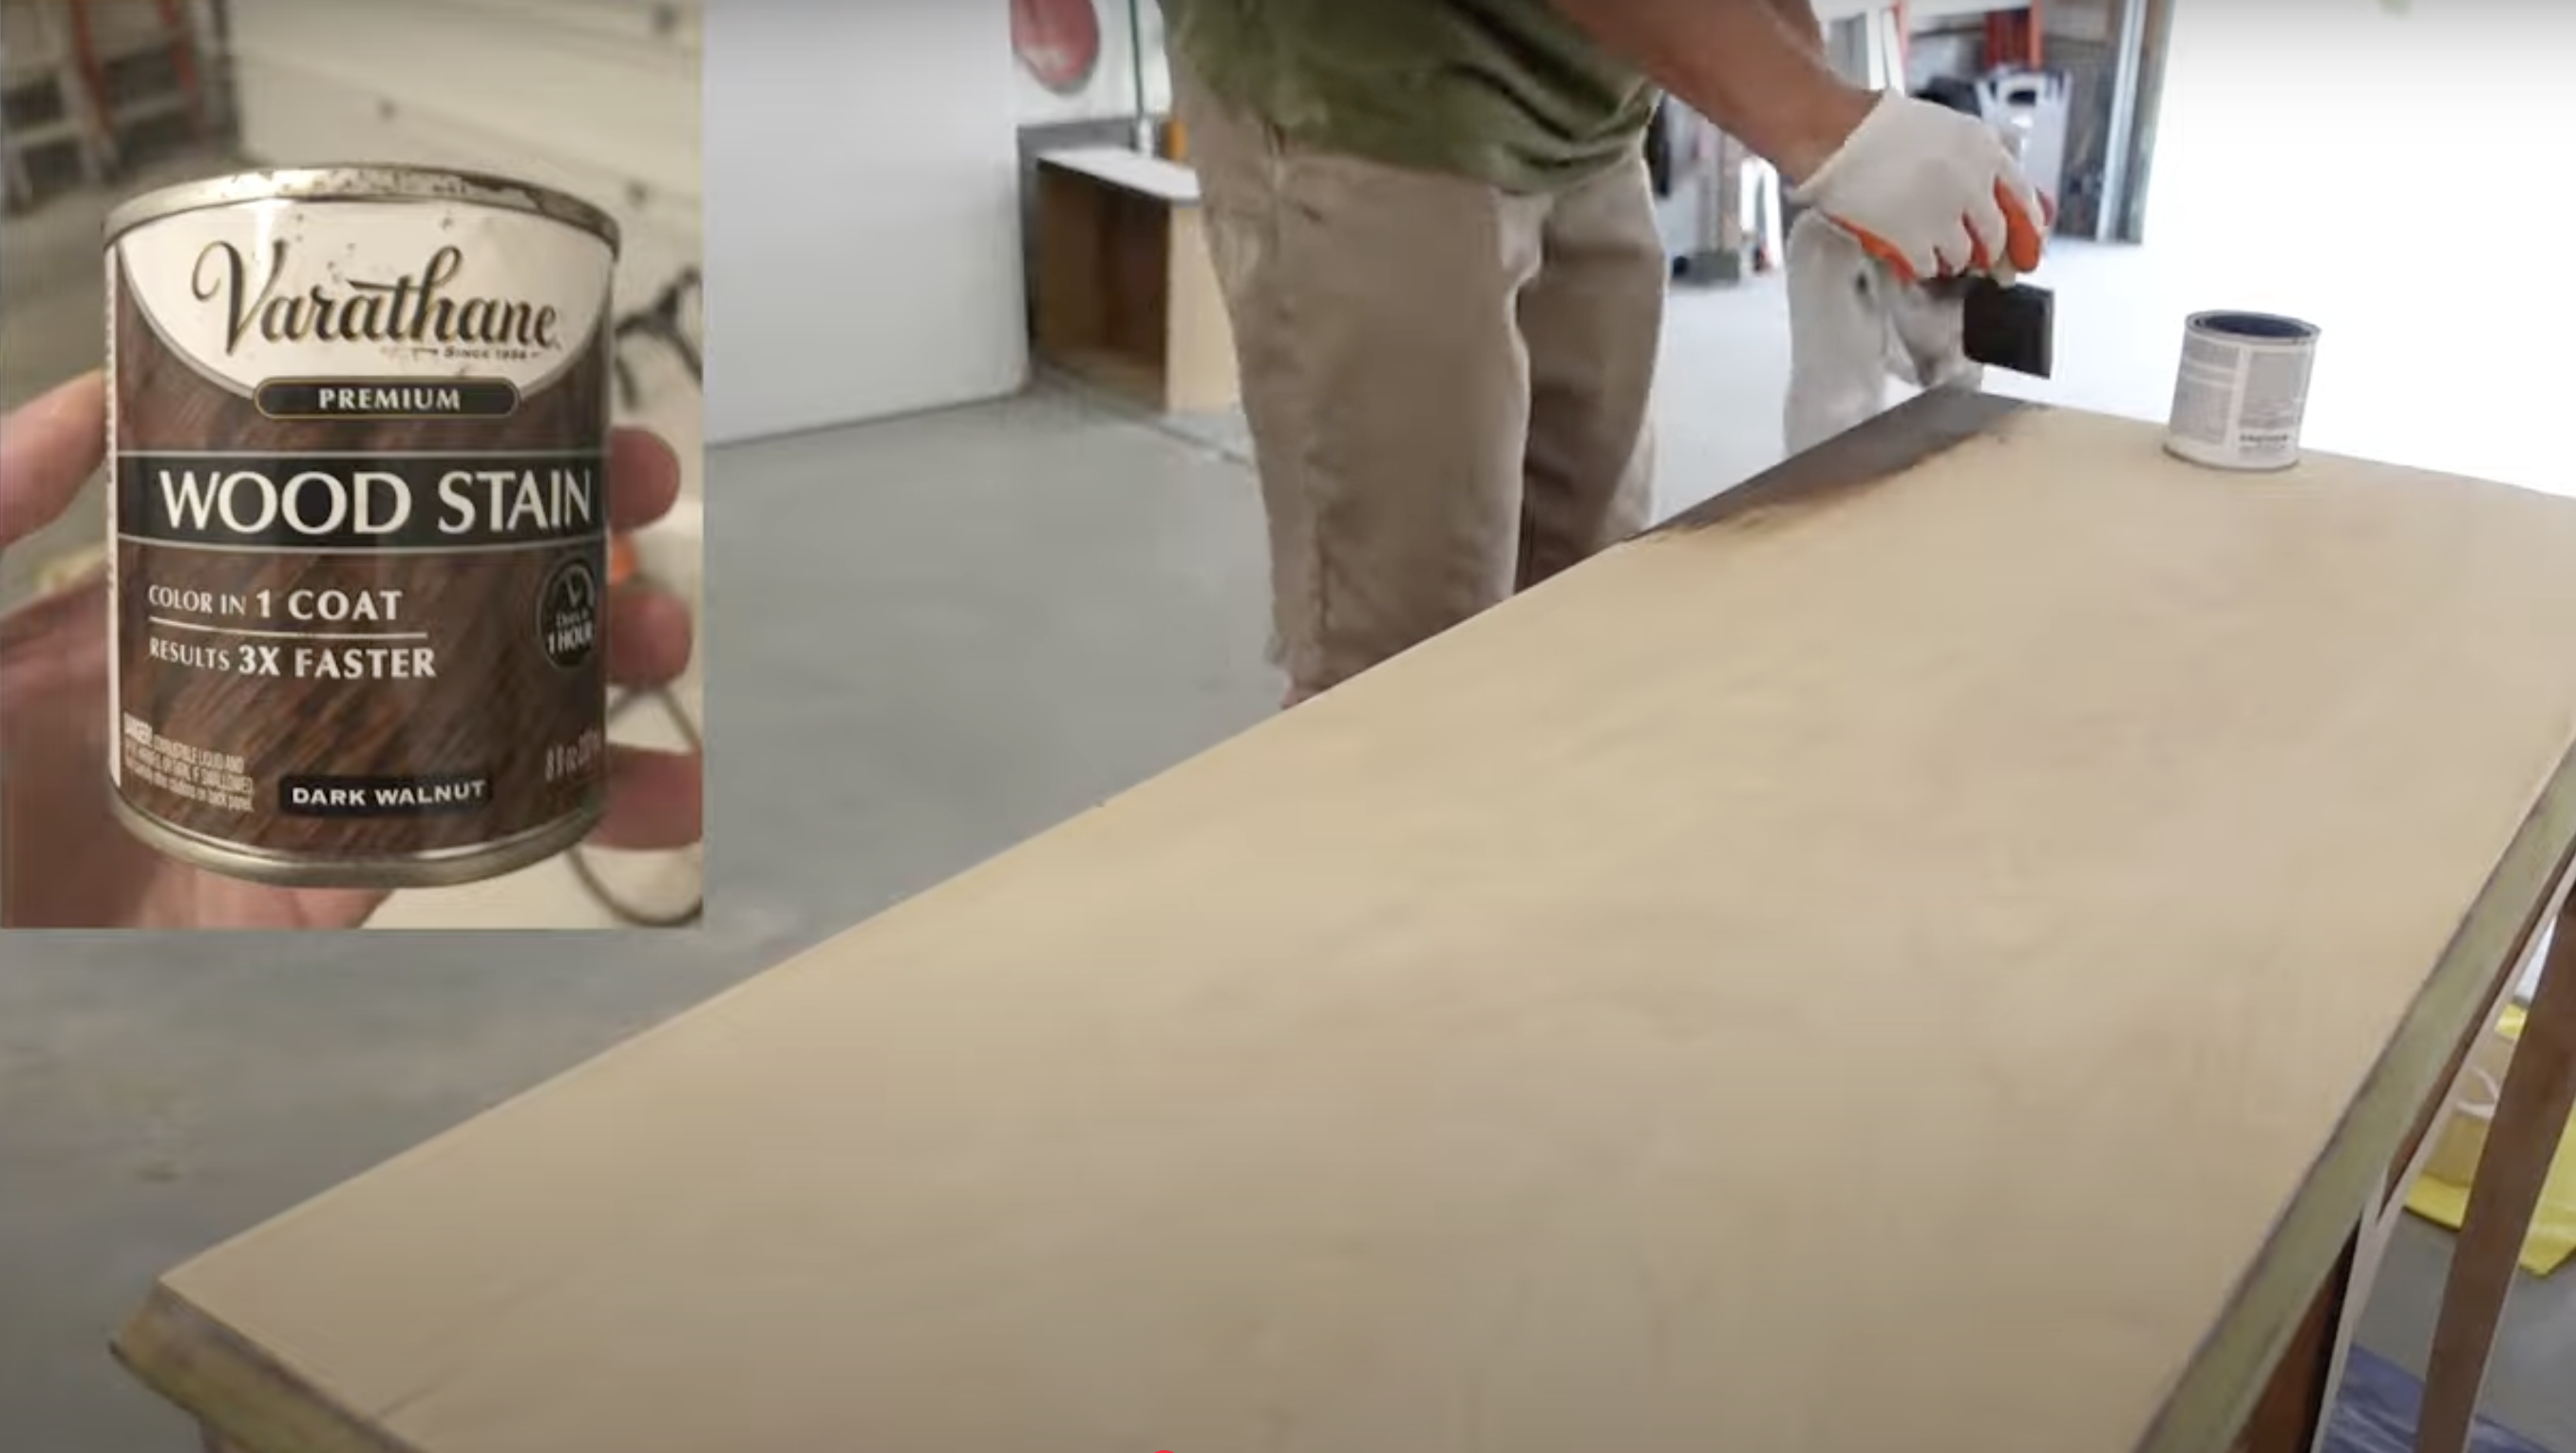
Staining increases the wood’s natural beauty, giving it a refreshed look. Sealing it afterward helps protect the finish and ensures it lasts for years to come.
- Pick a color that fits your style—light stains for a natural look or dark for more depth and character.
- Use a foam brush or lint-free rag to apply the stain evenly. Be sure to wipe off excess stain for an even tone.
- Apply a protective finish, such as polyurethane, wax, or oil, to seal the stain and protect your piece from wear.
5. Painting Techniques for a Fresh Look

If you prefer painting over staining, follow these painting tips to achieve a professional finish.
- Chalk paint gives a rustic look, while latex is durable, and enamel offers a glossy finish.
- If necessary, prime the furniture to create a smooth surface for the paint.
- Use painter’s tape to create sharp lines or combine stained and painted surfaces for a unique design.
- After painting, finish with a protective coat to keep your piece looking great for longer.
6. Reattaching or Replacing Hardware

New hardware can make a significant difference in the final appearance of your piece. If you’re restoring original hardware or choosing new ones, here’s what to do:
- Soak hardware in vinegar to remove grime, then polish for a fresh appearance.
- Choose modern handles, knobs, or hinges that match your updated piece.
- Make sure the hardware is aligned evenly and securely for a polished, professional finish.
For a More Detailed Tutorial on How to Repair Your Furniture, Check out The Video Below:
Ways to Extend the Life of Your Restored Furniture
After putting in all the effort, you’ll want your furniture to stay beautiful for years. Here’s how to ensure it lasts:
- Choose the Right Finish: A good finish, such as polyurethane, wax, or oil, protects your piece from wear and tear. A glossy finish, on the other hand, adds extra protection for painted furniture.
- Apply Multiple Coats: For lasting coverage, always apply multiple coats of stain or paint. Allow each coat to dry completely before applying the next.
- Use Protective Pads: Place felt pads under furniture legs to prevent scratches, especially if the piece is moved around often.
- Regular TLC: Dust and clean the wood regularly, and reapply wax or oil every few months to maintain its vibrancy.
- Keep It Safe: Avoid direct sunlight and humid areas to prevent fading or warping.
With these simple steps, your restored furniture will stay stunning for years to come!
Conclusion
Rather than replacing worn-out furniture, why not take challenge of restoring it? It’s an opportunity to get creative, save money, and reduce waste—all while preserving something that still has plenty of potential.
With just a little time and effort, you can breathe new life into your old pieces, making them look as good as new. Not only will your furniture get a fresh start, but you’ll also gain a sense of accomplishment in the process.
So, next time you think about replacing a piece, consider restoring it instead. You’ll be surprised at what you can achieve!


