How to Make DIY Built-In Office Cabinets on a Budget
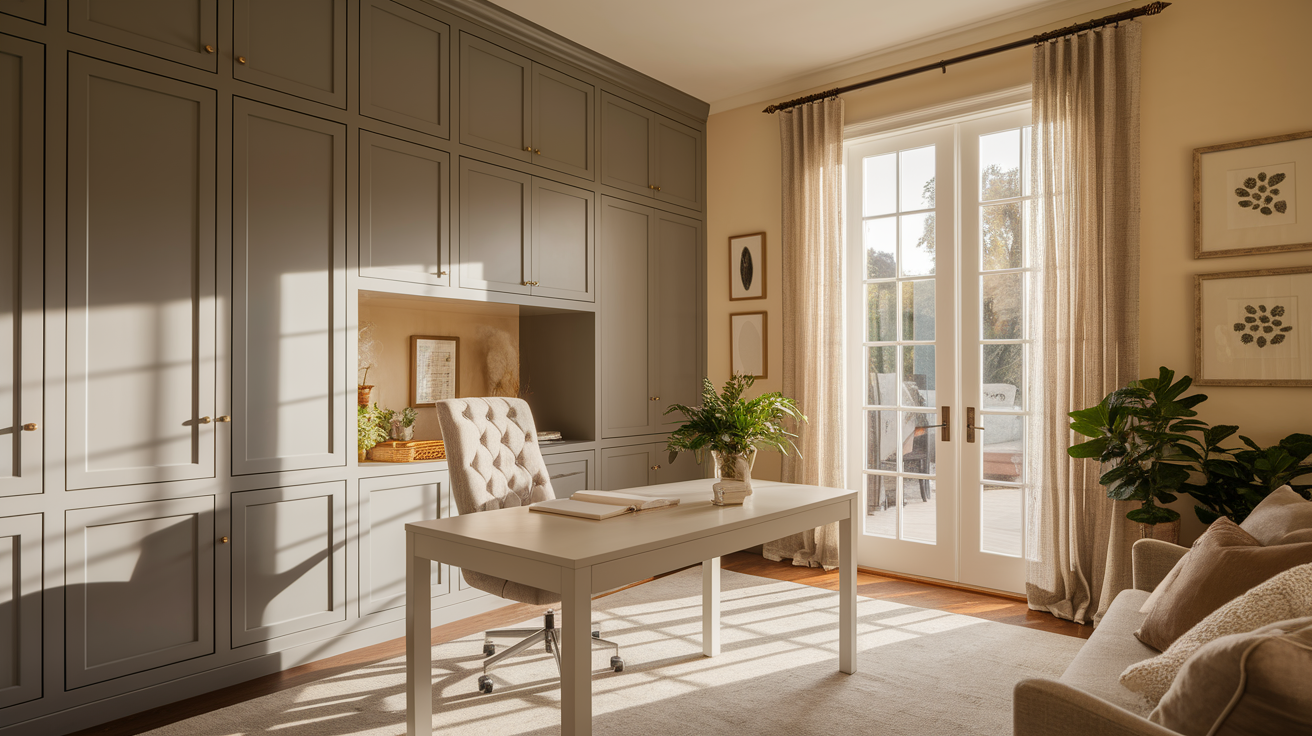
As remote work becomes increasingly common, creating an efficient home office has never been more important.
Custom built-in office cabinets are for any workspace, combining functionality with personalized style.
Built-ins maximize storage while minimizing wasted space, offering a tailored solution that off-the-shelf furniture can’t match.
This guide will walk you through the process of designing and constructing your office built-ins, from initial measurements to the final hardware installation.
Step-by-Step Guide to Your Office Built-in Cabinets
Creating built-in cabinets for your office can add functionality and appeal. Here’s a list of tools and materials, along with step-by-step instructions on how to do it.
Tools and Materials
Here’s a list of 10 essential materials you need for your DIY built-in office cabinets:
- Cabinet-grade plywood (3/4″)
- Hardwood boards
- Wood glue
- Kreg jig
- European concealed hinges
- Miter saw
- Shelf pins
- Wood filler
- Cabinet primer and paint
- LED strips
Let’s break down this project into manageable steps to guide you through the process of creating those custom office cabinets you’ve been wanting.
Step 1: Preparing Your Space and Layout

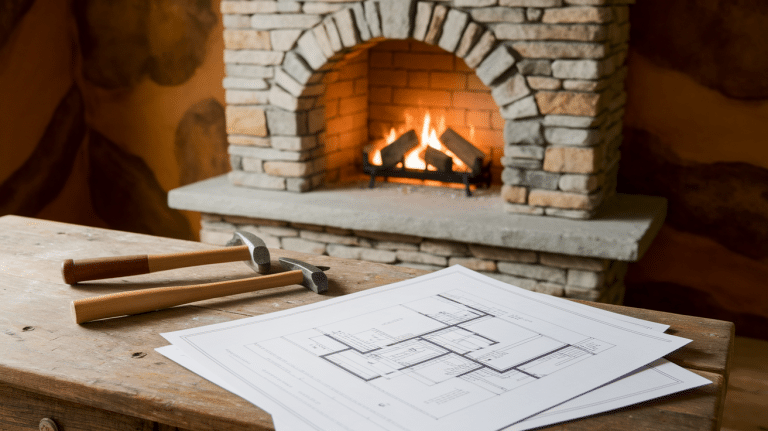
Start with an empty wall where your built-ins will go. Use a tape measure to record the exact width, height, and depth available for your cabinets.
Note the location of every electrical outlet, light switch, window, door, heating vent, and any wall irregularities. Take photos of the space as a reference.
Create a detailed sketch with all dimensions marked, including where you want open shelving versus closed storage. Consider how much desk space you need and at what height.
If you work with large monitors or specialized equipment, measure these as well. Consider your daily workflow, what items do you use most often and need to be within reach? Plan cord management solutions early on.
Step 2: Building the Cabinet Boxes and Frames

Select 3/4 cabinet-grade plywood for durability. Cut all your pieces using a table saw for straight cuts (or have them cut at a home improvement store). For each cabinet box, you’ll need a bottom, top, two sides, and a back panel.
Use a Kreg jig to drill pocket holes, which create strong joints while hiding screws. Assemble each box on a flat surface, checking for square with a framing square (measure diagonals to confirm).
Use clamps to hold pieces while screwing together. Add a nailer strip at the top and bottom of each cabinet for attaching to the wall later. Build separate boxes for each section rather than one giant unit they’ll be easier to move and install.
Step 3: Adding Doors, Face Frames, and Trim
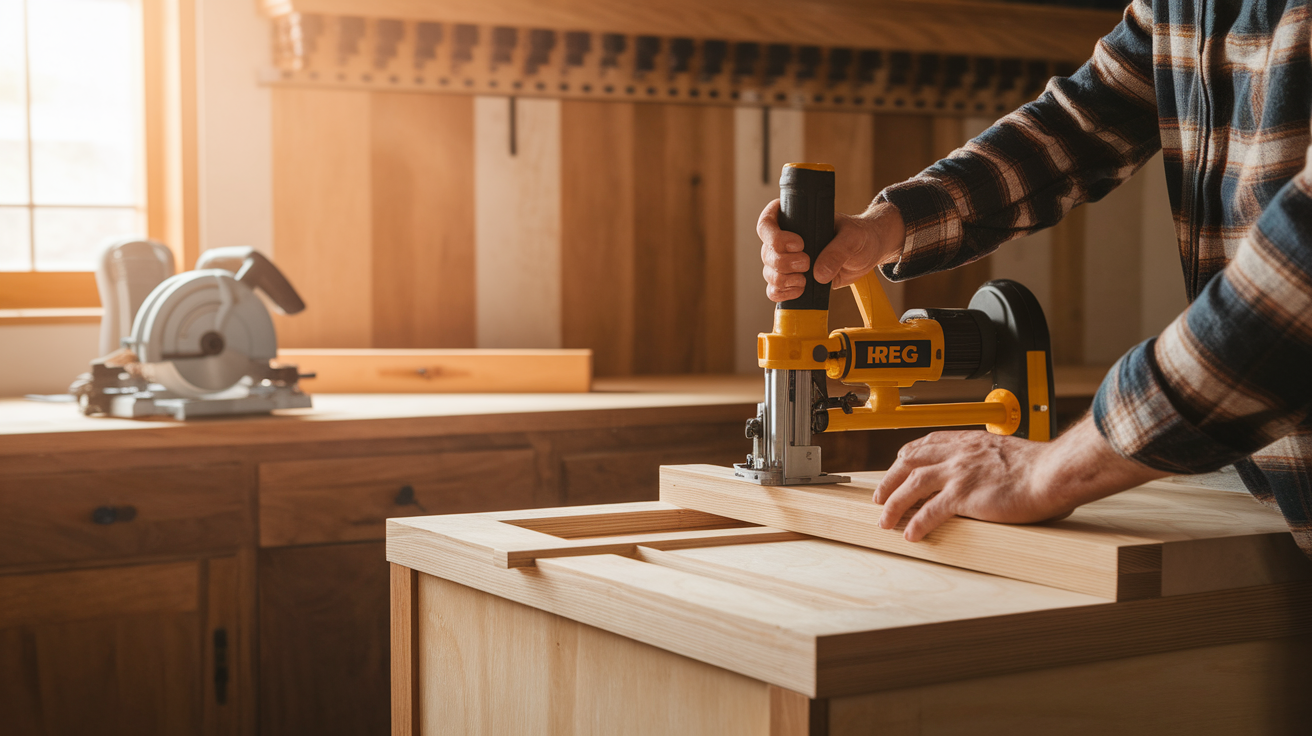
Face frames give your cabinets a finished look and add strength. Cut 1×2 or 1×3 hardwood boards for the vertical stiles and horizontal rails. Join these using pocket holes or dowels.
Attach the completed face frame to the front of each cabinet box using wood glue and brad nails.
For doors, measure the openings in your face frames and build doors 1/8″ smaller on all sides to allow for proper swinging.
Use a router with a panel bit for a professional edge. Attach hinges European concealed hinges are ideal for a clean look.
For decorative trim, use a miter saw to cut perfect 45-degree corners. Install crown molding at the top and baseboards at the bottom to match your existing room trim.
Step 4: Installing Shelves and Countertops
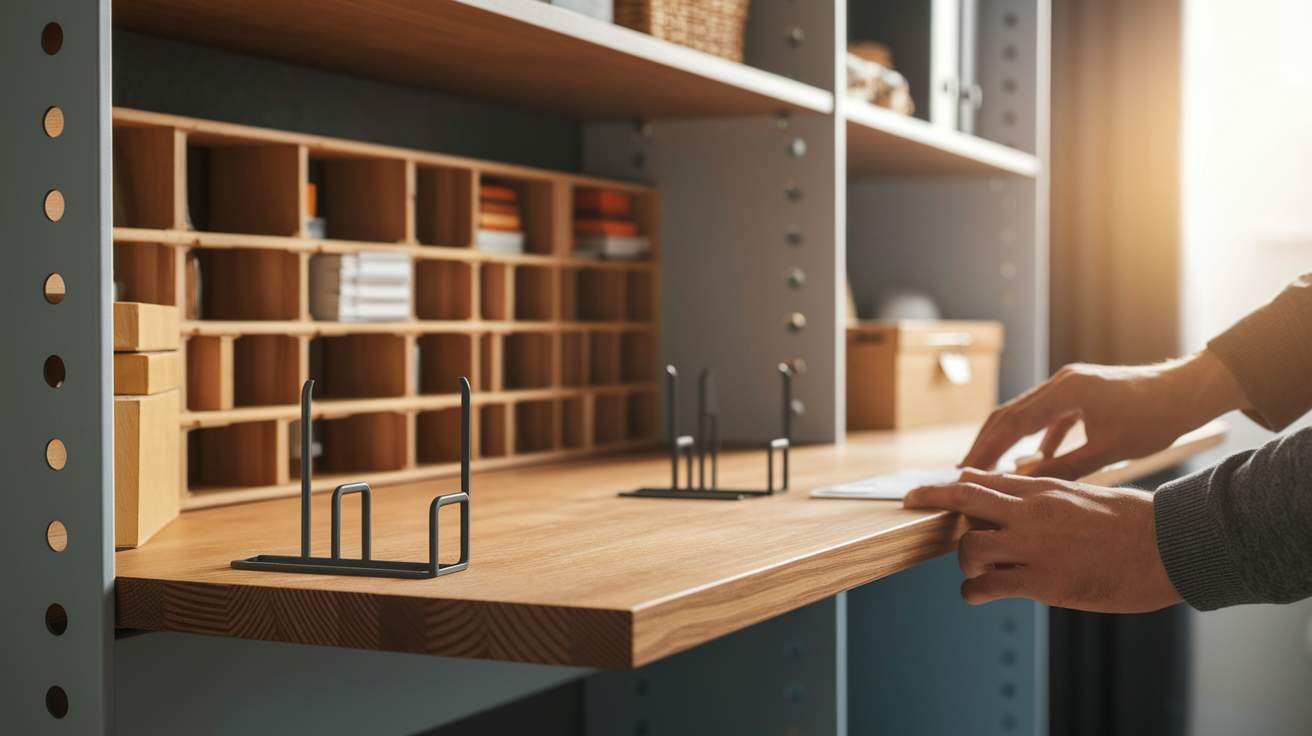
For adjustable shelves, use a template and drill 5mm holes at 1-inch intervals up the sides of your cabinets.
Insert shelf pins and cut shelves from the same plywood as your cabinets, sizing them 1/4″ smaller than the opening for easy adjustment.
For your desktop surface, options include: butcher block (warm, natural look), laminate (durable and budget-friendly), or solid surface materials like quartz (premium but expensive).
Ensure the countertop has enough depth for your work (typically 24-30″). Secure it to the cabinet tops using L-brackets underneath, leaving a slight overhang at the front for comfort.
Step 5: Painting and Finishing Techniques
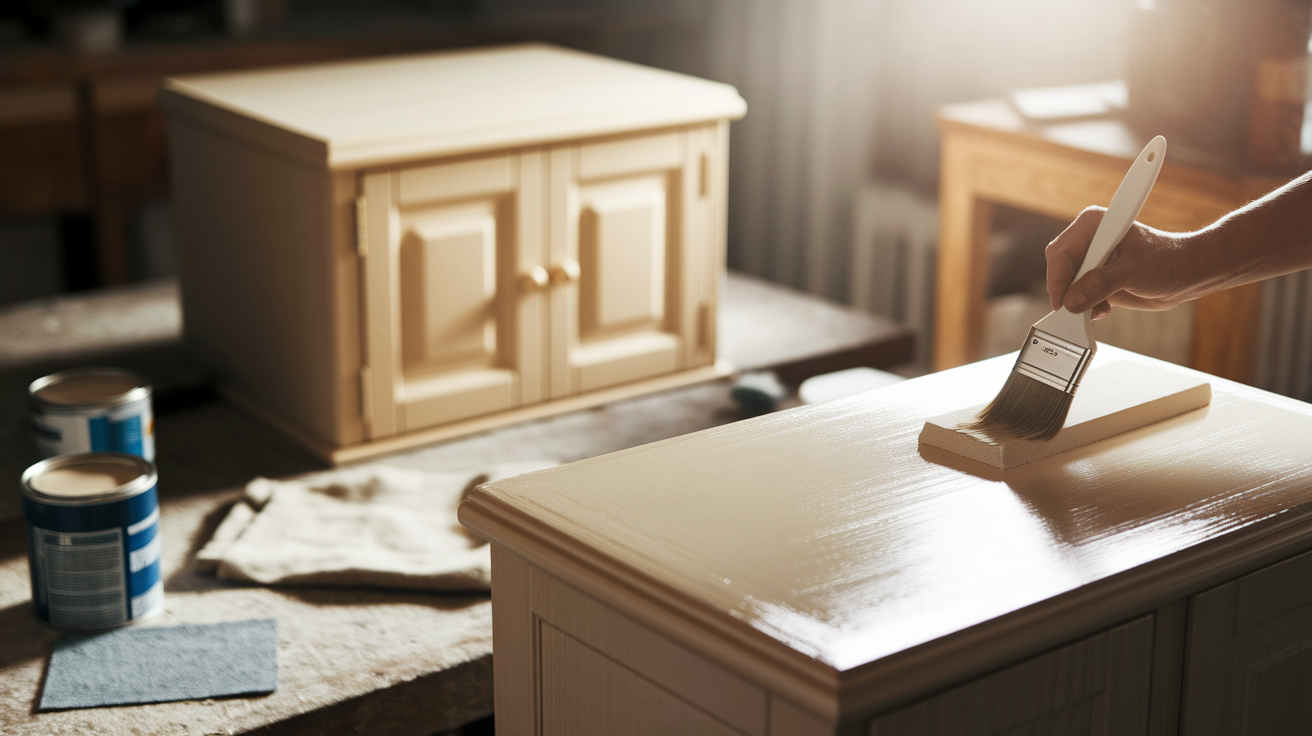
Remove all hardware before painting. Fill nail holes and seams with wood filler and let dry completely.
Sand all surfaces, starting with 120-grit sandpaper and progressing to 220-grit for a smooth finish. Wipe away all dust with a tack cloth.
Apply a primer designed for cabinets, allowing it to dry completely. Sand lightly between coats. For the finish, cabinet paint designed to resist scratches works best, whether applied with a brush or spray, depending on your comfort level.
Apply thin coats rather than one thick coat to prevent drips. Allow each coat to dry fully before adding another (usually 24 hours).
For natural wood finishes, apply pre-stain conditioner, then stain, and finally several coats of polyurethane for protection.
Step 6: Final Installation and Touch-Ups
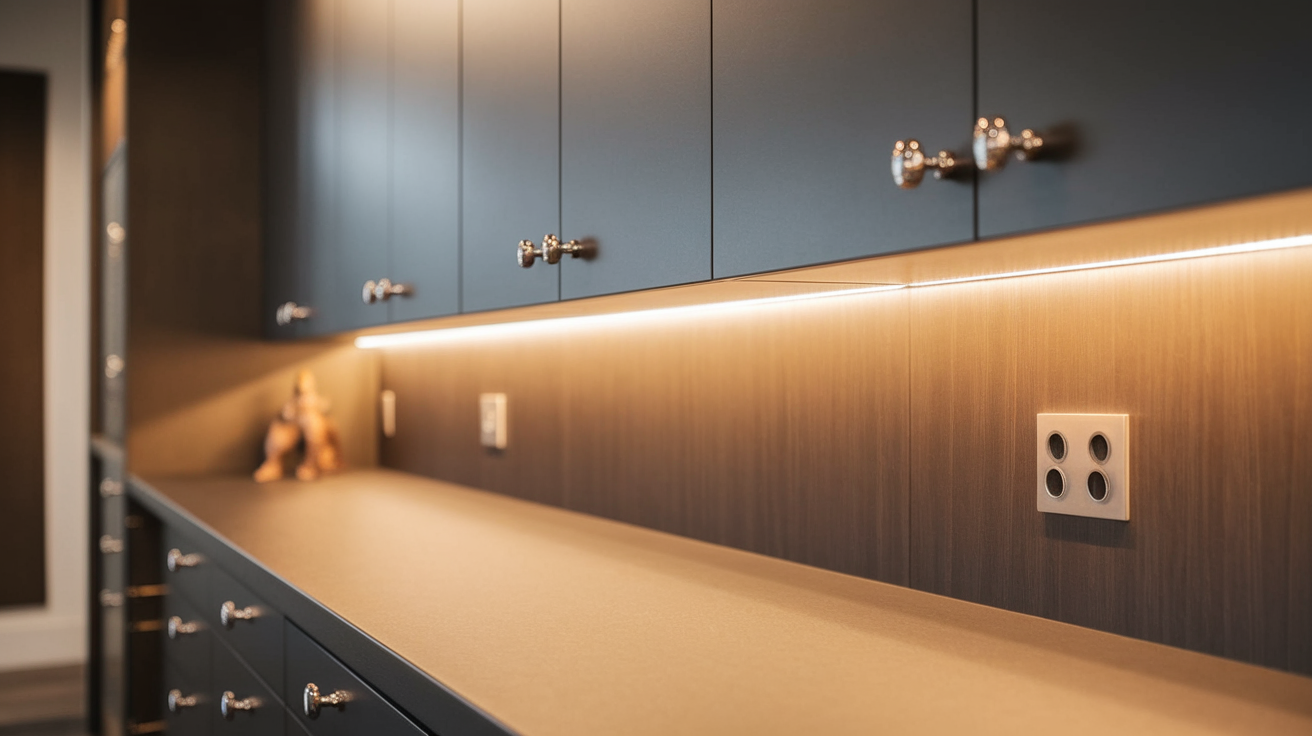
Position your cabinets in place, shimming underneath if the floor isn’t level. Use a stud finder to locate wall studs, and secure cabinets using 3-inch screws through the nailer strips into the studs.
Install all hardware like handles, knobs, drawer slides, and any specialty items like keyboard trays or filing systems.
Add under-cabinet lighting using LED strips for task lighting. Using a hole saw, create holes for cords to pass through between sections.
Cover these with grommets for a professional look. Touch up any paint chips or scratches. Finally, caulk any small gaps between the cabinets and walls or between cabinet sections for a truly built-in appearance.
How to Maintain Your DIY Built-ins
Now that you’ve put in the work and built those office cabinets. Let’s talk about keeping them in shape for years to come:
- Clean regularly with a soft cloth and mild wood cleaner to prevent dust buildup
- Apply furniture polish every few months to protect wooden surfaces
- Check and tighten hinges, handles, and knobs periodically
- Watch out for water damage and clean spills immediately
- Fix scratches and nicks with touch-up markers or wood filler and stain
- Use silicone spray on drawer tracks and sliding door mechanisms to keep them working smoothly
- Refresh the look by changing decorative elements on open shelving
- Perform routine maintenance to avoid more extensive repairs later
- Treat your cabinets as a workspace investment worth protecting
Inspirations for your DIY Built-in Office Cabinet Designs
Each of these ideas can be customized to match your office style and specific needs. Just grab some graph paper and start planning what would work best in your space!
| Design Idea | Description | Benefits |
|---|---|---|
| Bookcase-Desk Combo | Floor-to-ceiling shelves with a desk in the middle. Utilizes vertical space for storage and workspace. | Maximizes space usage and provides both storage and a functional workspace in one area. |
| Hidden Storage Solutions | Cabinets with false fronts that pull out to reveal filing systems or supplies. | Keeps the space tidy and organized while ensuring easy access to office essentials. |
| Corner Maximizer | L-shaped built-ins that fit into corners with adjustable shelving. | Utilizes otherwise wasted space and allows for reconfigurable storage. |
| Window-Framing Workstation | Cabinets framing a window with a desk positioned to maximize natural light. | Provides a bright workspace while keeping storage above and around the desk. |
| Modular System | Individual cabinet units that can be rearranged or taken with you when moving. | Flexible, movable storage that can be adjusted based on needs or relocated as necessary. |
Conclusion
Building your own DIY built-in office cabinets is a rewarding project that can completely change your workspace.
Maximizing vertical space with a bookcase-desk combo or adding hidden storage solutions, these ideas can be tailored to fit your office’s unique needs.
Remember to keep maintenance simple with regular cleaning, touch-ups, and small fixes to ensure your cabinets stay in great shape.
The best part? Customizing your design means you can mix functionality with style. With a little planning and some creativity, your office will not only be organized but also become a pleasant place to work.
So, grab your tools and start creating a space that works for you!


