How to Make Concrete That Looks Like a Wood Floor
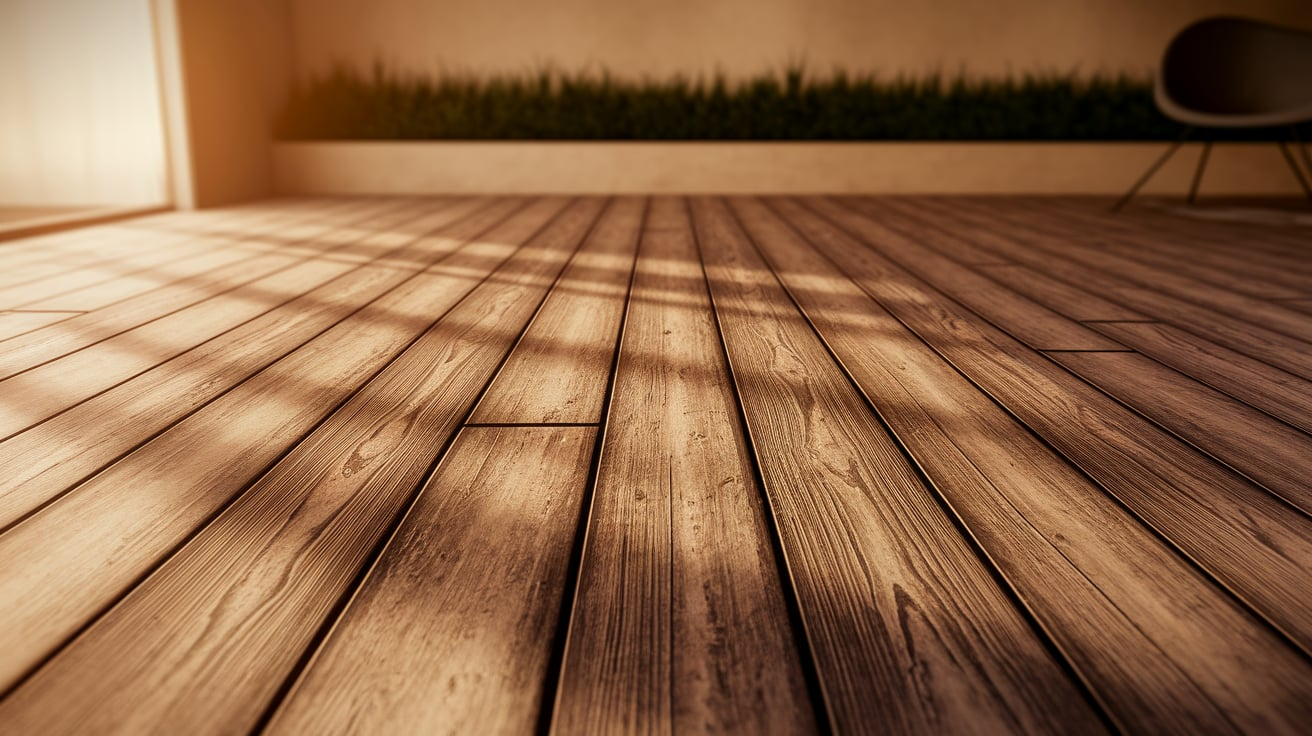
Are you looking for the warmth of wooden floors without the maintenance headaches? Concrete floors with faux wood finishes offer a creative solution that combines durability and looks.
This creative technique changes ordinary concrete into wood-look surfaces that can withstand heavy traffic, moisture, and time.
The results are so realistic that guests will be surprised to learn they’re walking on concrete, not hardwood.
In this blog, you’ll learn how to create wood-look concrete floors, from choosing materials to applying the stamping technique, maintenance, and mistakes to avoid.
How to Make Concrete
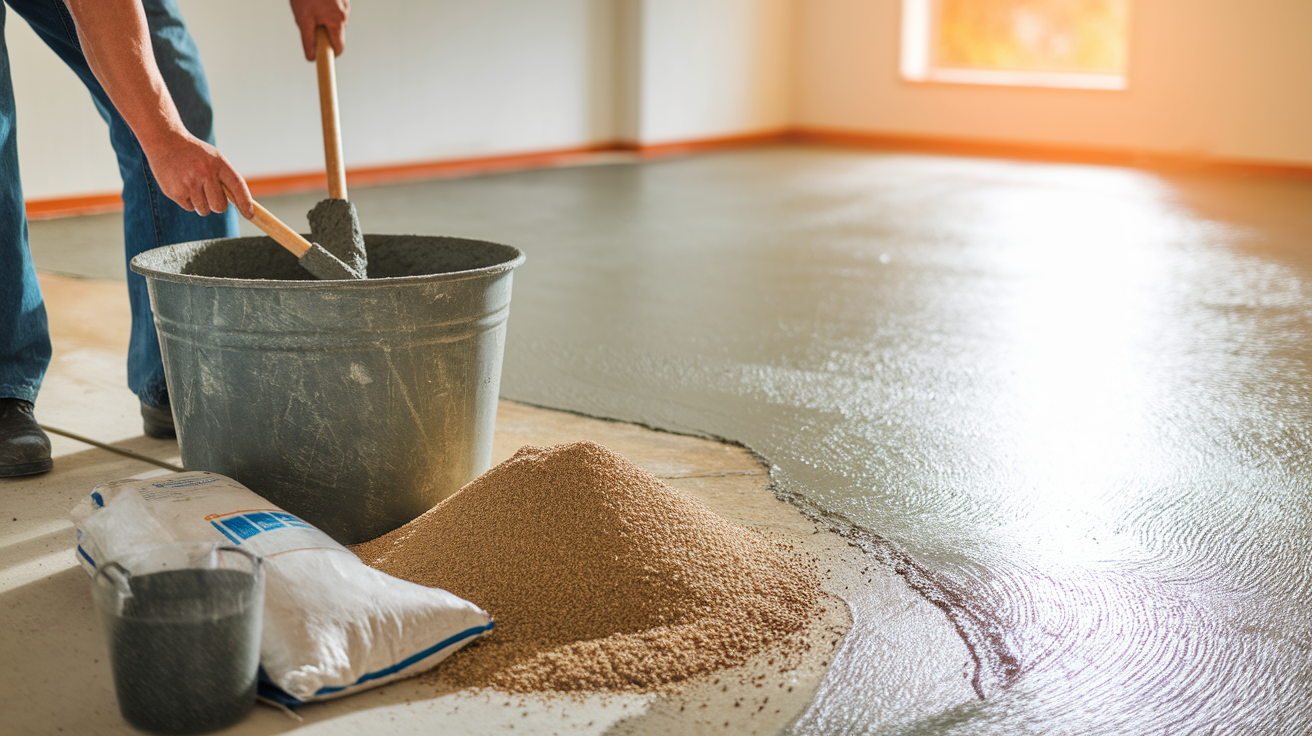
Before starting wood-look techniques, it’s essential to understand the concrete base. Concrete is made from cement, sand, gravel, and water. A good foundation is key to a successful finish.
For interior floors, use a standard mix with a strength of 3,000–4,000 PSI. The mix should be thick like oatmeal, not too wet or dry, for the right balance of strength and workability.
If you’re working on an existing floor, check for cracks or damage. Minor flaws can be addressed, but major issues require immediate repair. Pour new concrete at least 4 inches thick and let it cure for 28 days before adding decorative finishes.
Materials and Tools Required to Make a Concrete Wood Floor
- Concrete mix (3,000–4,000 PSI)
- Wood plank stamps
- Concrete release agent
- Concrete colorant / pigment
- Antiquing stain
- Concrete sealer
- Trowel or float
- Texture roller/stamp mat
- Paintbrush or sprayer
Step-by-Step Process of Concrete Wood-Like Flooring
Here are the simple steps to help you create beautiful concrete floors that look like real wood. Follow these steps carefully for professional-looking, durable results.
Step 1: Prepare the Surface and Mix Concrete
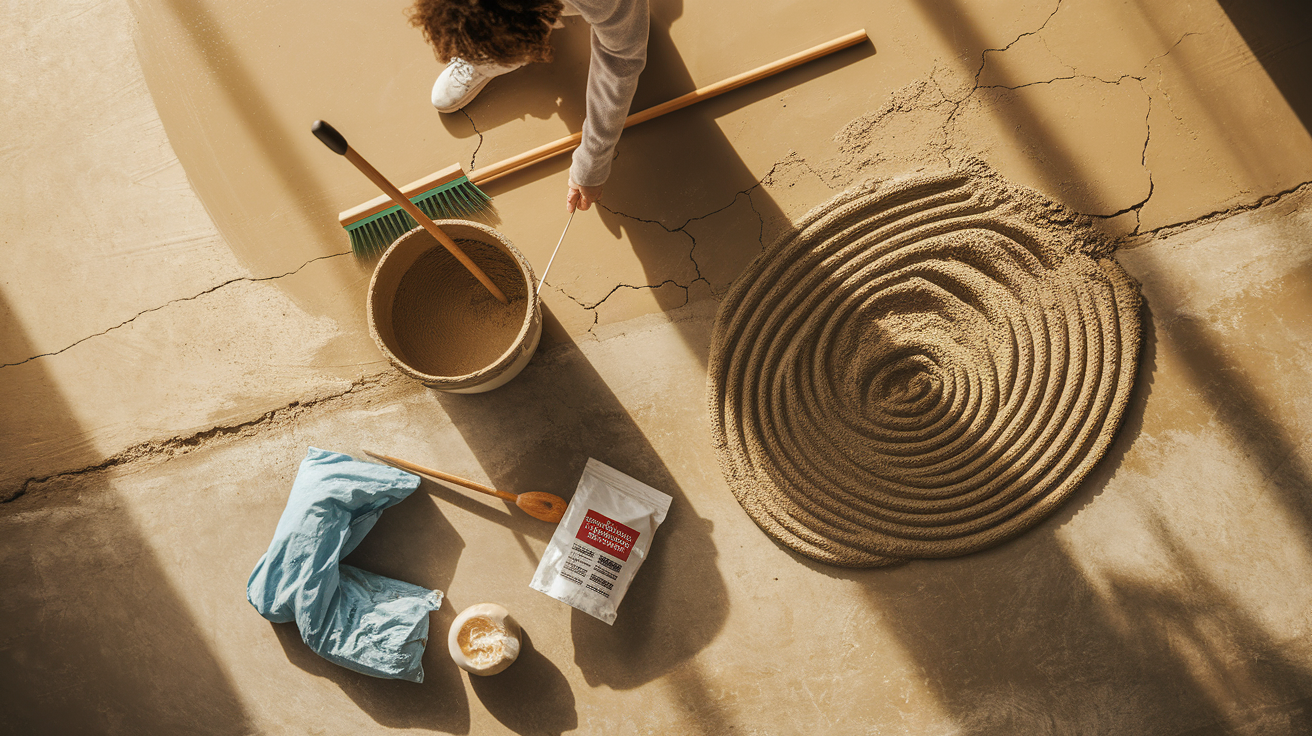
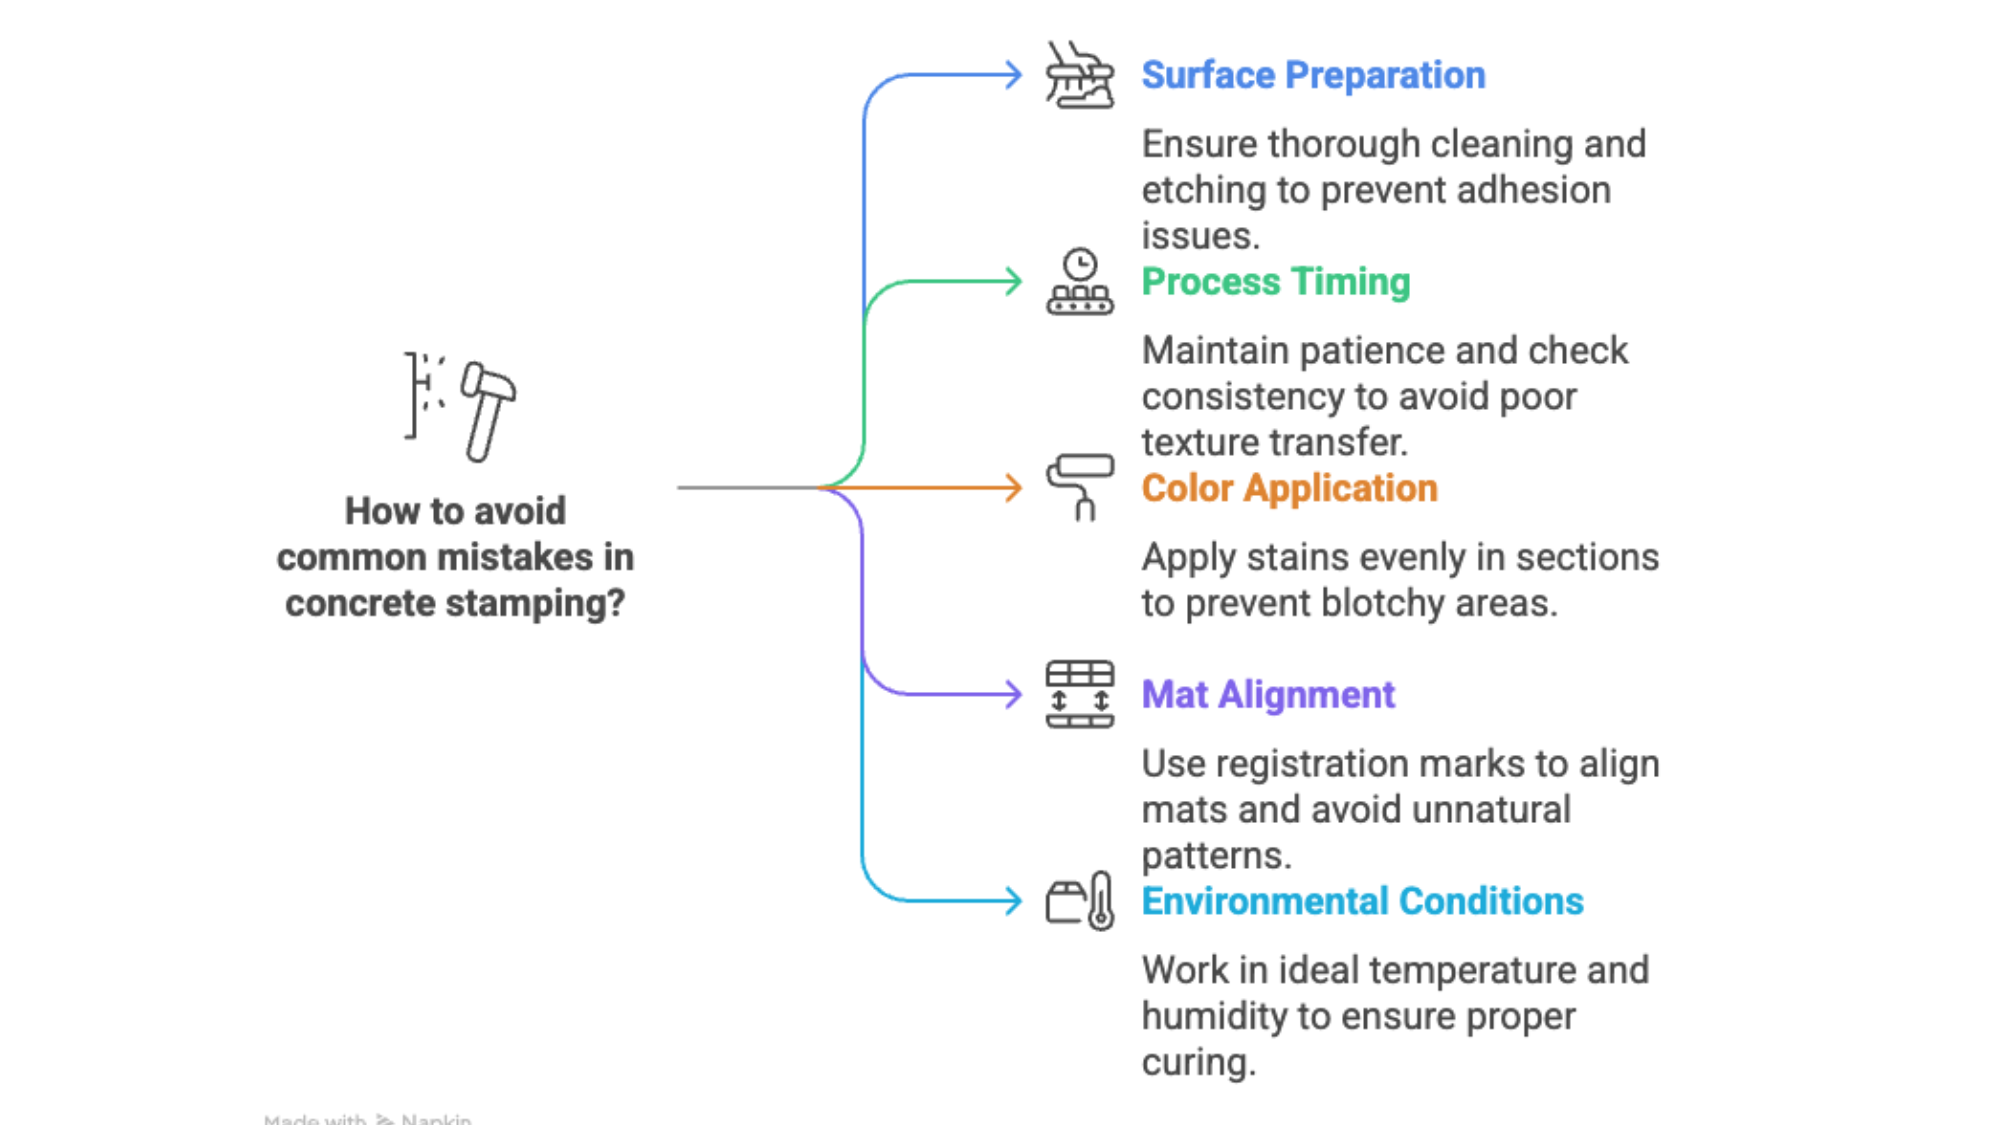
Clean the existing concrete thoroughly, removing all dirt and previous coatings. Repair any cracks and ensure the surface is dry.
Mix your concrete (3,000-4,000 PSI) according to the manufacturer’s instructions, adding water gradually until reaching a thick oatmeal consistency. Add concrete pigment to the mix if creating a colored base.
Tips: Measure water precisely to avoid weakening the concrete mix
Step 2: Pour and Level the Concrete
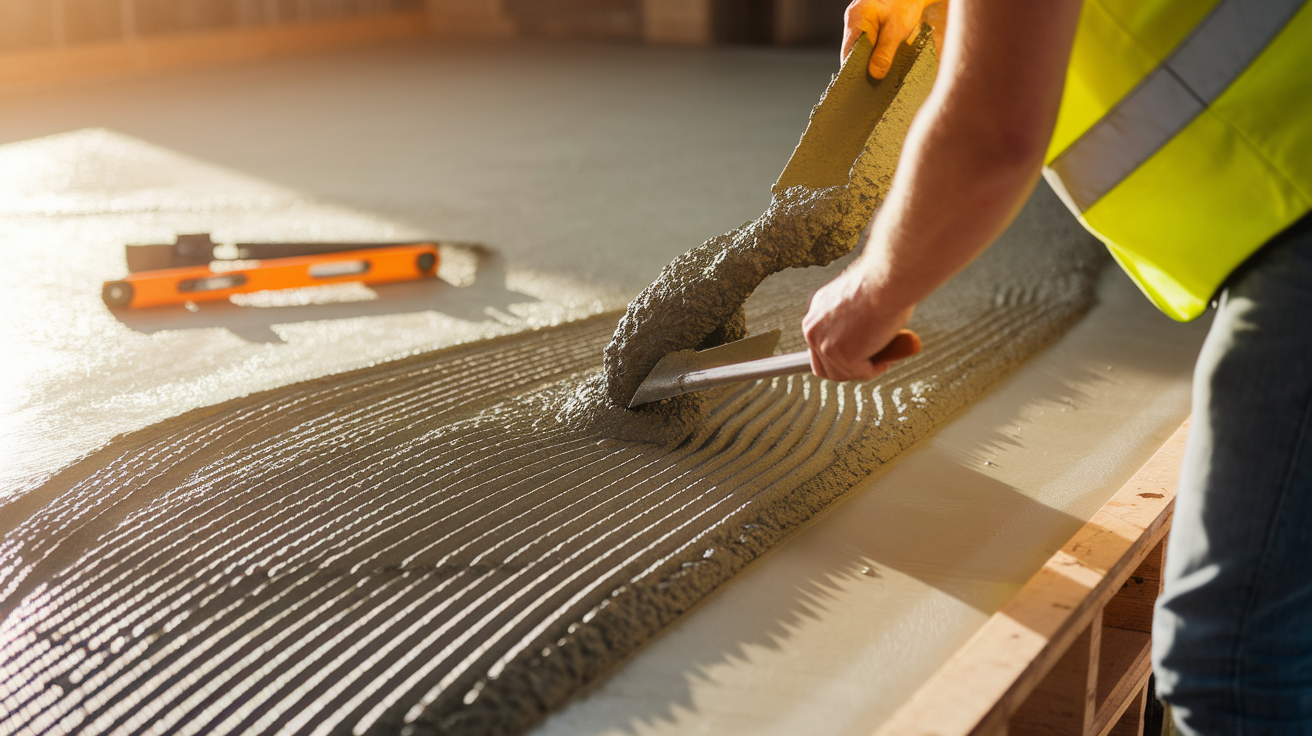
Pour the concrete onto your prepared surface and use a trowel or float to spread it evenly. Work in manageable sections, especially for larger areas. Smooth the surface carefully without overworking it.
Ensure the surface is level and smooth so the wood grain stamps press evenly. Fix any air bubbles or uneven spots right away for the best finish.
Tip: Work quickly in manageable sections and fix imperfections immediately—overworking the concrete can reduce stamp quality and create an uneven finish.
Step 3: Allow Initial Set and Apply Release Agent
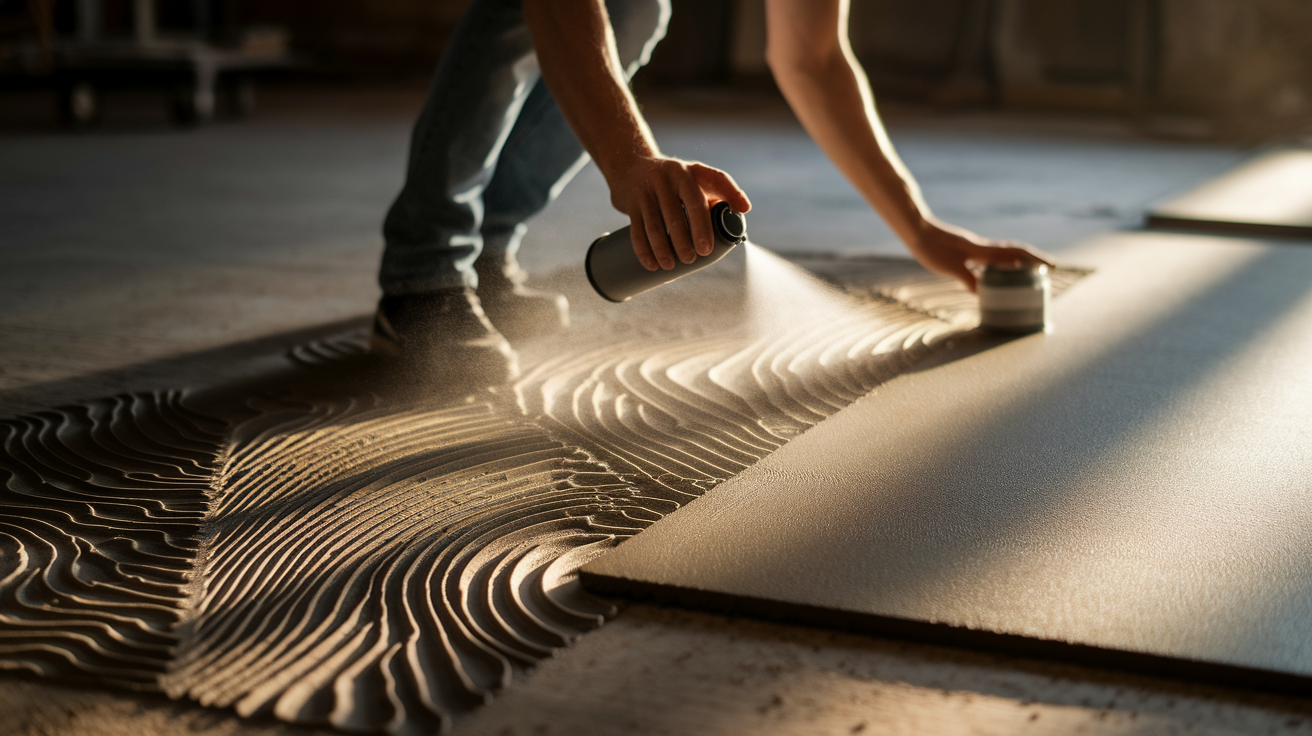
Wait until the concrete reaches the proper stamping consistency—firm enough to hold an impression but still workable (typically 1-4 hours).
Apply the concrete release agent evenly to both the surface and your wood plank stamps to prevent sticking.
Tip: Test stamp a small corner first to check the texture and timing before starting the full surface.
Step 4: Stamp the Wood Texture
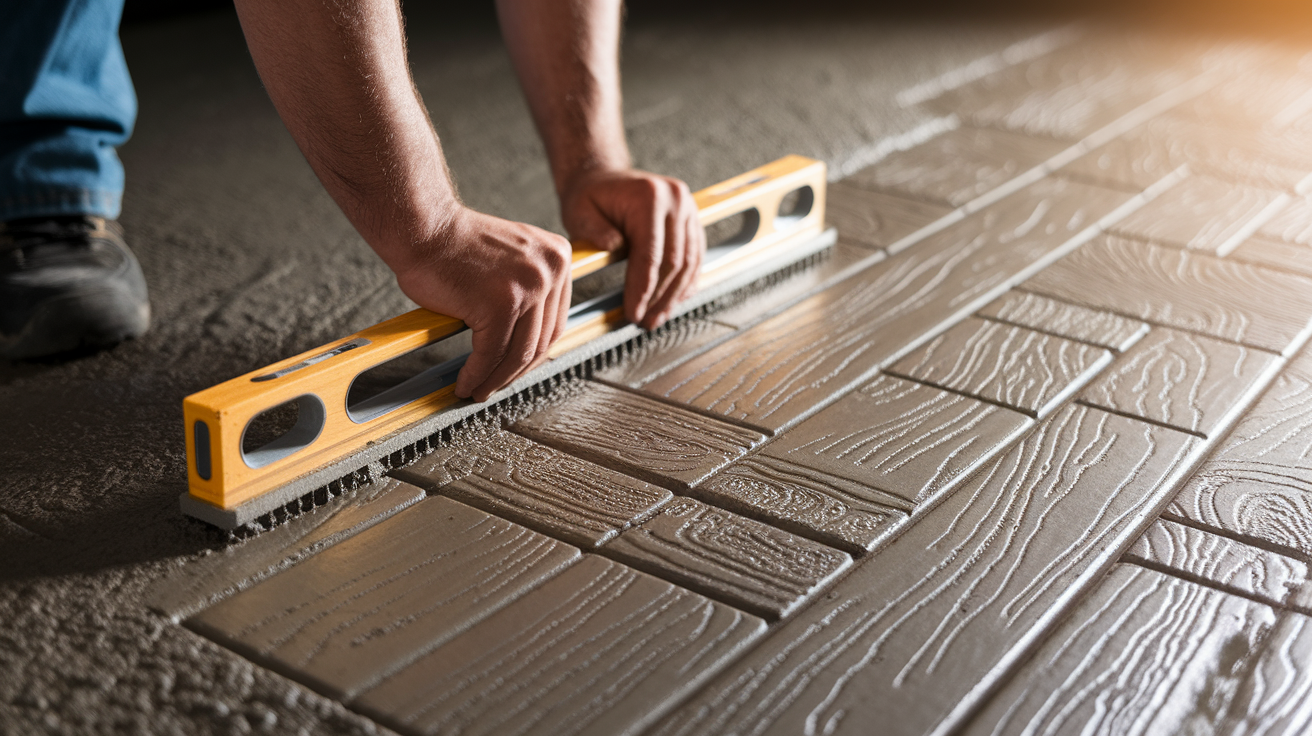
Press the wood plank stamps firmly into the concrete, working in a systematic pattern. Ensure proper alignment between stamps for a continuous grain pattern.
Score lines between planks to create realistic separation, varying the widths for an authentic appearance.
Tip: Lightly mist the stamp with water before pressing to help create a more defined wood grain texture.
Step 5: Allow Concrete to Cure
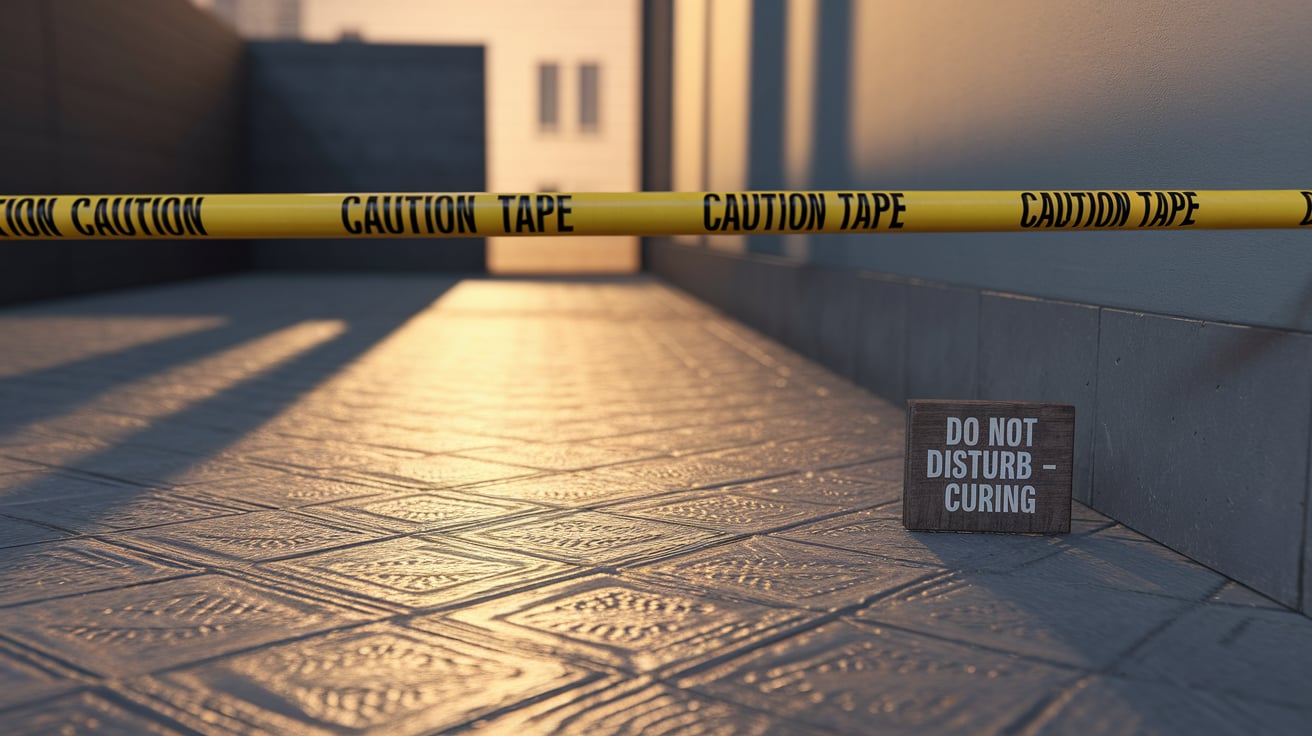
Let the stamped concrete cure for at least 24 hours before proceeding to the next steps. Protect the surface from extreme conditions if necessary during this time.
Avoid walking on the surface while it cures to protect the texture. Follow the recommended curing time for best results.
Tip: Lightly mist the concrete with water during curing if conditions are hot or dry to prevent cracking.
Step 6: Apply Antiquing Stain
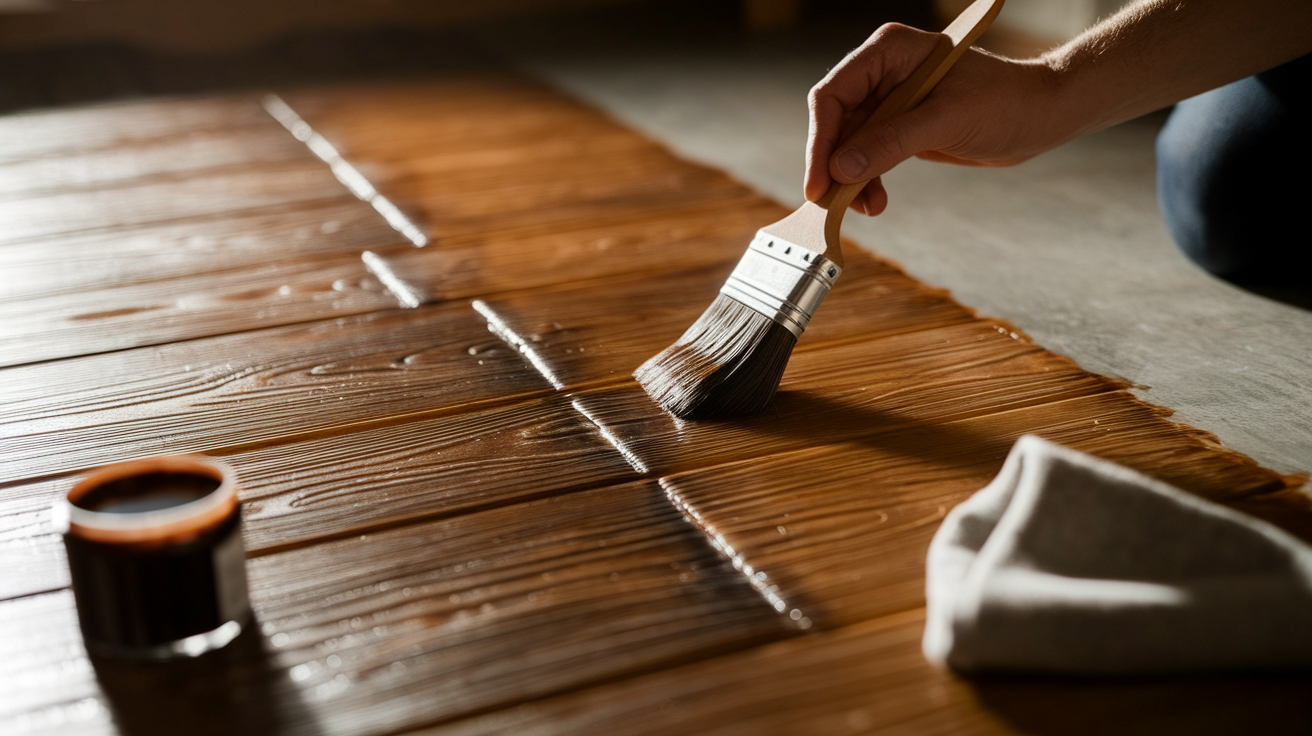
Once cured, apply the antiquing stain using a paintbrush or sprayer to highlight the texture and create depth in the grain patterns.
Work in sections, wiping excess stain as needed for natural wood-like variations. Allow the stain to dry completely before sealing the surface.
Tip: Test the stain on a small, hidden area first to ensure the color and effect match your desired wood look.
Step 7: Seal and Protect the Surface
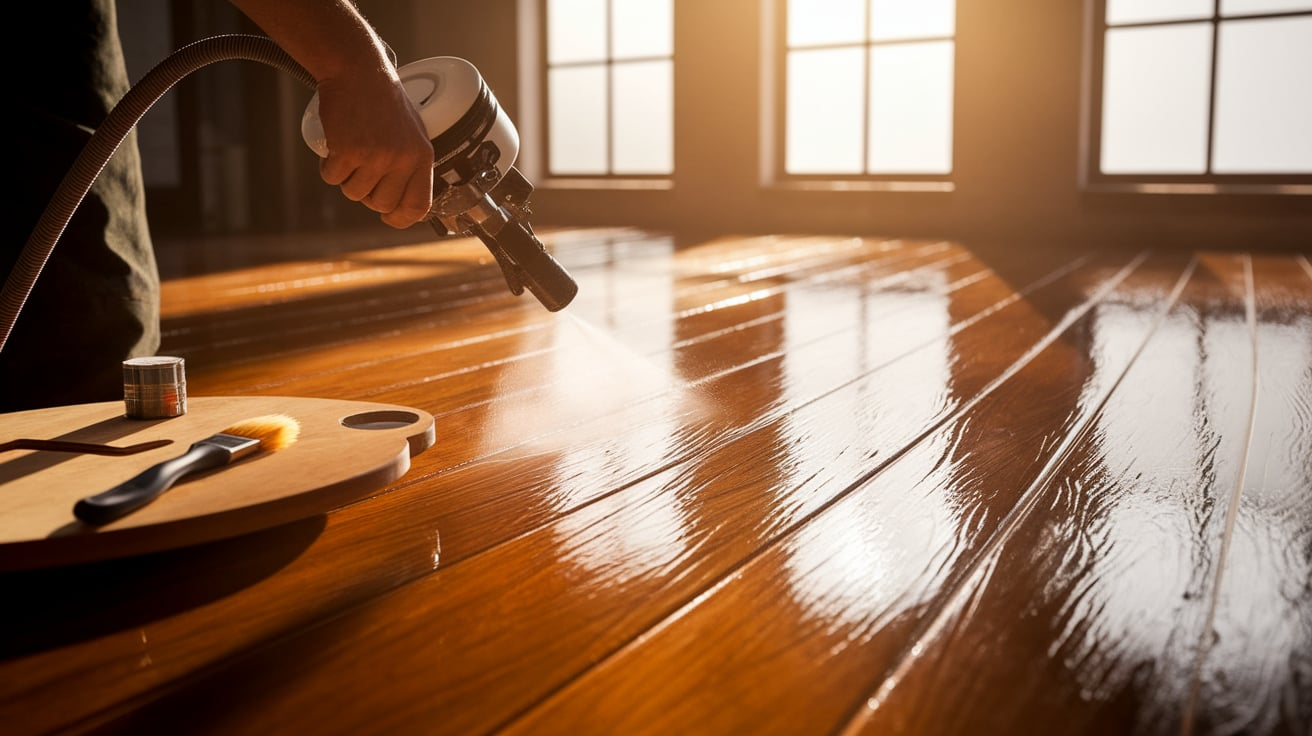
After the stain has dried completely (usually 24 hours), apply at least two coats of concrete sealer with a paintbrush or sprayer.
Allow sufficient drying time between coats, as specified by the manufacturer’s instructions. Let the sealed floor cure for at least 48 hours before allowing light foot traffic and 7 days before placing furniture.
Tip: For a more natural wood look, lightly sand raised grain areas after stamping to create subtle texture variation before staining.
Cost Analysis of 100 Square Feet
| Material | Quantity Needed | Average Cost per Unit | Total Cost |
|---|---|---|---|
|
Concrete Mix (3,000-4,000 PSI) |
15-18 bags (80 lb. each) | $5-7 per bag | $75-126 |
|
Wood Plank Stamps (Rental) |
1 set | $75-150 per day | $75-150 |
|
Concrete Release Agent |
1-2 lbs. | $15-20 per lb. | $15-40 |
|
Concrete Colorant/Pigment |
2-3 bottles | $20-30 per bottle | $40-90 |
|
Antiquing Stain |
1 gallon | $40-60 | $40-60 |
|
Concrete Sealer |
2 gallons | $30-50 per gallon | $60-100 |
|
Tools (if purchasing) |
Various | $50-150 | $50-150 |
Total Estimated Cost: $365 to $716
Additional Considerations
- DIY vs. Professional: Professional installation would add $500-1,000 to the project cost, but may provide better results.
- Long-term value: Wood-look concrete typically lasts 15-20 years with proper maintenance, compared to 10-15 years for most wood flooring.
- Maintenance costs: Minimal ongoing expenses (periodic resealing every 2-3 years at approximately $100 per application).
- Tool investment: If you already own the necessary tools, your costs would be lower than the estimates provided.
Maintenance and Care Tips
Here are simple care tips to keep your wood-look concrete floors beautiful. With proper maintenance, you can protect the finish and extend the life of your floor for years to come.
- Weekly Sweeping or Dust-Mopping: Sweep or dust-mop the floor weekly to remove dirt and debris. This helps avoid scratches caused by abrasive particles that could damage the floor’s sealer over time.
- Use a Neutral pH Cleaner: For deeper cleaning, mix a neutral pH cleaner with warm water. Harsh chemicals or acidic solutions can break down the sealer and damage the surface, so it’s best to avoid them.
- Reseal Every 2-3 Years: Apply a fresh coat of high-quality concrete sealer every 2-3 years, or sooner if water no longer beads on the surface. Resealing helps preserve both the appearance and durability of the floor.
- Monitor for Water Beading: If you notice that water no longer beads on the surface, it’s time to reseal. This indicates that the protective layer has worn off.
- Felt Pads Under Furniture: Install felt pads under furniture legs to prevent scratches. This simple step will protect the floor from damage caused by moving furniture.
- Use Area Rugs in High-Traffic Areas: Place area rugs in busy spots like entryways or high-traffic zones to minimize wear patterns and extend the floor’s lifespan.
- Lift Heavy Objects: When moving heavy furniture or objects, always lift them rather than dragging them across the floor. Even sealed concrete can be gouged by sharp edges under heavy pressure.
Final Thoughts
Creating concrete floors that mimic the look of wood offers the best of both worlds: the appearance of hardwood with the durability of concrete.
This project requires attention to detail, but the results change your space with a unique, long-lasting floor.
Success depends on thorough preparation, quality materials, and patience. Don’t rush the process—allow proper curing times and focus on creating natural variations in texture and color.
Ready to change your concrete into a wood-look masterpiece?
Gather your materials, plan your project, and enjoy creating a floor that perfectly blends form and function.

