Easy DIY Candelabra Centerpiece
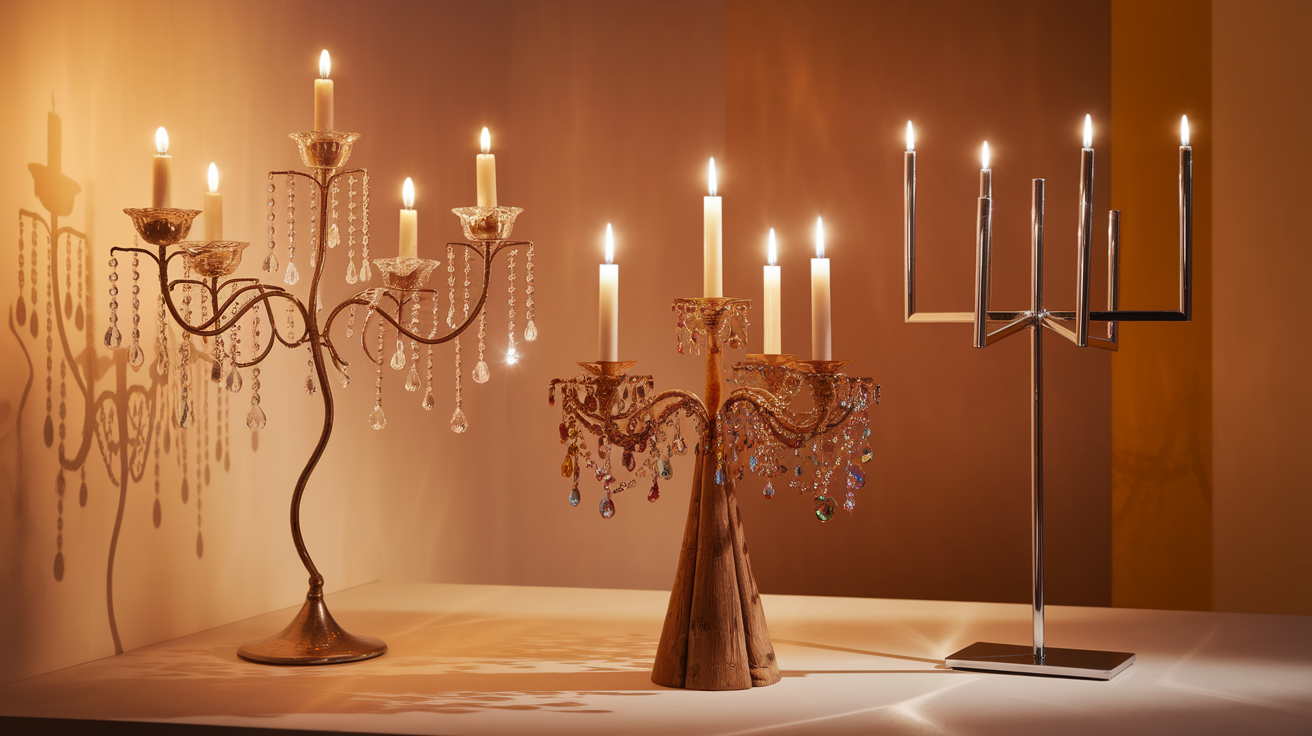
There’s something magical about candlelight—it adds warmth, style, and a touch of romance to any space.
A DIY candelabra is the perfect way to style your decor, whether for everyday charm or special occasions. Best of all, you don’t need fancy materials to create a beautiful centerpiece!
With simple supplies like wooden blocks, metallic spray paint, or even repurposed items, you can craft a candelabra that suits your style, whether rustic, modern, vintage, or festive.
This project is easy, budget-friendly, and completely customizable.
Materials Required to Make a Candelabra
Before starting your DIY candelabra project, gather all the necessary supplies to ensure a smooth crafting process. Here’s a list of essential materials you’ll need:
- Wooden Jenga blocks (full-size)
- Hot glue gun & sticks
- Spray paint (metallic/white)
- Chandelier crystals/gems
- Fishing line or thin silver wire
- 5×5-inch mirrors
- Taper candle holders & candles
- Masking tape, Mod Podge, glitter (optional)
- Adhesive gems/glass knobs
- Garland/beads (for decor)
- Flat surface (for leveling)
- Scissors
Approximate Cost Range: $10– $50+ for making a candelabra.
DIY Candelabra: Step-by-Step Guide
This beautiful candelabra is surprisingly easy to make and adds a touch of style to any space.
Whether for home decor, weddings, or seasonal styling, this project is versatile and customizable. Below is a simple guide to creating this beautiful piece.
Step 1: Gather and Prepare the Wooden Blocks
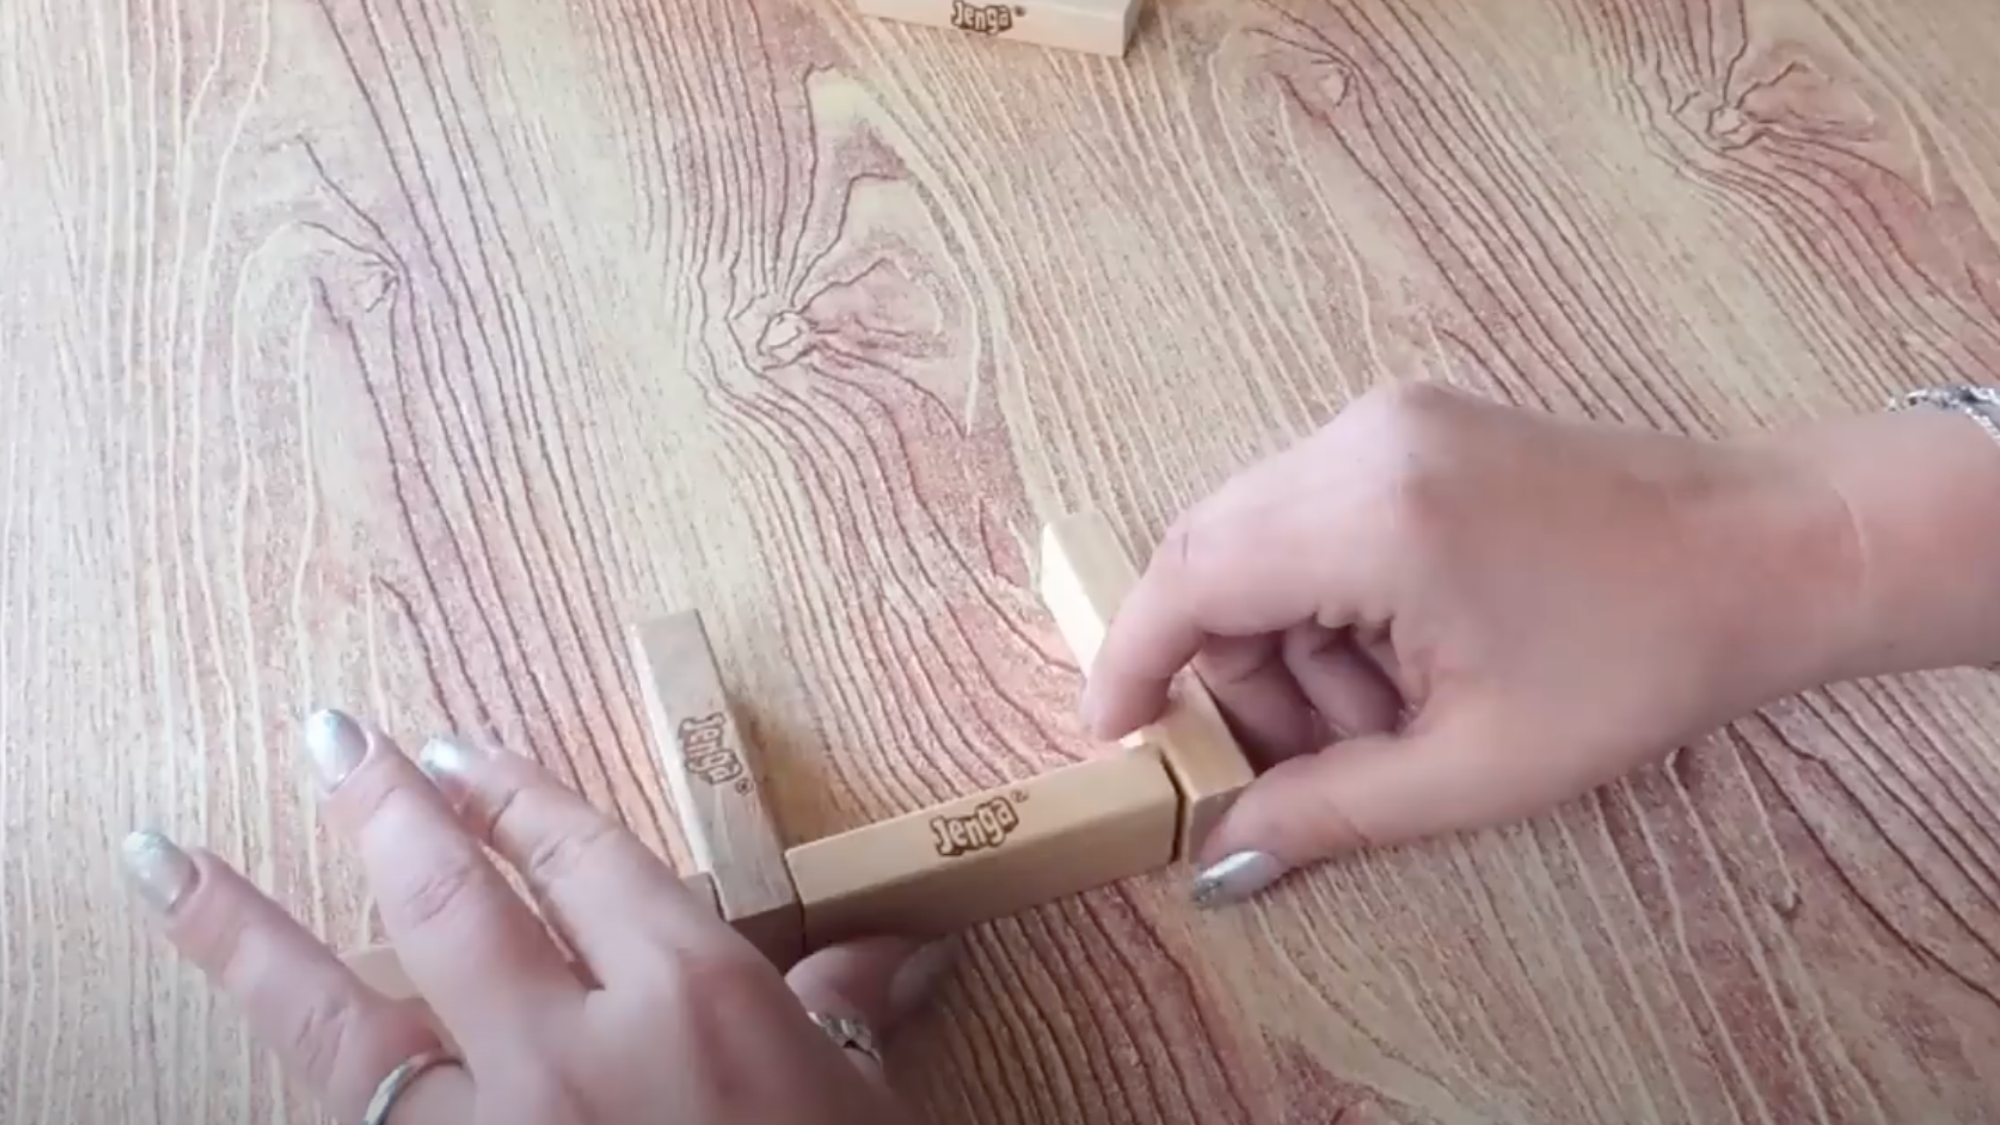
Start by arranging wooden Jenga-style blocks (full-size ones work best for stability) in a staircase pattern. The bottom row begins with one block standing upright, followed by a flat block beside it.
Each subsequent row increases in height by one block until reaching the center, which will have two pillars of four stacked blocks. Then, decrease the height symmetrically on the other side.
Step 2: Assemble the Structure
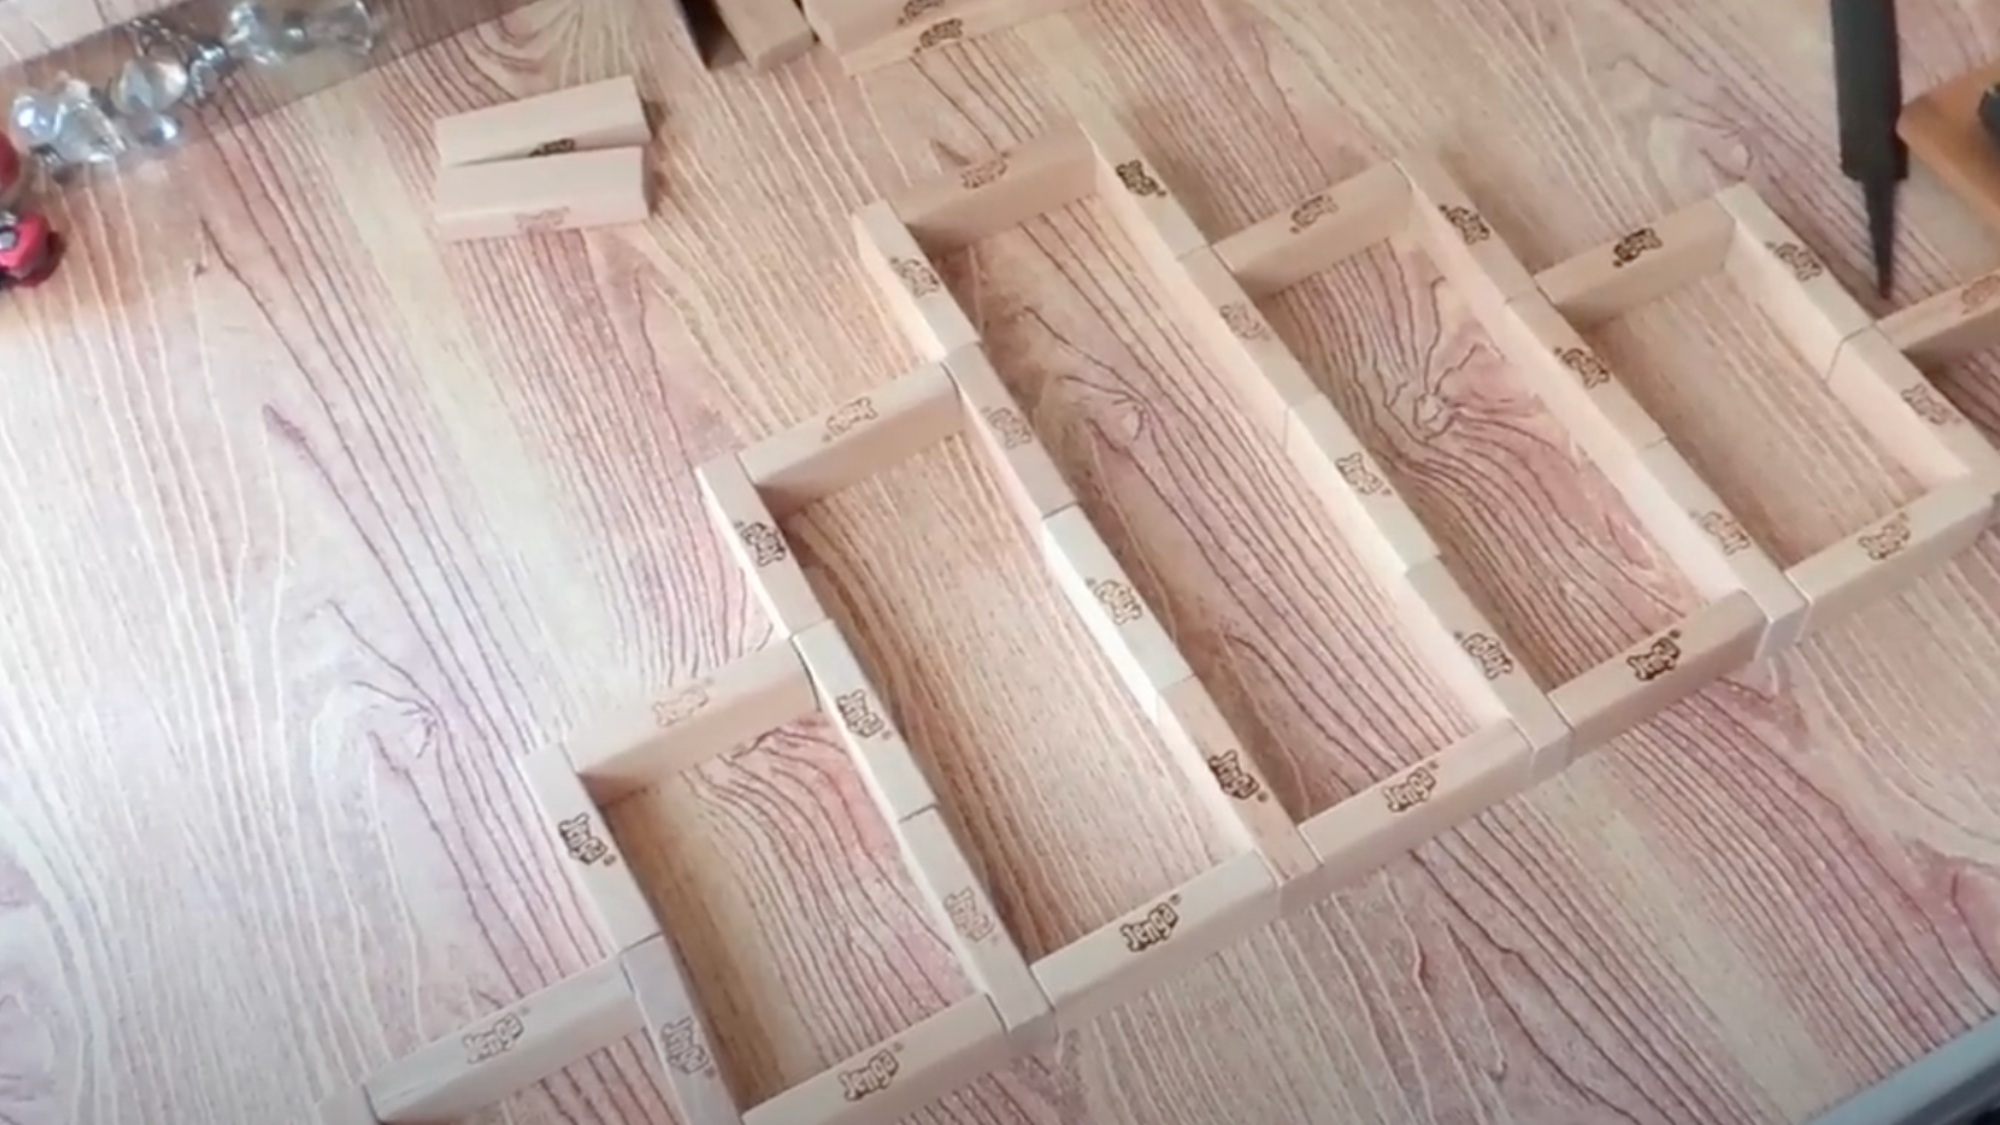
Using hot glue, attach each block while keeping the structure level. A flat surface (like a table or square ruler) helps ensure everything stays straight.
Glue one block at a time, pressing firmly and checking alignment frequently. If pieces aren’t perfectly flush, adjust as needed to maintain balance.
Step 3: Connect the Two Staircases
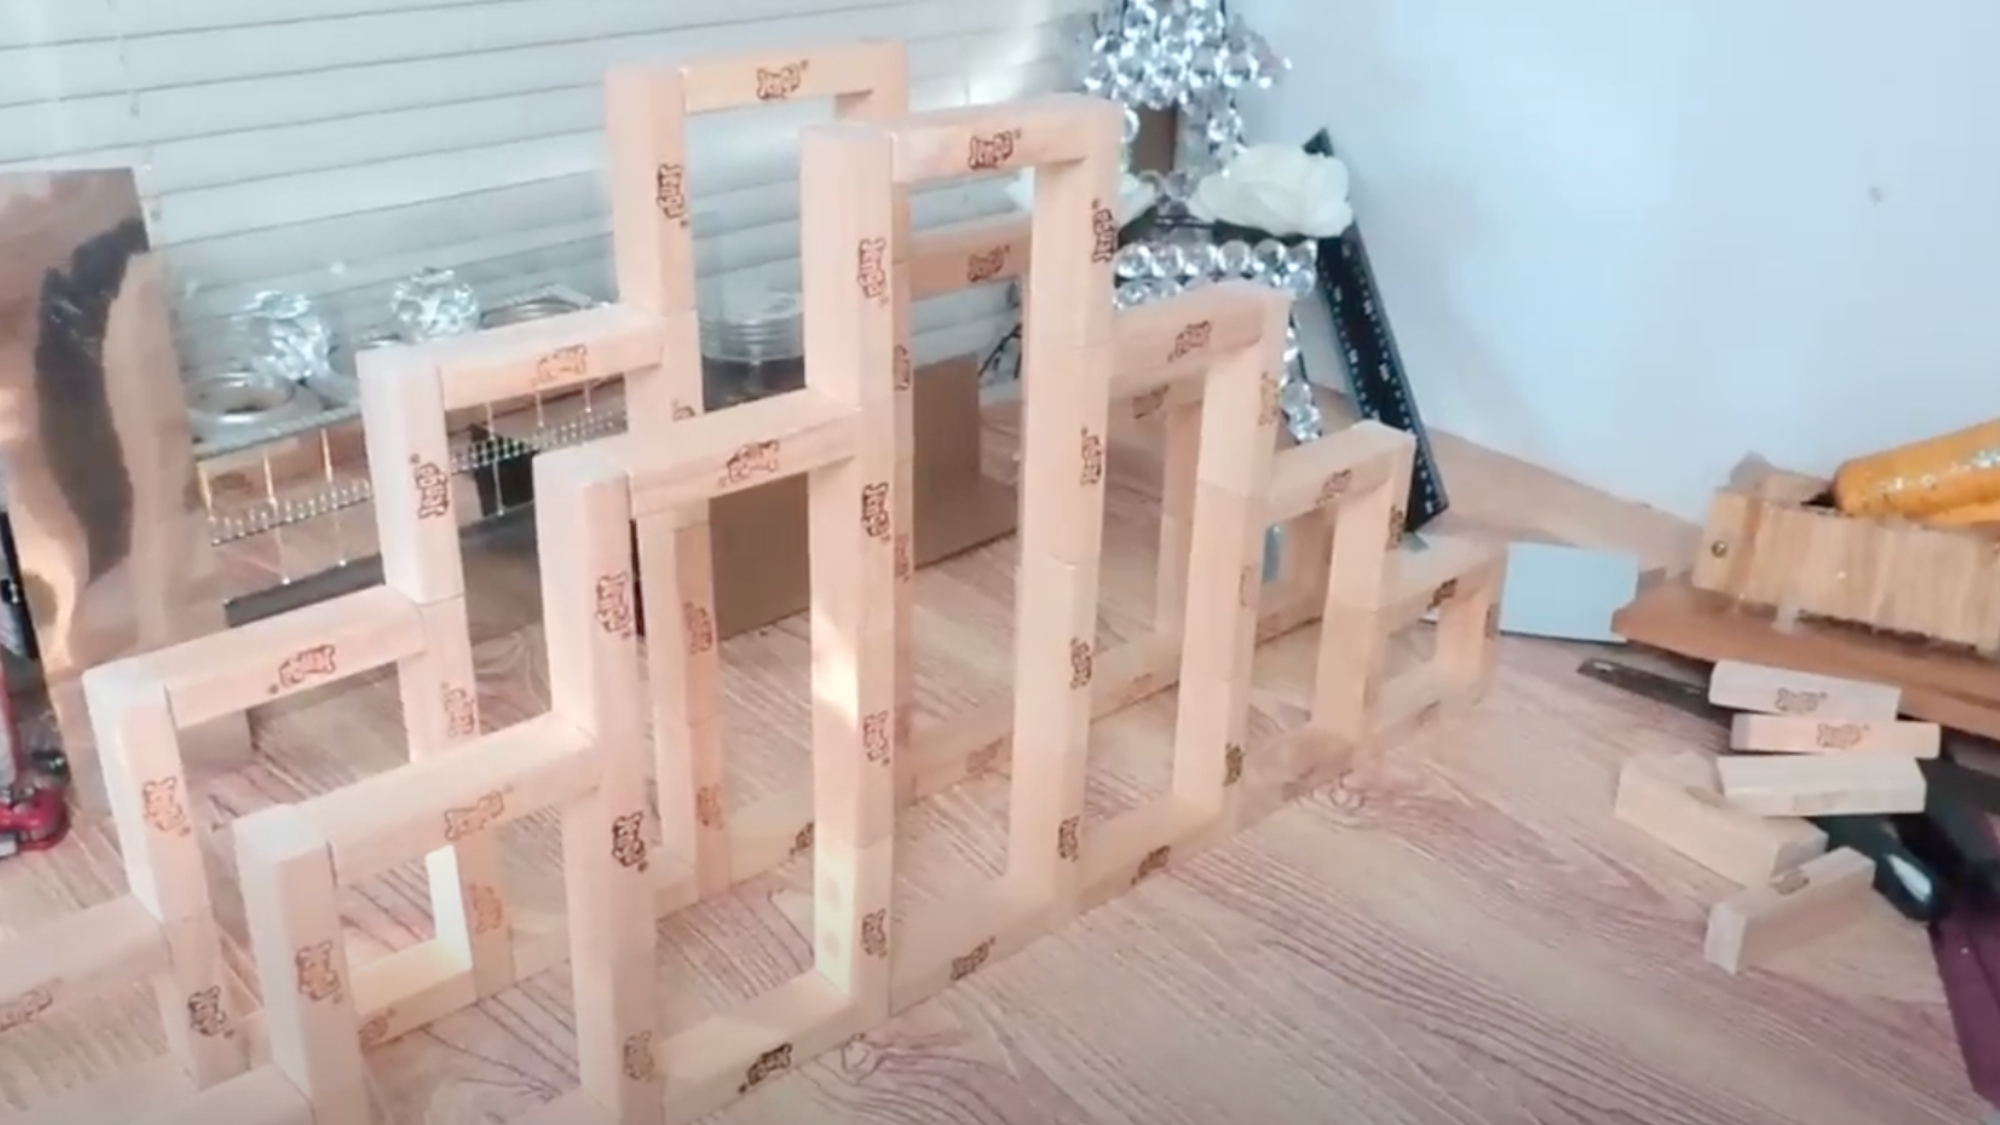
Once two separate staircase units are built, connect them by gluing three blocks along the bottom—one on each end and one in the center.
Apply glue to these blocks and press the second staircase onto them, creating a sturdy base.
Step 4: Add the Top Platform
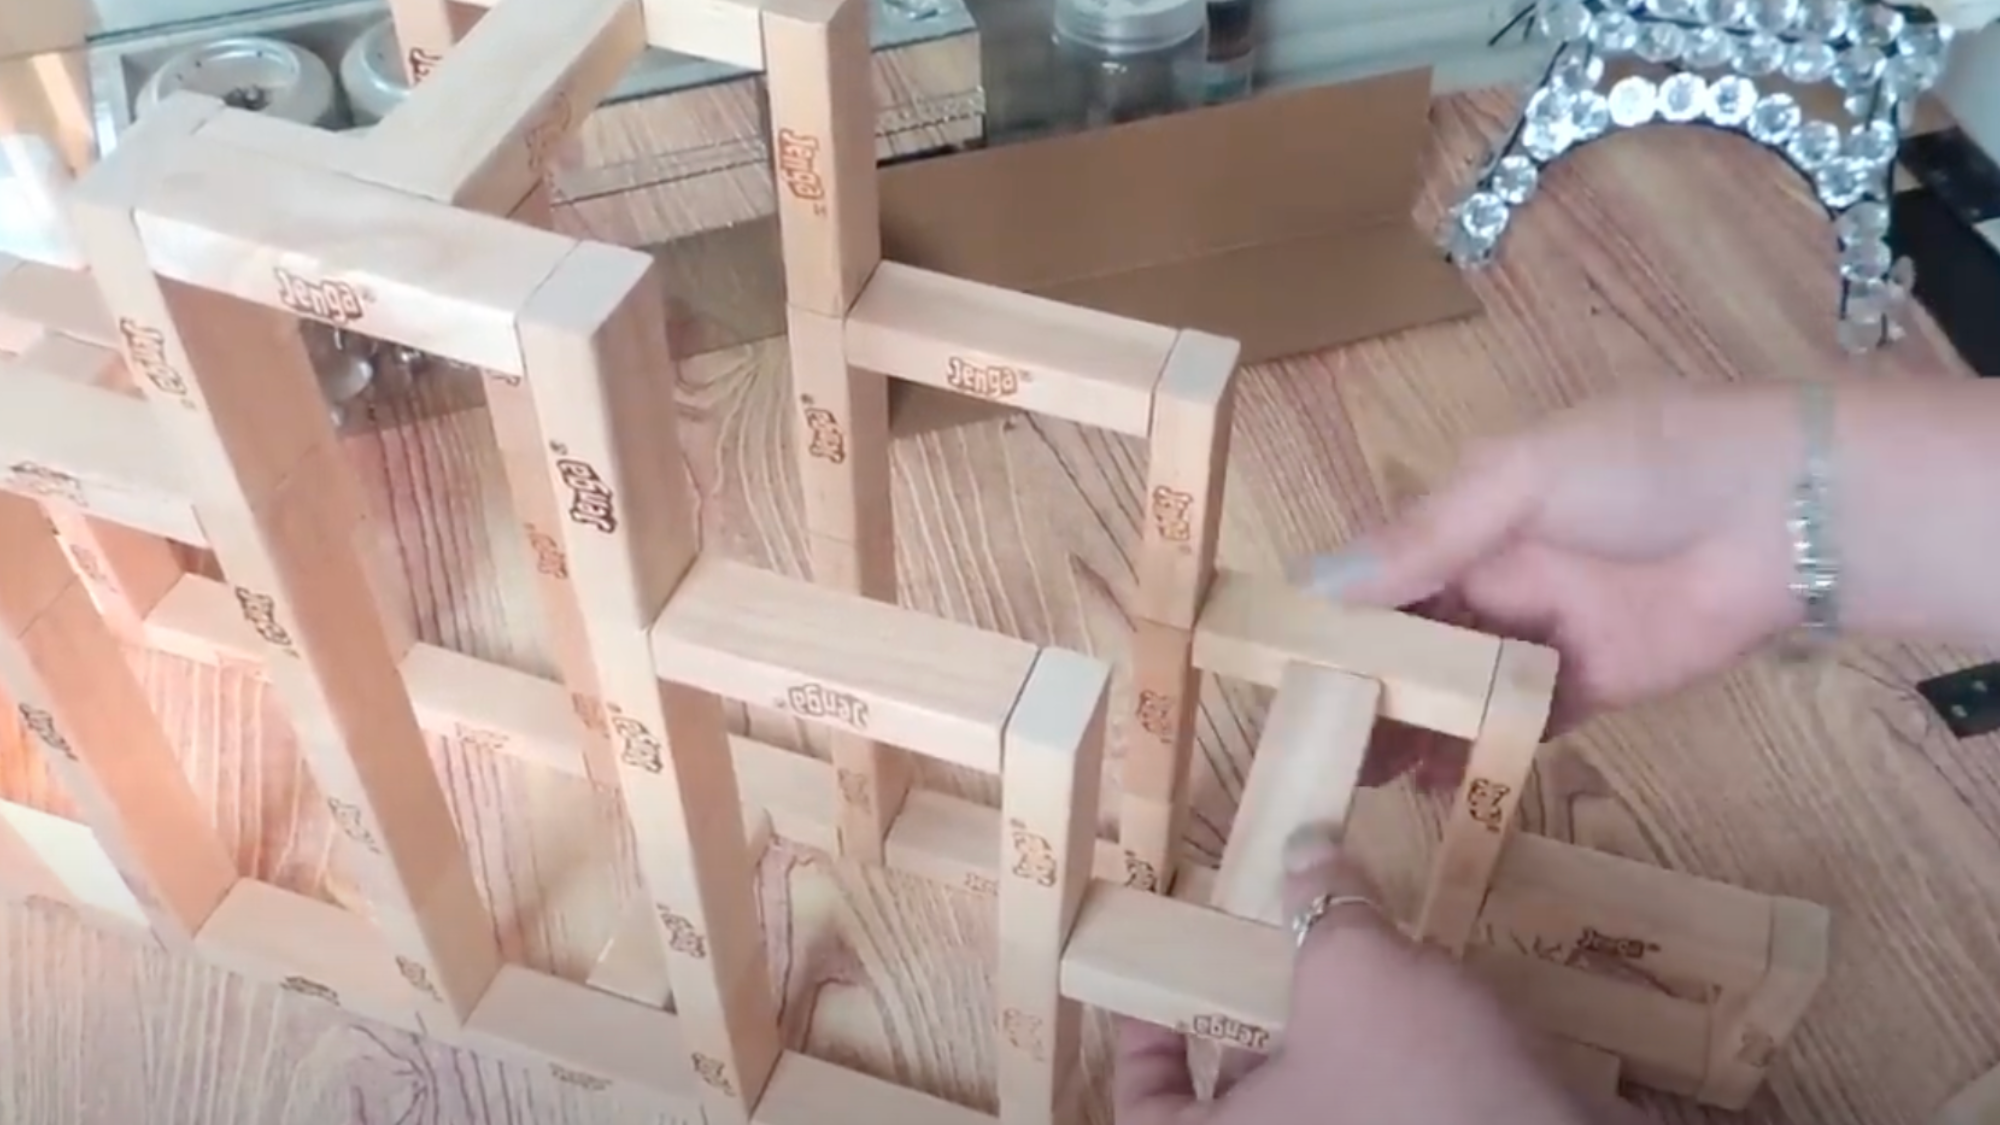
Glue a block horizontally across the second level on each side and one in the middle to form a platform. This will hold the mirrors and candle holders later.
Step 5: Paint the Candelabra
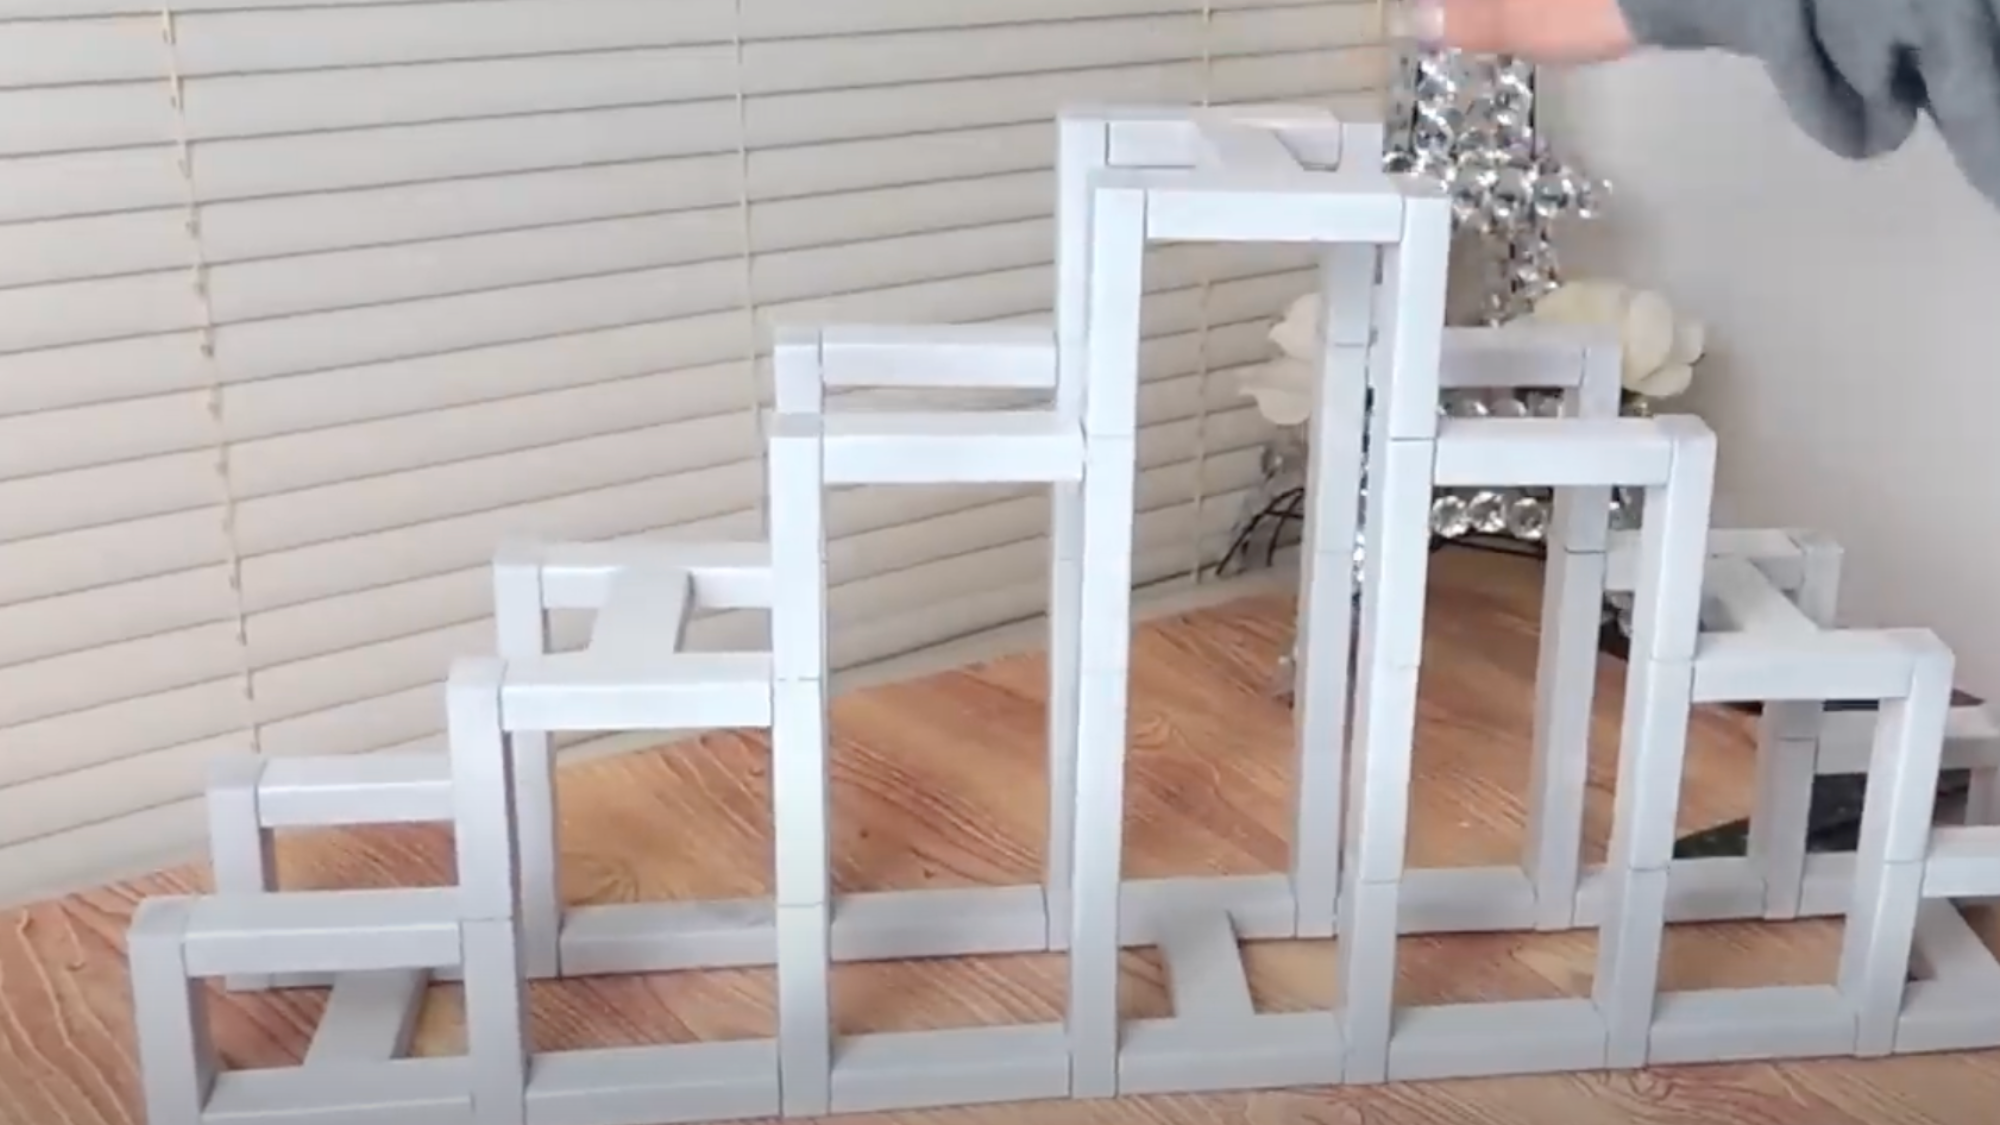
Spray-paint the entire structure in a color of choice. Metallic gold, silver, or classic white works well for a stylish look. Make sure to cover all sides evenly, including the base.
Step 6: Decorate With Gems and Mirrors
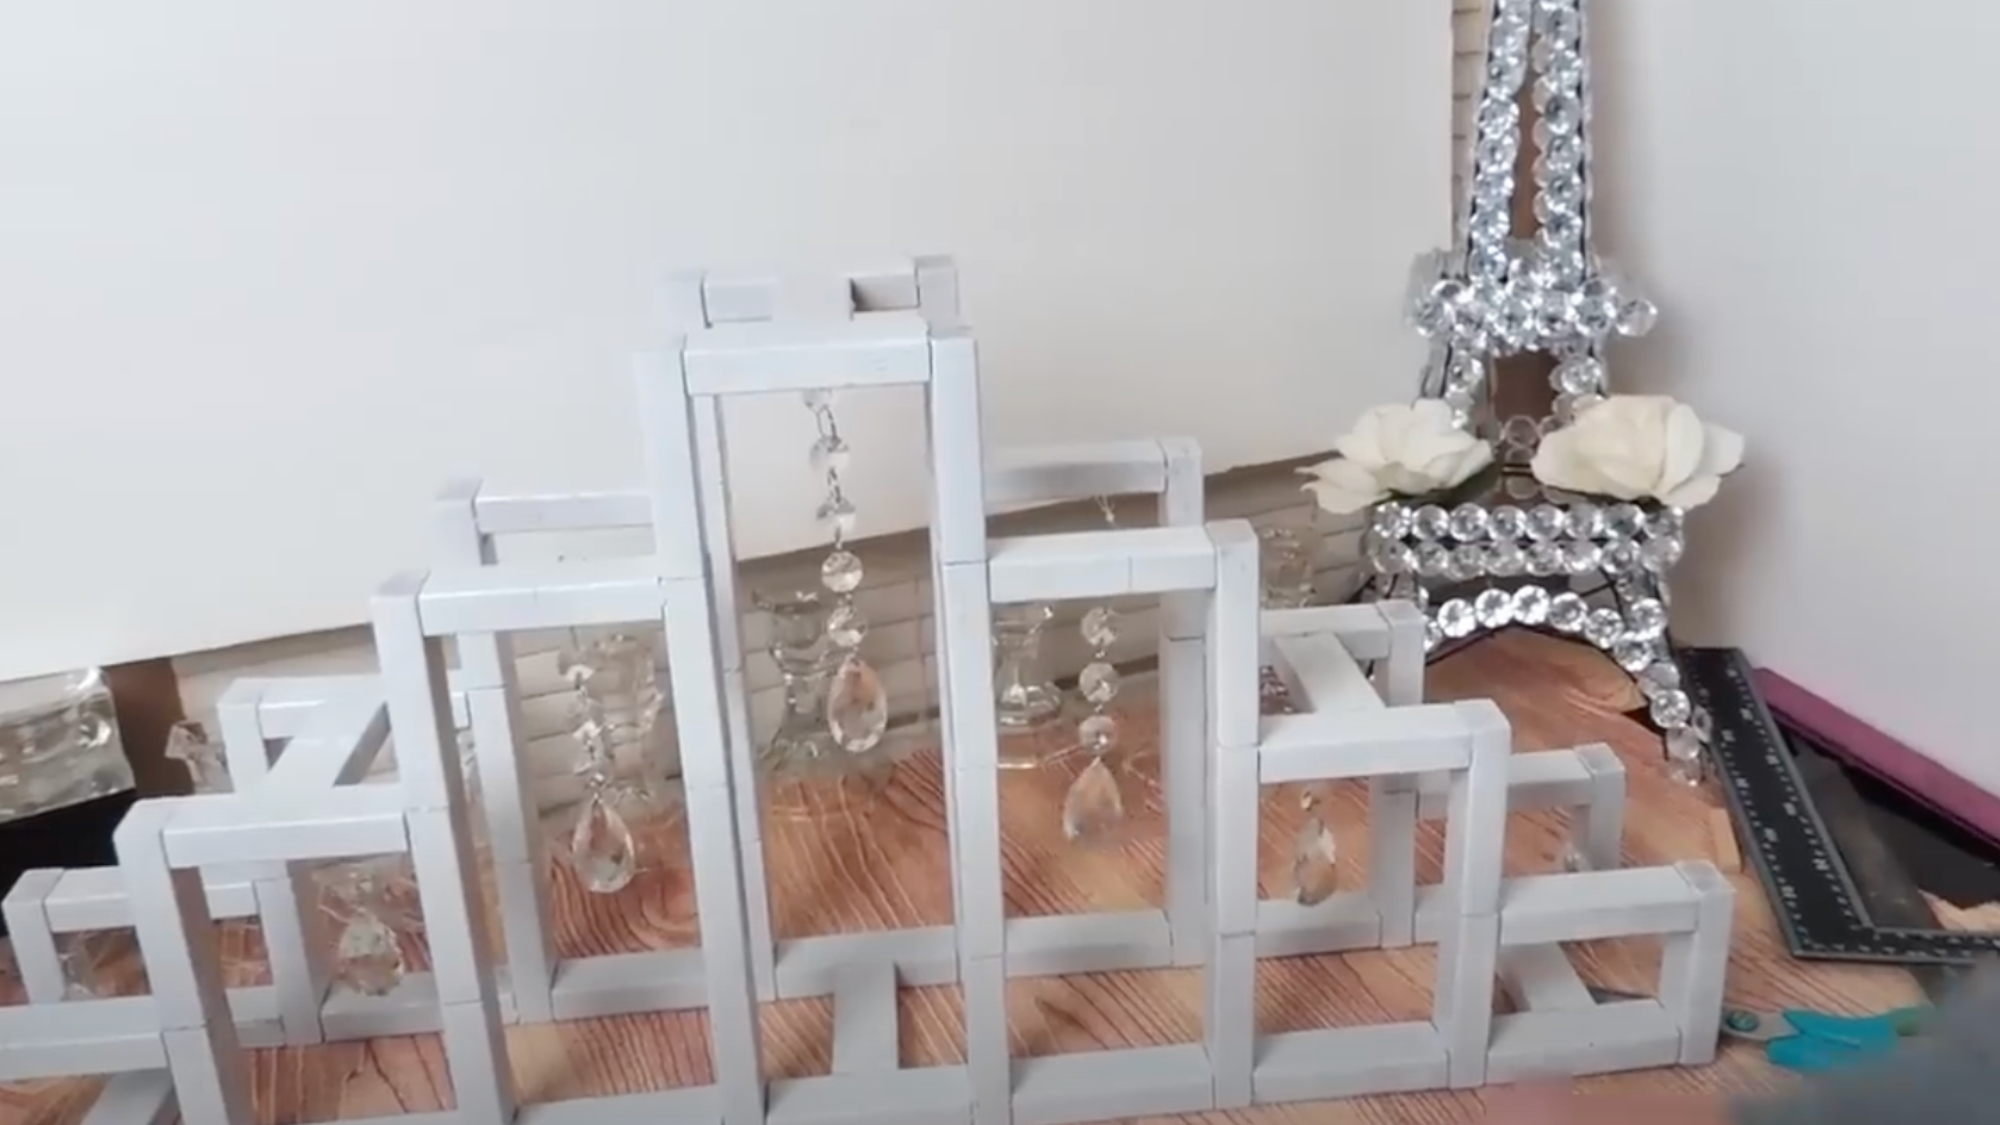
Hang chandelier crystals or gems from the top support bars using fishing line or thin silver wire.
For a glam effect, arrange them in descending lengths to match the staircase design. Then, attach small mirrors (like 5×5-inch ones) to each platform using glue.
Step 7: Add Candles and Finishing Touches
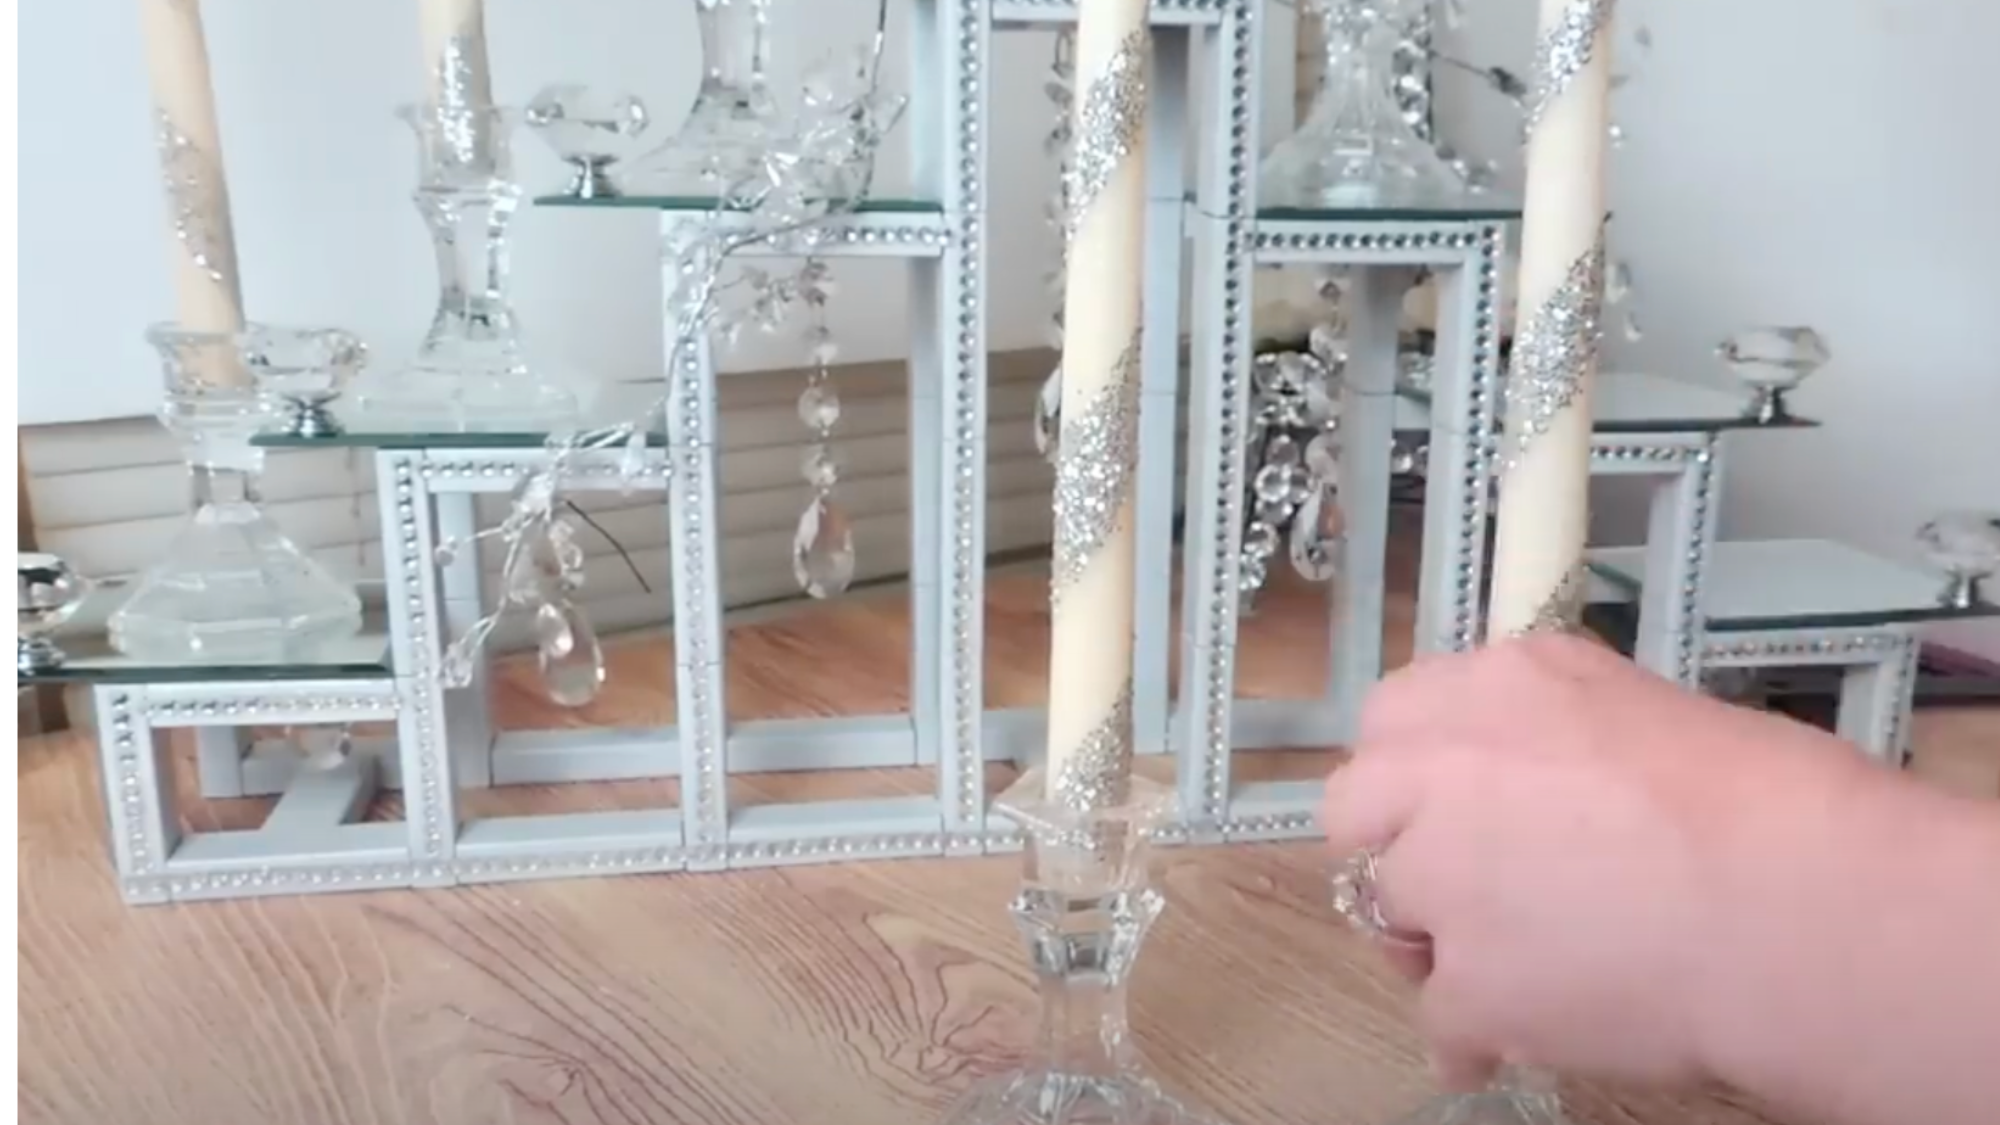
Place taper candle holders on each mirror and insert candles. For extra sparkle, wrap candles in masking tape, apply Mod Podge and glitter, then peel off the tape once dry.
Adhesive gems or glass knobs can be added around the mirrors for more glam.
Step 8: Style as Desired
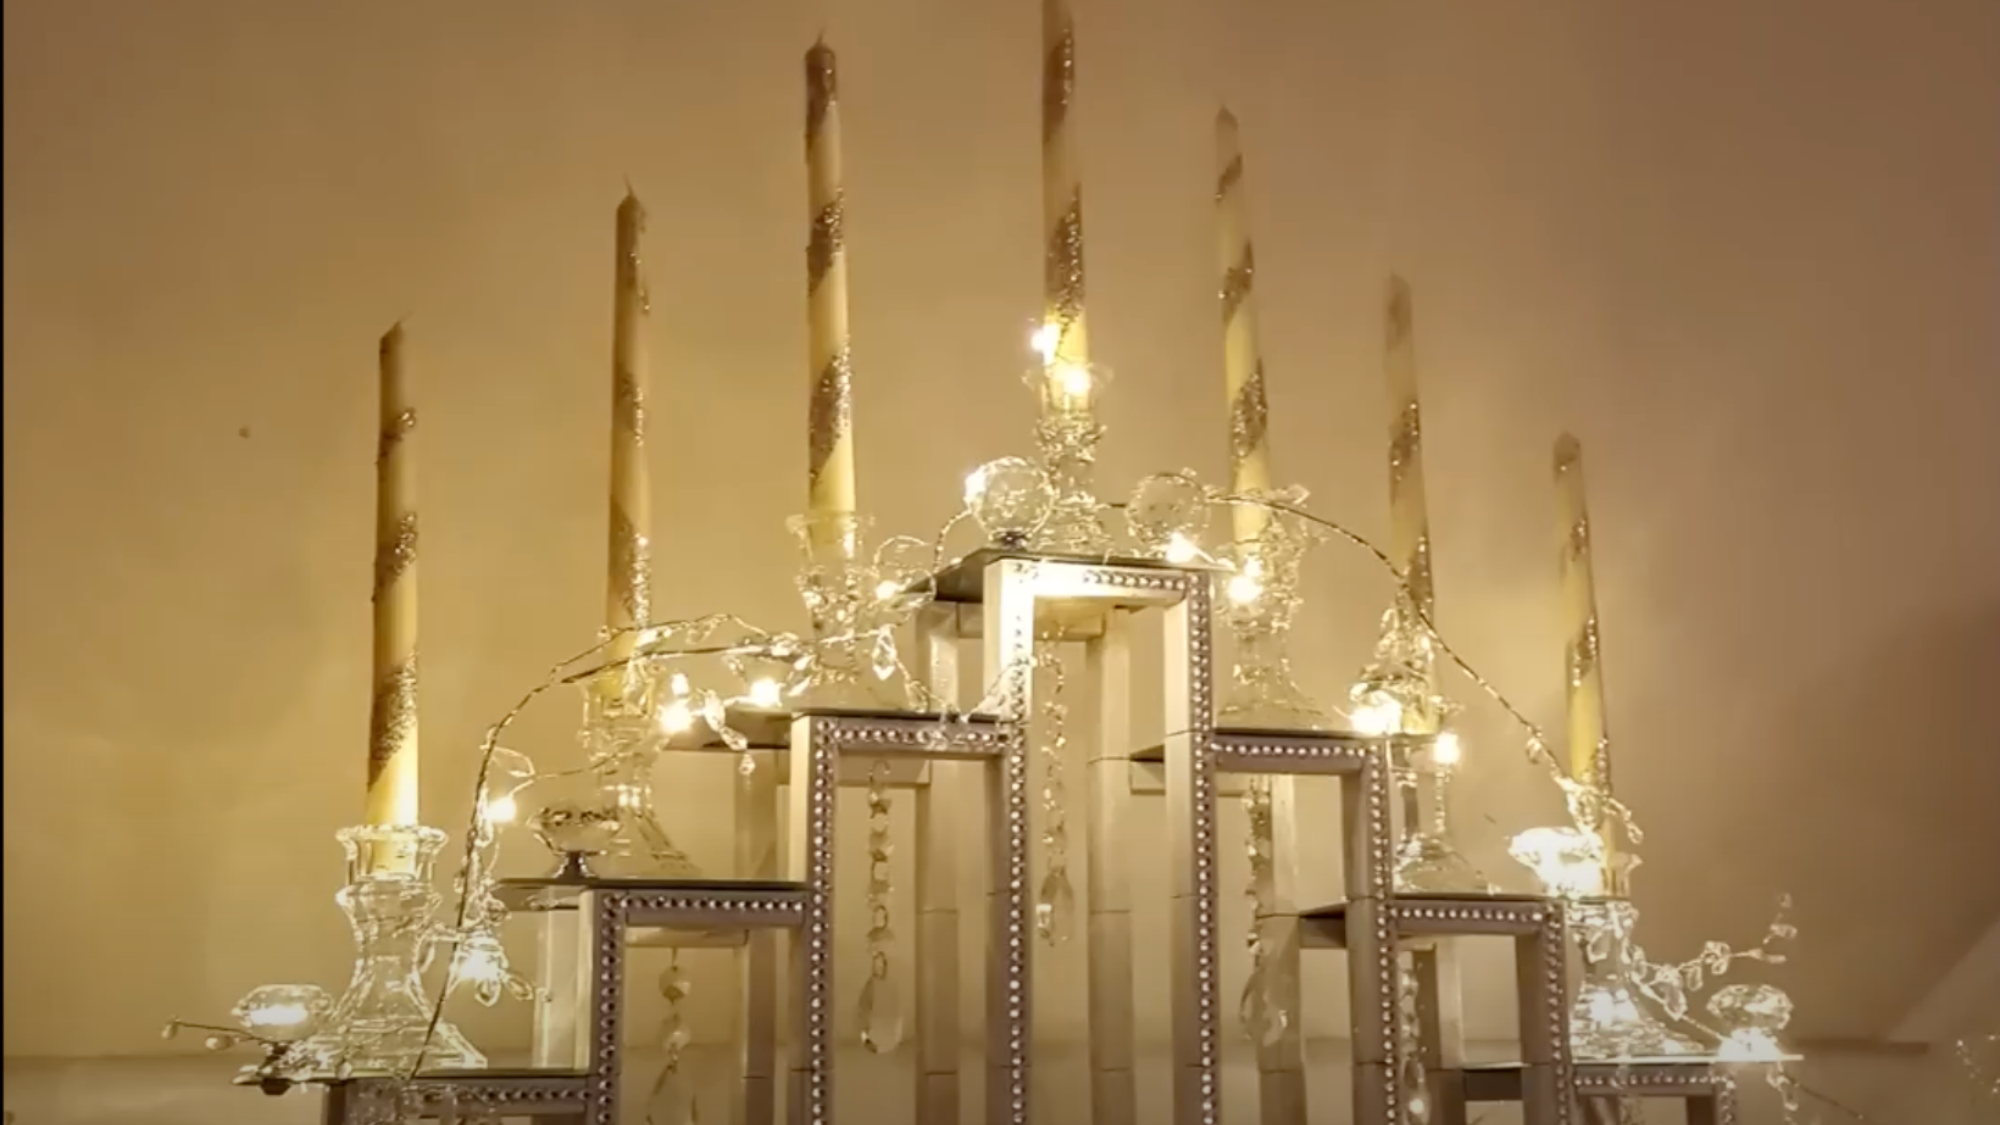
Drape beaded garland for a formal look or festive greenery for seasonal decor.
The candelabra can be customized with different candle colors—red for Christmas, pastels for spring, or bold hues for parties.
For a More Detailed Tutorial on DIY Candelabra, Check out The Video Below:
Candelabra Care & Safety Tips
If you’ve crafted a rustic wooden piece or metallic design, proper maintenance ensures it remains a beautiful centerpiece. Equally important are fire safety practices to enjoy a candlelit vibe worry-free.
- Dust regularly with a soft, dry cloth to remove wax residue and debris.
- Avoid harsh cleaners that could damage paint or decorative finishes.
- Replace real greenery when wilted to keep the arrangement fresh.
- Check candleholders for stability and tighten if loose.
- Store in a dry place when not in use to prevent warping or tarnishing.
- Place on a sturdy, heat-resistant surface away from edges.
- Keep flammable materials (curtains, napkins) at a safe distance.
- Never leave burning candles unattended—extinguish before leaving the room.
- Trim wicks to ¼ inch before lighting to prevent large flames.
- Always blow out candles before bedtime or when the event ends.
DIY Candelabra Styling Ideas
There’s no limit to creativity when it comes to designing a candelabra centerpiece. Whether it’s for a casual dinner, holiday party, or just to brighten up the living room, there’s a style to match every space.
From rustic charm to modern style, these ideas will spark inspiration and help create a centerpiece that feels truly personal.
1. Rustic Wooden Charm
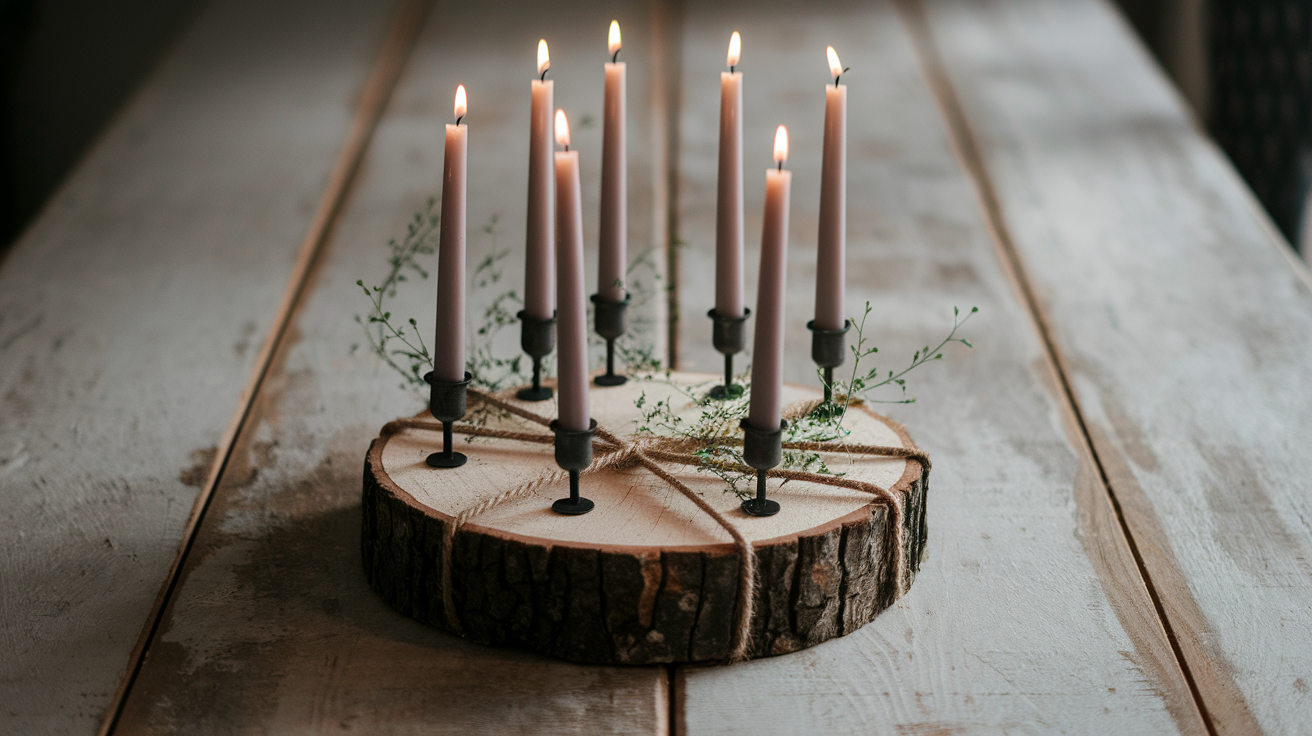
A wooden base with metal candleholders creates a cozy farmhouse look. Add twine or greenery for a natural touch. Perfect for casual dinners or outdoor gatherings.
- Use reclaimed wood for extra texture
- Neutral candles keep it simple
- Great for repurposing materials
2. Modern Metallic Style
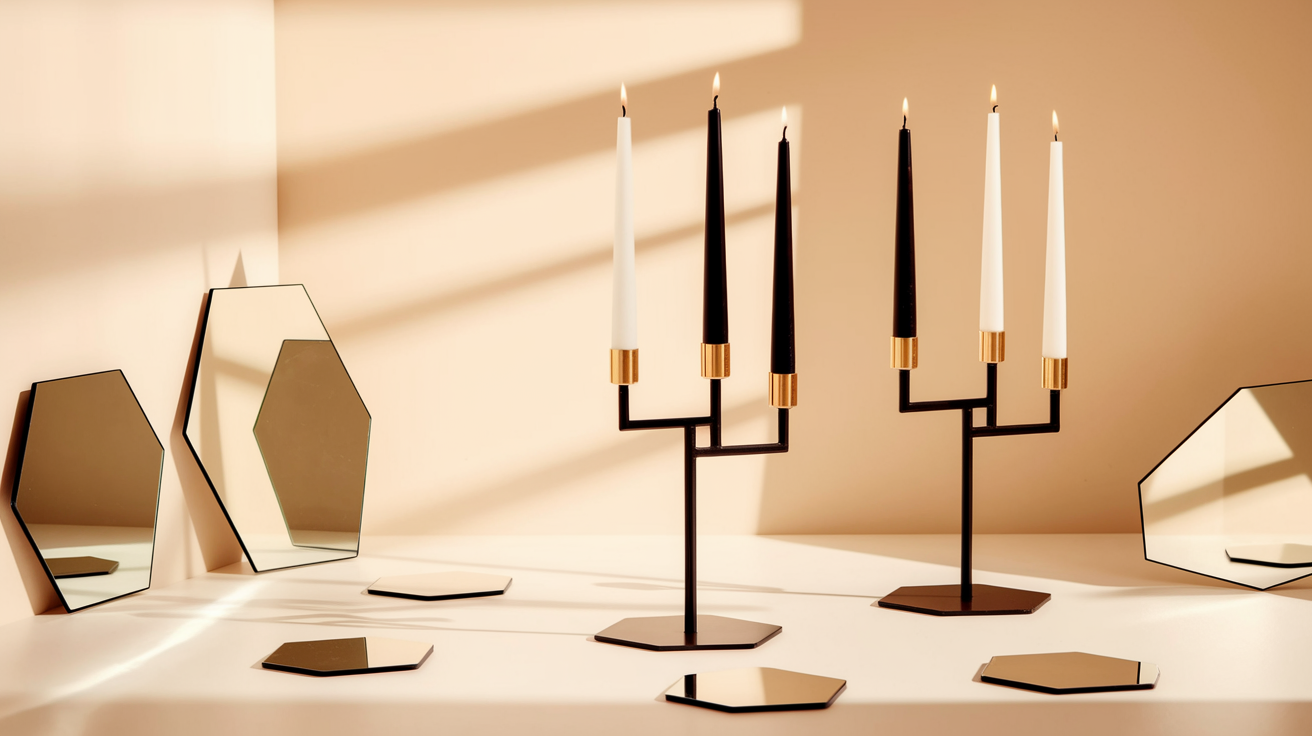
Sleek gold, silver, or black bases give a clean, stylish look. Pair with white or black candles for a sharp finish. Works well in modern spaces.
- Geometric or mirrored accents add flair
- Minimal and bold design
- Ideal for formal events
3. Vintage Romantic
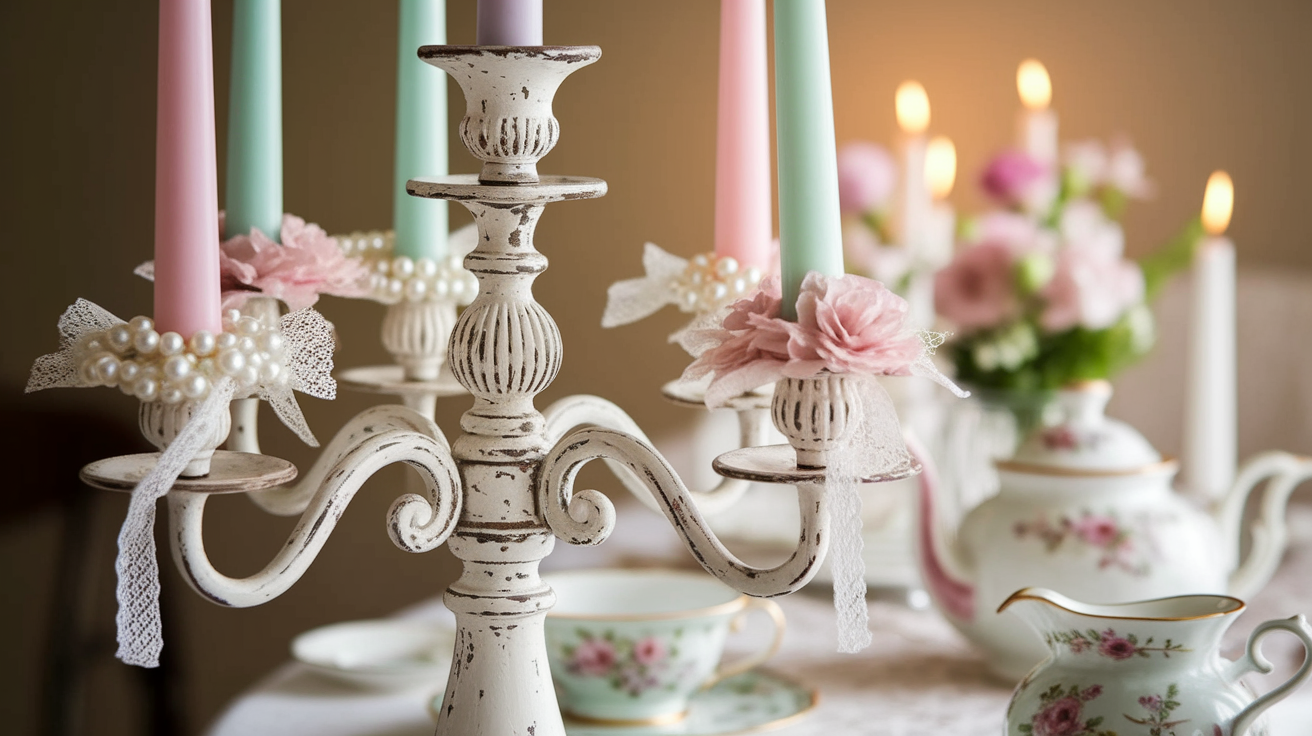
Ornate details and distressed finishes create old-world charm. Soft pastel candles and lace ribbons complete the look. Perfect for weddings or tea parties.
- Pearl garlands add elegance
- Feels timeless and delicate
- Great for romantic settings
4. Nature-Inspired Greenery
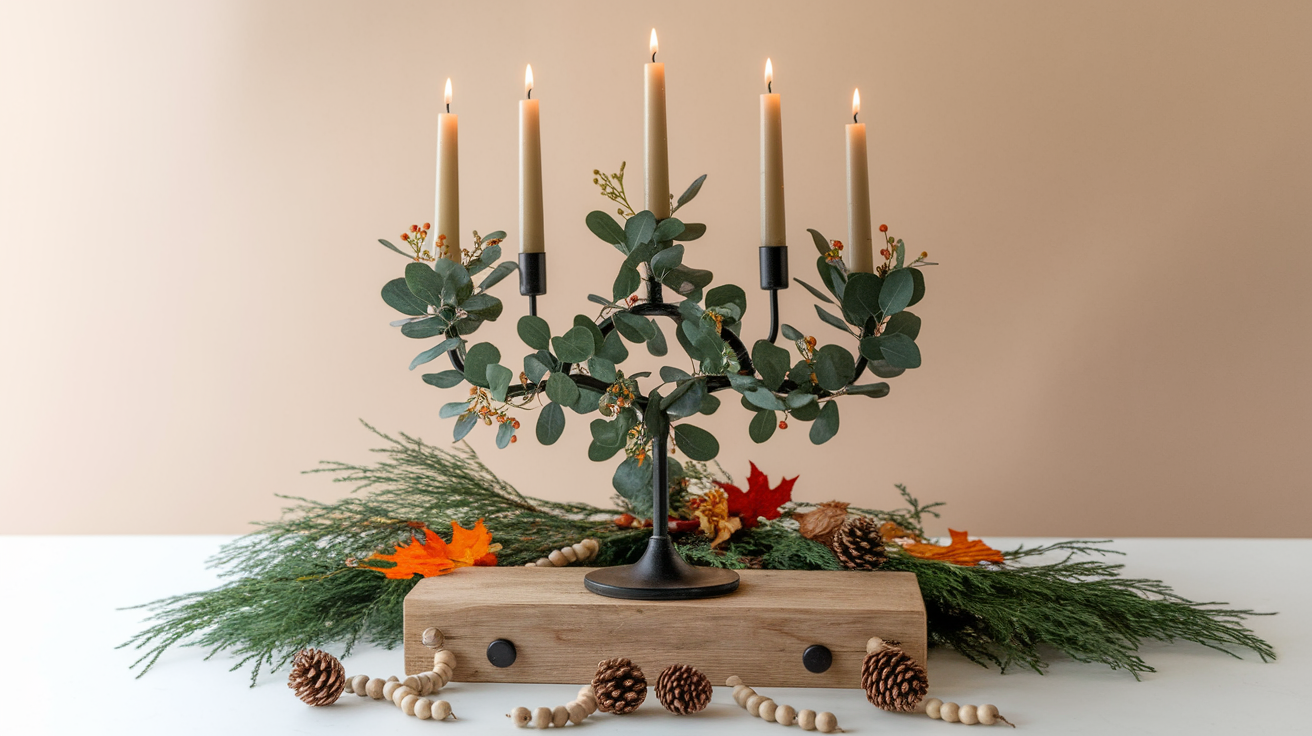
Wood or metal bases wrapped in faux leaves or flowers bring the outdoors in. Earth-toned candles and pinecones add texture. Fresh and lively for any season.
- Eucalyptus or seasonal blooms work well
- Relaxed and welcoming vibe
- Fits spring or outdoor themes
5. Festive Holiday Sparkle
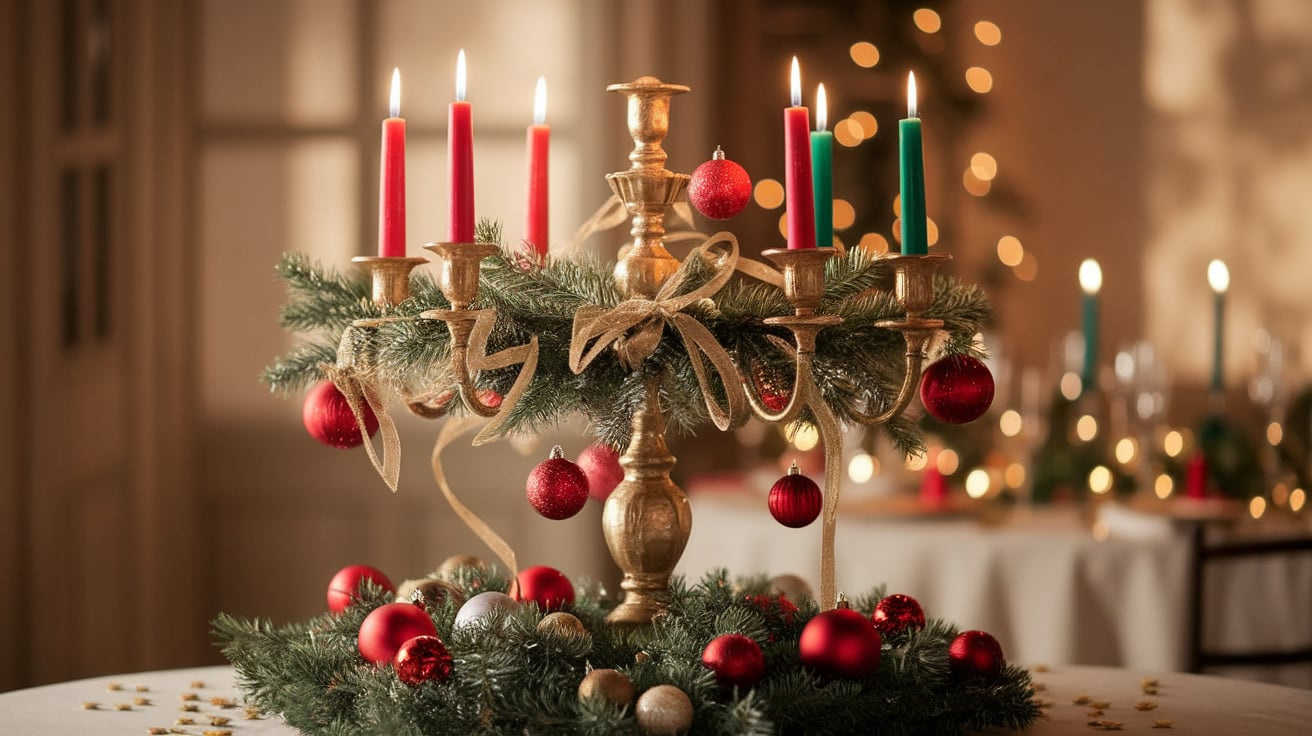
Add garlands, ornaments, or glitter for a holiday feel. Red/green candles for Christmas, gold/white for New Year’s. Easy to customize for any celebration.
- Pine branches or ribbons complete it
- Fun and cheerful decor
- Works year-round with small changes
Wrapping It Up
A handmade candelabra isn’t just a decor piece—it’s a conversation starter and a reflection of your creativity.
If you prefer a rustic wooden design, a sleek metallic look, or a holiday-themed masterpiece, this DIY project offers endless possibilities.
The best part is that you can switch up the candles and accents to match any season or mood. Light up your dinners, parties, or cozy nights with a personalized touch.
So gather your supplies, use your imagination, and craft a candelabra that shines bright in your home. Happy crafting, and may your space always glow with warmth and style!

