DIY Guide to Build and Install Barn Doors
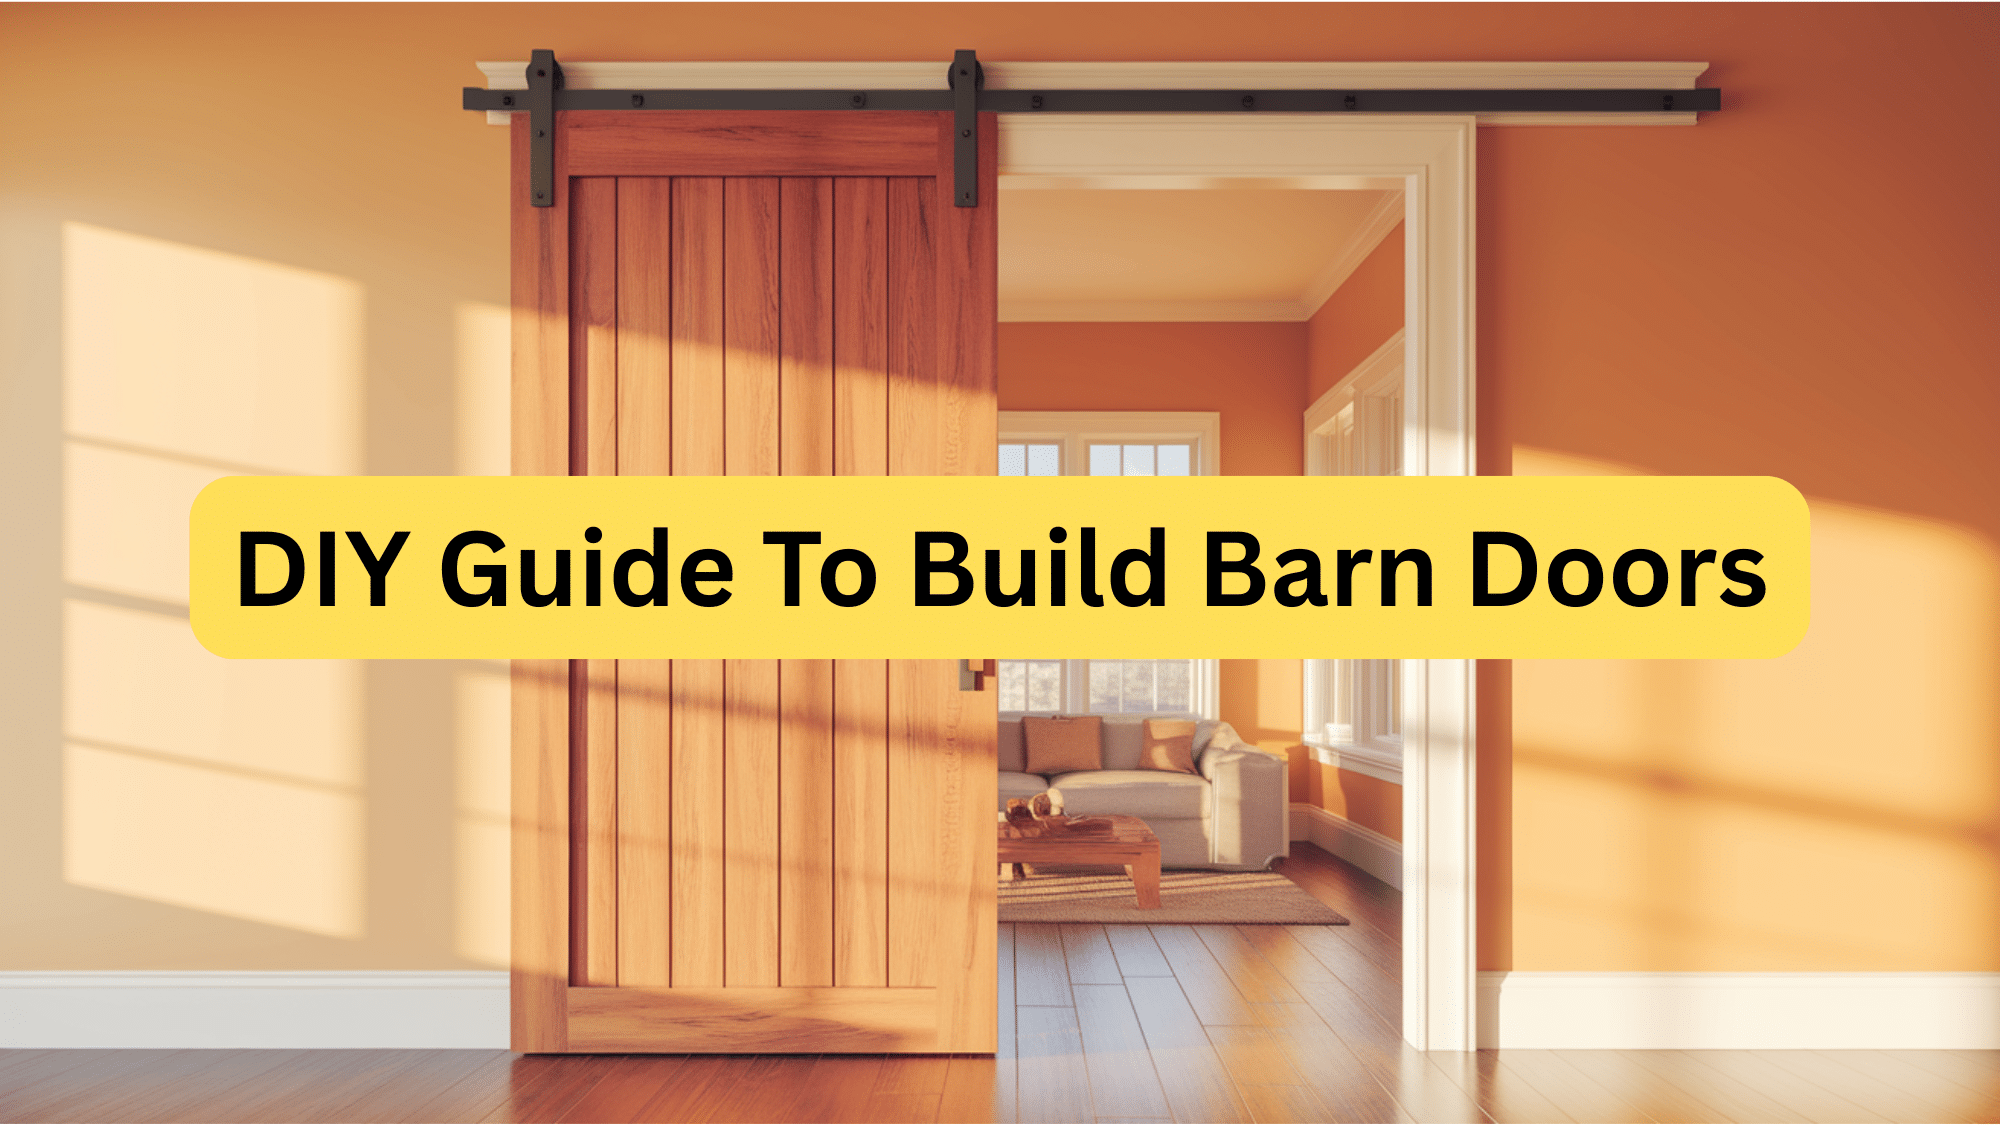
Ever noticed how barn doors add character to any home?
They’re not just functional but also bring a touch of warmth to your space. Making your own barn doors might seem hard, but it’s actually quite simple with the right steps.
In this blog, we’ll show you how to build a barn door from scratch and discuss why these doors are a good choice, what tools and stuff you’ll need, a clear step-by-step process, and how to care for your new door so it lasts long.
By the end, you’ll have all the know-how to make a beautiful barn door that works well and looks great.
Why Choose Barn Doors
Barn doors offer so much more than just a way to close off a room. They slide along the wall instead of swinging open, which saves a lot of space.
This makes them great for small areas where a regular door might get in the way. They also add a warm, cozy look to your home. Even if your style is modern, barn doors can still fit in nicely.
You can use barn doors in a lot of places around the house. They work well for closets because you can open them fully.
They’re great for pantries too, especially when your hands are full of groceries, and for bathrooms or laundry rooms, where you don’t have to worry about the door swinging into the space.
Tools and Materials Required to Build Barn Doors
Below is the list of materials and tools that you will be required to build barn doors.
Materials Needed
- Marine grade plywood panels (back panel of door)
- Tasmanian Oak hardwood strips (for frame and design accents)
- Liquid Nails (for securing timber strips)
- Wood filler (oak-colored for raw timber look; any for painted doors)
- Clear polyacrylic topcoat (matte finish recommended)
- Barn door hanging kit (includes tracks, hangers, bolts, and guides)
- Handles (purchased separately)
- Screws, wall plugs, heavy-duty wall anchors (for mounting track and guides)
- Timber backing board (to support track installation on the wall)
Tools Required
- Circular saw
- Orbital sander (with 240 & 600 grit sandpaper)
- Drop saw (for 45° angle cuts)
- Measuring tape & ruler
- Clamps
- Laser level
- Drill & drill bits (including hammer drill if drilling into concrete)
- Screwdriver
- Angle grinder (if cutting bolts)
- Bosch Universal tacker (or any nail gun)
- Blower (for dust removal)
- Paintbrush & optional spray can for topcoat
- Ratchet/socket wrench
- Magnetic stud finder (for metal frame walls)
Approximate Cost of Making DIY Barn Door
- The costs of a basic DIY project using budget materials and hardware can be around $100 to $500.
- For higher-end materials and custom designs, costs can reach up to $2,500 or more.
Step-by-Step Guide to Build Simple Barn Doors
Follow these step-by-step instructions to create custom sliding doors perfect for any space.
Step 1: Measure Your Door Opening
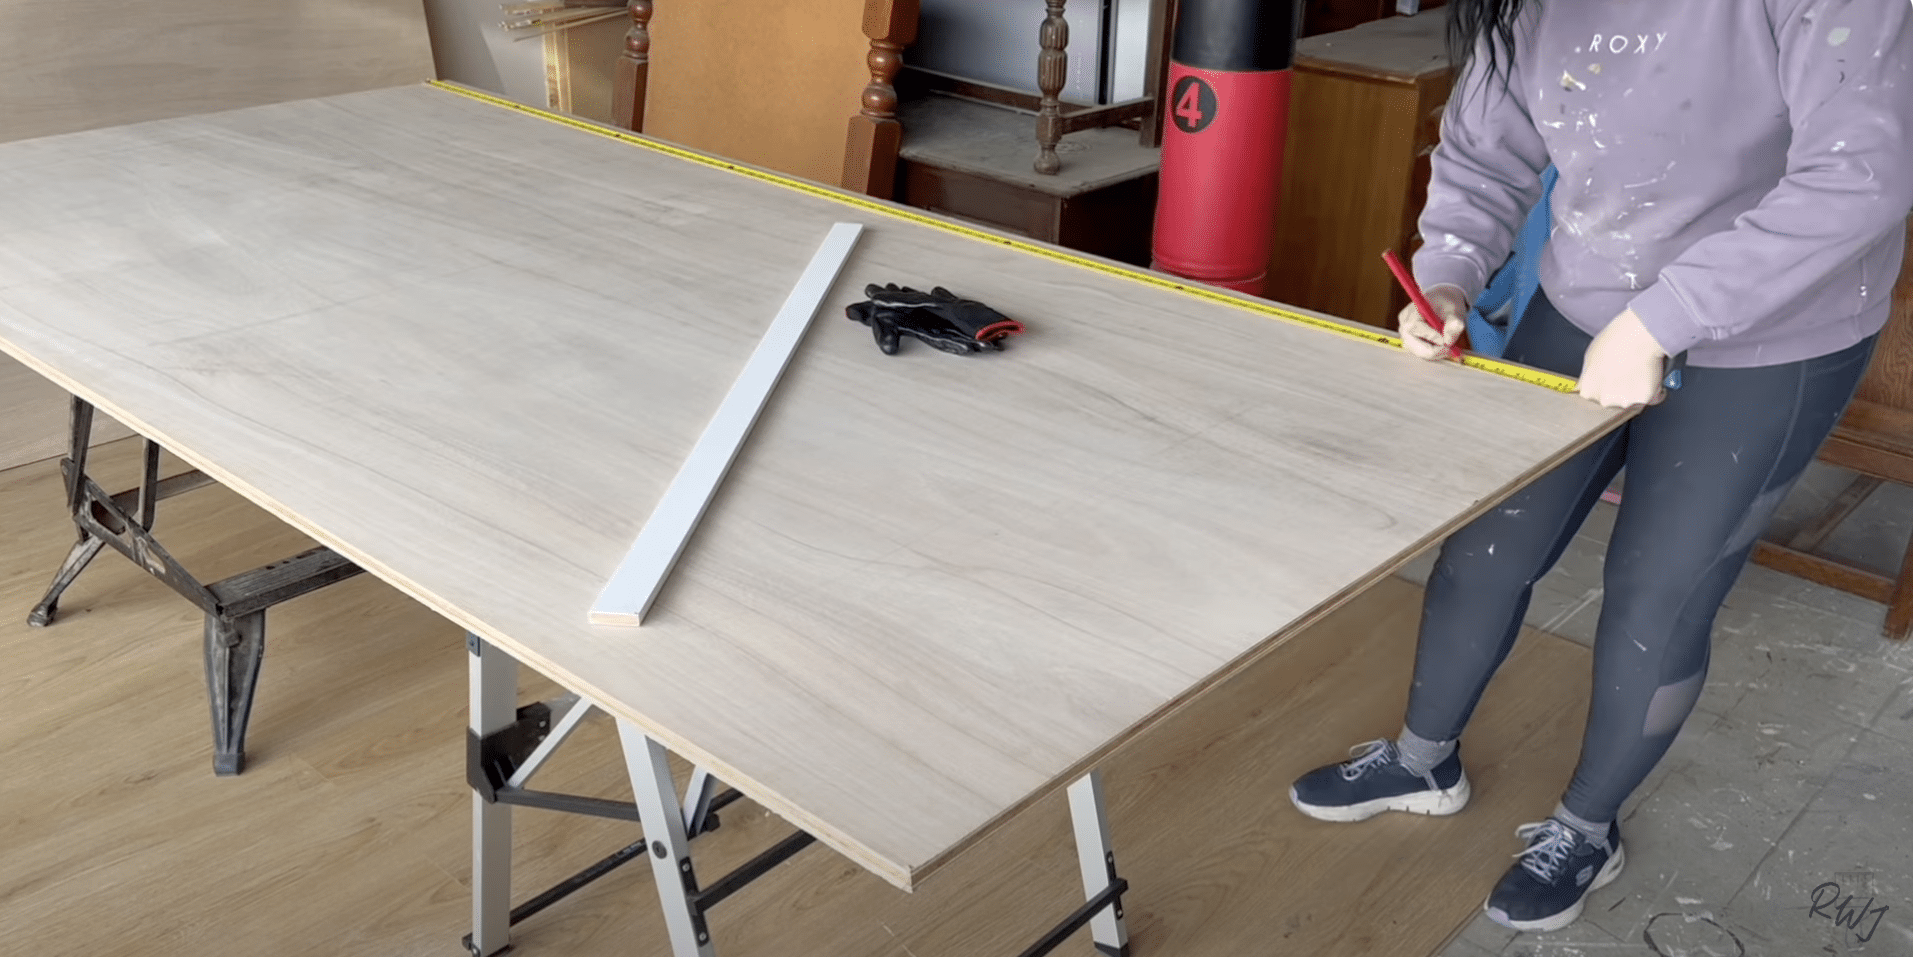
The first key step in making your barn door is getting the right measurements.
- Measure the width and height of the opening where the doors will be installed.
- If you’re installing double doors, divide the total width in half for each door.
- Add extra height if you want the doors to appear large than the opening itself.
Step 2: Cut Plywood Panels to Size
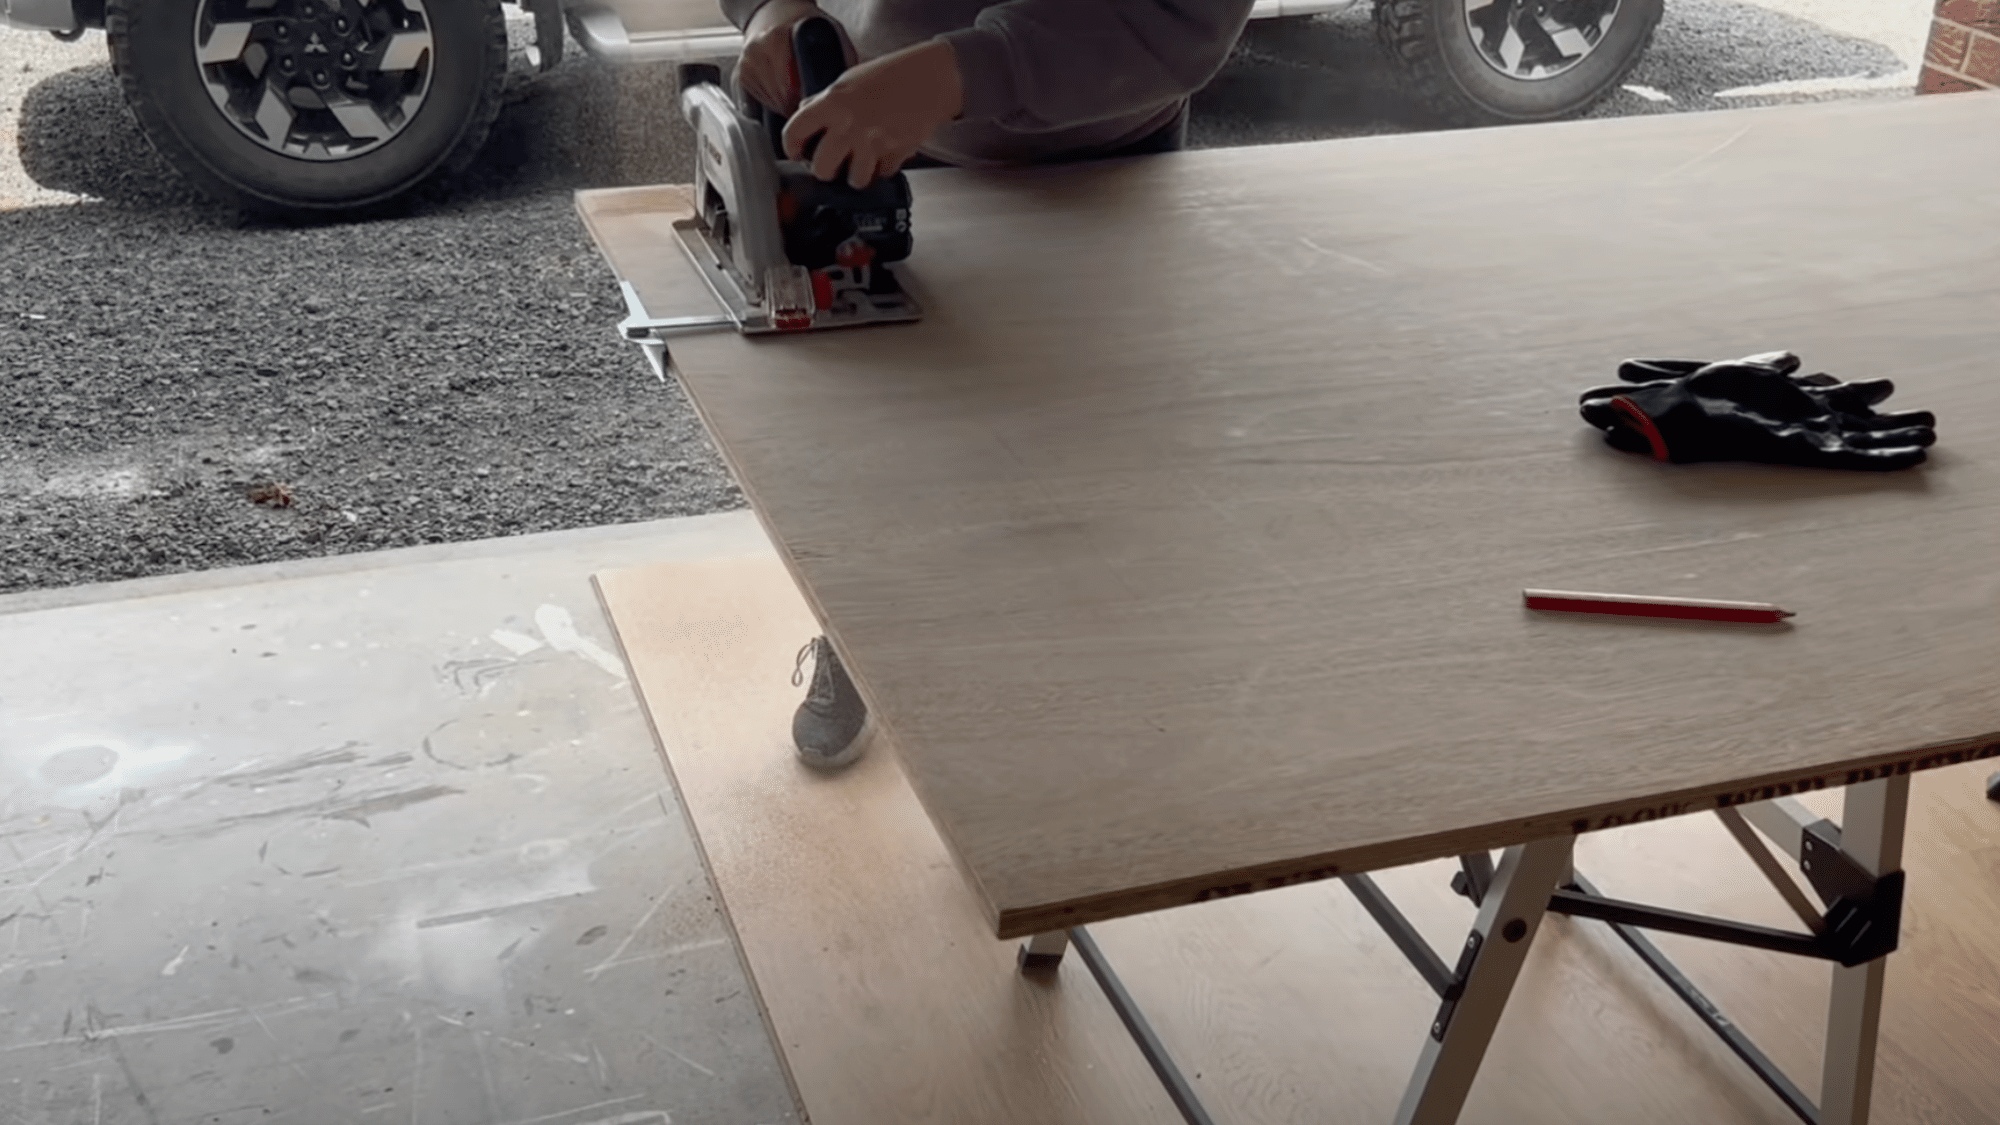
These panels will serve as the back of the barn door, forming the base for your entire project.
- Use marine grade plywood for a durable, attractive finish.
- Mark the width on the board, considering the offset of your circular saw base.
- Use a plank of wood as a guide and clamp it down for a straight cut.
- Repeat for height if not pre-cut to size.
- Sand down the edges using an orbital sander to smooth any splinters.
Step 3: Create the Door Frame
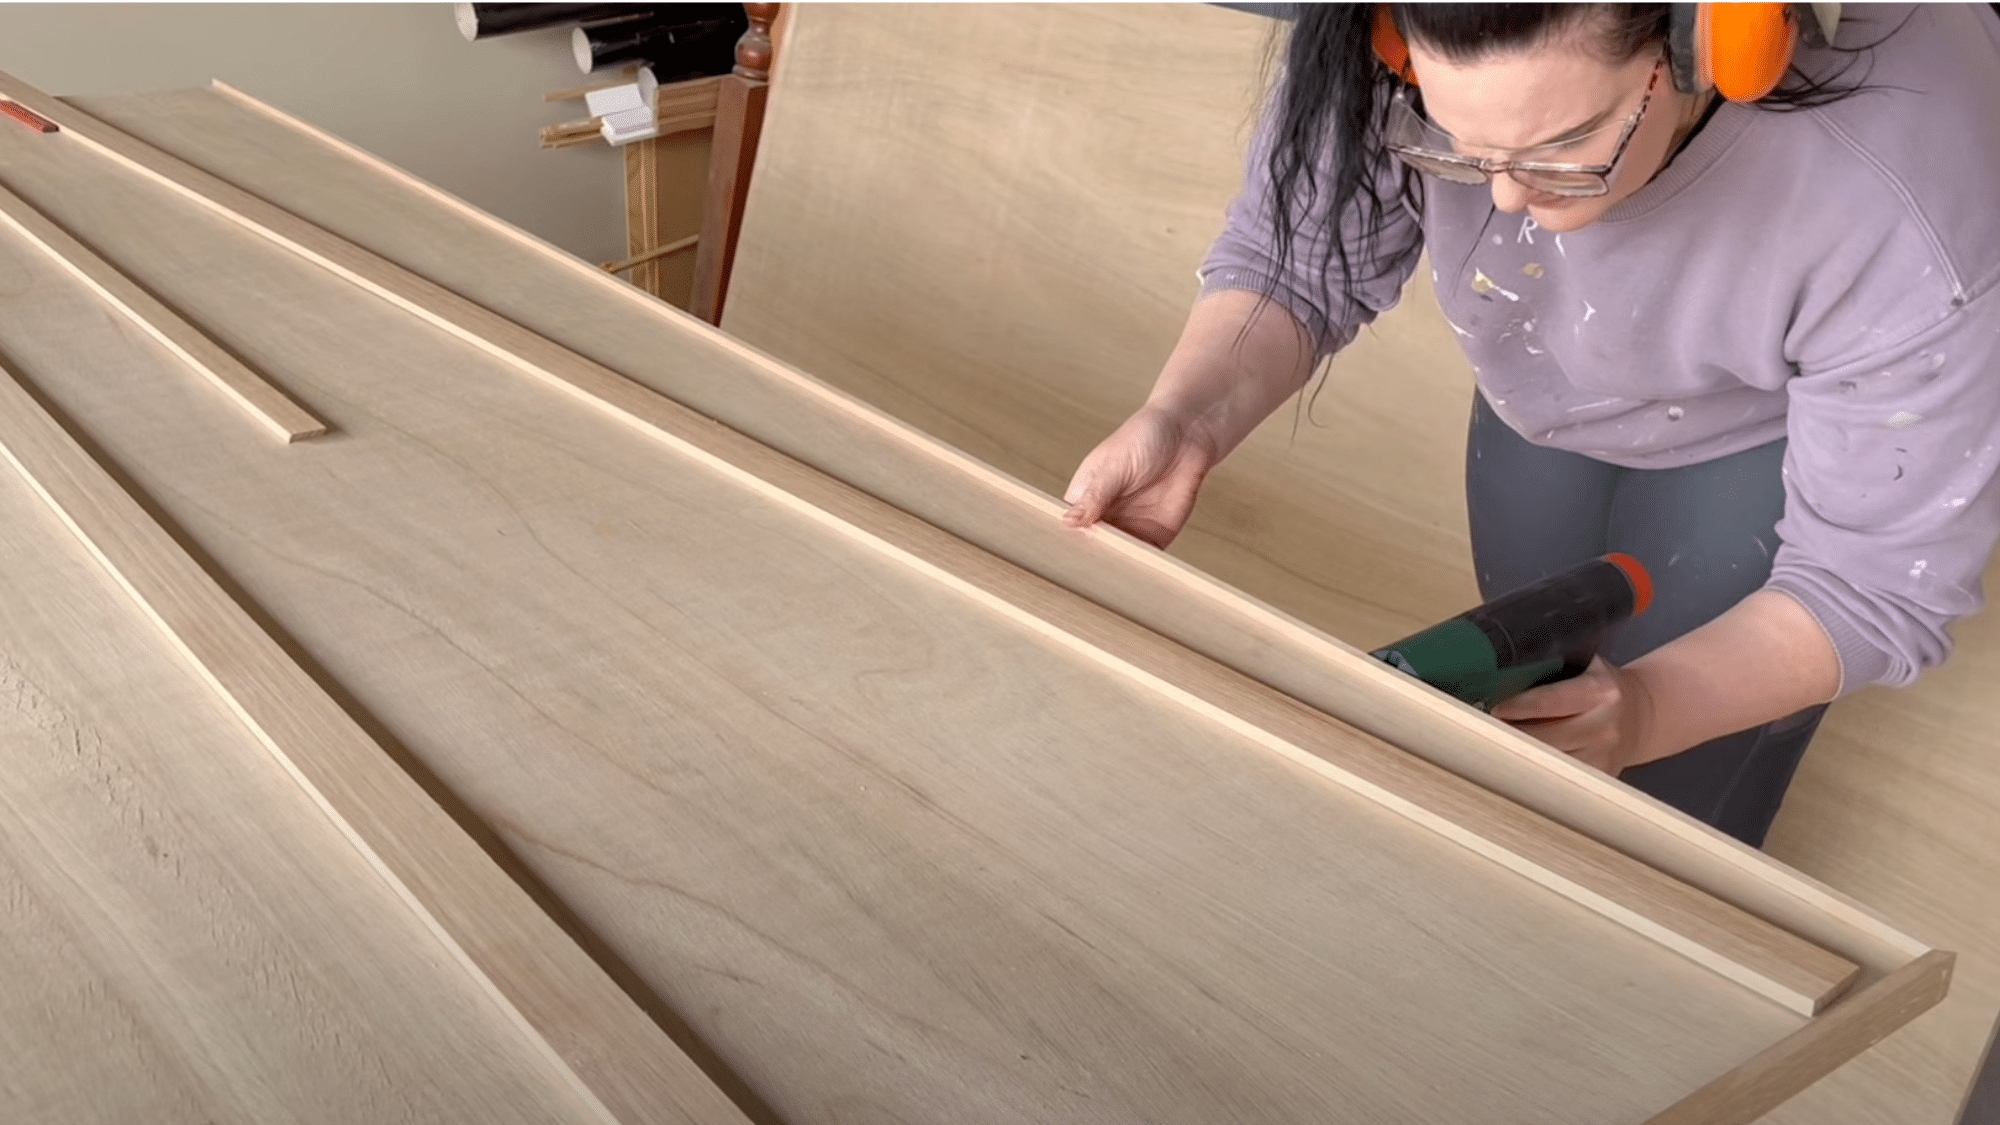
Framing hides the raw edges of the plywood and sets the structure for your decorative design.
- Cut Tasmanian Oak strips (or any wood of choice) to the length of each door side.
- Cut 45° angles for clean corner joints using a drop saw.
- Apply Liquid Nails along each strip for strong adhesion.
- Nail the strips in place using a nail gun or tacker with 14mm nails.
- Don’t over-nail, as you’ll need to fill those holes later.
Step 4: Add Decorative Timber Design
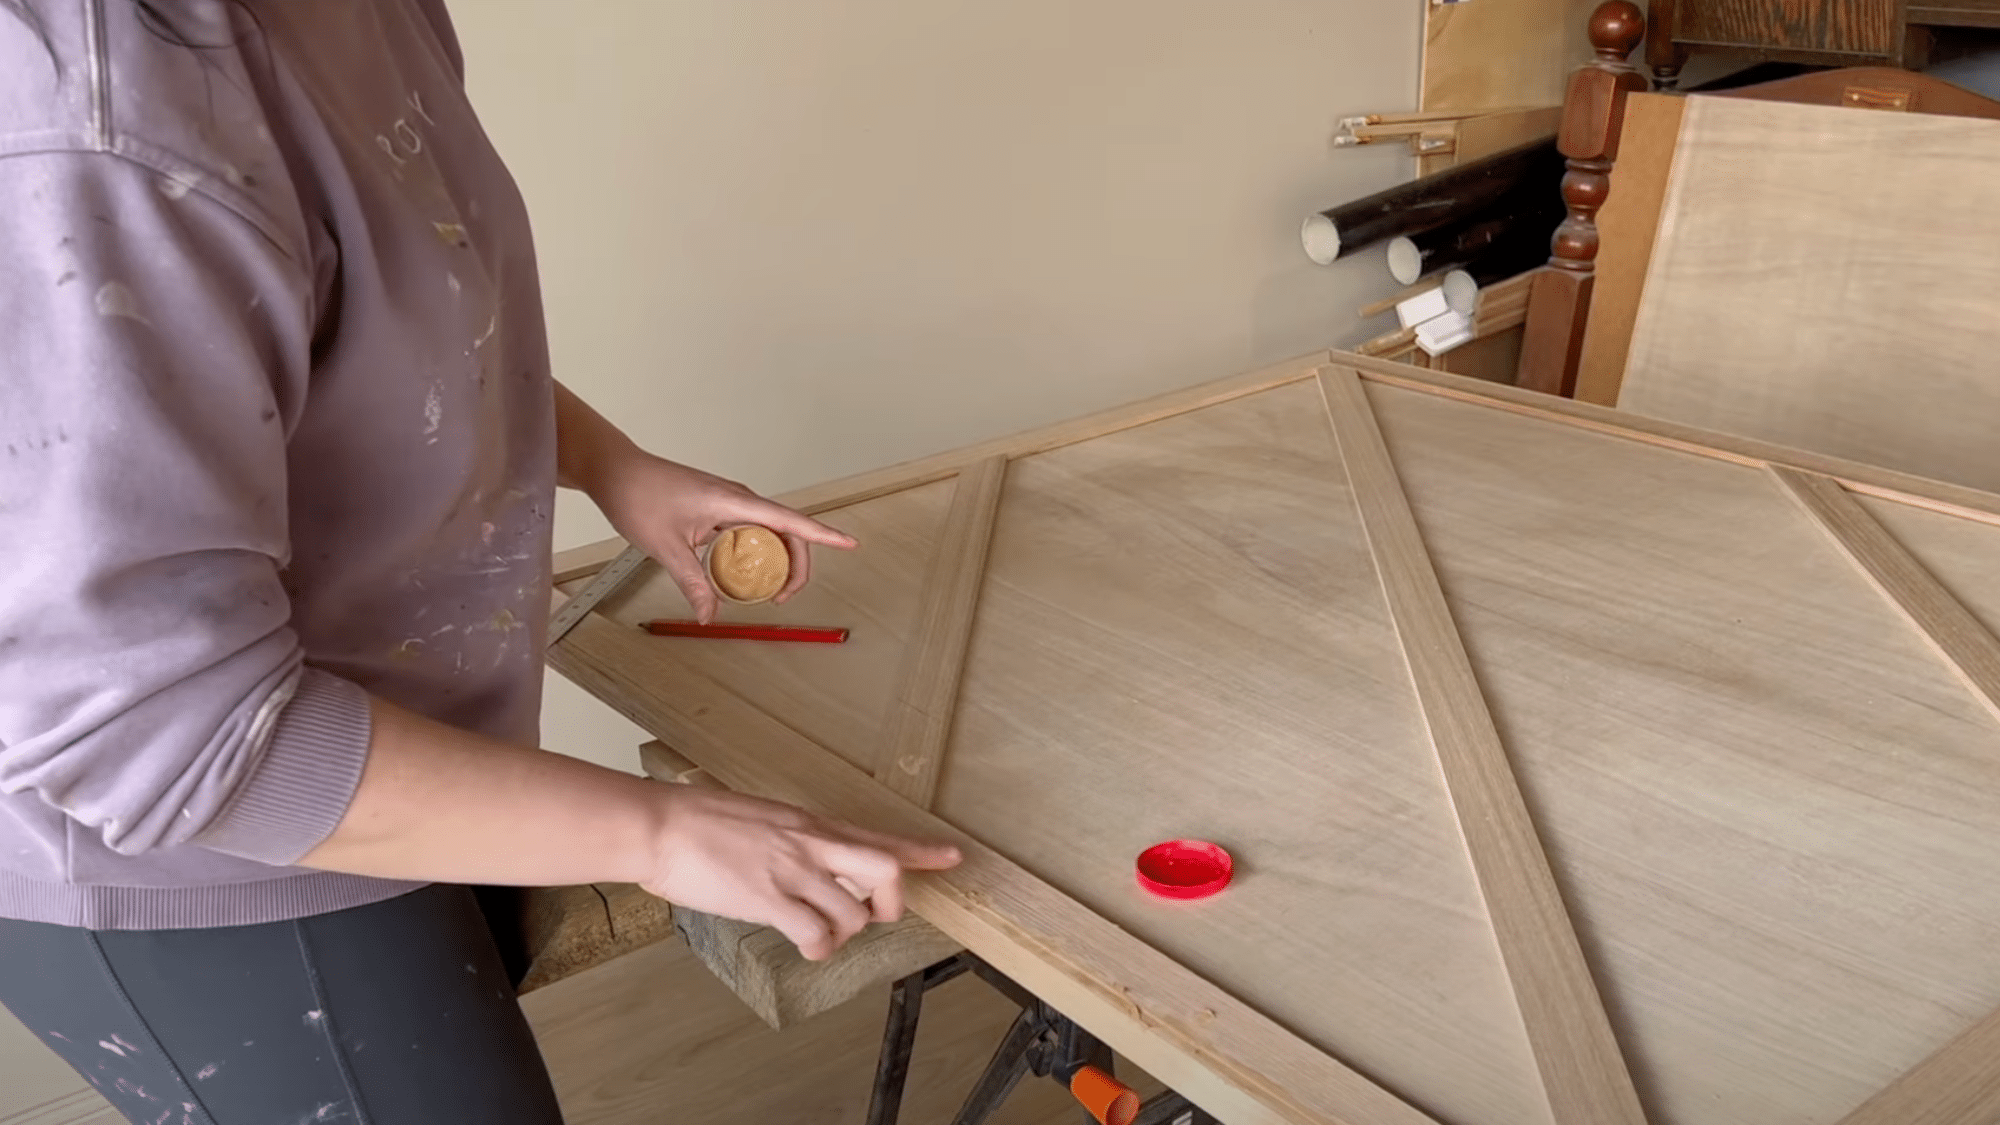
Now comes the fun part: customizing your door to match your taste.
- Choose a design style (arrows, crosses, modern patterns) using inspiration from Pinterest or elsewhere.
- Cut additional hardwood strips to fit your design.
- Dry-fit the design first to ensure measurements are accurate.
- Attach each piece with Liquid Nails and a few nails.
- Use oak-colored wood filler to cover nail holes and seams for a raw timber finish.
Step 5: Sand Everything Smooth
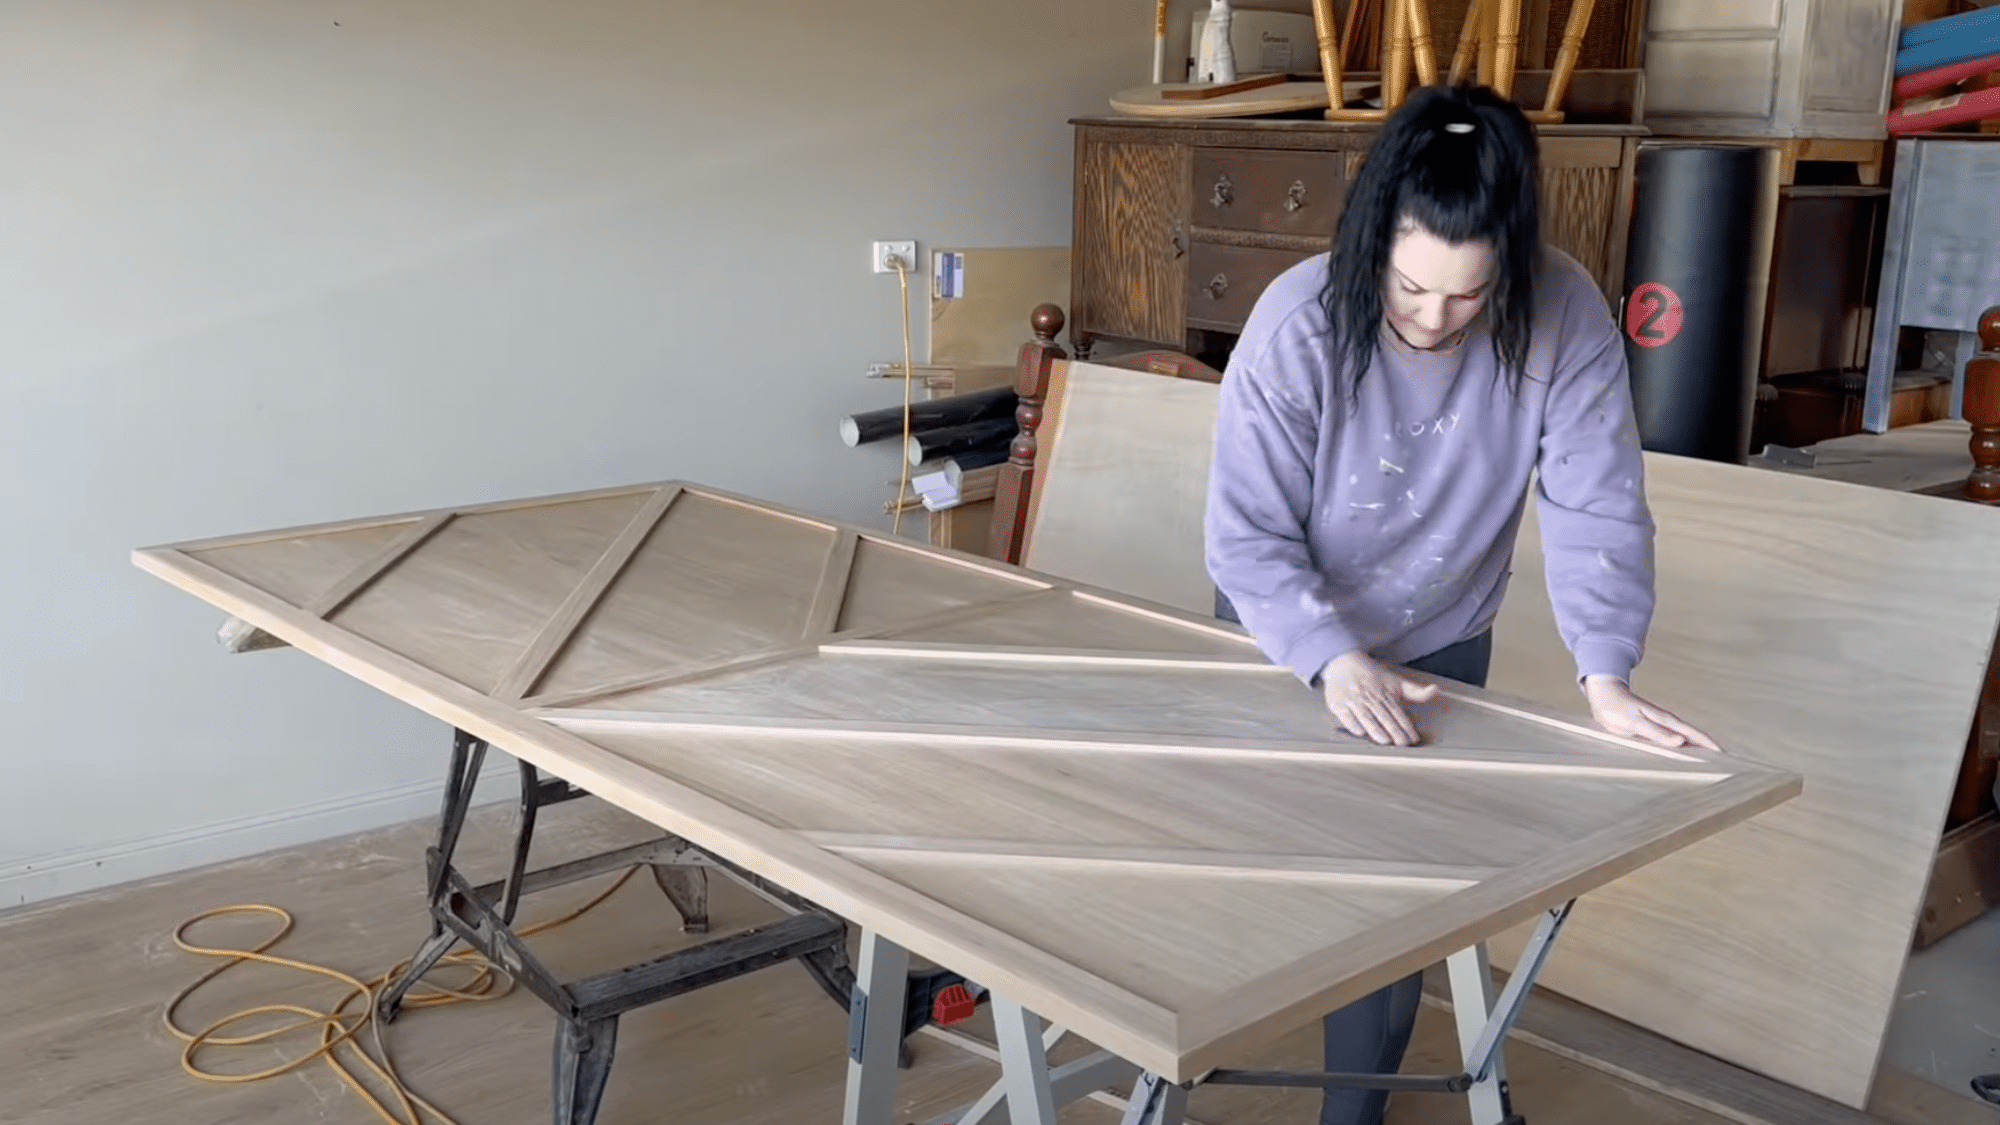
Sanding ensures your door looks polished and professional, free of splinters and uneven surfaces.
- Use 240 grit sandpaper with an orbital sander to smooth the entire surface.
- Pay close attention to joints and filler areas to blend them flawlessly.
- For a child-safe, splinter-free finish, sand until every surface is buttery smooth.
Step 6: Apply the Topcoat
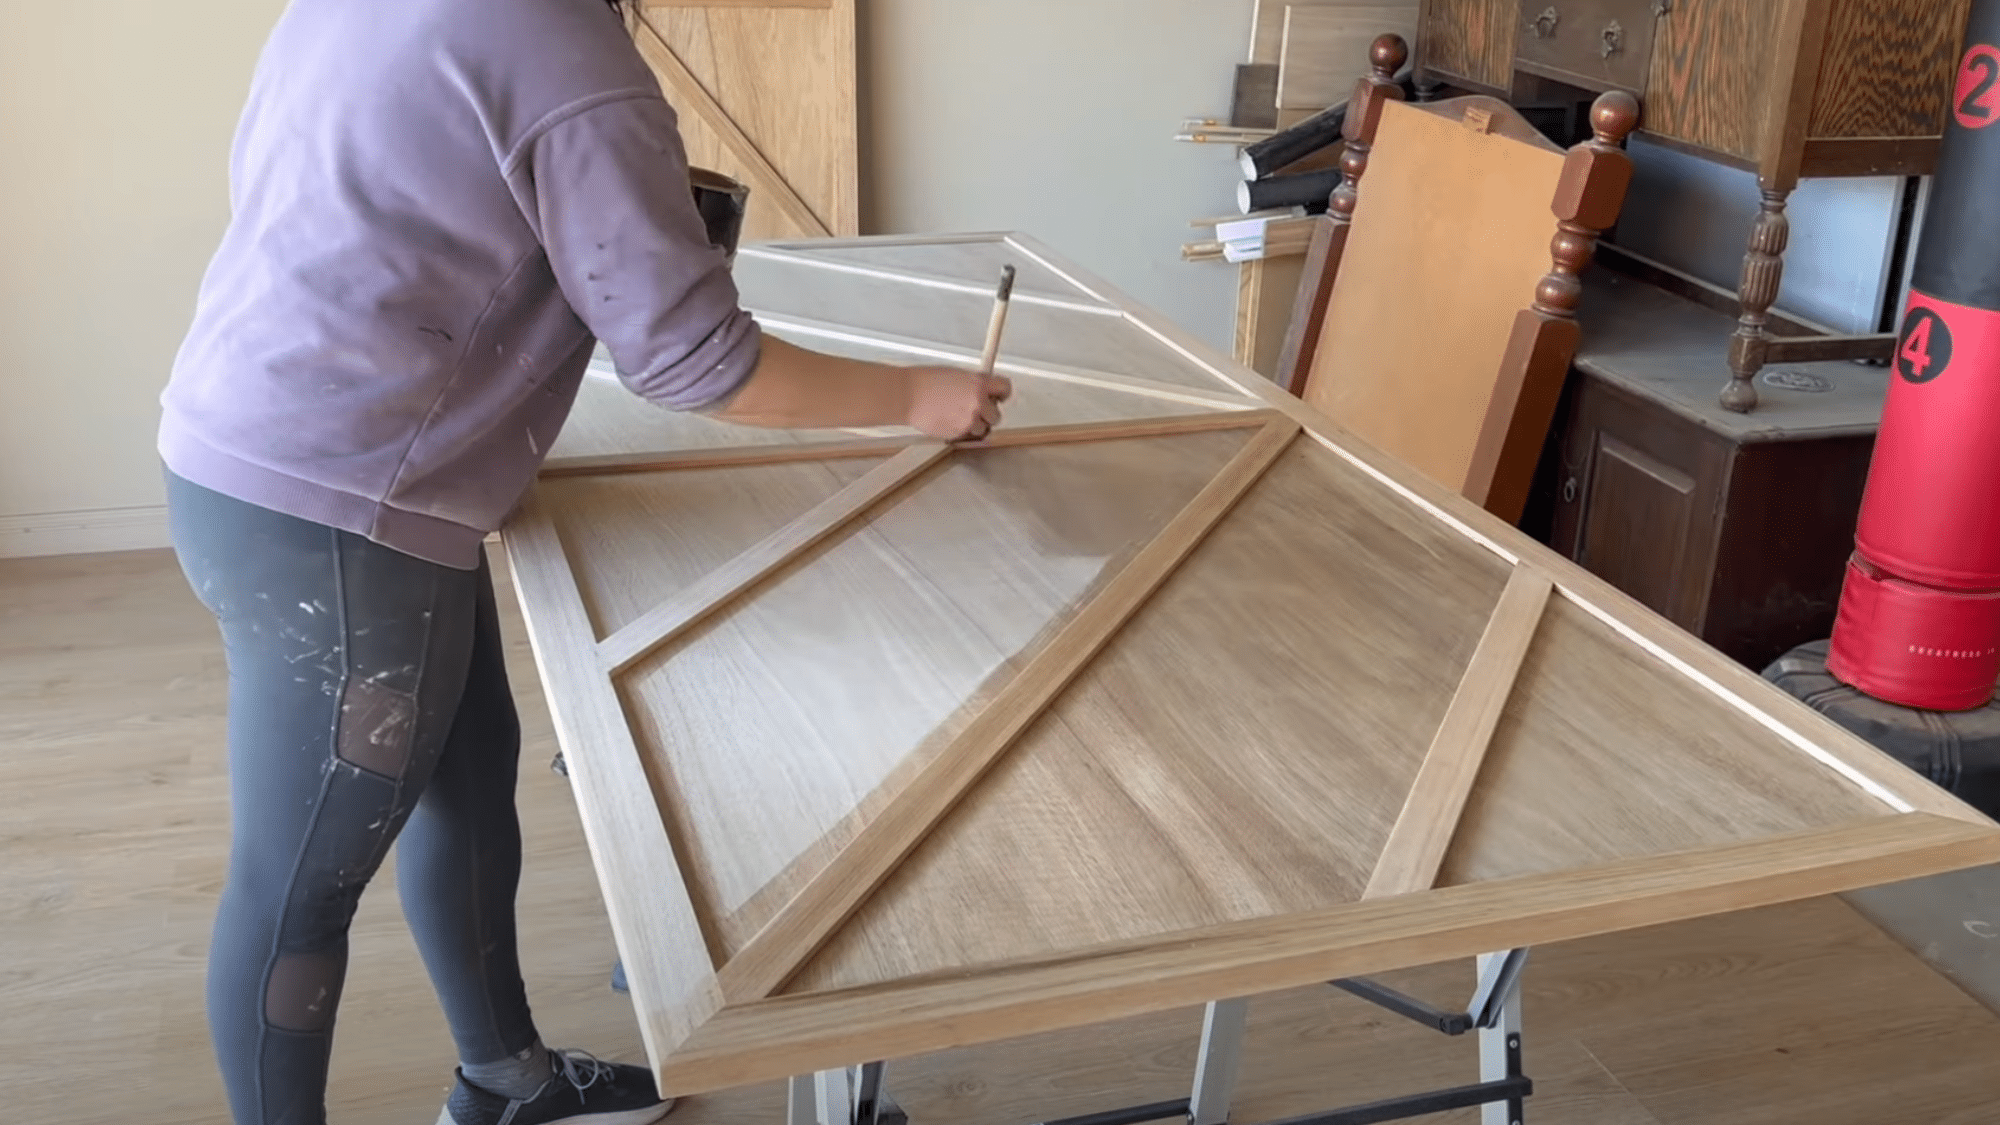
A clear topcoat protects your wood and improves its natural beauty.
- Start with one hand-brushed coat of clear polyacrylic (matte is recommended for a natural look).
- Let it dry, then lightly sand with 600 grit paper to remove the raised wood grain.
- Use spray cans for the second and third coats to avoid brush marks.
- Make sure each layer is dry and sanded before applying the next.
Step 7: Repeat for The Second Door
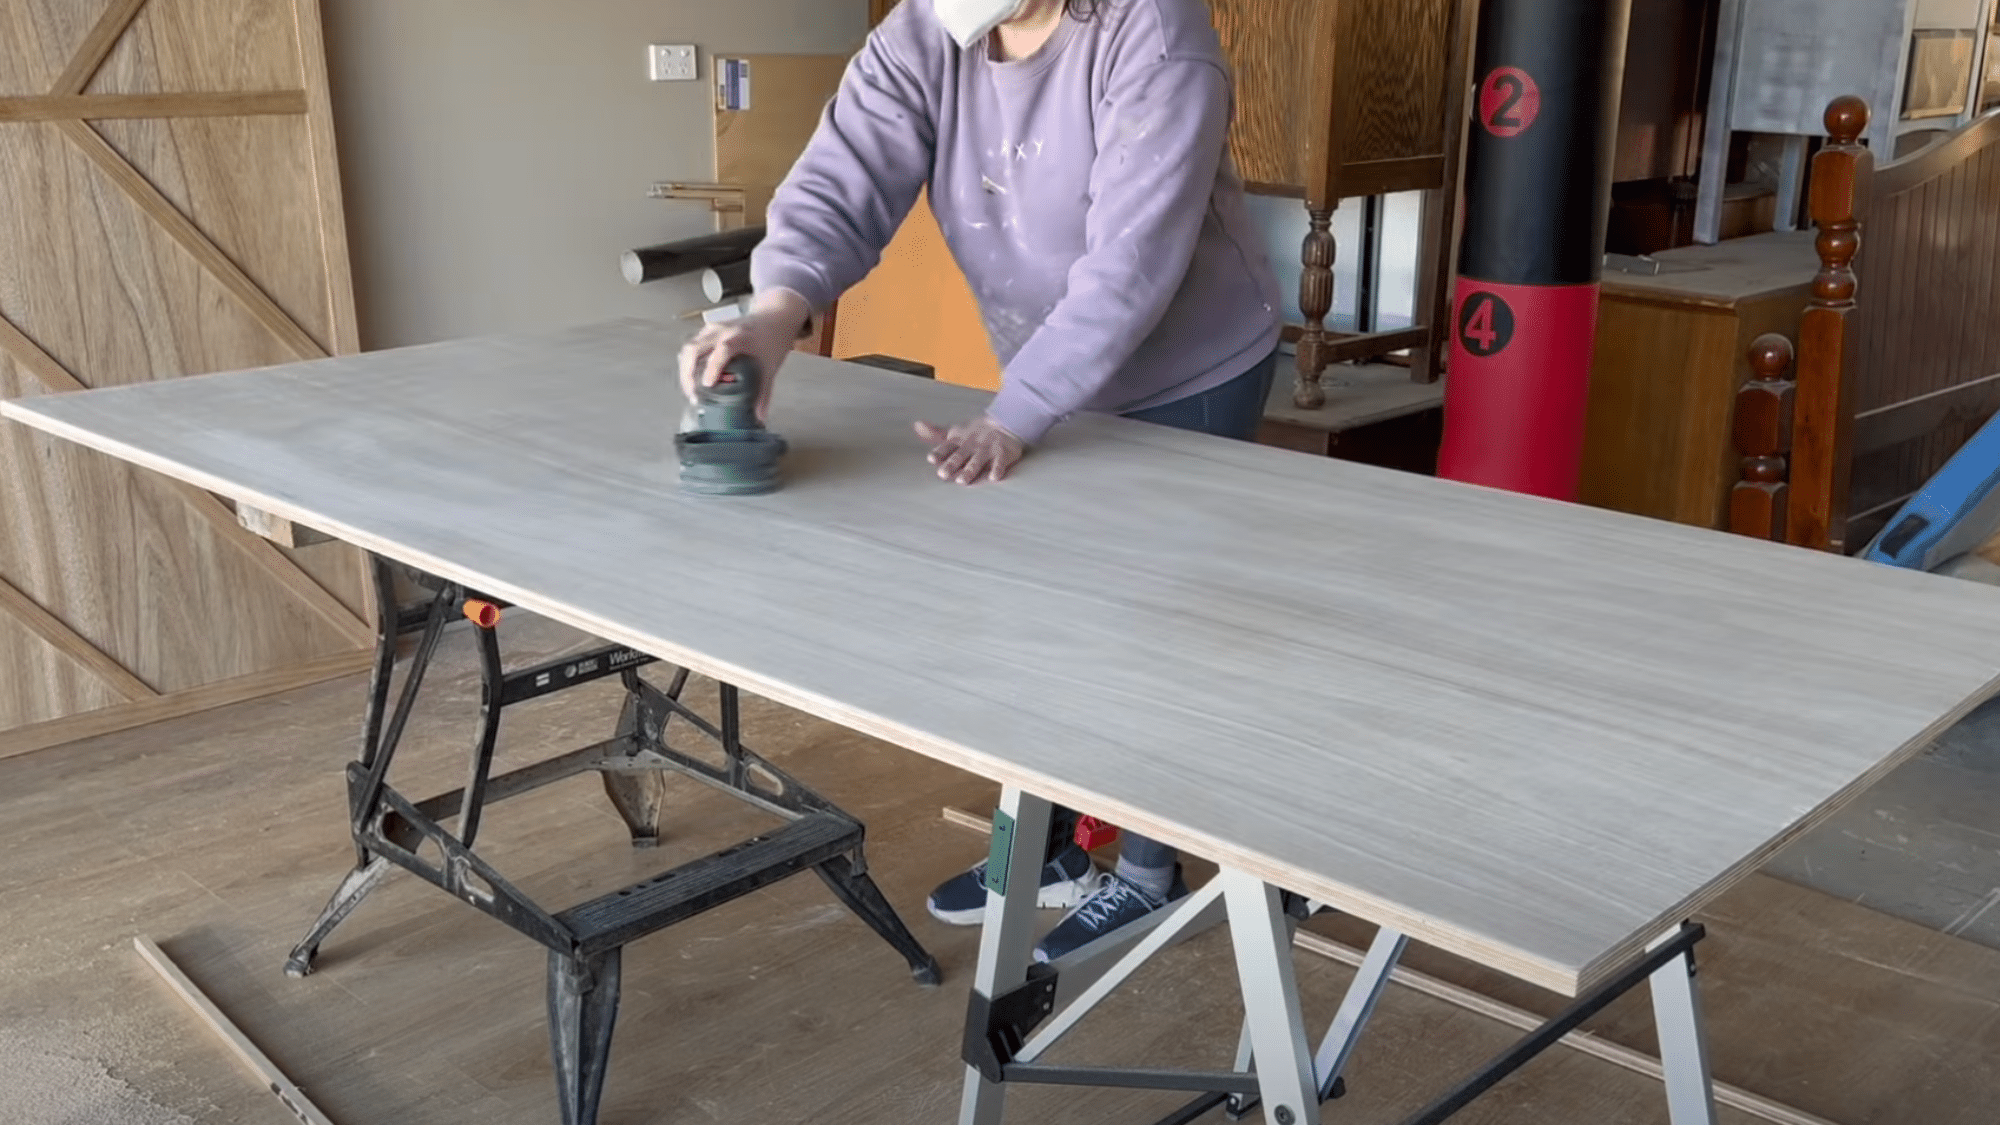
With your first door done, the second one will be much quicker and easier to build.
- Use the first door as a template.
- Reverse the design if desired for a symmetrical, mirrored look.
- Follow all previous steps: cut, frame, design, fill, sand, and topcoat.
Step 8: Attach the Hangers to The Doors
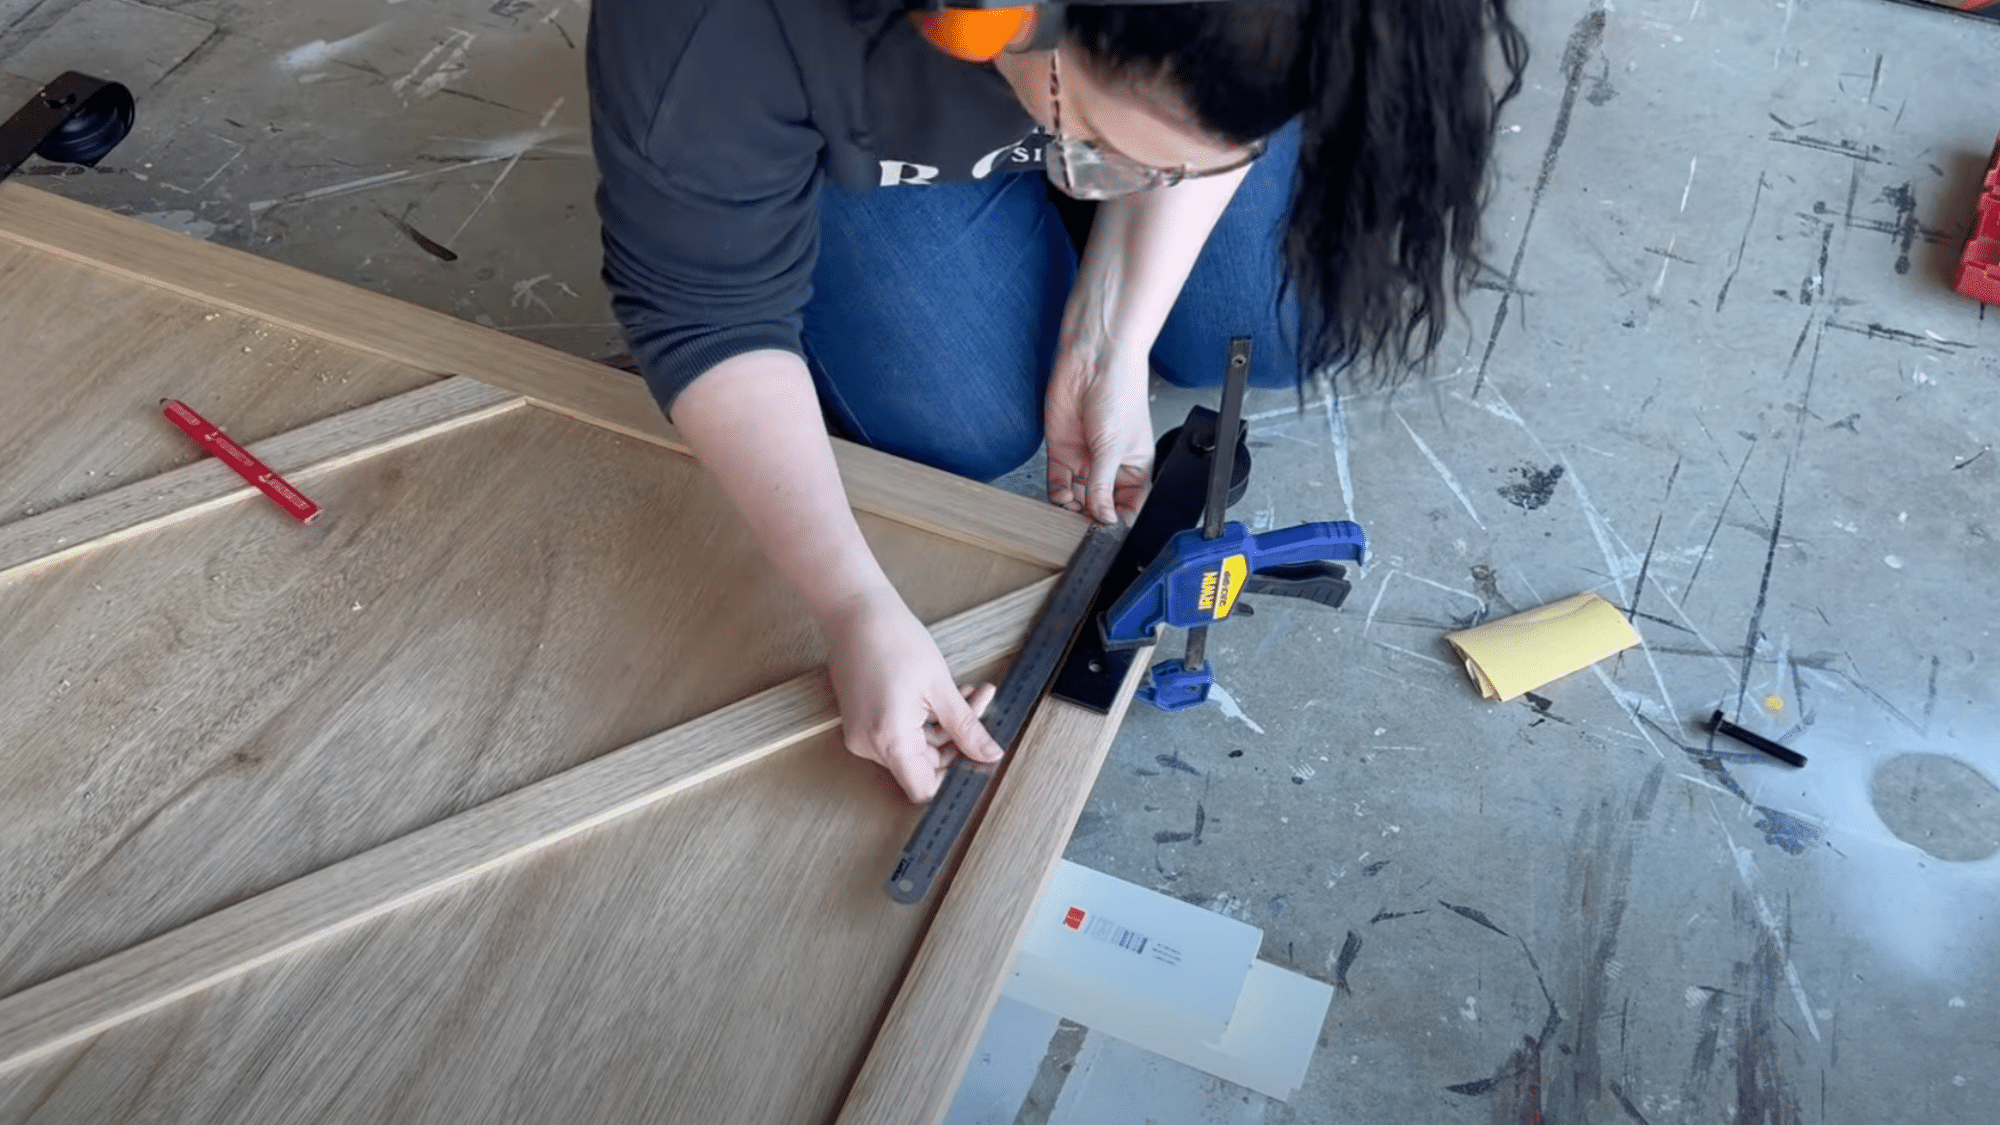
These hardware pieces connect your doors to the sliding track above.
- Mark equal heights on both doors for the hangers to avoid lopsided doors.
- Drill holes and insert bolts.
- If the bolts are too long for your custom doors, trim them with an angle grinder.
- Thread a nut onto the bolt before cutting to preserve the threading.
- Tighten bolts securely with a ratchet or socket wrench.
Step 9: Prepare the Wall for Mounting
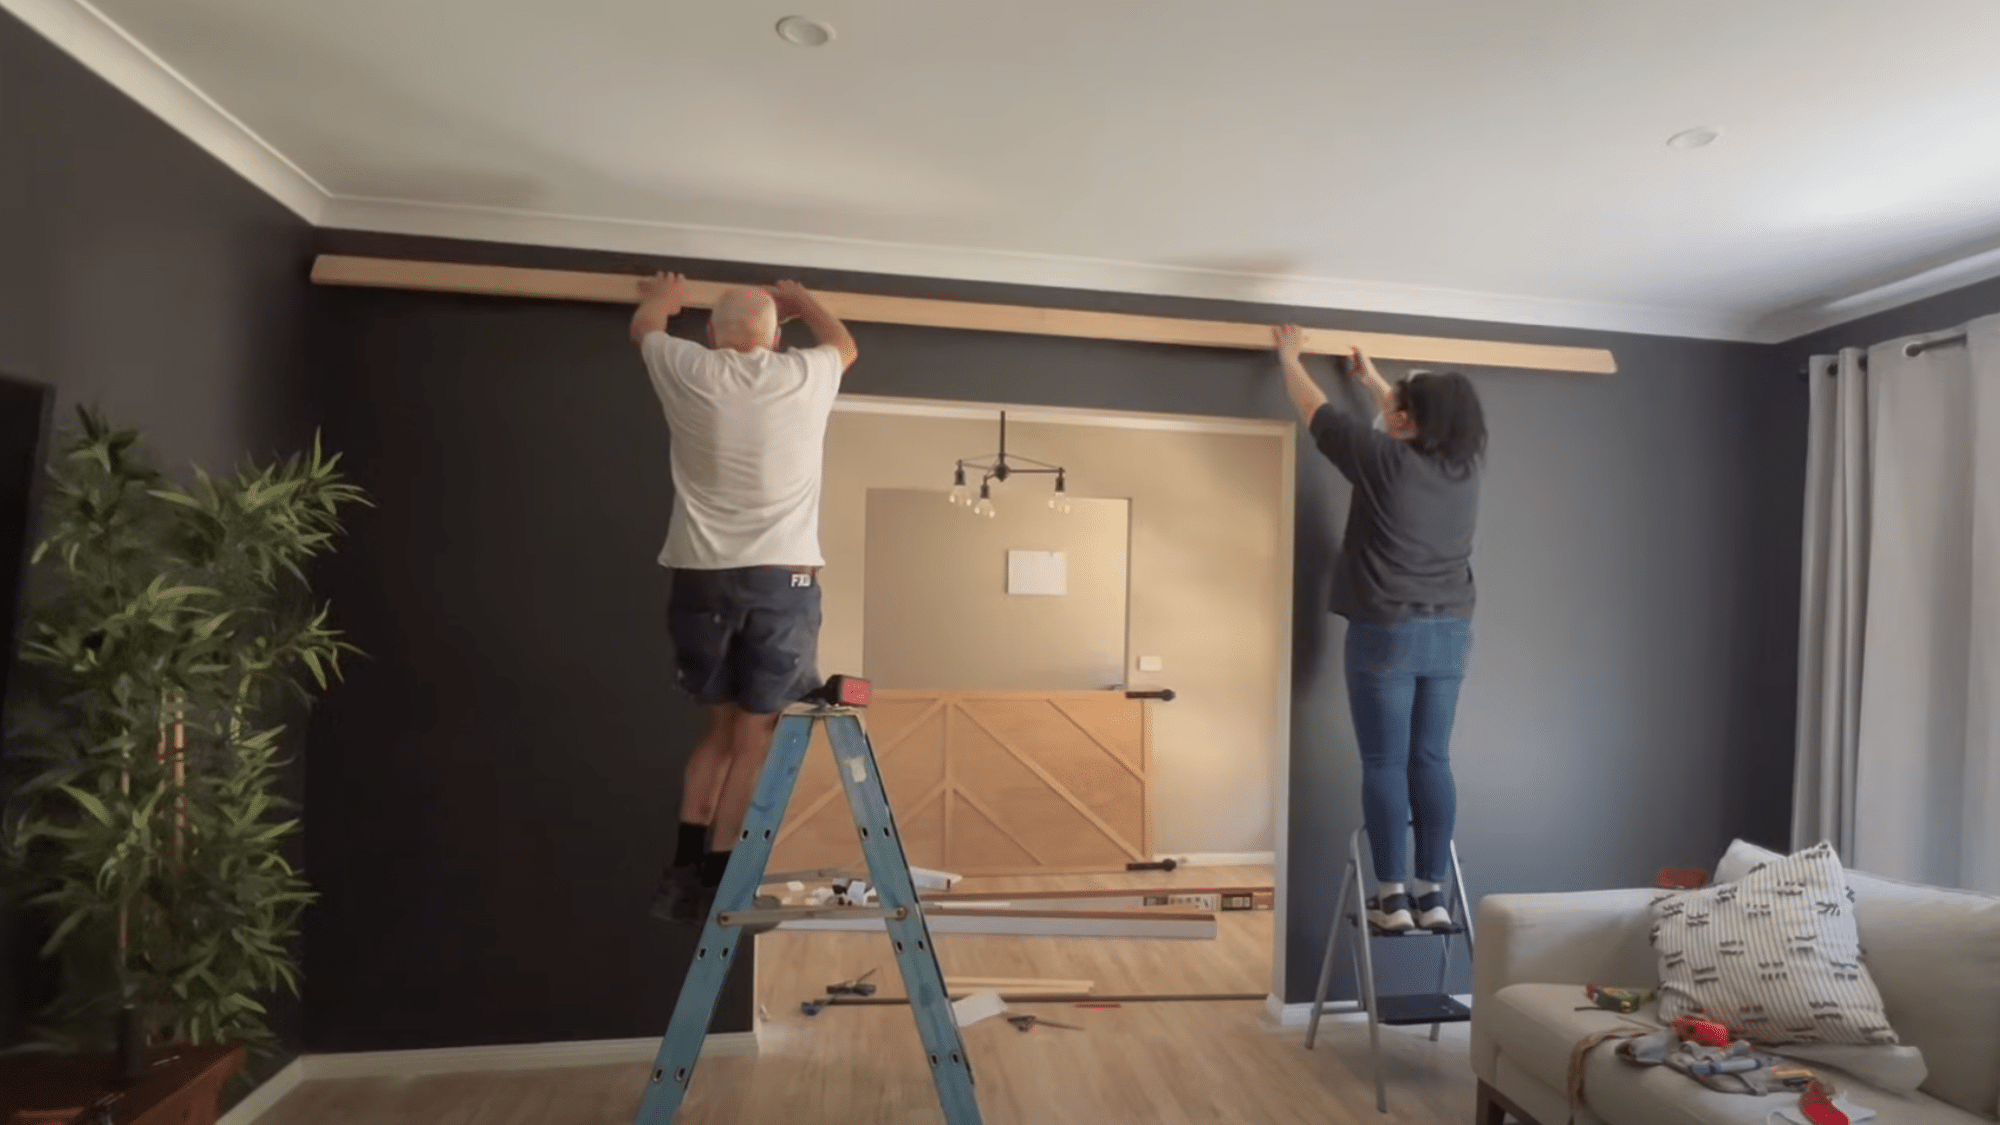
Installing a support board gives the track a stable base to attach to.
- Use a stud finder (magnetic for metal frames) to locate the studs on your wall.
- Mark the positions onto a timber plank that will serve as your support.
- Pre-drill holes in this timber at stud locations.
- If you have metal framing, drill pilot holes and use wall anchors.
- Securely attach the support timber to the wall.
Step 10: Mount the Track
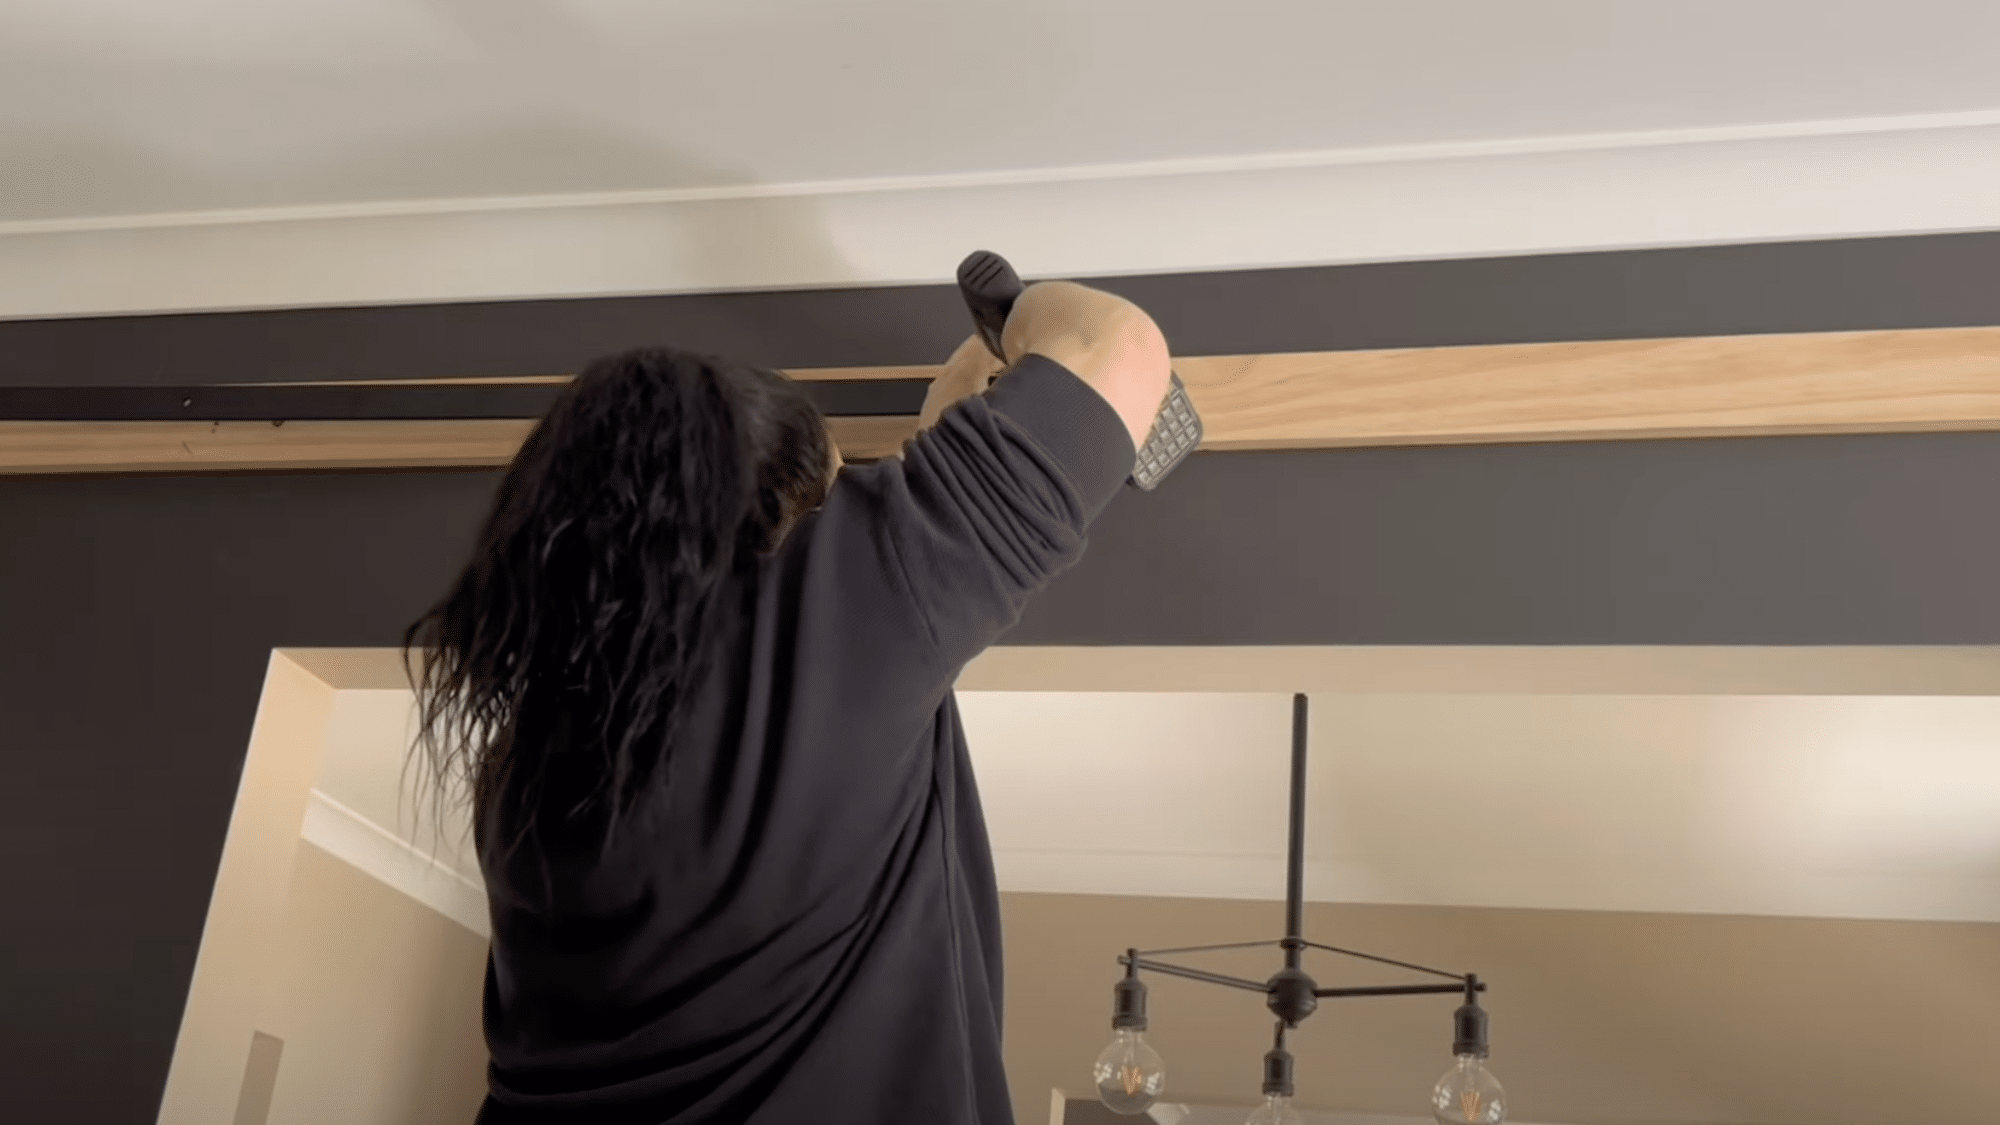
The track holds the door and allows it to slide smoothly.
- Mark the center point of the timber support.
- Use provided spacers and screw the track into the timber at each mounting point.
- If using a double-door setup, mount both tracks evenly.
- Have someone help hold the track in place during installation.
Step 11: Hang the Doors
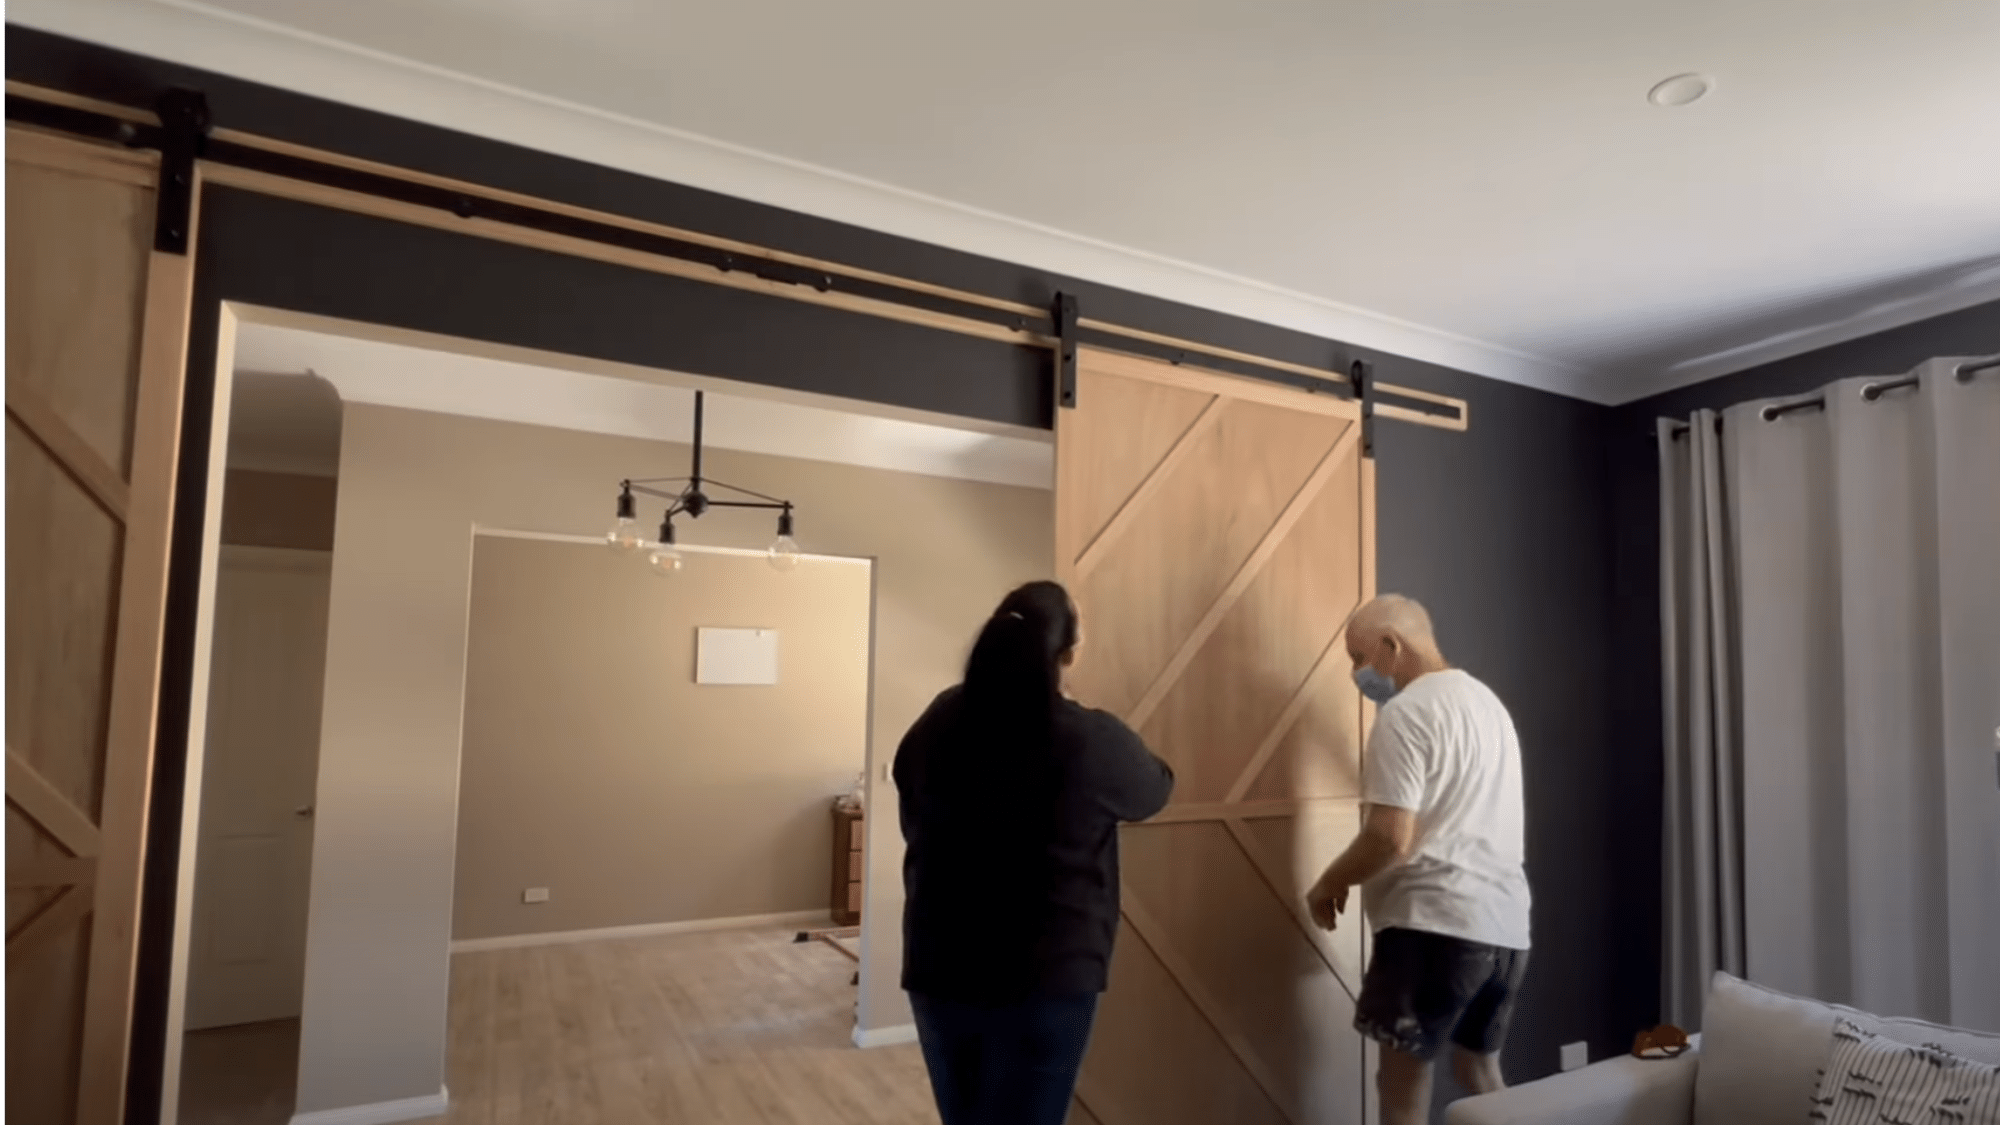
Carefully lift and secure your doors onto the mounted track.
- Use a spacer or piece of timber on the floor to get the correct gap under the door.
- Hook the hangers over the track, ensuring they glide smoothly.
- Adjust if needed to make sure doors sit level.
Step 12: Install Floor Guides
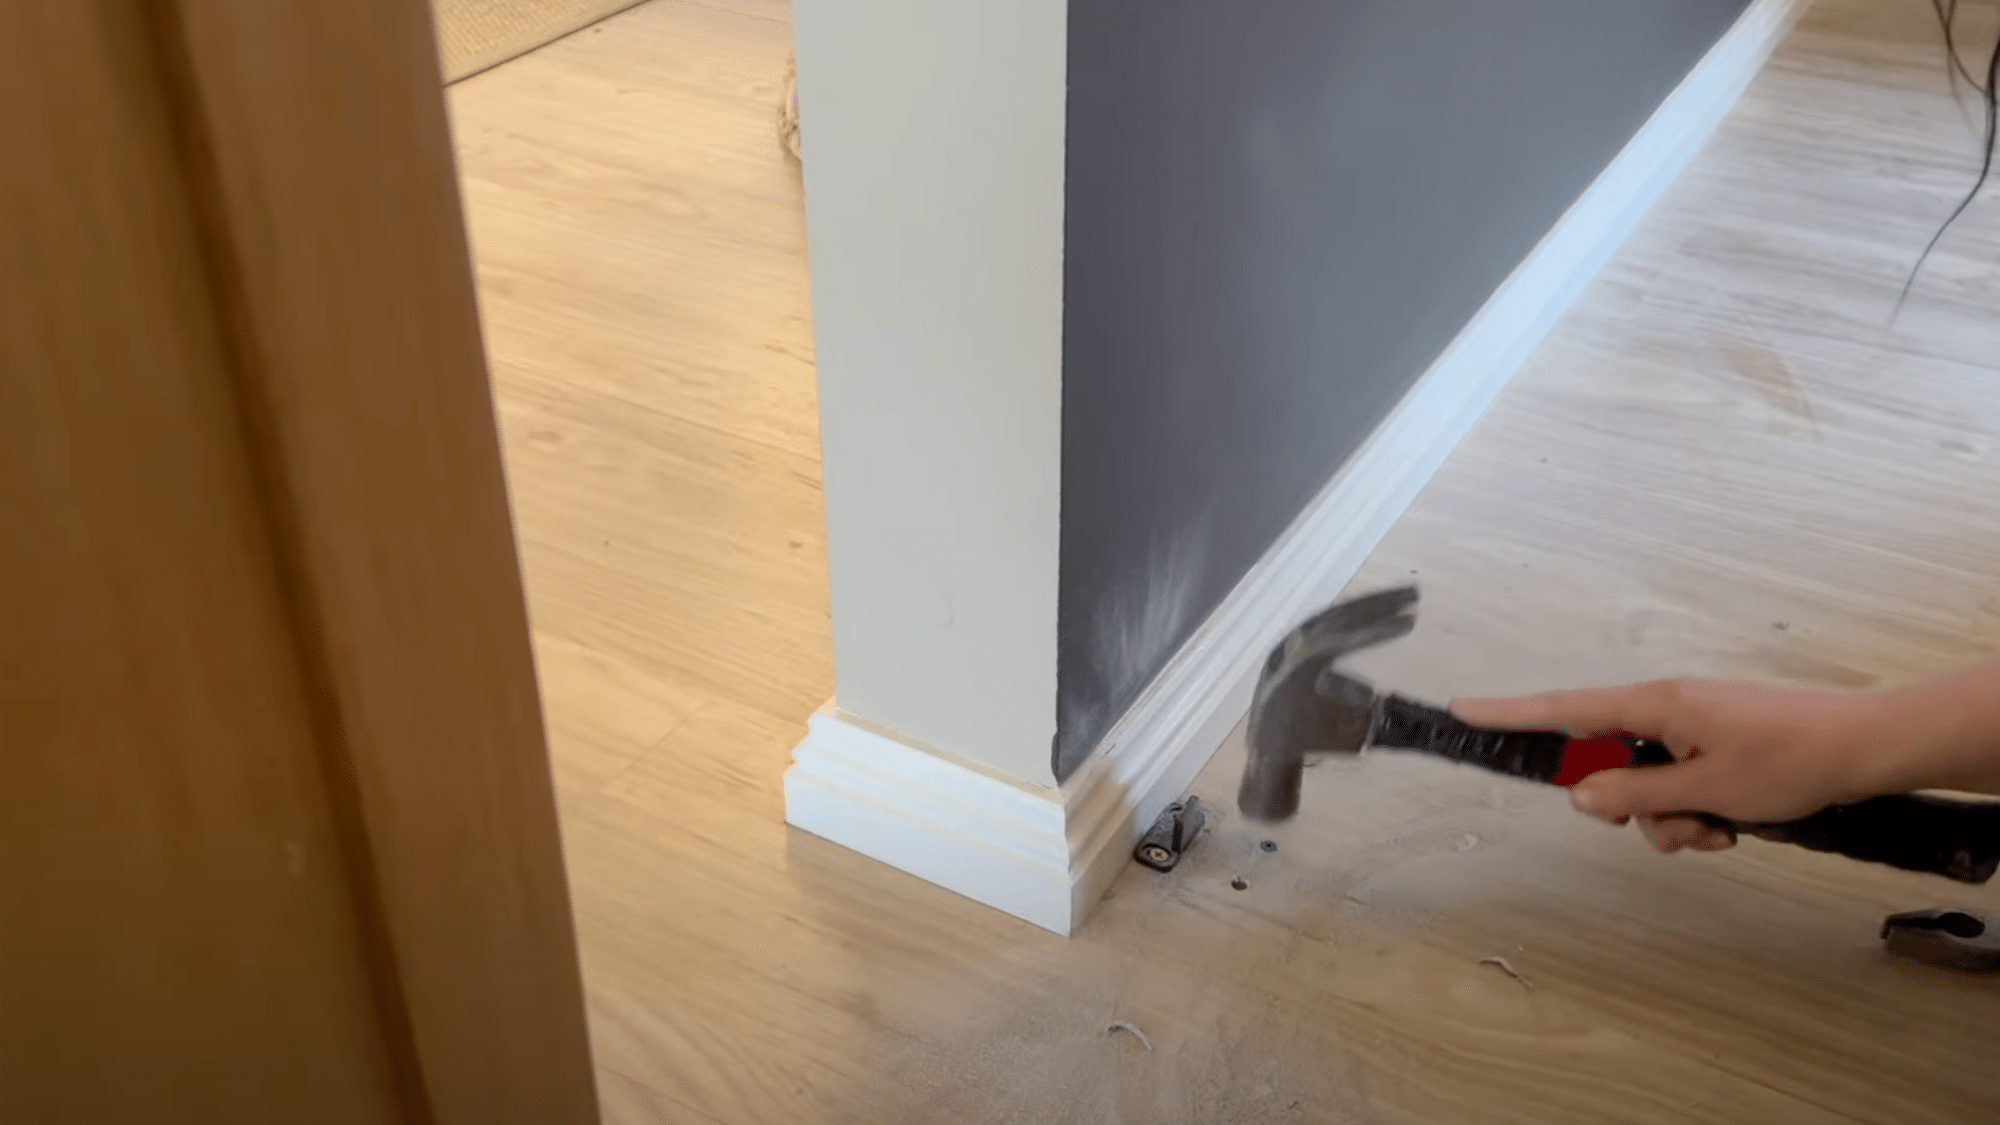
These prevent the doors from swinging back into the wall or wobbling.
- Slide the doors into place and mark the guide position on the floor.
- Drill into the slab if needed (use a hammer drill for concrete).
- Insert wall plugs and screw in the guide.
- Make sure the guide holds the door securely but allows it to slide freely.
Step 13: Add Handles
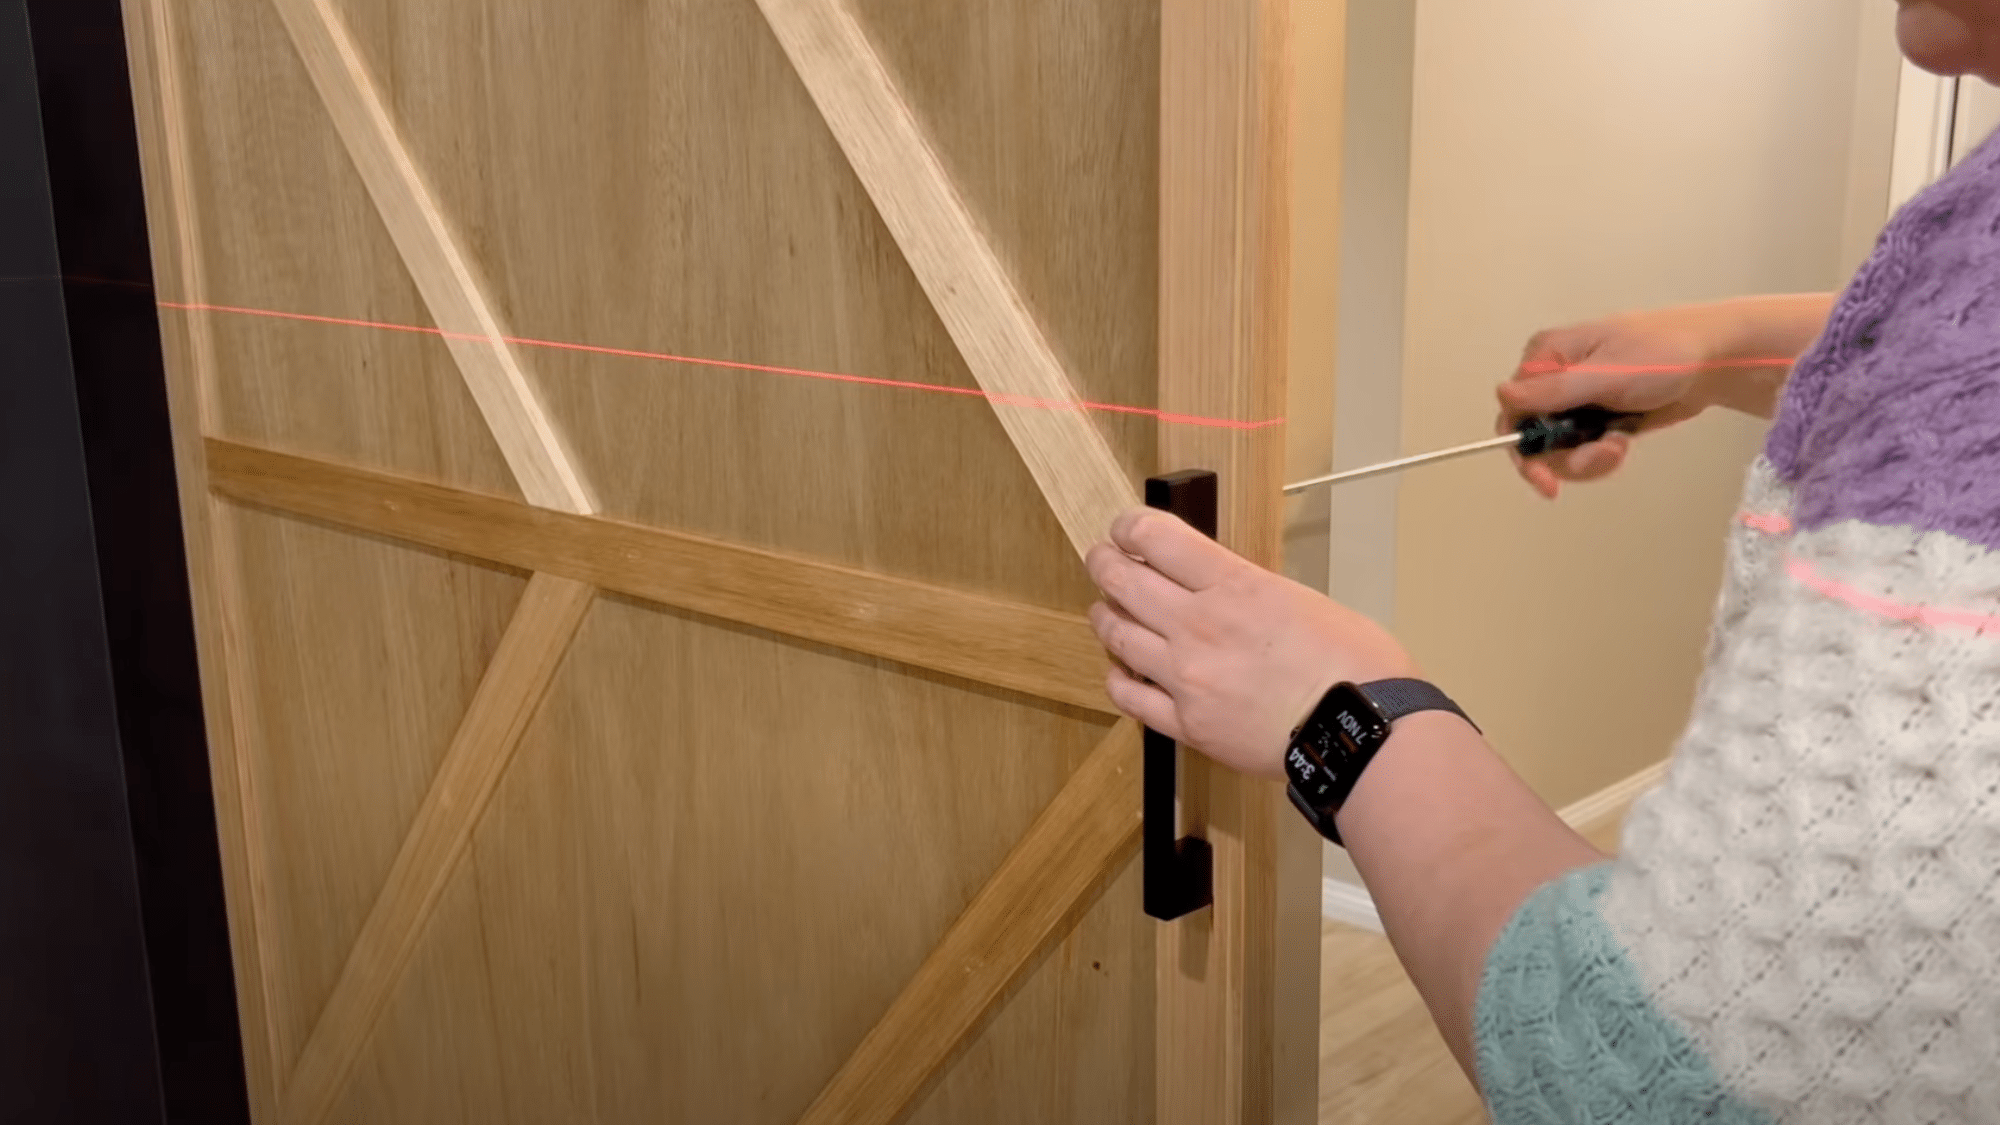
The finishing touch adds both function and style to your barn doors.
- Use a laser level to mark equal handle height on both doors.
- Drill pilot holes.
- Screw handles in place manually with a screwdriver to avoid stripping threads.
- Repeat for the second door.
For a more detailed tutorial on how to build and Install Barn doors, check out the video below:
Some Creative Customization Ideas for Barn Doors to Try Out
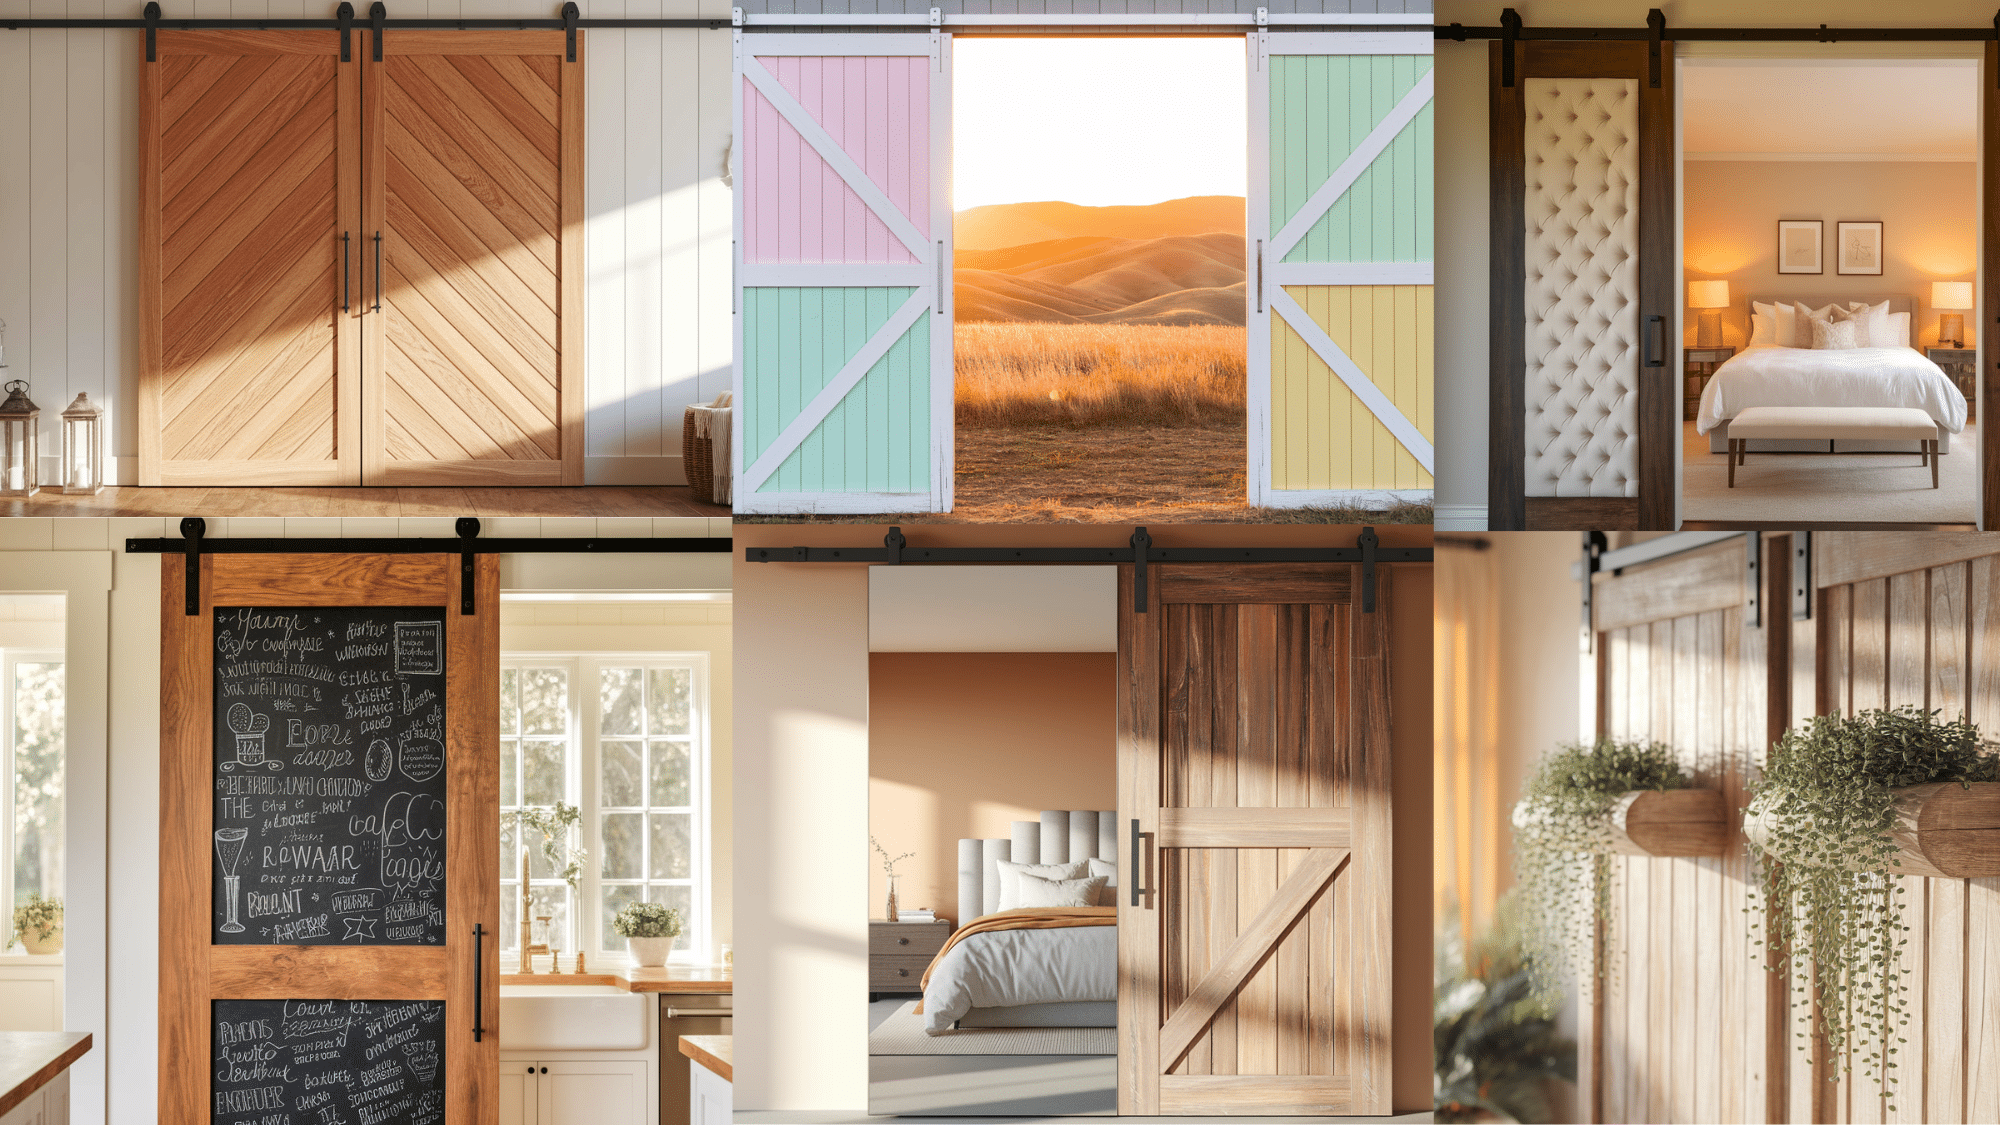
If you prefer rustic, modern, industrial, or eclectic styles, there are endless ways to customize your barn door. Here are some inspiring ideas to make barn doors truly unique.
- Chevron Pattern Design: Arrange wood strips in a V-shape (chevron) pattern across the door to create a modern look. This adds stylish texture and depth.
- Half Mirror, Half Wood: Add a full-length mirror on the top half and keep natural wood on the bottom. This design is perfect for bedrooms or dressing areas.
- Chalkboard Panel Door: Paint a section of your barn door with chalkboard paint to leave notes, reminders, or doodles. This is great for kitchens or kids’ rooms.
- Upholstered Fabric Panel: Add a soft, tufted fabric panel to the center of your door for a cozy and stylish feel. This panel is ideal for bedrooms or reading nooks.
- Color-Blocked Pastel Panels: Paint your door in two or three soft pastel colors, divided into blocks. It creates a fun, trendy pop of color.
- Built-In Plant Holders: Attach small plant holders or mini planters to your door to bring greenery indoors and create a living accent piece.
Maintenance Tips to Keep Your Door Long Lasting
- Wiping down your barn door with a slightly damp cloth every few weeks will keep it looking fresh. This prevents dust buildup, which can scratch the finish over time.
- Every few months, take a few minutes to check all screws and bolts on your door and track. Loose hardware can cause the door to hang unevenly or slide poorly.
- Apply a small amount of silicone-based lubricant to the track twice a year. This helps the door slide smoothly and reduces wear on the rollers.
- Watch for worn spots in the finish and touch them up before moisture can reach the wood. Small scratches can be fixed with a matching wood marker.
- Make sure the floor guide stays properly aligned to prevent the door from swinging. If it gets loose, tighten it back up to stop the door from hitting the wall.
- Wood can change shape with humidity changes. If you notice any warping, address it early by adjusting the hardware before the problem gets worse.
- The bottom of your door collects dirt and debris that can scratch your floor. To prevent damage, clean this area regularly with a brush or vacuum.
- Every couple of years, apply a new coat of clear sealant to protect the wood. This keeps moisture out and helps the door stay longer.
Conclusion
Now you know how to make your own barn doors! It might take a weekend, but the results are worth the effort. These doors not only save space but also add a warm, special touch to your home.
Take your time with each step, especially when measuring. A small mistake early on can cause problems later, so go slow and double-check your work.
With the right care, your barn door will last for many years. Why not start planning today?
Grab your supplies this weekend and get building!

