Best Methods to Dry Peonies At Home
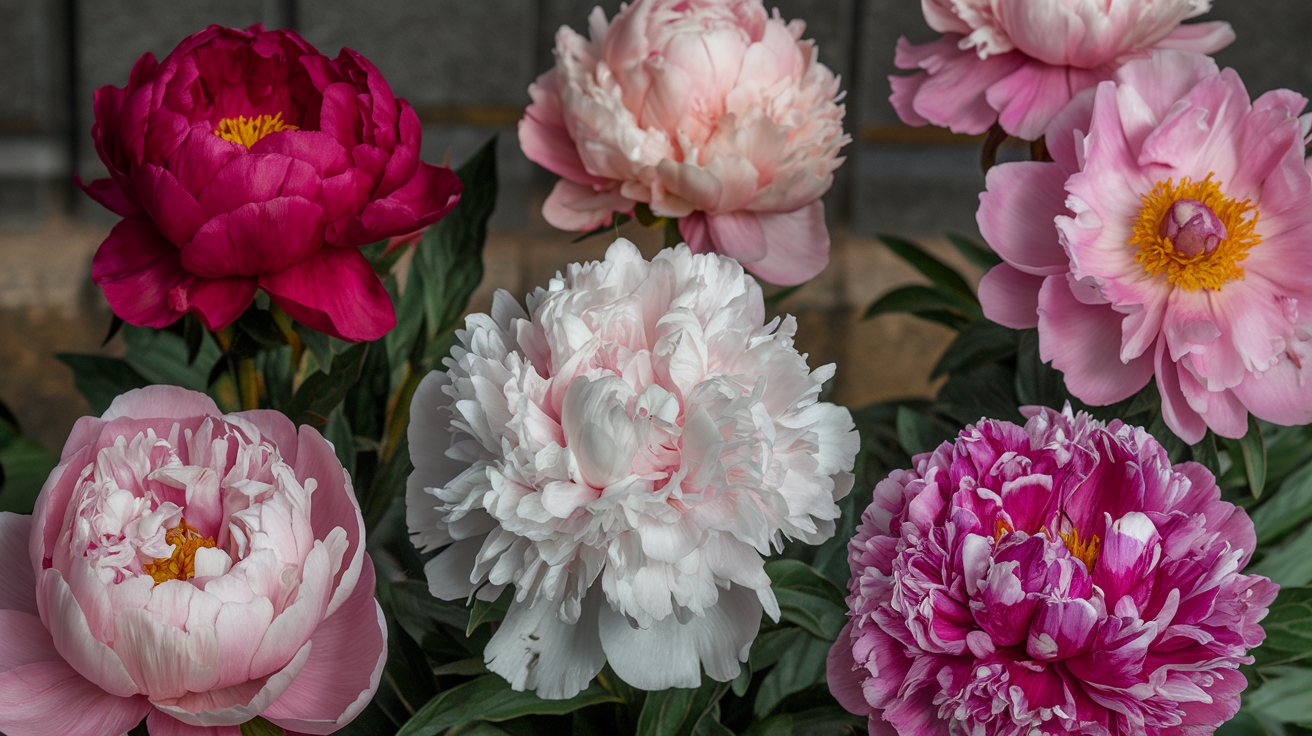
Do you love peonies but wish they’d last longer than their brief blooming season? You’re not alone. Luckily, preserving these lovely flowers is easier than it may seem.
With the right techniques, it’s possible to keep their shape and color intact for much longer than their natural bloom.
The methods shared here are simple and accessible—no special equipment or expertise required. Just a little time and patience are all it takes to enjoy the beauty of peonies long after their season has ended.
By following these steps, the joy of peony season can stretch well beyond the spring and early summer months.
Why Do We Dry Peonies
Peonies bloom for such a short time each year—usually just a few weeks in late spring. But when you dry them, you can enjoy their beauty all year round.
Dried peonies make wonderful home decorations that last for months or even years. They look lovely in vases, wreaths, or as part of wall hangings. Plus, they keep much of their color and form when dried correctly.
Many people also dry peonies for sentimental reasons. Maybe they were part of your wedding bouquet, a gift from someone special, or from a plant passed down through your family.
Dried peonies can save you money, too. Instead of buying fresh flowers throughout the year, your preserved blooms become lasting decorations without any extra cost.
Different Methods to Dry Peonies at Home
Drying peonies at home is a great way to preserve their beauty long after they’ve bloomed.
If you use the traditional method of air drying or a quicker technique like microwaving, each method offers unique benefits for keeping your peonies intact for crafts, décor, or keepsakes.
Air Drying Method for Peonies
Materials Needed
- Fresh, partially opened peonies
- String (for tying)
- Scissors or strong shears (like poultry shears)
- A curtain rod, clothes rod, or similar sturdy object for hanging
- A dry, well-ventilated space for hanging the flowers
Approximate Cost Range – $6 to $125 (without dehumidifier: $6 to $25)
Step 1: Select the Right Peonies
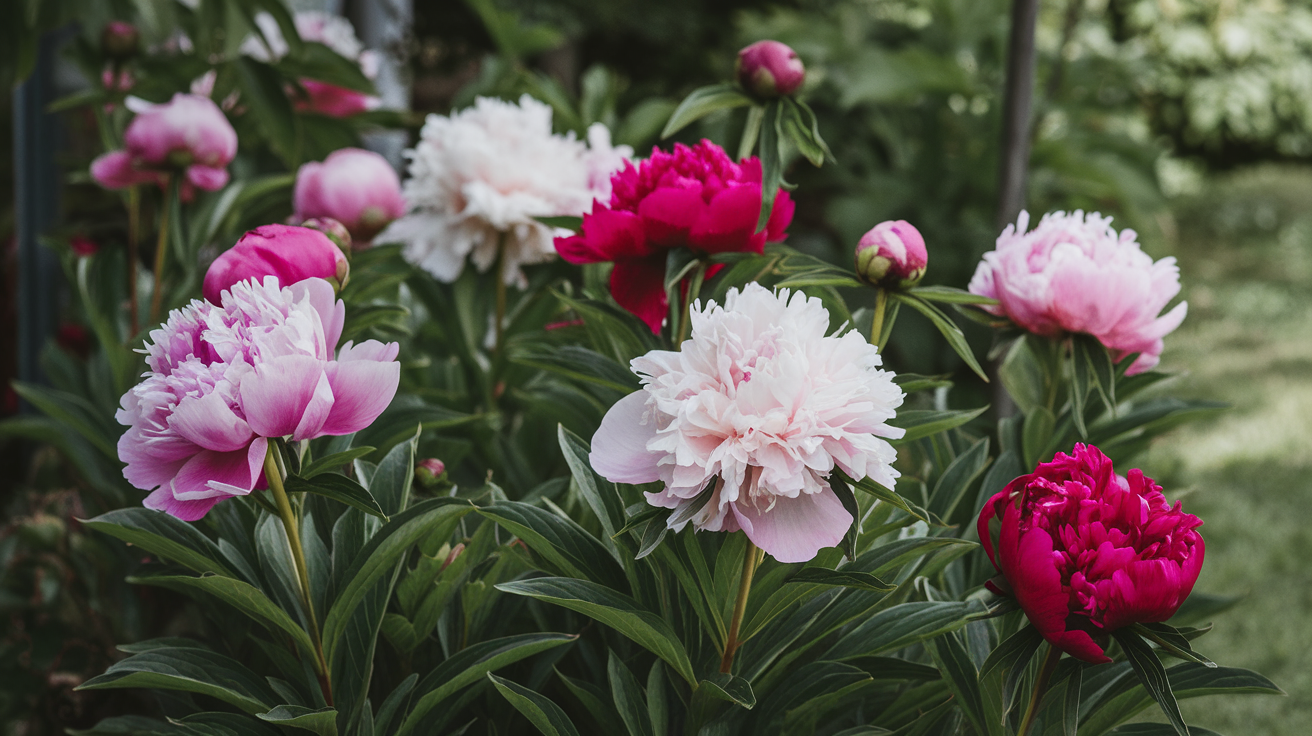
Choose blooms that are not fully open but are in a mostly open stage. Avoid blooms with petals that are starting to fall off; they should be fresh but not completely open.
For best results, pick flowers that have bloomed recently (ideally, on the same day).
Step 2: Remove Leaves and Buds
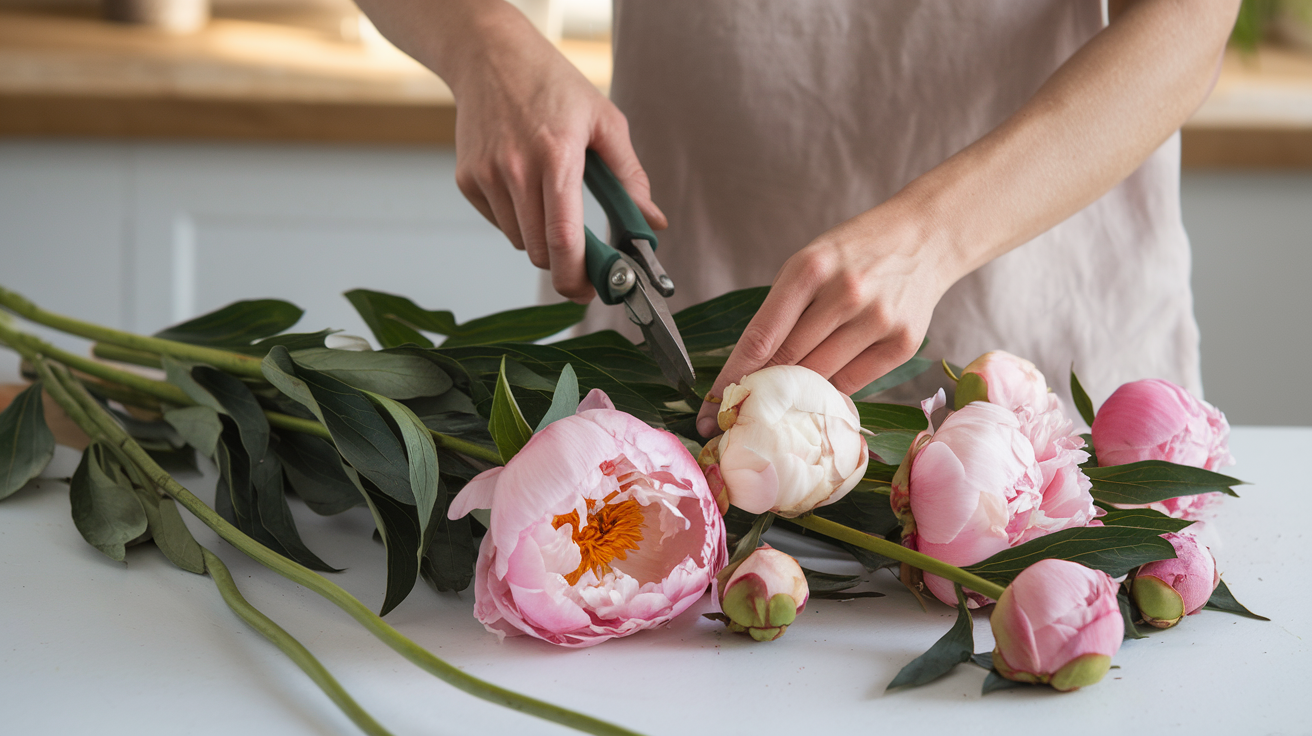
Trim off the leaves to prevent them from interfering with the drying process.
Cut off any buds, as they will not dry properly and could get in the way when creating a bouquet later.
Step 3: Prepare the Peony for Hanging
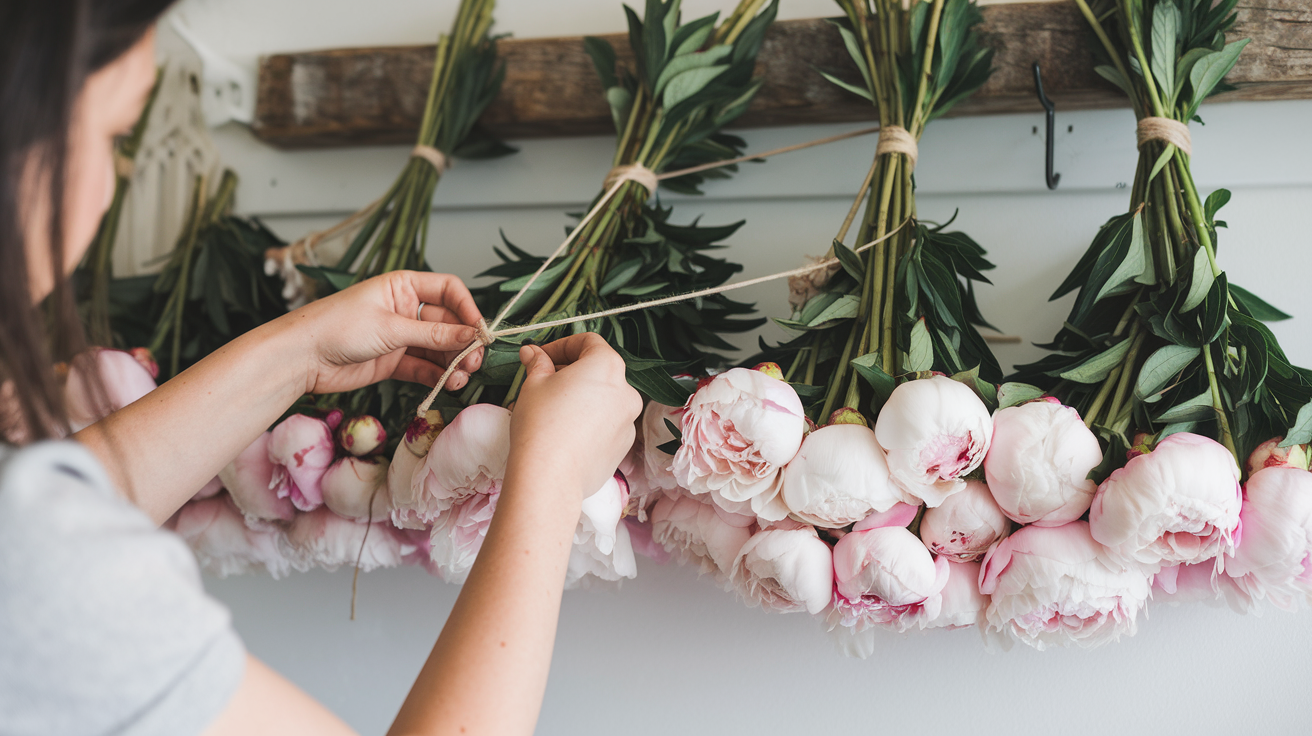
Use a string to tie the stems together. Find a spot where the string can securely tie around the stem (usually where a leaf branch was removed).
Tie a simple double knot to hold the string in place.
Step 4: Hang the Peonies Upside Down
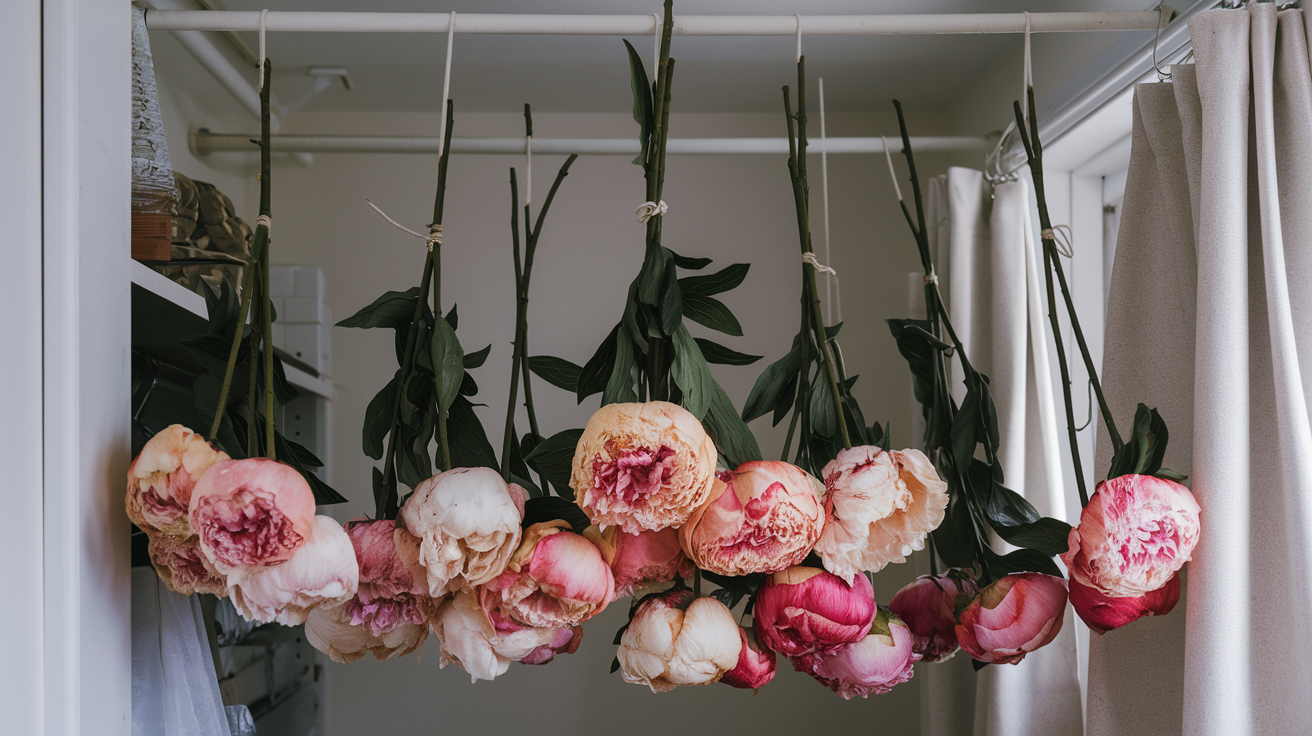
Hang the peonies upside down to preserve their shape. This ensures the flowers dry evenly and don’t get flattened.
Hang the peonies in a dry, well-ventilated area, such as a closet, using a curtain rod or similar sturdy object.
Step 5: Let the Peonies Dry
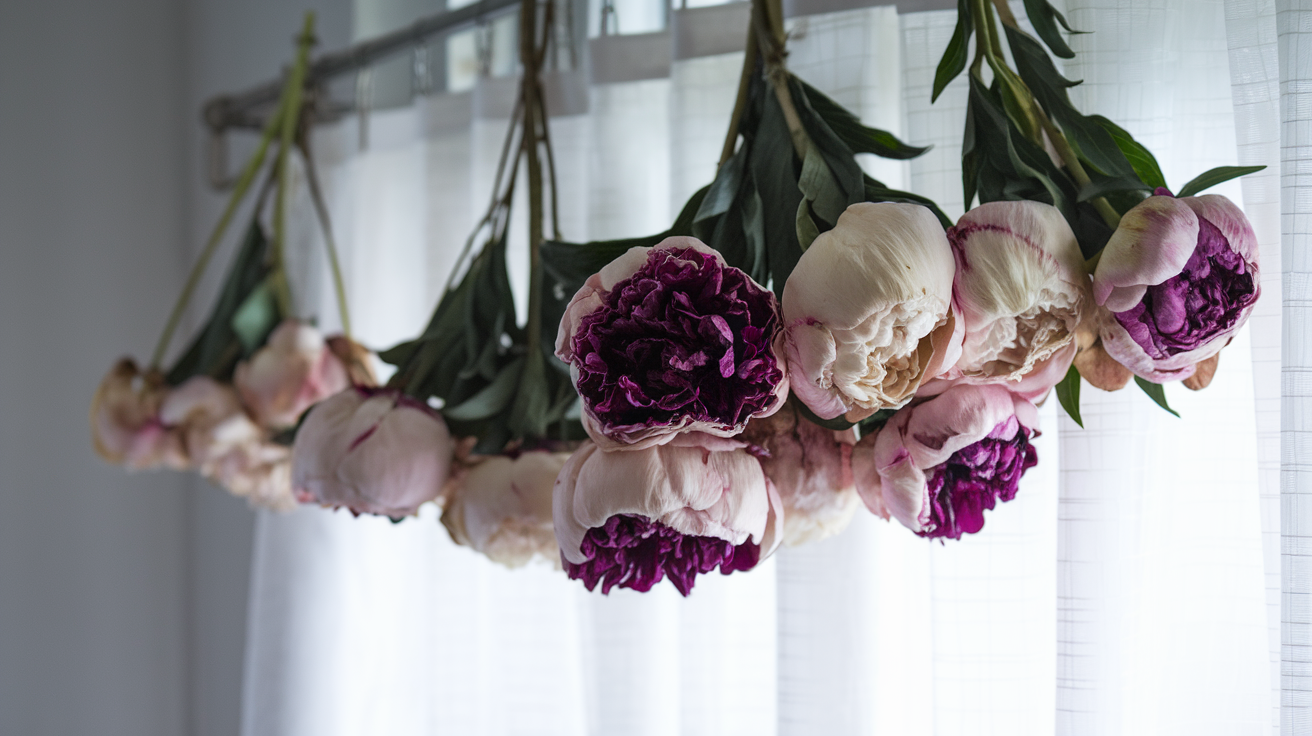
Let the peonies dry for about 1 to 2 weeks, depending on the humidity level in your area. Check regularly to ensure they’re drying properly.
The flowers will slowly transition into a dried form, with some varieties changing color (for example, magenta flowers can turn darker).
Step 6: Inspect and Remove Any Imperfections
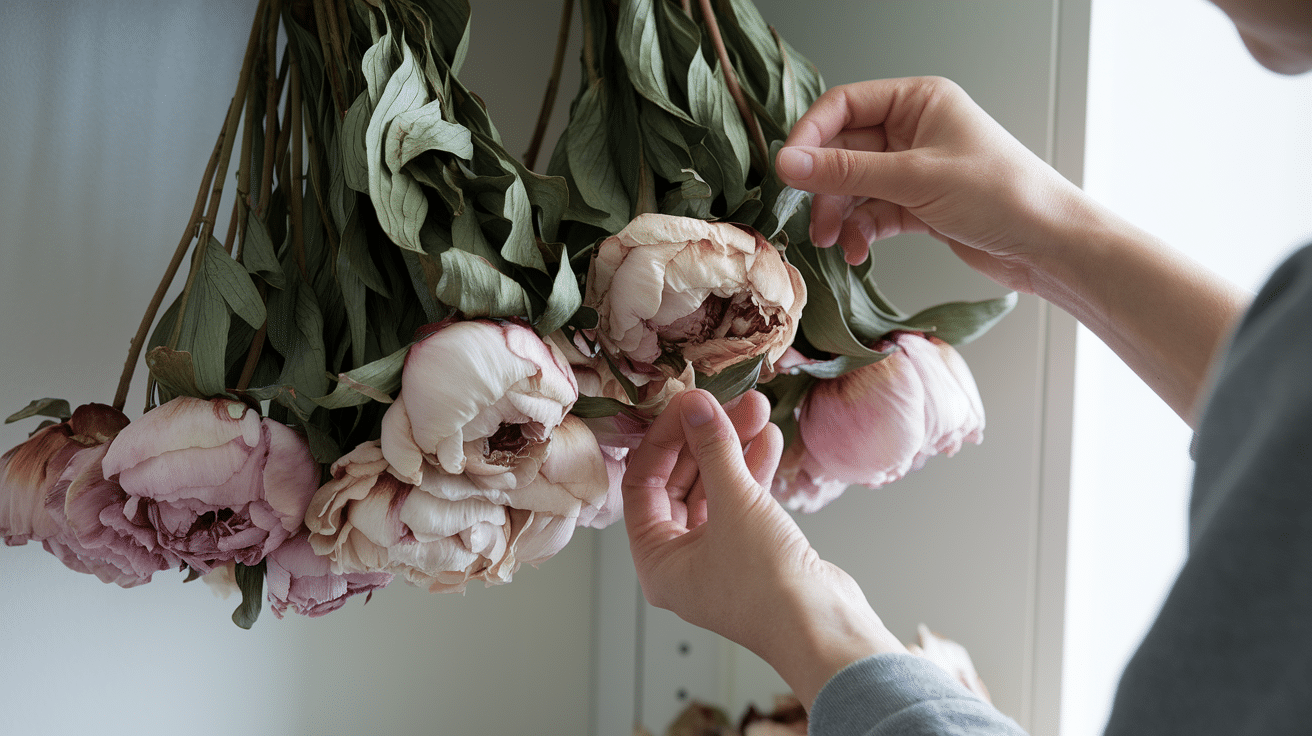
After 1 to 2 weeks, check the dried flowers for any browned or damaged petals. These can be gently removed.
Be cautious while handling the flowers to avoid tearing or damaging other petals.
Step 7: Trim the Stems
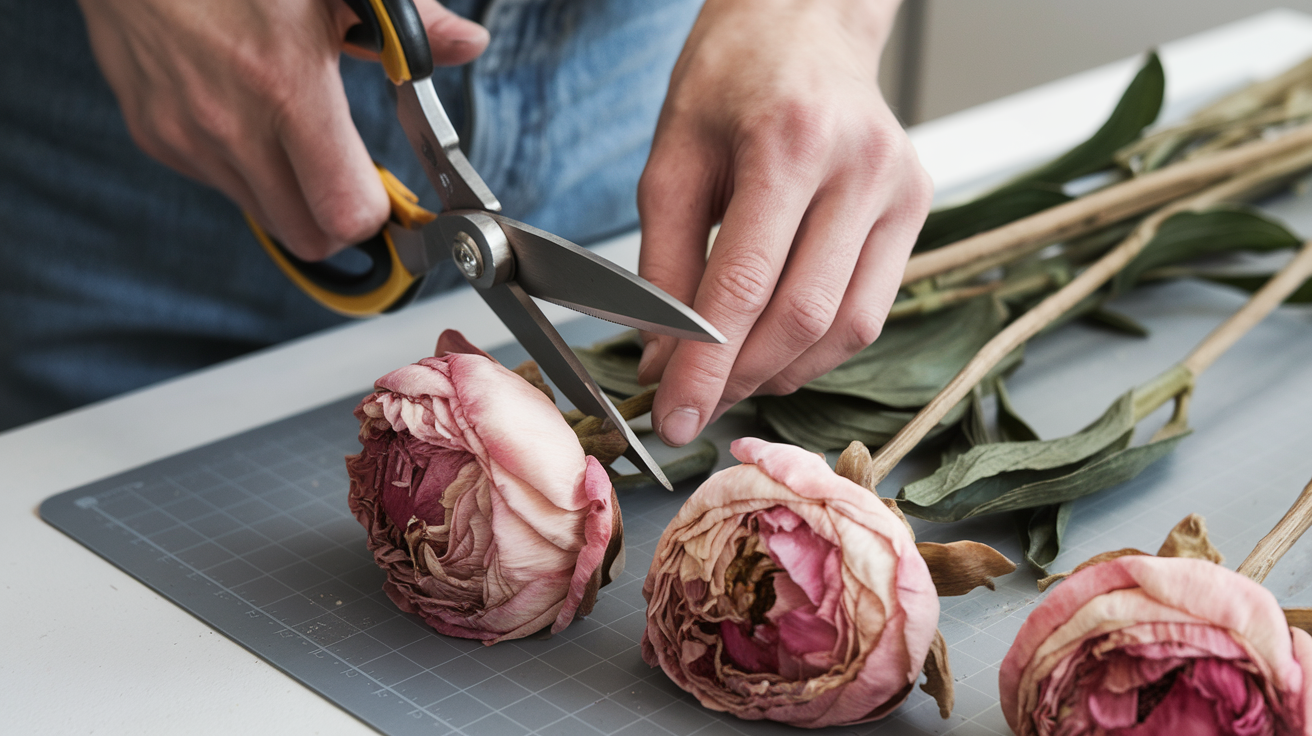
Use strong scissors (e.g., poultry shears) to trim the stems to the desired length.
Cut carefully to avoid disturbing the delicate dried petals.
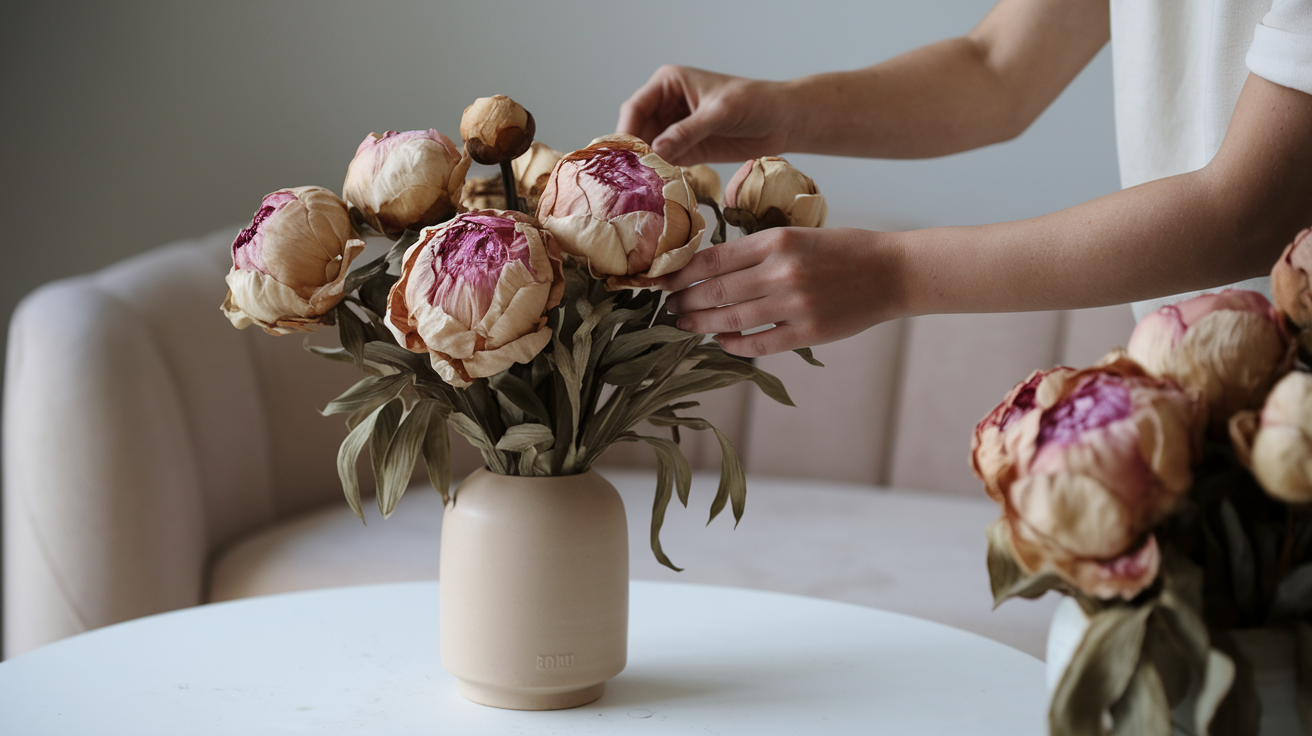
Once the flowers are fully dried and trimmed, they can be placed in a vase or added to a bouquet.
Start by selecting a vase that complements the size and style of your dried peonies. A vintage glass jar or ceramic vase works wonderfully with their soft, delicate look.
Silica Gel Drying Method to Preserve Peonies
Materials Needed
- Silica Gel Crystals
- Container for Flowers
- Soft Brush
- Shadow Box Frames (Optional)
Approximate Cost Range – For the drying process, the initial cost for silica gel and containers is around $15 to $45.
Step 1: Prepare Your Materials
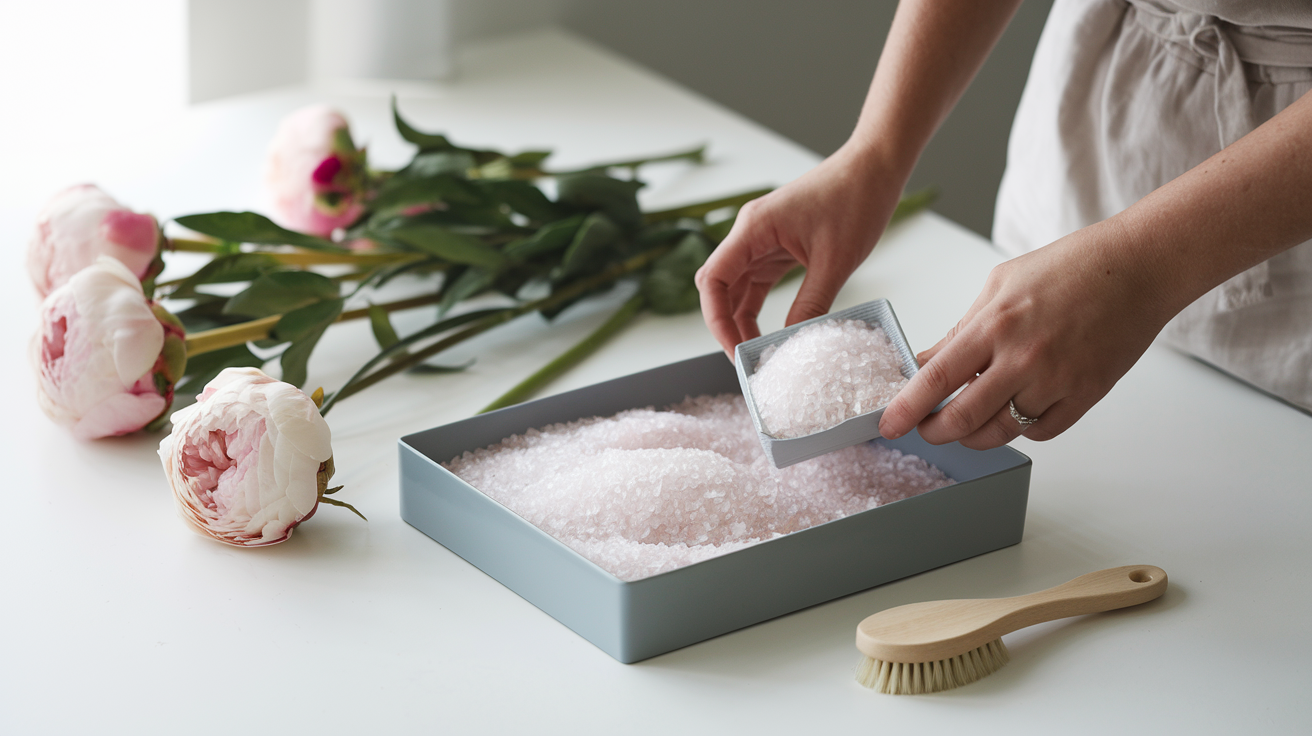
Get your silica gel crystals and a suitable container (like a box or tray). You may also need a soft brush to clean off any leftover crystals from your flowers.
Step 2: Position the Flower in the Container
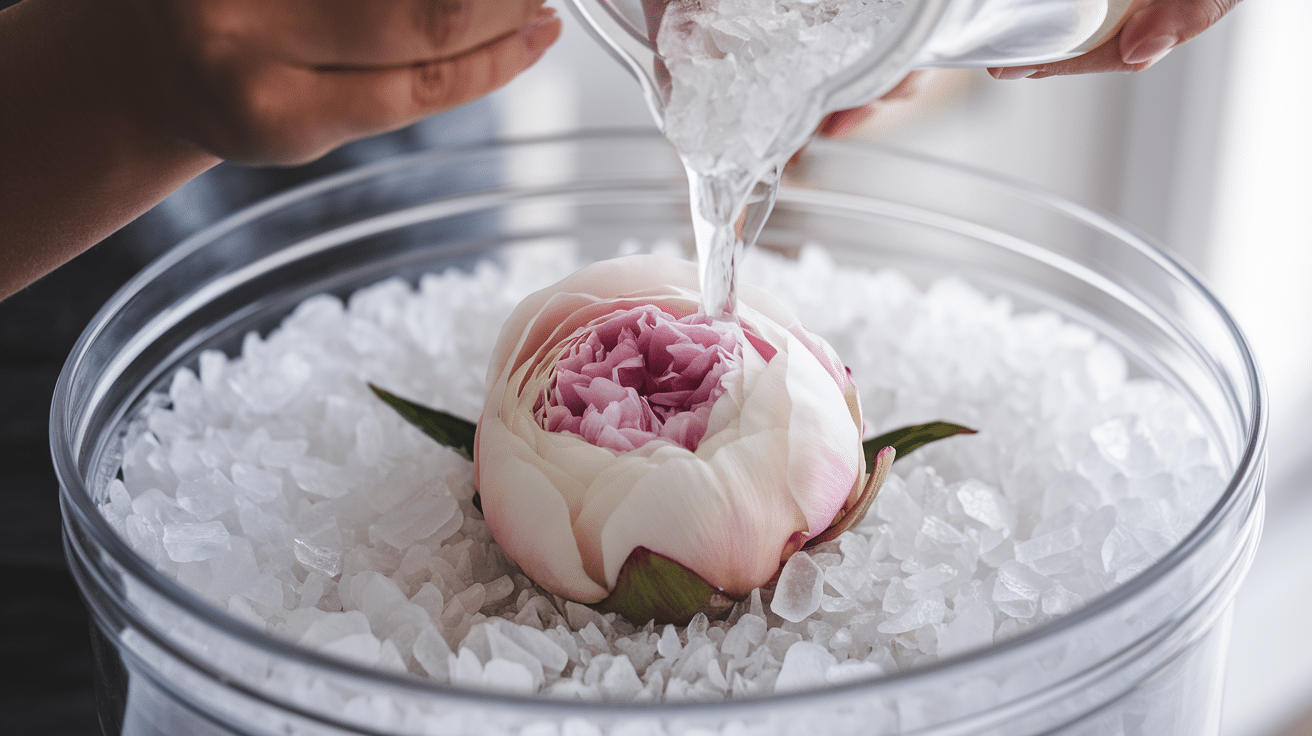
Carefully place the flower in the container. Slowly pour silica gel crystals around and over the flower, ensuring it is completely covered, especially around the petals.
This helps preserve the shape and form.
Step 3: Leave the Flowers to Dry

Allow the flowers to sit in the silica gel for about a week. Check them after a few days, but wait for at least a week to ensure they are fully dried.
Some flowers may need more time, depending on their moisture levels.
Step 4: Unearth the Flower
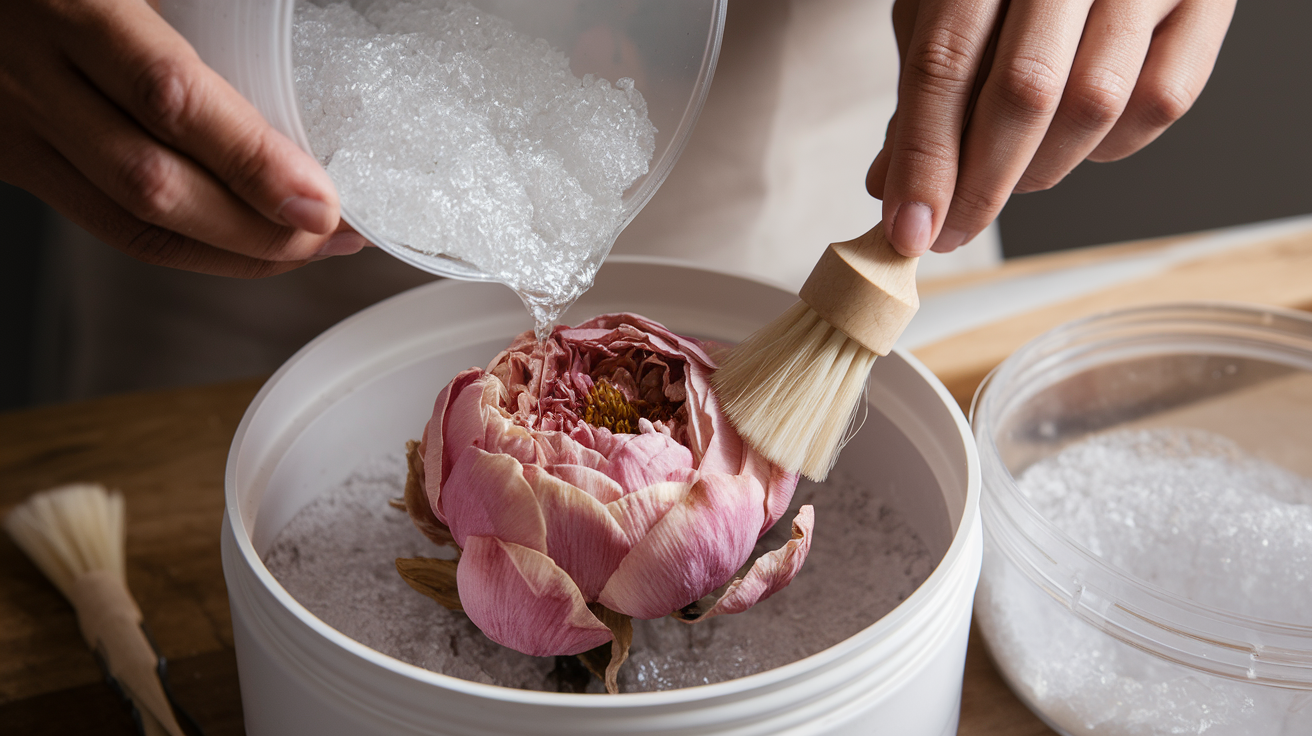
Gently pour off the silica gel into a separate container.
Use a soft brush to remove any remaining silica gel from the petals, especially from delicate areas like the flower’s center.
Step 5: Cleaning and Handling the Dried Flowers
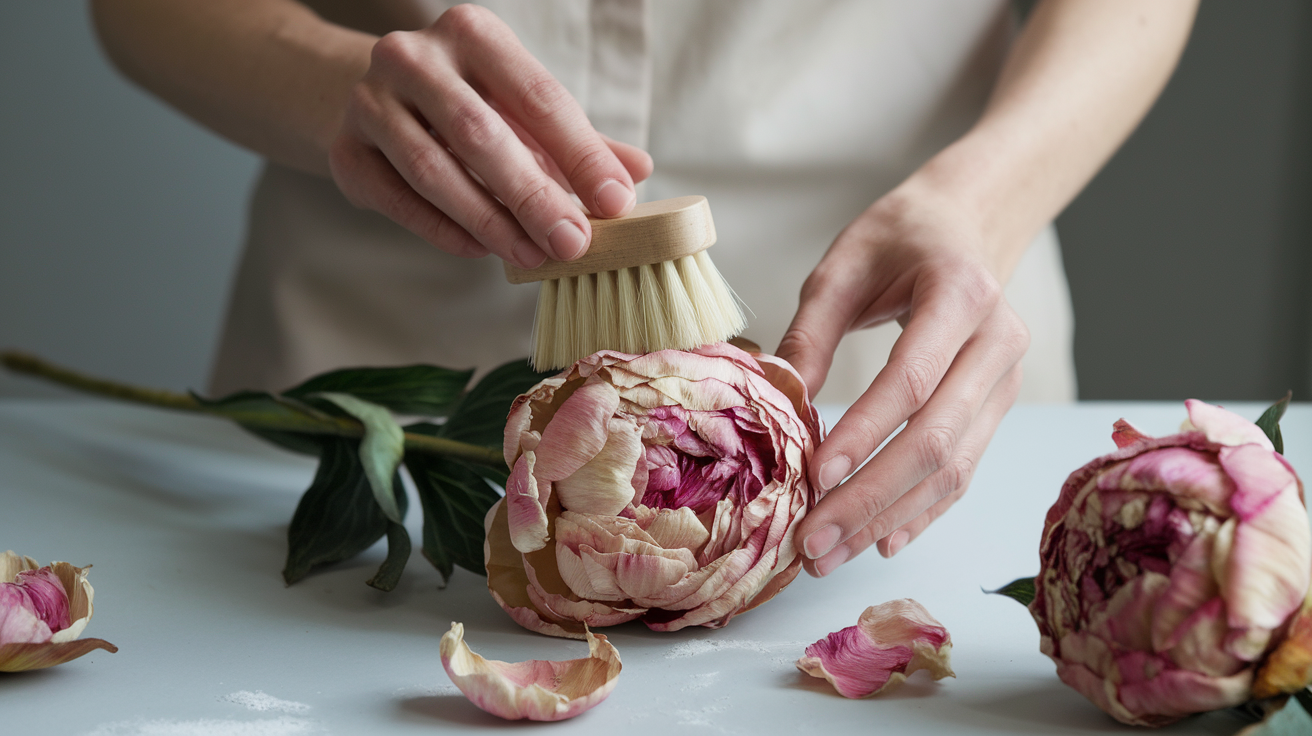
Take extra care when brushing off the silica gel to prevent any damage to fragile petals.
Some petals may naturally fall off, but that’s part of the process.
Step 6: Store and Display
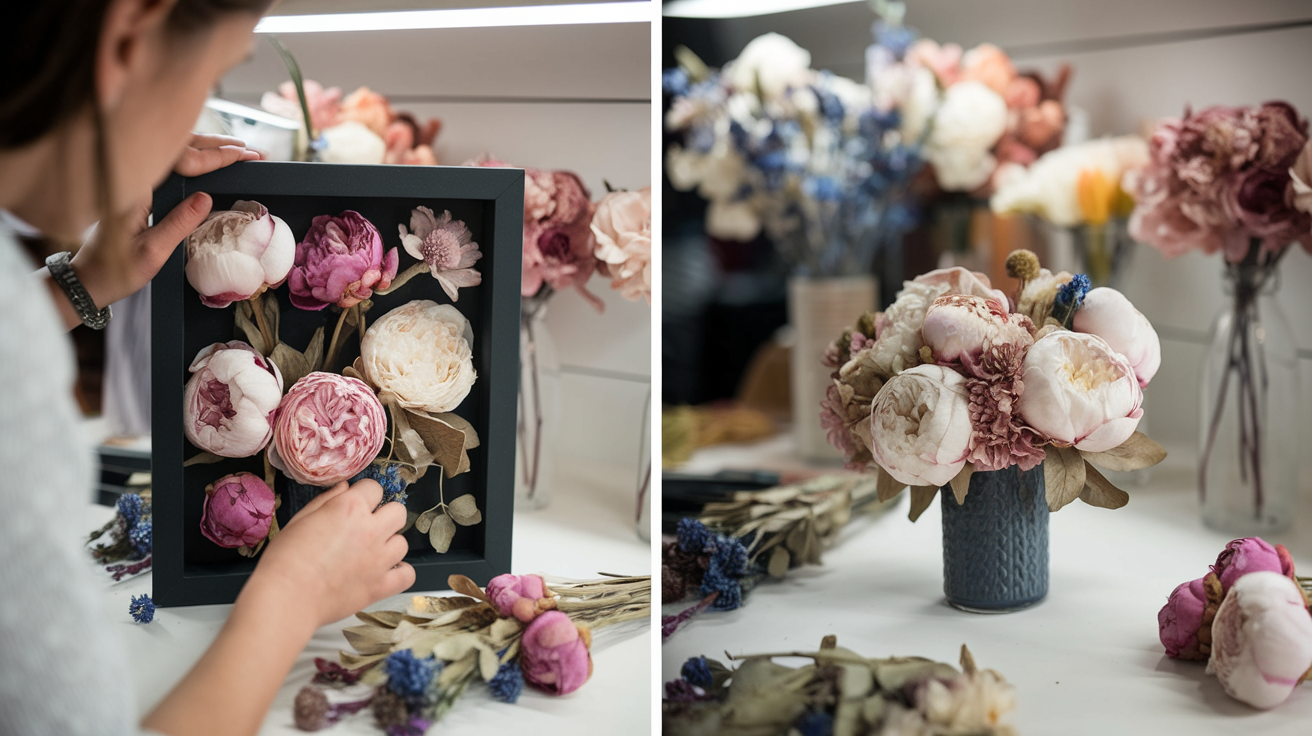
Once the flowers are dry and clean, you can display them as is or use them for crafting projects such as shadow box frames or flower arrangements.
Consider trimming the flowers to fit into the frame if using shadow boxes.
Low Efforts Pressing Method
Materials Needed
- Peonies (Herbaceous type recommended)
- Flower Press
- Parchment Paper or Absorbent Paper
- Weight or Heavy Books
Approximate Cost Range: $15 to $65, depending on if you purchase peonies or already have the materials.
Step 1: Choose the Right Peony Variety
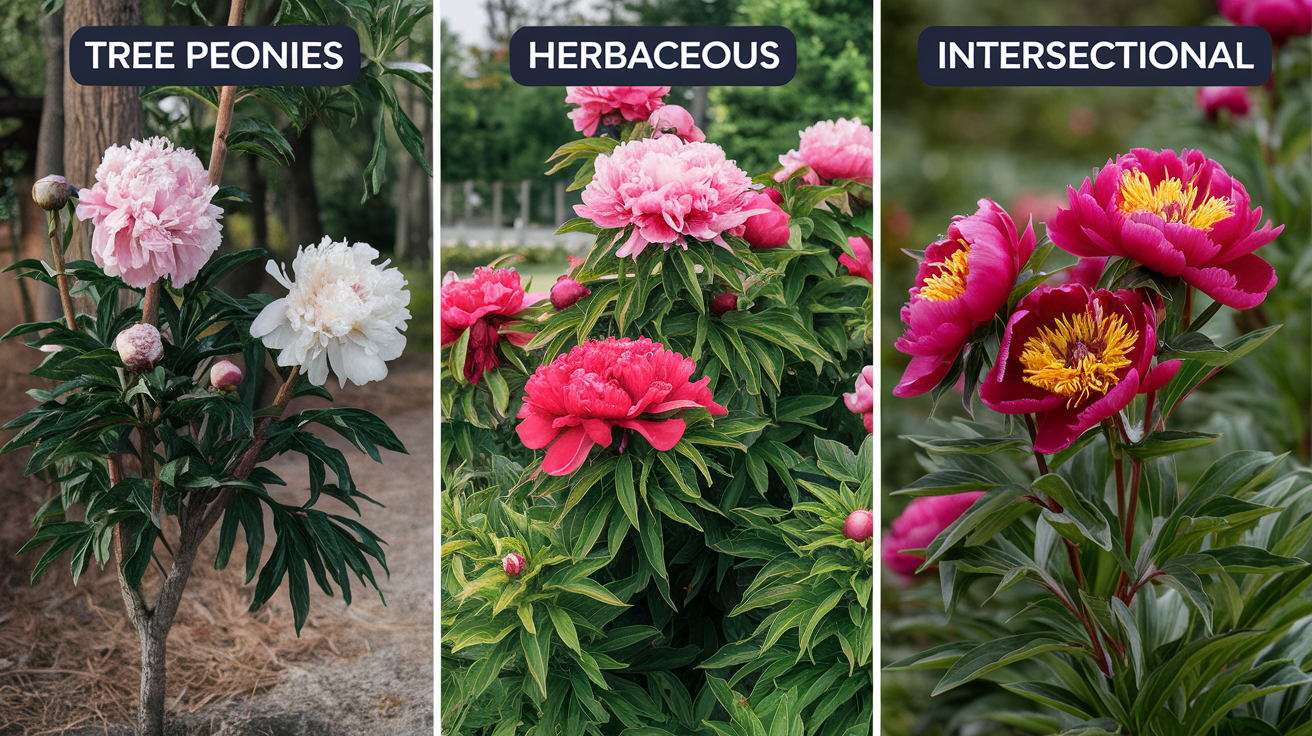
There are three types of peonies: tree, herbaceous, and intersectional peonies.
It’s important to understand the anatomy of your chosen peony to manage the pressing better.
Step 2: Preparation
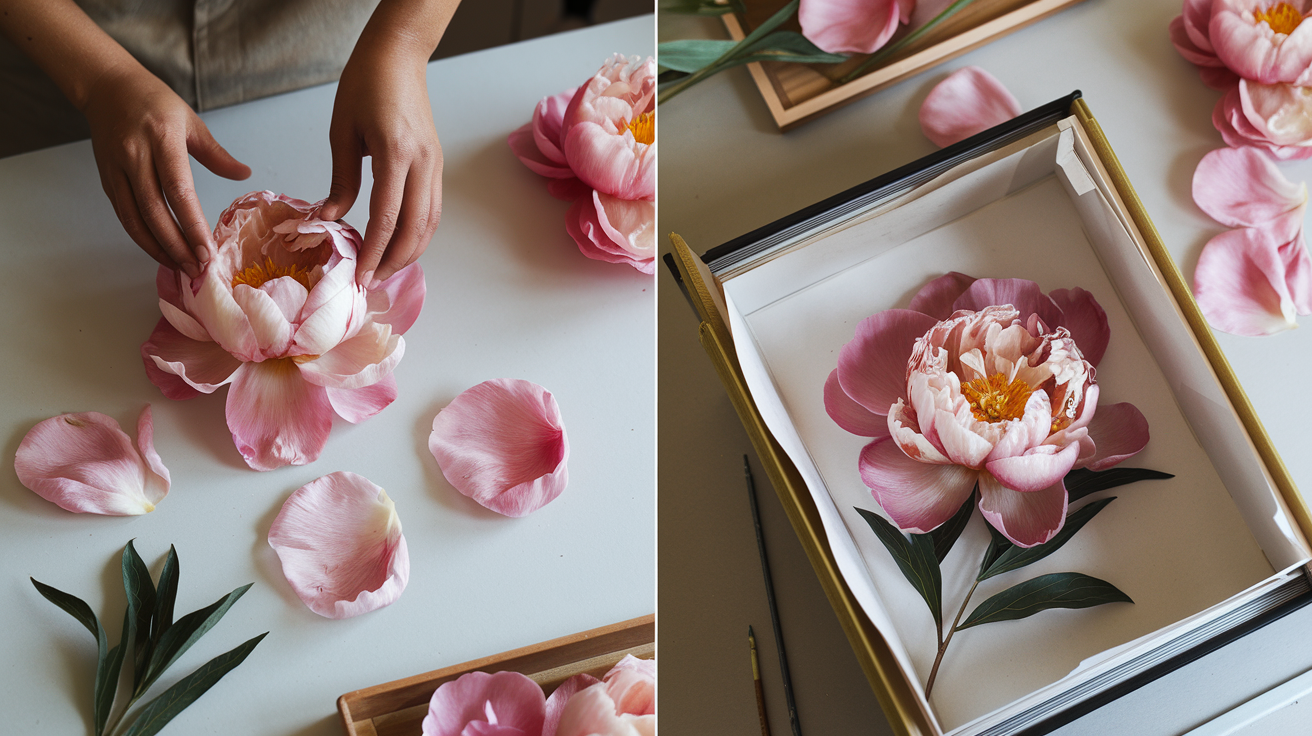
Remove some center petals to thin out the flower. You can also press the petals individually, though this can be time-consuming.
Alternatively, you can press the flower whole if it’s manageable. Press the guard petals separately as they are larger and easier to handle.
Step 3: Cutting the Stem
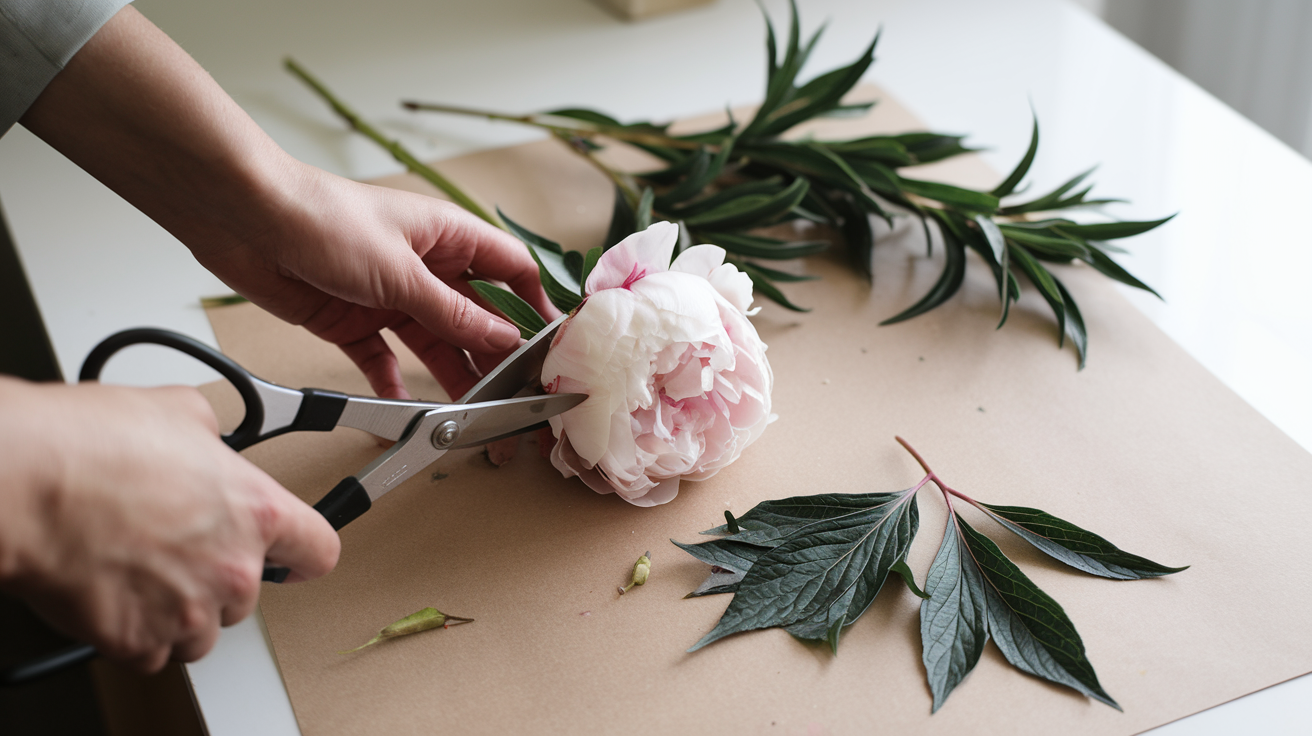
Cut the peony stem in half to make it easier to press and help it dry quicker.
You can also press the leaves if they are in good condition. Keep in mind that wilting leaves may impact the outcome of your press.
Step 4: Place in the Press
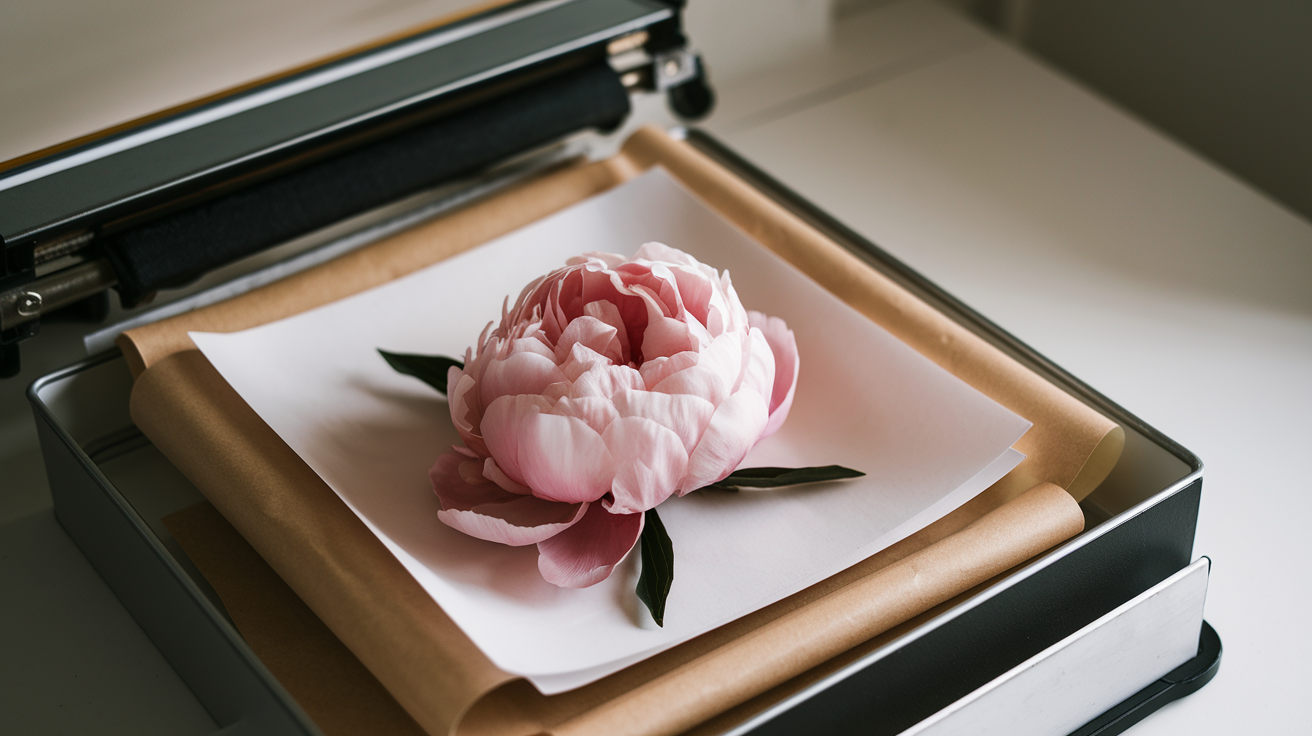
Lay the flower flat and make sure all petals are as spread out as possible for even pressing.
If you’re using a flower press, place the peony on the pressing sheets, ensuring it’s as flat as possible to prevent any folding or curling.
Step 5: Wait and Monitor
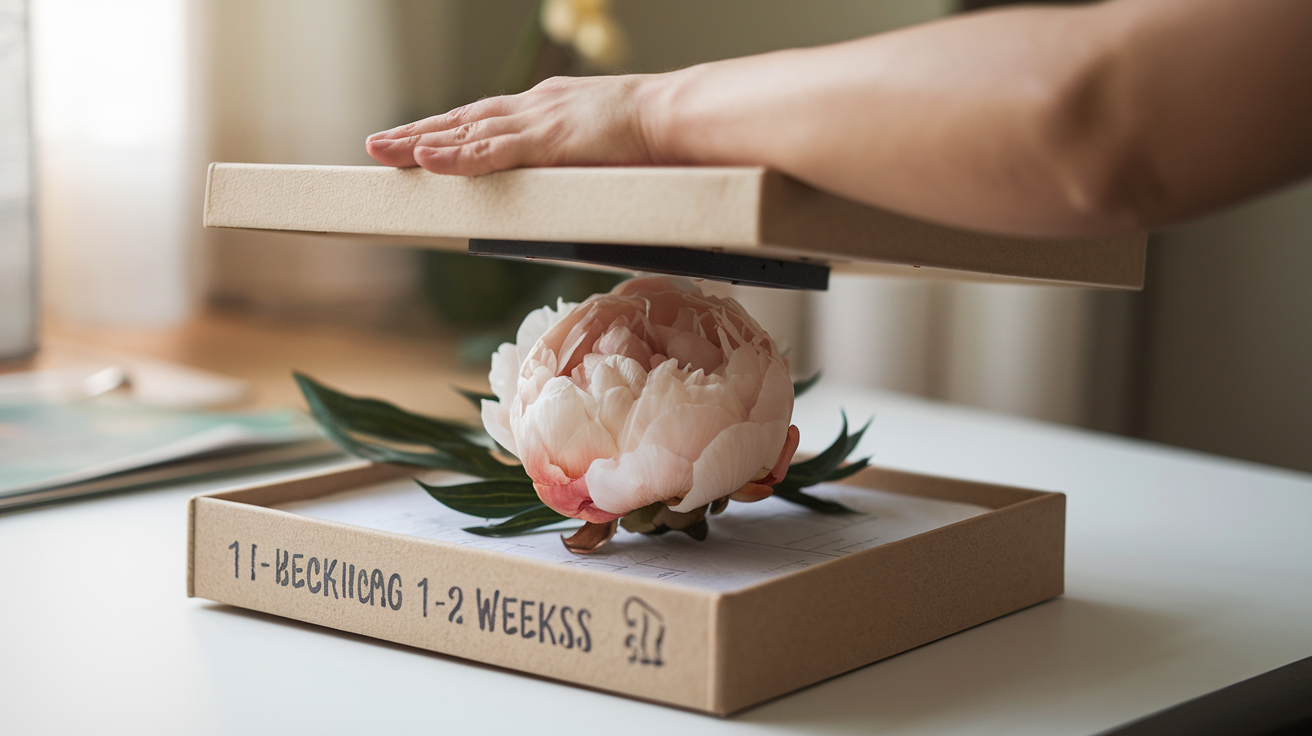
Leave the flower in the press for at least 1-2 weeks to allow it to fully dry.
Check the flower regularly to ensure it’s not browning excessively. The browning can be caused by multiple factors, including flower variety, moisture retention, and the flower’s vase life.
Step 6: Final Result
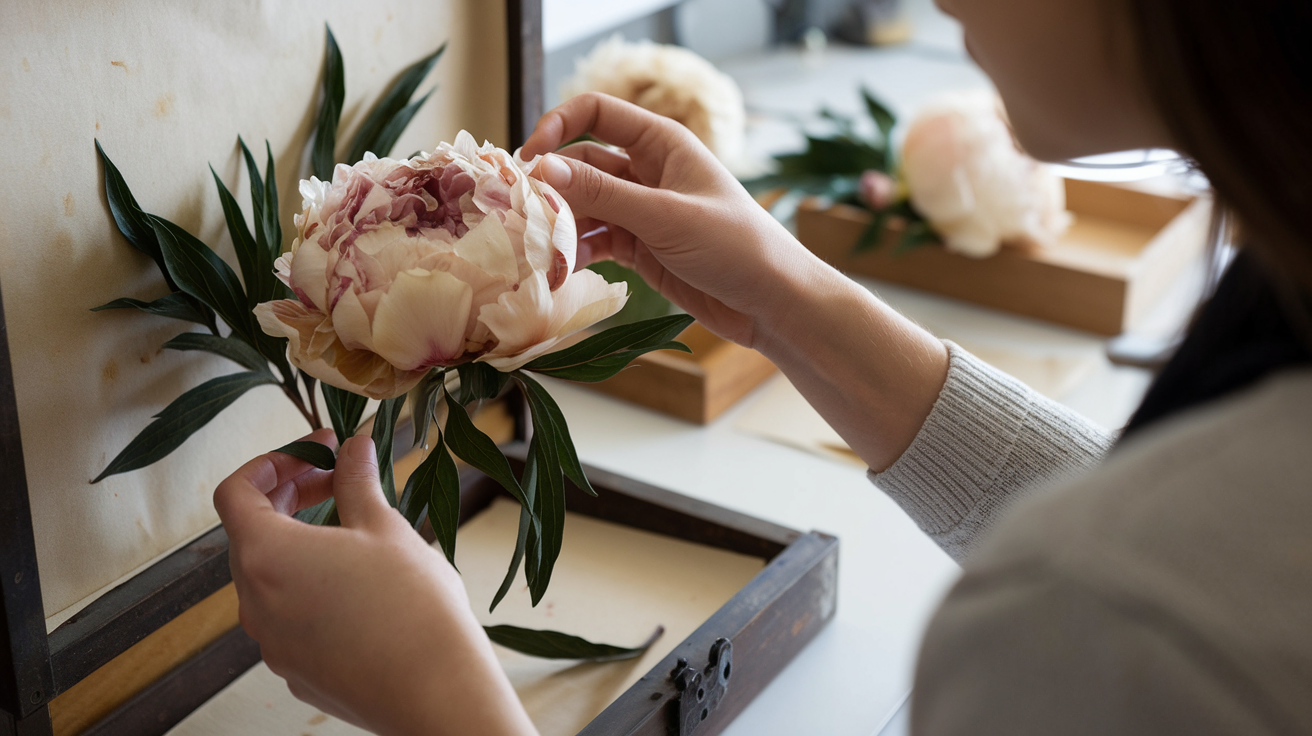
After the pressing is complete, carefully remove the flower and inspect for damage.
While some flowers may have browned, this is part of the natural transformation, and the flower can still be appreciated for its new, preserved state.
A Quick Microwave Drying Method
Materials Needed
- Peonies (Fresh)
- Microwave-Safe Casserole Dish or Ceramic Tile/Brick
- Wax Paper
- Heavy Book
- Scissors
- Hot Glue Gun (Optional)
- Craft Supplies for Final Projects
Approximate Cost Range – $51 to $210 (if purchasing a microwave) or $1 to $10 (if using an existing microwave)
Step 1: Gather Your Peonies
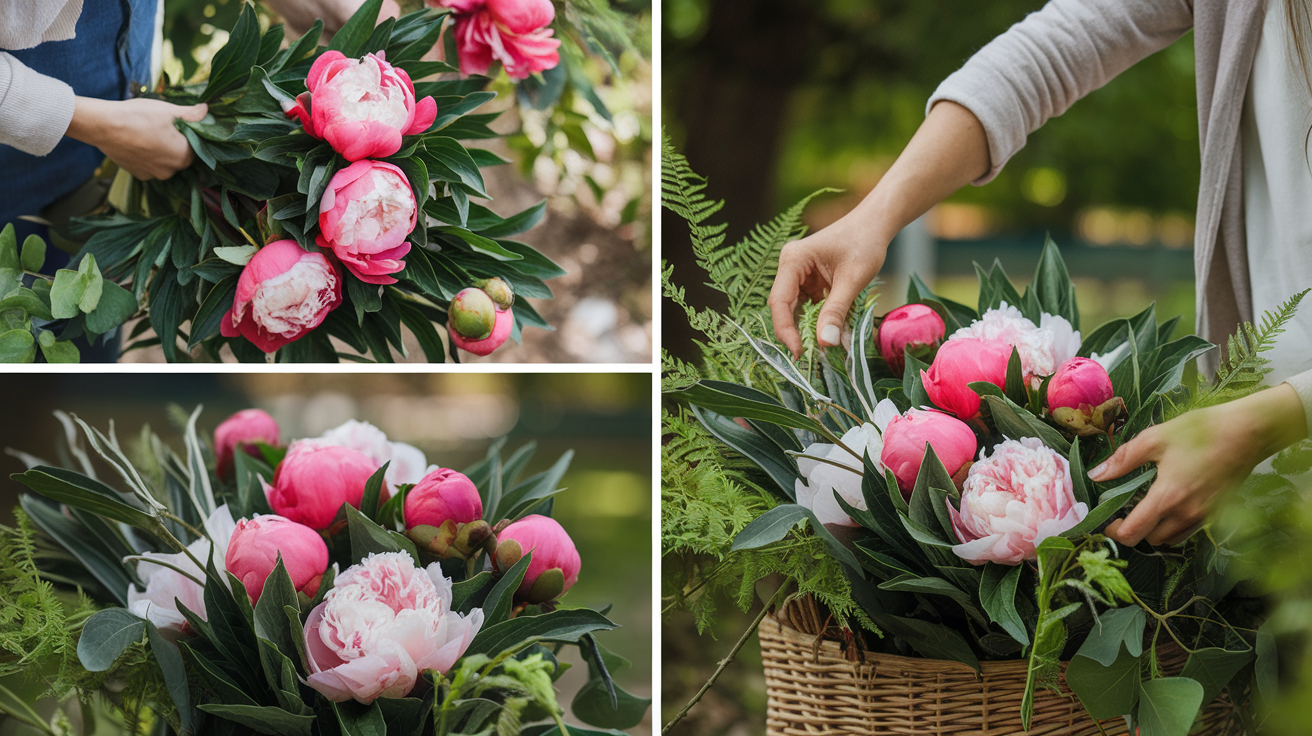
Make sure to clip some leaves and ferns, too, as they can be useful for filler or background elements in your craft.
Step 2: Prepare the Peony
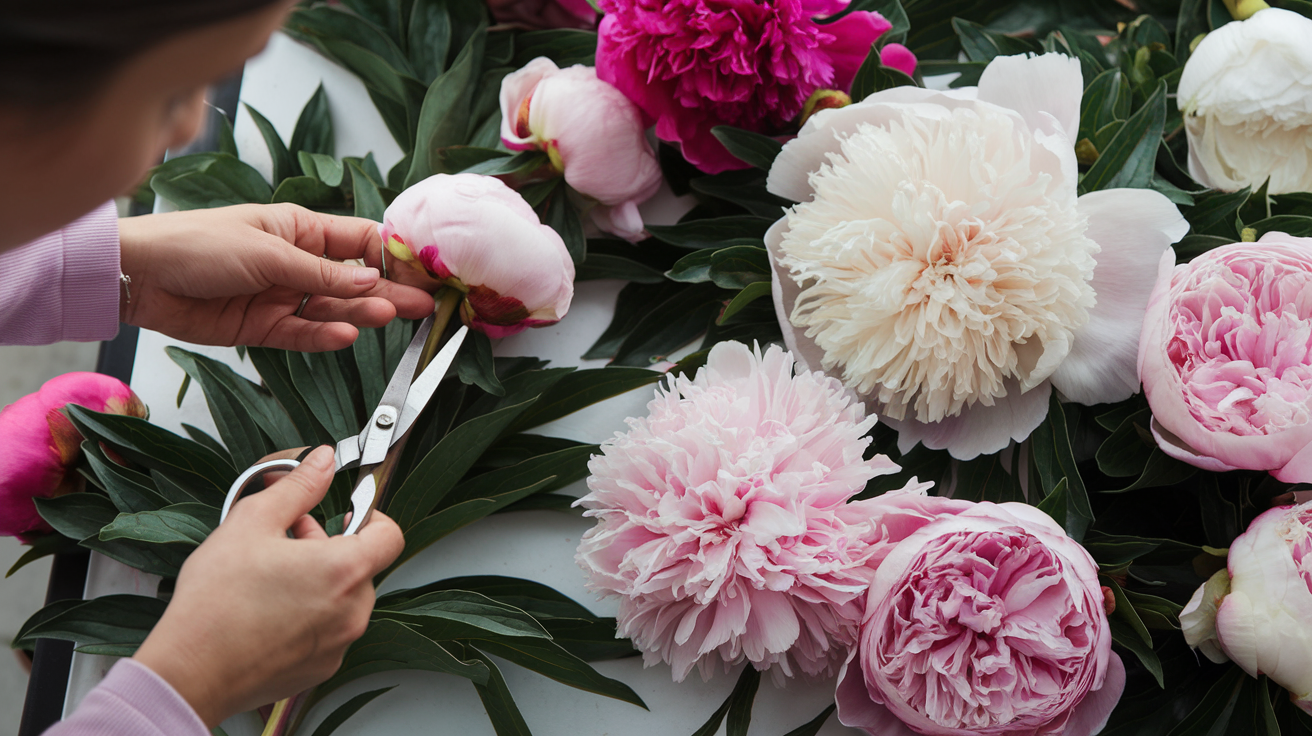
Trim the flower as close to the bottom of the bloom as possible.
For bulkier peonies, like large blooms, remove the center petals to help the flower stay flat during the pressing process.
It’s best to use various colors and sizes of peonies to get the most dynamic and visually appealing results.
Step 3: Setup for Pressing
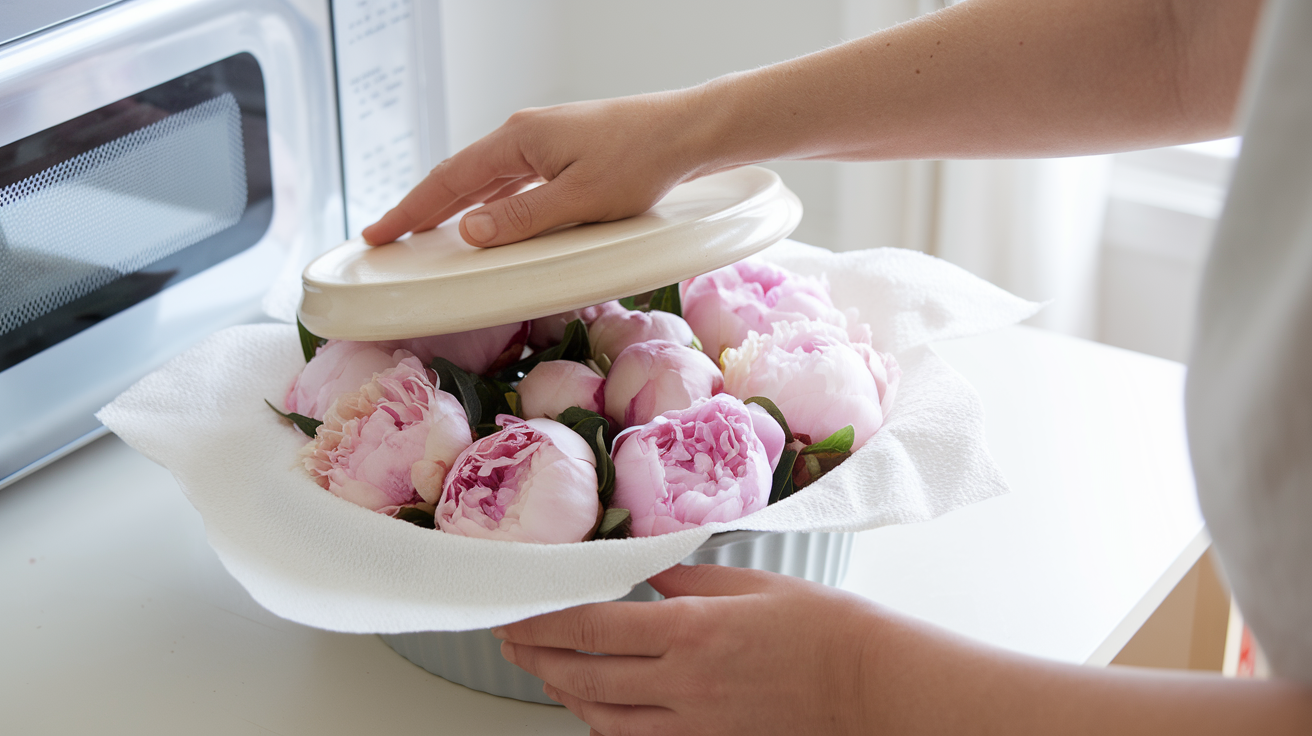
Place a paper towel on the bottom of the microwave-safe container.
Position the peonies on top of the paper towel and cover the flowers with another paper towel.
Use a microwave-safe object like a casserole dish, ceramic tile, or brick to apply weight, ensuring the flowers stay flat. Do not press down on them, as this can damage the petals.
Step 4: Microwave Settings
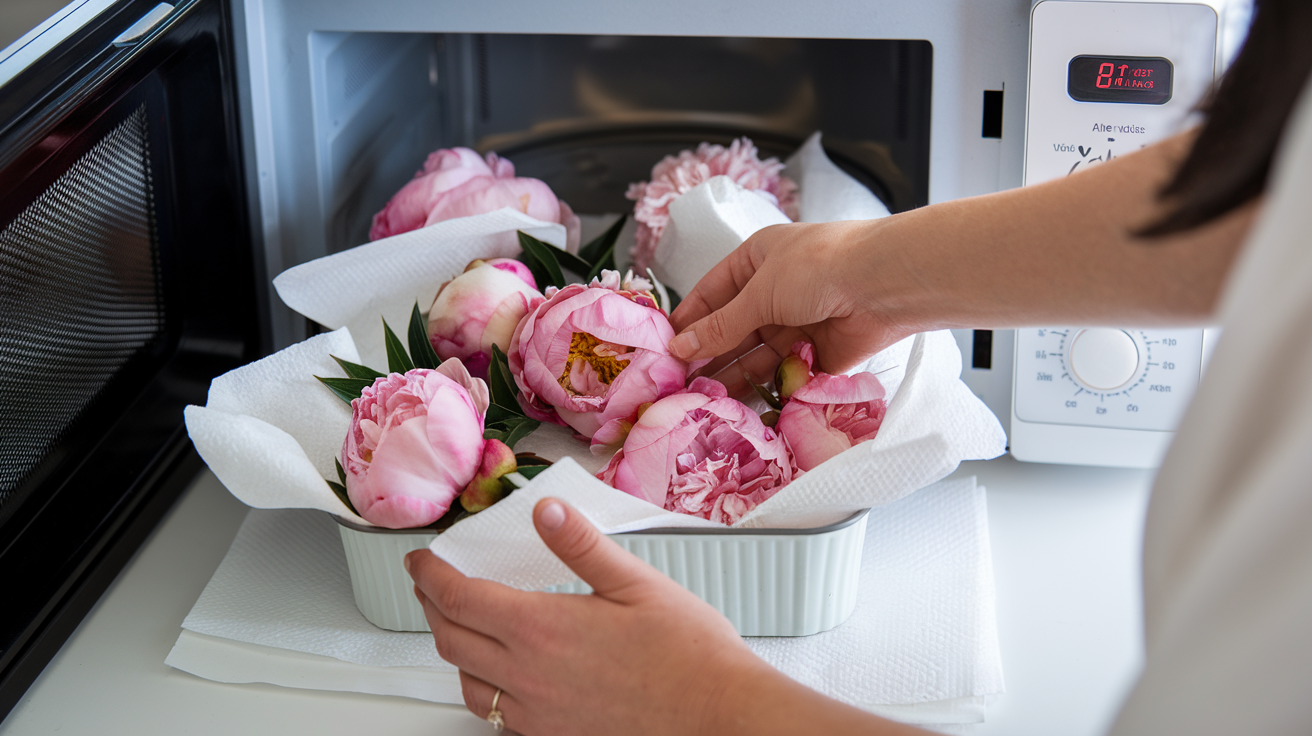
Set your microwave to the defrost setting to ensure the heat is less intense.
Microwave the flowers for one minute at a time, checking them as you go. Each flower will have different drying times.
After the first minute, inspect the peonies. If they aren’t dry and flat yet, continue microwaving in 30-second intervals.
Smaller peonies or thin petals will take less time (usually 1 to 3 minutes). Larger blooms might need longer (3 to 4 minutes).
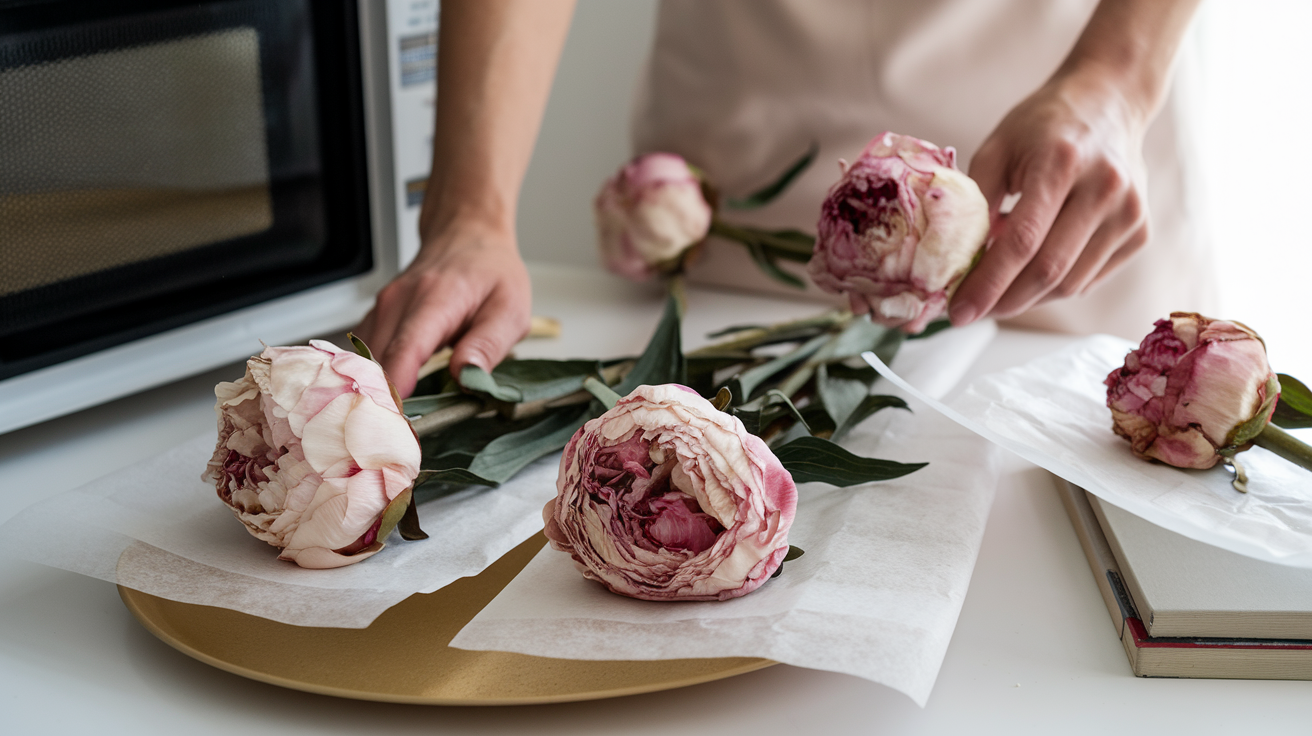
Once the flowers feel dry and are fully flattened, remove them from the microwave.
If needed, you can place the pressed flowers between wax paper and apply a book to ensure they stay flat until they are fully cool and dry.
Step 6: Use in Crafts
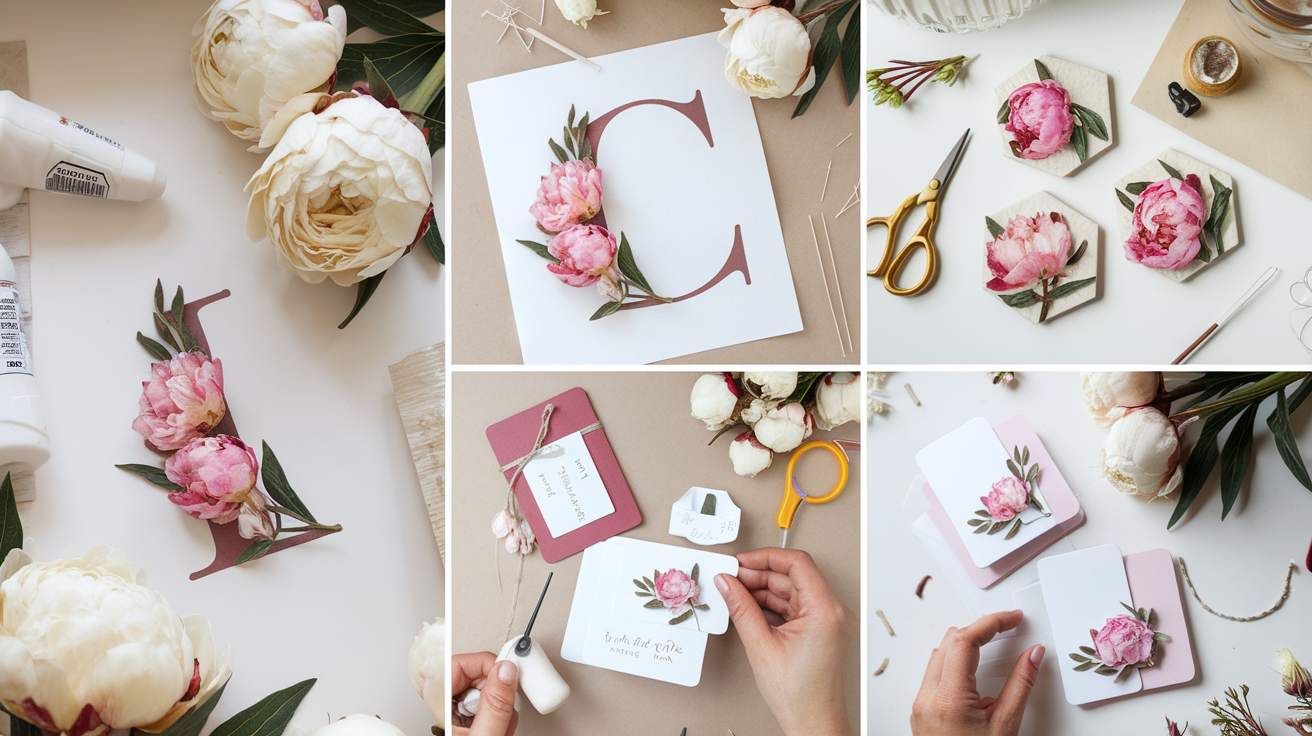
Once the peonies are dried, they are ready for use in various crafts, like creating floral monograms, coasters, gift tags, or even decorative cards.
Glycerin Preservation For Long Lasting Results
Materials Needed
- Glycerin
- Warm Water
- Sharp Scissors or Pruning Shears
- Vase or Container
- Cool, Dry Place for Drying
Approximate Cost Range – $10 to $ 35, depending on whether you purchase peonies or already have the materials.
Step 1: Prepare the Glycerin Solution
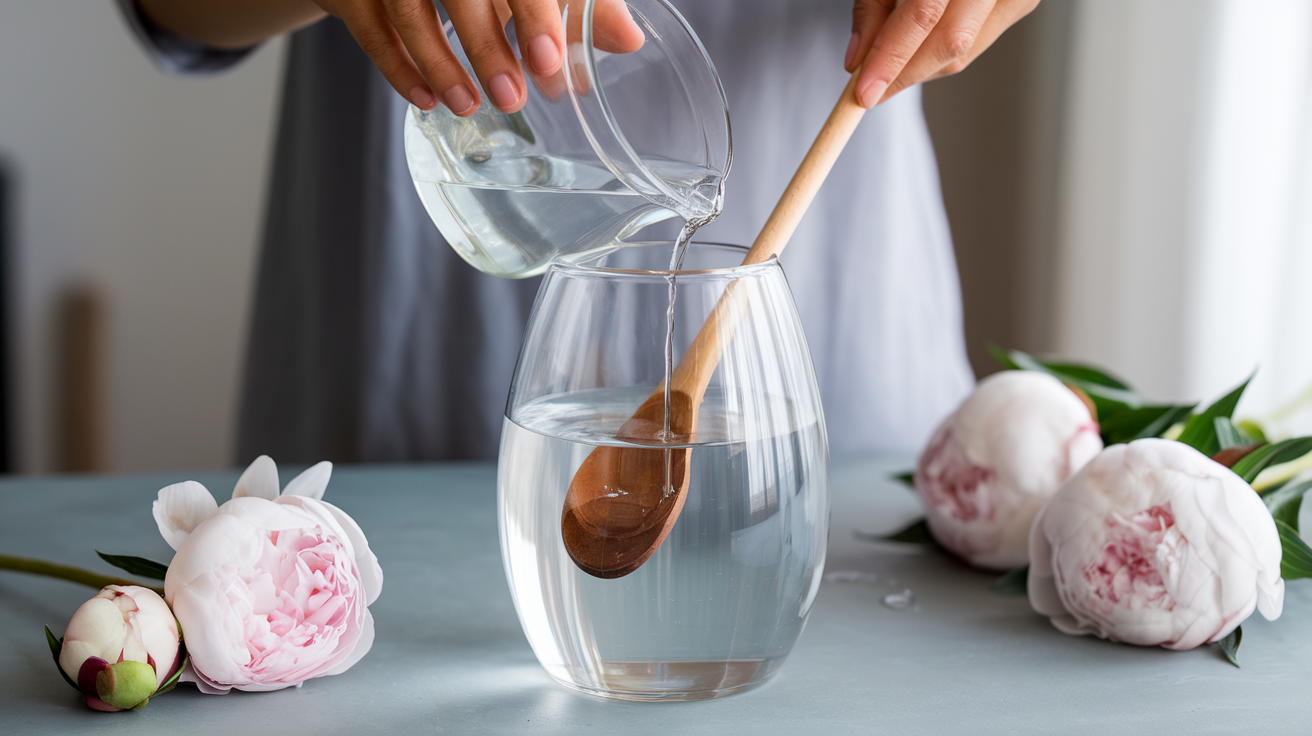
Mix one part glycerin with two parts warm water in a vase or container large enough to accommodate the peony stems.
Stir the solution until the glycerin is fully dissolved in the warm water.
Step 2: Prepare the Peonies
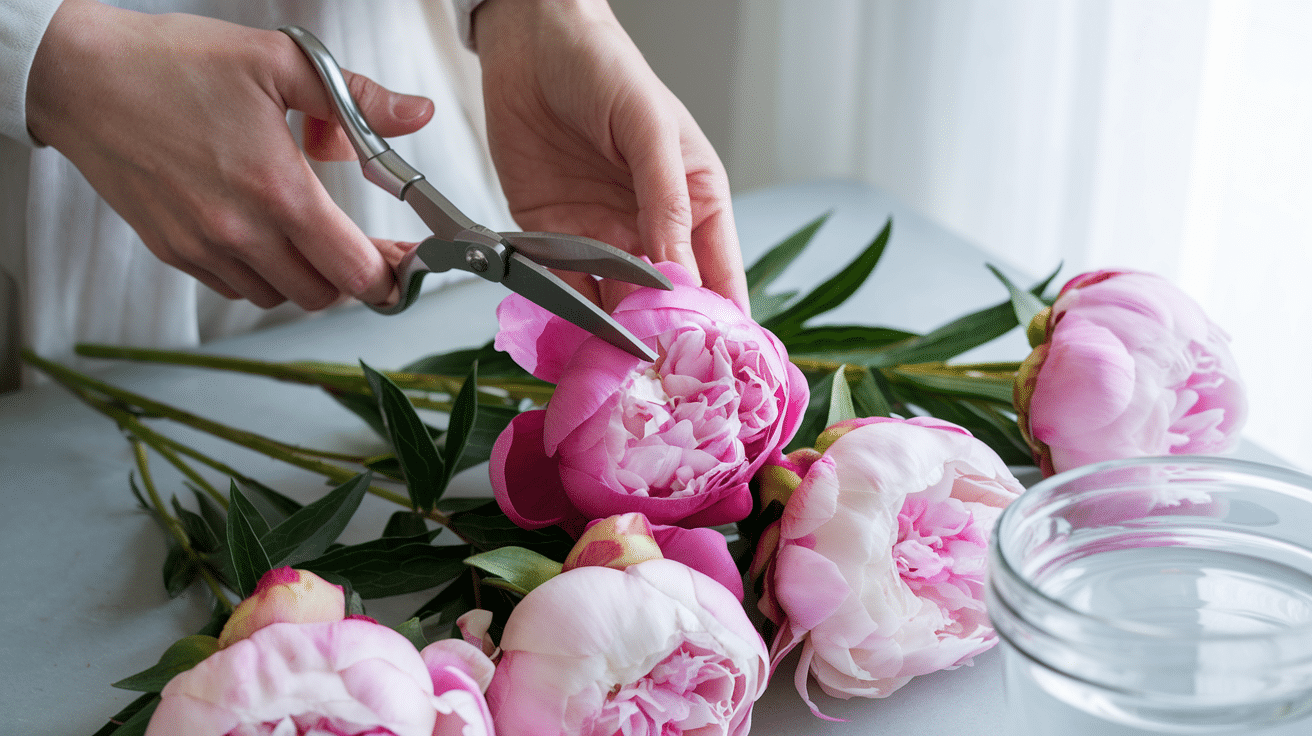
Using sharp scissors or pruning shears, cut the peony stems at a 45-degree angle. This helps the flowers absorb the glycerin solution more effectively.
Ensure the flowers are fresh and healthy, as the glycerin works best on blooms that are still in good condition.
Step 3: Place Peonies in the Solution
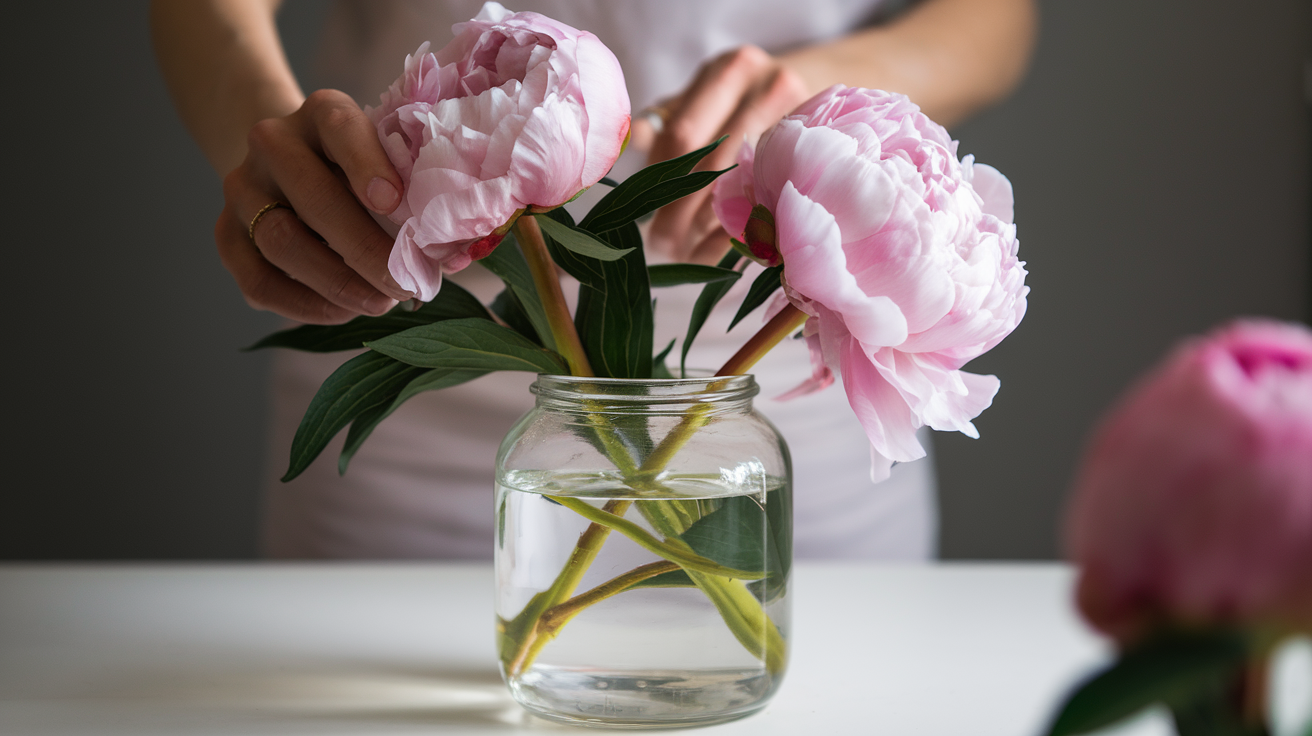
Place the Peony Stems into the glycerin solution, making sure the cut ends are fully immersed in the liquid.
If necessary, use a small vase or jar to help keep the peony stems upright and submerged in the solution.
Step 4: Wait for the Peonies to Absorb the Glycerin
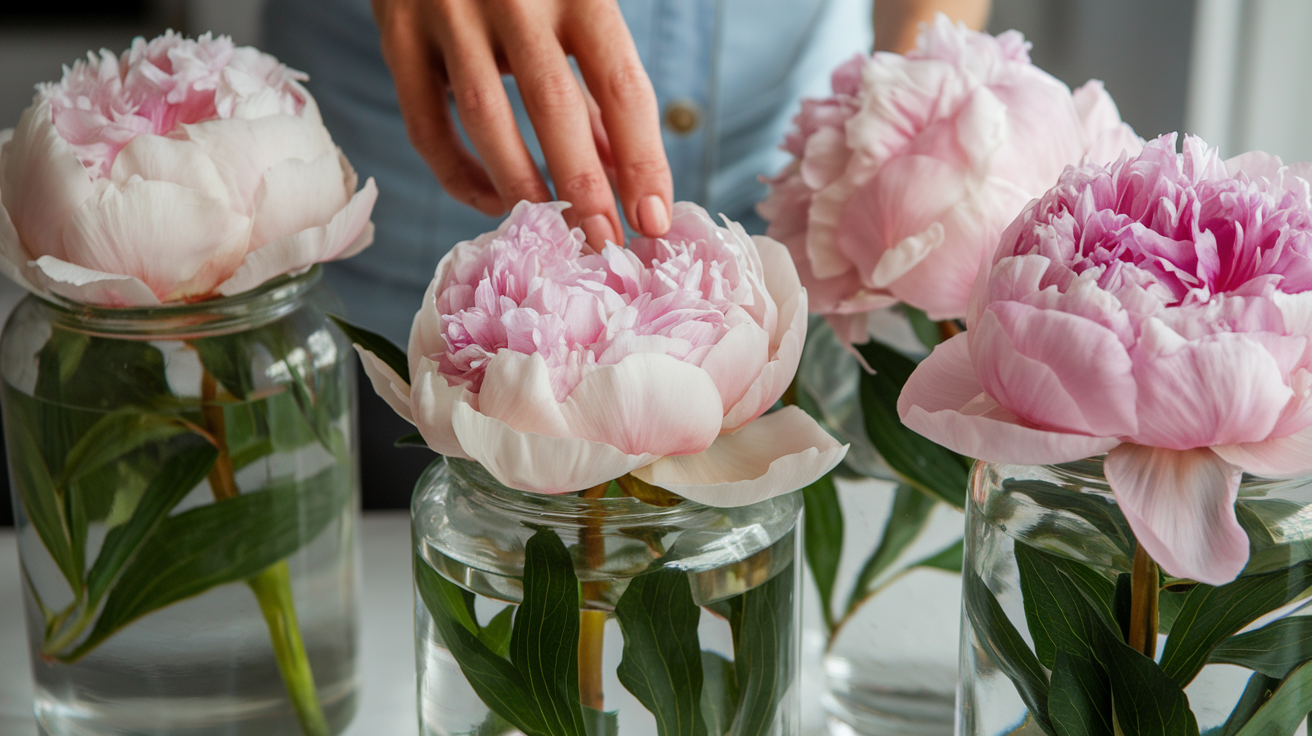
Leave the Peonies in the Solution for 1-2 weeks. During this time, the glycerin will slowly be absorbed by the stems, and the petals will become more supple and preserved.
Check the peonies periodically. When the flowers feel supple (not crispy) and look slightly more vibrant, they are ready to be removed from the solution.
Step 5: Remove and Dry the Peonies
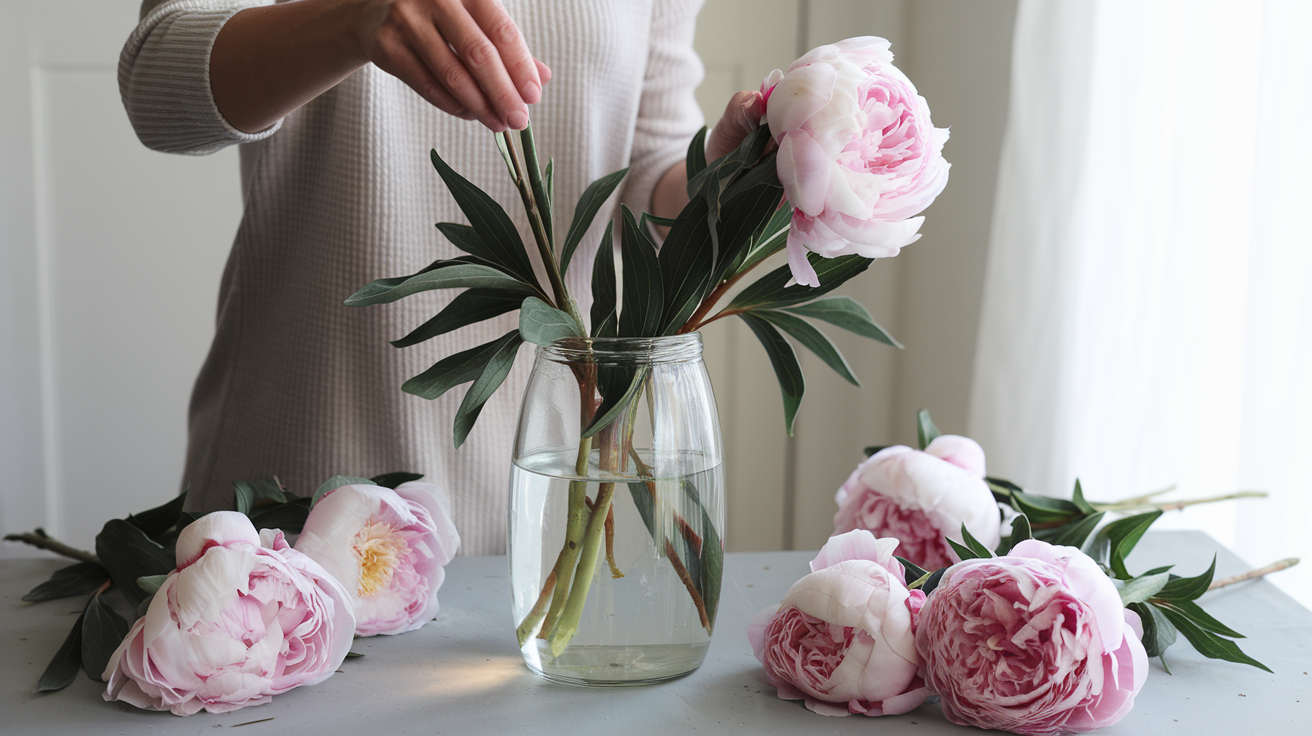
After 1-2 weeks, remove the peonies from the glycerin solution.
Gently shake off any excess solution and place the flowers in a cool, dry place to finish drying. You can hang them upside down to maintain their shape or lay them flat if you prefer a pressed look.
Step 6: Store the Preserved Peonies
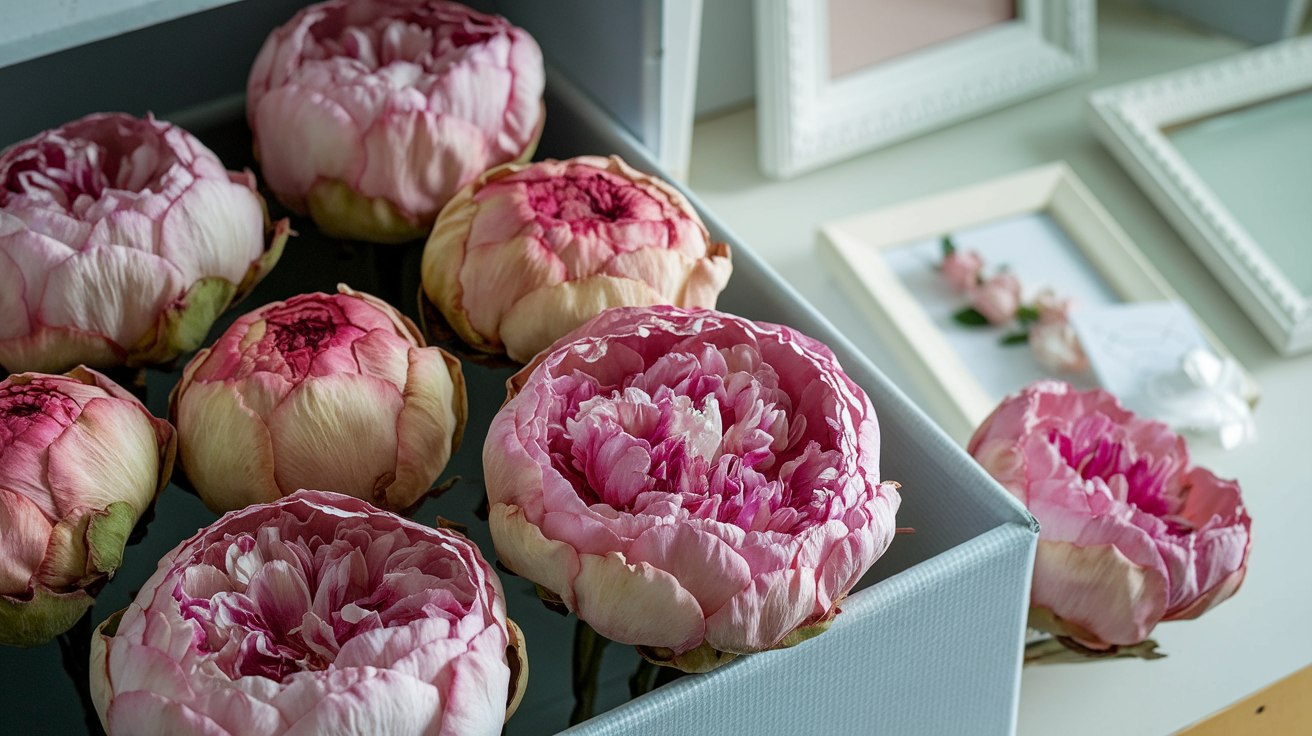
Once the peonies are completely dry, they are ready to be used in crafts or displayed as preserved flowers.
If you’re not using them right away, store them in a cool, dry space away from direct sunlight to maintain their color and texture.
Conclusion
Drying peonies can be a rewarding process, whether pressing them, using the microwave method, or preserving them with glycerin.
Each technique provides a distinct result, allowing the beauty of the peony to be enjoyed long after its bloom.
Whether for crafts, home decor, or simply preserving nature’s splendor, these methods are both simple and cost-effective.
Which method do you prefer for preserving peonies? Is there one you’ve tried or are excited to try?
Share your thoughts below!
Frequently Asked Questions
What Do Peonies Symbolize?
Peonies stand for good fortune, a happy marriage, and wealth in many cultures. In China, they’re linked to honor and respect, while in Western traditions, they often mean romance and beauty.
How Long Do Dried Peonies Last?
Properly dried peonies can last 1-3 years. Store them away from direct sunlight and humidity to maximize their lifespan. With care, some dried peonies might even keep their beauty for up to 4 years.
Do Peonies Prefer Wet Soil or Dry Soil?
Peonies prefer well-drained soil. They don’t do well in soggy conditions but need regular watering during dry spells, especially when blooming.


