DIY Bunk Beds for Your Kids
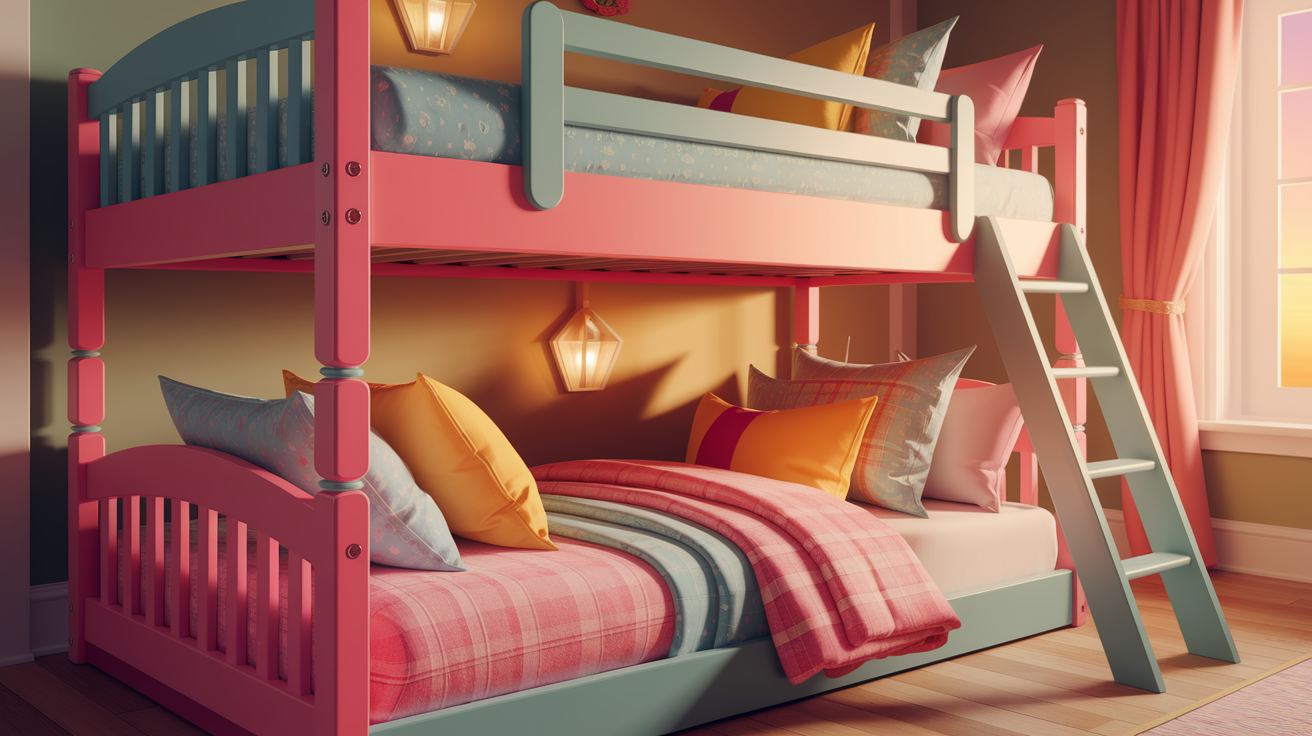
Have you ever considered building a bunk bed for your kids? It’s a fun project that not only saves space but also helps you cut costs and create something totally personal for your room.
Plus, there’s just something special about making furniture with your own hands! But of course, when it comes to kids, safety has to come first.
In this blog, we will cover everything from planning and picking the right design to step-by-step building tips and fun ways to customize the bed.
Why You Should Consider Building Bunk Beds
Bunk beds aren’t just about stacking one bed over the other. They are about making the most of the space while adding a bit of fun to the room.
- Save Valuable Space: Bunk beds open up the floor, giving kids more room to play, study, or add extra storage.
- Budget-Friendly Option: Building a bunk bed at home often costs less than buying a pre-made one. Plus, it allows for the use of leftover materials or reclaimed wood.
- Customize Every Detail: From colors and finishes to adding storage drawers or even a slide, the bed can be easily matched to the kids’ personalities and room decor.
- Built with Safety in Mind: Creating the bed yourself means having full control over materials and construction quality. It also ensures the bed meets safety standards, like sturdy frames and smooth edges.
- A Fun Project with Lasting Rewards: There’s a special kind of satisfaction in seeing kids enjoy something built just for them. Plus, it becomes a meaningful piece of the home.
Tools & Materials Needed to Build Bunk Beds
With the right tools and sturdy materials, building a safe and good-looking bunk bed becomes a whole lot easier. Here’s a list of tools and materials needed to build it.
| Category | Item | Purpose |
| Tools | Measuring Tape | For accurate cuts and spacing |
| Drill and Drill Bits | Essential for assembling frames and supports | |
| Circular Saw or Miter Saw | To cut wood cleanly and precisely | |
| Sander or Sandpaper | To smooth out rough edges and surfaces | |
| Clamps | To hold pieces steady while fastening | |
| Level | For making sure the bed is sturdy and straight | |
| Screwdriver | For tightening screws securely | |
| Pencil and safety gear | Always good to have safety glasses and gloves around | |
| Materials | Lumber (pine, oak, or sturdy plywood) | For the bed frames, legs, and slats |
| Wood Screws or Lag Bolts | Strong fasteners to keep everything together | |
| Wood Glue | Adds extra strength at joints | |
| Safety Rails | Must have for the top bunk | |
| Ladder Materials | Can use the same wood or metal, depending on the design | |
| Paint, Stain, or Sealant | For finishing touches and protection | |
| Sandpaper Sheets | For final smoothing | |
| Optional Extras | Like storage drawers, decorative trims, or even a slide! |
Approximate Cost of Building Bunk Beds
- Building a bunk bed at home typically costs between $150 and $400, depending on the design, size, and materials chosen.
- Using premium hardwood or adding extras like built-in storage will push it toward the higher end, while keeping it simple with standard lumber keeps the budget lower.
- Still, it’s usually far more affordable than buying a high-quality pre-made bunk bed, which can easily go over $800.
Step-by-Step Guide to Build Bunk Beds
Building bunk beds may seem like a big task at first, but breaking it down into clear steps makes it much more manageable. Here’s a simple guide to follow from start to finish.
Step 1: Measure and Cut the Wood
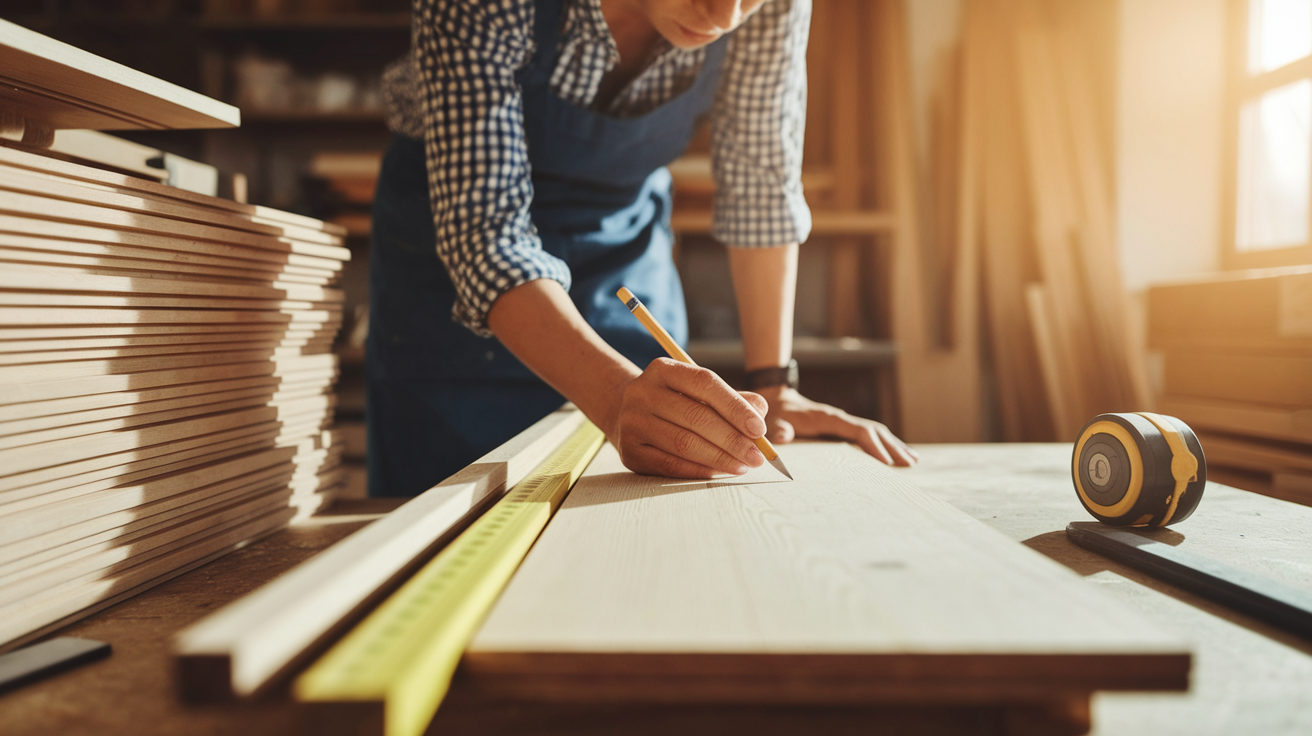
Start by measuring and marking the wood pieces according to the chosen bunk bed size. Precision here really matters, as it keeps everything aligned later.
Cut the bed frames, legs, support beams, and slats using a circular saw or miter saw.
Step 2: Build the Bed Frames
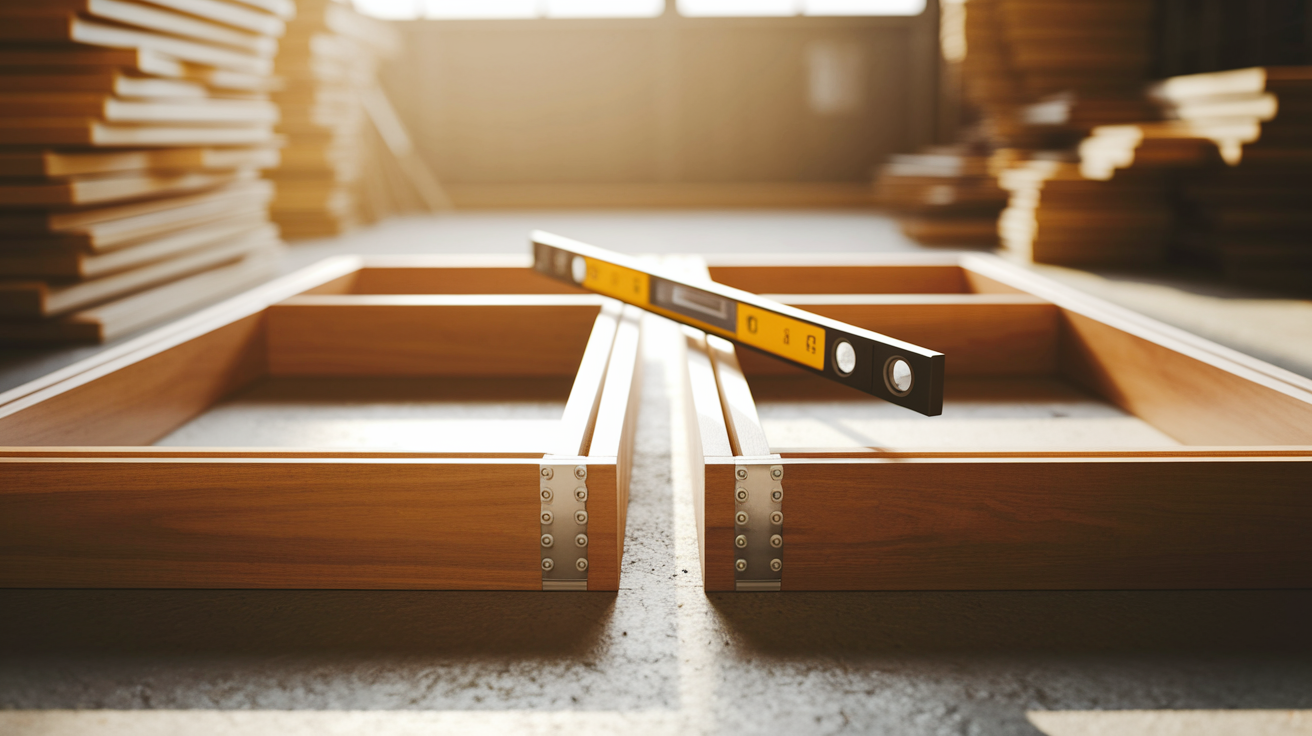
Assemble both the top and bottom bed frames by connecting the side rails to the head and foot rails. Use wood glue and screws for extra strength.
Make sure the frames are square by checking with a level.
Step 3: Attach Slats to the Frames
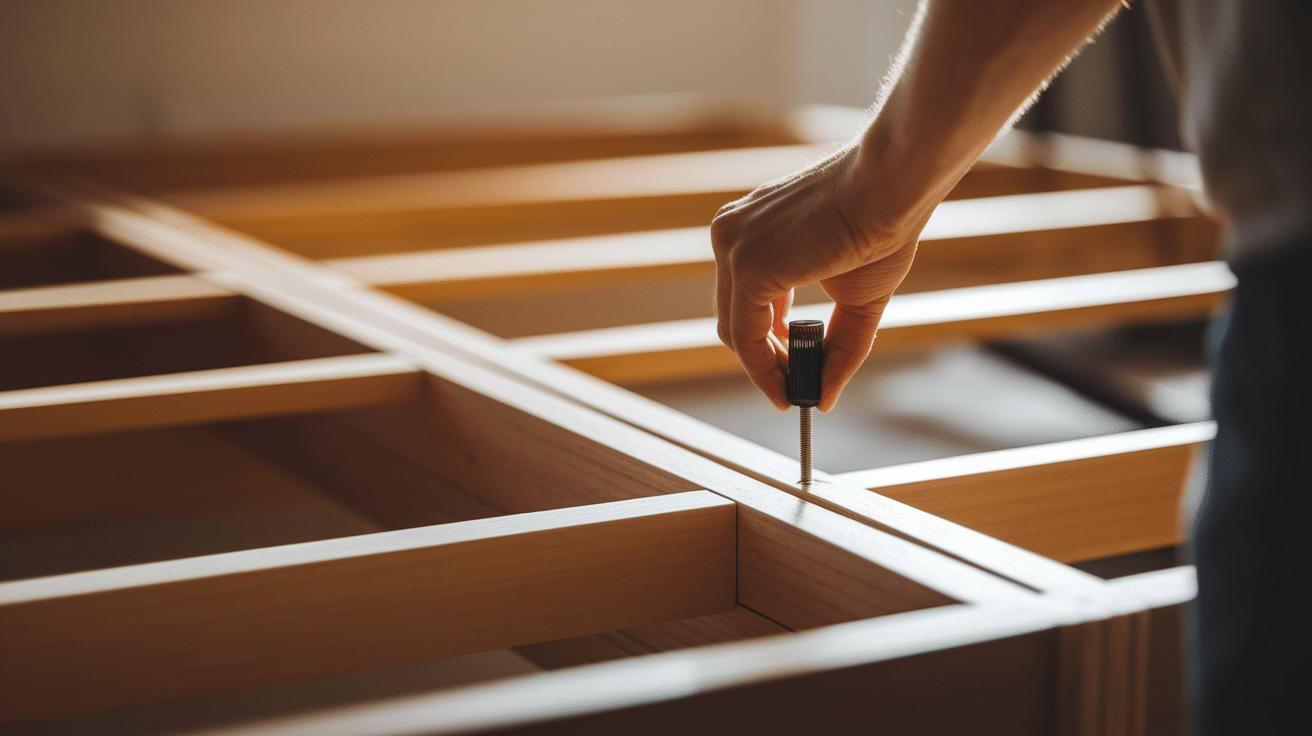
Lay out the slats evenly across each bed frame to support the mattress. Secure them in place using screws, ensuring even spacing between each slat for good support and airflow.
Step 4: Assemble the Bed Structure
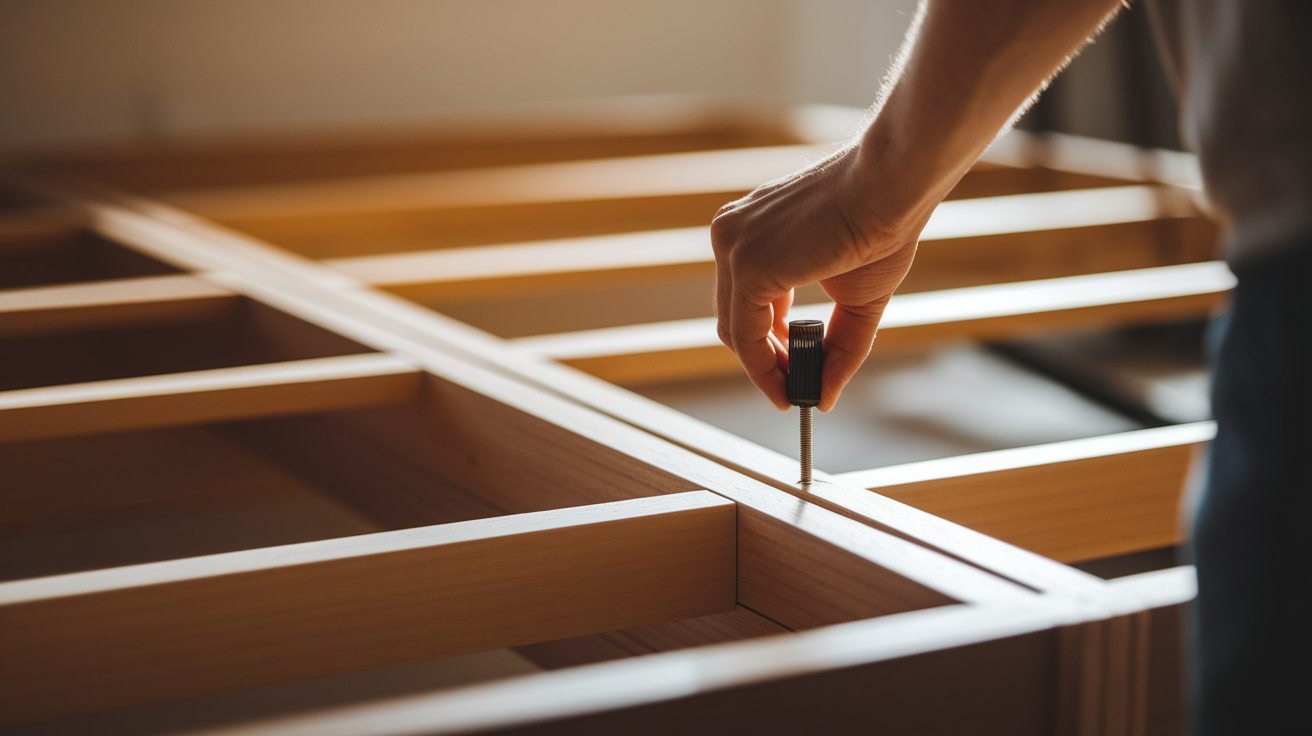
Stand the legs upright and attach both bed frames to them, bottom first, then the top bunk. Double-check the alignment and tighten all screws properly so the structure feels solid and stable.
Step 5: Install Safety Rails and Ladder
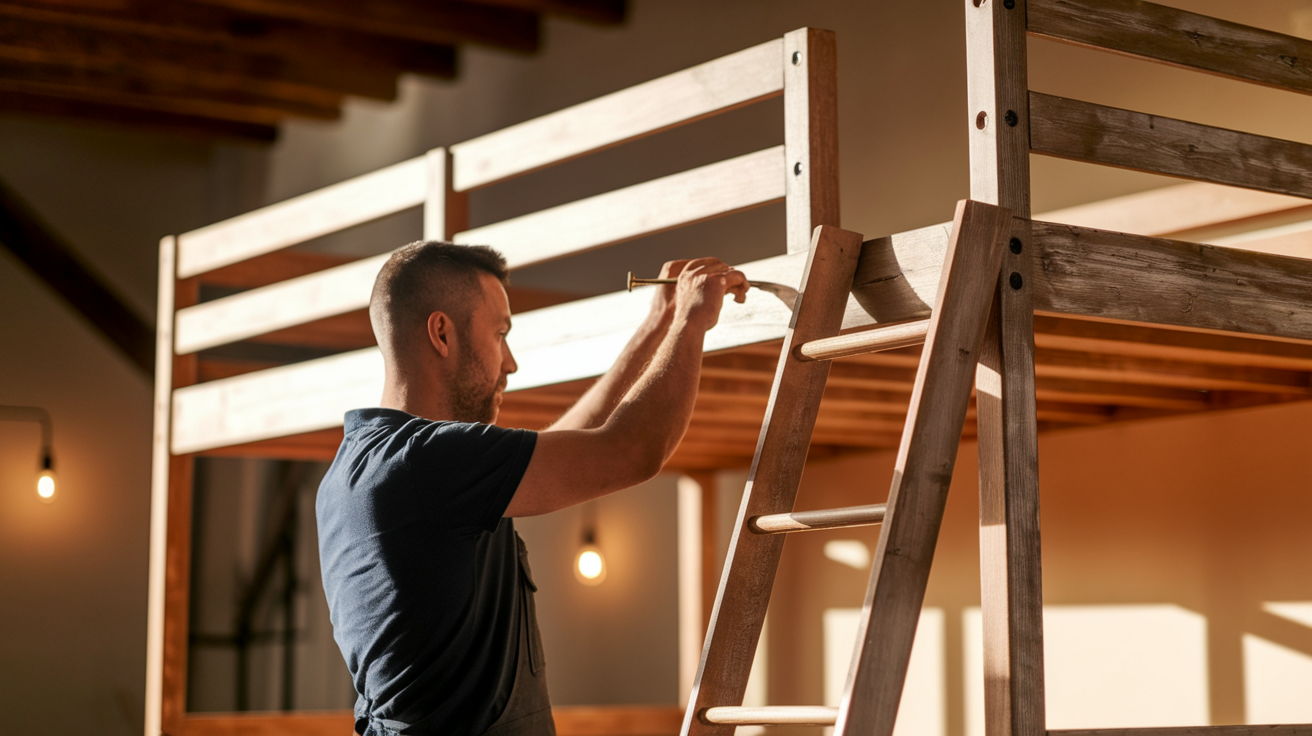
Attach safety rails around the top bunk to prevent falls. Then, secure the ladder or staircase firmly to the frame. Sand all edges smooth, especially where little hands and feet will grab.
Step 6: Sand and Finish the Bed
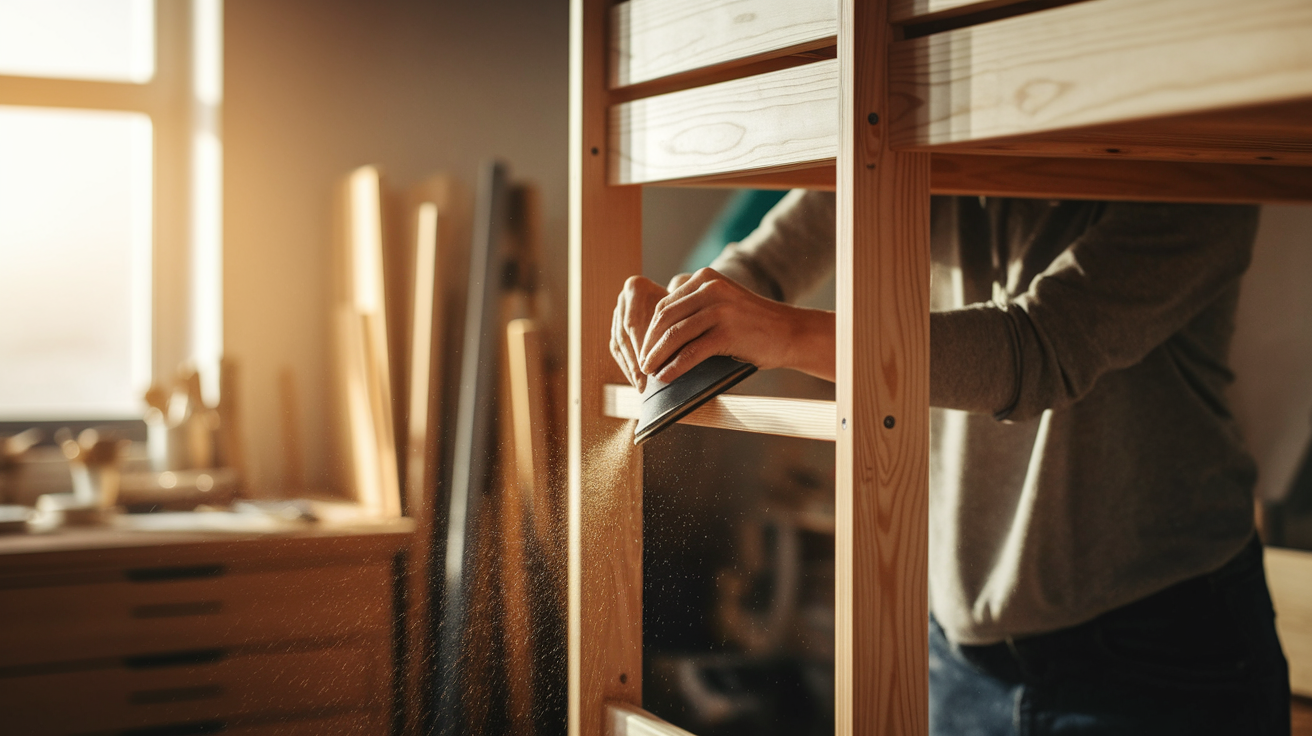
Go over the entire bed with sandpaper, focusing on sharp corners and rough edges. Once smooth, apply paint, stain, or sealant for both style and protection. Let it dry completely before use.
Step 7: Final Check and Set Up
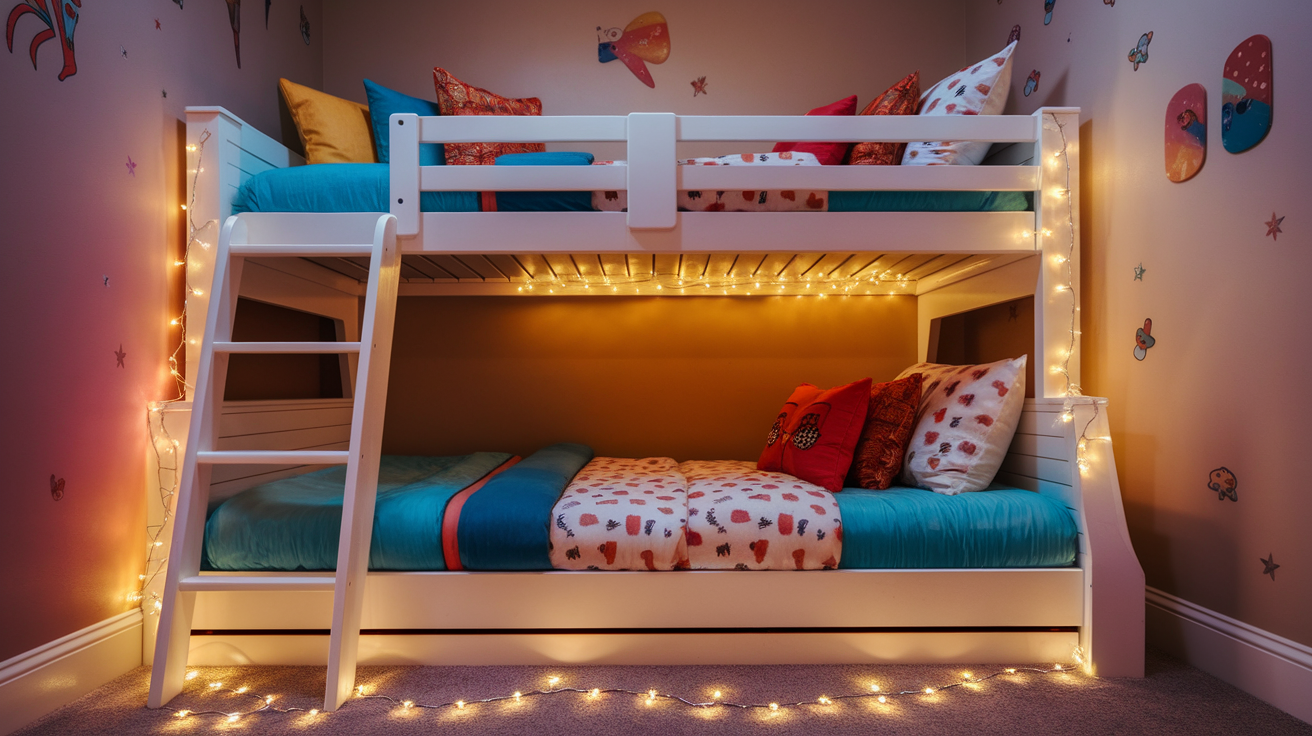
Inspect all screws, joints, and rails to ensure everything is tight and secure. Place the mattresses on the frames, add bedding, and consider fun extras like curtains or string lights to make it cozy.
Customization and Design Ideas for Bunk Beds
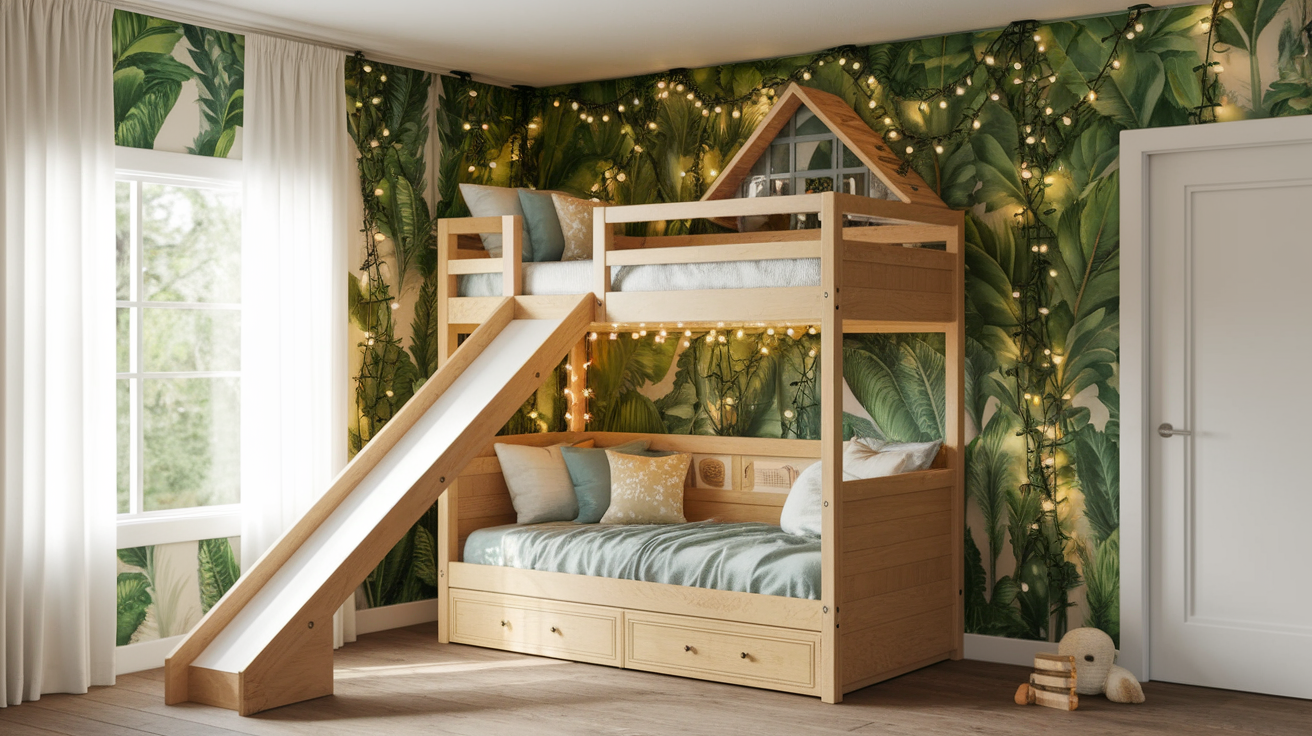
A DIY bunk bed is more than just a place to sleep; it’s a chance to bring creativity into the room and create something truly special. Here are some fun and practical ideas to spark inspiration:
- Add Storage Solutions: Built-in drawers underneath the bottom bunk or shelves at the sides help keep toys, books, and clothes neatly tucked away. It’s a smart way to save space and reduce clutter in the room.
- Choose a Fun Theme: Turn the bed into a castle, a pirate ship, or even a jungle treehouse. A bit of paint and some themed accessories go a long way in making bedtime feel like an adventure.
- Install a Slide for Extra Fun: Add a small slide next to the ladder for easy and playful mornings. It’s a simple add-on that makes the bunk bed double as a mini playground.
- Create a Cozy Nook Below: Use the space under the bottom bunk as a reading corner or play zone. Add cushions, a soft rug, and a few fairy lights to make it extra inviting.
- Use Unique Finishes: Experiment with paint colors, stains, or even chalkboard paint for a bed that doubles as an art space. Non-toxic finishes keep it safe for kids.
- Decorate with Personal Touches: Hang string lights, attach clip-on reading lamps, or drape fabric canopies over the top bunk. Personal decorations make the space feel more like their own little hideout.
Maintenance & Safety Tips
Once the bunk bed is built and in use, keeping it safe and sturdy is just as important as the day it was finished. A little regular care goes a long way in making sure it stays reliable and safe for kids to enjoy.
Bolts & Screws
- Check regularly:Tighten every couple of weeks to ensure stability.
- Why it matters: Loose bolts can compromise safety during use.
Ladder & Rails
- Inspect for security: Ensure the ladder and safety rails are firmly attached.
- What to watch for:Wobbling or signs of wear.
Rough Spots
- Smooth edges: Sand down any splinters or rough patches.
- Prevention: Avoid injuries caused by sharp edges.
Cleaning
- Use gentle cleaners: Clean with a soft cloth and non-abrasive products.
- Why it matters: Harsh chemicals can damage the finish and be unsafe for kids.
Weight Limits
- Follow recommended limits: Stick to weight guidelines for both bunks.
- Why it matters: Ensures stability, especially during sleepovers.
Safe Habits to Reduce Risks
- Always use the ladder.
- Never jump from the top bunk.
- Don’t hang heavy items on the frame.
Conclusion
Turning the idea of a DIY bunk bed into reality is a rewarding way to save space, add personal charm, and create something that truly fits the room.
With the right tools, clear steps, and a focus on safety, the result is a bed that brings both function and fun to everyday life.
Plus, the freedom to customize makes it even better. So pick one idea, grab those tools, plan it out and start building a bunk bed that your kids will love for years to come.
Once it’s done, don’t forget to share the final masterpiece with any creative twists added along the way!

