How to Build Wattle Fence and Wattle Fences DIY Guide
Want a fence that costs almost nothing to build? Well, wattle fencing has been used for centuries by farmers and gardeners looking for practical solutions.
This ancient technique uses interwoven branches to create sturdy barriers that blend perfectly with natural surroundings.
Today, many homeowners choose wattle fences for garden borders, raised beds, and property boundaries.
Building your own wattle fence saves money, uses materials from your backyard, and creates something truly handmade. Plus, it’s an earth-friendly option that breaks down naturally when its usefulness ends.
This guide will walk you through each step of building your own wattle fence, from gathering materials to finishing touches, all while keeping your budget intact.
What is a Wattle Fence
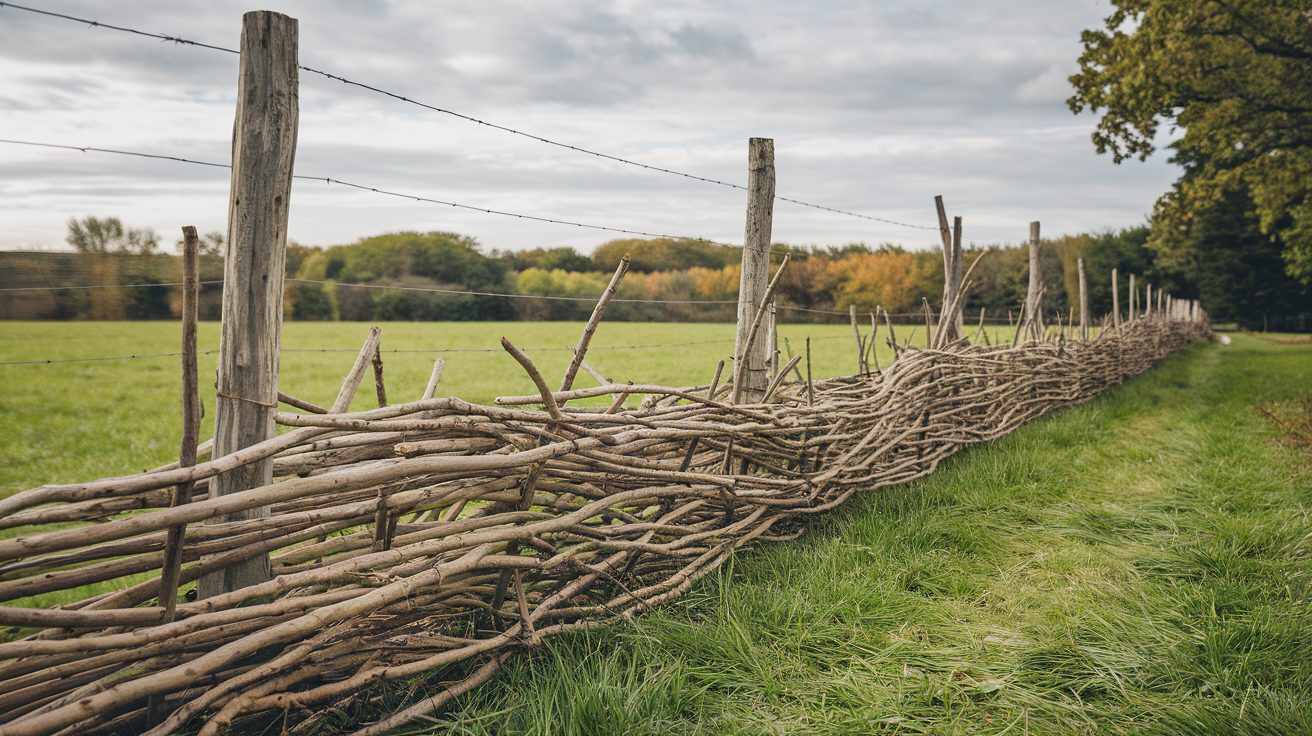
A wattle fence is simply a barrier made by weaving thin branches between upright posts. Think of it as basket-weaving on a larger scale.
The upright posts (called “stakes”) are pushed into the ground, and then flexible branches or “withies” are woven horizontally through them to create a solid wall.
The Best Type of Wood to Choose for a Wattle Fence
The beauty of wattle fencing is that you can mix different woods and use prunings from your own yard.
This makes it one of the most budget-friendly fencing options around. But remember, wood that bends without breaking is key for the weaving parts of your fence.
| Wood Type | Characteristics | Approximate Cost (per linear foot) |
|---|---|---|
| Willow | Flexible, lightweight, ideal for weaving, traditional choice | $1 – $3 |
| Hazel | Strong, durable, and resistant to rot | $2 – $5 |
| Oak | Extremely sturdy and long-lasting | $5 – $10 |
| Cedar | Resistant to insects, rot, and decay, fragrant | $5 – $10 |
| Chestnut | Resilient, durable, and naturally resistant to pests | $3 – $7 |
| Ash | Tough, flexible, and resistant to splitting | $1 – $5 |
PRO TIP: Costs can vary depending on location, supplier, and wood quality. Willow and hazel are usually the most affordable and traditional options, while oak and cedar are more premium options, offering added durability.
Tools & Materials Needed to Make Wattle Fence
Getting ready to build your wattle fence is pretty straightforward, but having everything on hand before you start will make the job much easier.
So, below is the list of basic tools & materials that will definitely help you while building your very own wattle fence easily.
Tools Required
- Hammer (choose based on stake size: small for finer stakes, large for bigger ones)
- Ground Drill or Auger (for creating holes for the stakes)
- Pruning Shears (for trimming side branches)
- Folding Tape Measure (for spacing and measurements)
- String (for creating straight lines)
Materials Required
- Willow, Hazel, Bamboo, Dogwood, Chestnut
- Wooden Stakes (Chestnut or other rot-resistant wood)
- Iron Bars for concrete reinforcement (for more permanent fences)
- Plastic Poles (optional)
Additional Materials
- Bricks (to raise the bottom of branches to avoid soil contact and rotting)
- Cutting Blade (for trimming branches)
Step-by-Step Guide to Build a Wattle Fence
Building a wattle fence is a rewarding and eco-friendly project that adds natural charm to any garden or property.
This step-by-step guides you through weaving your fence with ease.
Step 1: Mark the Location and Stake Positions
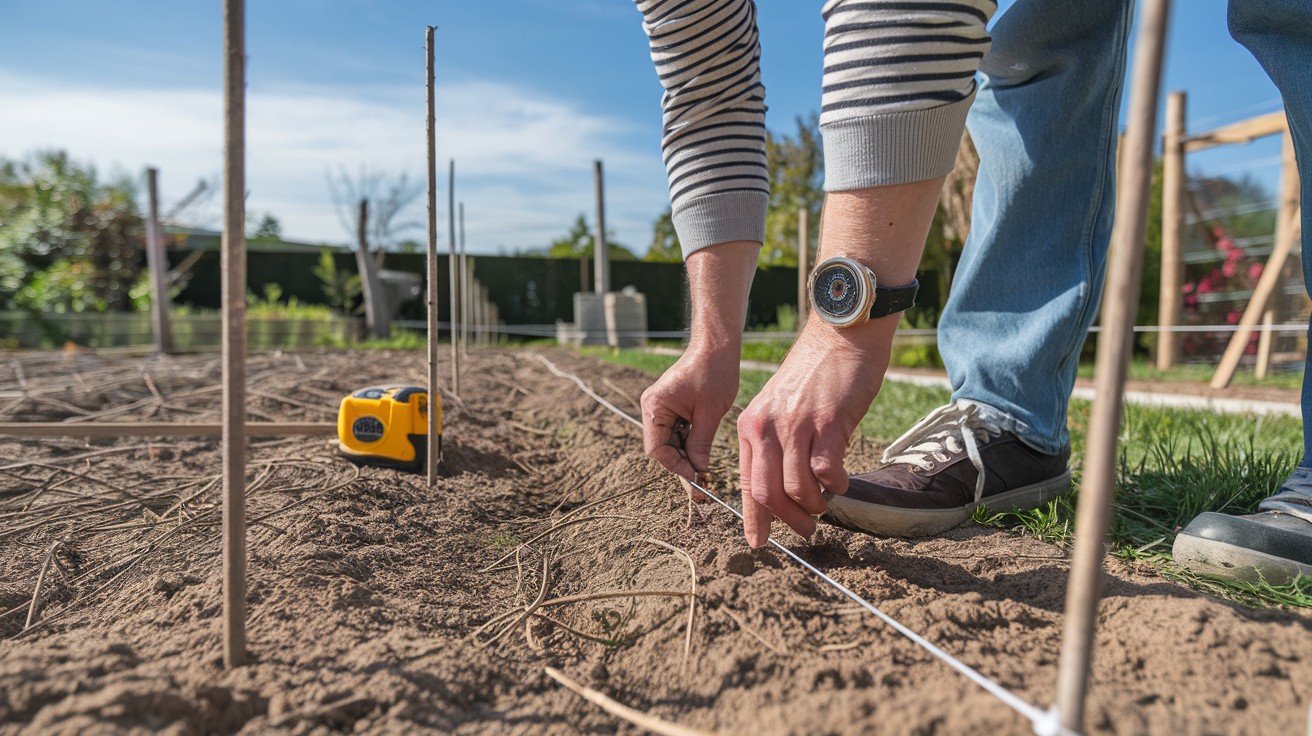
To mark where the fence will go, use a string to create a clear guide. Decide on the spacing between the stakes, which is typically 45 cm apart.
However, you can adjust this distance by trial and error. If the branches fall between the stakes too easily, reduce the spacing.
On the other hand, if weaving the branches is difficult, increase the spacing to make the process smoother.
Step 2: Drill Holes for The Stakes
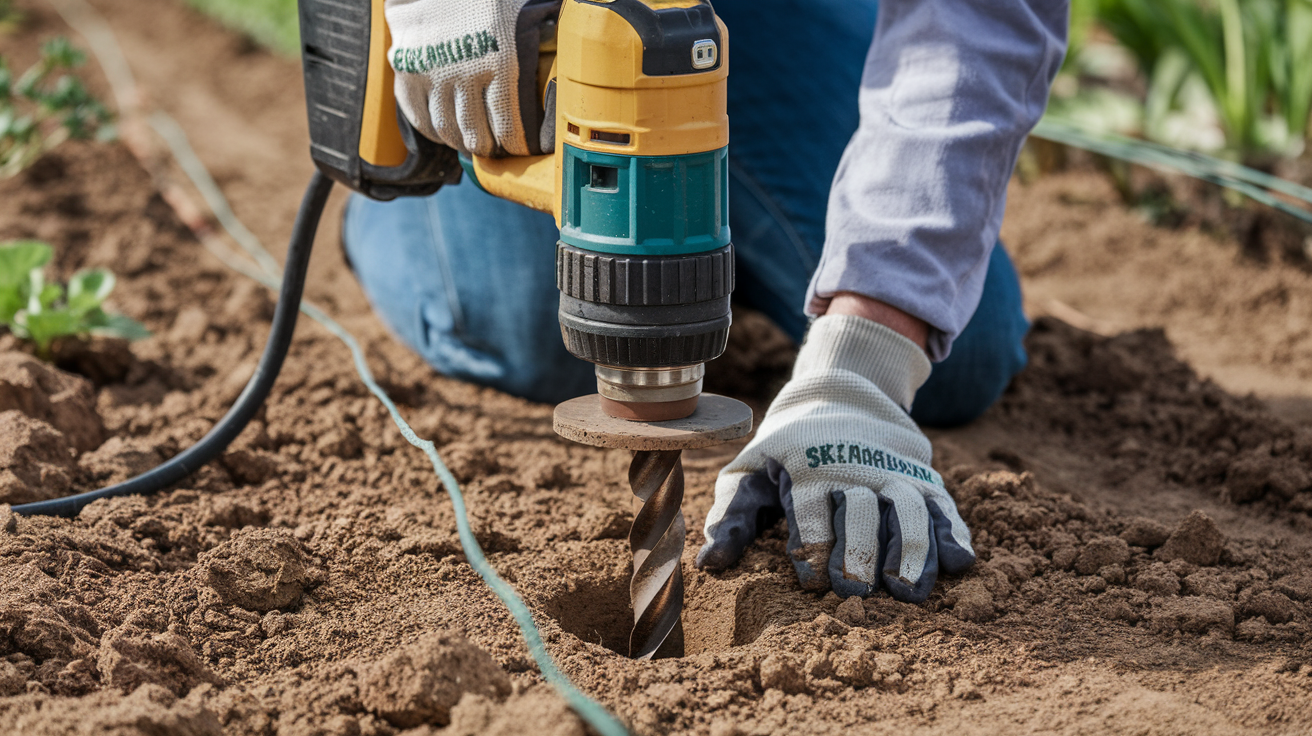
Use a ground drill to make holes for your stakes. The hole should be about the same size or just a bit narrower than the stake.
Drill down until you reach the desired depth. For taller fences, make sure the holes are deep enough to hold the stakes securely.
Step 3: Install the Stakes
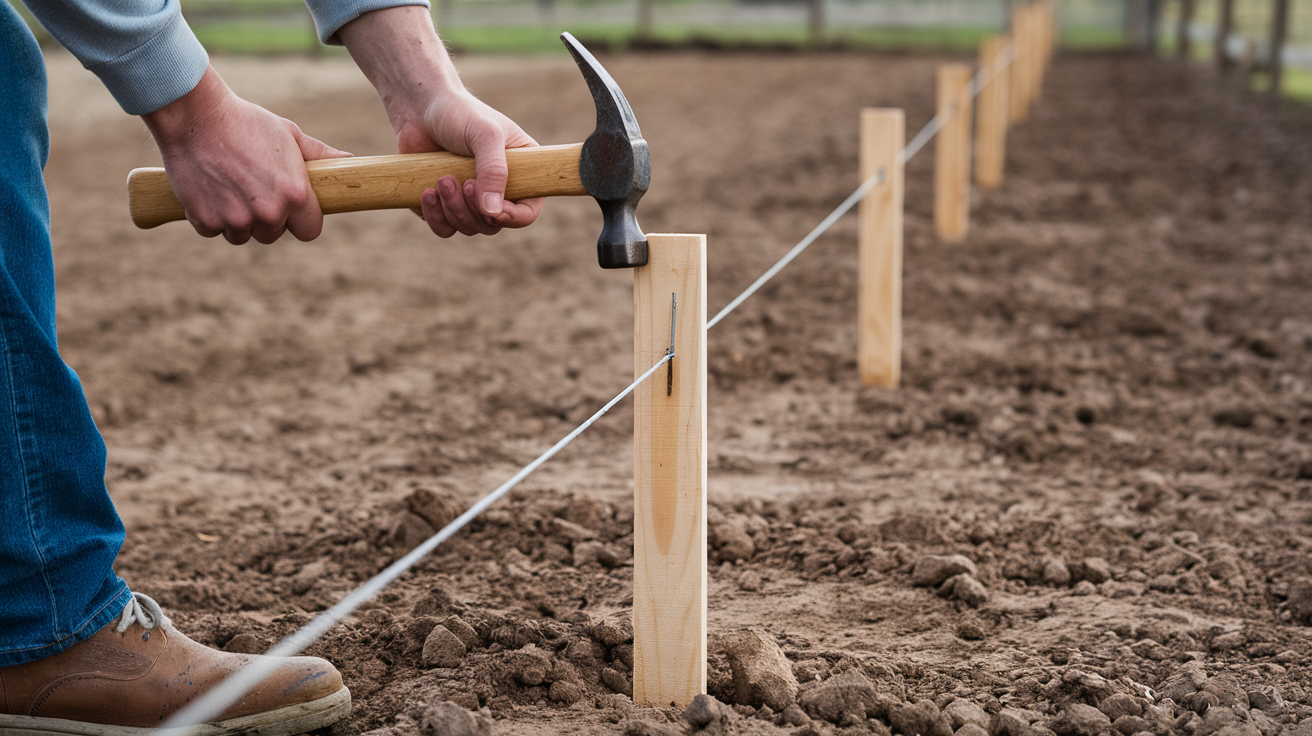
Start by placing two end stakes at the beginning and end of the fence line. Push them into the ground, but leave them a few centimeters higher than the desired fence height.
Tie a string between the end stakes to help keep all the other stakes at the same height.
Then, install the intermediate stakes by placing them in the drilled holes and pushing them in with a hammer.
Step 4: Prepare the Branches

Prune off any side branches from your chosen weaving material, like willow or hazel. When working with saplings, make sure to remove all the smaller shoots.
Make sure the thicker end of each branch faces outward. This will make it easier to trim the branches once they are in place.
Step 5: Weaving the Fence
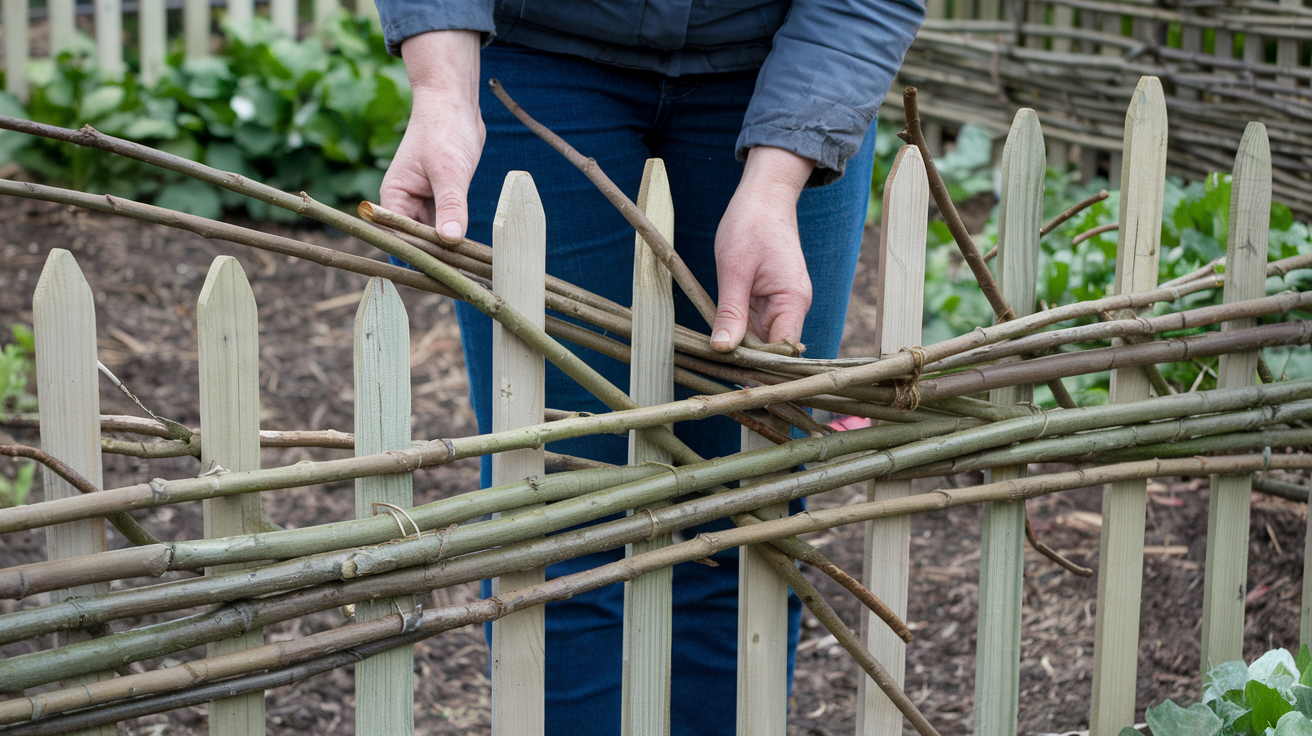
Start weaving the branches between the stakes, beginning with the thicker end of each branch and leaving the thinner end to stand out on the other side.
Alternate directions with each row; for example, weave from the front of the stake in one row, then from the back in the next.
If a branch doesn’t reach the end, continue the weave with a new branch, making sure it follows the same direction as the previous one for a smooth appearance. Traditional wattle technique ensures each row locks tightly against the one below.
Step 6: Continue Weaving and Adjusting
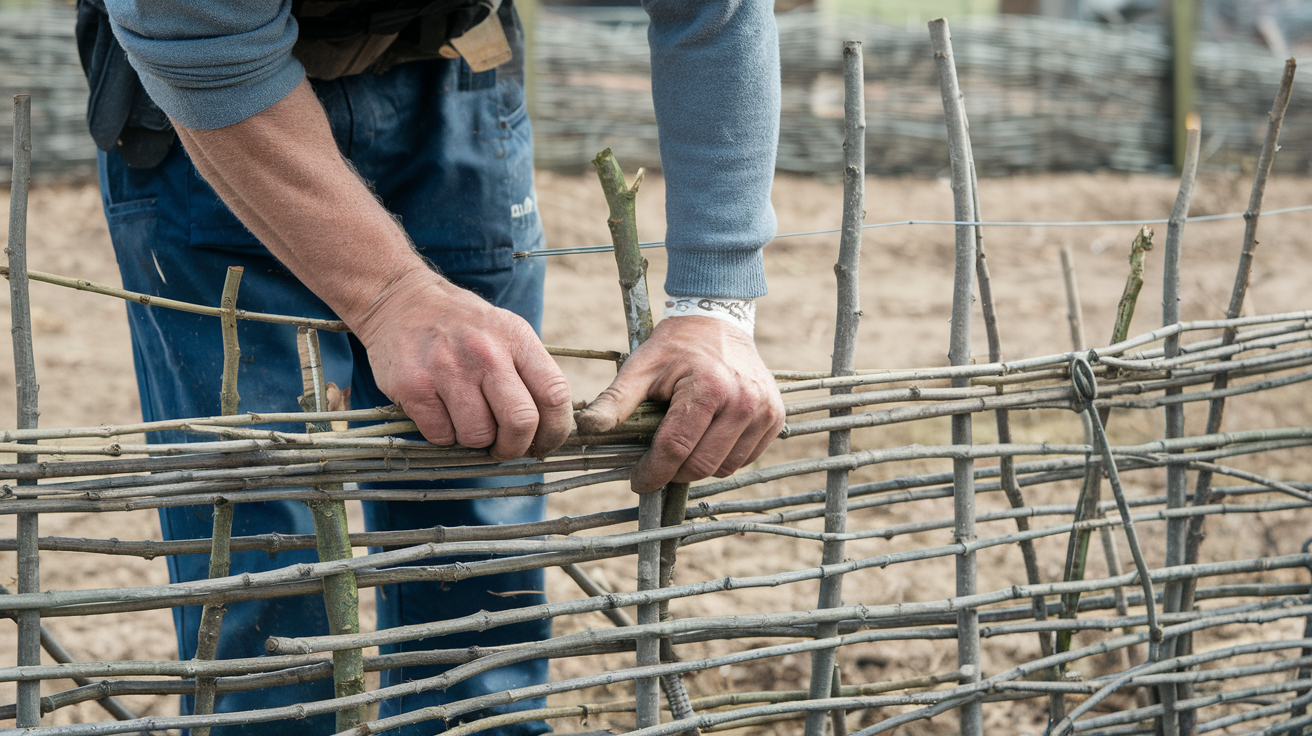
As you weave, make sure the branches are tight and secure. Press down on each branch after it’s woven to keep the fence compact.
For longer fences, you may need to add more lines by repeating the same weaving pattern, working in sets of four lines at a time.
Step 7: Trim the Ends and Make Final Adjustments
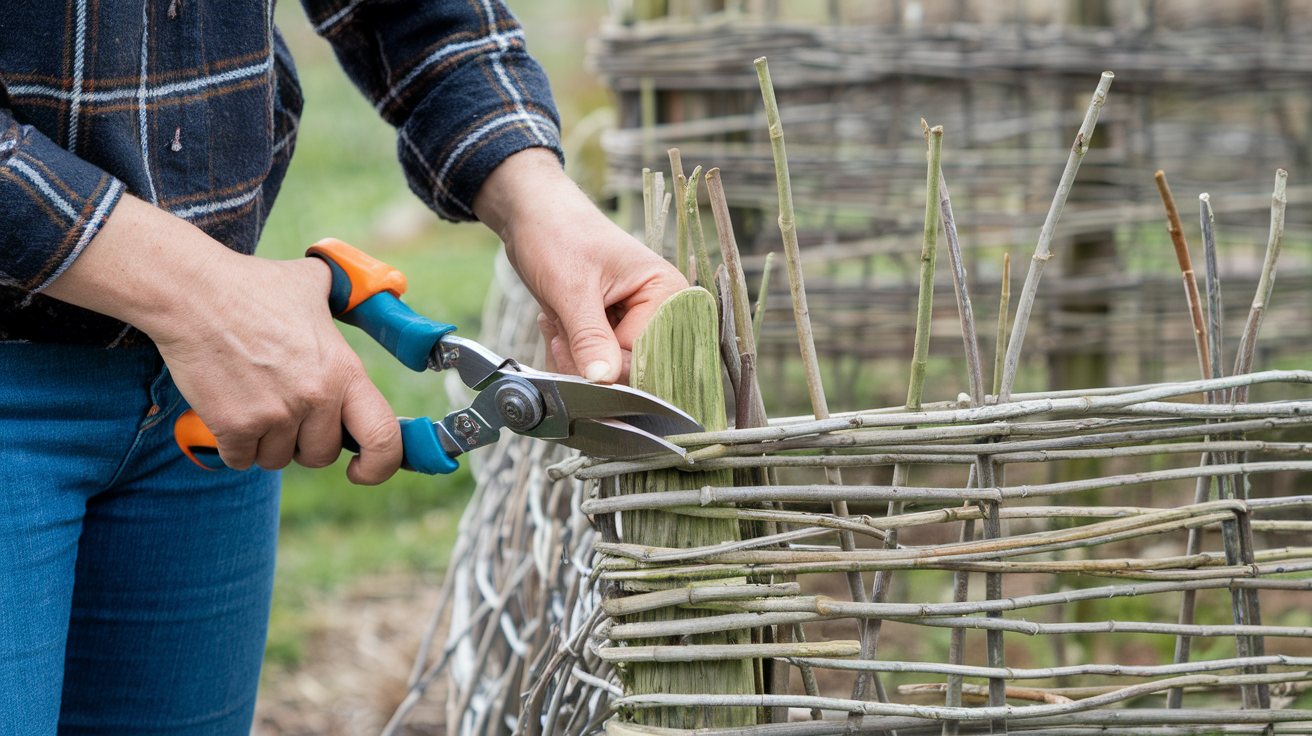
Once you’ve finished weaving, trim the branches sticking out at the back of the fence, but leave the branches at the ends so they can be cut straight later.
If needed, secure the lower branches to the stakes for extra stability. Finally, if you used bricks to raise the branches earlier, remove them once the weaving is complete.
Making Wattle Fences for Your Garden
Wattle fences work beautifully as garden features beyond just property boundaries. Many gardeners use small wattle hurdles to create raised bed borders or protect delicate plants from wind.
For vegetable gardens, a fullsize wattle fence can keep out rabbits and deer while adding rustic charm. You can even create curved sections by using more flexible woods like willow wattle.
English wattle style involves tighter weaving for a more formal look, perfect for cottage gardens. Consider varying the height of different sections to create visual interest around your garden space.
English Wattle Techniques
English-style wattle construction has been refined over centuries on homestead properties throughout Britain. This method uses woven willow or hazel in very tight patterns, creating an almost solid wall effect.
The key difference lies in selecting uniform branches and maintaining consistent spacing. Fullsize panels are often pre-made on the ground, then installed as complete sections for perfectly straight lines.
Approximate Cost to Build Wattle Fence
Here’s an estimated breakdown for building a “10-foot section.”
| Item | Cost Estimate |
|---|---|
| Branches for Weaving | $15 – $65 |
| Wooden Stakes | $30 – $60 |
| Ground Drill/Auger | $15 – $50 (if purchased or rented) |
| Hammer | $10 – $30 |
| Pruning Shears | $15 – $40 |
| String | $1 – $5 |
| Bricks | $5 – $20 |
| Cutting Blade | $5 – $15 |
| Labor (if applicable) | $150 – $200 (if hiring help) |
Total Estimated Cost Range
DIY (self-built): $80 – $170 for a 10-foot section
With Labor: $150 – $300 for a 10-foot section (depending on labor rates)
Maintenance and Care Tips
Wattle fences are pretty low-maintenance, but a little care goes a long way in extending their life. Here’s how to keep your fence looking good for years to come.
- Seasonal Checks: In spring, check for winter damage like loose weaves or cracked stakes and fix them and in fall, remove fallen leaves to prevent moisture buildup.
- Weather Protection: Apply natural oil (like linseed) every 1-2 years to resist water damage.Use a clear wood sealer if preferred, but it may slightly change the wood’s look.
- Structural Maintenance: Push leaning stakes back, tamp the soil around them, and tighten loose weaving by pushing branches into place. Replace broken or rotted sections to avoid further damage.
- Dealing With Growth: Fresh willow may sprout leaves; trim if you don’t want a living fence, and remove climbing weeds before they damage the structure.
- Long-Term Care:
- Quick Fixes: Keep spare weaving branches for fast repairs.Use garden wire temporarily to hold things until you can fix them properly.
Conclusion
Building a wattle fence adds a bit of old-world charm to any yard. This method has been used for thousands of years because it works, looks good, and costs very little.
Your wattle fence might take an afternoon to build, but the skills you gain will last much longer. Plus, there’s something truly satisfying about creating something useful with your own hands.
Ready to get started? Grab those pruning shears and collect some branches this weekend.
If you build your own wattle fence, we’d love to see it! Share photos in the comments below.
Frequently Asked Questions
Why is Wattle Called Wattle?
The word “wattle” comes from an old Anglo-Saxon term, “watul,” which meant “weaving.” It refers to the technique of interweaving flexible branches to create structures.
How Hard is Wattle Wood?
Wattle isn’t a specific wood type but a construction method. The hardness varies based on the wood used. Most wattle fences use flexible woods that are somewhat soft when fresh but harden as they dry.
What is the Best Wood for a Wattle Fence?
Willow is ideal for wattle fencing because it stays flexible after cutting and lasts several years. Hazel is another good option for its durability.

