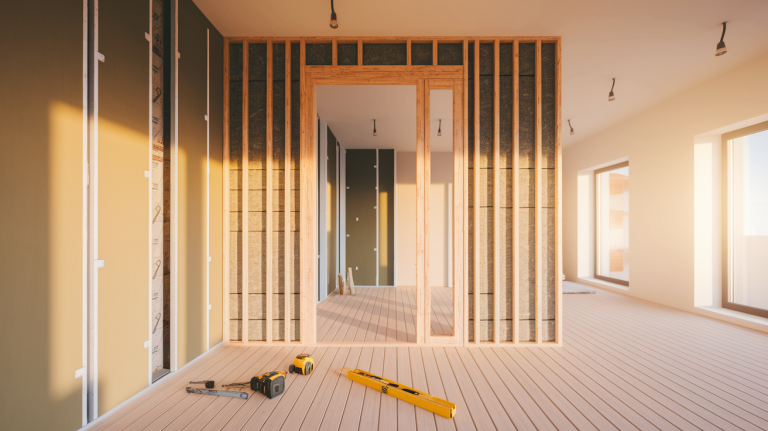
DIY Picture Frame Accent Wall
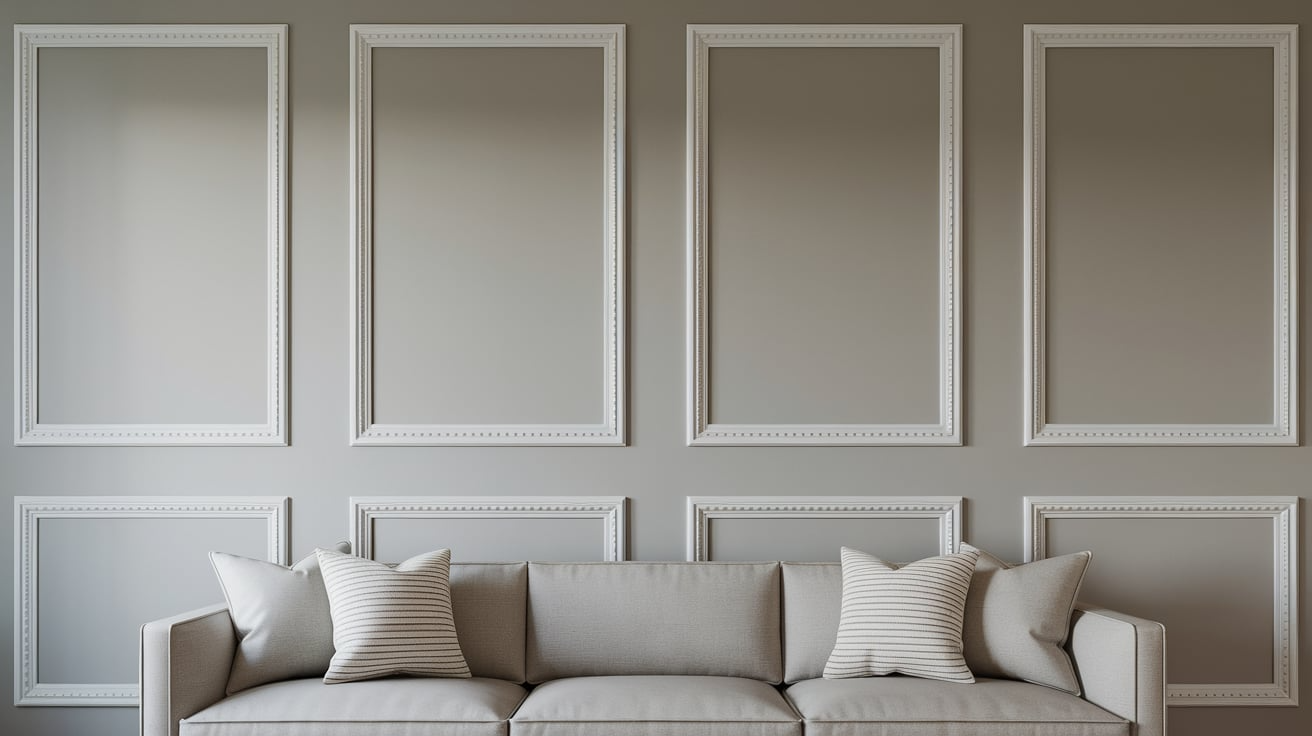
Looking to turn a bland wall into something beautiful without breaking the bank? A DIY picture frame accent wall might be exactly what your space needs!
Creating your molding design is surprisingly accessible, even for beginners. With just a few basic tools and materials, you can completely reimagine your living room, bedroom, or dining area in a single weekend project.
The beauty of this DIY approach is that you can customize the pattern to suit your style and space perfectly.
This guide will walk you through the step-by-step process of planning, measuring, cutting, and installing your very own picture frame molding for a high-end look at a fraction of the professional costs.
Creating an Accent Wall with Picture Frame Molding
Here is the process of making a picture frame accent wall explained in 8 simple steps:
Step 1: Plan Your Design
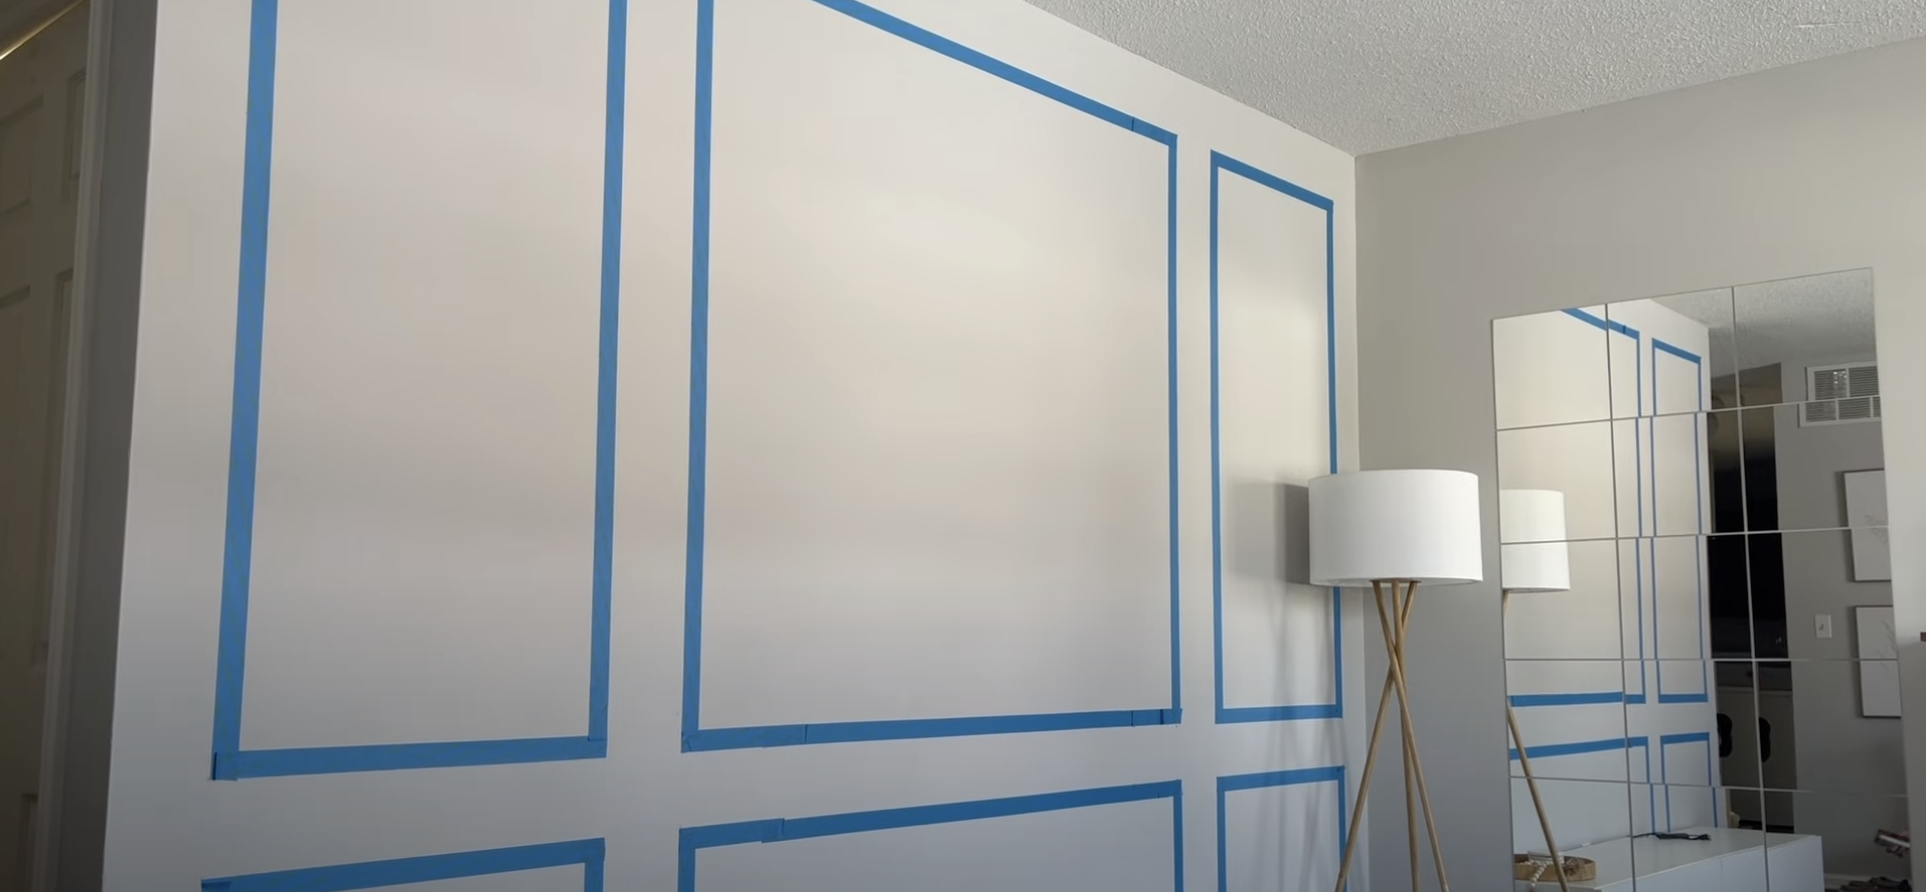
Begin by visualizing the layout for your accent wall. Use painting tape to outline where you want your decorative boxes to appear on the wall.
This helps you see how the finished project will look before making any permanent changes. Take your time with this step, as a well-planned design will save you headaches later.
Consider the dimensions of your wall and any furniture or televisions that will be placed against it.
Step 2: Gather Materials
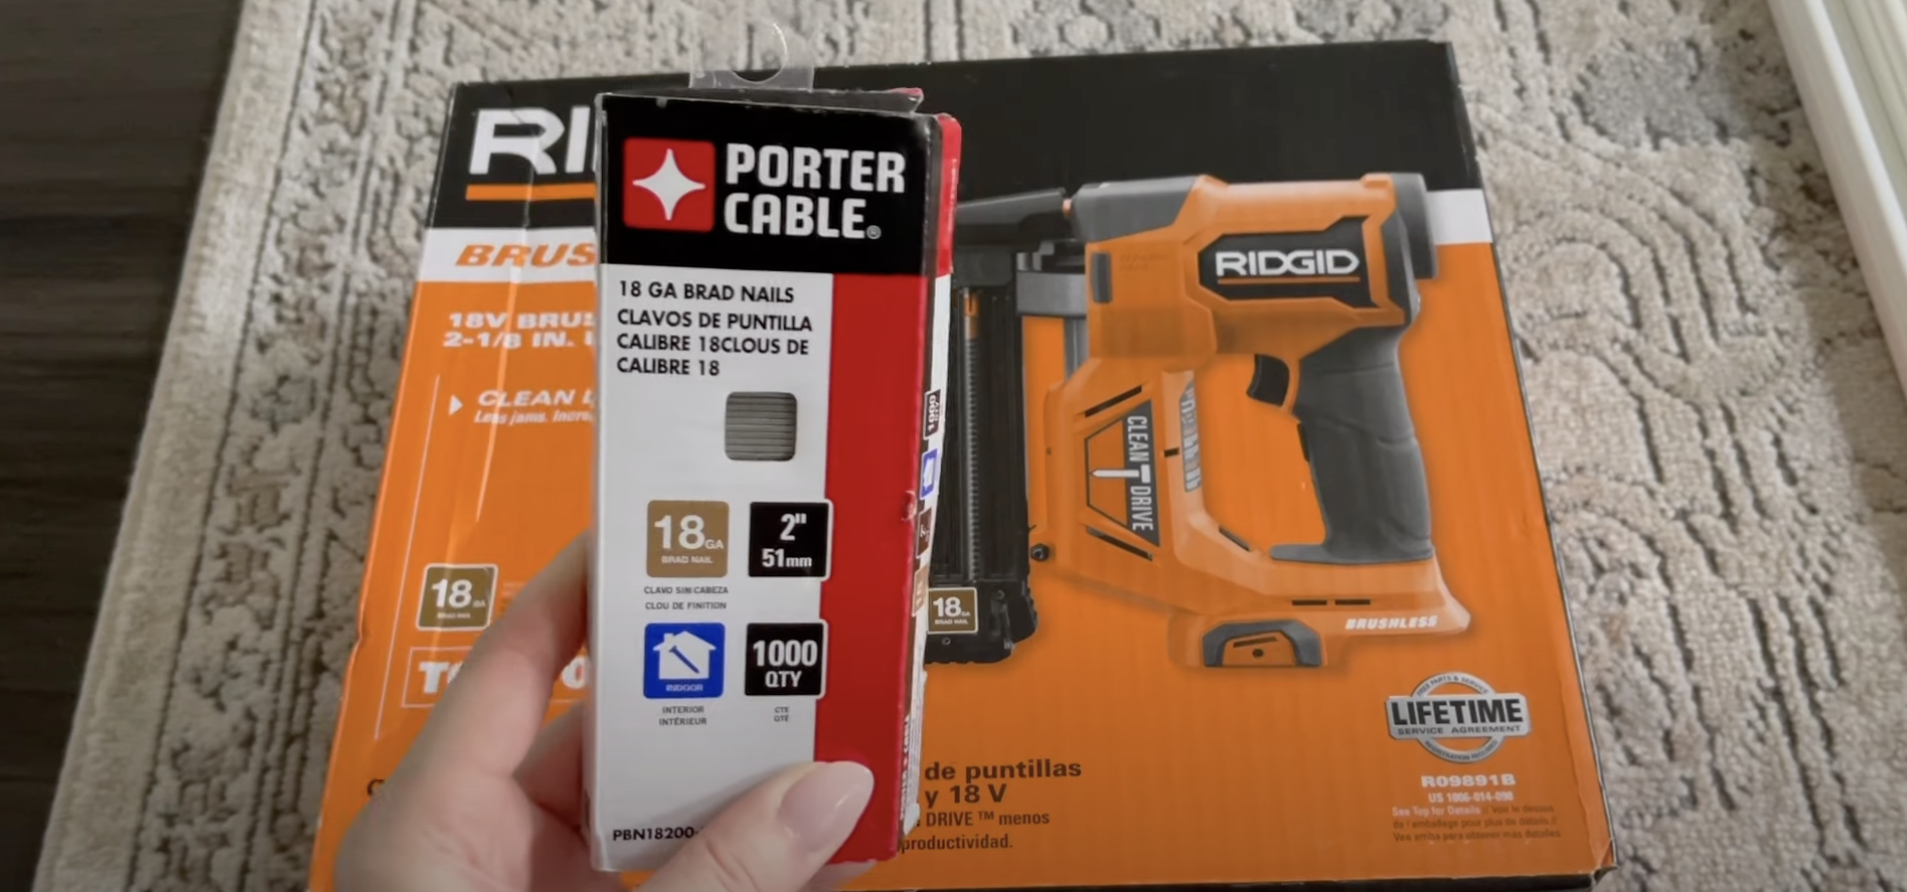
Head to your local hardware store to purchase all necessary supplies.
You’ll need white cap molding, a miter shear cutter for precise 45-degree angle cuts, a cordless brad nailer with appropriate nails, wood filler, paint, and a TV mount if you’re incorporating a television.
Having everything on hand before you begin will make the process much smoother.
Step 3: Cut and Install First Pieces
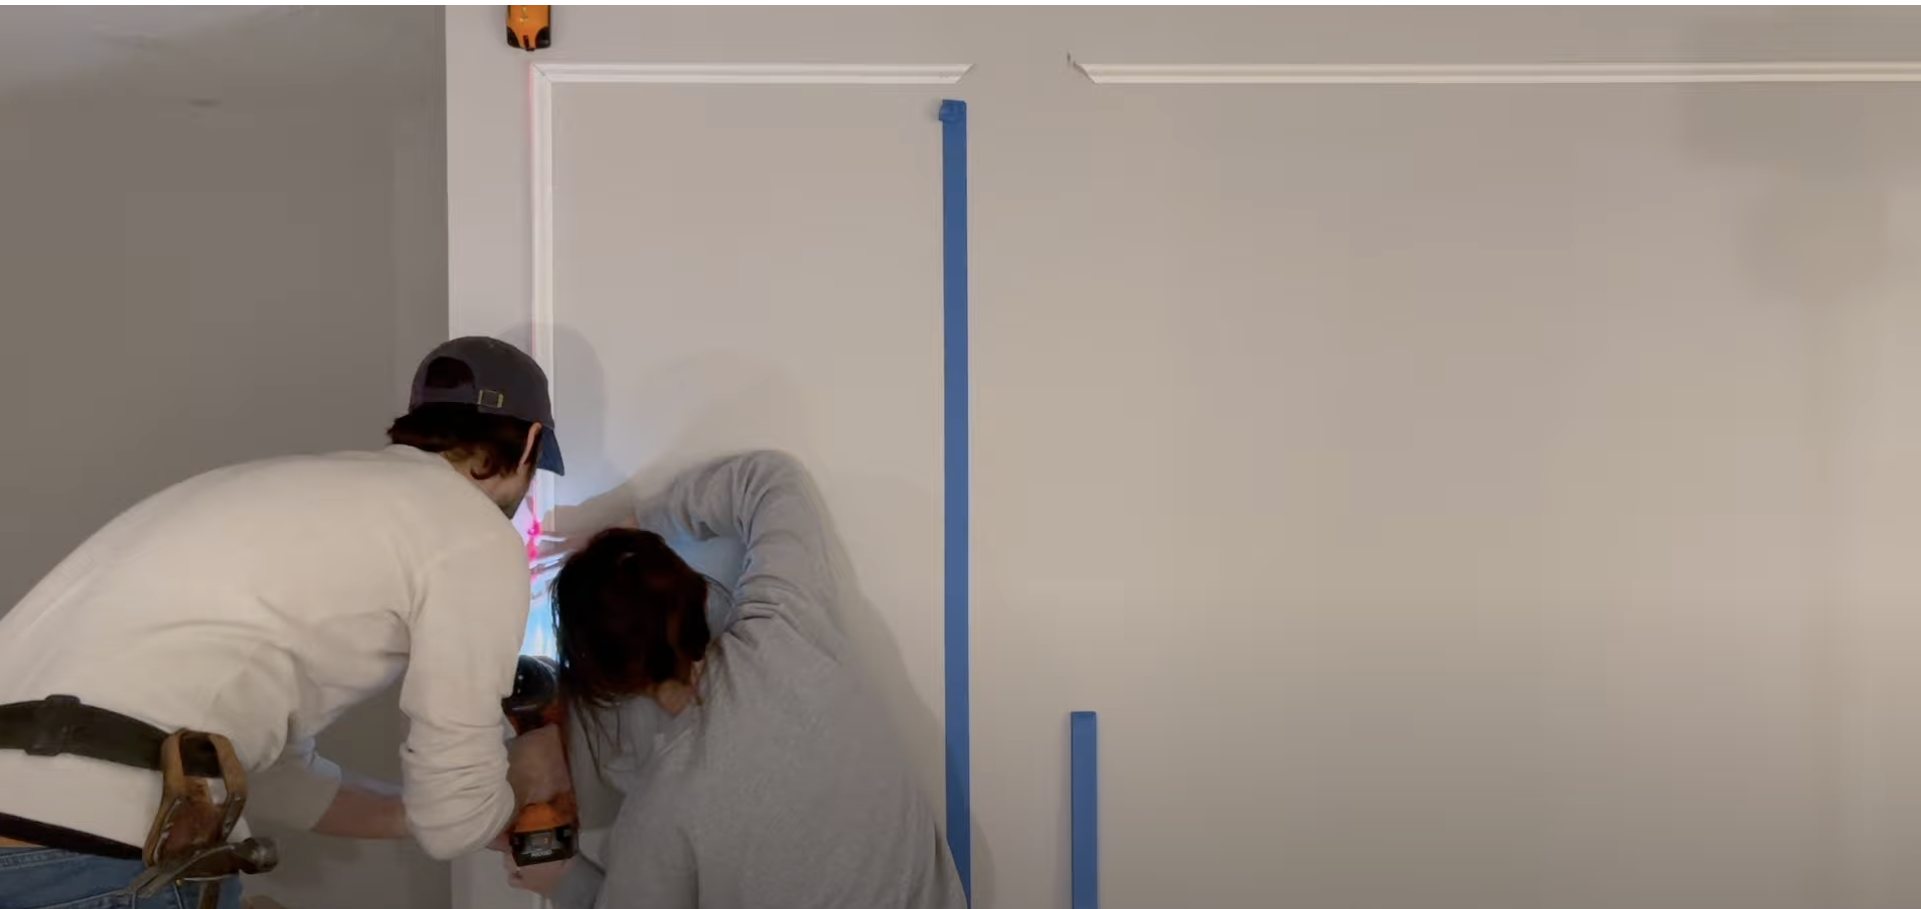
Using your miter shear cutter, make 45-degree angle cuts on your molding pieces to create perfect corners for your boxes.
Begin installing the trim according to your taped outline, attaching pieces to the wall with your brad nailer. This initial installation may take time, especially if your wall isn’t perfectly level.
You might need to strike a balance between perfectly level molding and making it appear straight relative to other elements in the room.
Step 4: Adjust for Electronics
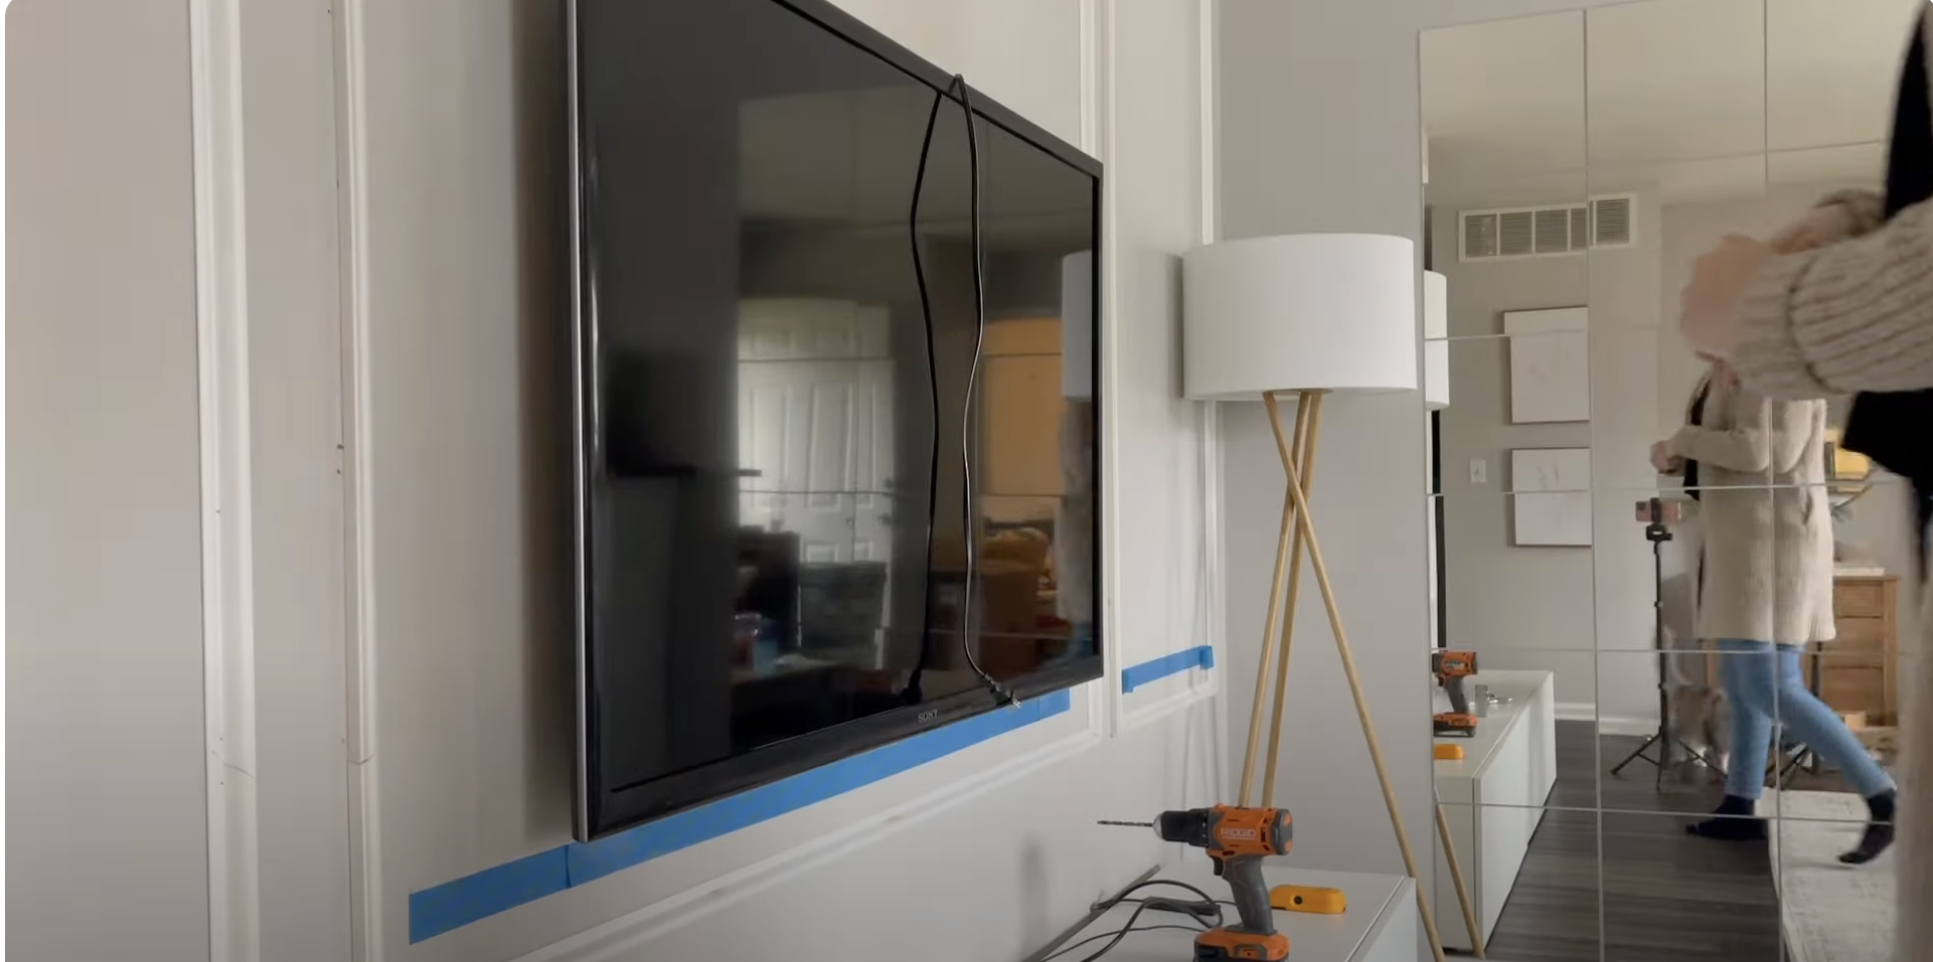
If you’re incorporating a television, now is the time to install the mounting bracket. Choose a mount that positions the TV close to the wall for a cleaner look.
You may need to remove some molding pieces temporarily or adjust your box dimensions to accommodate the television.
Ensure your TV is centered and at a comfortable viewing height before proceeding with the surrounding decorative elements.
Step 5: Complete the Framework
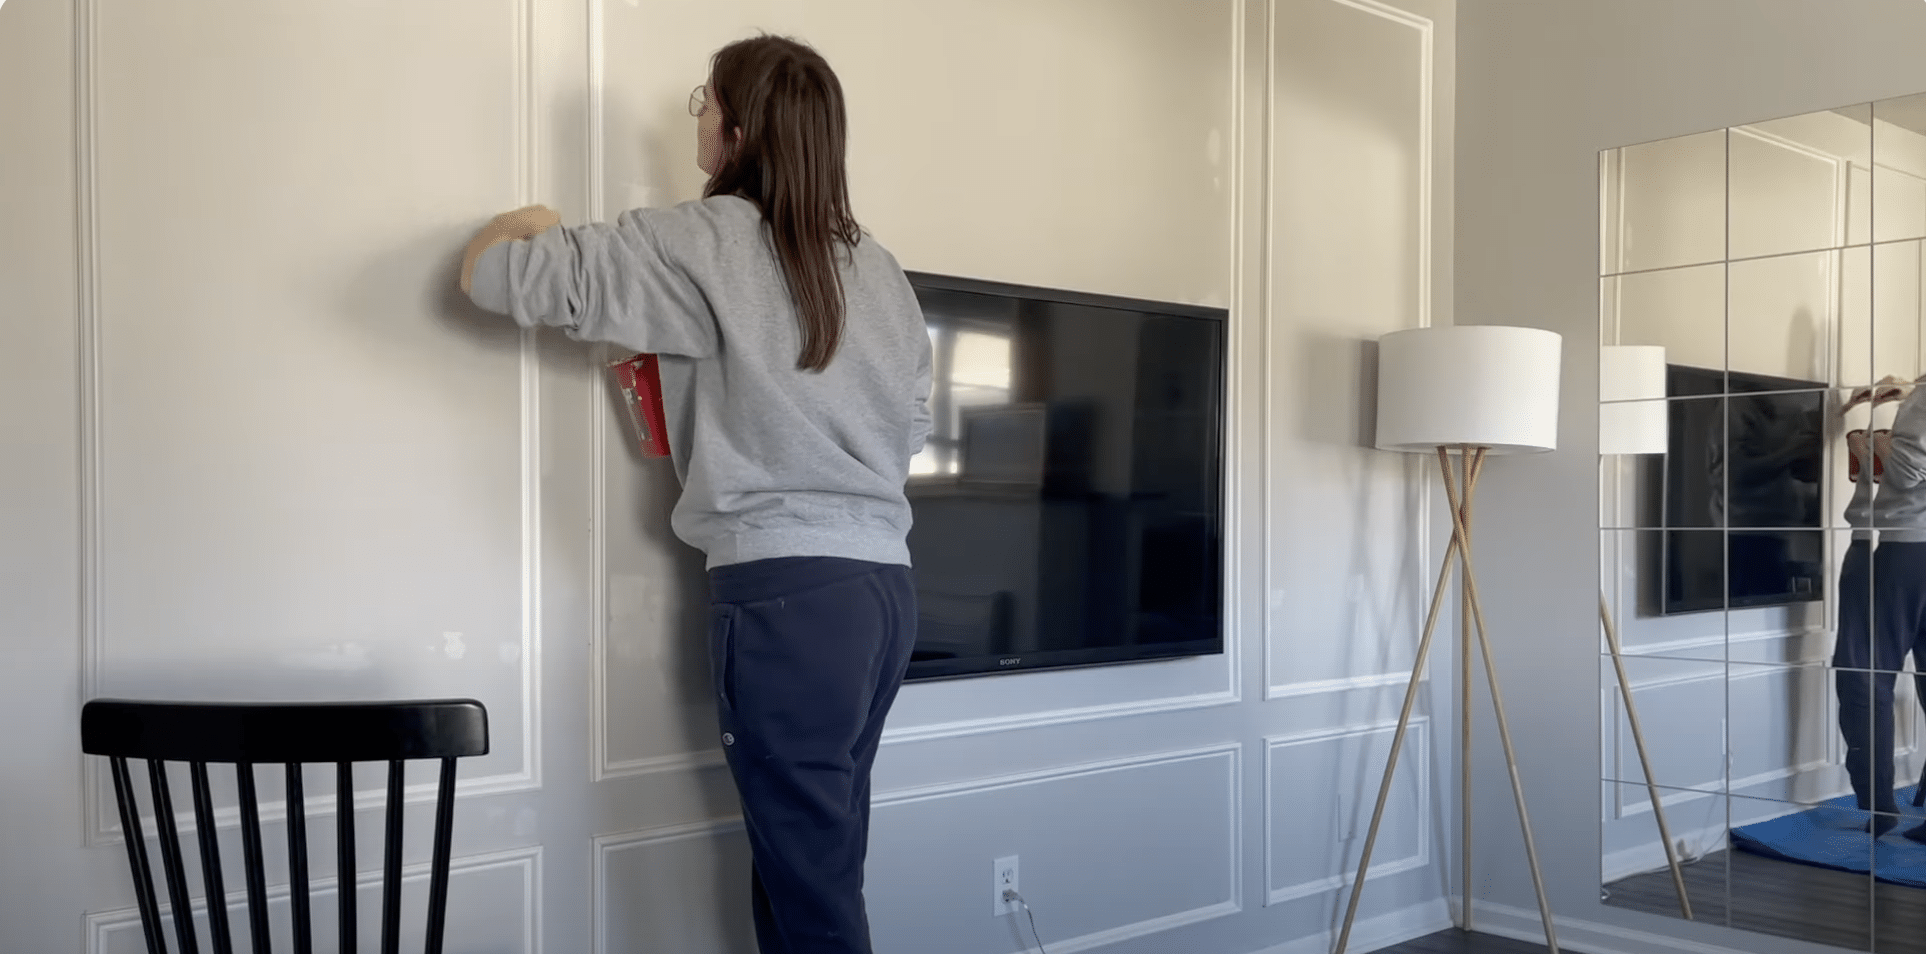
Continue installing the remaining molding pieces to complete all your decorative boxes. If you need to make adjustments to your original design, don’t hesitate to modify as you go.
Some boxes may need to be wider or narrower than originally planned to create visual balance.
If you need to join pieces in non-corner locations, cut them carefully and plan to disguise the joints with wood filler later.
Step 6: Fill and Prepare for Paint
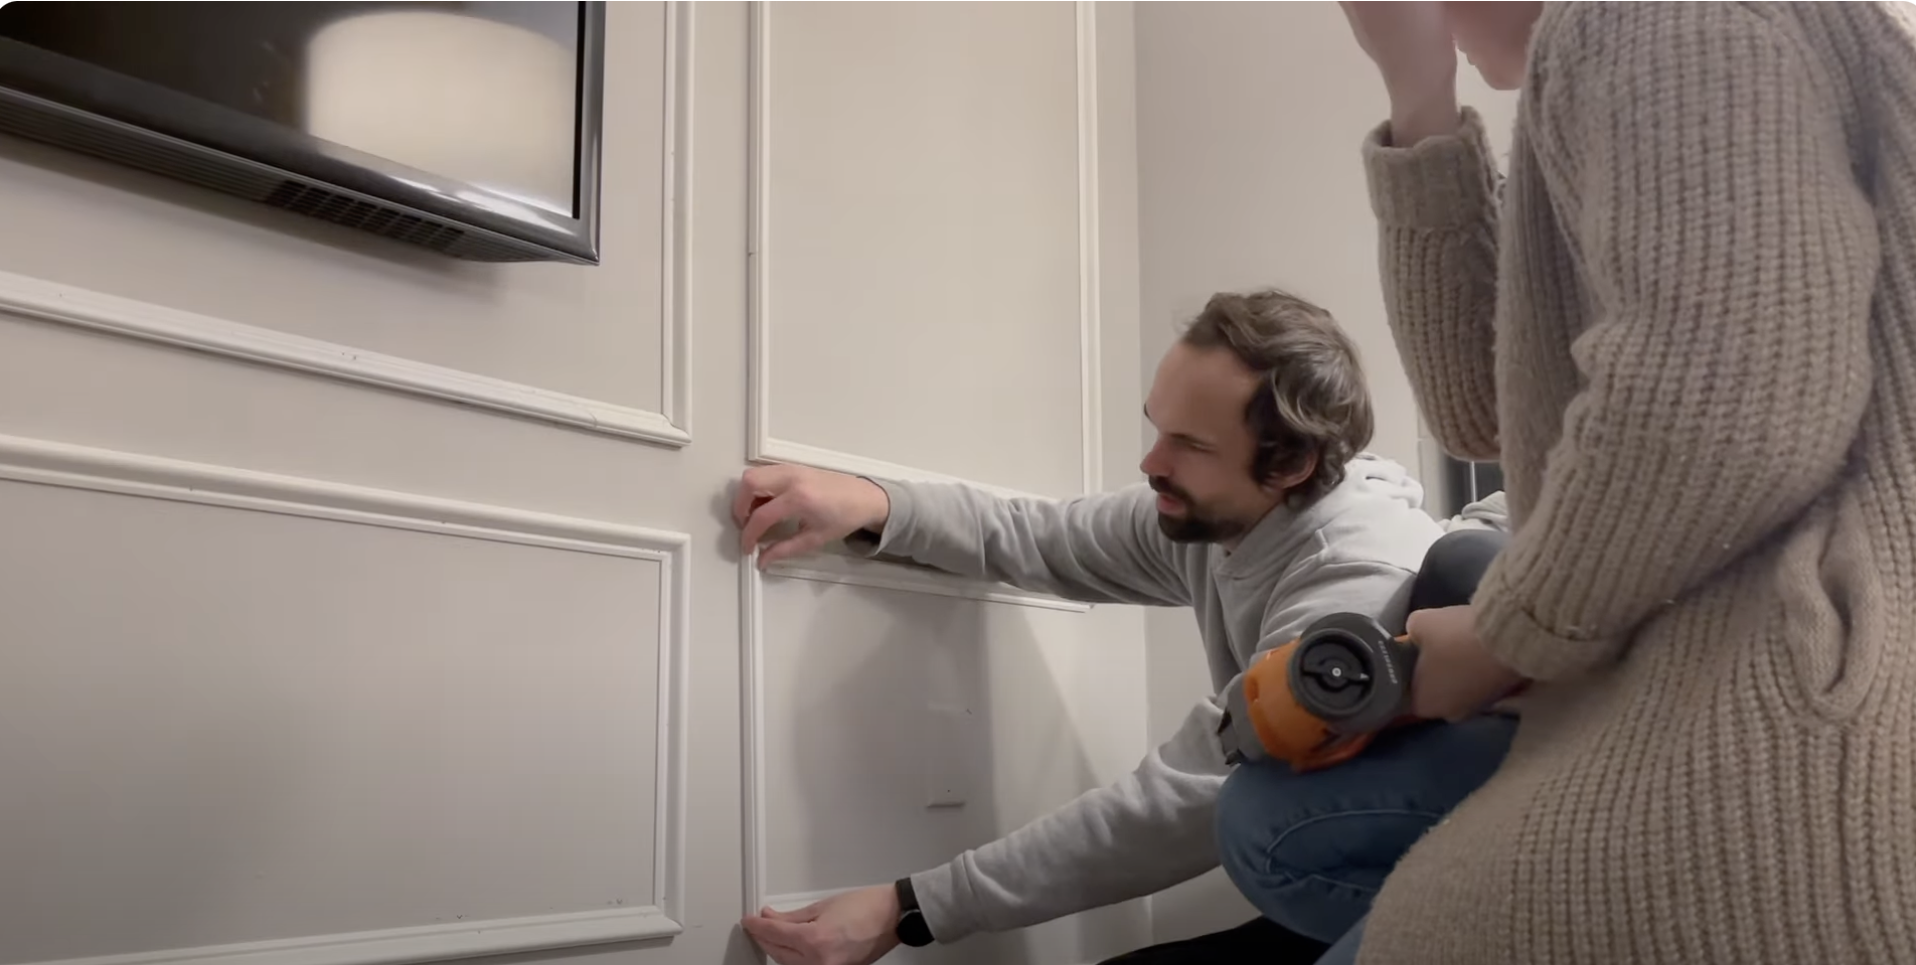
Once all molding is installed, use wood filler to cover nail holes and any visible seams between pieces.
Allow the filler to dry completely, according to the manufacturer’s instructions. After drying, sand all filled areas until they’re smooth and flush with the molding surface.
Wipe away any dust with a damp cloth before painting.
Step 7: Paint and Finish
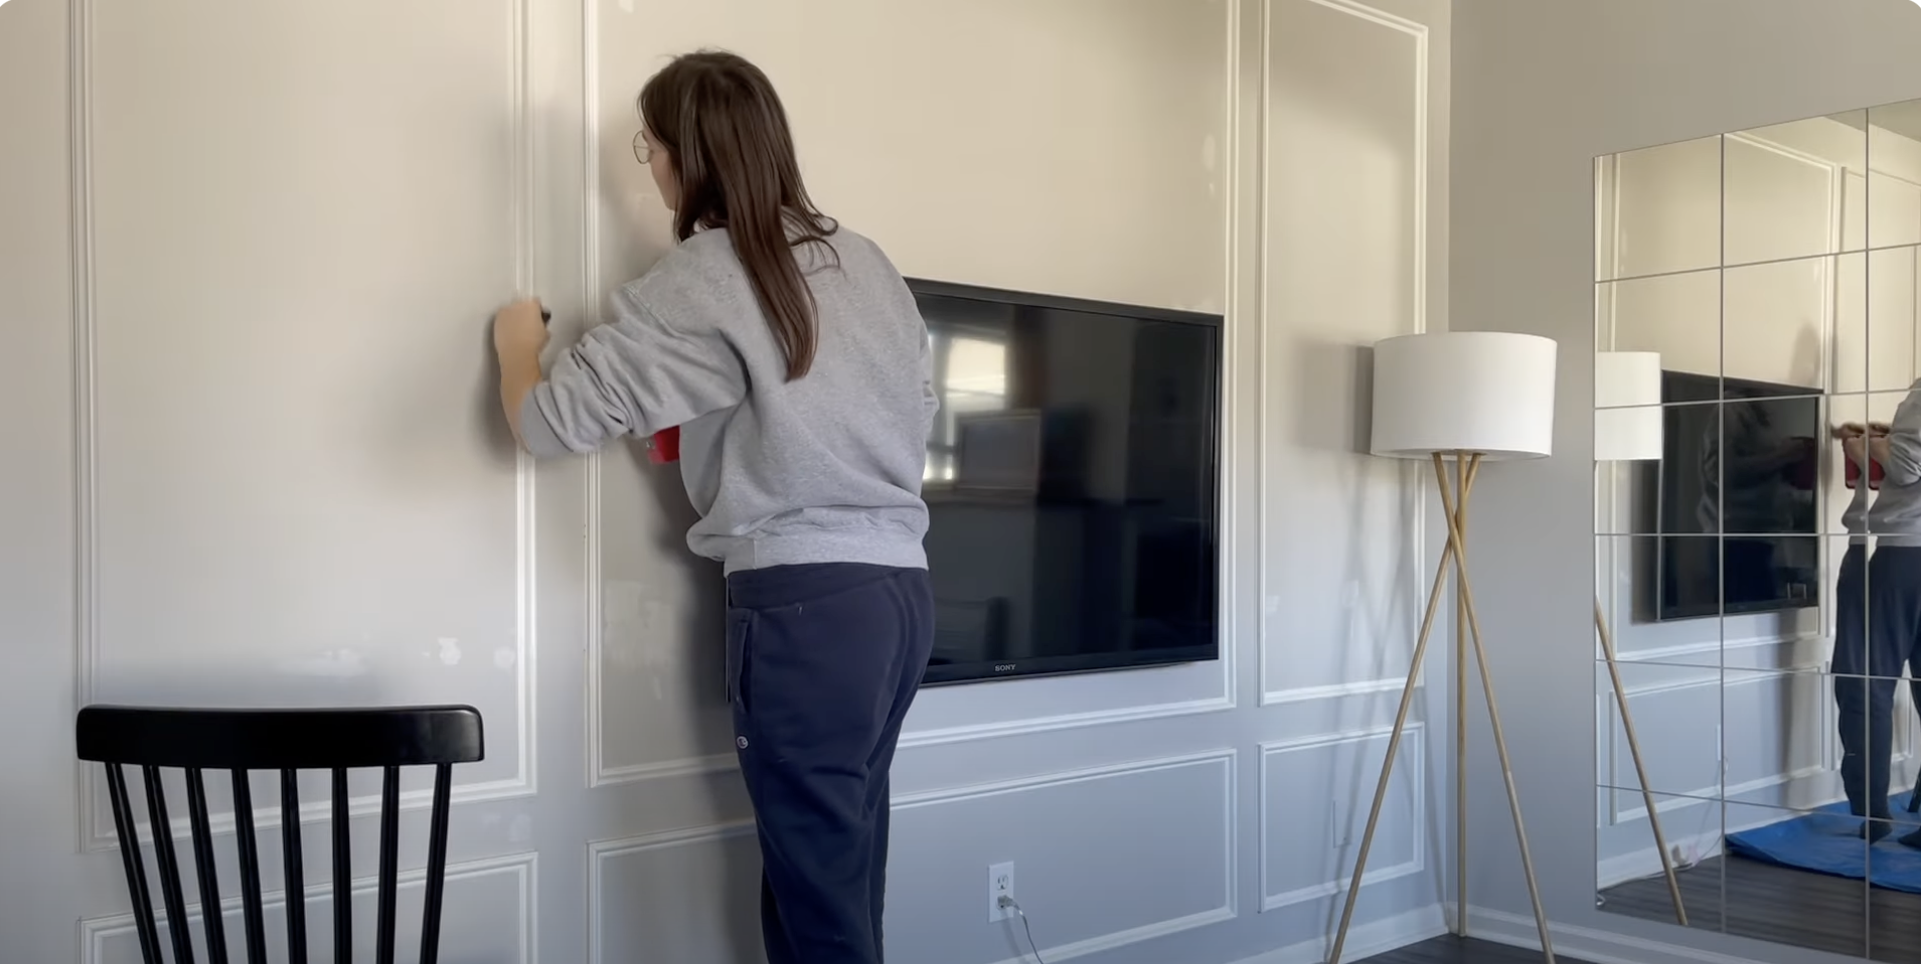
Apply two coats of paint to your molding pieces, allowing proper drying time between coats.
Depending on your color choice and wall condition, one coat of paint may be sufficient for the wall space inside your boxes.
Take care with your brushwork around the edges of the molding to create crisp, clean lines. Allow all paint to dry thoroughly before moving furniture back against the wall.
Step 8: Style Your New Space
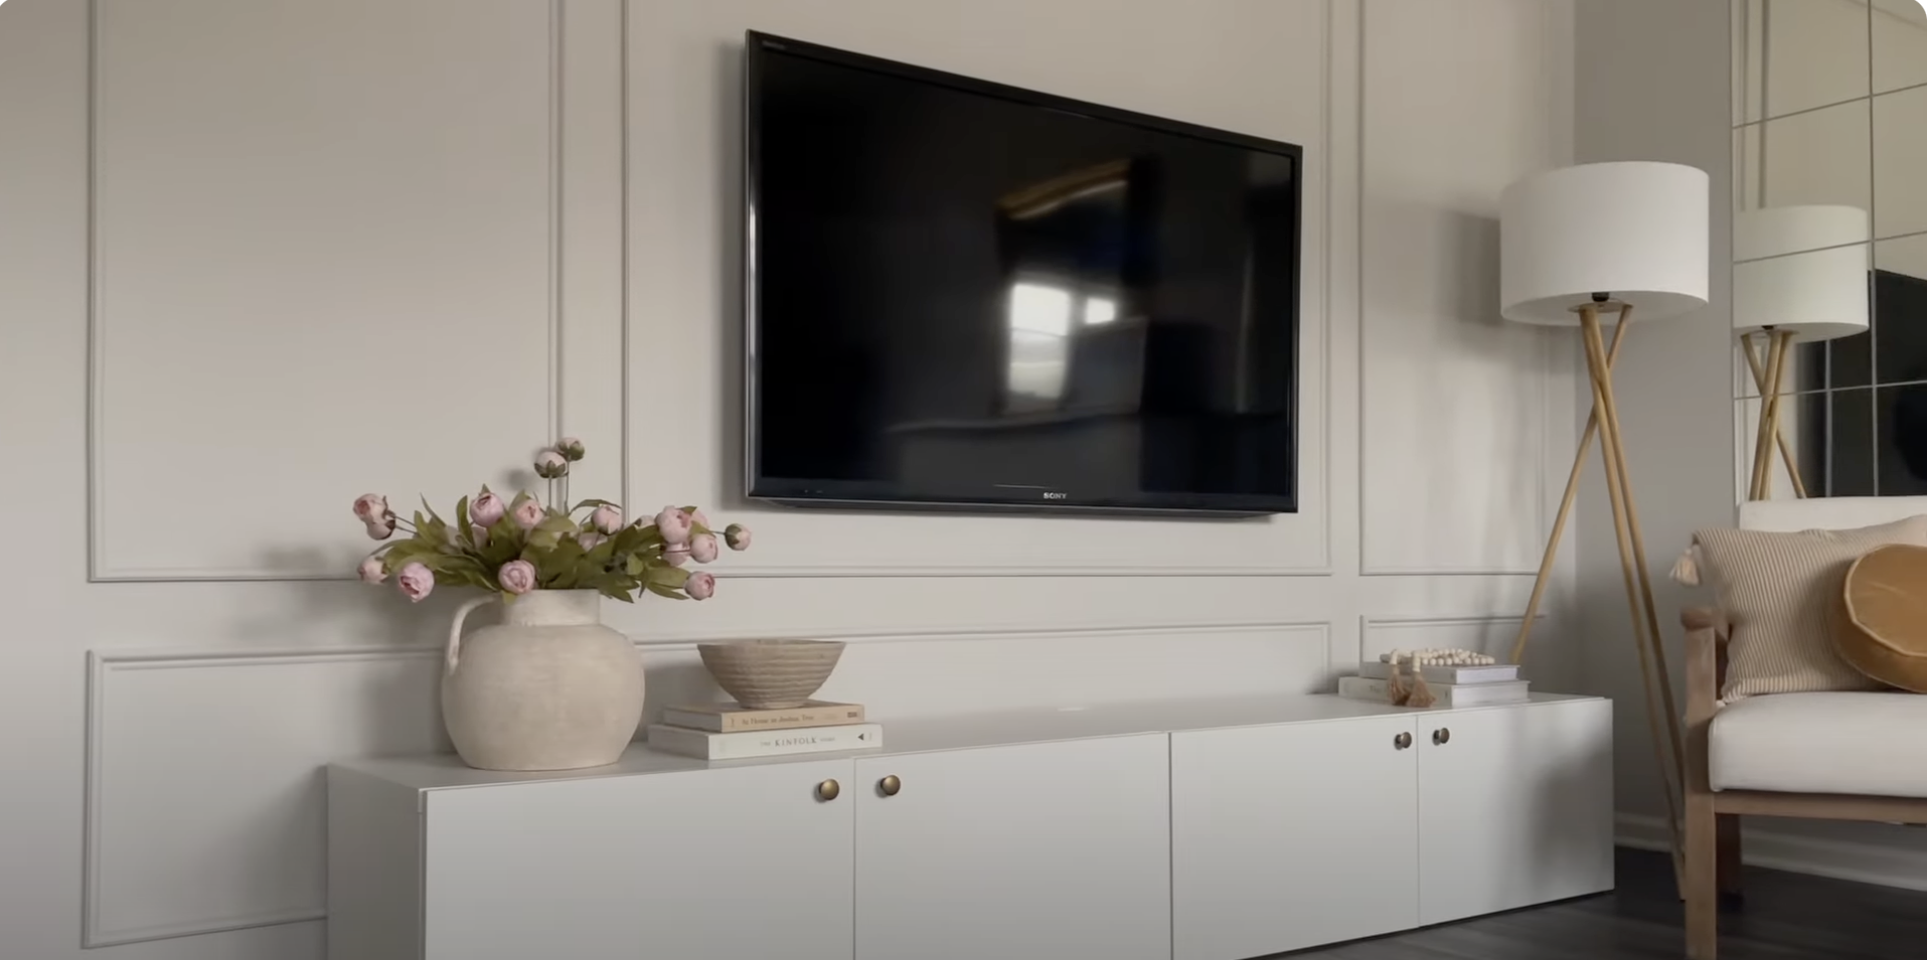
Complete your room by styling the area around your new accent wall. Consider upgrading existing furniture with new hardware for a refreshed look.
Add decorative elements like vases with artificial flowers, stacked books, textured bowls, or wooden accessories.
If you have space available, an accent chair can provide both functionality and visual interest. Take time to arrange these elements thoughtfully to complement your beautiful new accent wall.
For a detailed tutorial, you can check out this YouTube video:
Conclusion
All in all, creating your picture frame accent wall is truly a rewarding DIY project that delivers professional-looking results on a modest budget.
With the ideas and steps shared here, you’ll be well-equipped to turn any boring wall into a focal point that upgrades your entire space.
Don’t be discouraged if it takes a few weekends to complete; the change is worth every minute spent measuring, cutting, and painting.
So gather your materials, plan your design, and get ready to impress yourself and everyone who enters your home with your newly refined space.
Your picture frame accent wall awaits!

