Do Not Sand a Deck – Everything you need to know
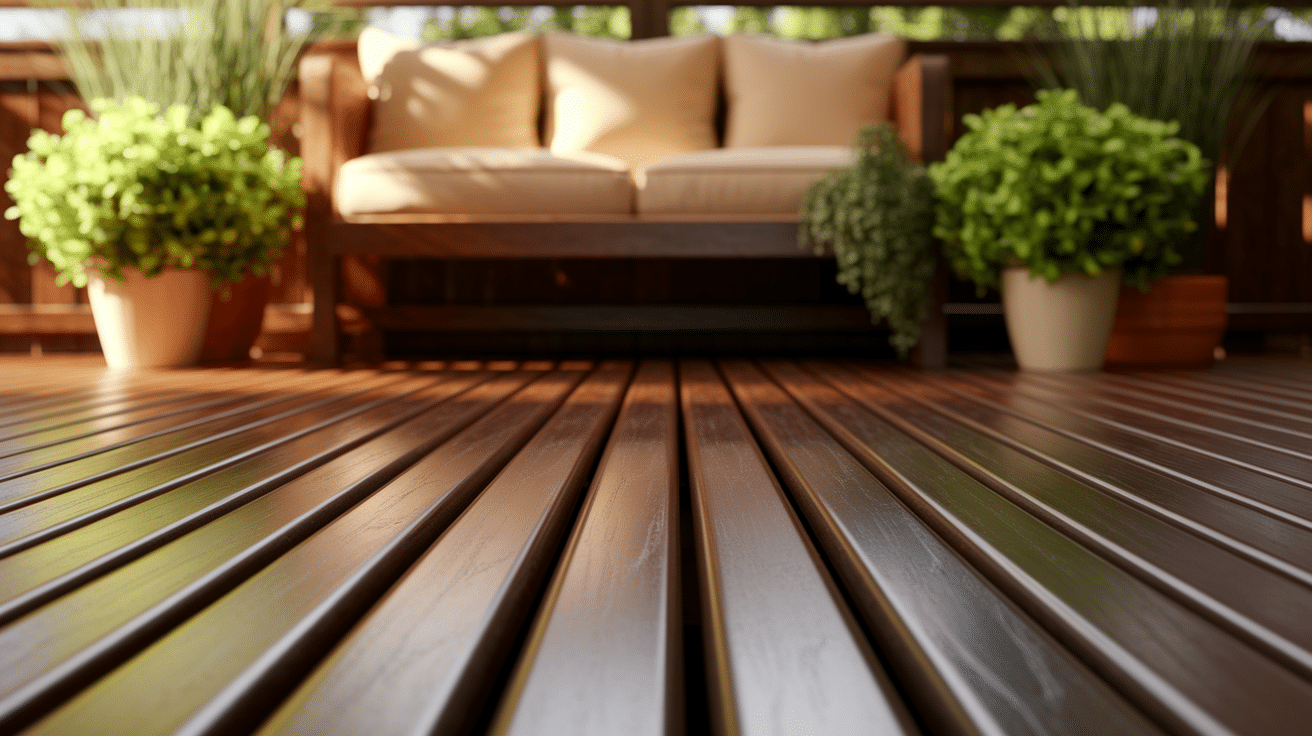
Still deciding whether to sand your outdoor deck or not?
This simple home fix isn’t as easy as it looks. Many homeowners jump in without knowing what they’re getting into. Yes, sanding can make old wood look new again and get rid of those nasty splinters.
But let’s be real—it’s hard work! You’ll need special tools, and if you’re not careful, you might harm your deck. Before you go rent a big sander, you should know what you’re signing up for.
This blog breaks down what’s good and bad about sanding your deck. You will also find some care tips to decide if this is the right way to fix up your outdoor space.
Understanding Deck Sanding
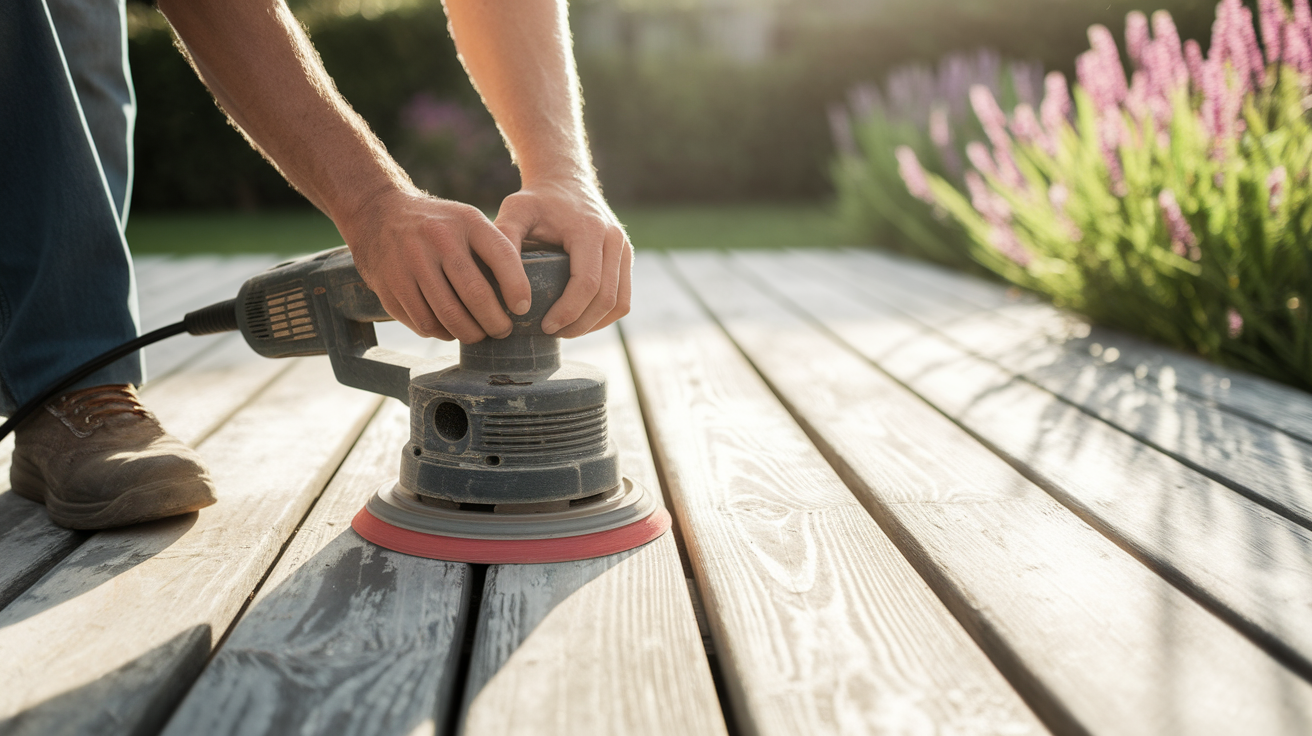
Deck sanding is the process of removing the top layer of wood from your deck’s surface using abrasive materials.
This technique strips away weathered wood fibers, old finishes, stains, and surface damage to reveal fresh wood underneath.
The process typically involves multiple sanding stages, progressing from coarse grits (40-60) to medium (80-100) and finally fine grits (120-150). Proper equipment is essential, with different sanders suited for various deck sizes and conditions.
When done correctly, sanding can restore your deck’s appearance, smooth rough surfaces, and prepare the wood for new protective treatments. However, it’s a labor-intensive project requiring careful execution to avoid structural damage.
Pros of Deck Sanding
Below are the advantages and benefits of sanding a deck, helping you understand why this step is essential for a long-lasting and beautiful finish:
- Removes Surface Damage: Sanding eliminates splinters, rough patches, and cracks, creating a safer, smoother surface and preventing moisture buildup.
- Restores Appearance: Reveals fresh wood and its original color, revitalizing a weathered deck without needing a full replacement.
- Improves Stain Absorption: Freshly sanded wood absorbs stains and sealers more evenly, providing better protection and a lasting, professional finish.
- Extends Deck Lifespan: Regular sanding and sealing can double or triple your deck’s lifespan by preventing further damage and slowing aging.
- Upgrades Safety: Sanding removes splinters, reducing the risk of injury and creating a safer, more comfortable surface for all.
Cons of Deck Sanding
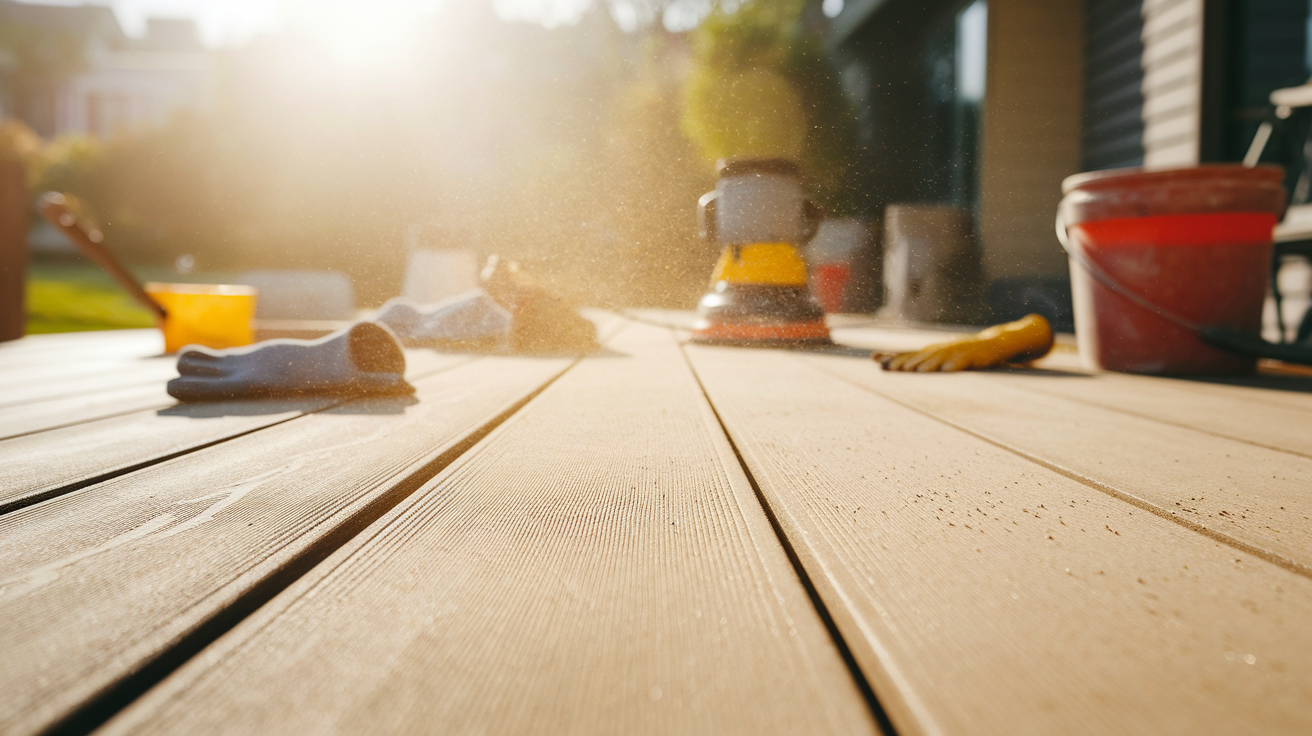
Here are the cons stating why one should avoid sanding a deck, especially if not done correctly or under the right conditions, as it may lead to potential damage or extra maintenance work:
- Labor Intensive: Sanding a deck requires significant time and effort, especially for larger decks, which can lead to fatigue and muscle strain.
- Equipment Costs: High-quality sanders and materials can be costly, especially when factoring in rentals, sandpaper, and other supplies.
- Wood Loss: Excessive sanding removes layers of wood, potentially weakening the deck’s structure over time, especially in high-traffic areas.
- Risk of Damage: Improper sanding can gouge boards, damage screws, or sand through protective layers, leading to costly corrections.
- Weather Dependent: Dry conditions are essential for sanding; rain or humidity can ruin the process and delay the project.
Process of Sanding a Deck
Before starting the sanding process, it’s important to gather the right tools and prepare the deck properly. This ensures a smooth, even finish and helps your stain or sealant last longer.
Materials and Tools Required for Sanding a Deck
| Category | Items |
|---|---|
| Sanders | Drum sander, orbital sander, belt sander |
| Sandpaper | 36–60 grit (stripping), 80 grit (smoothing), 120 grit (finishing) |
| Protective Equipment | Safety goggles, dust mask, ear protection, work gloves |
| Prep Tools | Hammer, nail set, screwdriver, pry bar |
| Cleaning Supplies | Push broom, shop vacuum, garden hose |
| Finishing Materials | Wood cleaner, brightener, stain, sealant |
| Miscellaneous | Extension cords, tarps, painter’s tape, putty knife, wood filler |
Step 1 – Preparation
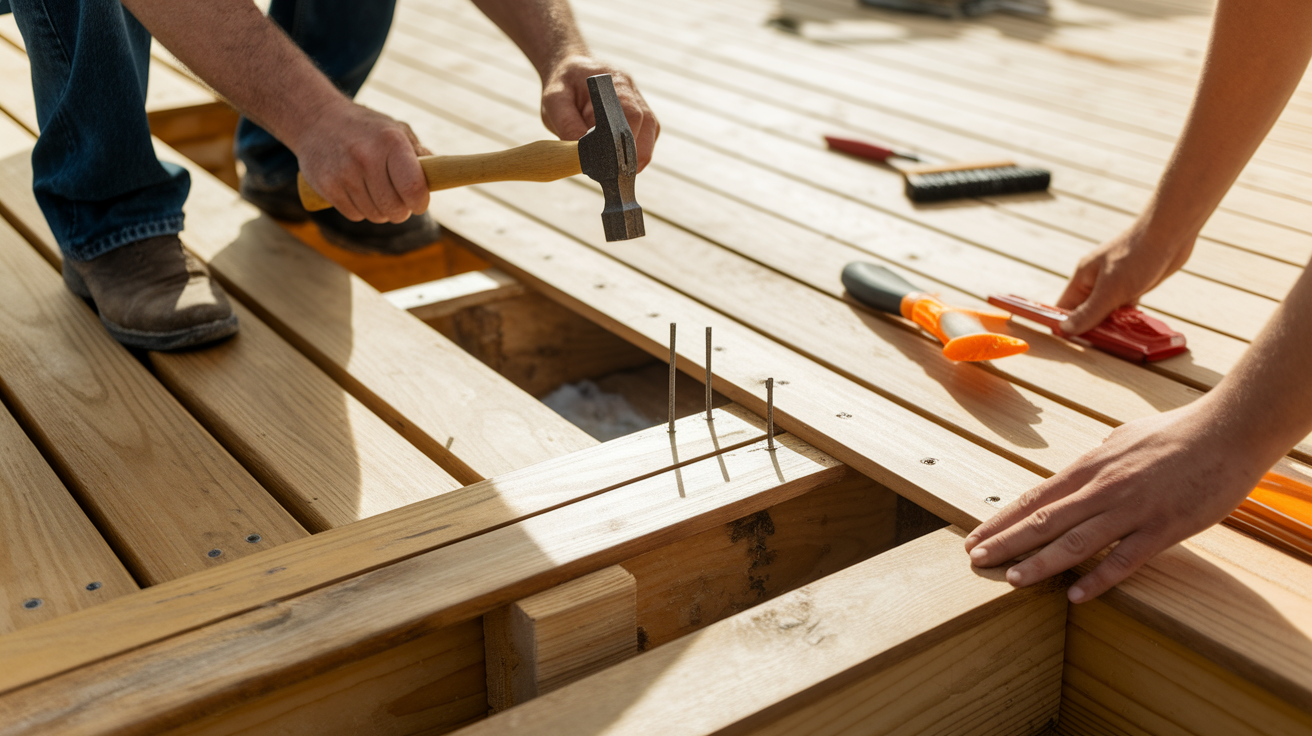
Clear the deck completely and perform repairs. Set any raised nails or screws and replace damaged boards. Sweep thoroughly and clean with appropriate deck cleaner to remove dirt, mildew, and existing finishes.
This preparation phase is also the ideal time to inspect the structural integrity of your deck, including joists and support posts, addressing any issues before investing time in surface refinishing.
Step 2 – Initial Coarse Sanding
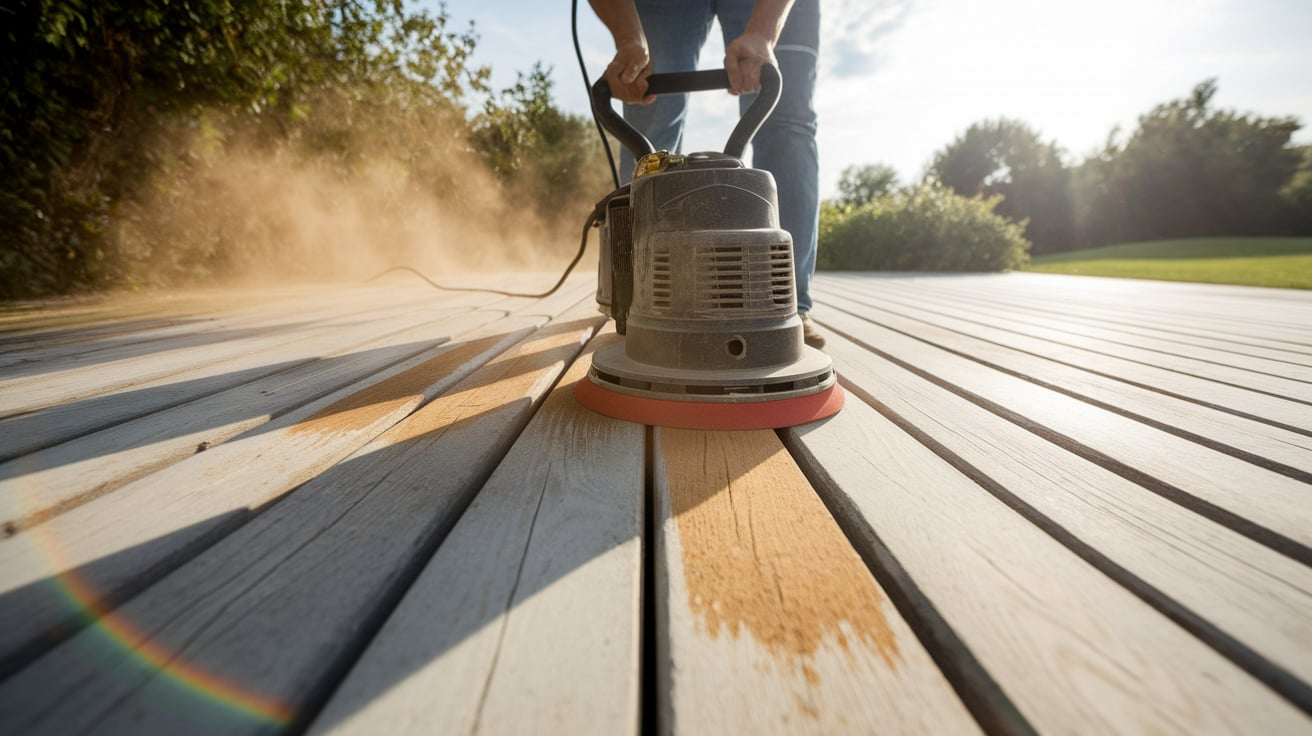
For the main deck surface, begin with coarse-grit sandpaper (36-60 grit) on a drum sander. This will remove the old finish, weathered wood, and major imperfections.
Always sand in the direction of the wood grain to prevent cross-grain scratches.
Step 3 – Edge and Detail Sanding
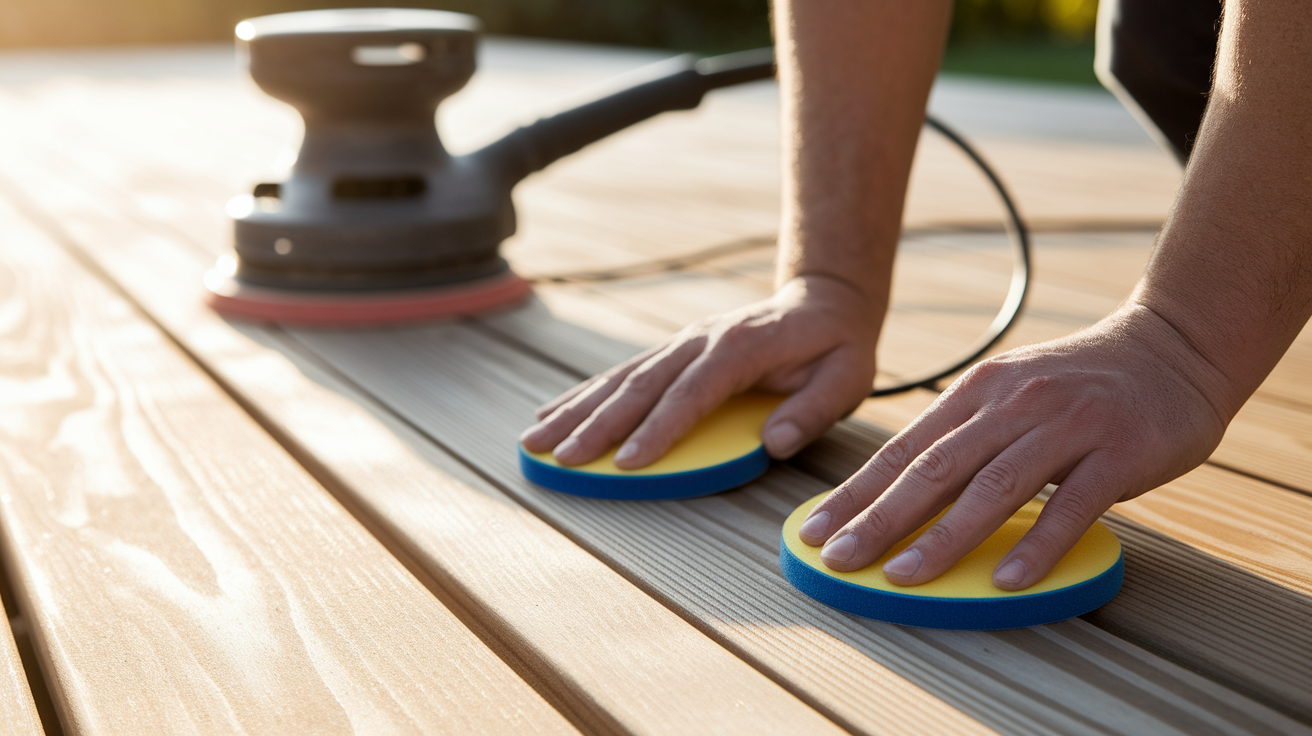
Use a belt sander or edge sander for areas the drum sander can’t reach. Pay special attention to edges, corners, and around posts. Hand sanding may be necessary for intricate details and hard-to-reach spots.
Consider using sanding sponges for railings and balusters. They conform to curved surfaces better than rigid sandpaper sheets.
Step 4 – Medium-Grit Sanding
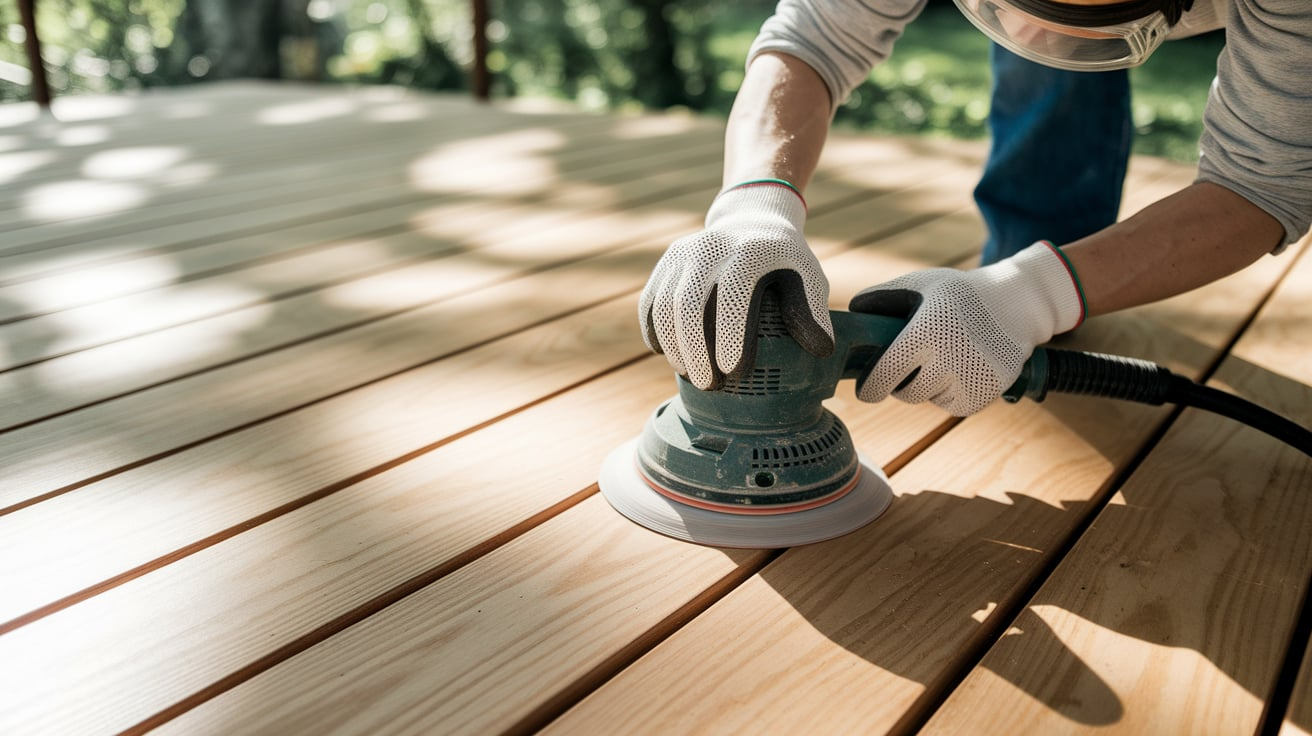
Follow with medium-grit sandpaper (80 grit) to smooth out the rough sanding marks left by the coarse grit. This step refines the surface and prepares it for the final sanding.
Take your time during this medium-grit phase, as it bridges the gap between aggressive material removal and final finishing.
Step 5 – Final Sanding
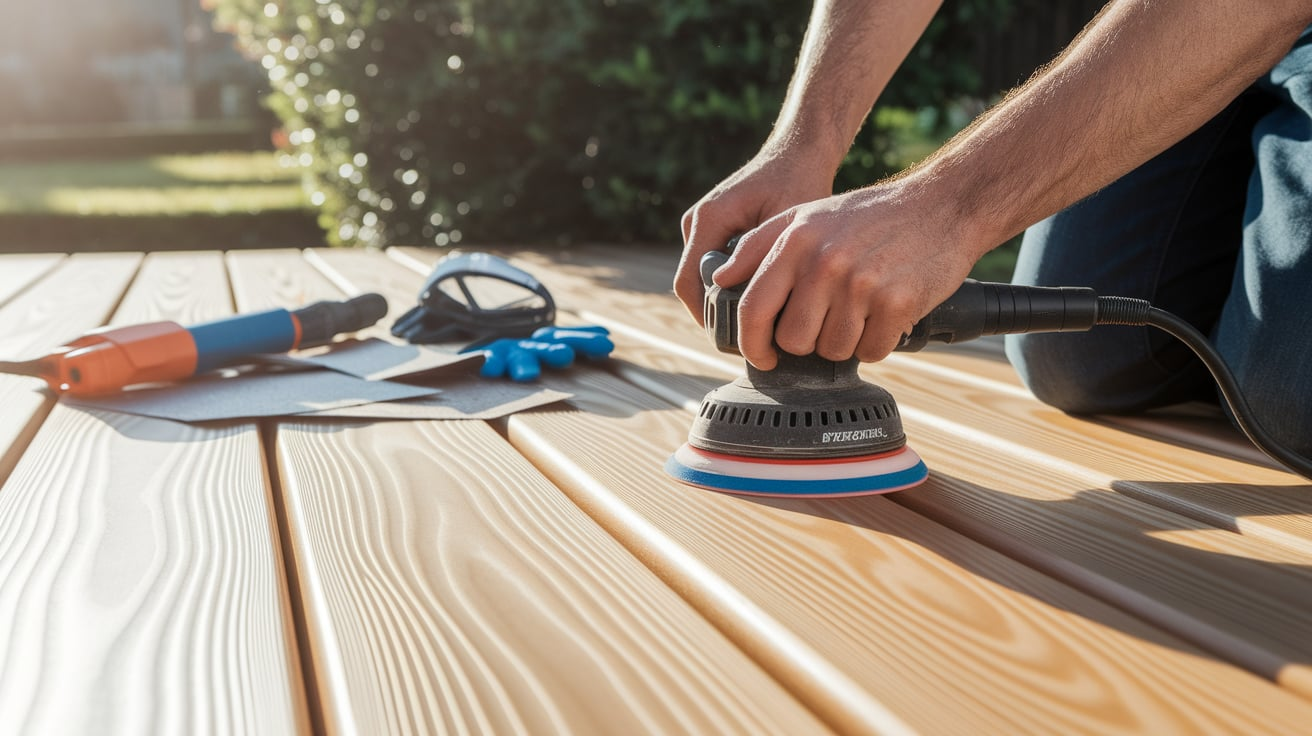
Complete the process with fine-grit sandpaper (120 grit) for a smooth finish. This creates the ideal surface for accepting new stain or sealant and eliminates any remaining imperfections.
This attention to detail during the fine-grit phase will significantly impact the quality of your finished deck, ensuring stain penetrates evenly and the surface feels silky smooth underfoot.
Step 6 – Thorough Cleaning
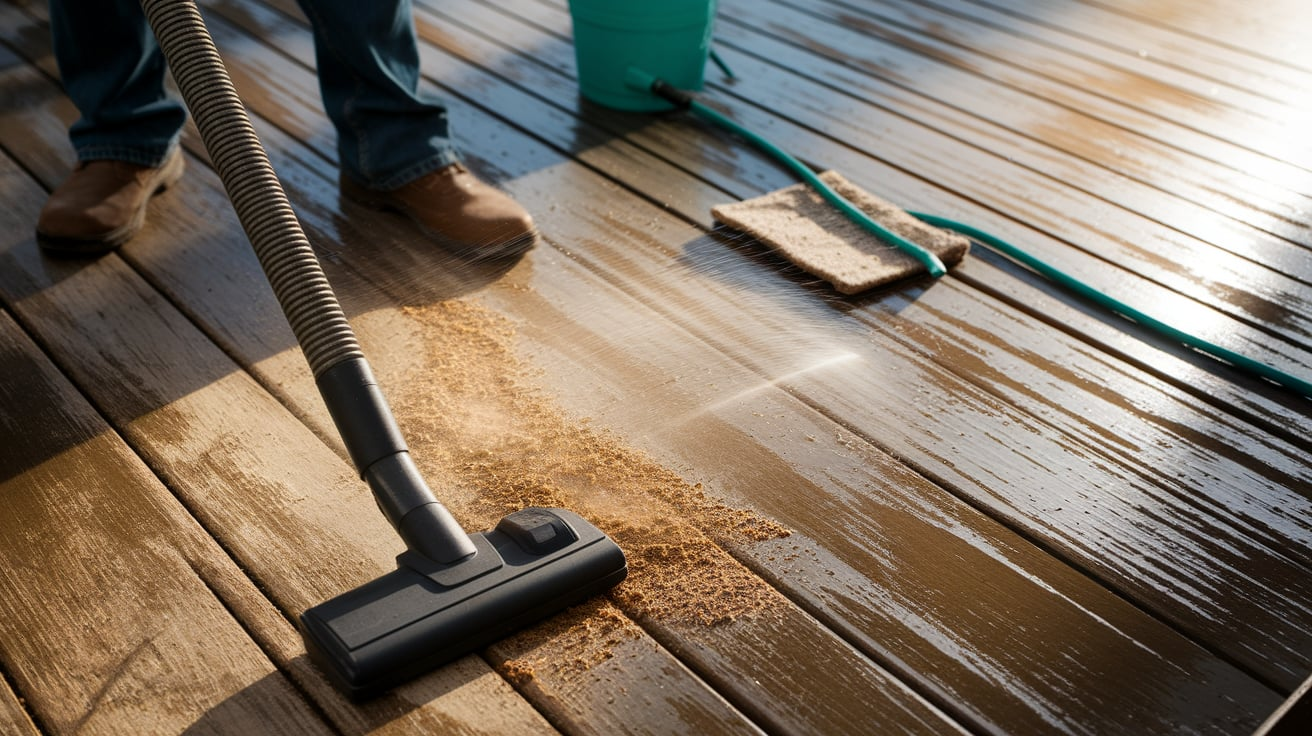
Vacuum all dust and debris, then wash the deck with water to remove fine dust particles. Allow the deck to dry completely (typically 24-48 hours, depending on weather conditions) before applying any finishes.
Consider using a tack cloth for a final wipe-down after the deck has dried to capture any remaining dust particles. Even minor dust residue can compromise your stain or sealer application.
Step 7 – Finishing
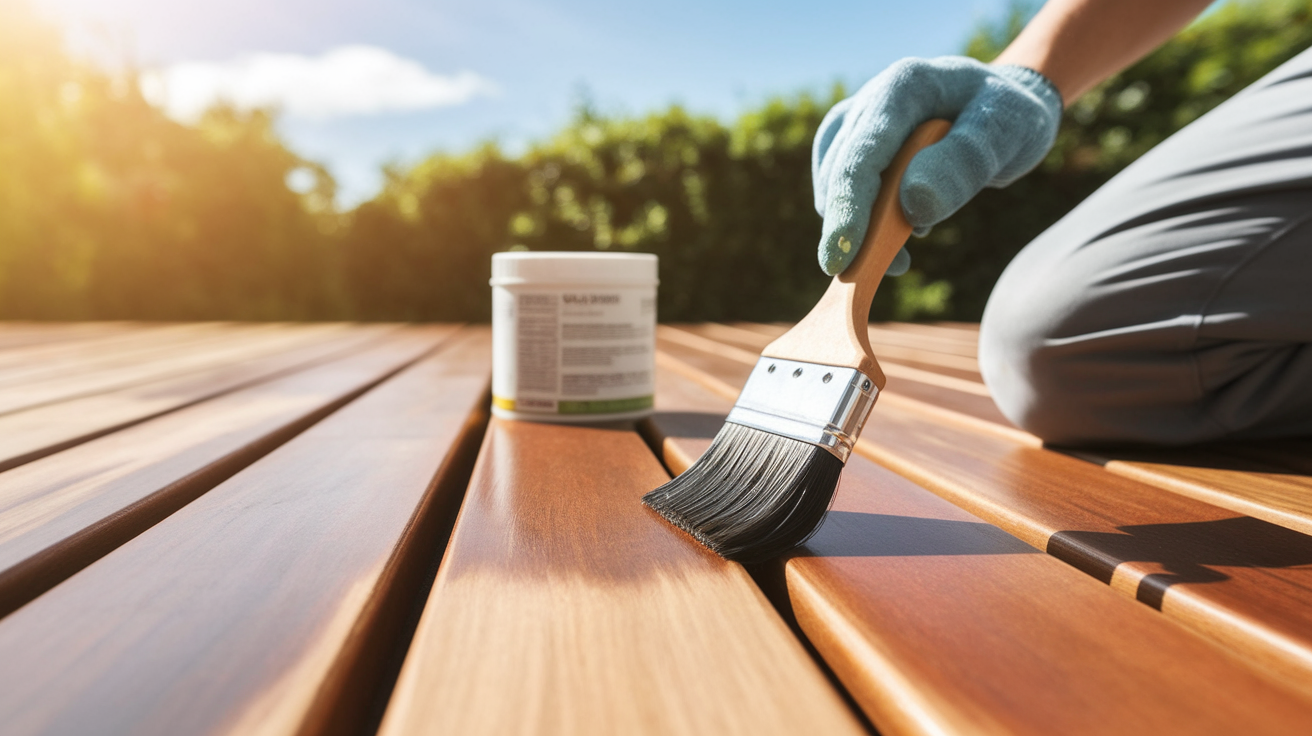
Apply wood brightener if desired, followed by your chosen stain and sealant according to the manufacturer’s instructions. Multiple thin coats typically provide better results than a single thick application.
Each step requires patience and attention to detail to achieve professional results. The entire process for an average-sized deck (200-300 square feet) typically takes a full weekend for experienced DIYers or 1-2 days for professionals.
How to Maintain a Deck After Sanding it
Proper deck maintenance extends your deck’s life and preserves its appearance year-round. These easy-care routines protect your investment while keeping your outdoor space safe and beautiful.
- Regular Cleaning: Clean twice yearly with appropriate cleaners, removing debris and treating mildew. If power washing, use low pressure.
- Inspection and Repairs: Check annually for loose boards and damage. Reset nails, tighten screws, and replace damaged boards promptly.
- Sealing and Staining: Apply sealant to wooden decks every 1-3 years during dry weather. Choose days with moderate temperatures and no rain forecast.
- Seasonal Care: Clear leaves regularly, use plastic snow shovels, and avoid harsh chemicals. Rearrange furniture to prevent uneven wear.
DIY vs. Professional Deck Sanding
When deciding between DIY and professional sanding, consider your skill level, physical capabilities, available time, and budget.
| Aspect | DIY Deck Sanding | Professional Deck Sanding |
|---|---|---|
| Cost | Lower upfront cost | Higher initial cost |
| Time | Takes longer, especially for beginners | Faster and more efficient |
| Equipment | Requires rental or purchase | Professionals bring their own tools |
| Skill Level | Requires learning and practice | Experienced and trained |
| Quality | May vary depending on experience | Consistent, high-quality results |
| Convenience | Requires personal time and effort | Hassle-free, handled by experts |
| Repairs & Prep | You handle all prep and minor fixes | Pros usually include prep and minor repairs |
For small, simple decks in reasonably good condition, DIY can be appropriate for handy homeowners.
For large, complex, or severely weathered decks, professional services often provide better long-term value despite higher upfront costs.
Alternatives to Sanding a Deck
These effective alternatives can refresh your outdoor space with less effort and wood loss while still providing excellent results.
- Pressure Washing: High-pressure water removes dirt, mildew, and weathered wood fibers efficiently without the dust or labor of sanding. Deck-specific settings help protect softer woods during cleaning.
- Chemical Brighteners and Restorers: These products use ingredients like oxalic acid to clean and revive wood color without sanding, stripping away grime and gray surface layers.
- Deck Cleaner and Stain Combination: A deep clean followed by a solid or semi-solid stain can restore looks and cover imperfections, ideal for older but structurally sound decks.
- Board Replacement: Replacing damaged boards is often easier and more effective than sanding, targeting only problem areas while saving time and effort.
- Refinishing Without Sanding: Chemical strippers can remove old finishes for re-staining without sanding, preserving wood thickness—great for thinner or worn boards.
Final Thoughts
Sanding a deck offers impressive restoration benefits but comes with significant labor and risks.
For moderately weathered decks, it’s an excellent option, while severe damage might require board replacement instead.
Regular maintenance should remain a top priority regardless of your restoration choice. A well-maintained deck uplifts your outdoor living space and adds value to your home.
Ready to revitalize your deck? Assess its condition, consider the options discussed, and choose the method that best suits your deck’s needs and your capabilities.

