How to Create DIY Bookends

Looking for a fun way to organize your books? DIY bookends offer the perfect solution.
These handy items do more than hold your books upright. They add a personal touch to your shelves and show off your style. Making your own bookends costs much less than buying them from stores.
Plus, you can design them to match your home perfectly. The options are nearly endless, from simple wooden blocks to creative shapes that tell a story.
You don’t need fancy tools or skills to make good-looking bookends. With basic materials and a bit of time, you can create useful items that will last for years.
In this blog, you’ll learn simple steps to craft bookends that are both useful and pretty. Let’s get started with some easy-to-follow ideas.
Choosing the Right Style for Your Space
The best bookends blend with your room’s look while showing off a bit of your personality. Here are some styles that might suit your space:
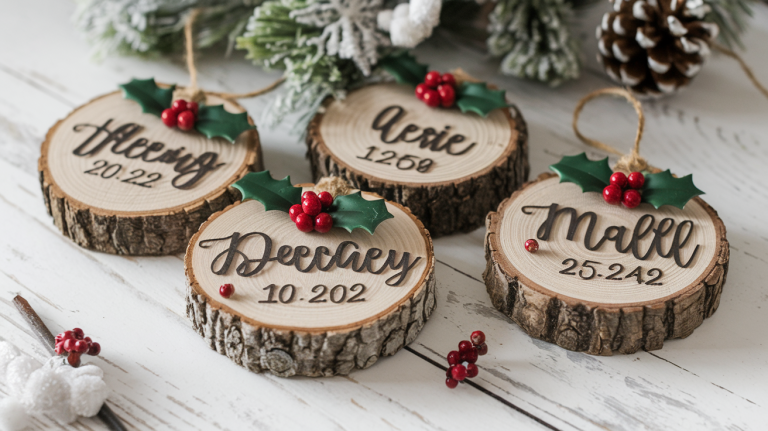
- Rustic: Wood pieces with bark still attached or blocks with visible grain marks make warm additions to cozy rooms. They work well with natural textures and earthy colors.
- Modern Minimalist: Clean lines and simple shapes best suit modern homes. Think metal brackets that seem to make books float or plain concrete blocks in neutral shades.
- Eclectic and Fun: Old toys, painted stones, or vintage items turned into bookends add charm and spark conversations. These quirky options bring life to plain bookshelves.
- Green Living: Small pots with plants not only hold books but also freshen your air. Use clay pots, moss-filled containers, or recycled tins to create bookends that grow.
Materials & Tools Needed for Bookends
Before starting your bookend project, gather the right stuff to make the job easier. Most bookends need just a few basic items, but the exact list depends on what type you want to make.
Common Materials:
- Wood – Blocks, slices, or small boards work well and can be painted or stained
- Metal L-brackets, metal sheets, or even old metal objects like horseshoes
- Concrete – Mix from the store or make your own with cement and sand
- Repurposed Items – Old bricks, heavy jars, stone pieces, or thick books
- Planter Supplies – Small pots, soil, and easy-care plants like succulents
- Invisible Bookend Materials – Metal sheets and strong adhesive or screws
Tools and Safety Gear:
| Basic Tools | Advanced Tools | Safety Gear |
|---|---|---|
| Ruler and pencil | Saw | Safety glasses |
| Scissors or craft knife | Drill with bits | Work gloves |
| Sandpaper | Hammer and nails | Dust mask |
| Glue | Pliers or wire cutters | Good ventilation |
| Paint and brushes | ||
| Screwdriver and screws |
Step-by-Step DIY Bookends Guide
Let’s look at some simple ways to make bookends at home. Each method uses different materials and needs different skills, but all create useful items for your shelves.
In this section, you will learn about the various types of bookends with their step by step-by-step guide on how to create them.
1. Triangle Bookends

Triangle bookends are a quick and stylish DIY project, perfect for beginners. With just a few cuts and some simple finishing touches, you’ll have sturdy bookends that look great on any shelf.
Steps to Make Triangle Bookends:
Step 1: Cut two triangles from wood (about 6″ tall and 4″ wide)
Step 2: Sand all edges until smooth
Step 3: Paint or stain as wanted
Step 4: Add felt to the bottom to protect surfaces
Step 5: Attach small rubber bumpers to the side that touches books
2. Rolling Pin Bookends
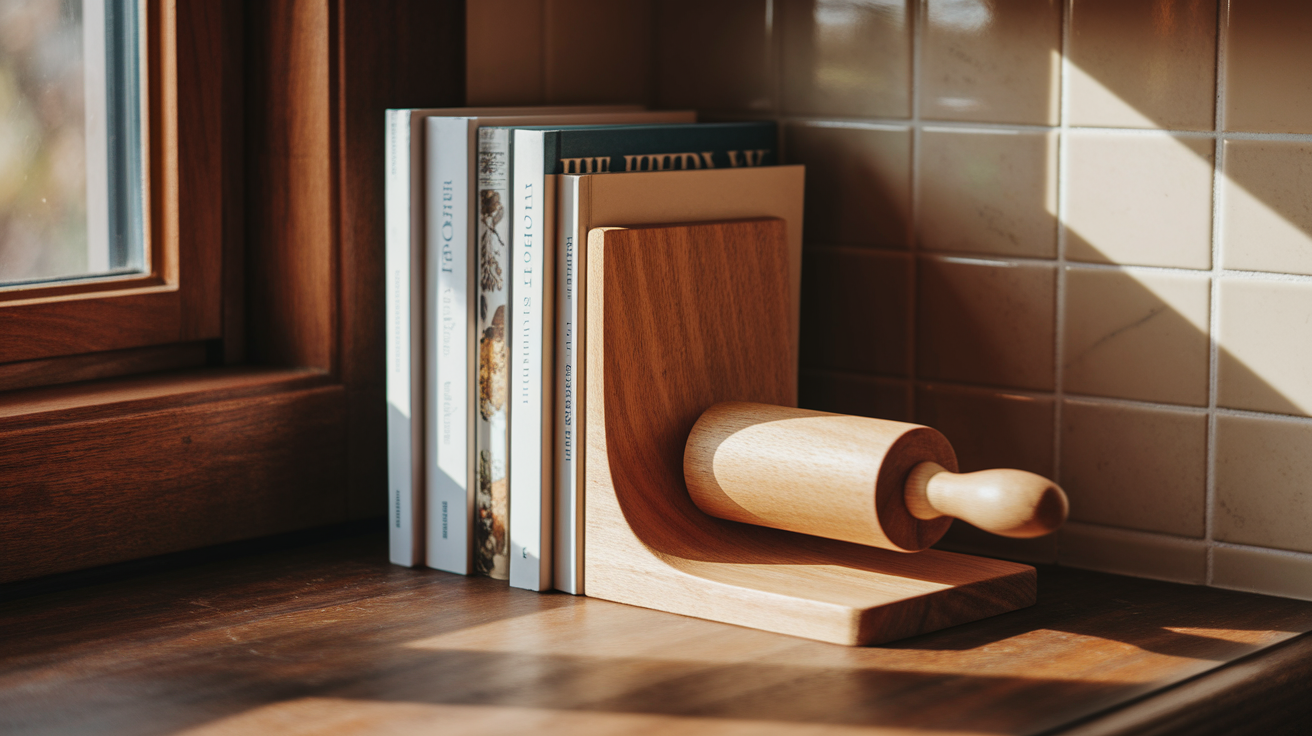
Give an old rolling pin a second life by turning it into charming rustic bookends. With just a few easy steps, you can create a sturdy and decorative piece for your bookshelf.
Steps to Make Rolling Pin Bookend:
Step 1: Cut an old rolling pin in half
Step 2: Sand cut edges smooth
Step 3: Attach a flat piece of wood to create an L-shape
step 4: Secure with wood glue and screws
Step 5: Stain or paint as wanted
3. Sheet Metal Folding Technique

With just a few folds, turn a plain sheet of metal into sleek, modern bookends. This quick project gives you solid, minimalist supports that work in any space.
Steps to Make Metal Sheet Folding Bookends:
Step 1: Cut sheet metal into 6″ x 8″ pieces
Step 2: Mark and bend to create an L-shape
Step 3: File any sharp edges and add rubber coating to the bottom
Step 4: Paint or leave as it is
4. Repurposed Vintage Telephone

Turn an old telephone into a quirky and eye-catching bookend. With a little cleaning and support, it becomes a fun way to add vintage charm to your shelf.
Steps to Make Repurposed Vintage Telephone Bookends:
Step 1: Remove or secure the internal parts of the old phone
Step 2: Add weight to the base if needed
Step 3: Clean thoroughly and attach L-bracket if required for support
Step 4: Place it on the shelf with the handset side up
5. Concrete Bookend
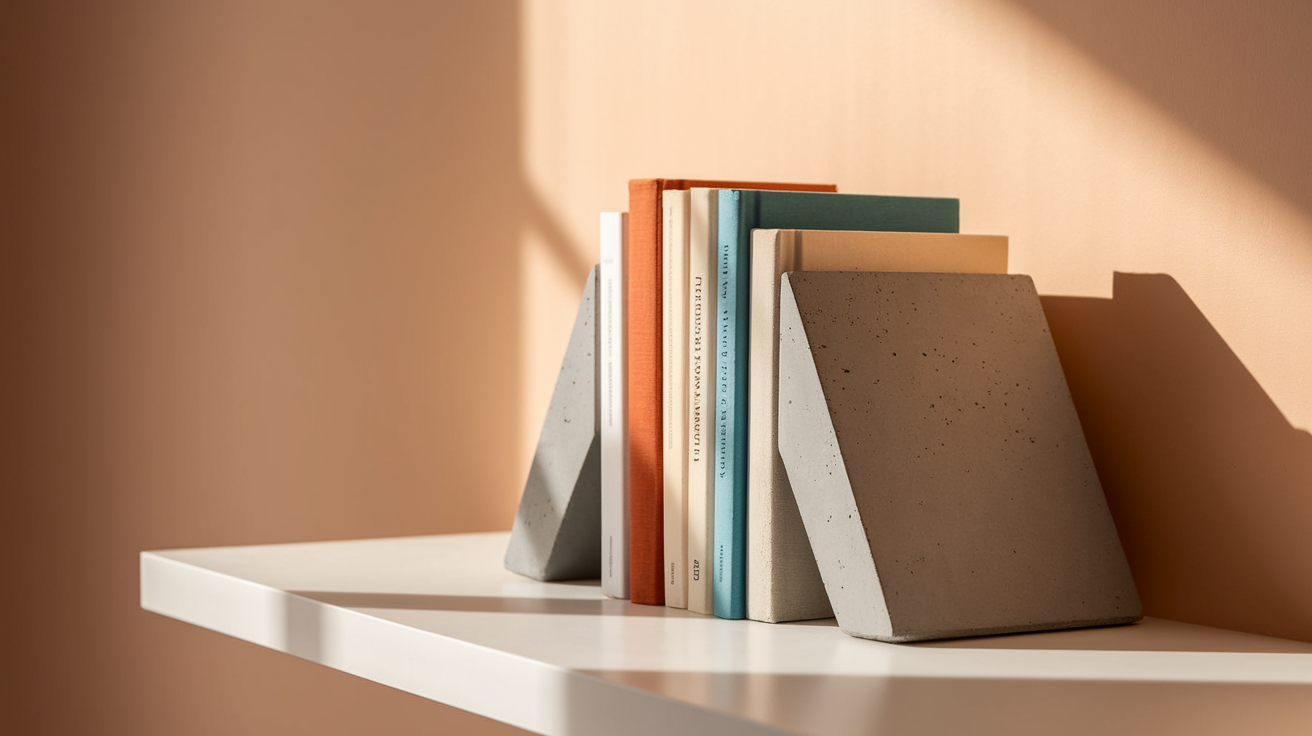
Concrete bookends are strong, durable, and surprisingly easy to make at home. With just a mold and some basic steps, you can create stylish, industrial-inspired bookends for your shelf.
Steps to MakeConcreteBookends:
Step 1: Create a mold using a small box or container
Step 2: Coat inside with cooking spray as a release agent
Step 3: Mix concrete according to package
Step 4: Pour into mold, tap to remove air bubbles
Step 5: Let dry for 24-48 hours before removing
Step 6: Sand rough edges if needed and Sand rough spots on cured concrete
Step 7: Wipe clean with a damp cloth and apply concrete sealer with brush
Step 8: Let dry completely and then add felt to bottom to protect surfaces
6. Repurposed Old Shelving Bookends

Give leftover shelving a new purpose by turning it into sturdy bookends. It’s an easy way to reuse materials while adding functional style to your bookshelf.
Steps to Make Repurposed Old Shelving Bookends:
Step 1: Cut leftover shelf into L-shapes
Step 2: Sand edges smooth
Step 3: Paint or leave natural
Step 4: Add non-slip pads to the bottom
7. Bricks or Rocks Bookends
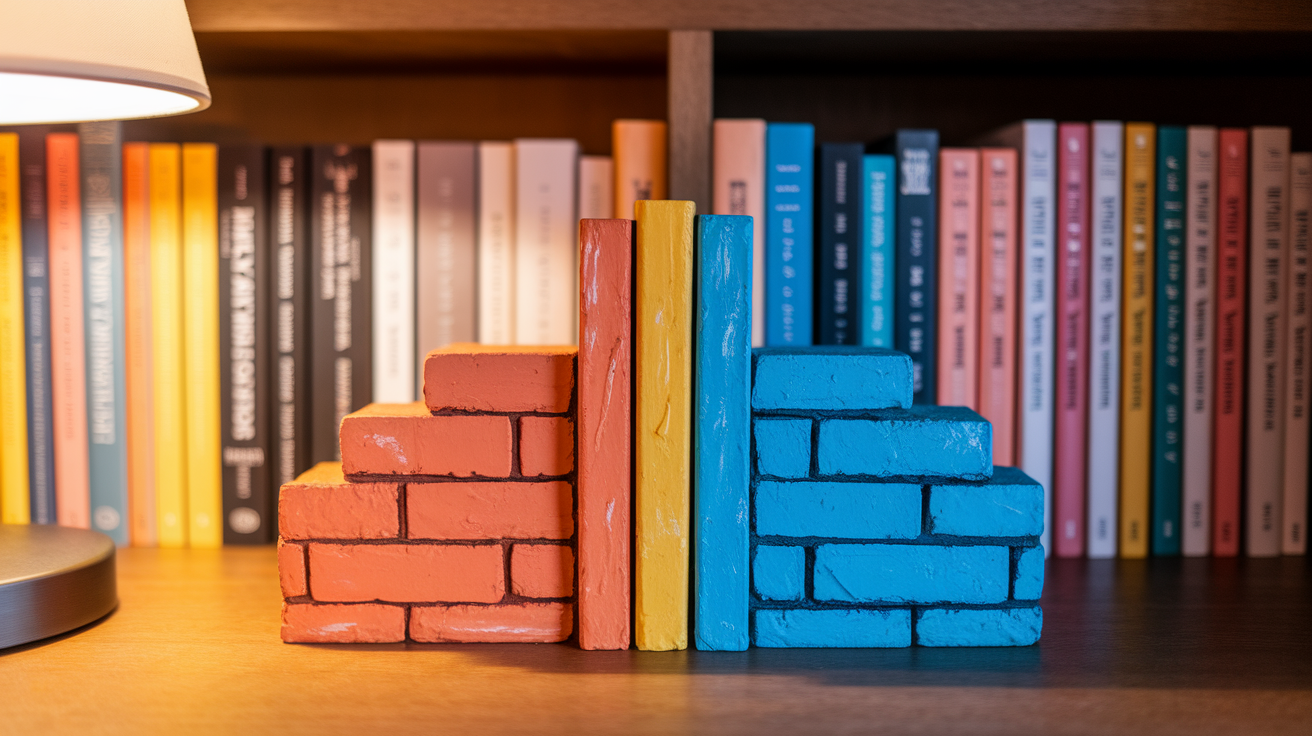
Bricks or smooth rocks make naturally heavy and solid bookends. With just a bit of cleaning and sealing, they can become rustic and functional decor for your shelves.
Steps to Make Bricks or Rock Bookends:
Step 1: Clean brick or smooth rock thoroughly
Step 2: Apply paint if wanted (optional)
Step 3: Add clear sealer to prevent dust
Step 4: Attach felt to bottom
8. Dollar Store Finds: Bookends

Create budget-friendly bookends using heavy items from the dollar store. With a balanced base and strong glue, you can turn affordable finds into stylish shelf supports.
Steps to Make Dollar Store Find Bookends:
Step 1: Find heavy objects (like figurines)
Step 2: Attach to small wood or metal base and secure it with strong glue
Step 3: Add weight inside if needed
Step 4: Make sure the base creates an L-shape
9. Succulent or Cactus Bookends
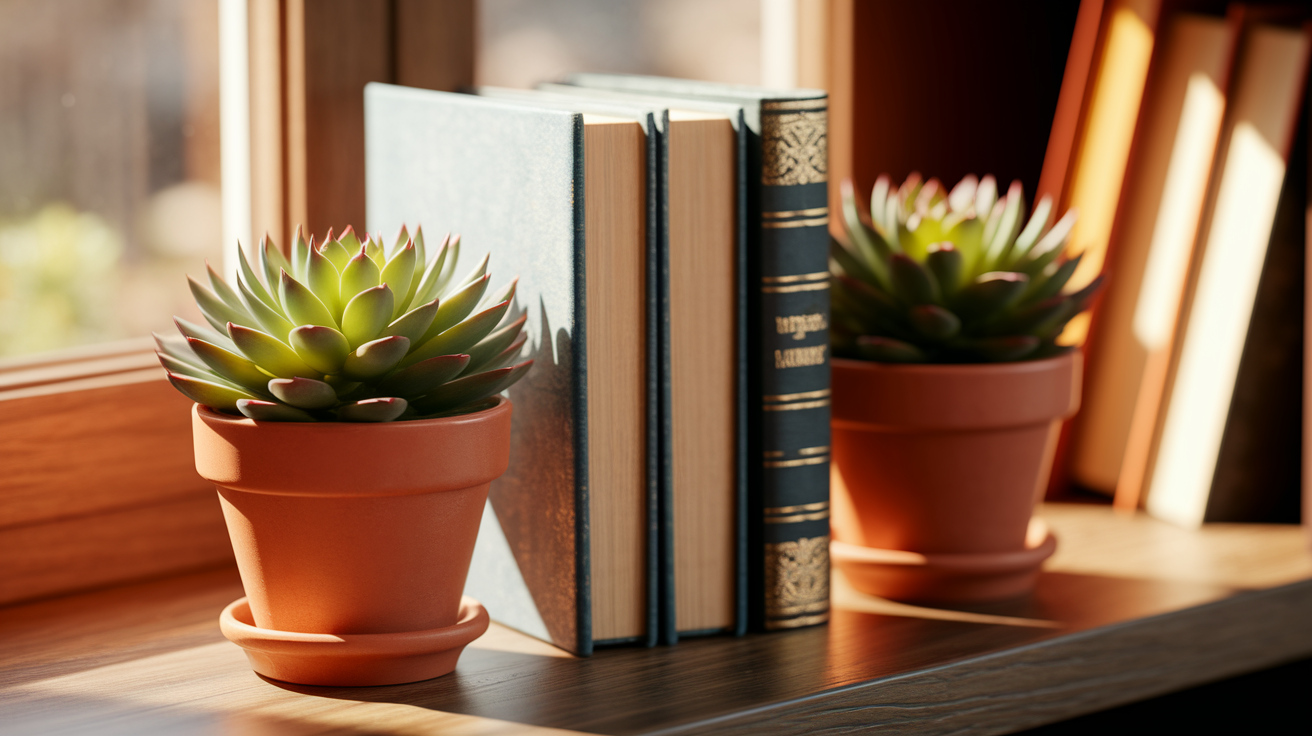
Combine greenery with function by turning potted succulents or cacti into natural bookends. With the right weight and care, these living bookends brighten up your shelves beautifully.
Steps to Make Succulent or Cactus Bookends:
Step 1: Find small, heavy pots and low-light plants for indoor shelves
Step 2: Add rocks to the bottom for drainage and weight
Step 3: Fill with cactus soil and Plant small succulents or cacti
Step 4: Place on shelves with space for growth
10. Invisible Bookends

With invisible bookends, your shelves will look clean and uncluttered. These hidden supports give the illusion of floating books while keeping everything firmly in place.
Steps to Make Invisible Bookends:
Step 1: Cut L-shaped pieces from sheet metal
Step 2: File edges to remove sharpness
Step 3: Bend to a 90-degree angle if needed
Step 4: Spray paint if wanted
Step 5: Slide under books with short side under and long side between pages of first book
Tips for Stability and Durability
Even the most beautiful bookends need to be functional. Use these smart tips to ensure your DIY bookends hold your books firmly and stay in place.
- Add Weight Inside Hollow Bookends: Fill hollow bookends with metal washers, small rocks, or sand for extra stability. This added weight helps resist the pressure of leaning books.
- Use Non-Slip Pads on the Base: Stick rubber or felt pads under your bookends to prevent slipping. These pads keep bookends stable when adding or removing books.
- Apply Silicone Caulk for Wooden Bookends: A thin line of silicone caulk on the bottom creates a no-slip surface. It’s a simple way to boost the grip of wooden bookends.
- Choose an L-Shape Design: Opt for an L-shaped design with a low center of gravity. This shape offers maximum stability and support for your books.
- Ensure Proper Dimensions: Make the under-book section at least 4 inches deep and the upright section half as tall as your smallest book. Proper sizing prevents tipping and improves balance.
- Check Joints Regularly: Inspect glued or screwed joints often to keep them secure. Over time, joints may loosen from book pressure and need tightening.
Decoration and Customization Ideas
Once your bookends have the right shape and weight, adding personal touches makes them truly one of a kind. Here are some simple ways to dress up basic bookends:
1. Painting and Staining
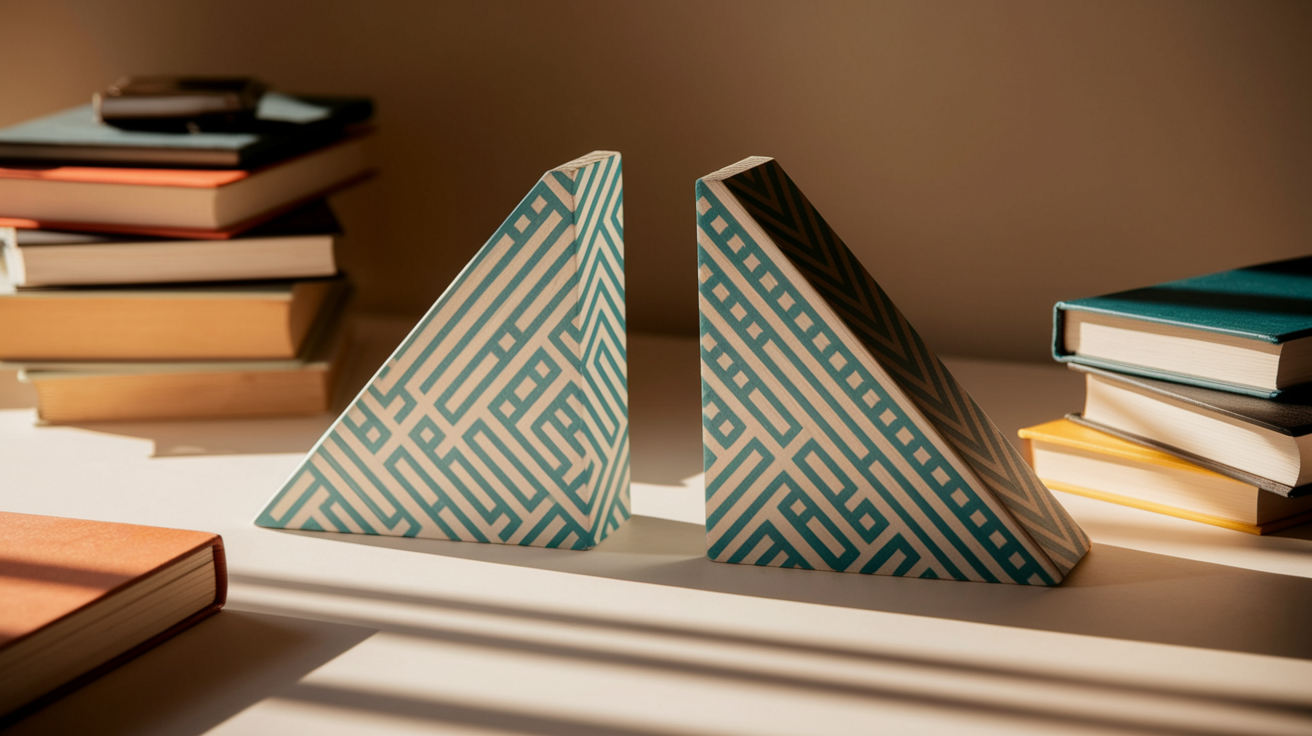
Plain wood bookends come alive with color. Try color blocking with painter’s tape to create sharp lines, or use a wood stain for a more natural look.
For concrete bookends, acrylic paint works well after the concrete fully dries. Spray paints give metal bookends an even finish without brush marks. Seal the painted bookends with a clear coat to prevent chipping.
2. Fabric Wrapping
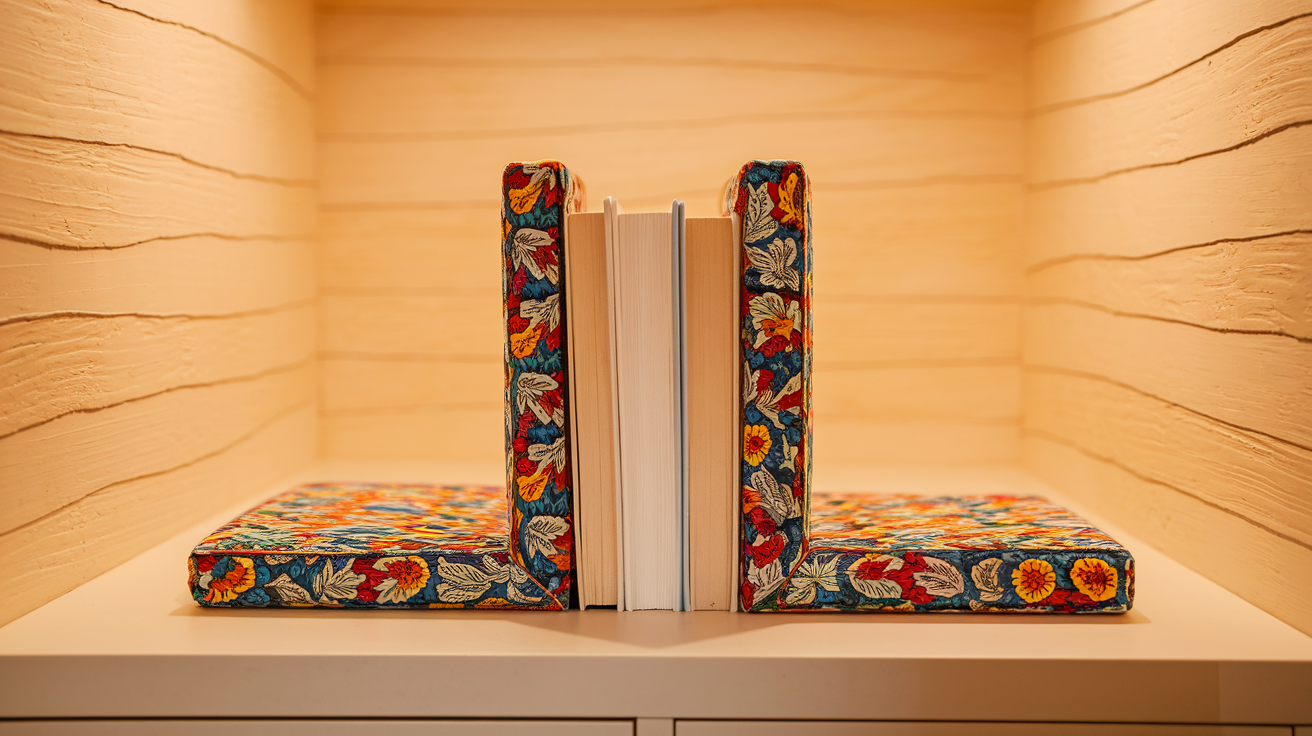
Cover bookends with fabric for a soft look that matches your room. Cut the fabric slightly larger than needed, then use fabric glue to secure it around the bookend.
Fold the corners neatly, like wrapping a gift. Old scarves, leftover upholstery fabric, or even denim from old jeans work great. This method also hides any flaws in homemade bookends.
3. Using Decals and Embellishments
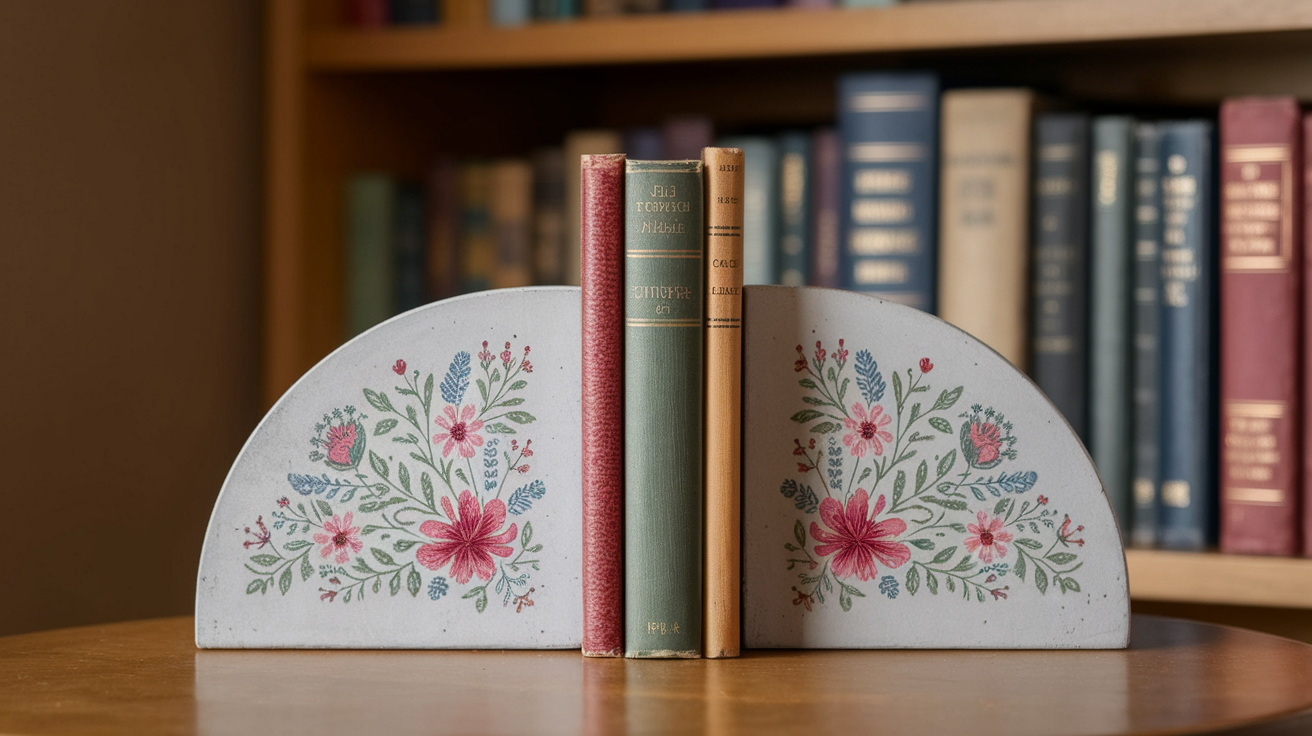
Stick-on items add fun without much work. Try temporary tattoos on wood or concrete bookends—apply them like you would on skin and seal with clear spray.
Small items like buttons, bottle caps, or shells can be glued to create patterns or pictures. For a clean look, apply letter stickers to spell out words like “read” or family names.
Common Problems While Making Bookends
Making bookends sometimes comes with little challenges, but most are easy to fix with a few small tweaks. Here are solutions to the most common issues:
1. Bookends tip over when they are too light or tall. To improve stability, add weight (washers, rocks, sand) or widen the base.
2. A lack of grip causes sliding. To keep the bookends in place, use rubber pads, cork, hot glue, or a shelf liner under the base.
3. Uneven weight makes bookends unstable. Add weight to the lighter side or adjust the design so the heaviest part sits under the books.
Final Thoughts
DIY bookends add charm to your shelves while keeping books tidy, and now you know how easy they are to make! Bookends don’t need to cost much or take lots of time to build.
With basic items from around your house or a quick trip to the store, you can create useful pieces that match your style.
The best part is that these projects work for anyone, from beginners to craft pros. If you’re new to DIY, start with something simple like painted bricks, then try fancier designs as your skills grow.
Ready to give it a shot? Pick one idea from this guide that seems fun, and gather your materials today. Your books deserve better than falling over, and your shelves could use that personal touch.

