How to Fix Bathroom Peeling Ceiling Paint?
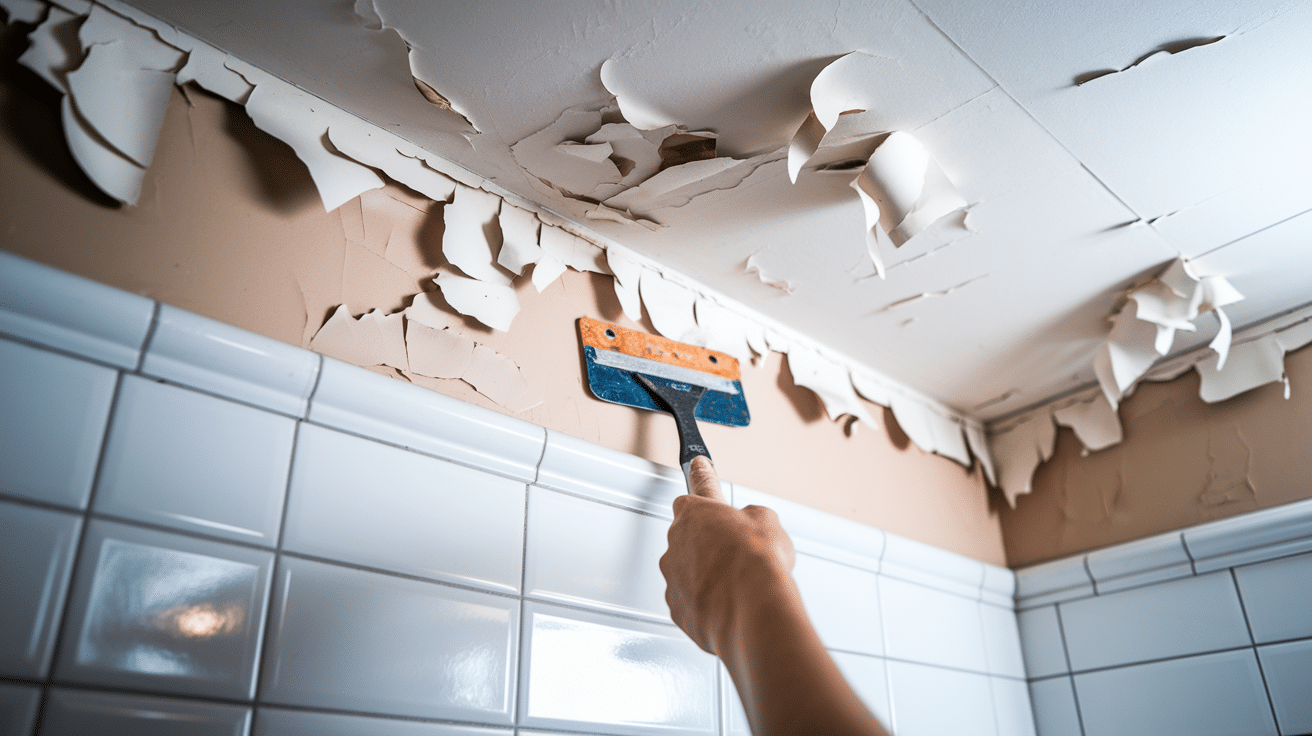
Why is your bathroom ceiling paint peeling?
It might seem like just an old paint job, but peeling paint on your bathroom ceiling is a warning sign.
Bathrooms often get very damp from hot showers and poor airflow.
This moisture can make paint bubble and peel.
But more than that, it can also mean hidden problems like water damage, mold, or even leaks above the ceiling.
If you ignore it, things can get worse over time, damaging your home and possibly affecting your health.
That is why fixing peeling paint early is important for keeping your bathroom safe, clean, and looking nice.
Common Causes of Ceiling Paint Peeling in Bathrooms
Peeling paint is usually not just about age; it often points to moisture problems or prep mistakes.
Here are the most common reasons:
- High Humidity and Condensation: Hot showers create steam that weakens paint and causes it to peel off.
- Poor Ventilation: Without a strong exhaust fan or open window, moisture stays trapped and damages the ceiling.
- Wrong Paint or Finish: Using regular wall paint or flat finishes in damp areas leads to quick peeling.
- Insufficient Prep: Skipping cleaning, primer, or mist coat means paint will not stick well.
- Underlying Issues: Leaks, mold, or old plaster underneath can also cause paint to lift and peel.
Steps for Repairing Bathroom Ceiling Paint Peeling
Here is how to do it the right way, from prep to paint:
Step 1. Assessment & Safety Prep
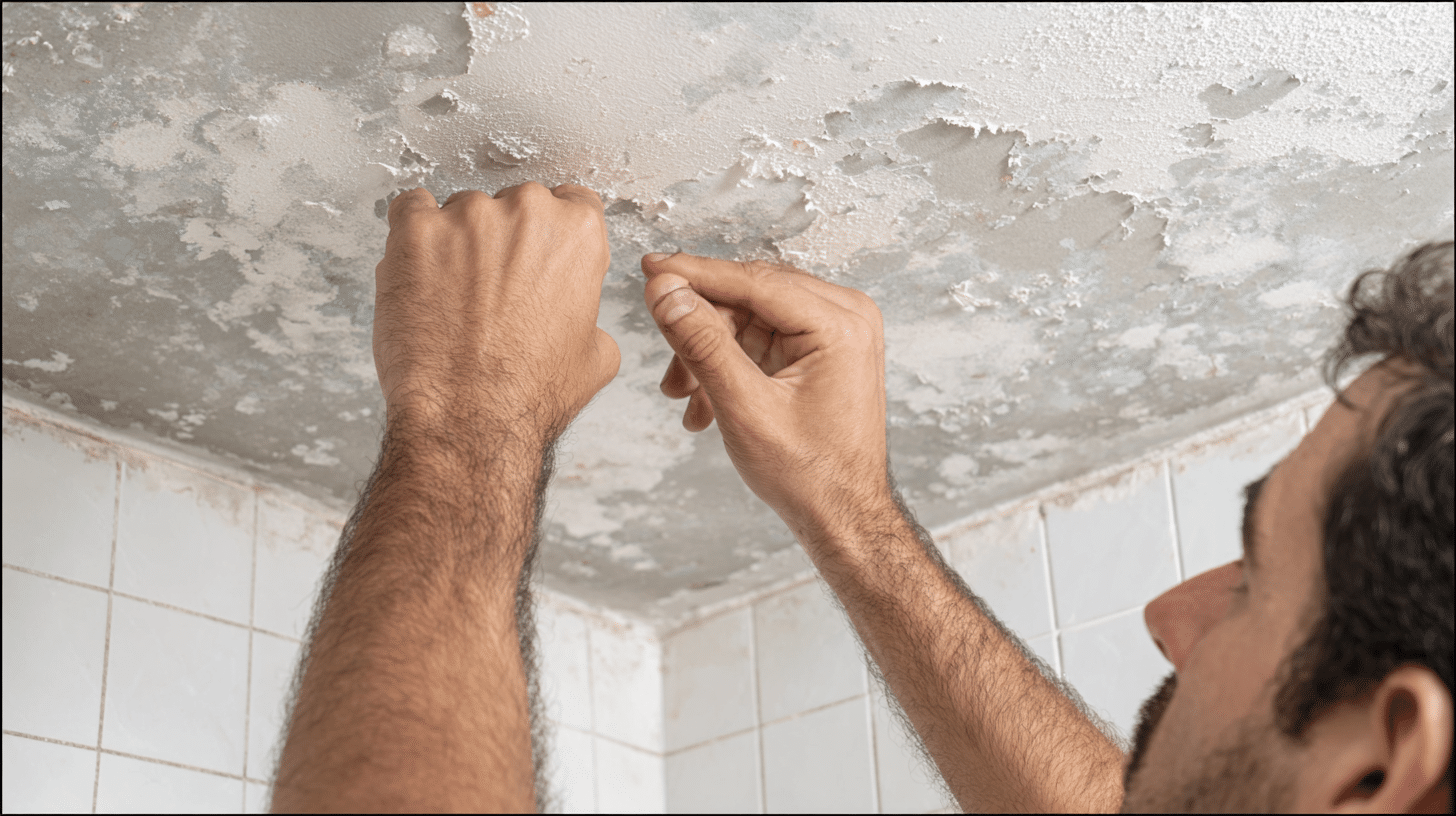
Start by checking your ceiling closely to find all the peeling spots.
Look for signs of mold, leaks, or water stains too.
Before doing any work, put on a dust mask and safety goggles to protect yourself from falling paint and dust.
Cover the floor and nearby items with a drop cloth or old sheet to keep things clean during the repair process.
Step 2. Scraping
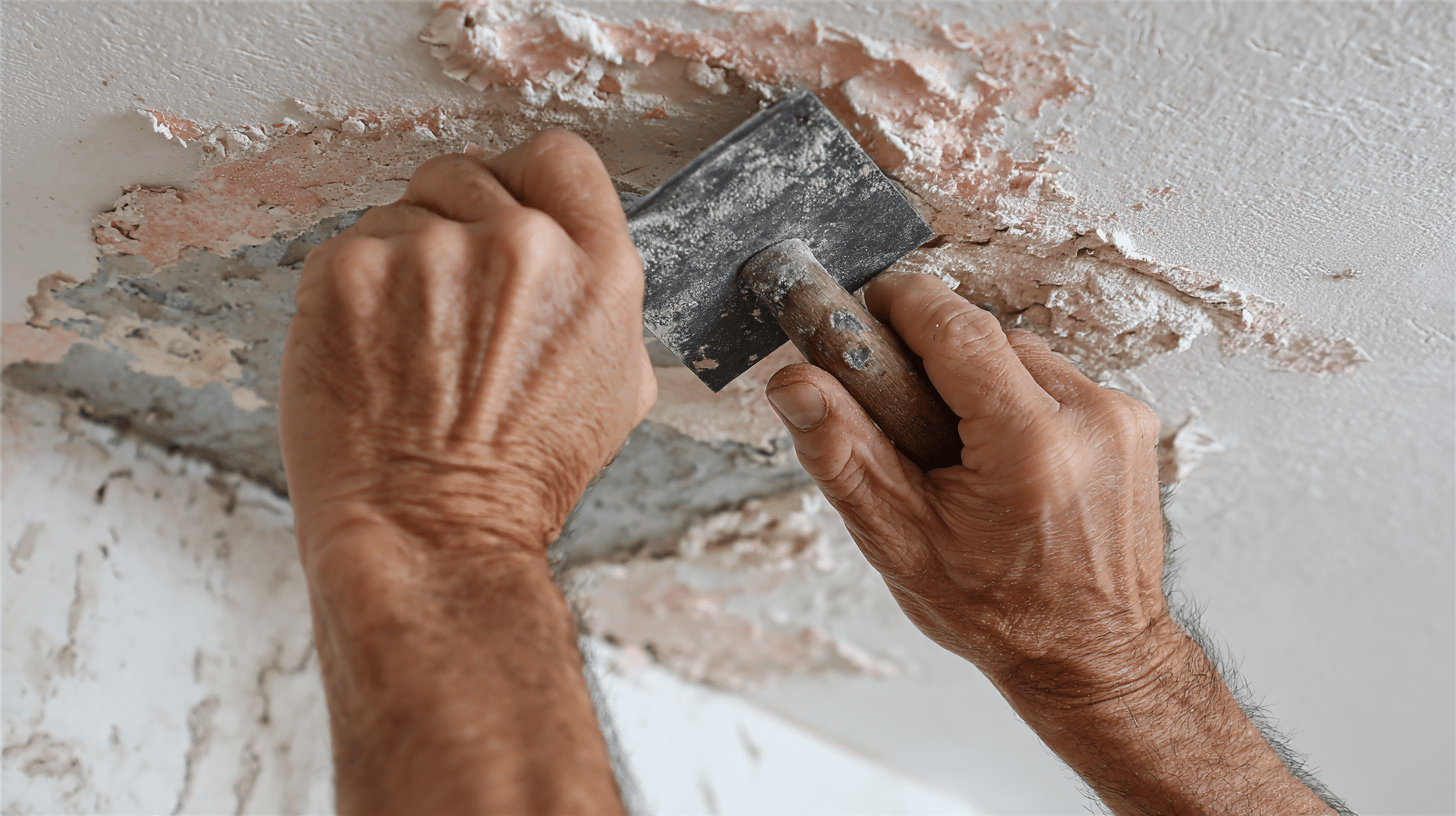
Use a paint scraper or putty knife to gently remove all the loose, flaking paint.
Try not to damage the surface underneath.
After scraping, wash the area with mild soap and water to remove dirt, grease, or mold.
Let it dry fully. Then, sand the edges where the paint has peeled to make everything smooth.
This helps your new paint blend in better and stick properly.
Step 3. Surface Repairs
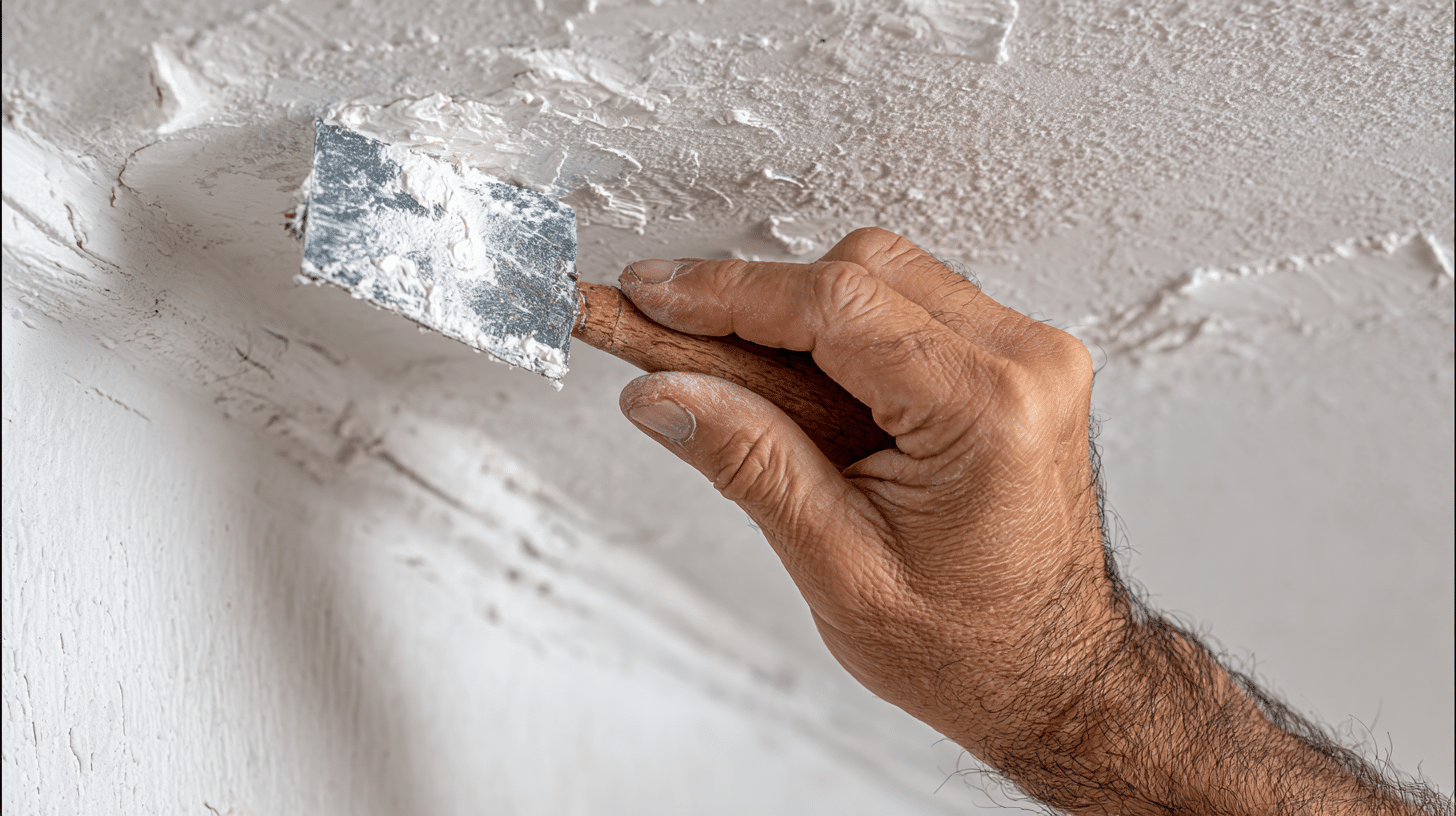
Check the ceiling for any small holes, cracks, or rough spots.
Use a filler or joint compound to patch them up.
If the surface is badly damaged, you may need to apply a thin plaster layer to even it out.
Once the repairs are done, let everything dry fully; this may take a few hours.
Never rush this step, or the new paint might peel again.
Step 4. Priming
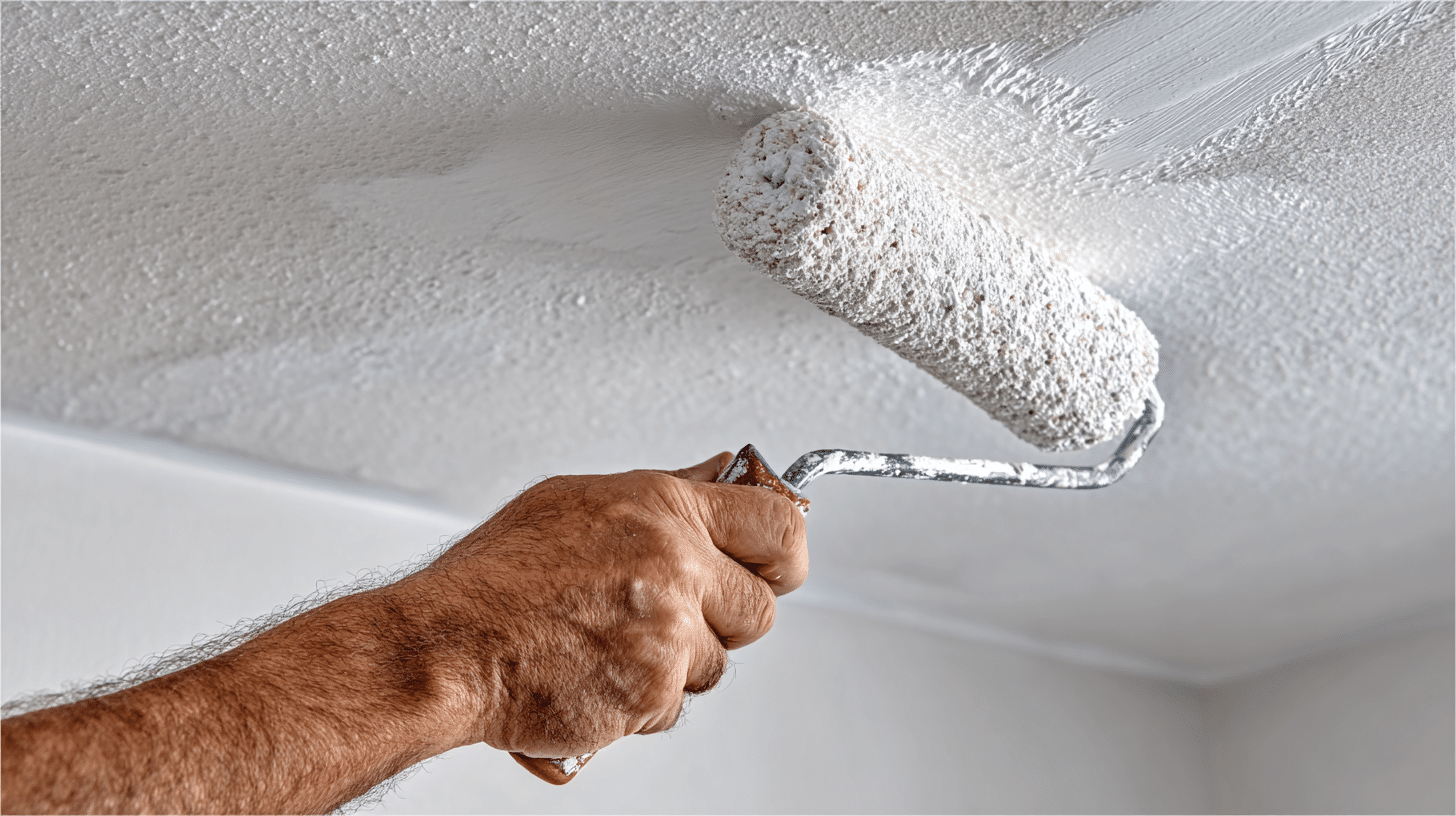
Apply a high-quality primer that is made to resist moisture or bond to damaged surfaces.
This step helps seal the ceiling, cover stains, and create a good base for paint.
Use a brush or roller to apply the primer in a thin, even layer.
Make sure to cover all patched and sanded areas.
Allow the primer to dry completely, check the label for drying time, usually a few hours.
Step 5. Repainting
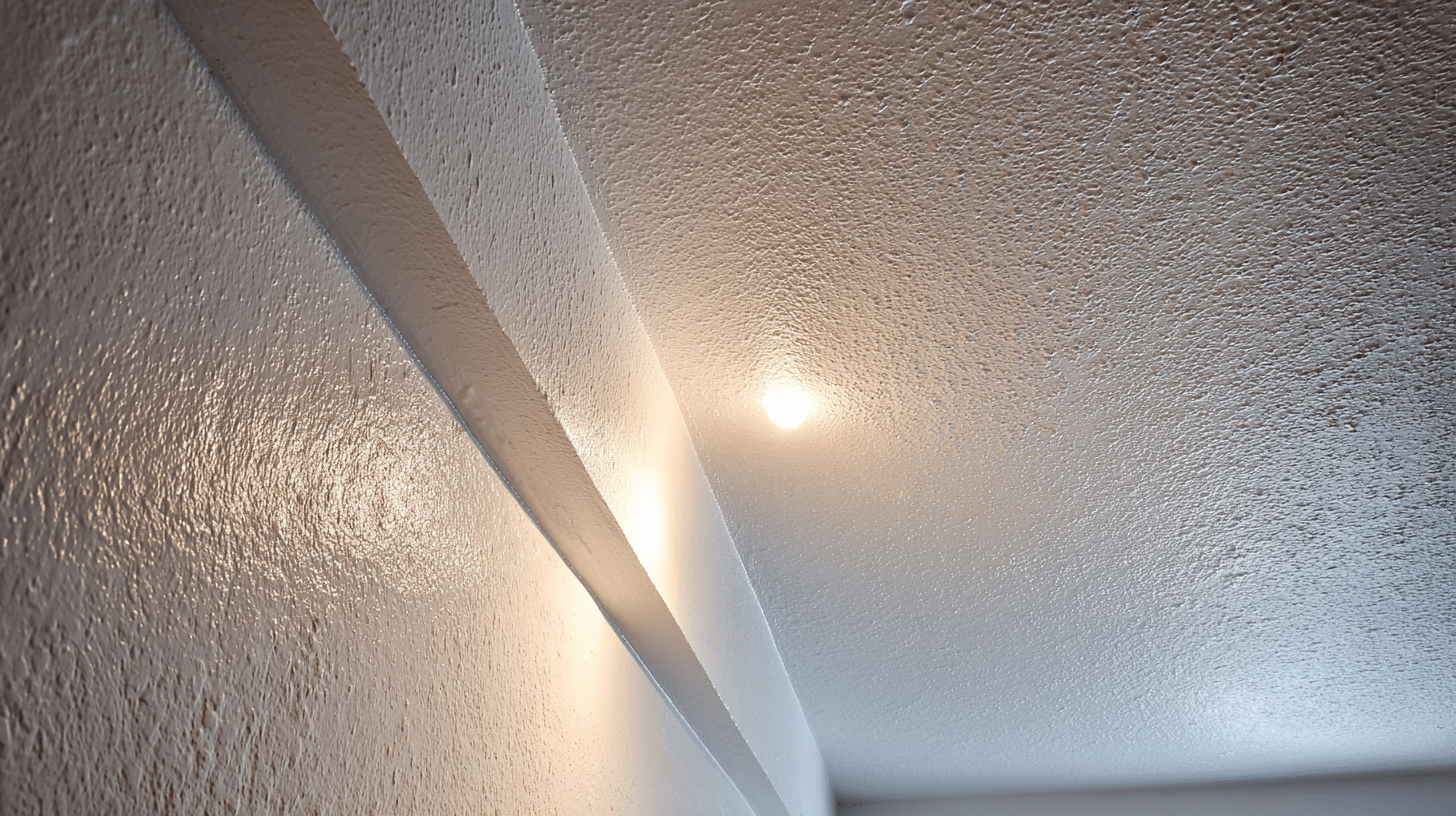
Now it is time to repaint.
Choose a bathroom-grade paint that can handle moisture; semi-gloss or satin finishes work best because they are easy to clean and resist peeling.
Apply two thin coats instead of one thick coat.
Let the first coat dry fully before applying the second.
This gives a smooth finish and better protection against future moisture problems.
Make sure the room is well ventilated while painting.
Correct Ventilation & Environmental Control
Good airflow is key to stopping paint from peeling again.
If your bathroom does not have a strong exhaust fan, consider upgrading to a more powerful one.
Run the fan during your shower and for at least 15–20 minutes afterward to clear out moisture.
If you have a window, open it to let steam escape.
You can also use a small dehumidifier to keep the room dry.
Avoid painting on days with high humidity, as paint will not stick well.
How to Choose the Right Paint & Primer?
Using the right paint and primer is key to a lasting fix.
Here is what to choose and why it matters.
| PRODUCT TYPE | WHAT TO USE | WHY IT’S IMPORTANT |
|---|---|---|
| Paint | Bathroom-specific paint with mildew resistance | Resists moisture and mold; designed for humid environments |
| Finish Type | Semi-gloss or satin finish | More durable, easier to clean, and resists peeling better than flat or matte finishes |
| Primer | Specialty primer like Zinsser Peel Stop | Seals damaged surfaces, helps paint stick, and prevents future peeling |
Certain Painting Mistakes to Avoid
Avoiding these common painting mistakes can help your ceiling stay smooth and strong for years:
- Skip Flat or Emulsion Paint: These types don’t handle moisture well. Always use bathroom-grade paint made for humid areas.
- Do Not Rush Prep: Clean the ceiling, apply primer, and let it dry fully before painting. Skipping steps causes poor results.
- Avoid Thick Coats: Apply thin layers of paint and let each one dry completely. This prevents blisters and peeling.
- Watch Your Lighting: Paint in good light and follow the light’s direction to avoid roller marks or uneven patches.
Prevention & Long-Term Maintenance
To keep your bathroom ceiling looking good, focus on moisture control.
Use an exhaust fan during and after showers, open windows when possible, and consider a small dehumidifier to reduce damp air.
Check the ceiling often for stains, leaks, or early signs of peeling, and fix them right away.
Clean the ceiling gently with a soft cloth when needed.
Repaint every few years using moisture-resistant paint to keep it fresh and protected.
Wrapping It Up
Fixing peeling bathroom ceiling paint quickly can save you from bigger problems like mold, water damage, and costly repairs.
The longer you wait, the worse it can get, so act early to protect your home and health.
Check your fan strength, pick the right paint and primer, and grab our free bathroom paint fix checklist.
Remember, a little effort today beats a big headache tomorrow!
Got a story or tip? Share your repair experience with others!
Frequently Asked Questions
Can I Paint Over Peeling Paint Instead of Removing It?
It’s best to remove peeling paint before repainting. Painting over it might not solve the problem, and the paint could peel again.
Can I Remove Paint from Textured Ceilings the Same Way?
Yes, you can remove paint from textured ceilings, but it may take more effort to get into the grooves. A scraper with a narrow edge may help in these cases.
How Long Does It Take for Bathroom Ceiling Paint to Peel?
It can take months or even years for paint to peel, depending on moisture levels, ventilation, and the quality of the paint used.

