How to Get Rid of Mold on Siding
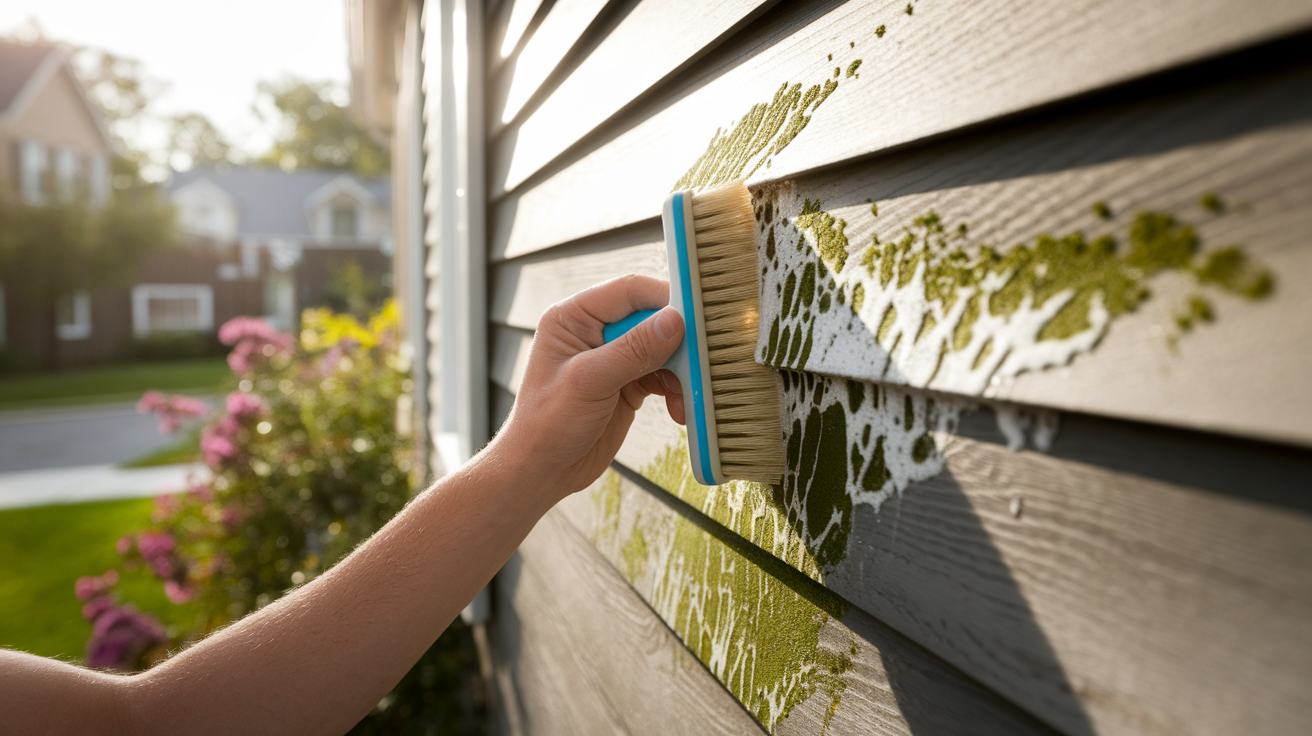
Have you spotted those dark patches growing on your home’s siding? You’re not alone.
Mold on siding is a common problem that many homeowners face. It looks bad, can damage your siding, and might even affect your health.
But don’t worry! Some simple fixes that will help you get rid of this unwanted guest.
This blog covers the causes of mold, how to distinguish it from mildew, the associated risks, and, most importantly, how to remove it step-by-step.
Also, share tips to prevent it from recurring and when it might be time to replace your siding. Let’s clean up those walls and make your home look fresh again!
What Causes Mold on Siding
Mold doesn’t just show up out of nowhere on your home’s siding. There’s always a reason behind those ugly spots.
It often comes down to a few key factors that create the perfect growing conditions for mold.
- Moisture: This is the big one. Mold needs water to grow, and it can find it in many ways. Rain splashing onto your siding, sprinklers hitting your house, or even morning dew can provide enough moisture for mold to start growing.
- Shade: Does your home have trees or shrubs close to it? Shaded areas stay wet longer after rain or morning dew, giving mold more time to grow. The north side of homes often gets less sunlight, too, so it’s a common trouble spot.
- Poor Ventilation: When air doesn’t circulate freely around parts of your home, moisture remains longer. This often occurs in corners or areas obstructed by bushes or fences.
- Dirt and Pollen: These act like food for mold. Wind blows dust, dirt, and pollen onto your siding, and when moisture is added to the mix, mold has everything it needs to thrive.
- Clogged Gutters: When gutters get stuffed with leaves, water can overflow and run down your siding. This constant water flow makes a wet highway for mold to travel on.
- Humid Climate: If you live in a warm, humid area, you’re fighting an uphill battle. High humidity in the air means your siding stays damp more often, even without rain.
Now that you know what’s causing those mold patches, you can start to tackle the problem at its source.
Mold vs Mildew: How to Tell the Difference
| Characteristic | Mold | Mildew |
|---|---|---|
| Appearance | Fuzzy or slimy; appears in blotchy, irregular patches; colors may include green, black, blue, or red. | Powdery or downy; starts white or light gray, may turn yellow or brown; spreads in a thin, even layer. |
| Common Locations | Grows on and beneath surfaces; grows in persistently wet areas | Grows on the surface only; found in damp spots, but doesn’t penetrate deeply |
| Smell | Strong, musty odor (like wet socks in a gym bag); more noticeable in enclosed areas | Mild musty odor; often compared to damp paper |
| Bleach Test | Does not lighten after applying bleach – likely mold | Lightens after applying bleach – likely mildew |
| Severity | Can be more damaging and harder to remove; may pose health risks | Easier to clean; generally less harmful |
| Cleaning Approach | May require aggressive cleaners or professional help | Often treatable with simple cleaning solutions like vinegar or bleach |
Is Mold on Siding Dangerous
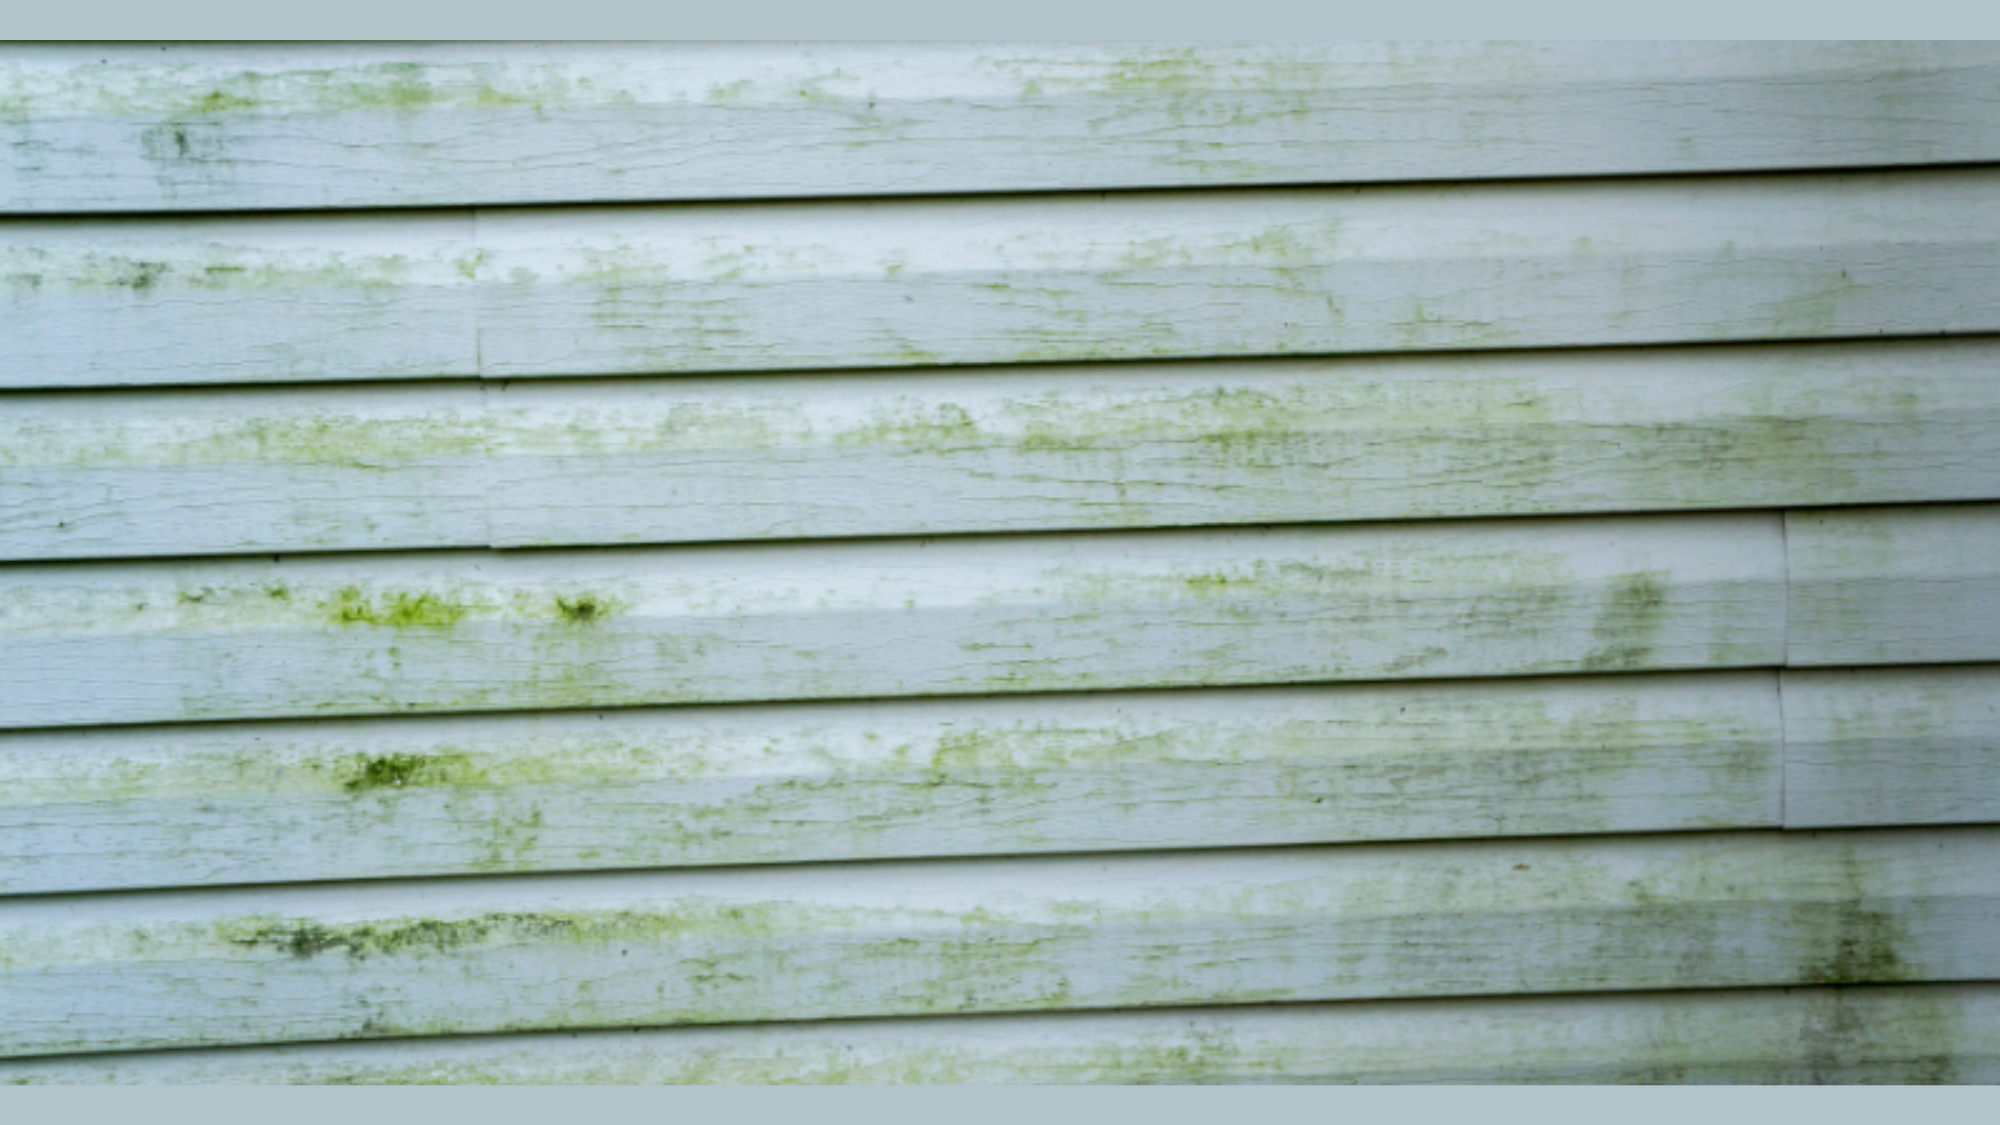
Most people wonder if the fuzzy substance on their home is a health hazard, and the answer isn’t simply yes or no. While mold on exterior siding isn’t as worrisome as indoor mold, it can still cause problems for some people.
Those with allergies, asthma, or weak immune systems might react with sneezing, coughing, or skin irritation when spending time near moldy areas outdoors.
The bigger concern is that outdoor mold can sometimes find its way inside through vents, windows, or cracks. It can also damage your siding over time by eating away at wood or causing paint to peel.
So while it’s not a five-alarm emergency, it’s still smart to clean it up when you notice it. Your home’s health and your family’s comfort both benefit from keeping those spores at bay!
How to Remove Mold From Siding
Getting rid of mold on your siding isn’t as hard as it might seem. Let me walk you through the process step by step.
Tools & Materials Needed
Before you start, gather these supplies:
- Garden hose with spray nozzle
- Soft-bristled brush or broom
- Bucket
- Spray bottles
- Gloves (rubber or latex)
- Safety goggles
- Face mask (N95 if possible)
- Ladder (if needed for high spots)
- Old clothes you don’t mind getting dirty
- Cleaning solution (based on severity)
DIY Methods by Severity
The cleaning method you’ll use depends on how bad the mold problem is. Let’s look at options for different situations.
1. Mild Cases: Vinegar, Soap & Water

For light mold growth that’s just starting to appear, simple solutions work well.
Step 1: Mix Your Solution: Pour white vinegar into a spray bottle without diluting it, or mix dish soap with warm water in a bucket. Both are gentle yet effective for minor mold issues.
Step 2: Wet the siding: Spray the moldy area with your garden hose to wet it down. This helps the cleaning solution work better.
Step 3: Apply and Scrub
- Spray vinegar directly onto moldy areas or apply soapy water with a soft brush
- Let it sit for 10 minutes
- Gently scrub in a circular motion
- Work from bottom to top to prevent streaking
Step 4: Rinse Thoroughly: Wash away all the cleaning solution and loosened mold with your garden hose.
2. Moderate Cases: Hydrogen Peroxide or Oxygen Bleach
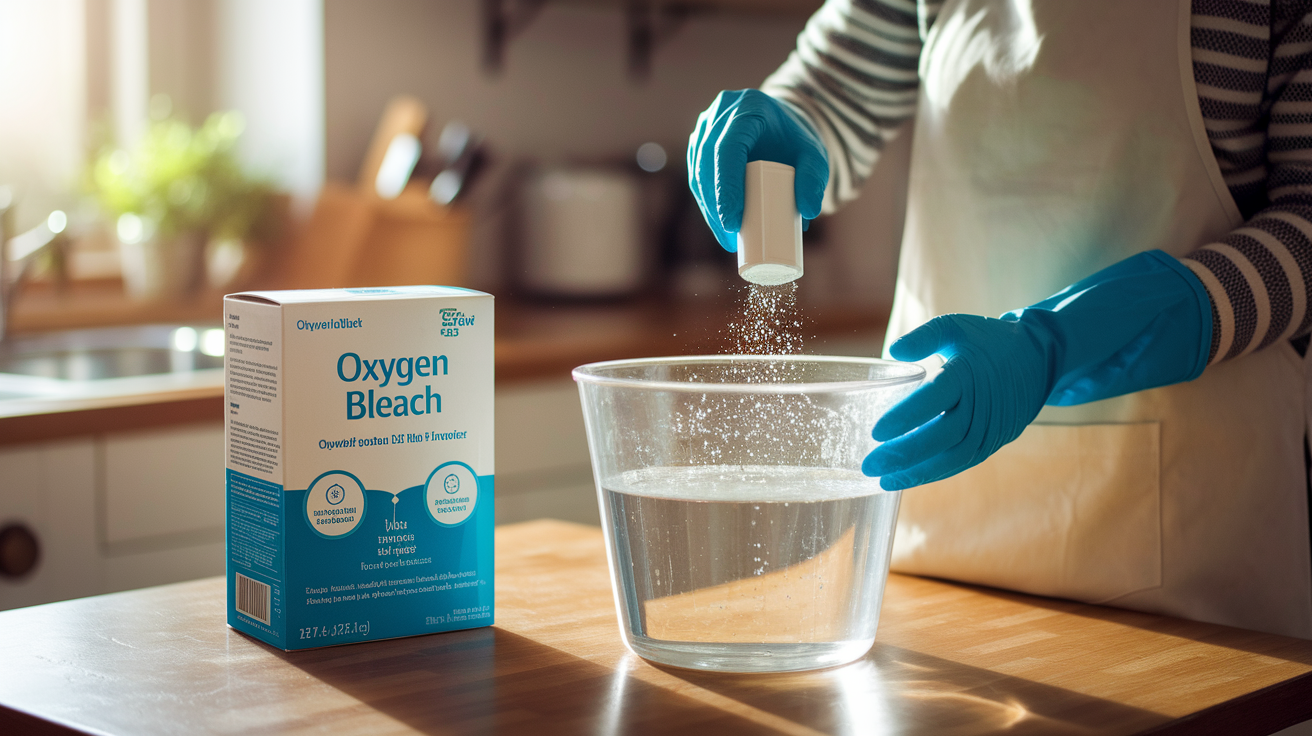
When mold has established itself but isn’t too severe, step up to these options.
Step 1: Create your solution: For hydrogen peroxide, use a 3% solution in a spray bottle. For Oxygen bleach, follow the package directions to mix with water in a bucket.
Step 2: Apply to Dry Siding: Unlike the mild case, apply these solutions to dry siding for best results.
- Spray hydrogen peroxide directly on the mold
- Apply oxygen bleach with a soft brush
- Let it sit for 15 minutes
Step 3: Scrub and Rinse: Scrub the area with your brush, then rinse thoroughly with clean water.
3. Severe Cases: Bleach or Commercial Removers
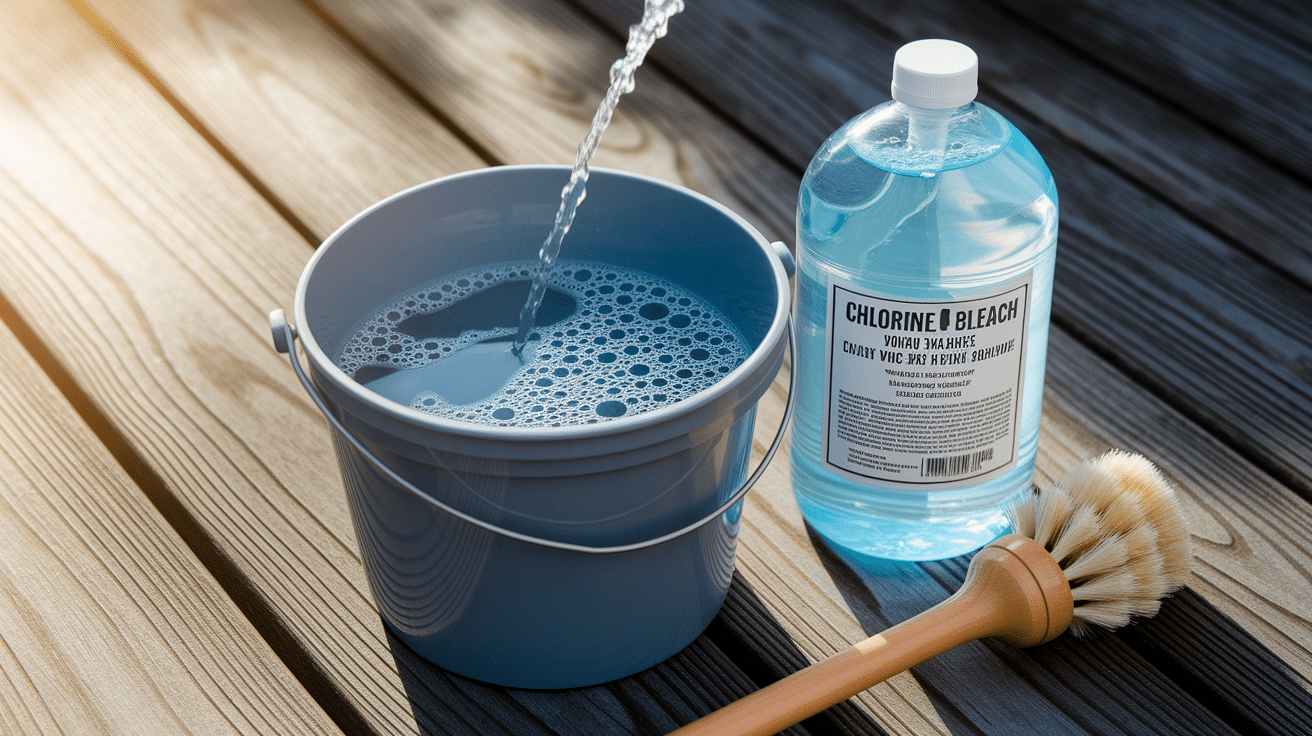
For stubborn, extensive mold growth, you’ll need stronger solutions.
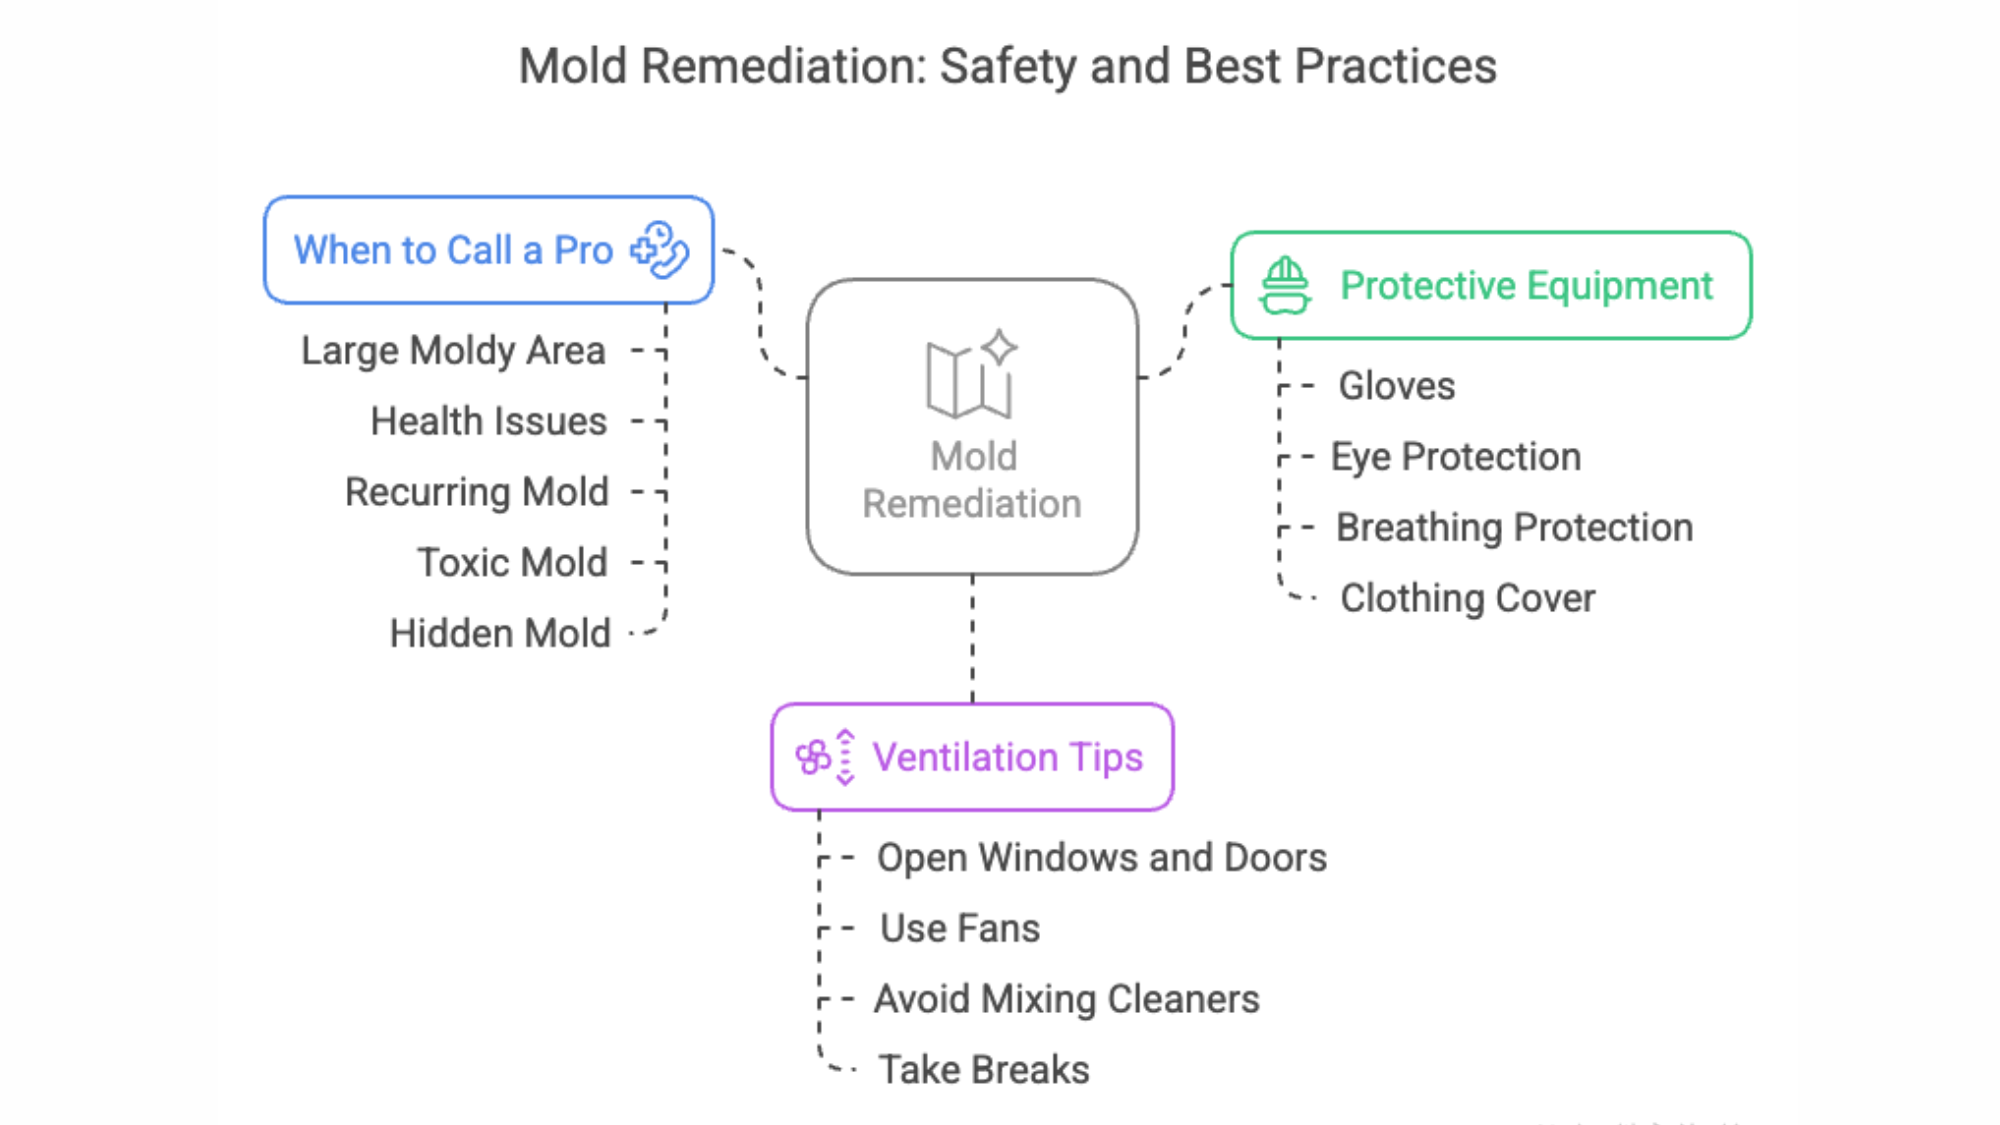
Step 1: Safety First: Put on all your protective gear – gloves, goggles, and mask. These stronger chemicals need more protection.
Step 2: Mix Bleach Solution: Mix 1 part chlorine bleach with 4 parts water in a bucket. Add a bit of dish soap to help it stick to the siding.
Step 3: Apply and Wait
- Apply the solution with a pump sprayer or brush
- Start from the bottom and work up
- Let it sit for 15-20 minutes, but don’t let it dry on the surface
Step 4: Rinse Without Scrubbing: With Severe solutions, the chemicals do the work. Just rinse thoroughly with your garden hose.
Tips For Using a Pressure Washer Safely
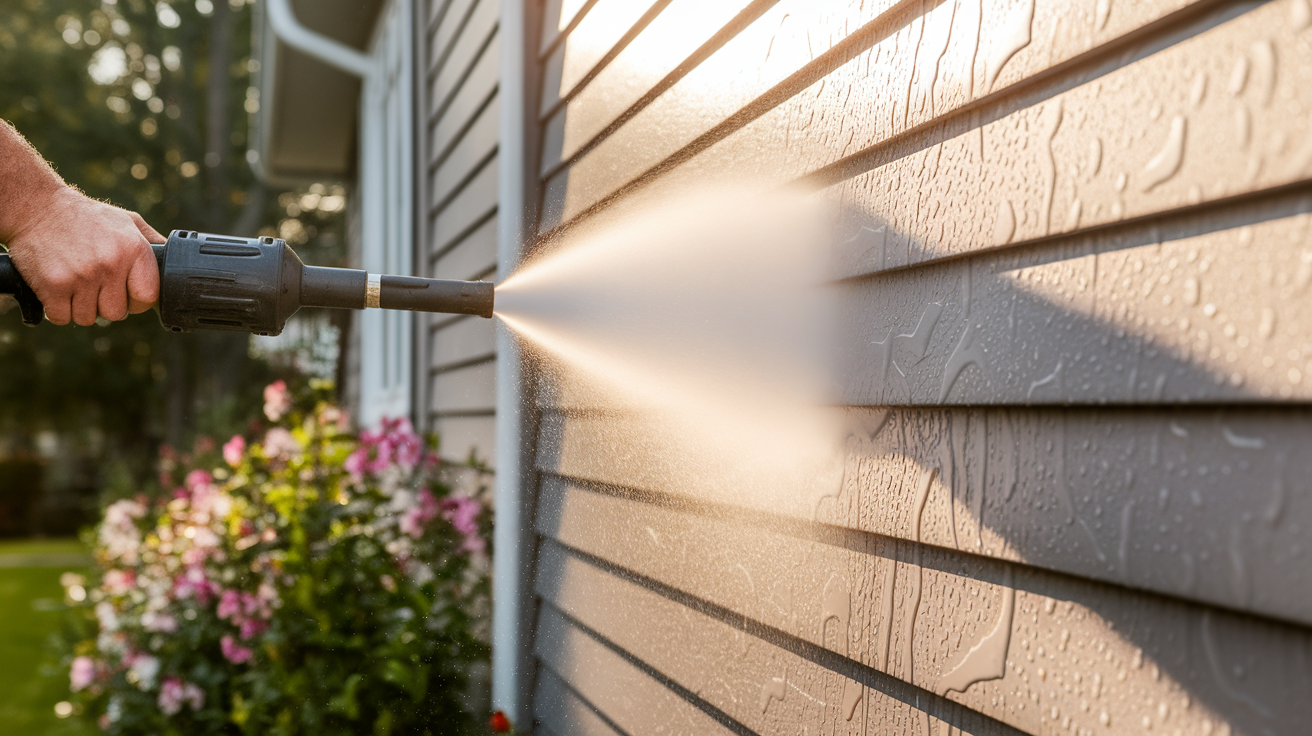
Using a pressure washer can make the job of cleaning siding easier, but it also comes with certain risks. Too much pressure can cause damage, particularly to vinyl siding, so it’s important to keep the nozzle at least 3 feet away from the surface.
Opt for a wide-angle nozzle, preferably 40 degrees or more, to ensure a safe and effective cleaning process. Before starting, always test the pressure washer in a hidden area to avoid potential damage.
When cleaning, work at a downward angle to prevent water from getting behind the siding. Additionally, never point the pressure washer at windows, light fixtures, or vents, as the high pressure could cause harm.
Prevent Mold From Coming Back
After all that work to get rid of mold, the last thing you want is to see those dark spots come back in a few months. Here’s how to keep your siding mold-free for the long run.
1. Moisture Control
Water is mold’s best friend, so keeping your siding dry is your top defense.
- Fix Those Gutters: Clogged or broken gutters can send water cascading down your siding.
- Check Your Downspouts: Make sure they extend at least 3 feet from your house. Short downspouts dump water right next to your foundation, where it can splash onto your siding. If needed, add simple downspout extensions – they cost just a few dollars at hardware stores.
- Look for Water Traps: Does your landscaping slope toward your house? Water should always flow away from your home. Add soil to create a gentle slope that directs water elsewhere.
2. Sunlight Exposure
Mold hates sunlight, so more sun means less mold.
- Trim Those Trees: Overhanging branches block sunlight and drop leaves and moisture onto your siding.
- Cut Back Shrubs: Plants snug against your house trap moisture. Pull bushes at least 2 feet from your siding to allow air to circulate.
- Consider Selective Pruning: If a large tree consistently casts shade on your house, selective pruning can allow more light to pass through without removing the entire tree.
3. Regular Siding Maintenance
A simple cleaning routine prevents big problems later.
- Seasonal Washing: Wash your siding twice a year – spring and fall are good times. You don’t need to scrub hard; a garden hose with a nozzle works for most cleaning jobs.
- Spot Checks: Walk around your house after heavy rains to look for trouble spots where water might be collecting or hitting your siding.
- Quick Action: If you see tiny spots of new mold, hit them with vinegar in a spray bottle. Taking care of small problems prevents them from becoming big ones.
4. Mold-Resistant Siding Options
If you’re replacing siding, pick materials that fight mold naturally.
- Fiber Cement Siding: This stuff resists mold and rot better than wood and comes with long warranties.
- Vinyl With Mold Inhibitors: Some newer vinyl siding products include zinc or other additives that prevent mold from forming.
- Metal Siding: Aluminum and steel siding don’t provide food for mold to grow on, making them naturally mold-resistant.
- Proper Installation: Regardless of the type you choose, proper installation with a moisture barrier behind it makes a significant difference in preventing mold.
Remember, no siding is completely mold-proof in all conditions. Even the best materials need proper maintenance. Still, spending a little time on prevention saves hours of scrubbing later.
A few minutes checking gutters and trimming plants each season can keep your home looking fresh for years to come.
Conclusion
Taking Care of mold on your siding doesn’t have to be a huge task. With the right tools, methods, and safety gear, you can handle most mold problems yourself.
The key is catching it early and addressing the underlying causes that allowed it to grow in the first place.
Remember to check your gutters, trim back plants, and keep an eye out for trouble spots after rainy days. A little effort on prevention saves hours of scrubbing later.
If you’re dealing with severe damage, don’t hesitate to call in pros or consider replacement options. Your home is worth the investment.
I hope these tips help you kick mold to the curb and keep your house looking clean and fresh.

