How to Hang Gallery Wall with Simple Steps
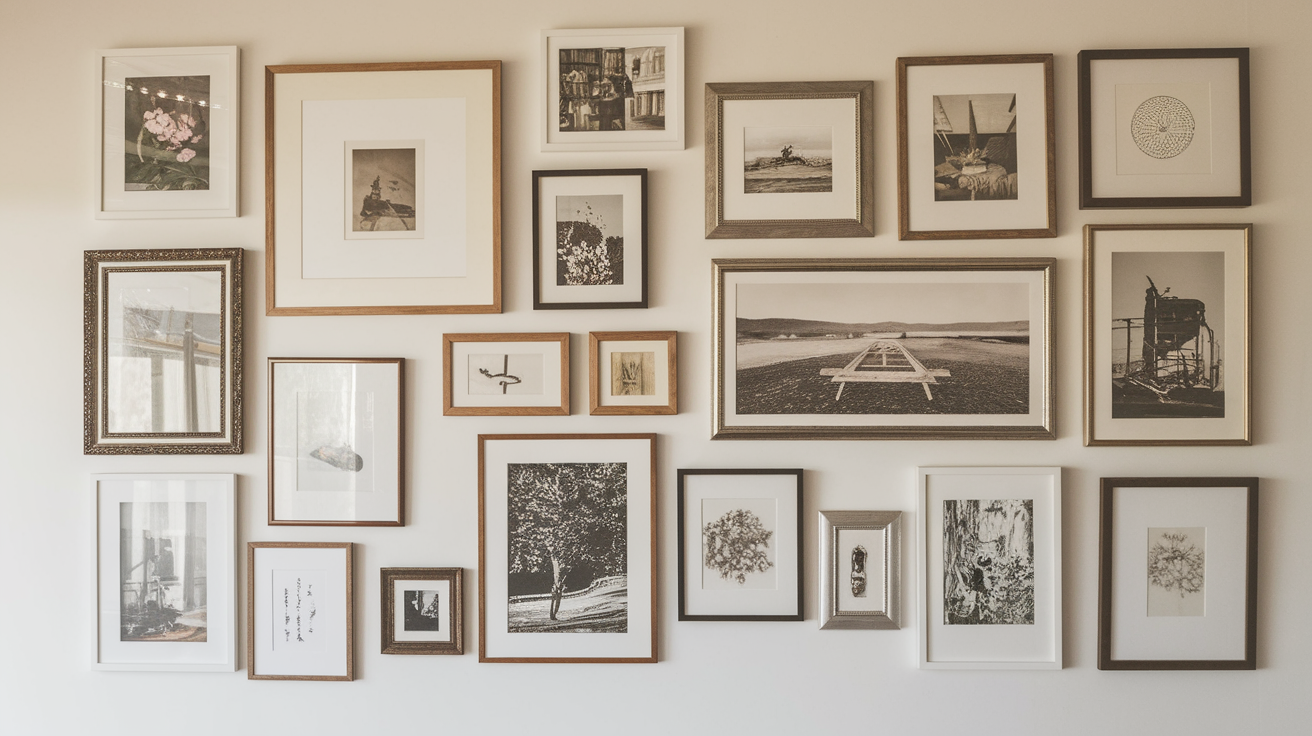
A gallery wall can make a big impact in your home. It lets you show off photos, art, and items you love in one eye-catching display.
Many people want to create one but feel stuck before they even start. The thought of planning, measuring, and hanging multiple frames might seem hard. But with a clear plan, you can set up a gallery wall that looks great.
This guide will walk you through simple steps to create your perfect gallery wall. You’ll learn how to choose the right spot, pick frames that work well together, and hang everything in the right place.
By the end, you’ll know exactly how to make a gallery wall that friends and family will notice. The process is easier than you might think, and the results will make any room in your house look better.
Planning Your Gallery Wall Layout
The first step to a great gallery wall is good planning. Start by thinking about the wall space you want to use. A large, empty wall works best for this project.
Next, decide what shape you want your gallery to take – it could be a square, rectangle, or even a free-form design.
Once you pick a shape, gather all the frames you plan to use. Place them on the floor and try different layouts.
Move pieces around until you find a pattern that looks good to your eye. Make sure to leave equal space between frames for a clean look.
Take a photo of your final layout to use as a guide. You can also make paper templates of each frame by tracing them on newspaper or kraft paper.
This helps you test the layout directly on your wall. Use painter’s tape to stick these templates on the wall and step back to check how it looks from different angles in the room.
Tools and Materials You Need
Before you start hanging your gallery wall, gather everything you’ll need for the job. Having all the tools and materials ready will make the process smooth and quick.
Here’s what you should have on hand before you begin work on your wall.
| Item | Purpose |
|---|---|
| Measuring tape | Measure wall spaces and distances between frames for even spacing |
| Level | Ensure frames hang straight rather than at odd angles |
| Pencil | Mark hanging spots that can be easily erased later |
| Hammer | Tap nails into the wall to hold frames |
| Drill | Make holes when hanging heavier frames or art pieces |
| Picture hanging hooks | Hold frames securely while making small wall holes |
| Nails | Use with hooks or directly to hang lighter frames |
| Wall anchors | Provide extra support for heavier frames in drywall |
| Painter’s tape | Mark positions and hold paper templates during planning |
| Paper templates | Cut to match frame sizes for layout testing |
How to Set Up a Gallery Wall
Now that you have your layout planned and all the tools ready, it’s time to put your gallery wall together. This is the hands-on part where your vision becomes a reality.
Follow these simple steps to create a well-arranged display.
Step 1: Hang the Anchor Piece
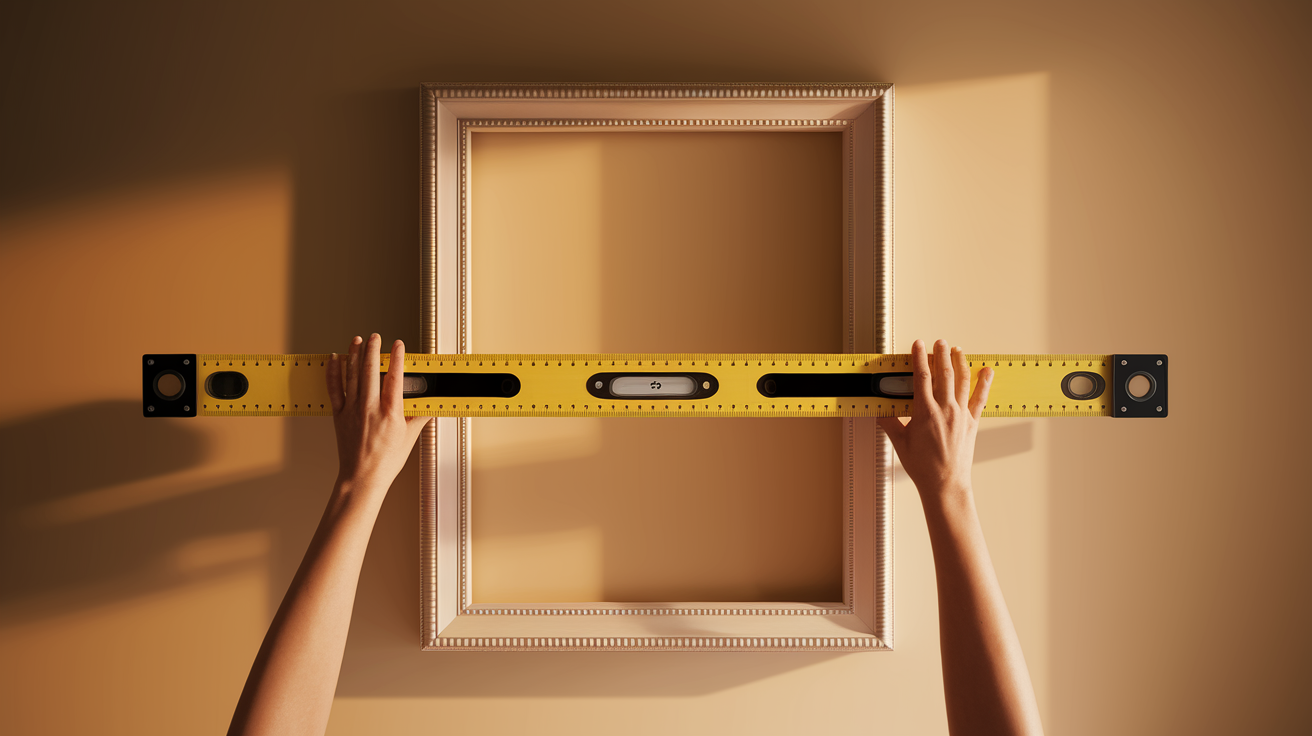
Start with the center or largest piece. Hang this key piece first at eye level, about 57-60 inches from the floor. This creates a focal point that grounds your entire gallery wall and gives you a reference point.
Make sure this piece is perfectly level before moving on, as it will affect how the whole arrangement looks. Use your measuring tape to find the right height.
Step 2: Build Around the Center
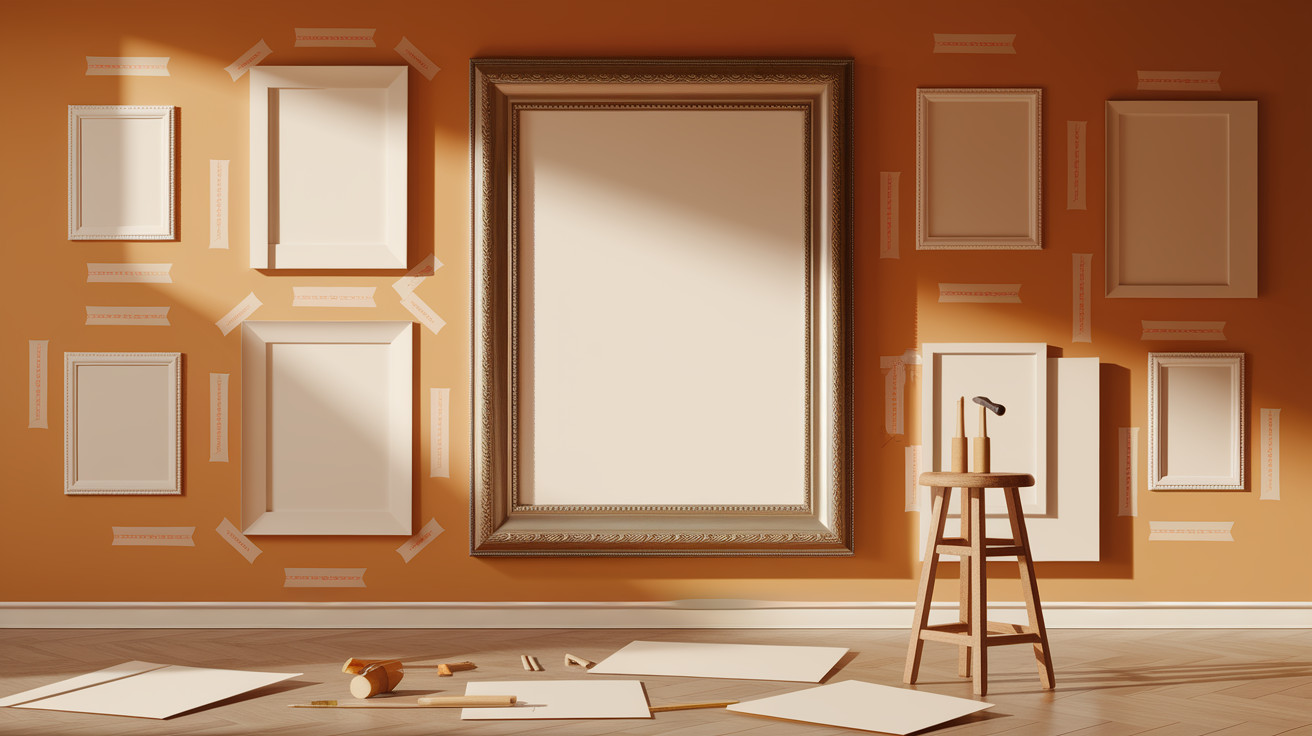
Work outward from your centerpiece. Use your floor layout or paper templates as a guide for where each frame should go. Measure the spaces between frames carefully to keep consistent gaps.
Mark each nail location with a pencil. Your paper templates can stay on the wall with tape while you work, making it easier to visualize the final result.
Step 3: Check for Level Placement
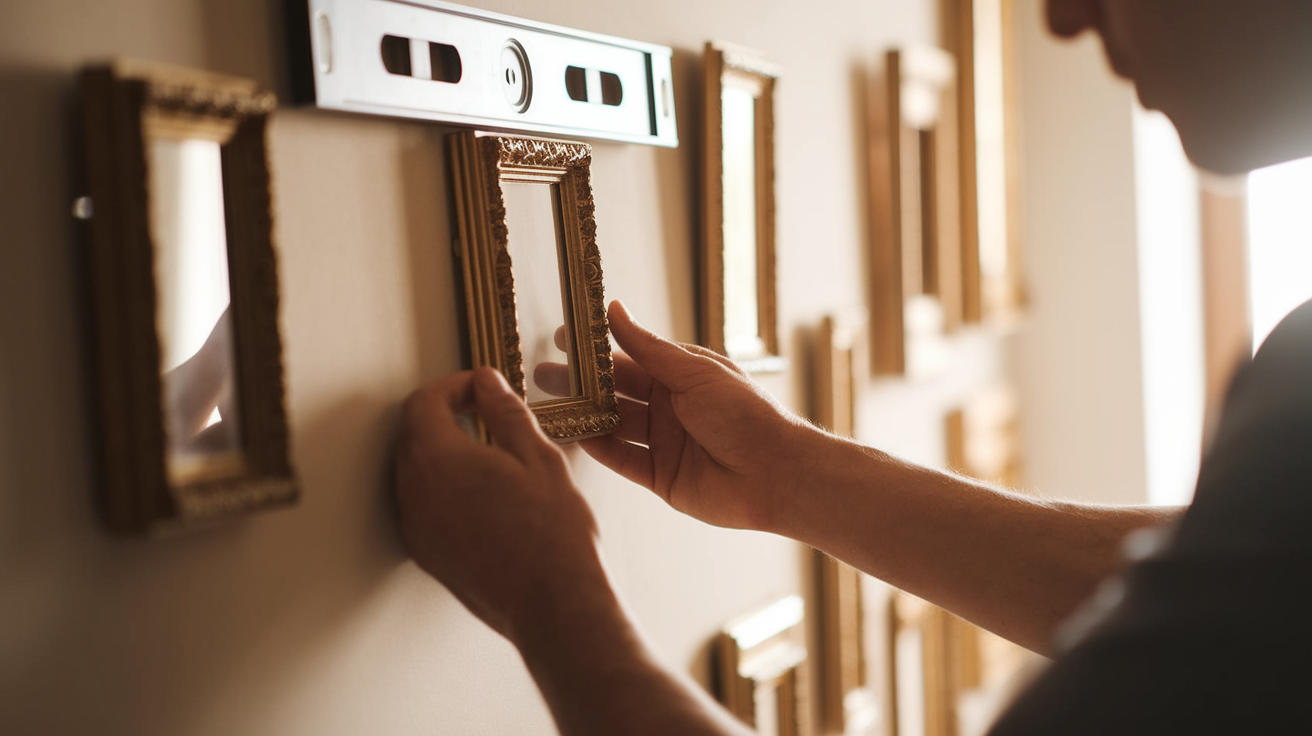
Check each frame with a level before securing it. Hold the frame against the wall where you plan to hang it and place a level on top.
Adjust until perfectly straight, then mark the spot. This prevents crooked frames that can make the whole display look messy. Even small tilts become very noticeable in a gallery arrangement.
Step 4: Secure and Adjust
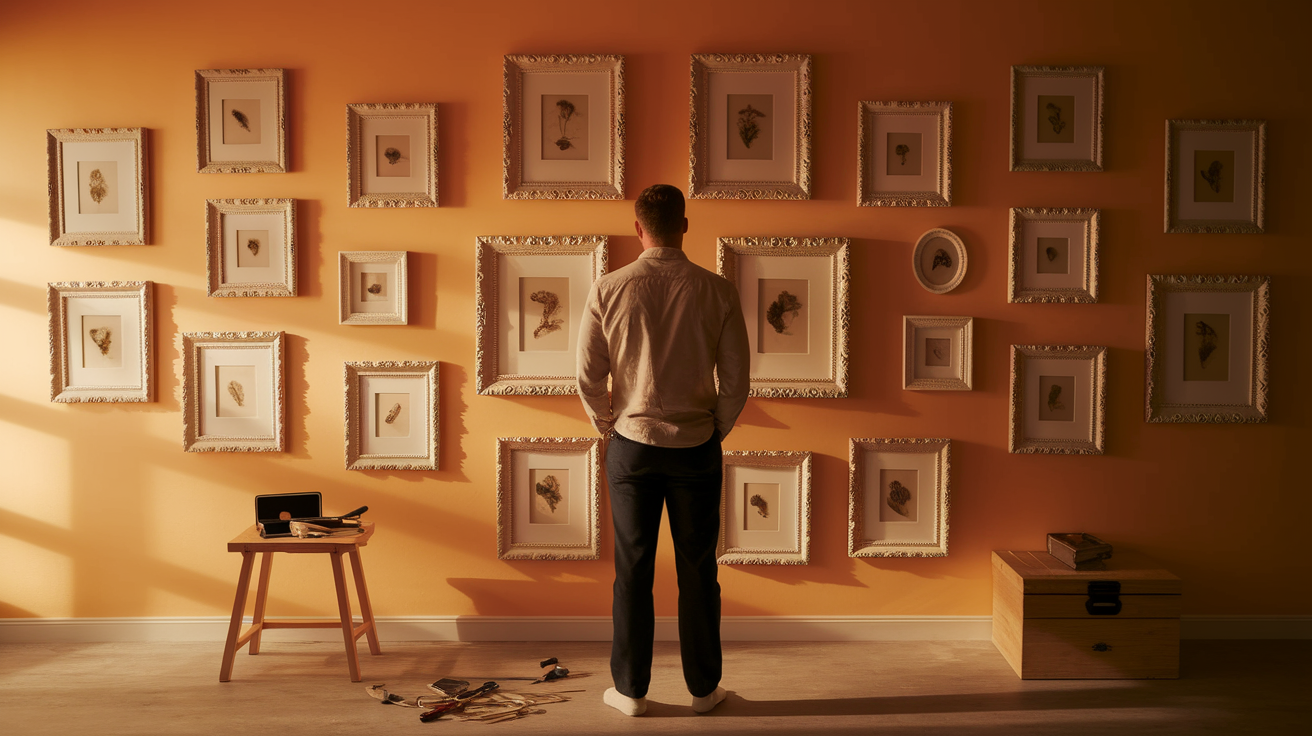
Secure frames to the wall one by one. Insert nails or hooks at your marked spots, then hang each frame. Step back often to view your progress from different angles.
This helps you catch any issues with spacing or alignment. For heavy pieces, use wall anchors to provide extra support and prevent wall damage.
Easy Ways to Rearrange Your Wall Later
Gallery walls don’t have to be permanent. You might want to change things up as your taste changes or you add new pieces. Here are some ways to make future changes easier.
- Use removable hooks: These stick to walls without nails and can be taken off without damage when you want to move things.
- Keep your paper templates: Store the paper cutouts of your frames for quick layout planning when you decide to rearrange.
- Take photos of the arrangements: Snap pictures of both your current wall and any new layouts you try on the floor.
- Use uniform frames: Stick with the same-sized frames that can be swapped easily without changing nail positions or overall balance.
- Mark frame centers: Put small pencil marks at the center point of each frame spot for easy reference when moving pieces.
- Keep spacing consistent: Maintain equal gaps between all frames so you can switch items without disrupting the pattern.
- Create a modular system: Group similar frames together in sections that can be moved or replaced as complete units.
Conclusion
Now you know how to create a beautiful gallery wall in your home. With proper planning, the right tools, and a step-by-step approach, the task becomes much simpler than it first appears.
Remember to start with a strong centerpiece and build outward for the best results. Your gallery wall tells a story about you and your family.
Each frame holds memories or art that means something special. When guests visit, this display will catch their eye and start conversations.
Ready to get started? Gather your favorite photos and art pieces, pick up the tools listed above, and begin planning your layout today.
Soon you’ll have a stunning gallery wall that adds character to your home. Don’t forget to leave some room for new pieces as you make more memories worth displaying!
Frequently Asked Questions
What Not to Do With a Gallery Wall?
Don’t hang frames too far apart, use mismatched themes without purpose, or place them too high on the wall. Skip frames without proper wall anchors for heavy pieces.
Are Gallery Walls Going Out of Style?
No, gallery walls remain popular. Their style changes over time, but the concept of grouping meaningful art and photos stays in fashion.
Can You Have Two Gallery Walls in One Room?
Yes, you can have two gallery walls in one room. Keep them visually different by varying frame styles or content themes to avoid making the space feel cluttered.


