How to Make a DIY Poster Frame?
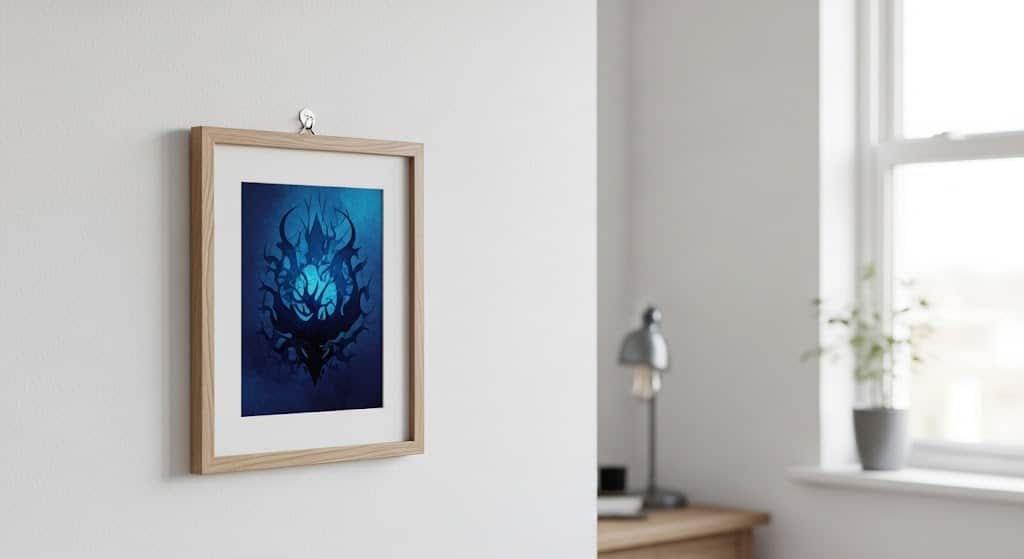
Building a custom poster frame from scratch is an exciting project that turns ordinary artwork into eye-catching wall displays.
This hands-on approach gives you complete control over materials, colors, and design while teaching valuable crafting skills along the way.
Perfect for beginners and experienced DIY enthusiasts alike, frame-making requires just basic tools and affordable supplies you can find at any craft store.
Plus, you’ll end up with something truly one-of-a-kind that reflects your personal taste and complements your space perfectly.
Ready to turn that rolled-up poster into a stunning focal point? Let’s jump right in and start creating!
Materials Needed for a DIY Poster Frame
Before you start building your DIY poster frame, it’s essential to gather the right materials.
Depending on your style and budget, there are several options to choose from, but here’s a list of the most common ones:
1. Wood
- Why Choose Wood: Wood is versatile, easy to work with, and can be painted, stained, or left natural for a rustic look. It’s ideal for creating sturdy, long-lasting frames.
- Recommended Types: Pine, oak, or MDF (medium-density fiberboard) are great choices.
- Estimated Cost: Wood costs vary, but you can expect to pay $10–$20 for a basic wood plank (depending on the size).
2. Metal
- Why Choose Metal: Metal frames offer a sleek, industrial vibe. They’re durable and provide a modern touch to any artwork or poster.
- Recommended Types: Aluminum or steel (available at most hardware stores).
- Estimated Cost: Metal frames can range from $15–$50, depending on the material and thickness.
3. Cardboard
- Why Choose Cardboard: If you’re on a tight budget or working with smaller posters, cardboard is a lightweight and inexpensive alternative. It’s easy to cut and can still hold your poster securely.
- Recommended Types: Corrugated cardboard or foam board for extra sturdiness.
- Estimated Cost: Cardboard is very affordable, typically $3–$10 per sheet, depending on the thickness.
4. Acrylic or Glass
- Why Choose Acrylic or Glass: Both materials protect your poster from dust, dirt, and sunlight. Acrylic is lighter and shatterproof, while glass gives a more polished finish.
- Recommended Types: Acrylic for a lightweight, safe option; glass for a classic look.
- Estimated Cost: Acrylic or glass sheets can range from $10–$30, depending on size and thickness.
5. Backing Material
- Why Choose a Backing Material: A sturdy backing ensures that your poster stays flat and secure inside the frame.
- Recommended Types: Foam board, cardboard, or even thin plywood.
- Estimated Cost: Typically $5–$10 for a standard foam board or cardboard sheet.
Choosing the Right Poster Size and Frame Style
| STEP | DETAILS |
|---|---|
| Measuring Your Poster | Measure width and height accurately, including borders. Flatten rolled posters first. |
| Standard vs. Custom Frames | Use standard sizes (8″×10″, 11″×14″, 16″×20″) when possible. Custom frames needed for non-standard dimensions. |
| Selecting Frame Style | Match the frame to the poster and room style. Minimalist frames for modern looks, distressed for vintage, and gallery frames for professional appeal. |
| Considering Room Décor | Choose frames that complement existing décor. Wood for farmhouse, metal for industrial/modern spaces. |
| Adding a Mat (Optional) | Mats provide decorative borders and protect from glass contact. Use neutral colors (white, cream, gray) or bold colors for contrast. |
Proper measurement, selection, and framing elevate posters from simple decoration to professional design elements.
Follow these guidelines to create polished displays that showcase your artwork beautifully.
Step-by-Step Guide to Create a DIY Poster Frame
Creating your own DIY poster frame is a rewarding and cost-effective project that can be completed in just a few simple steps.
Follow this guide to frame your poster beautifully.
Step 1: Gather Your Materials
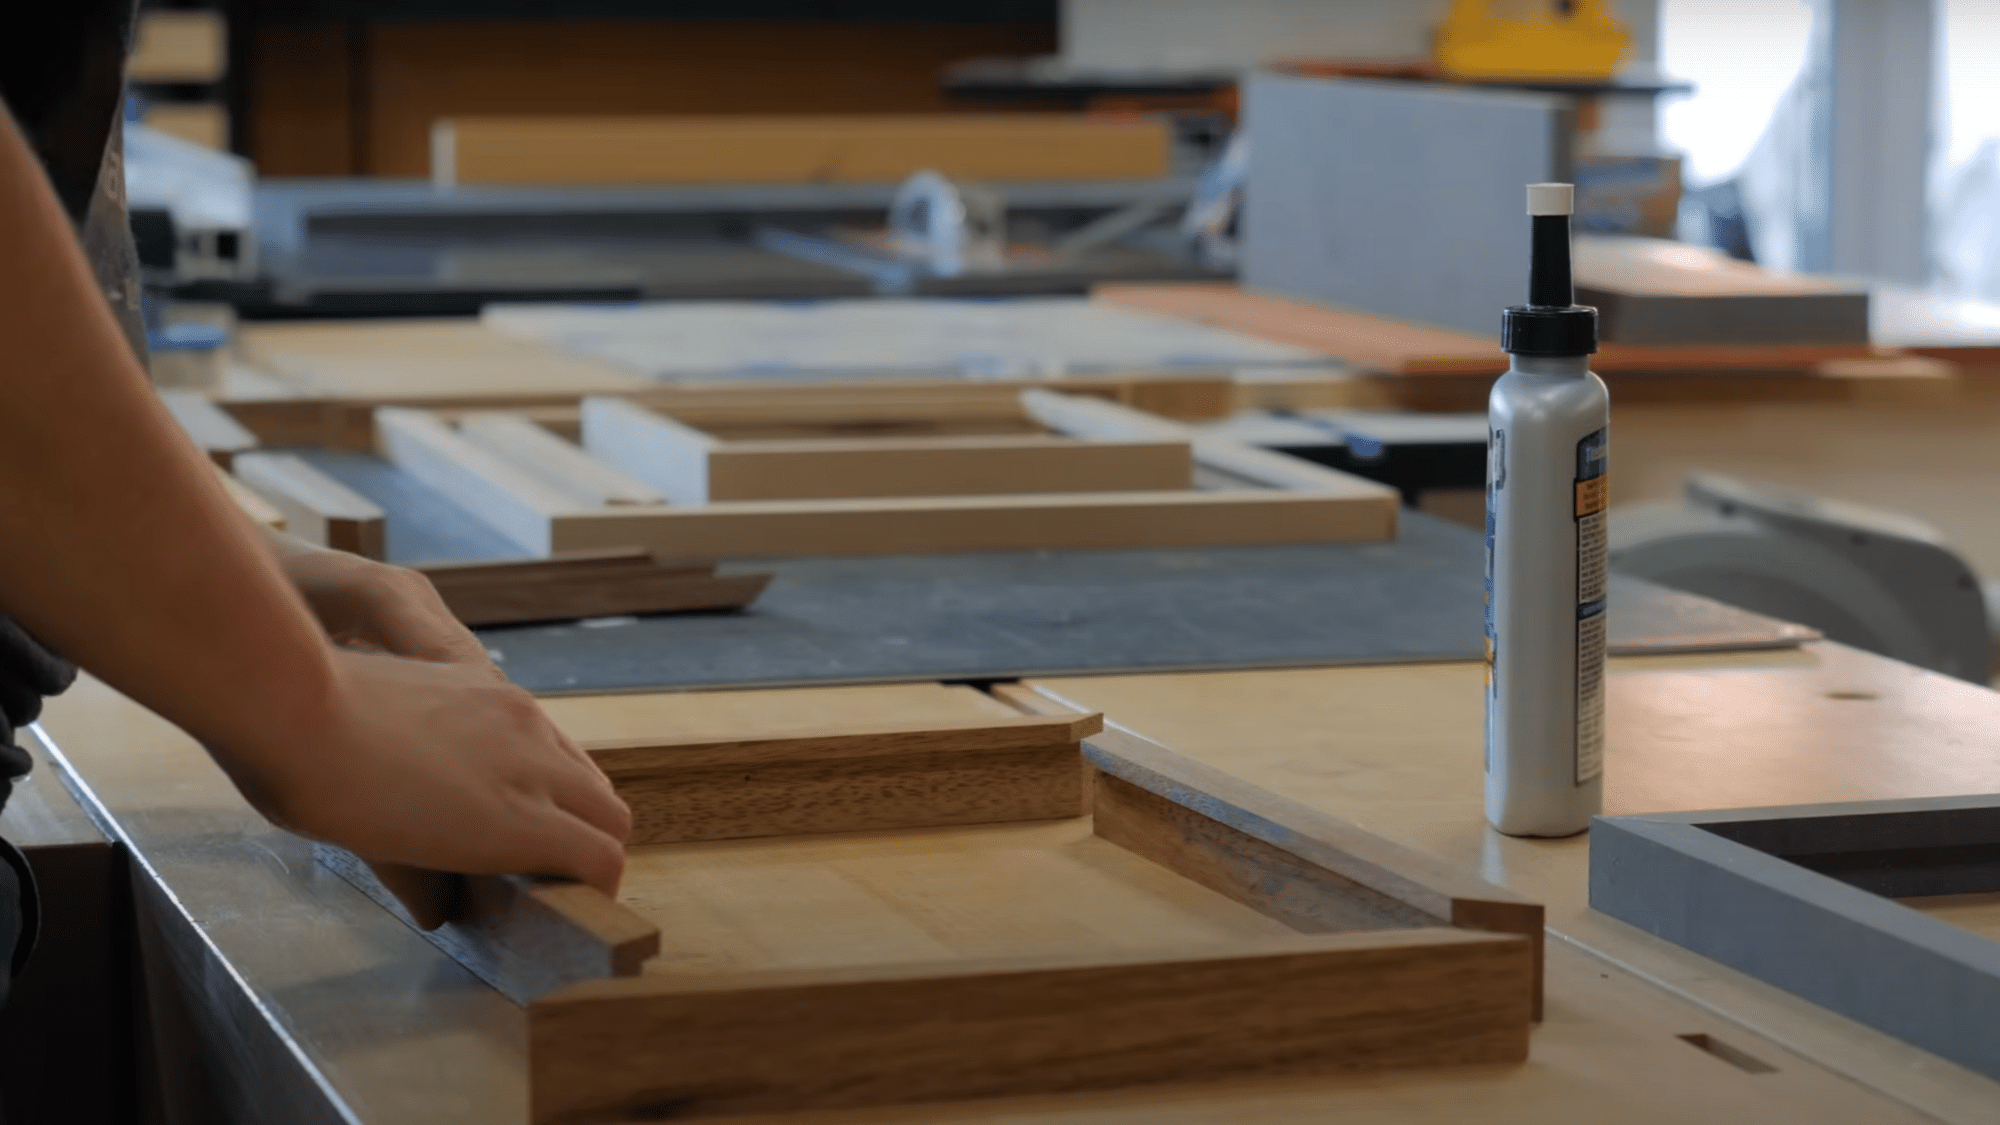
Start by collecting all the materials you’ll need, including your chosen frame material (wood, metal, cardboard, etc.), measuring tape, saw (if cutting your own frame), glass or acrylic, and backing material like foam board.
You’ll also need glue, nails, or screws for assembly.
Step 2: Measure and Cut the Frame
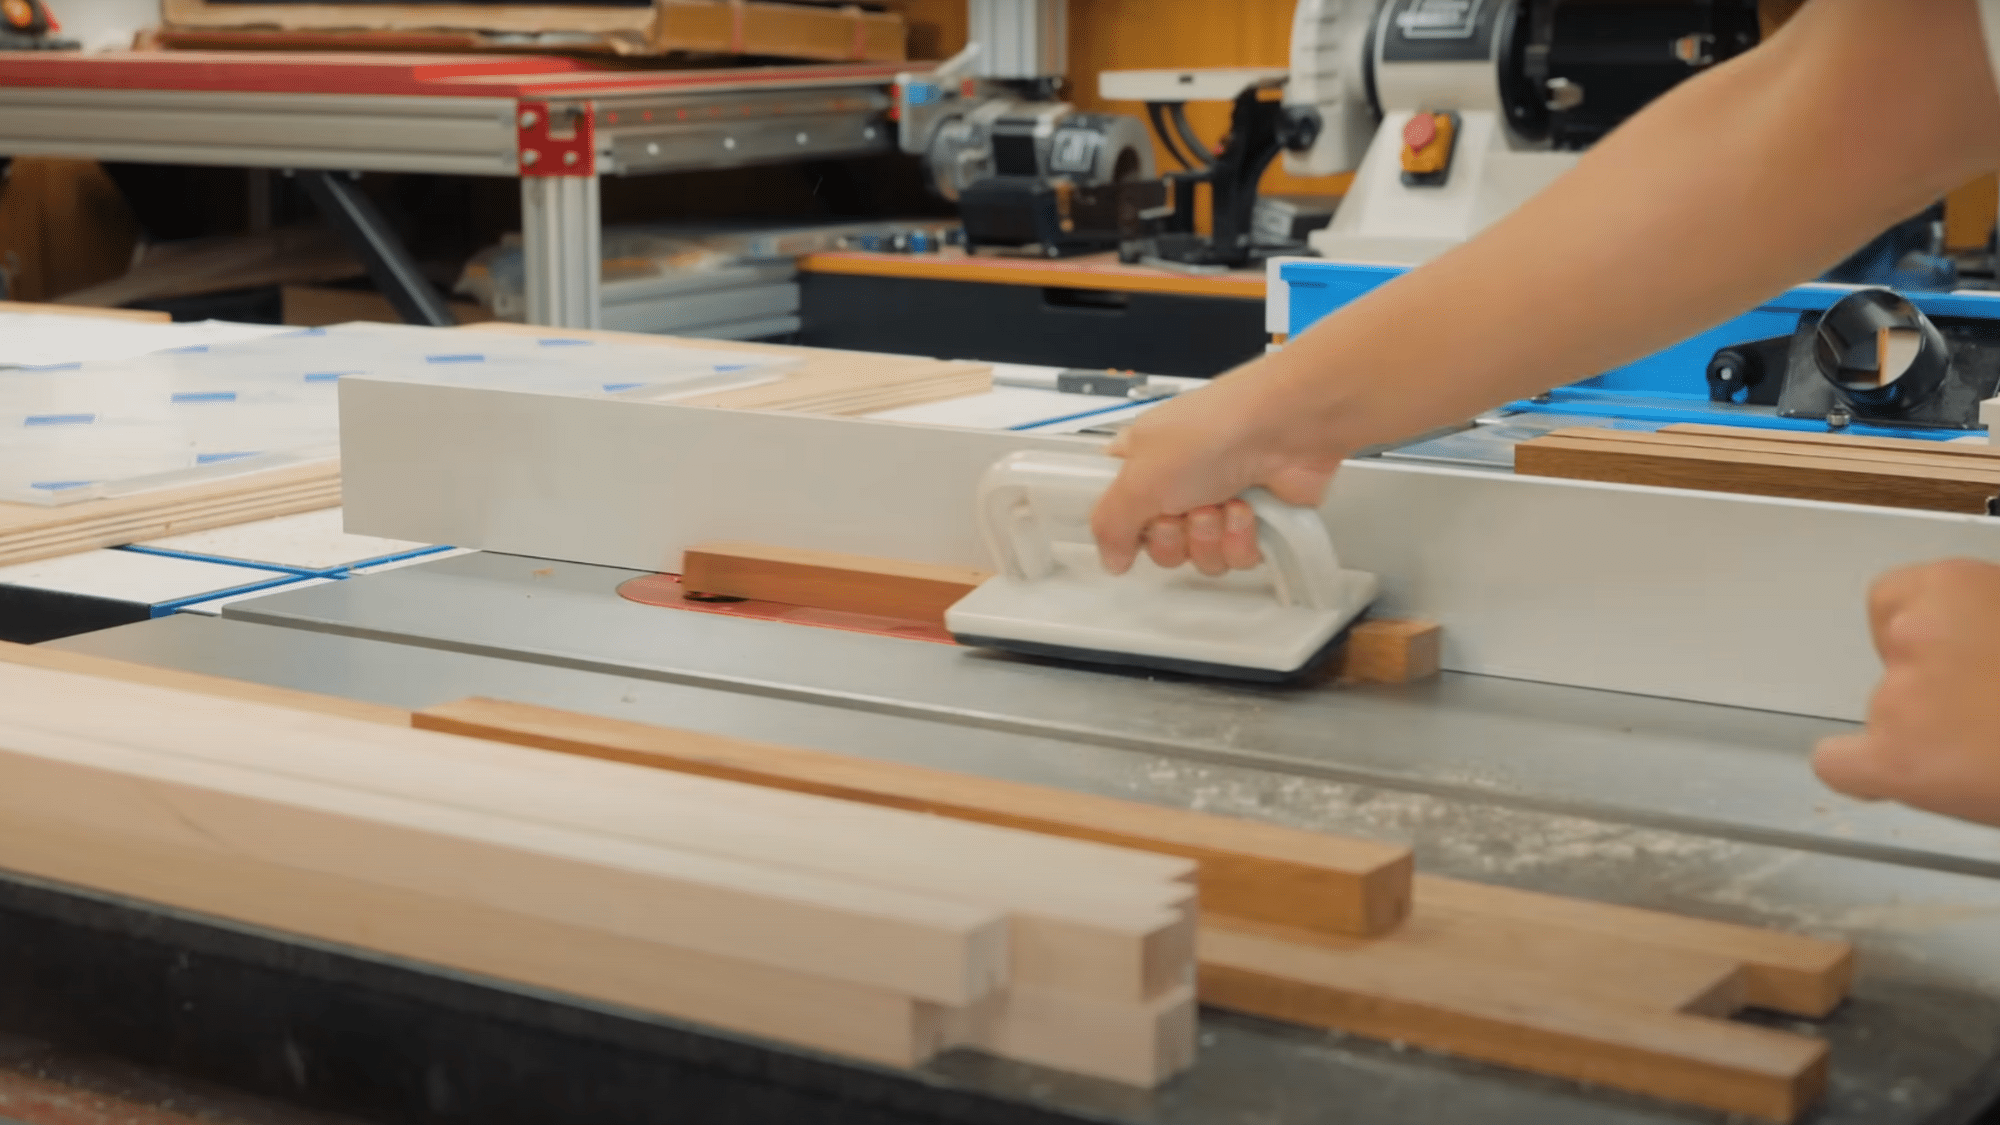
Measure the dimensions of your poster carefully.
If you’re working with wood or metal, use a saw to cut the frame pieces to the correct length.
And, if you are not comfortable cutting the frame yourself, you can have the materials pre-cut at your local hardware store.
Make sure to double-check all measurements before cutting to avoid mistakes.
Step 3: Assemble the Frame
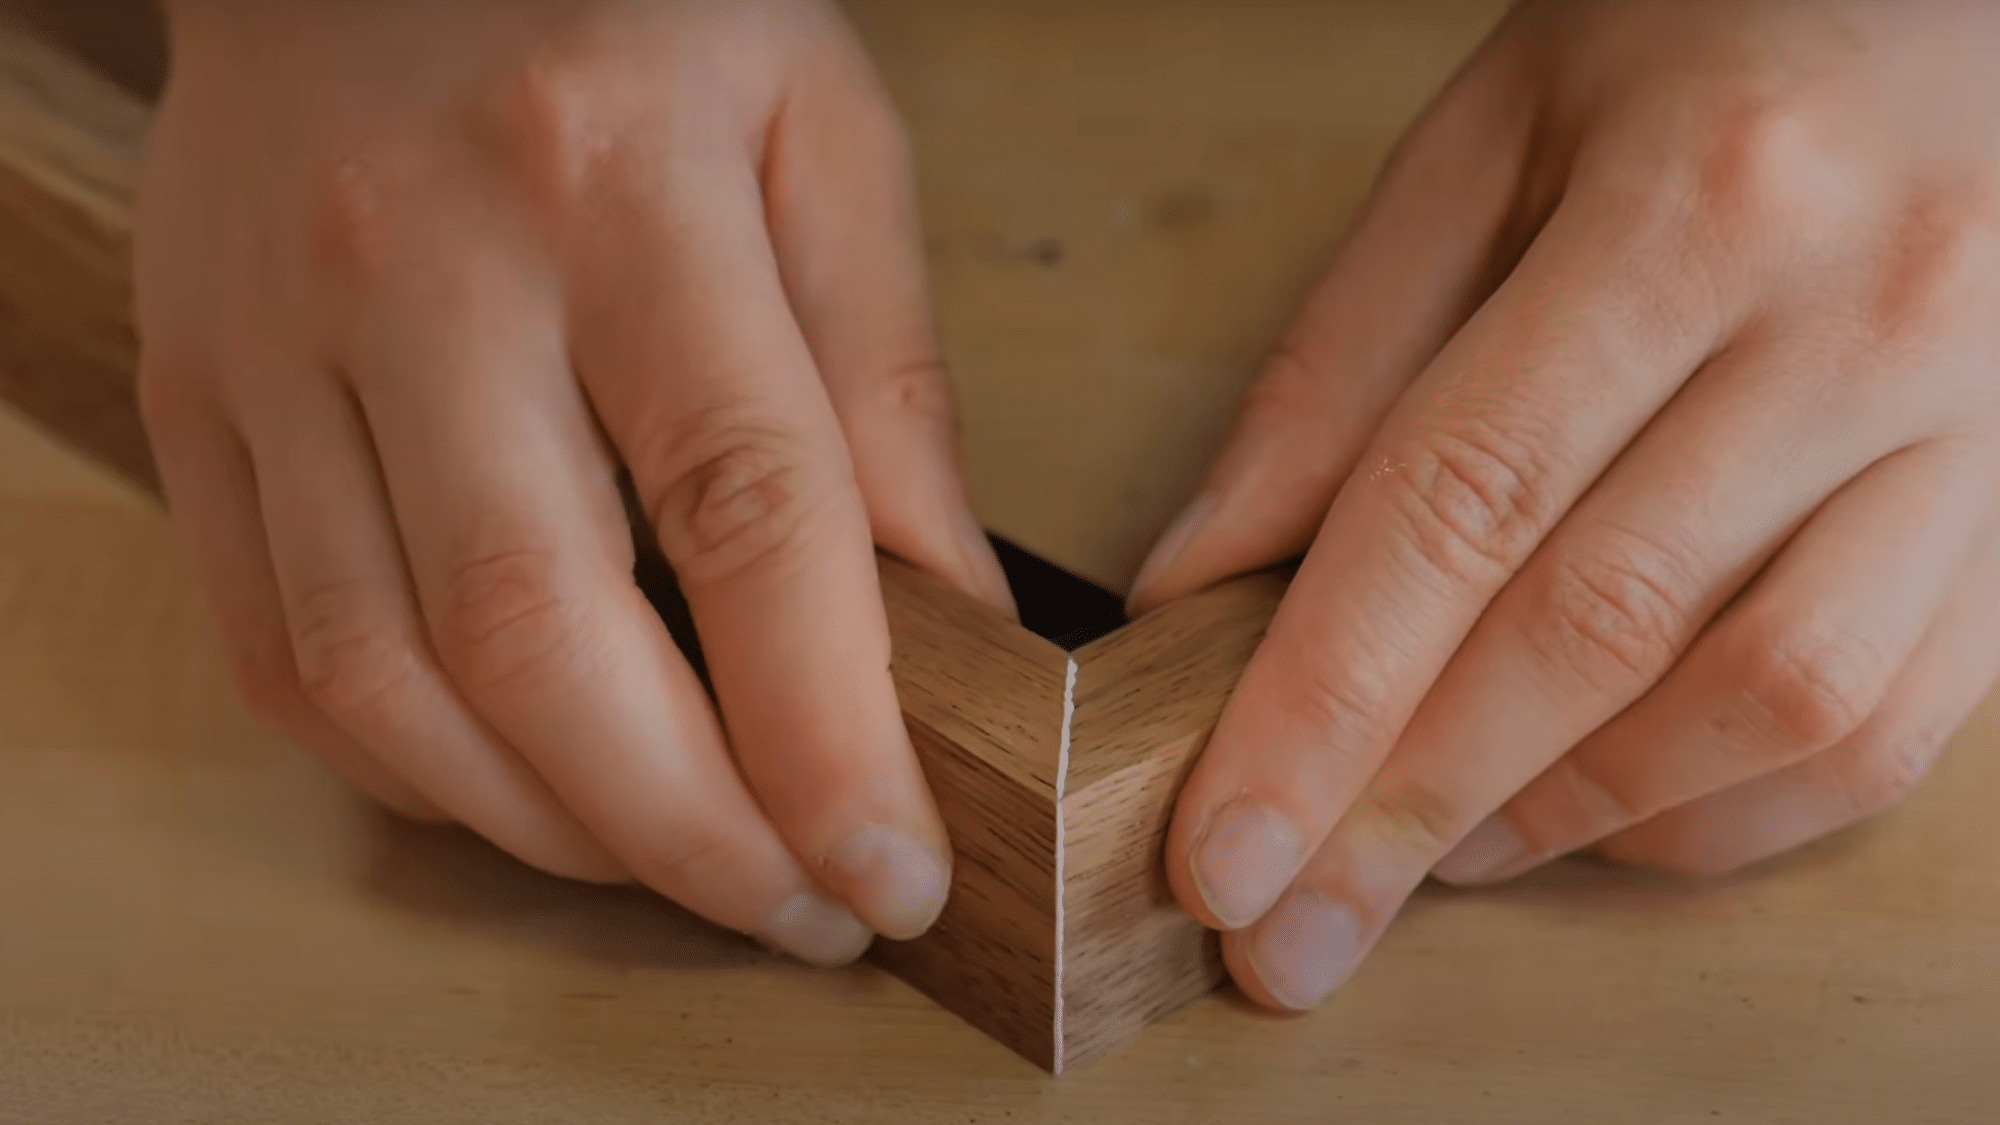
Once your frame pieces are cut, it’s time to assemble them.
Begin by laying out the four pieces to form a rectangle or square around your poster.
Use wood glue, screws, or nails to secure the corners. If using wood, you can reinforce the corners with corner brackets for extra durability.
Step 4: Attach the Backing
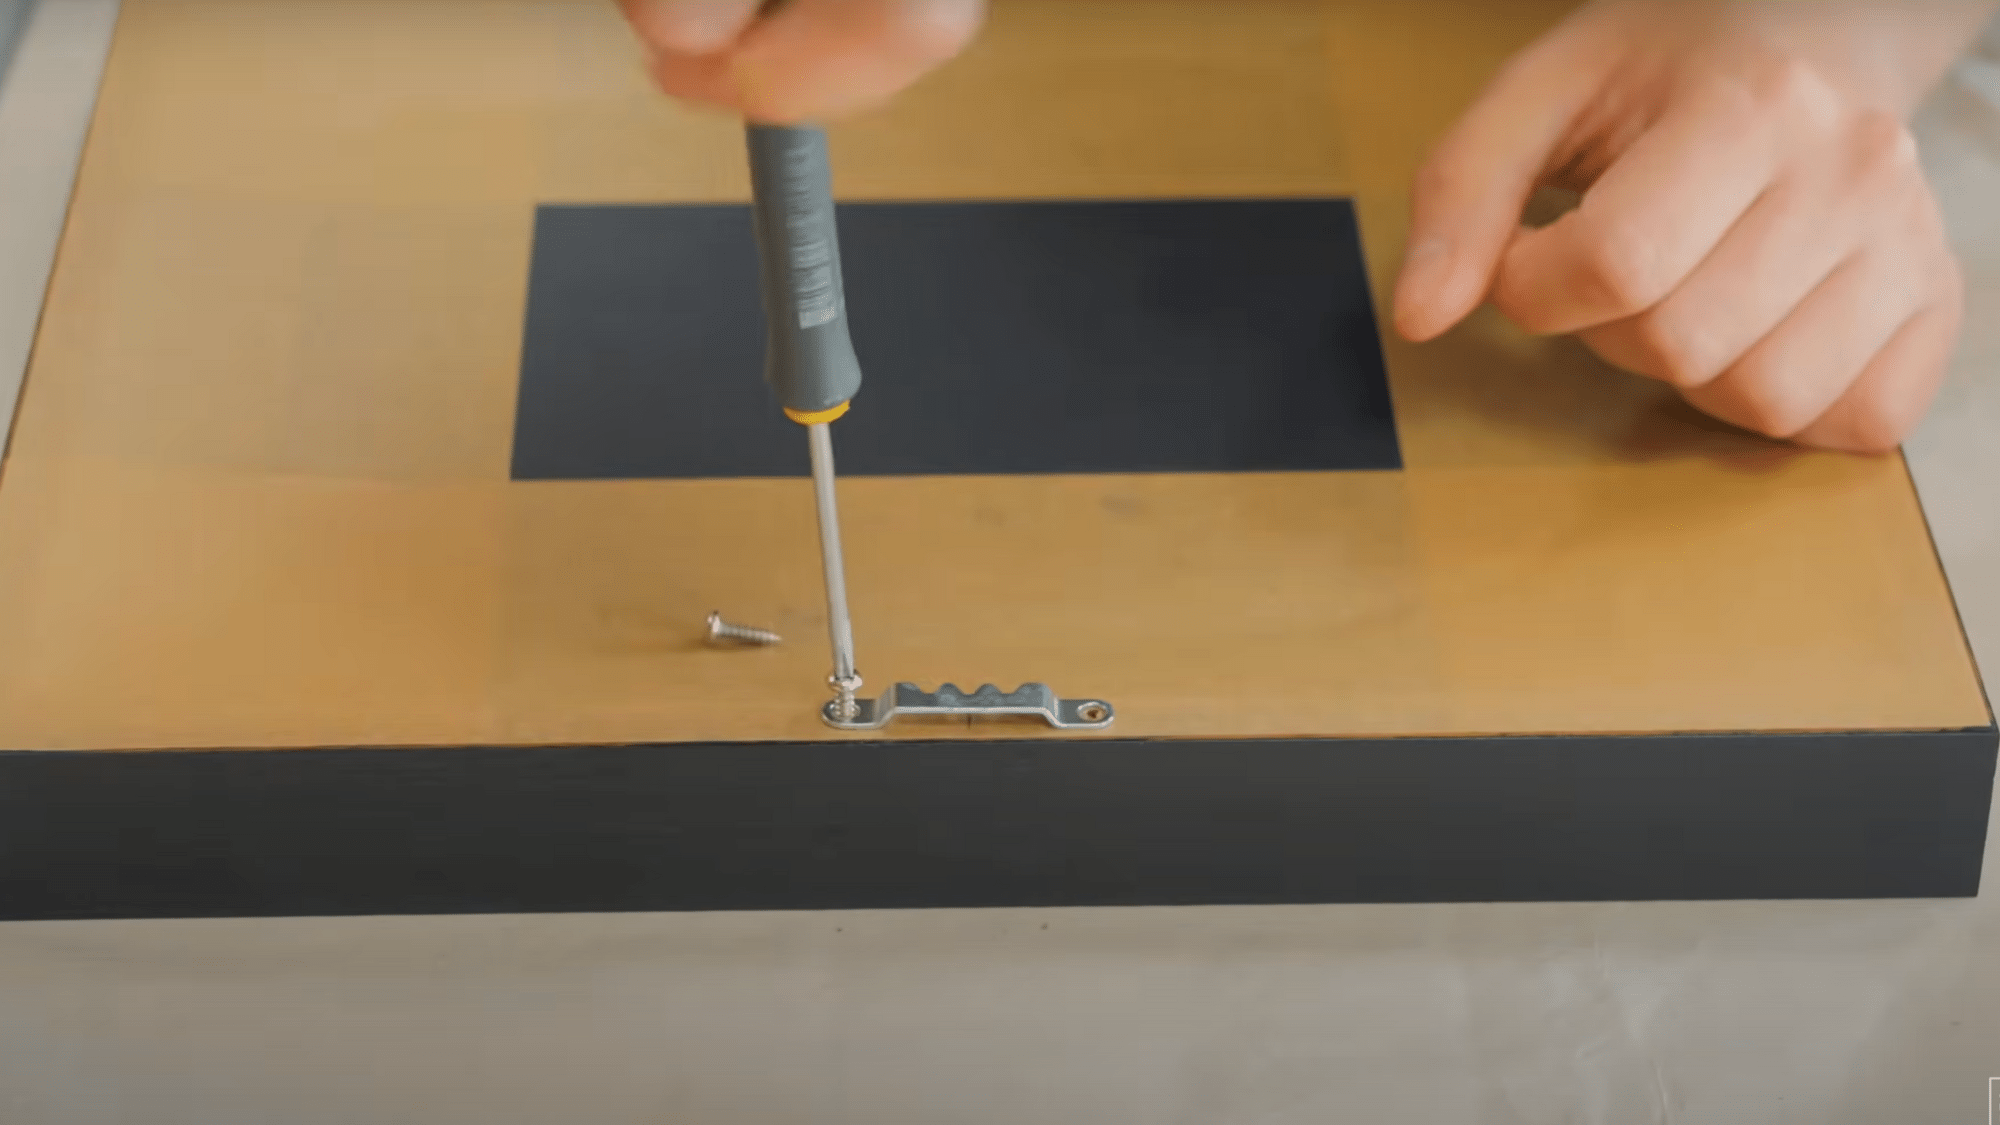
Place a piece of foam board or cardboard behind your poster to keep it straight and prevent it from shifting.
Cut the backing material to the exact dimensions of the frame, ensuring it fits snugly.
Attach it securely to the frame using glue or nails.
This backing support will also help protect your poster from moisture and dust that could enter from behind the frame.
Step 5: Insert Glass or Acrylic
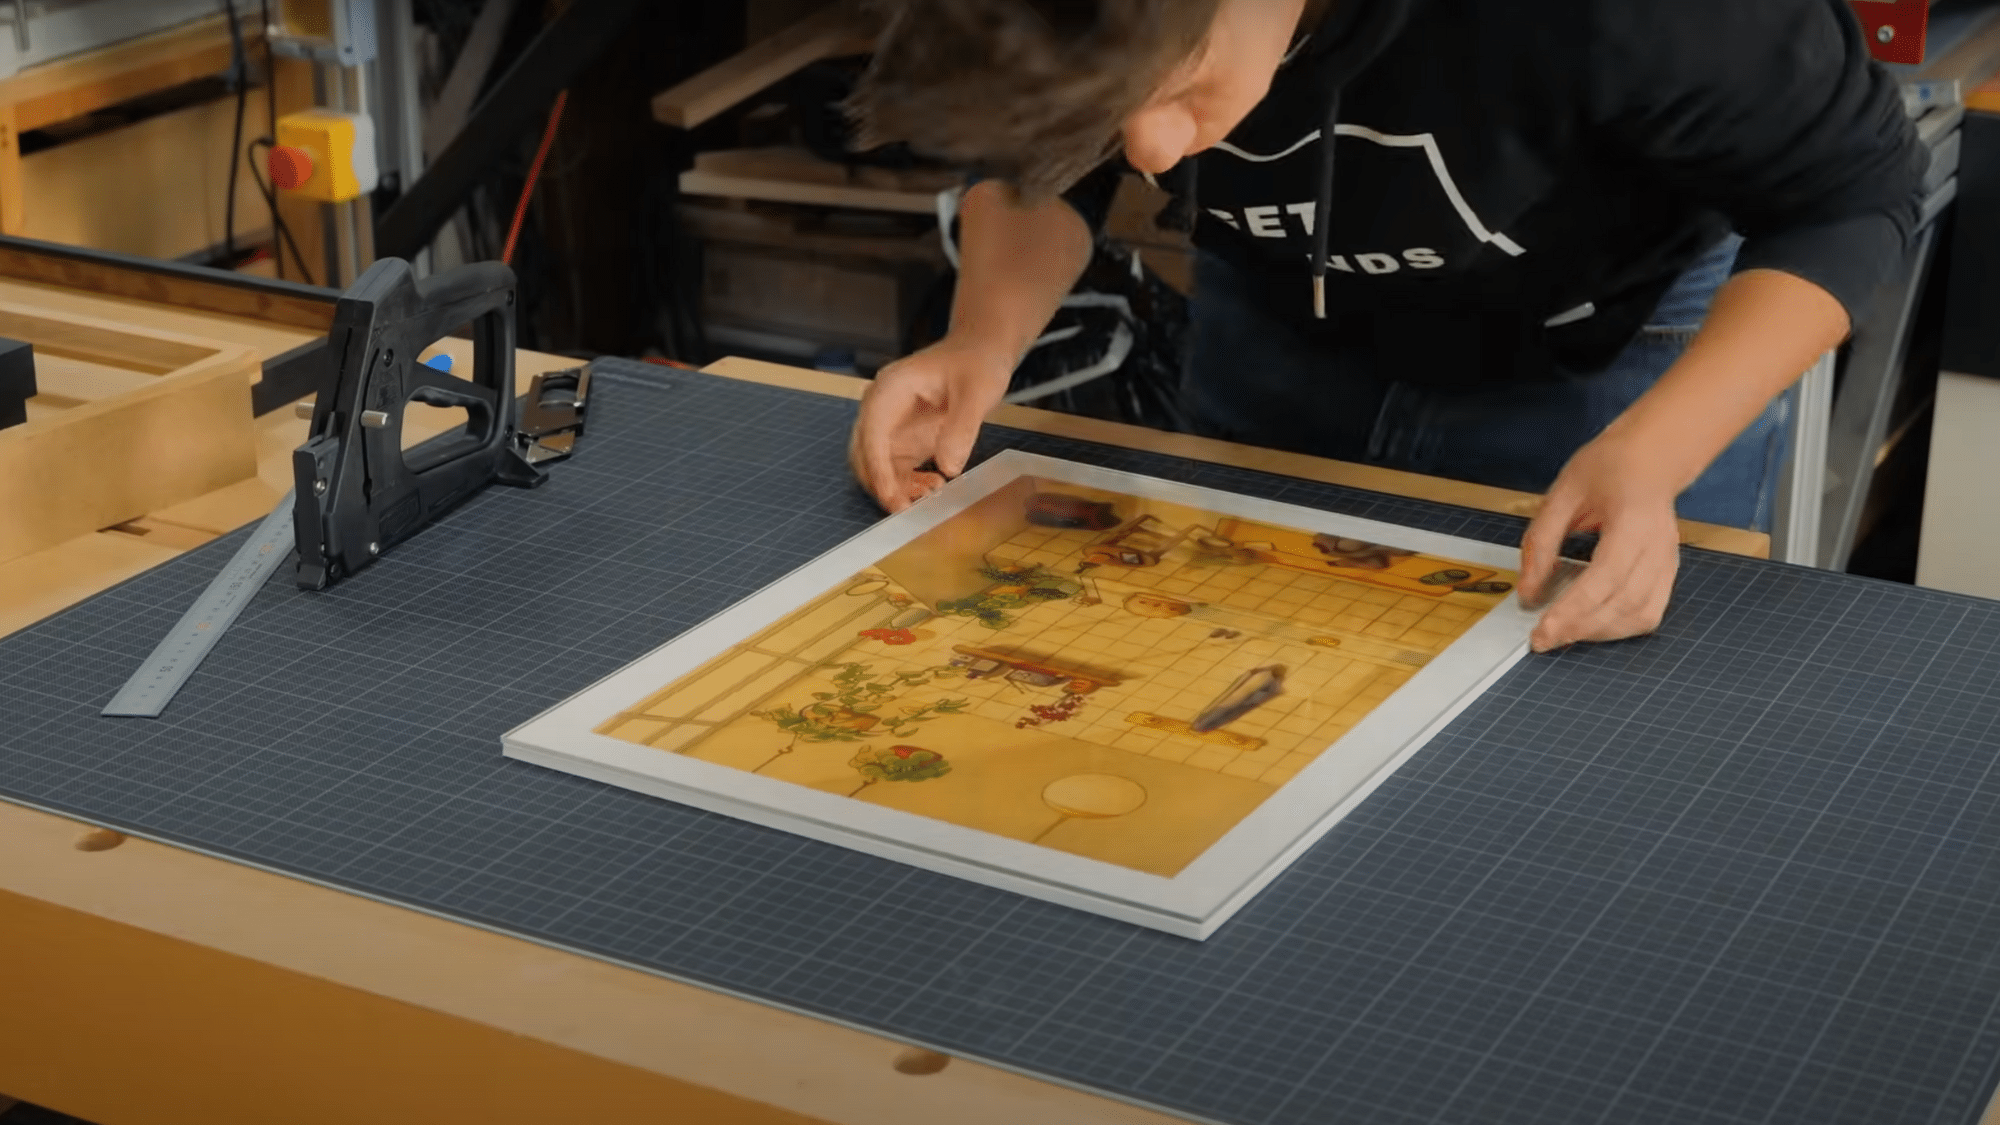
If you’re using glass or acrylic, carefully place it in front of the poster.
This will protect the artwork from dust, dirt, and sunlight. Make sure the glass or acrylic is the same size as the frame and fits securely in place.
Clean the glass thoroughly with a lint-free cloth before installation to ensure a crystal-clear view of your artwork.
Step 6: Close the Frame
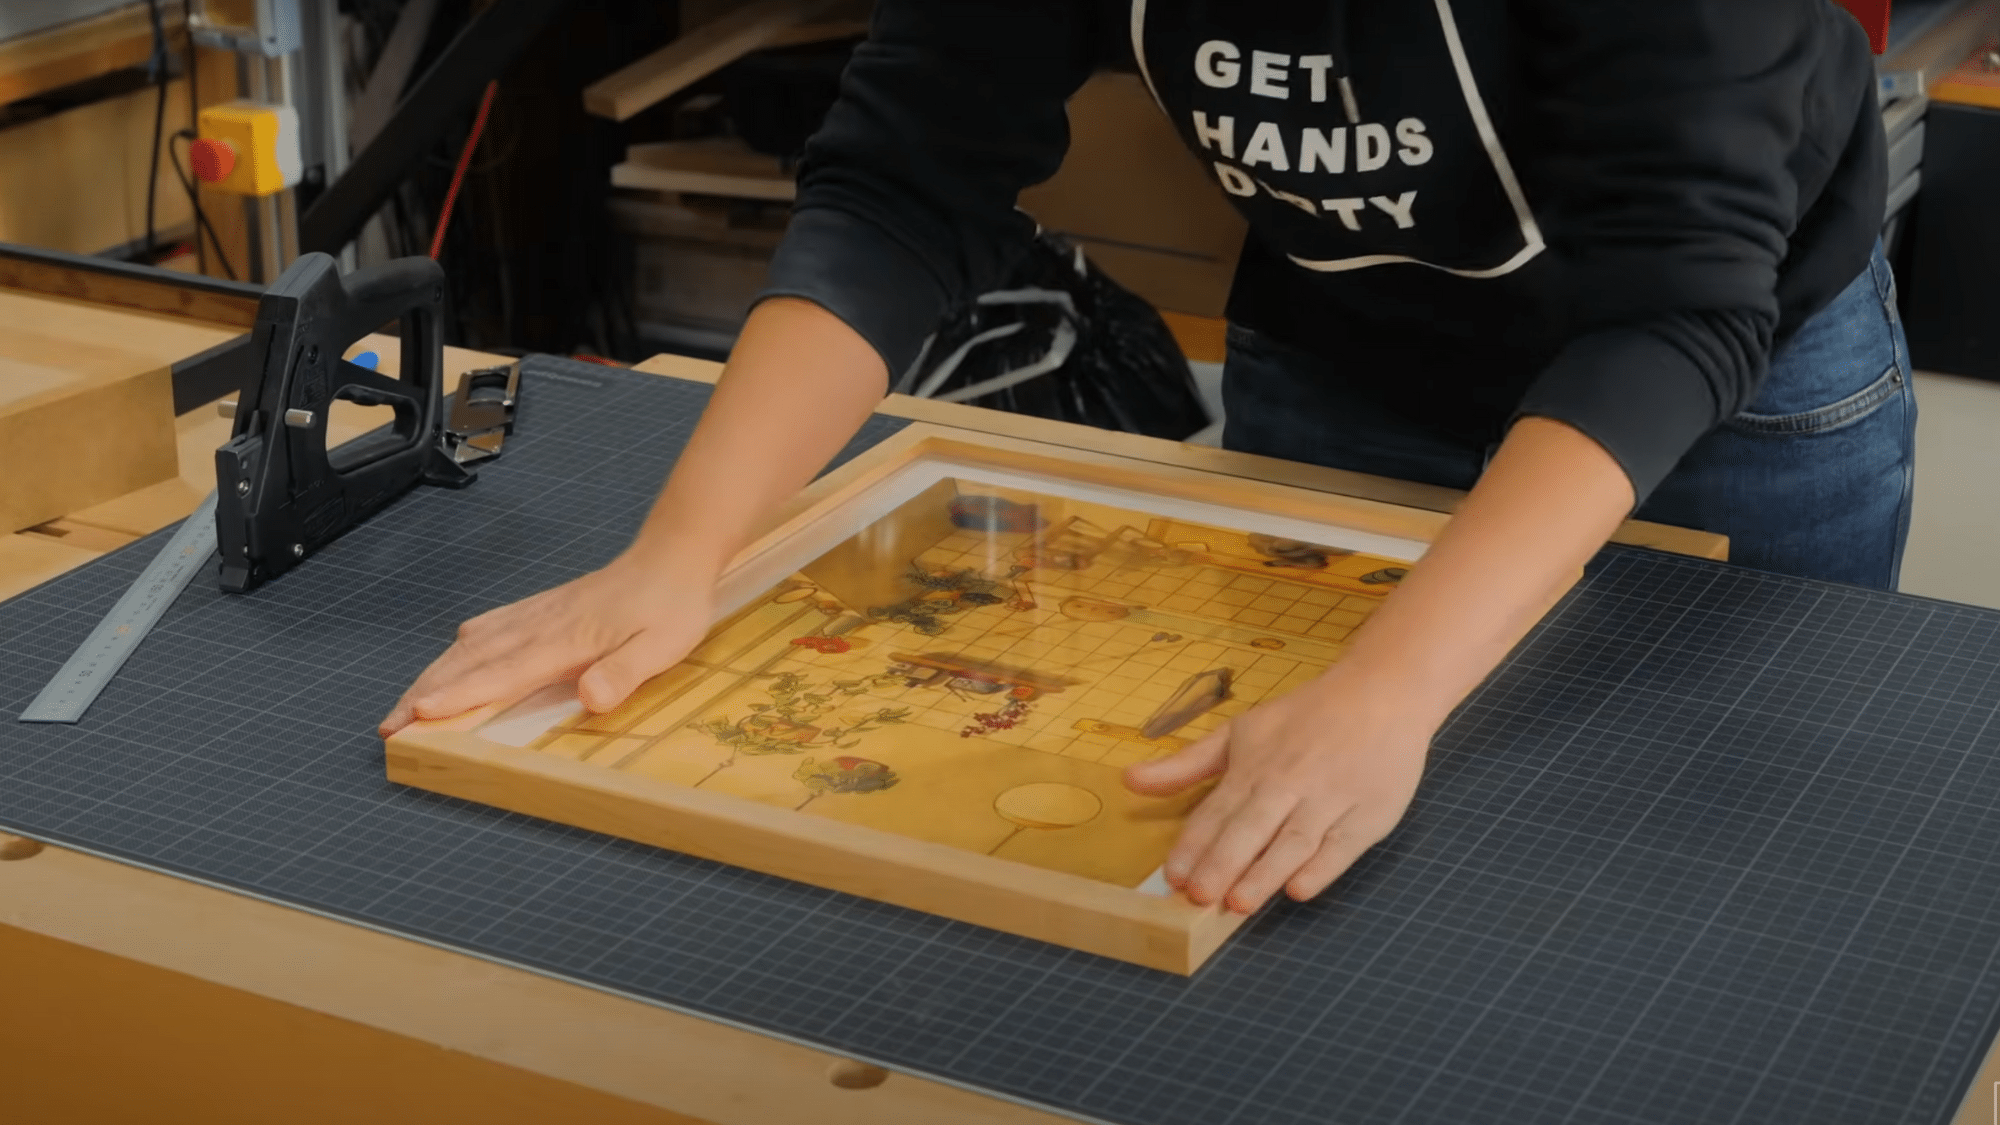
Once everything is in place, close up the frame by securing the back panel with nails, screws, or a frame bracket.
Check that everything is tight and secure, making sure there’s no movement within the frame.
Finally, attach hanging hardware such as sawtooth hangers or wire to the back of the frame for easy wall mounting.
Step 7: Hang and Enjoy
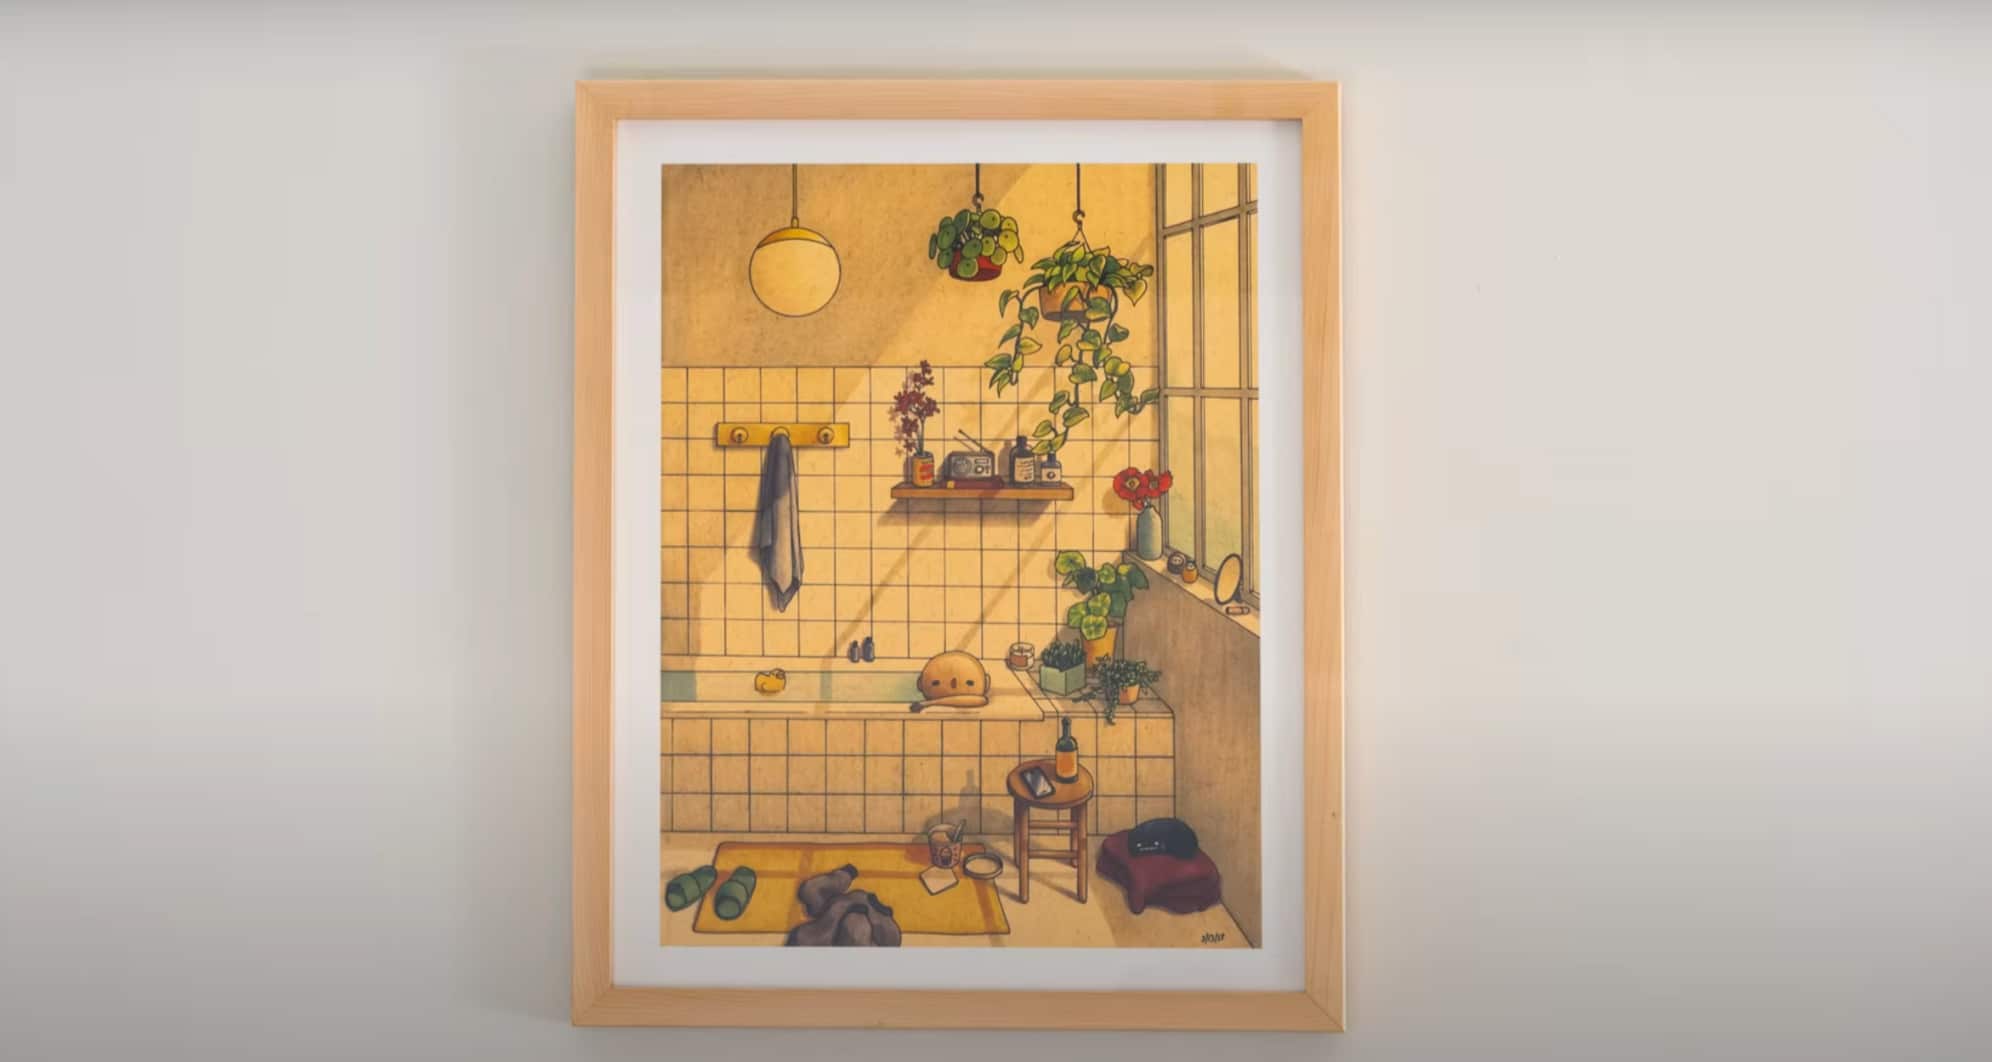
Finally, attach a picture hook or hanging hardware to the back of the frame, and you’re ready to display your artwork!
Hang your framed poster on the wall and step back to admire your work.
By following these steps, you’ll create a custom, personalized frame for your poster that’s not only cost-effective but also adds a unique touch to your space.
Watch the full video tutorial for step-by-step demonstrations:
Mistakes to Avoid When Making a DIY Poster Frame
Creating a DIY poster frame can be rewarding, but common mistakes can lead to frustration and poor results.
Avoiding these pitfalls will ensure your project turns out professional and polished.
- Incorrect Measurements: Double-check poster and frame dimensions before cutting or purchasing materials to ensure proper fit.
- Wrong Frame Material Choice: Select frame materials that complement both the poster’s style and your room’s aesthetic.
- Skipping the Mat when Needed: Use mats to create visual separation from glass and add professional appeal to your frame.
- Poor Frame Assembly: Ensure frame pieces are securely fastened and corners are properly aligned to prevent structural issues.
- Inadequate Poster Securing: Use photo-safe mounting strips or adhesive corners to prevent the artwork from shifting inside the frame.
- Wrong Glass Selection: Choose non-glare glass or acrylic with appropriate thickness to avoid reflections and maintain clarity.
That’s a Wrap
Making your own poster frame is a fun DIY project that lets you show off artwork exactly how you want it.
Follow the steps carefully and avoid common mistakes to create a great-looking frame that fits your space perfectly.
This works well for decorating your bedroom, office, or making a gift for someone special, and taking your time really makes a difference.
You get to pick all the materials, colors, and styles yourself.
So gather your supplies, play some music, and enjoy this hands-on project.
Soon you’ll have a custom frame that adds personality to any room while keeping your favorite poster safe and looking amazing.


