How to Make Your DIY Shed Door?
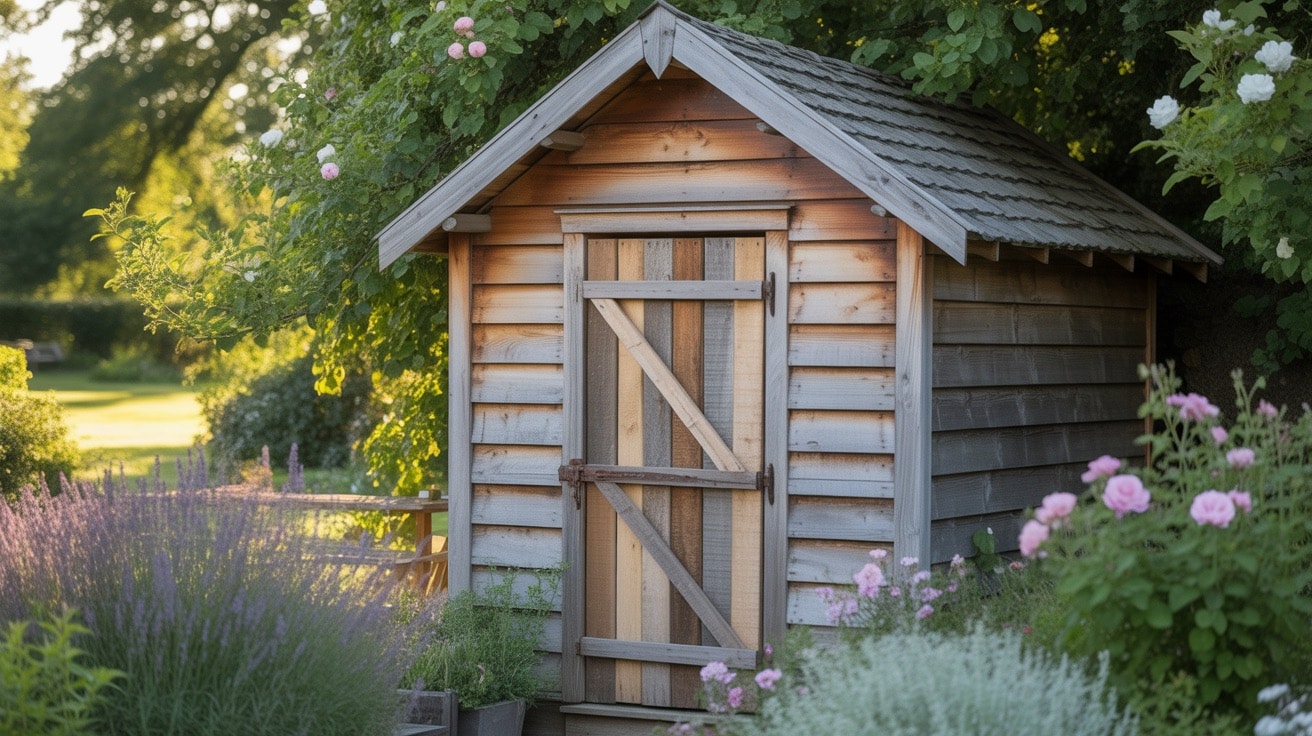
Ever thought about building your own shed door? It’s easier than you might think, and it’s a fun way to add a personal touch to your outdoor space!
Not only will you save money, but you’ll also get the chance to create something that is built just for your shed.
We will break it all down for you, step by step.
If you’re a first-timer or have some DIY experience, we’ll make sure each step is clear and simple.
By the end, you’ll have a sturdy, custom-made door that’s as functional and stylish at the same time.
Tools You’ll Need for Building Your DIY Shed Door
Before you get started on your DIY shed door project, it’s important to gather the right tools. Here’s a list of the basic tools you’ll need to build your shed door:
| Tool | Estimated Budget |
|---|---|
| Hammer | $8 – $20 |
| Screwdriver | $4 – $15 |
| Measuring Tape | $2 – $10 |
| Level | $10 – $40 |
| Saw | $20 – $100 |
| Drill (for handle and hinge install) | $40 – $150 |
| Screws | $3 – $10 |
| Sandpaper (for smoothing edges) | $4 – $10 |
Step-by-Step Guide to Building Your DIY Shed Door
Now that you have all your tools and materials ready, let’s walk through the steps to build your very own shed door.
Step 1: Measure the Door Opening
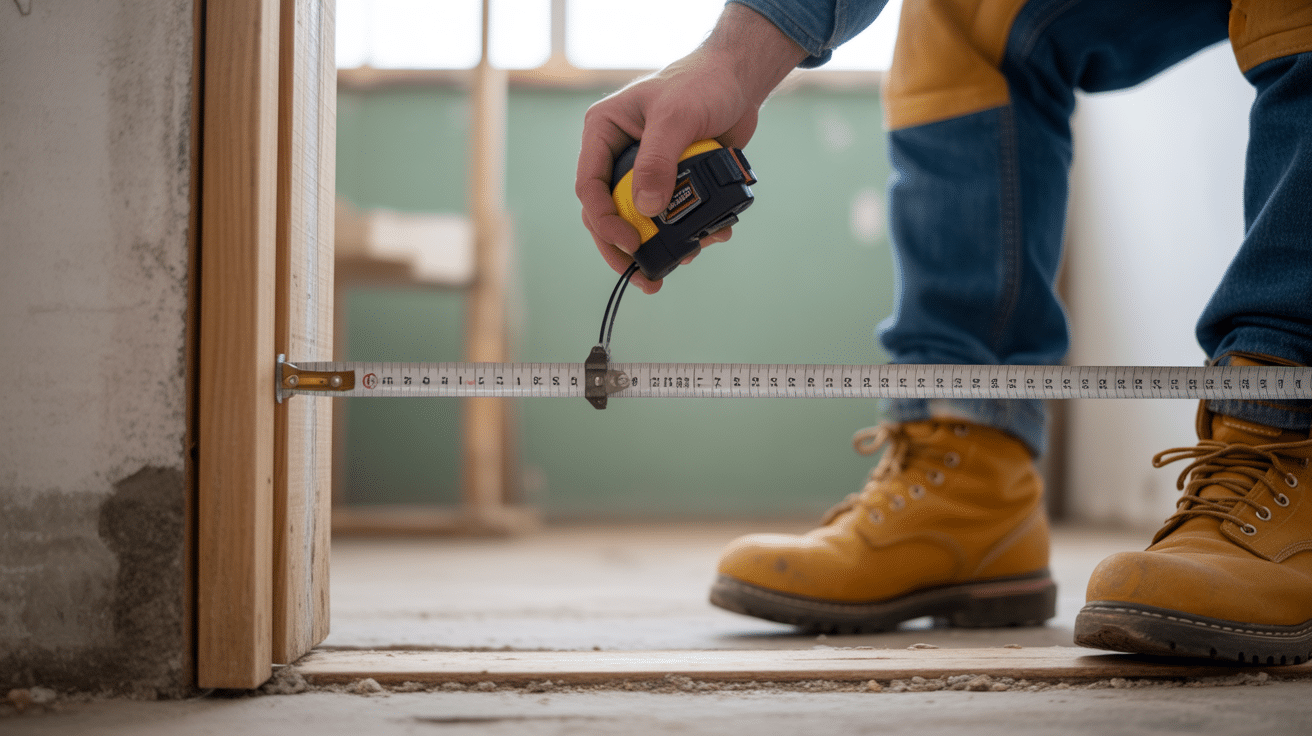
Start by measuring the height and width of the door opening on your shed. For a easy fit, subtract about 1/2 inch from each side of the door’s width and height.
Double-check your measurements to ensure everything lines up correctly before cutting the wood.
Step 2: Cut the Wood
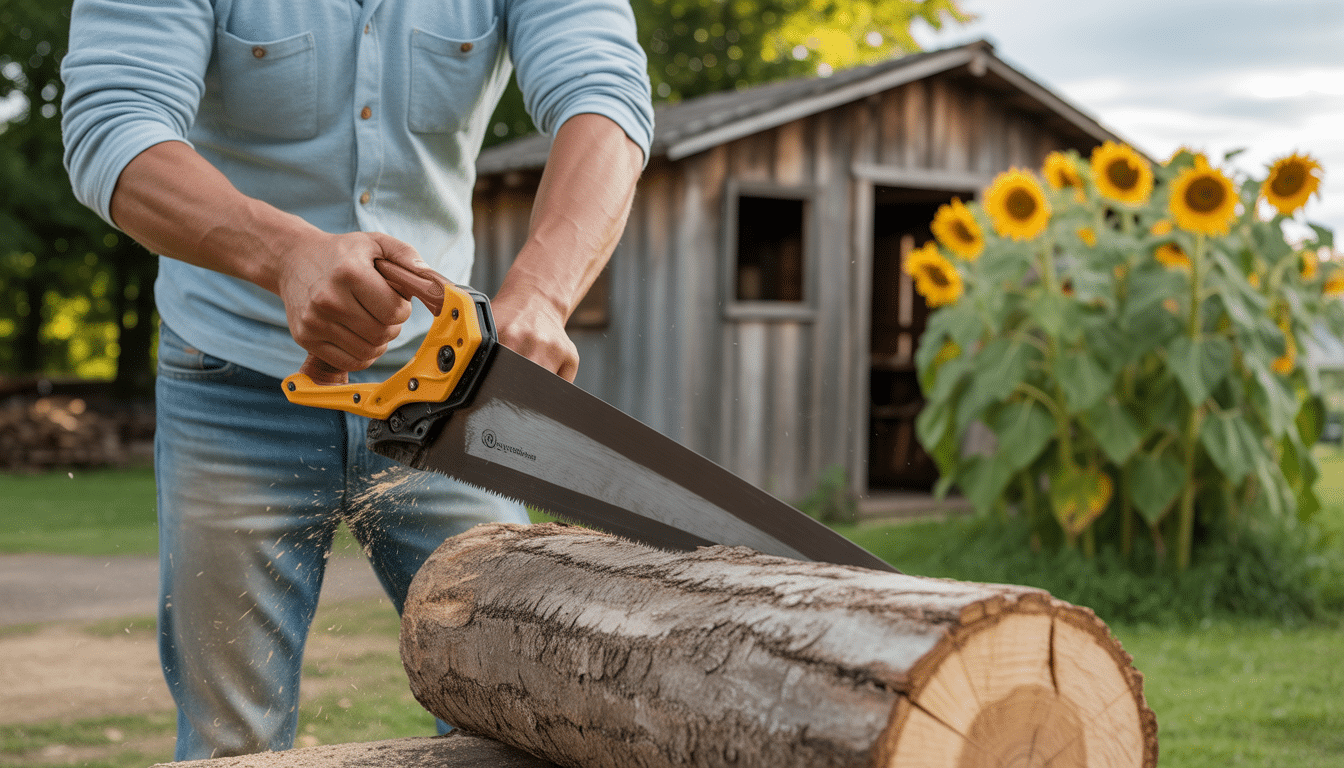
Now that you have your measurements, it’s time to cut the wood to size. Use a saw to carefully cut the door frame and panels. Make sure the cuts are straight and even.
For a clean look, sand the edges after cutting. If you’re building a larger door, you may need extra braces for support.
Step 3: Attach the Hinges
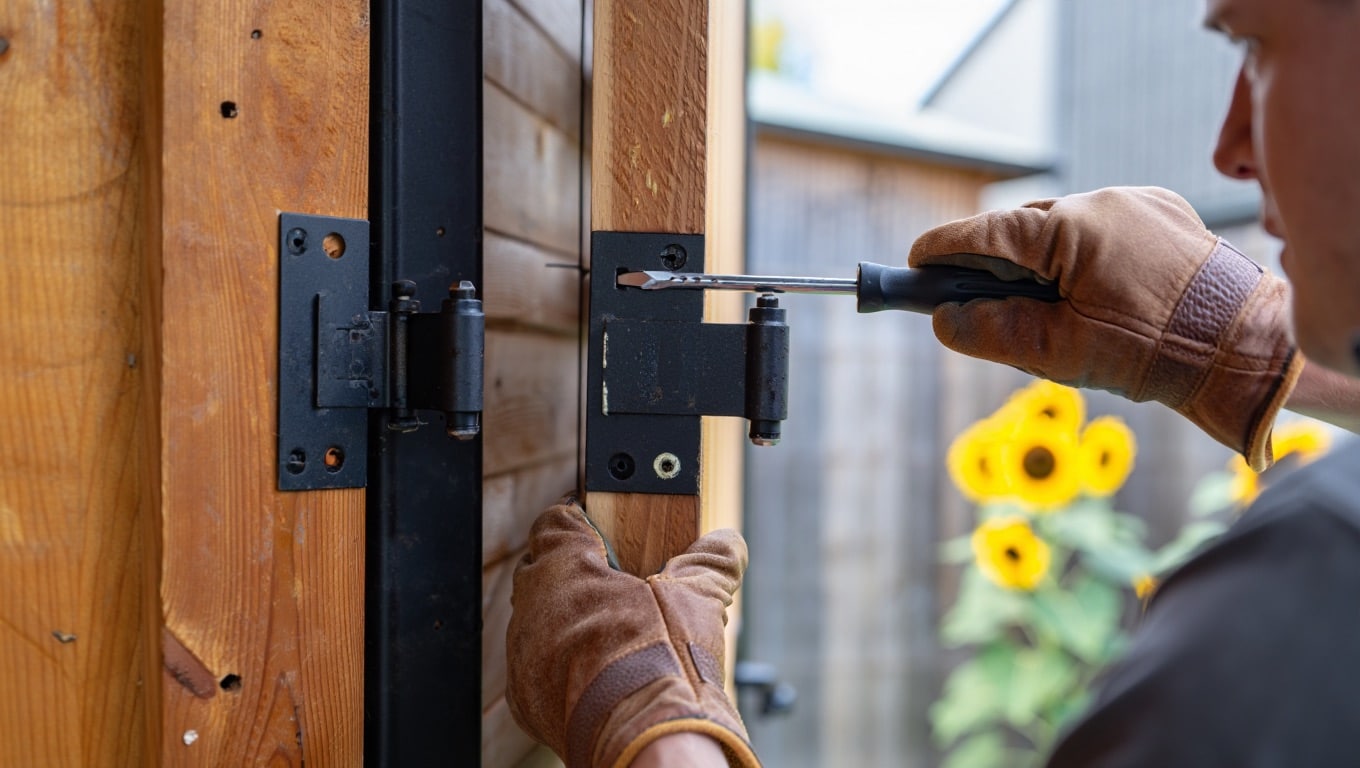
Once your door frame and panels are ready, it’s time to attach the hinges. Place the hinges on the edge of the door, making sure they’re evenly spaced. Use screws to secure them in place.
For extra strength, consider adding at least three hinges (top, middle, and bottom) if the door is large. Make sure the hinges are aligned properly to ensure the door opens smoothly.
Step 4: Install the Door Handle
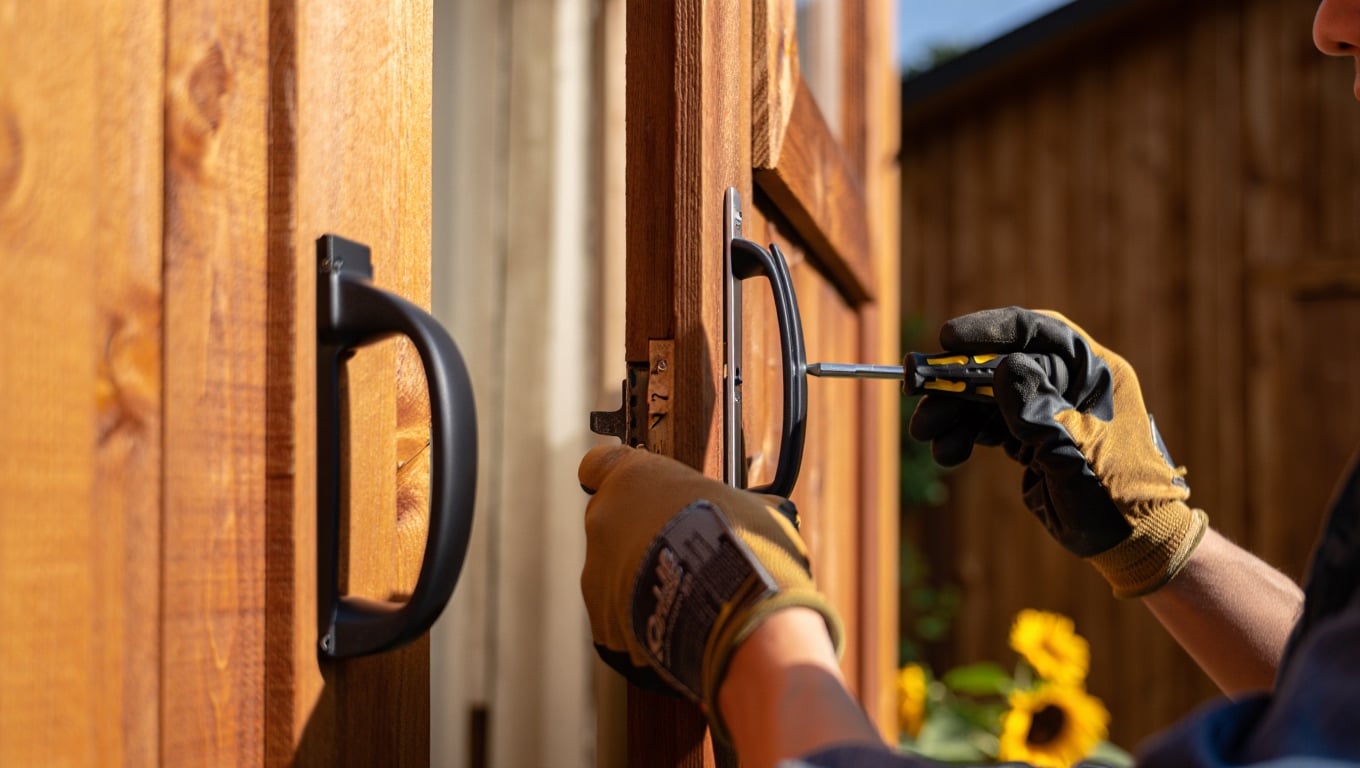
Next, you’ll need a handle or latch to make opening and closing the door easier. Measure where you want the handle to go, usually about waist height.
Mark the spot, drill small pilot holes, and screw the handle into place. If you’re using a latch, make sure it lines up with the frame properly so it can close securely.
Step 5: Mount the Door

Place the door in the opening and align the hinges with the frame. With the help of a friend, hold the door in place while you screw the hinges into the shed frame.
Check that the door swings smoothly and fits snugly in the opening. Make any adjustments to ensure it’s level and operates without sticking.
Tips for Finishing Your DIY Shed Door
Once your shed door is assembled, finishing touches can make a big difference in its look and longevity.
Here are some helpful tips to give your door a polished and protected finish:
- Sanding the Edges: Smooth out any rough or uneven edges for a clean, professional look.
- Applying Protective Sealant or Paint: To protect your door from weather damage, apply a wood sealant or paint. This will help it last longer, especially if it’s exposed to the elements.
How to Fix Common DIY Shed Door Problems?
Sometimes, things don’t go as planned. Don’t worry! Here are some common problems you might face with your DIY shed door and simple solutions to fix them.
| Problem | Solution |
|---|---|
| Door Doesn’t Close | Adjust hinges or remove obstructions. |
| Sagging Door | Add or adjust diagonal braces. |
| Hard to Open | Lubricate hinges and check for tight spots. |
| Door Doesn’t Fit | Recheck measurements and adjust the door or opening. |
| Squeaky Hinges | Apply lubricant or grease to the hinges. |
The Bottom Line
There’s nothing like the satisfaction of completing a DIY project, and your shed door is no exception. It’s not just a door; it’s a symbol of your hard work and creativity.
Not only did you save money, but you also created something practical and personal for your space.
Remember, this is your project; feel free to customize the door to match your style and needs. Add a pop of color, change up the handle, or experiment with different materials.
The process is just as rewarding as the result, so take your time and enjoy every step.
Now, step back and admire your work; your shed is ready to shine!

