How to Paint Oak Cabinets: Show or Hide the Wood Grain
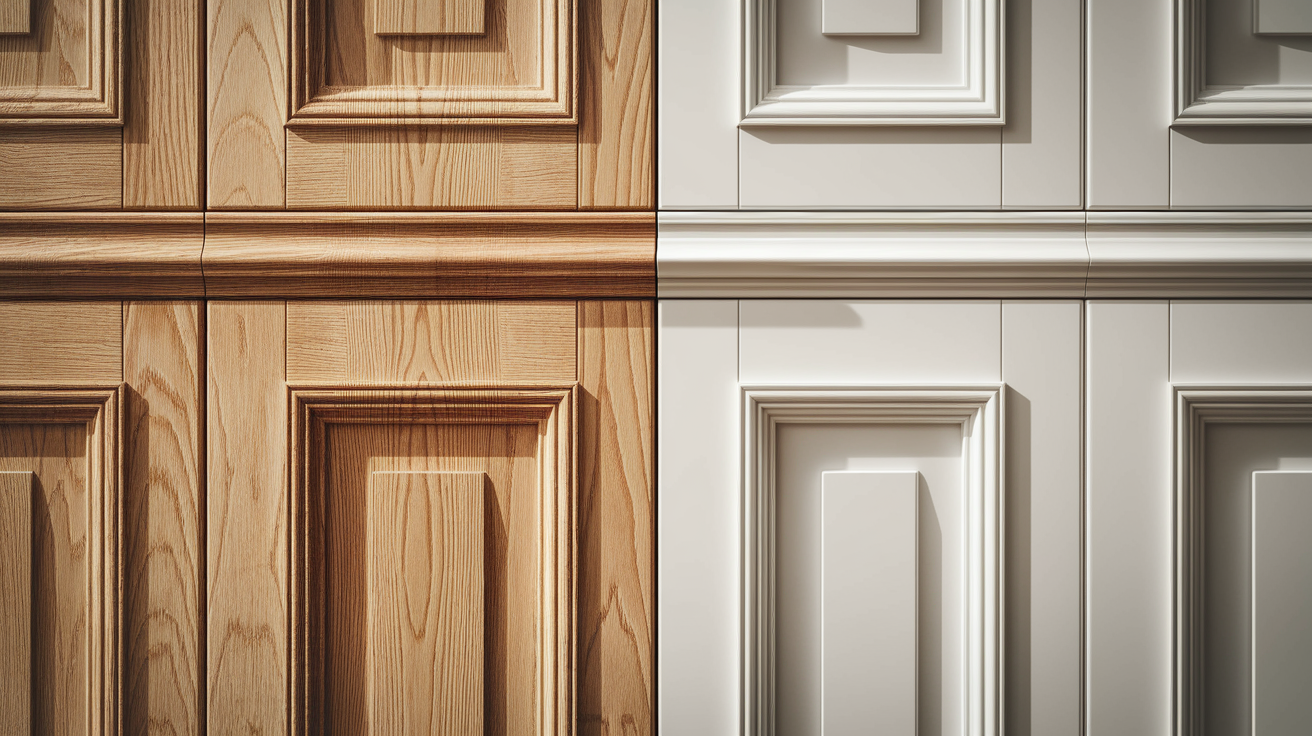
Oak cabinets have distinctive grain patterns that create challenges when painting. Without proper techniques, this texture often shows through the paint, affecting your kitchen’s final appearance.
Addressing an oak’s porous structure requires specific approaches. You can either highlight the natural character or create a completely smooth surface, depending on your style preferences.
This guide covers both methods: showcasing the wood’s texture or hiding it completely. Each approach has different preparation steps, materials, and time requirements that impact your renovation results.
The right choice creates cabinets that look professionally finished and stand the test of time.
The Impact of Oak’s Grain on Cabinet Finishes
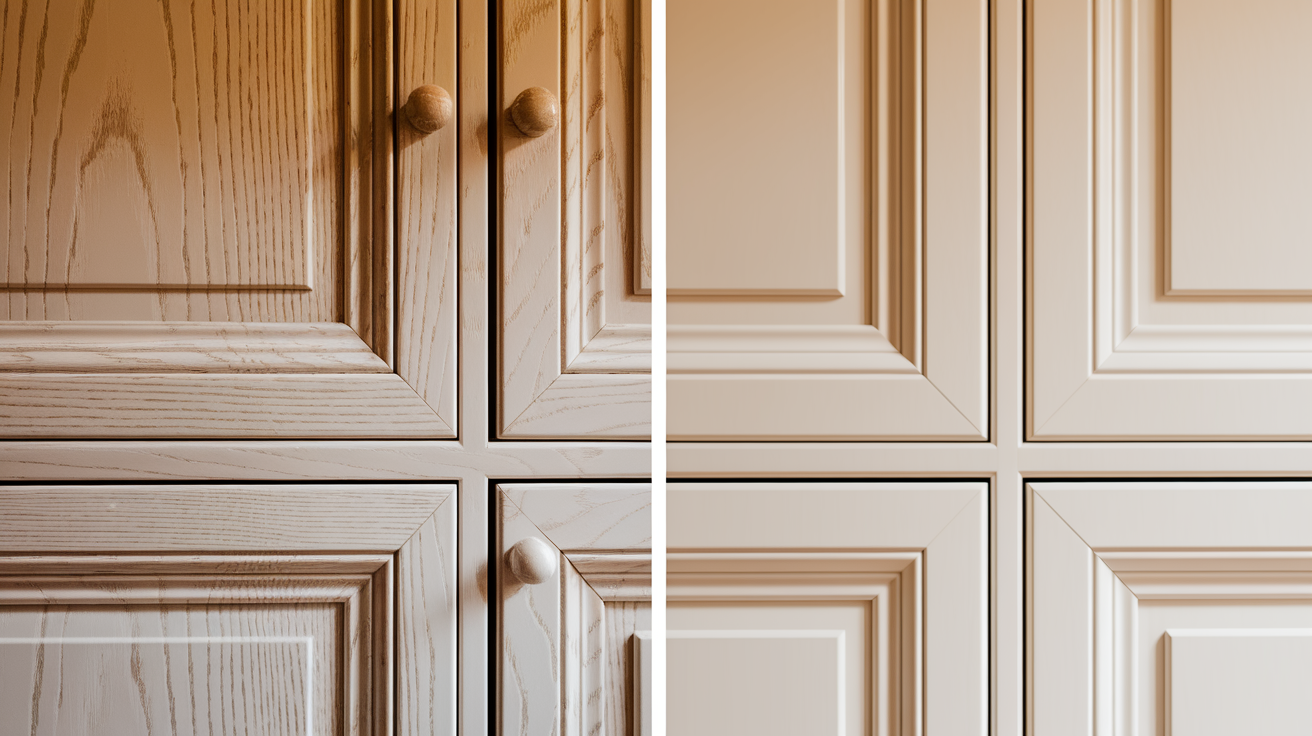
Oak cabinets contain deep, porous grain patterns that make them instantly recognizable. This natural feature affects how paint adheres to their surface.
Without proper preparation, these grain lines show through paint coats. Many products claim to cover oak texture but fail without the correct application methods.
The visible wood pattern can create a textured, classic look that many homeowners appreciate. It brings warmth and character to traditional and country-style kitchens.
For modern spaces, however, this same texture might appear outdated. Contemporary designs often require smooth surfaces that oak’s natural grain works against.
DIY for Painting Oak Cabinets to Hide the Grain
This method provides a smooth, clean finish, ideal for contemporary kitchens, but it requires more time and effort to achieve a polished, flawless look.
Tools and Products Needed
- Quality synthetic brushes
- Oil-based primer
- Cabinet-grade paint (alkyd or acrylic)
- Fine-grit sandpaper (120 and 220)
- Tack cloth
Application Techniques
- Paint in the direction of the grain for a smoother finish
- Apply thin coats instead of thick ones to avoid drips
- Use a foam roller for larger areas, and a brush for detail work
- Allow ample drying time between coats to ensure a flawless finish
1. Fill the Grain of The Cabinets
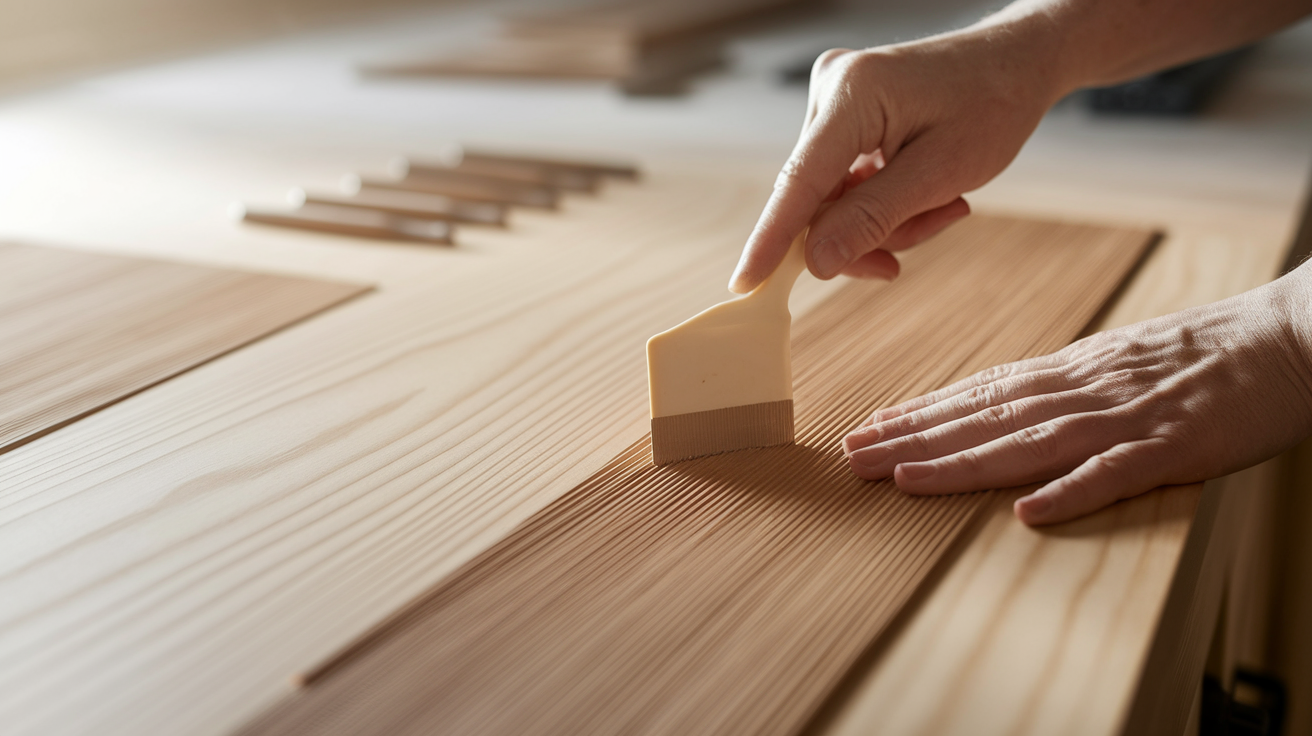
Begin by cleaning cabinet surfaces with a degreaser. Remove all hardware and doors, then apply wood filler across the grain using a plastic putty knife.
Allow the filler to dry completely according to the manufacturer’s instructions. This creates a level foundation and minimizes the natural texture of the Oak before moving to the next step.
2. Sanding the Cabinets
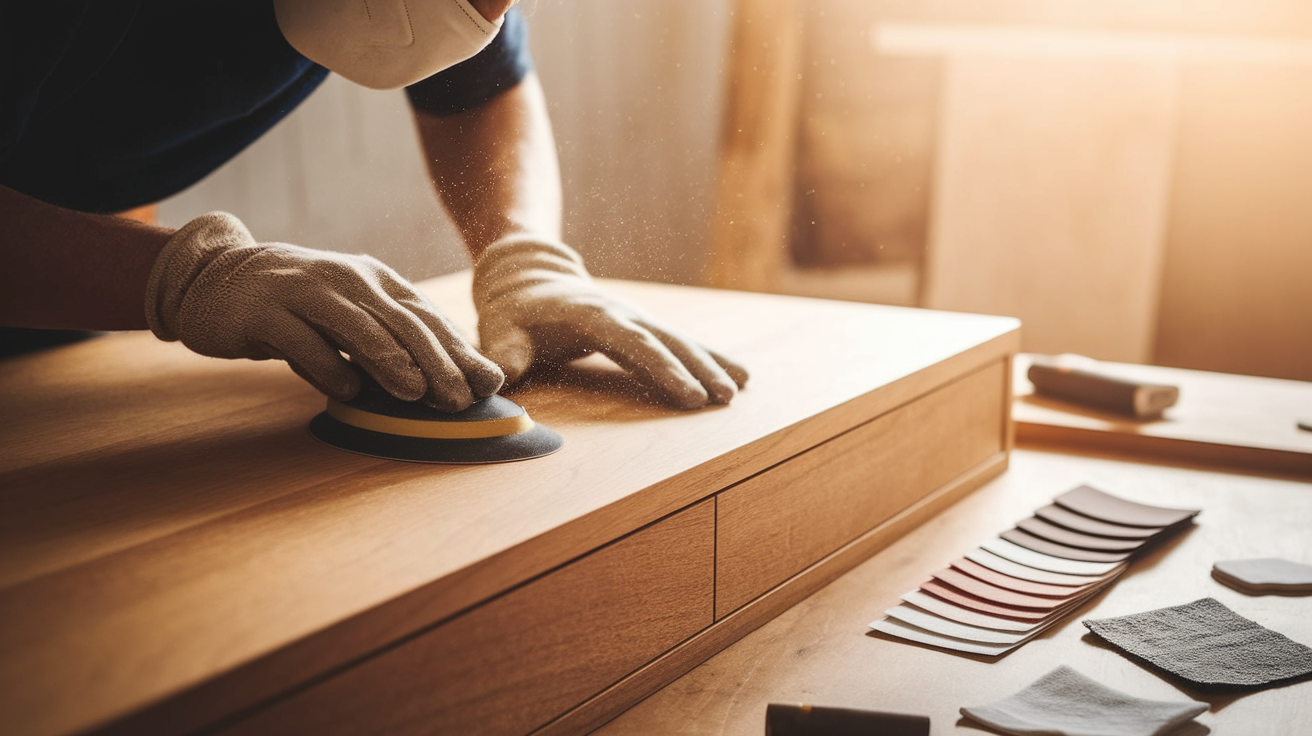
Start with medium-grit sandpaper (120-150) to smooth the dried filler. Work in the direction of the grain to avoid creating marks across the wood surface.
Switch to fine-grit sandpaper (220) for final smoothing. Clean all dust with a tack cloth before proceeding to ensure no particles remain on the surface.
3. Grain Filler for Smoothness
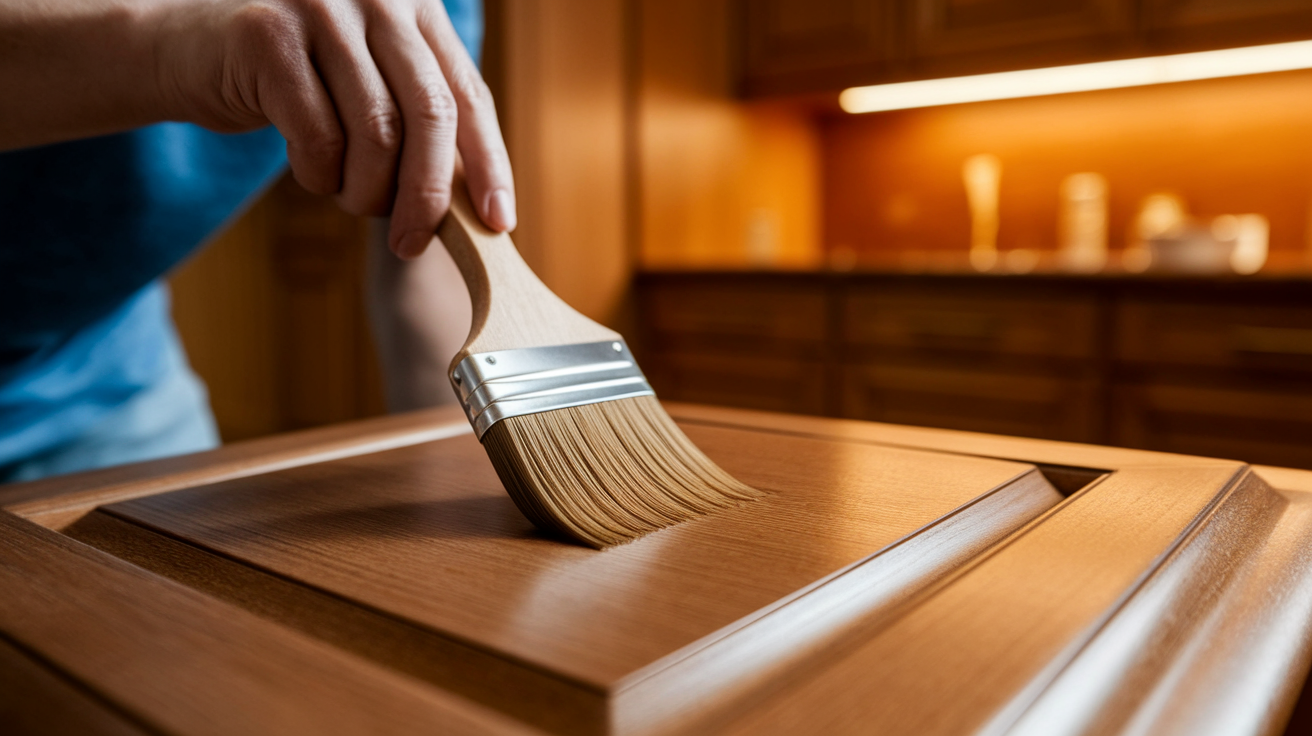
Apply specialized grain filler with a foam brush in thin, even coats. Work it into crevices and pores, applying in circular motions, then wiping excess off perpendicular to the grain.
Let each coat dry fully between applications. Most oak cabinets require 2-3 coats to completely fill the prominent grain patterns for a glass-smooth final result.
4. Spot Filling in the edges
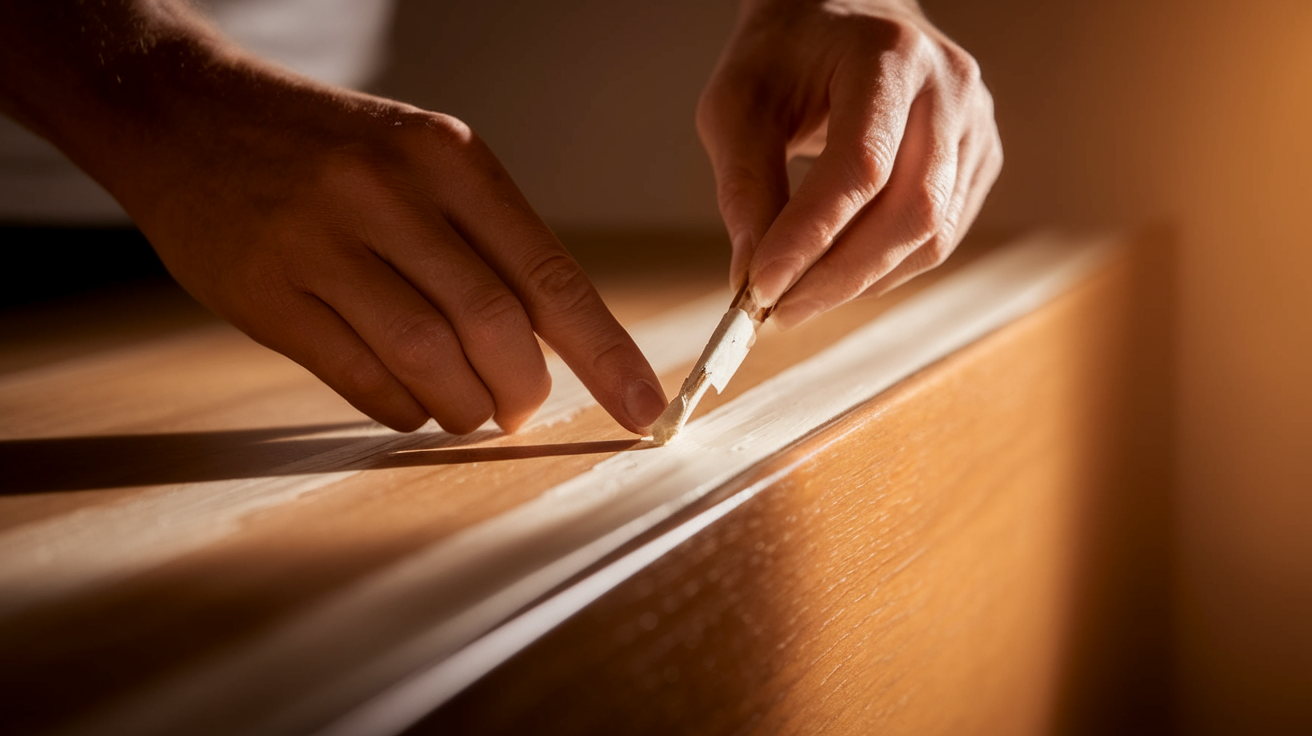
Examine surfaces in good lighting to identify any remaining imperfections. Apply spot filler to these areas using a small putty knife, keeping applications thin and precise.
Sand these spot-filled areas carefully once dry. Focus only on the repaired sections with fine sandpaper to blend them seamlessly with the surrounding surfaces.
5. Priming the Cabinets
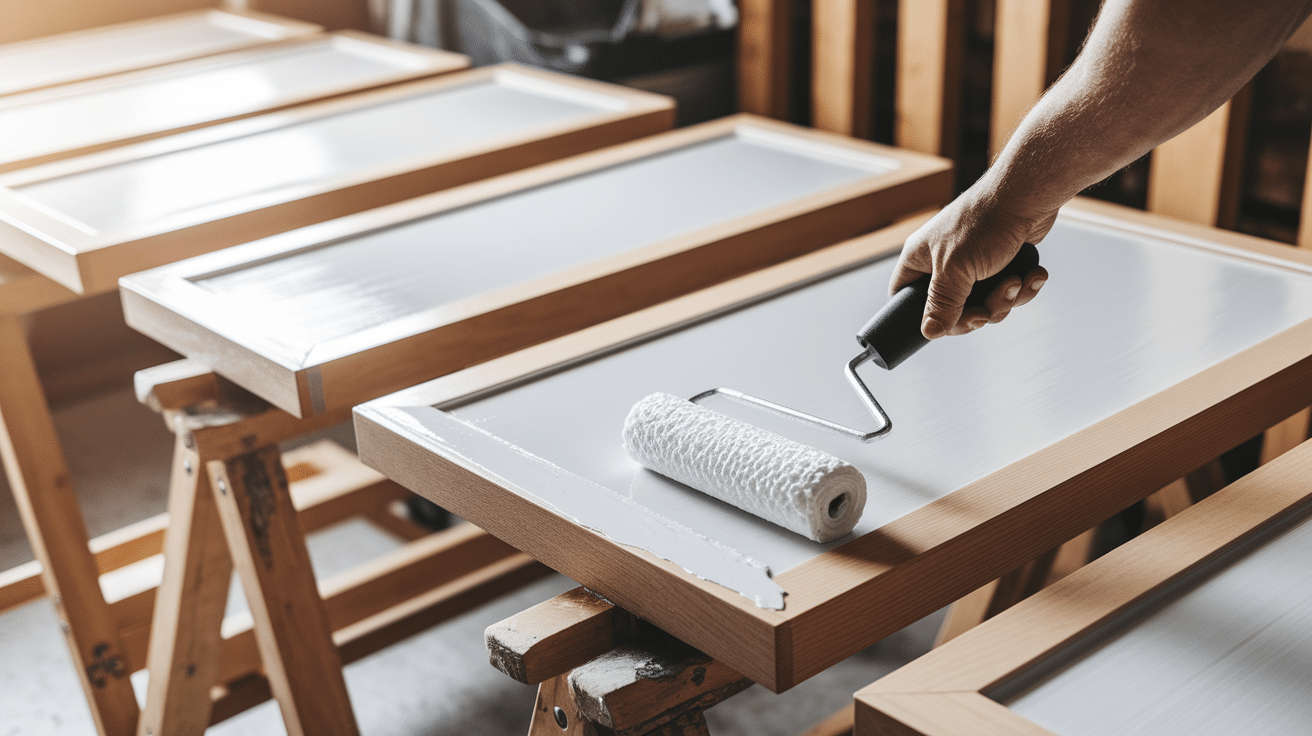
Apply high-quality primer designed for cabinets using a foam roller. Cover all surfaces with thin, even coats, maintaining wet edges to prevent lap marks.
Allow primer to dry completely, then lightly sand with 320-grit sandpaper. Clean with a tack cloth to remove dust before applying a second coat if needed.
6. Lastly, Painting the Cabinets
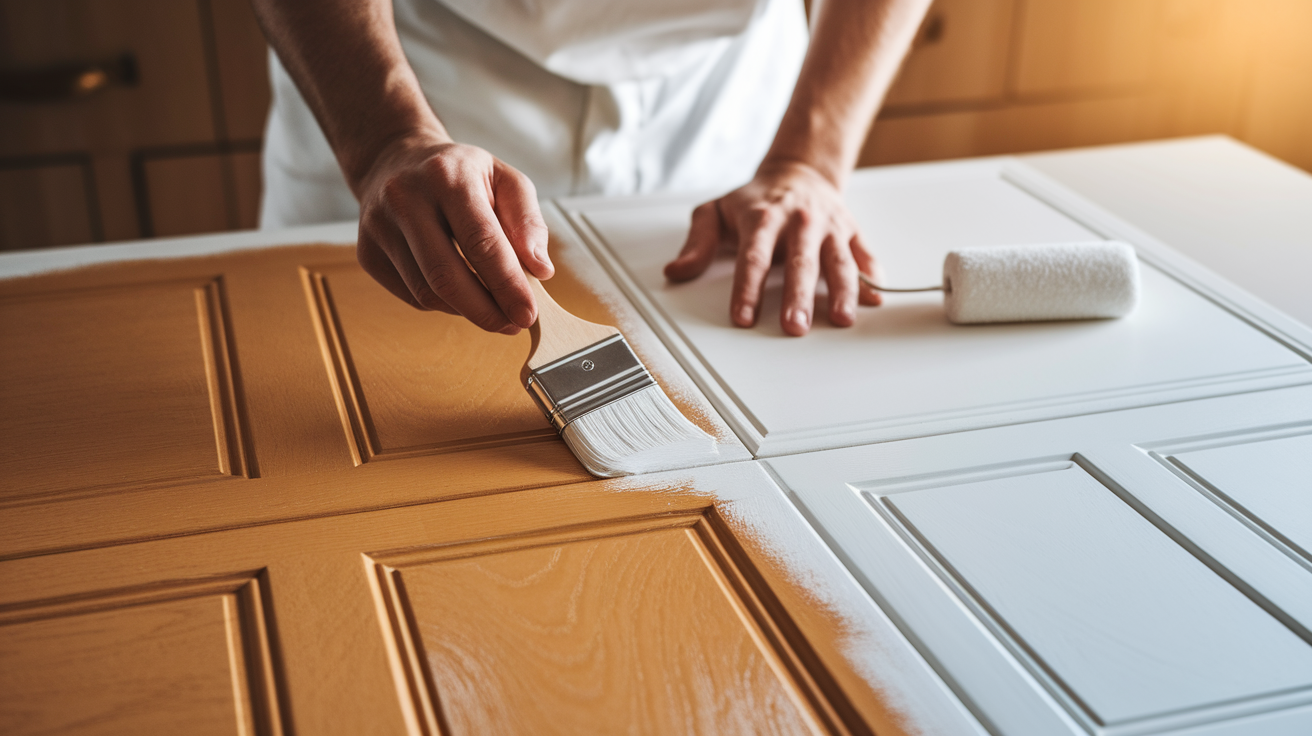
Select cabinet-specific paint in your desired finish. Apply using a combination of high-quality brushes for corners and a foam roller for flat surfaces.
Apply multiple thin coats rather than one thick layer. Wait the recommended drying time between coats and allow the final coat to cure fully before reinstalling hardware.
| Benefits | Drawbacks |
|---|---|
| Clean, modern appearance | Significantly more labor-intensive |
| Easier to clean without texture traps | Higher material costs |
| More consistent color coverage | Longer project timeline |
| Contemporary, polished look | More difficult to achieve DIY success |
| Better hiding of prior stains or damage | May chip or show damage more visibly |
| Smoother surface for hardware installation | Less forgiving of painting mistakes |
Option 2 – Painting With Grains Visible
This approach allows the natural texture of the oak to remain, showcasing its unique character while adding visual interest to the cabinets.
Tools and Products Needed
- Quality synthetic brushes
- Oil-based primer
- Cabinet-grade paint (alkyd or acrylic)
- Fine-grit sandpaper (120 and 220)
- Tack cloth
Application Techniques
- Apply paint in the direction of the grain for a smoother finish
- Use thin coats rather than thick ones to avoid drips
- Consider a foam roller for larger areas and a brush for detail work
- Allow ample drying time between coats to ensure a flawless finish
1. Clean Thoroughly
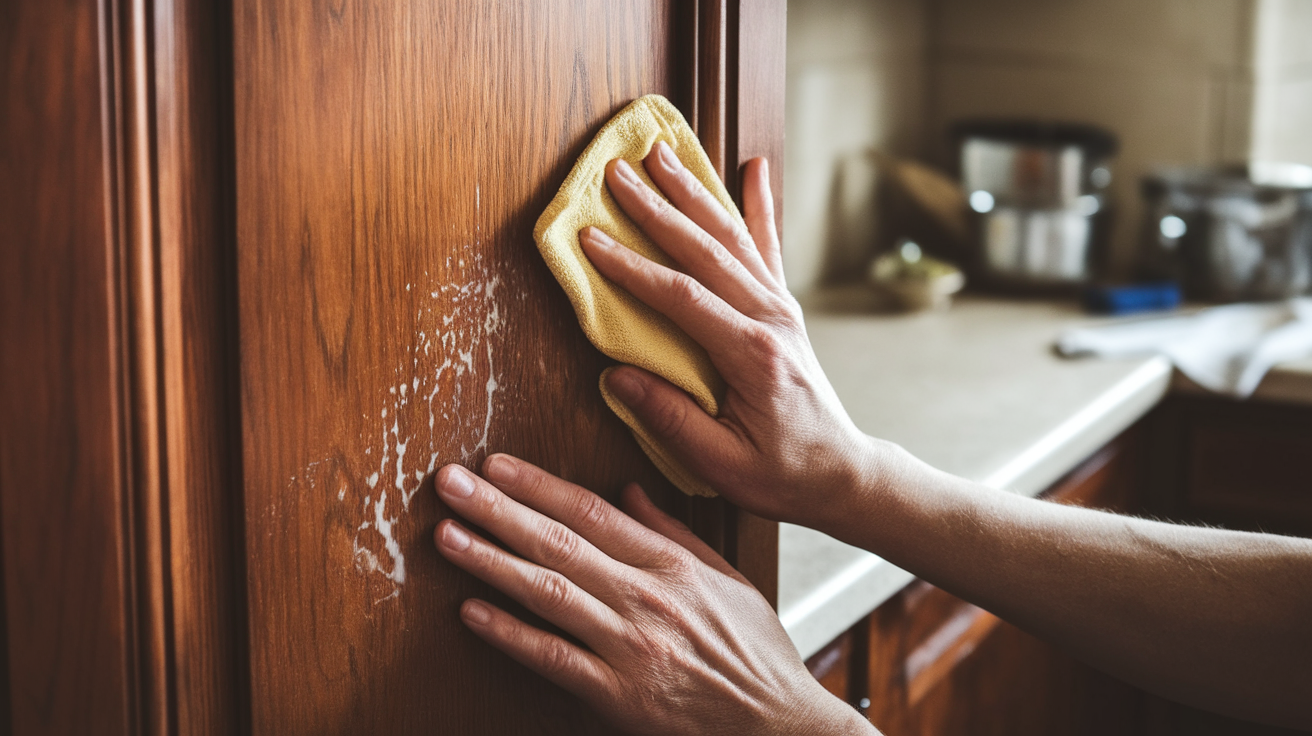
Proper surface preparation begins with removing all grease, food residue, and everyday dirt using TSP or specialized wood cleaners. Work methodically across all areas.
Allow surfaces to dry completely after cleaning. This critical first step creates the foundation for paint adhesion and ensures long-lasting, professional-quality results.
2. Sand Lightly
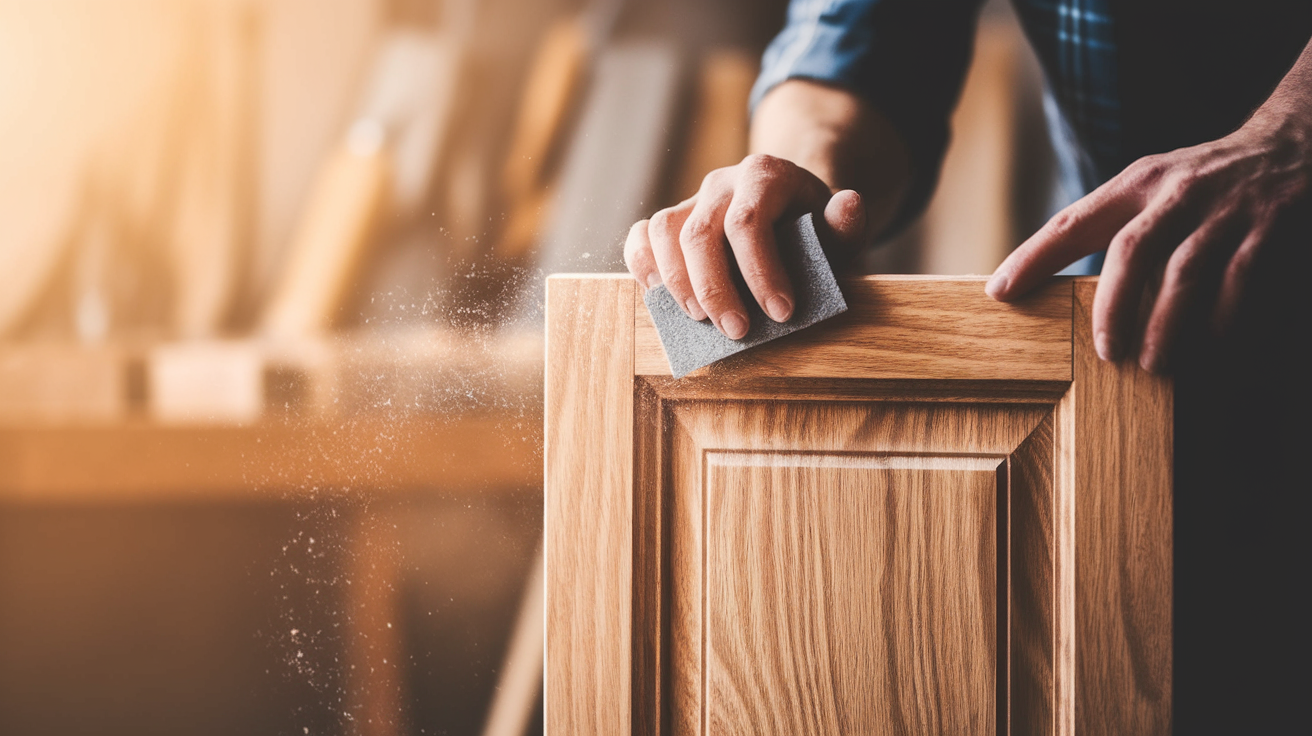
Gentle sanding with 120-grit paper creates a receptive surface for primer without damaging the natural wood grain pattern or texture beneath. Always follow grain direction.
Wipe all surfaces with a tack cloth after sanding to remove fine dust particles. Skip this crucial step and risk permanent bumps in your final painted finish.
3. Apply High Quality Primer
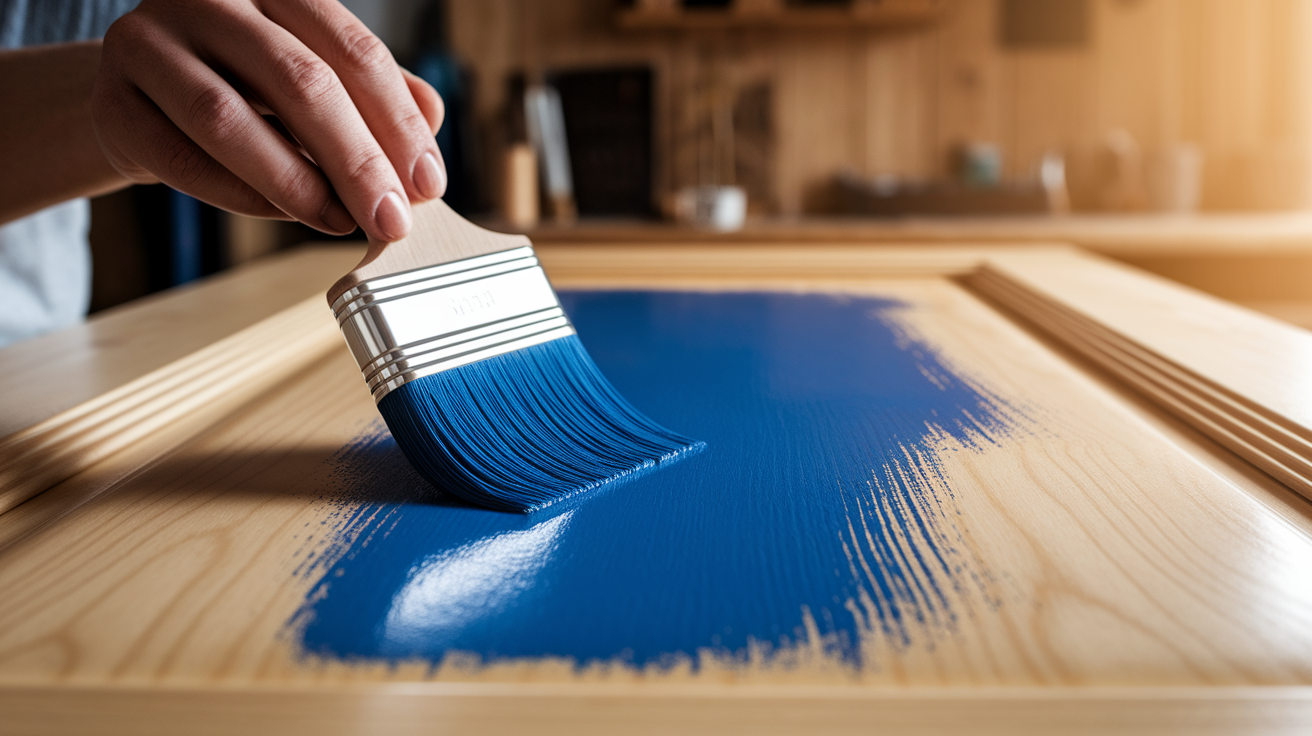
Oil-based primers penetrate wood fibers effectively, creating a strong bond between raw wood and your topcoat. Apply using steady, even brush strokes following grain patterns.
Multiple thin coats yield superior results compared to one thick coat. Allow recommended drying time between applications, typically 24 hours for complete curing.
4. Apply Paint
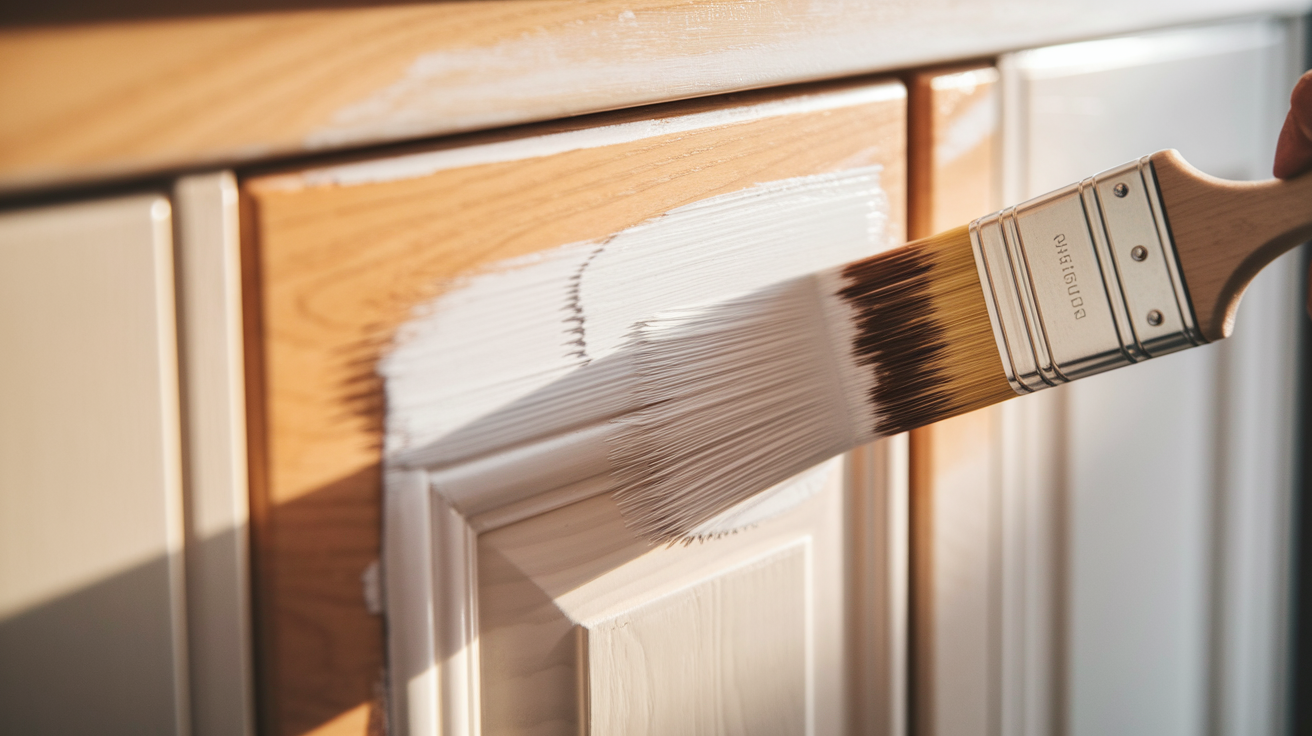
Quality cabinet paint provides durability against daily wear. Apply using premium brushes designed for smooth finishes, maintaining consistent pressure throughout each stroke.
Allow appropriate drying time between coats as indicated on the paint manufacturer’s instructions. Two to three thin applications typically provide optimal coverage and durability.
| Benefits | Drawbacks |
|---|---|
| Maintains wood character and texture | Cleaning is more difficult due to the texture |
| Creates subtle visual interest | May appear less polished or refined |
| Requires less preparation work | Paint may wear unevenly along grain lines |
| More forgiving of minor flaws | Requires more paint touch-ups over time |
| Preserves the natural feel of wood | May not suit contemporary design styles |
| Less time-consuming process | Can trap dust and dirt in grain patterns |
Common Painting Problems
Identifying and fixing cabinet painting issues early saves time and frustration. These five problems appear most frequently when painting oak cabinets:
- Brush marks
- Drips or runs
- Poor coverage
- Bleed-through
- Uneven sheen
Creating a finish that looks professionally done requires attention to details that many DIYers overlook. The following techniques will significantly improve your results:
| Professional Finish Tip | Description |
|---|---|
| Allow Full Drying Time | Let each coat dry completely as per the manufacturer’s instructions, not just until it feels dry. |
| Maintain Proper Ventilation and Temperature | Ensure proper ventilation and maintain the recommended room temperature throughout the painting process. |
| Consider Spraying | Spraying provides the smoothest finish, eliminating brush marks and roller texture. |
| Sand Between Coats | Sand lightly with fine-grit sandpaper between coats to remove dust nibs and improve adhesion. |
| Apply Thin Final Coats | Apply multiple thin coats rather than one thick coat to prevent bubbling and ensure proper curing. |
Conclusion
Choosing the right approach for your oak cabinets can significantly alter the overall feel of your kitchen. Consider your style preferences alongside the time you can commit to this project.
Success with either method depends on thorough preparation and quality materials. Rushing through steps creates disappointing results that won’t withstand daily kitchen activities.
Remember that paint alone can’t hide grain; only proper filling techniques will create truly smooth surfaces. The extra effort pays off in a more refined finish.
Your painted oak cabinets can last for years with the correct application methods. This investment in your home brings both personal satisfaction and potential value increase.


