How to Remove Grout Haze from Porcelain Tile?

Have you noticed a cloudy film on your new tile floor? That’s grout haze, the sneaky residue left behind after a tiling job.
It is not uncommon to notice these thin, cloudy films dulling the porcelain’s surface after a tile installation.
Even though it might seem like a minor issue at first glance, grout haze can harden over time and become much more difficult to remove if left untreated.
Many people feel stuck with this problem, unsure how to fix it without ruining their new tiles.
But don’t worry, we’ve got you!
We will cover everything needed to understand grout haze, why it appears, and, most importantly, how to get rid of it effectively.
What is Grout Haze and Why Does It Form on Porcelain Tile?
Grout haze is the cloudy, dull film that appears on tiles after the grouting process. It’s a common issue with porcelain surfaces.
Unlike dust or dirt, grout haze is made up of fine cement particles left behind when excess grout isn’t fully wiped away during installation.
As the grout dries, these particles settle on the smooth porcelain surface, creating a hazy finish that steals the tiles’ natural shine.
Porcelain tiles, known for their sleek and non-porous finish, tend to hold onto this residue more visibly than other materials.
Sometimes, using too much water while cleaning or wiping the tiles too early or too late can spread the grout even further instead of removing it.
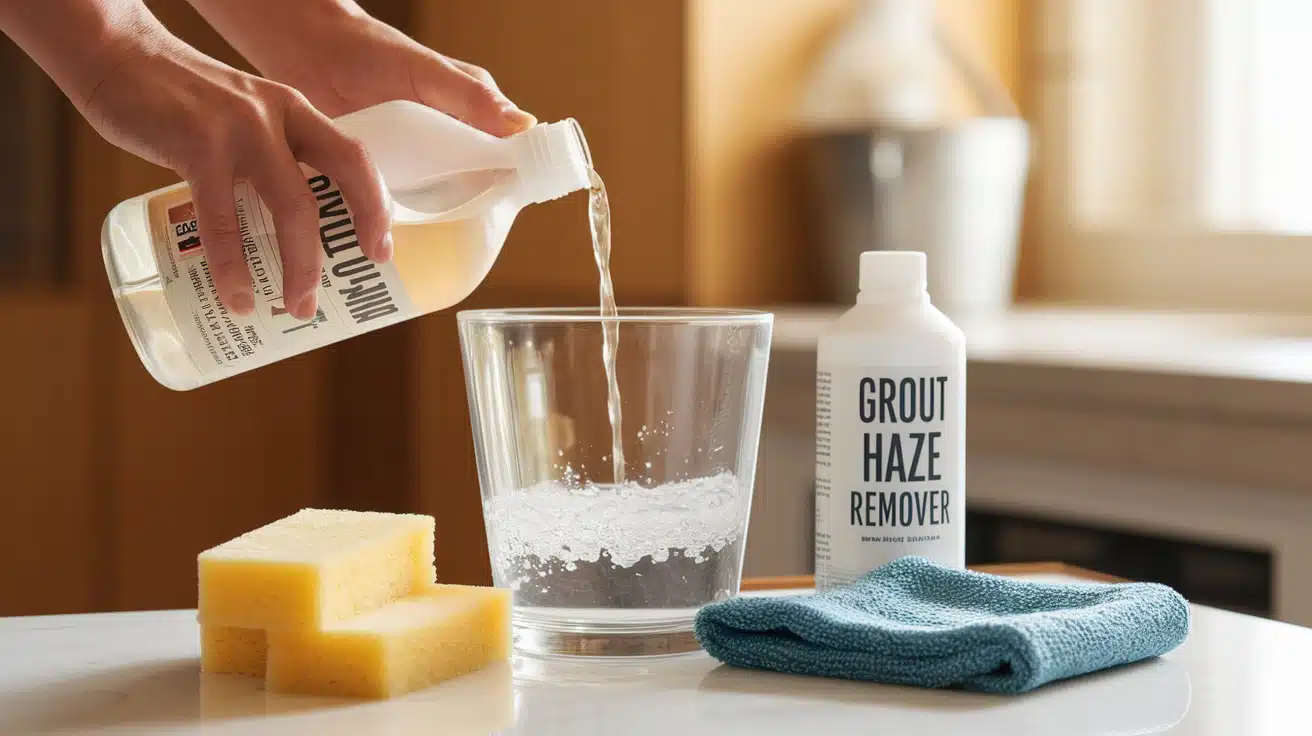
Tools and Materials Required to Remove Grout Haze
Before jumping into the cleaning process, it’s smart to gather the right tools. Here’s a handy checklist:
- Microfiber cloths or soft sponges
- A bucket of warm water
- pH-neutral cleaner or grout haze remover
- Rubber gloves
- Non-abrasive scrub pad
- Vinegar solution (if recommended for the tile type)
- Protective eyewear for safety
Step-by-Step Guide to Remove Grout Haze
Before getting into cleaning, it’s important to understand that removing grout haze isn’t just about scrubbing harder but about using the right method and timing.
Here’s a step-by-step process to follow for the best results.
Step 1: Start With a Dry Dusting

The first step in removing grout haze is to simply dust the tile surface.
While it may seem basic, this step clears away loose dust and debris that can otherwise mix with cleaning solutions later, making the job messier.
Using a dry microfiber cloth or a soft, dry mop is ideal, as they gently lift the surface particles without scratching the porcelain.
By thoroughly dusting first, the surface becomes prepped for the cleaner to work more effectively.
Step 2: Prepare the Cleaning Solution
Once the dust is gone, mix a cleaning solution that will remove haze without harming the tile.
A pH-neutral cleaner is best for porcelain, while commercial haze removers also work if used according to instructions.
Prepare a bucket of warm water for rinsing later so the process flows smoothly.
The right solution helps loosen haze, making it easier to scrub away and ensuring your tiles are ready for the next step.
Step 3: Apply the Cleaning Solution Evenly

Use a soft sponge or mop to apply the cleaning solution across all hazy tile areas, making sure no spots are missed.
Let the cleaner sit for a few minutes to loosen the haze, but avoid letting it dry completely. Even coverage allows the solution to work on all areas equally.
This soaking step makes scrubbing easier and more effective, so the haze comes off without needing too much effort later.
Step 4: Scrub Gently With the Right Tools

After letting the cleaner sit, use a non-abrasive pad or sponge to gently scrub small sections at a time.
Move in light circular motions to lift the softened haze without damaging the surface. Avoid pressing too hard, which could scratch tiles or spread residue.
The key is steady but gentle scrubbing so the haze lifts completely.
Once each section is cleaner, it will be ready for rinsing to fully reveal the shiny surface beneath.
Step 5: Rinse Thoroughly and Dry
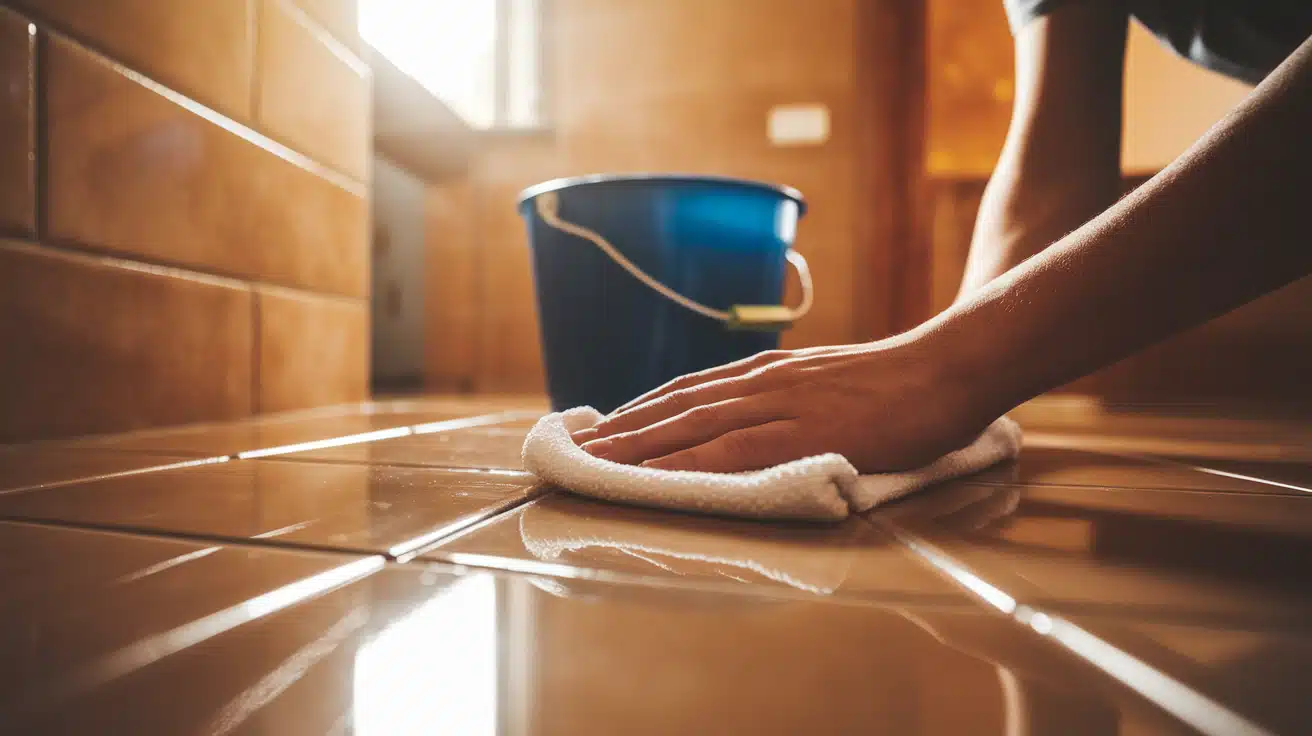
Rinse tiles with clean, warm water and a fresh sponge or cloth to remove haze and leftover cleaner.
Change rinse water often to prevent residue from spreading back.
After rinsing, dry the tiles with a soft microfiber cloth to stop water spots or streaks from forming. Skipping this step can hide the clean finish you worked for.
Once dry, check under bright light for any areas needing a quick second cleaning before you finish.
Tips for Maintaining Spotless Porcelain Tiles
Here are some simple but effective tips to help preserve that spotless finish:
- Sweep or vacuum tiles regularly to prevent dust and debris from scratching the surface or settling into grout lines.
- For routine cleaning, use a damp mop with a mild, pH-neutral cleaner to maintain the natural shine without leaving residue.
- Avoid harsh chemicals or abrasive tools that can damage the tile surface and dull its appearance over time.
- Wipe up spills promptly to prevent staining and keep the grout lines looking clean and fresh.
- Place mats or rugs at entrances to reduce the amount of dirt and grit brought onto tile floors.
- Periodically inspect grout lines and reseal if needed to protect against moisture and grime buildup.
When to Call a Professional?

Even with the best cleaning and maintenance efforts, some grout haze can still be stubborn.
When regular scrubbing and gentle cleaners just aren’t enough, it might be time to call a professional.
Experts have the right tools and specialized products to safely remove even the toughest residue without risking damage to porcelain tiles.
This is especially helpful for large areas or older haze that has hardened over time. Plus, professionals can give advice on long-term care to prevent future buildup.
Sometimes, a little expert help saves time and ensures tiles stay beautifully spotless for years to come.
Comparing Costs: DIY vs Professional Cleaning
Before deciding between tackling grout haze removal on your own or hiring a professional, it helps to understand the cost difference.
DIY methods are generally budget-friendly, but they require time, effort, and the right materials. On the other hand, professionals bring convenience and expertise but at a higher price.
| Aspect | DIY Grout Haze Removal | Professional Grout Haze Removal |
|---|---|---|
|
Estimated Cost |
$20 to $50 (cleaners, tools, supplies) | $150 to $500+ (depends on area and service) |
|
Labor Cost |
No additional labor cost | Maybe included in the service fee |
|
Time Investment |
2 to 4 hours (depending on tile area) | 1 to 2 hours (faster with professional tools) |
|
Effectiveness |
Effective for light to moderate haze | Highly effective, even for stubborn haze |
| Risk of Damage | Moderate if wrong tools or methods are used | Low, as professionals use specialized methods |
|
Long-Term Value |
Affordable but may require repeat effort | Higher upfront cost but lasting results |
The Bottom Line
Removing grout haze from porcelain tile takes time, but with the right technique & tools, you can keep the tile looking clean and bright.
When you follow each step with care, the porcelain surface stays safe while the haze lifts away completely, leaving a smooth and spotless shine.
Whether you choose to do it yourself or hire a professional, the goal is to protect the tile’s beauty for years to come with simple, regular cleaning habits that prevent haze from building up again.
Have you tried removing grout haze from porcelain tile yourself or hired a pro? Tell us about your experience in the comments below.


