How to Seal Butcher Block Counters with Polyurethane

A kitchen feels alive when it has butcher block counters, full of warmth and character. But without proper protection, that charm can fade under the wear and tear of daily cooking experiments.
Polyurethane is the secret weapon for keeping butcher block counters in top condition. When applied correctly, it creates a smooth, long-lasting finish that keeps counters looking fresh and clean.
Before getting into the sealing process, it helps to understand what makes polyurethane such a great choice for butcher block counters.
This blog covers a step-by-step process for sealing butcher block counters and maintenance tips for making your counters last.
What is Polyurethane
Polyurethane is a clear, durable finish that works like a protective shield for wood surfaces. Made from a combination of resins and oils, it dries to a hard, water-resistant layer.
This tough coating helps defend butcher block counters from everyday spills, stains, and scratches. It also beautifully improves the wood’s natural grain and color, giving the surface a rich, polished look.
Available in both oil-based and water-based formulas, polyurethane offers flexibility based on the desired finish and drying time. No wonder it’s a go-to choice for long-lasting wood protection.
Tools and Materials Required
| Tools | Materials |
|---|---|
| Orbital sander | Polyurethane (oil- or water-based) |
| Sanding pads (120, 220 grit) | Tack cloth or lint-free cloth |
| Foam brush | Mineral spirits (for cleanup) |
| High-quality bristle brush | Painter’s tape |
| Clean rags | Drop cloth or plastic sheeting |
| Vacuum with hose attachment | Stir sticks |
| Safety goggles | Nitrile gloves |
| Dust mask or respirator |
Approximate Total Cost: Expect to spend around $50–$100, depending on the quality of tools and polyurethane chosen. Many of these tools may already be in the toolbox, which can help cut down the cost.
Steps to Prep Your Butcher Block Counters
Before applying any sealant, proper preparation is the secret to getting that smooth, long-lasting finish. Think of this step like setting the stage for success. The better the prep, the better the final result.
Step 1: Clear and Clean the Countertops
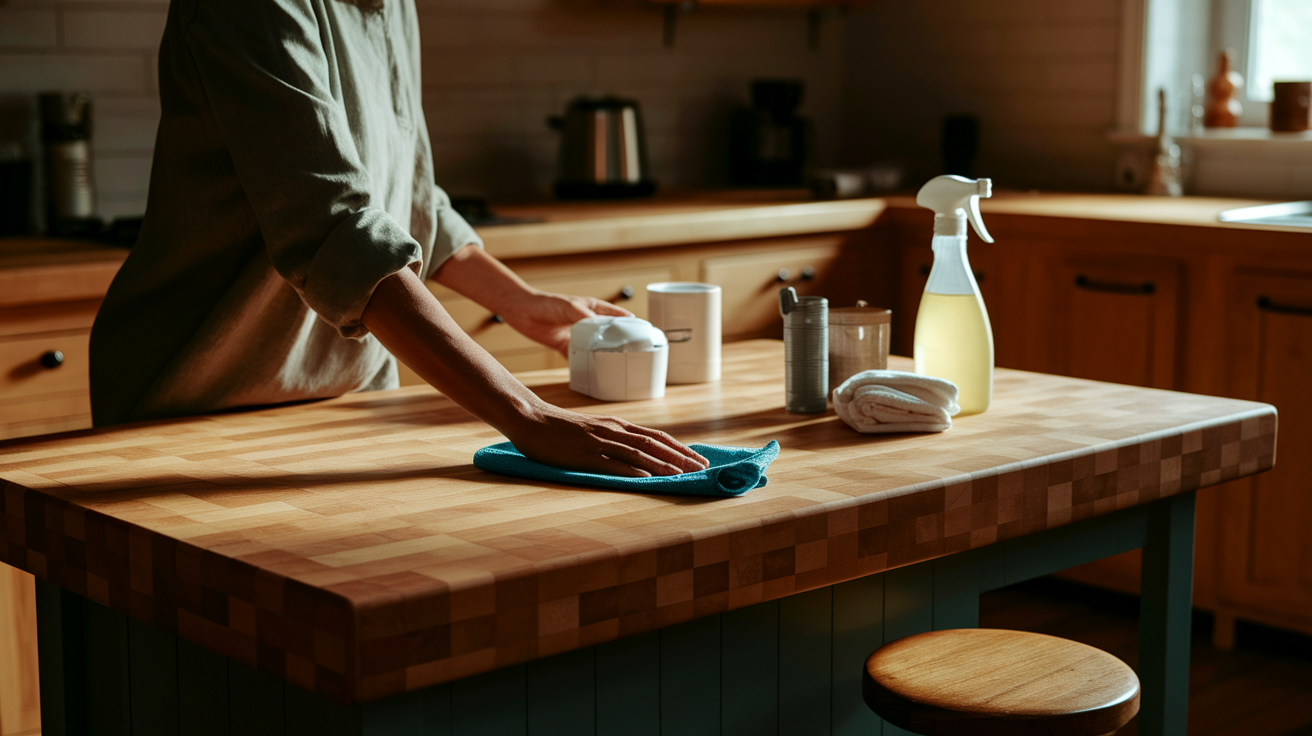
Start by giving the countertops a fresh start. A clean surface helps the sealant stick properly.
- Remove everything from the counters, including appliances, décor, and any loose debris.
- Wipe down the surface thoroughly using a damp cloth to clear away dust and dirt.
- Use a gentle cleaner if needed, but make sure no residue is left behind.
- Allow the surface to dry completely before moving on to the next step.
Step 2: Sand the Surface Smooth
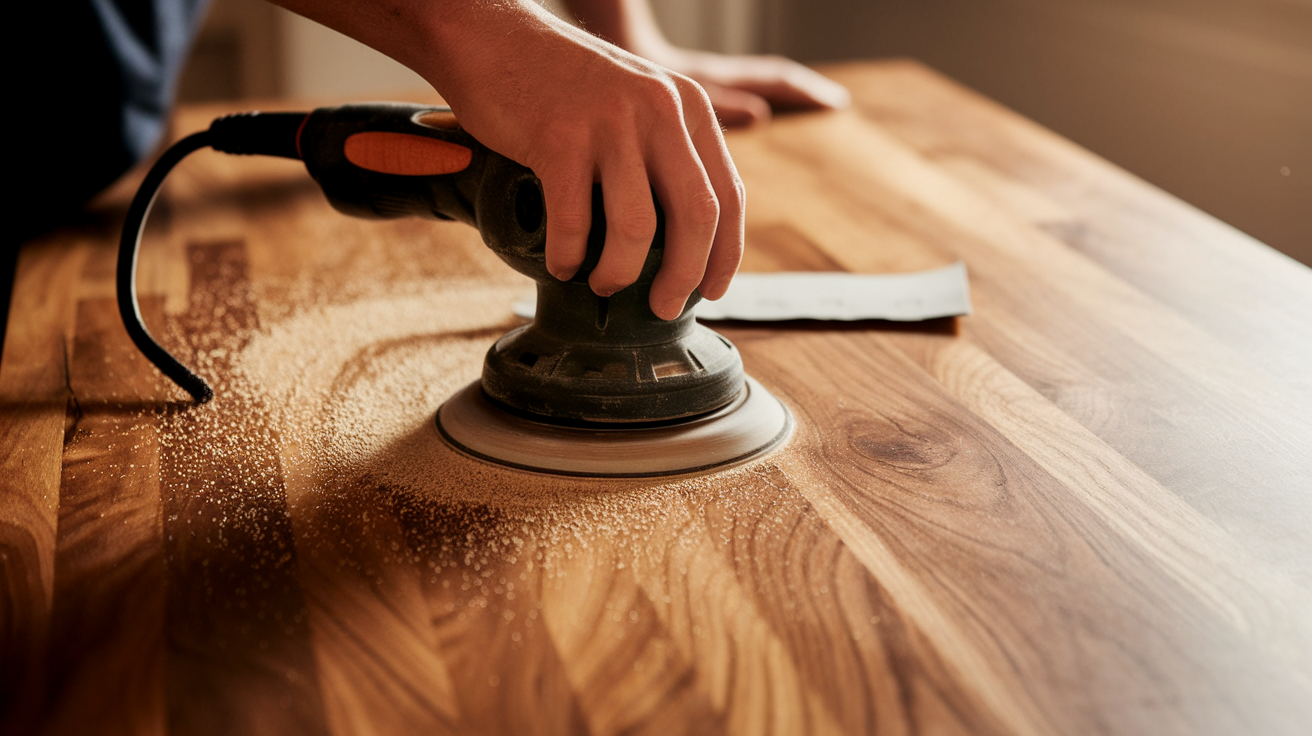
Sanding helps open up the wood grain so the polyurethane can soak in properly.
- Begin with medium-grit sandpaper, like 120-grit, to smooth out rough areas.
- Sand in the direction of the wood grain to avoid scratches and uneven spots.
- Wipe away dust between passes to keep track of progress and ensure an even surface.
- Finish with a finer grit, such as 220-grit, for a silky-smooth feel.
Step 3: Clean Up Dust and Debris
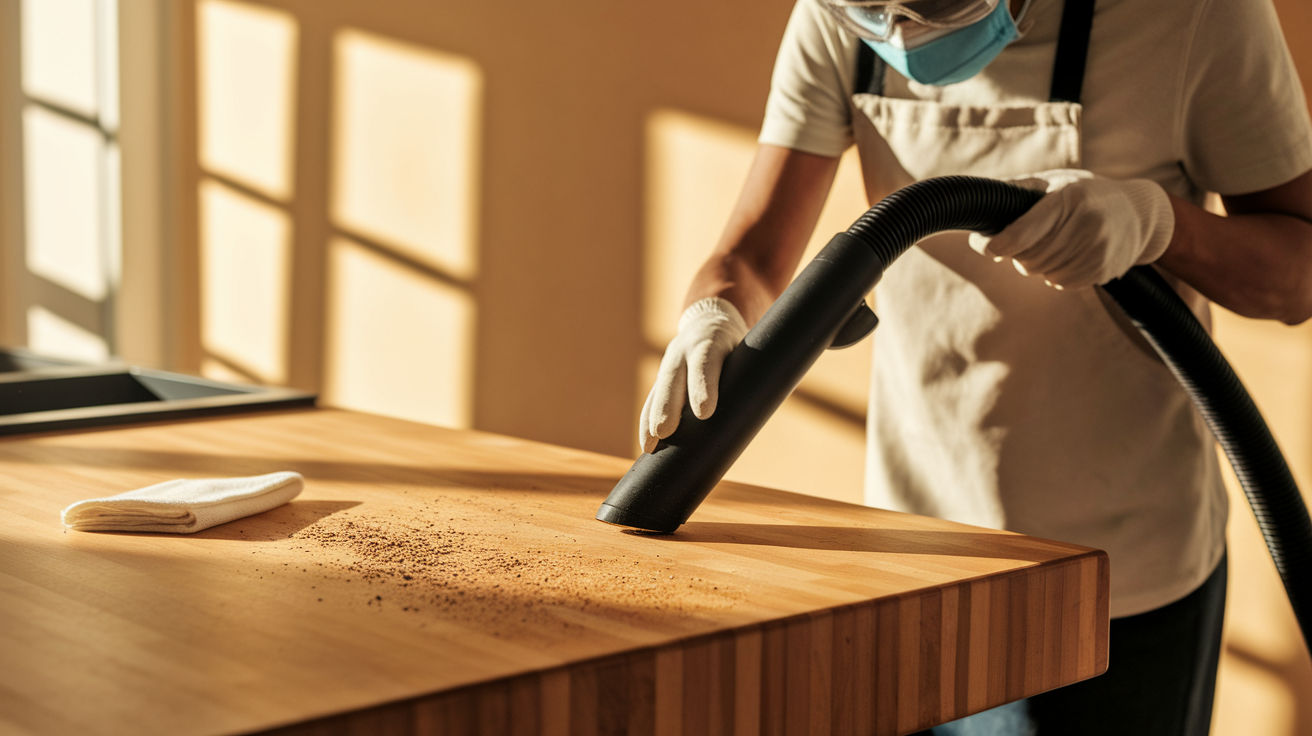
A dust-free surface is very important before applying any sealant.
- Use a vacuum with a hose attachment to remove sanding dust from the countertop.
- Wipe the surface with a tack cloth to catch any remaining fine particles.
- Check corners and edges carefully, as dust often collects in these spots.
- Lay down a drop cloth around the area to protect nearby surfaces from dust.
Step 4: Tape Off Surrounding Areas
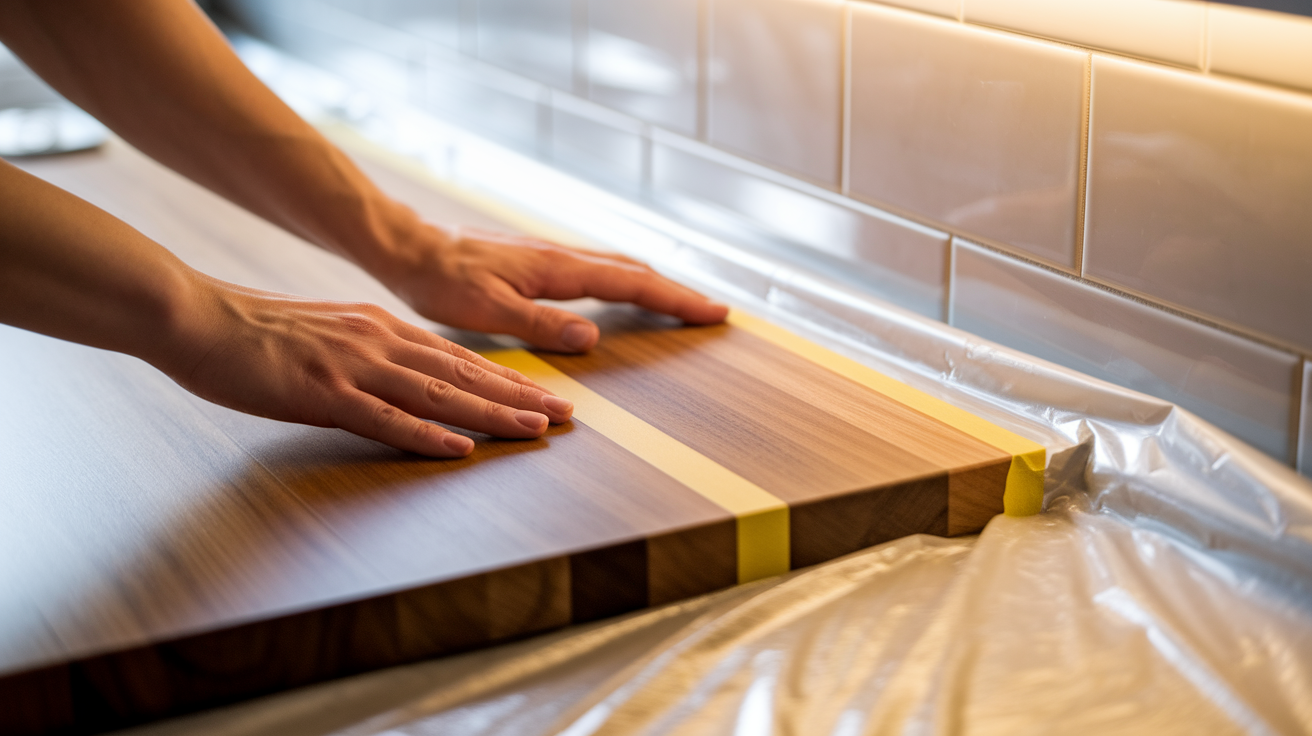
Protecting the nearby walls and surfaces will keep the work area neat and clean.
- Apply painter’s tape along the edges where the countertop meets the wall or backsplash.
- Press the tape firmly to ensure it stays in place during the sealing process.
- Cover nearby appliances or cabinets with plastic sheeting or a drop cloth.
- Double-check that all areas you want to protect are properly covered before sealing.
Seal Butcher Block Counters with Polyurethane
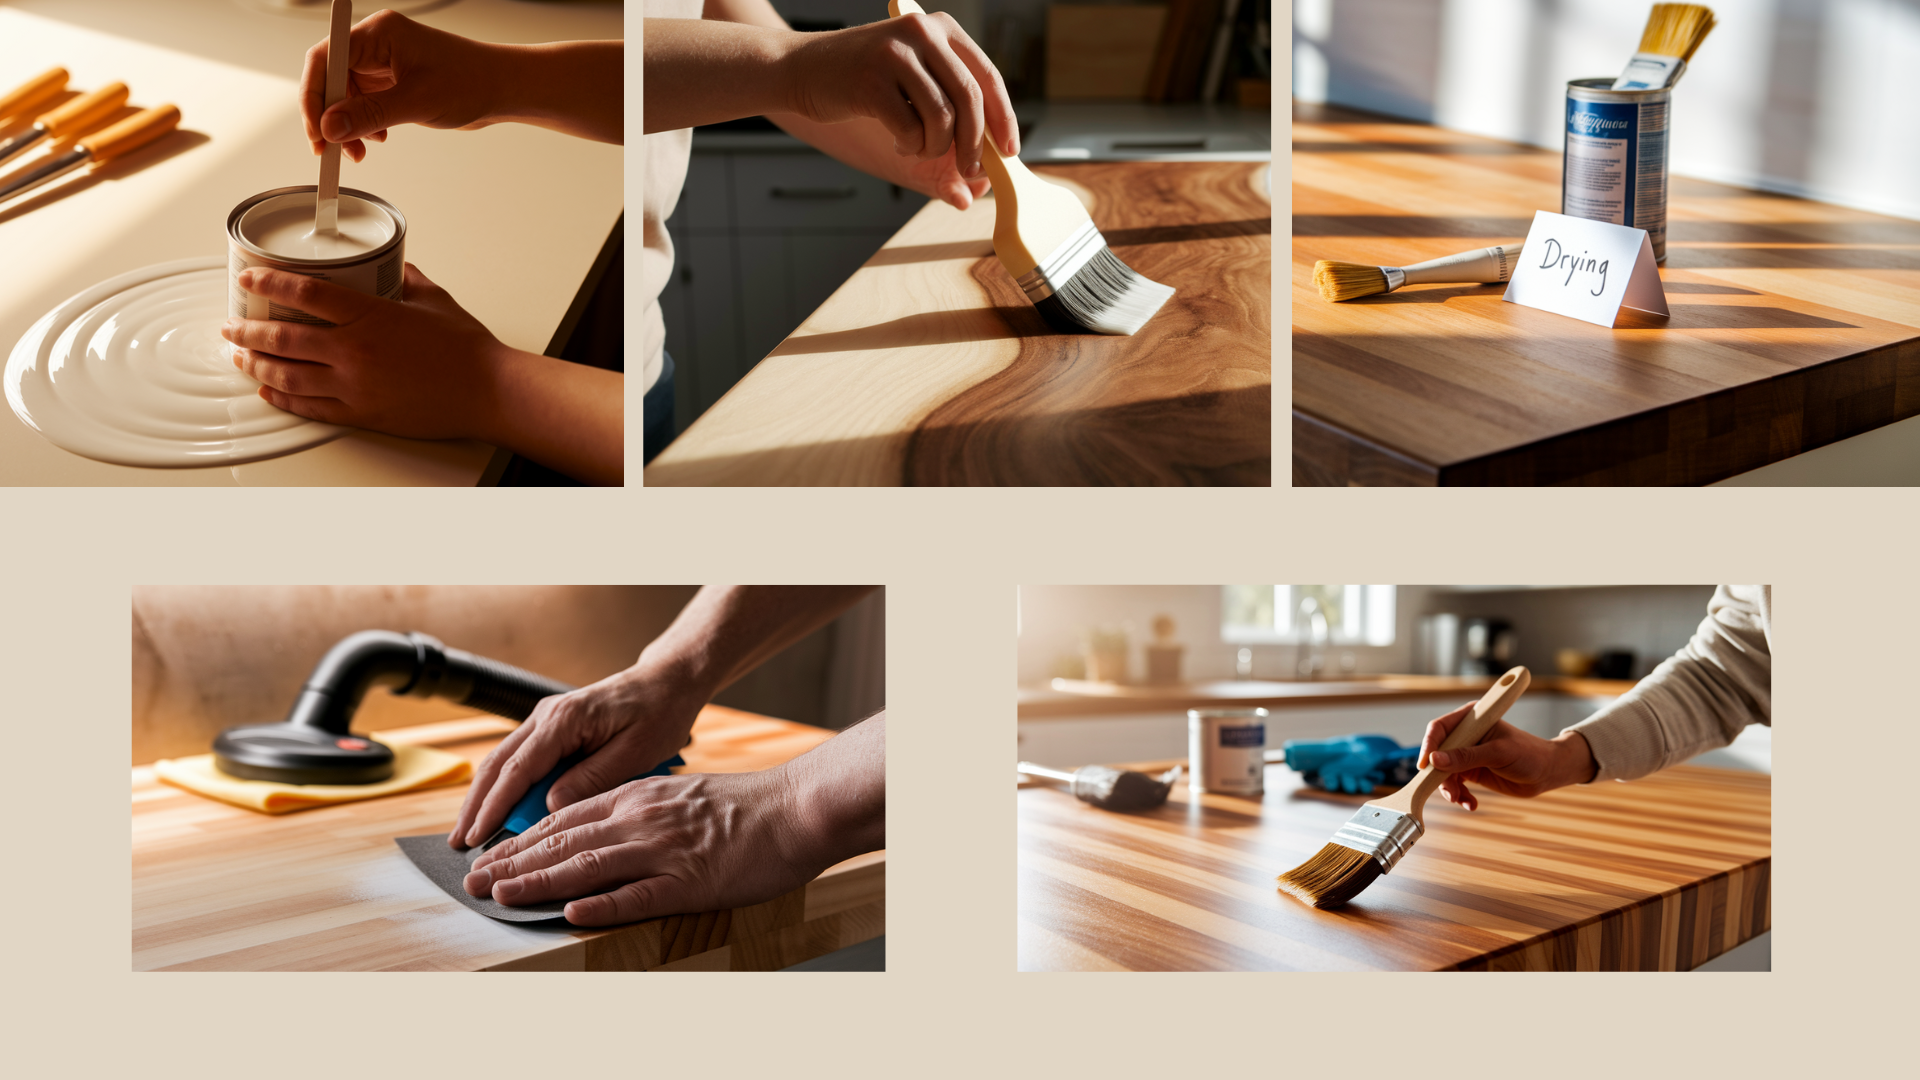
With the prep work done, the counters are ready for the main event. This is where the magic happens.
Sealing the butcher block brings out the wood’s beauty and builds that protective shield against daily wear and tear.
1. Stir the Polyurethane, but don’t Shake
Before anything else, give the polyurethane a gentle stir. Shaking introduces bubbles, which can leave an uneven finish on the wood.
Using a stir stick, mix slowly and steadily to blend the product. This step ensures a smooth application and an even protective layer over the counters.
2. Apply the First Coat
Dip a high-quality bristle brush or foam brush into the polyurethane and apply it with long, even strokes. Work in the direction of the wood grain for a cleaner finish.
To prevent drips, avoid overloading the brush. Take time to cover the entire surface evenly, especially the edges and corners.
3. Let It Dry Completely
Patience is key here. Allow the first coat to dry thoroughly before proceeding. Drying time depends on the product used—water-based types usually dry faster than oil-based ones.
Always check the manufacturer’s instructions for the exact time. A properly dried coat ensures a durable finish.
4. Sand Lightly Between Coats
Once the first layer has dried, lightly sand the surface using fine-grit sandpaper (220-grit works well). This will smooth out any rough spots and help the next coat adhere better.
After sanding, wipe away all dust with a tack cloth to keep the surface clean and ready.
5. Apply Additional Coats
For lasting protection, at least two to three coats are recommended. Repeat the application and drying process for each layer.
Every coat adds strength to the finish, making the surface tougher and more resistant to moisture and stains. The result is well worth the effort!
After applying the final coat, it’s natural to feel excited about using the newly sealed counters. But giving them enough time to dry and cure properly is essential for the best results.
Drying and Curing Time: Polyurethane needs time to fully harden and create a durable finish. While water-based polyurethane dries to the touch in about 2–4 hours, oil-based versions may take 6–8 hours.
However, drying isn’t the same as curing. For complete curing, expect to wait about 24–48 hours before light use and up to 30 days for full hardness. Patience during this stage helps prevent dents, smudges, or damage.
Maintenance Tips and Tricks
Once the counters are sealed and cured, keeping them in top shape is surprisingly simple. A little regular care goes a long way to maintain that beautiful finish.
- Wipe up spills quickly to prevent moisture from sitting on the surface too long.
- Clean with a damp cloth and mild soap; avoid harsh chemicals that can dull the finish.
- Use cutting boards to protect the counter from knife marks and scratches.
- Place hot pads or trivets under hot pans to prevent heat damage to the sealed surface.
With these easy habits, the counters will stay looking fresh and beautiful for years.
Difference Between Polyurethane and Oil Sealing
When it comes to sealing butcher block counters, polyurethane isn’t the only option. Oil sealing is another popular choice, especially for those who prefer a more natural look.
Both methods have their perks, but understanding the differences makes it easier to choose the right one for the kitchen’s needs and style.
| Feature | Polyurethane Sealing | Oil Sealing |
|---|---|---|
| Finish Appearance | Glossy or satin, smooth, hard protective layer | Matte, natural look with visible wood texture |
| Durability | Highly durable and water-resistant | Requires frequent reapplication; less durable |
| Maintenance | Low maintenance, occasional cleaning needed | Regular oiling every few months is necessary |
| Application Time | Longer drying and curing time | Faster application, but needs ongoing upkeep |
|
Approximate Cost |
$50–$100 for tools and materials | $20–$40 for oil and basic supplies |
Conclusion
Polyurethane plays a crucial role in preserving both the beauty and longevity of your butcher block counters. When applied correctly, it creates a durable protective layer that safeguards the wood from wear and tear.
With regular care and maintenance, your counters will maintain their charm and continue to enhance your kitchen’s aesthetic.
The smooth, long-lasting finish also makes daily cleaning easier, ensuring your countertops stay fresh and functional for years.
Ready to seal your butcher block counters and keep them looking great? Follow our step-by-step guide to get started today!
Remember to check out our maintenance tips to keep your counters in perfect condition. For more DIY home improvement ideas, check out our other blogs.

