Step-By-Step Guide on How to Build Corner Cabinet

Ever wanted to know how to make those neat corner cabinets that fit perfectly in the corners of your rooms?
We are here to help you how to create your very own cabinets step by step. No need to worry if you’re new to DIY projects; we’ll break it down so it’s super simple to follow.
Corner cabinets are like puzzle pieces that finish the design of your home. They use those tricky corners that might not be used otherwise.
With just a few materials, tools, and a bit of creativity, you’ll soon have your awesome cabinet.
Whether you want more storage space or want to add a cool vibe to your room, learning how to build corner cabinets is a great idea.
It’s not only going to make your space better but also give you a good feeling of accomplishment.
So, let’s roll up our sleeves, get our tools ready, and start making those fantastic cabinets.
1. Corner Cabinets Overview
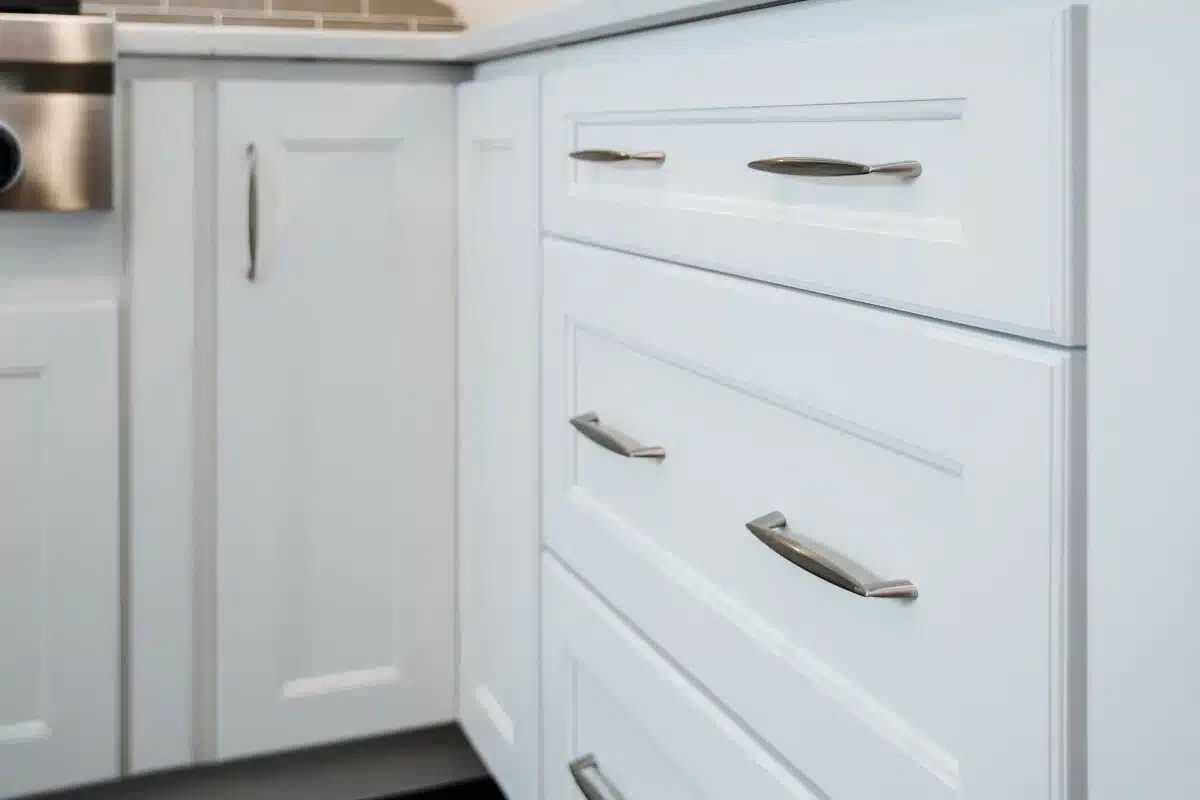
Corner Cabinets come in lots of different sizes to help you save space and store things easily. Putting them together is easy because the instructions are simple to understand. These cabinets are strong and won’t break easily. They have strong backs, legs you can change, and shelves that you can move. They’re made well. They have holes already drilled in them, so putting them together is easy.
They’re guaranteed to stay in good shape for 10 years. These cabinets are made to be good, just like the standards they follow in Australia. So, if you want your modern corner storage units tough, easy to put together, and fit in corners, Corner Cabinets are a great choice. They’ll help you keep your things neat and clean for a long time.
2. Tools and Materials

1. Tools
- Drill and Drill Bits: These are like wands for making holes. They also help you put things together really strong. So, when you’re making your corner cabinet, you can make holes and attach parts securely.
- Ear Muffs: Think of super comfy earmuffs, but they also keep loud noises away from your ears. When you’re using the drill, these comfy ear muffs keep your ears safe from the noisy racket.
- Miter Square: This skillful tool help with measuring and cutting. It ensures that your cuts are perfect angles, making your corners look like a pro did them. So, your cabinet will come together just right.
- Safety Glasses: These special glasses are like shields for your eyes. When you’re drilling and cutting, they keep any tiny bits from flying into your eyes. Safety glasses are your trusty sidekicks for keeping your eyes safe and sound.
- Spirit Level: Think of this tool as a balance keeper. It helps you make sure your cabinet stands up straight and strong.
- Tape Measure: This measuring tool helps you measure things perfectly. When you’re building your corner cabinet, this tool ensures that it fits just right into your corner space.
2. Materials
For your project, you’ll need the corner 900mm cabinet kit. This kit is like a cool puzzle that helps you make a corner cabinet. Picture a cabinet that fits just right in the corner of your room.
This kit has all the parts you need to put it together. The boards are like the sides of the cabinet, and the shelves are like the steps where you put your stuff.
Using the screws, you’ll attach the boards and shelves. You should surely have a look at thecorner cabinet hinges kit. The kit comes with clear instructions that guide you step by step. So, even if you’re not used to making stuff, you can still do this.
3. Assembly Steps

Step 1: Get Ready
First, grab a piece of paper and a pencil. Measure the corner where you want the corner cabinet to go. This step helps you know how big the cabinet should be to fit just right. Now, draw a simple picture on the paper. This picture will show the size and shape you like for the cabinet.
It’s like creating a little plan or blueprint for your cabinet idea. Because planning is the initial step in any process. Make sure to make proper DIY cabinet plans.
Step 2: Cut the Wood
Now it’s time to work with wood. Remember the blueprint. Put it on the wood as a guide. You’ll need a special saw to cut the wood. There are two types of saws you can use, a table saw or a circular saw. Carefully follow the lines you drew on the wood and cut along them.
Wood is the main element of every cabinet, and it should be perfectly cut. You can build some space-saving corner closets by using the perfect size by taking inspiration from the corner cupboard design ideas.
Step 3: Make the “V” Shape
You’ve got some wooden pieces. These will be the sides of your cabinet. Place them like the letter “V” so that they form a corner. This is the basic shape of your cabinet. Make sure the pieces are tight and secure. The overall shape of a cabinet is like a V shape. By doing this, you can make the best space-saving cabinet. Remember to cut the wood in a straight line; then, you will be able to make a perfect V.
Step 4: Add the Top and Bottom
Now, let’s make the top and bottom of the cabinet. These pieces will connect the sides and make a frame. Place the top and bottom pieces on the sides. It’s like putting a lid on a box and a base under it. This frame is getting your cabinet ready. The wooden frame should be perfect to match the bottom and top of the cabinet. Use corner cupboard design ideas to make it the best fit.
Step 5: Arrange the Shelves
Inside your modern corner storage units, you can have shelves to put things on. First, think about how many shelves you want. Then, measure where you want them to be. Use an architectural ruler to make sure everything is straight and even. The shelves be a good idea to keep an organized cabinet. These DIY cabinet plans will help you to get the best ideas for choosing a good shelf. You can add these shelves if you are looking for space-saving corner closets.
Step 6: Attach the Shelves
Time to attach the shelves. But before that, you need to make small holes where the shelves will go. This is like giving them a spot to sit. Once the holes are ready, put the shelves in place. They should fit gently into the holes. You can use a drill kit to make a perfect hole. The holes should not be too big or too small. It should be the same size as the nail because it’ll be loose without the perfect size match.
Step 7: Smooth and Soft
Nobody likes rough edges. Use something called sandpaper to smooth the wood. Rub it gently on the wood’s surface to make it soft and nice to touch. This is like giving your cabinet a spa day. Using sandpaper will make the rough edges very smooth. Having rough wood edges will be a problem, and it does not look nice to. So always go for smooth and soft edges. The wood looks more beautiful with a soft vibe.
Step 8: Add Color
Want your cabinet to look fancy? You can make it colorful with something called stain. It’s like painting but lets you see the wood’s natural patterns. Take a soft cloth and put some stain on it. Then, rub the stain on the wood until it looks beautiful. It will look like an organized cabinet. Use a bright color, such as yellow or orange, as it adds joy to the vibe. These colors will be best for space-saving corner closets.
Step 9: Secure the Cabinet
You don’t want your cabinet to fall over. Time to make sure it stays in place. Use anchor bolts to attach the cabinet to the corner walls. These bolts are like the cabinet’s seatbelt; they keep it safe and steady. Safety is the priority, and it should be made sure that the cabinet is tightly attached to the screws and that there are no loose bolts. There are different bolt types that you can use, as suggested in the DIY cabinet plans.
4. Types of Cabinets
1. Bi-Fold Corner Cabinet Box

Think of a clever cabinet. It has doors that fold and slide, making it super easy to get to your things. This special design helps you use the corner space in a really smart way. Well, this corner cabinet fixes that problem. You can fold the doors like a book or slide them to the side.
This is great because it lets you get to things in the cabinet without any trouble. And the best part is, you can store a lot of things inside this cabinet, even in the corners. So, if you have a corner in your room that you’re not sure how to use, this cabinet is the answer. It’s like having a secret storage spot that’s easy to get to.
2. Diagonal Corner Cabinet Box

This corner diagonal cabinet will fit right into the corners of your room. It’s like a puzzle piece that uses the empty corner space in a really smart way. This special piece of furniture is called a corner cabinet. Well, think about how corners are usually not used much.
This cabinet changes all that. It’s like having a secret spot for putting things that are easy to reach. You won’t have to stretch or bend to get your things. The corner cabinet is made to let you easily get to all the things you put inside. It’s like magic- you open it, and your stuff is right there. Get this neat room with the help of these awesome corner cupboard design ideas.
3. Blind Corner Cabinet Box

Using every inch, this cabinet makes the most of corners by having shelves that swing out for easy access.
Think of having a special cabinet in the corners of your room that helps you use every bit of space. It’s like having secret shelves that you can pull out when you need something.
Inside this cabinet, you can put things like your favorite books, snacks, or maybe even your collection of colorful mugs. And when you want to get them, you pull out the shelves like a drawer.
This is an organized cabinet. It adds a vibe of cleverness to your space, making sure no corner goes to waste. These cabinets are like modern corner storage units.
Conclusion
Last but not least, bringing things to a close and learning how to create corner cabinets is quite interesting and brings a feeling of achievement. Now that you’ve followed the step-by-step guide on crafting your cabinets, you’re all set to start your DIY journey.
Keep in mind a cabinet isn’t just furniture; it’s a smart way to make the most of those tricky corners in your home. With a bit of effort and some basic tools, you can make a useful cabinet that fits your needs.
By understanding the materials, measurements, and how things come together, you’ve picked up the skills to handle this woodworking project well. The term “corner cabinet” will now be helpful to you whenever you need a quick reminder.
With your new know-how, you can add practicality and creativity to your living space with your handmade cabinet. This is the time to show off your DIY skills and enjoy the benefits of a well-crafted corner cabinet.


