How to Spray Paint Wood for a Professional Finish

If you’re thinking of giving your wooden projects a shiny band polished look, then you’ve come to the right place! This guide will show you the tips for getting a pro finish using spray paint.
Spray painting furniture might seem tough, but anyone can master it with the right tricks. Whether you’re making old furniture appear new or creating something from scratch, a smooth spray-painted finish can change your work.
So, don’t worry about rough strokes or visible lines. Spray painting gives the wood a super-even coat, so it looks perfect. But where do you start? Which spray paint should you pick? How can you avoid drips and blobs?
No worries! We’ll take you through each step, keeping things simple. From setting up your space and prepping the wood to choosing the perfect paint and using it perfectly, you’ll be a spray paint pro in no time.
Come along as we find out everything about spray painting wood. You’ll learn how to make your ordinary wooden projects extraordinary with an amazing pro finish.
How to Spray Paint Wood

Step 1. Surface Cleaning
Before you begin your spray painting furniture project, make sure to clean the surface well. Use a mixture of mild soap and water to get rid of dirt, grease, and any old paint leftovers. Once you’re done cleaning, wash off the wood and let it dry completely. A clean surface helps the paint stick evenly and gives a nice flat finish.
Step 2. Assemble Your Materials
Get together all the stuff you’ll require for the project. This means getting spray painting furniture in the color you want, a cloth to clean dust, and a workspace with good airflow. Being prepared with everything beforehand stops interruptions and makes your work smoother.
Step 3. Sanding the Surface Area
To make the wood ready for spray painting furniture, first use medium-grit sandpaper to make the surface smooth. This also helps get rid of any bumps or rough areas. Then, switch to fine-grit sandpaper to make the surface plain and shiny. Just remember, if you sand the wood nicely, your paint job will look really good and professional.
Step 4. Removing Dust and Applying Masking Tape
After you sand the surface, use a clean cloth to wipe away all the dust. It’s really important to cover up parts you don’t want to paint, like handles or hardware. Put masking tape on these areas in a neat way so your paint lines look good and you don’t get paint where you don’t want it.
Step 5. Spraying on The Layer of Primer
Using a primer is important to make sure the paint sticks well and the color looks even. Just put a thin coat of primer all over the wooden surface. Let it dry as the instructions say. Primer makes sure your paint looks great and stays on for a long time.
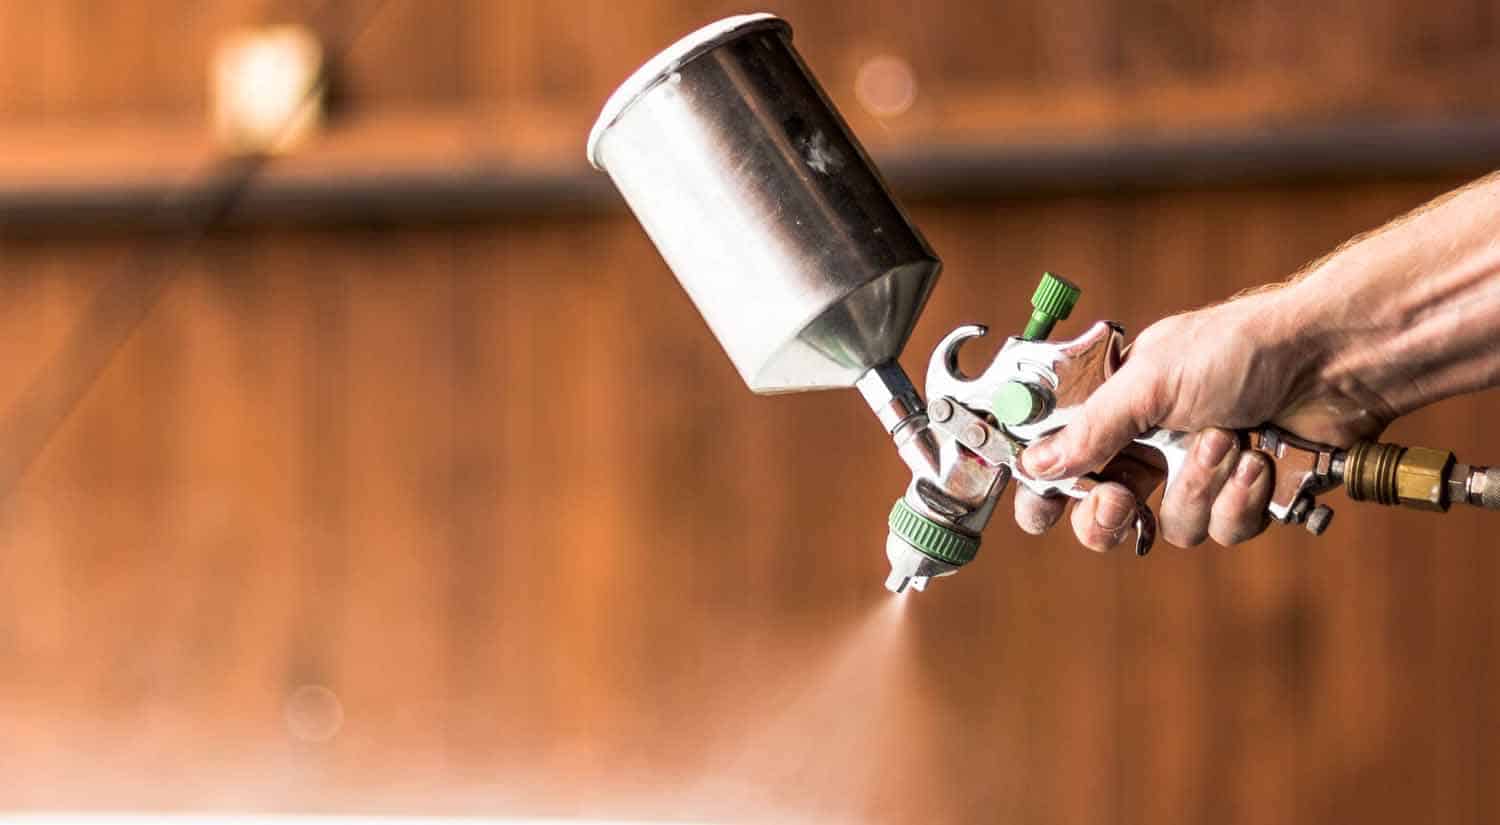
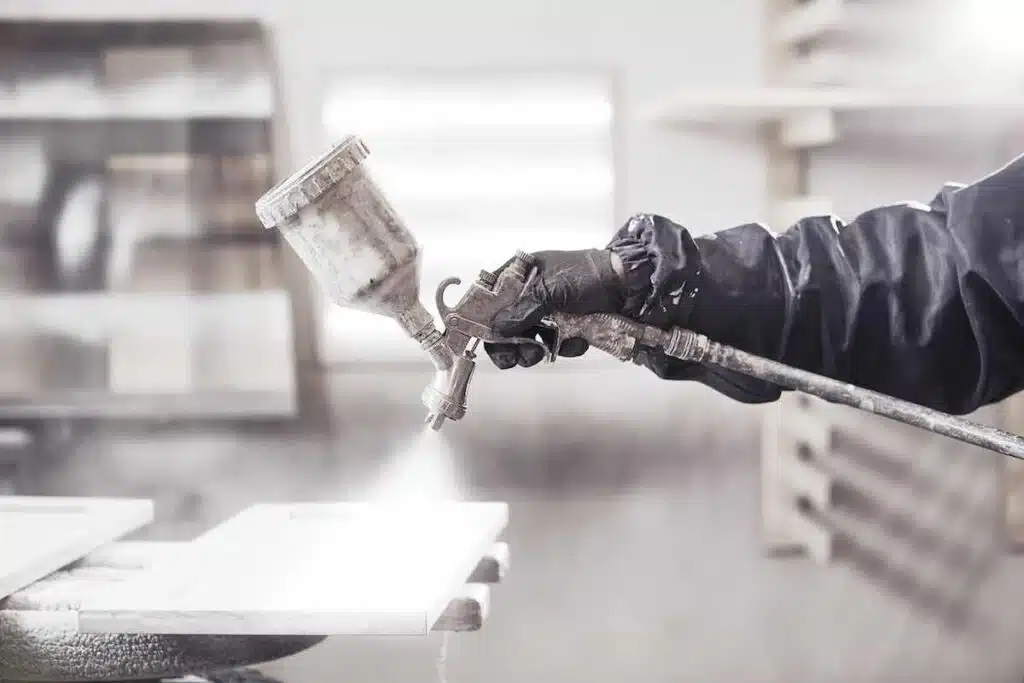
Step 6. Applying the Spray Paint
Keep the spray painting furniture around 8 to 12 inches from the surface. Make sure to apply the paint with a smooth and even mark. Begin and finish each sweep of paint beyond the wood so it doesn’t drip. It’s better to put on several light coats instead of one thick coat to prevent drips and runs.
Step 7. Allow the First Coat to Dry Completely
Once you’ve put on the paint with the paintbrush, make sure to wait long enough for it to completely dry. This usually takes a few hours. If you try to finish this part quickly, the paint might not dry evenly and could end up with some flaws.
Step 8. Apply a Second Coat
To make your project even more professional, take a paint tray and put on a second layer of paint. This extra coat will make the color appearance better. Just use the same spray painting furniture method as before and let the paint dry again.
Step 9. Reassembly
After the last layer is totally dry, gently take off the masking tape. If you took apart any pieces, put them back together just like the maker says. Now, your wood thing that you spray-painted is all set to show off with a new appearance.
Material Required for Spray Painting the Furniture
1. Spray Paint: Pick a good spray paint made of wood. Choose a color you like that matches how you want the furniture’s appearance.
2. Primer: Having a high-quality primer designed for wood is important. It makes the surface polished for the paint to stick better, which helps the paint look even and last longer.
3. Sandpaper: You need various types of sandpaper, ranging from medium to fine grits, to make the furniture surface clean before painting.
4. Painter’s Tape: This technique keeps areas safe from paint. It creates neat lines and stops accidental smudging.
5. Drop Cloth or Newspaper: To protect your work area from overspray.
6. Face Mask and Safety Glasses: Ensure your safety by wearing a mask to avoid inhaling fumes and safety glasses to protect your eyes.
7. Cleaning Supplies: You’ll need soap, water, and a clean cloth to clean the furniture before painting thoroughly.
Why Priming is Important Before Spray Painting Furniture
Using primer might seem like an additional task, but it’s really important. It makes a big difference in how your spray-painting furniture will appear in the end. Here’s why.
1. Smooth Surface: Priming is like giving wood a smooth makeover. It covers up tiny holes and rough spots, making the surface even. This helps the paint glide on easily without any lumps or uneven areas.
2. Enhanced Adhesion: Wood can have tiny holes, which can make it hard for paint to stick well. Primer helps the paint stick better by acting like glue, so the paint doesn’t easily come off or chip.
3. Improved Durability: Applying a primer adds an extra layer of protection to the wood. It shields the furniture from moisture, which can lead to warping or rotting over time.
4. Vibrant Colors: Using a tinted primer in a neutral color can make the final paint color look more lively and rich. This is especially helpful when you’re applying lighter paint on top of dark wood.
5. Time and Cost Effective: Although it might look like an added expense, using a primer helps you save both time and money. This is because it lowers the amount of paint coats needed to cover a surface completely.
How Much Spray Paint Do You Need for Your Project?

When you’re spray painting furniture to make it look nice, it’s super important to know how much paint you’ll need. You don’t want to run out of paint while you’re in the middle of your project or have way too much left over.
Here’s an easy guide to help you figure out the perfect amount of spray paint for what you’re trying to do:
1. Calculate Surface Area
To begin, measure how big the wood is that you want to paint. Find out how long, wide, and tall the object is, if it has height. If the wood has a tricky shape, you can make things simpler by dividing the surface into smaller parts and measuring those.
2. Coverage Per Can
Spray painting furniture comes in different types with various coverage abilities. They usually say how much space they can paint on the can. Usually, one can of paint can cover about 8 to 12 square feet. To figure out how many spray cans you need, divide the total area by the coverage each can provide. It’s smart to get a little extra for fixing small areas or if you want to put on more than one layer.
3. Multiple Coats
To make sure your paint job looks really good and lasts a long time, you might have to put on several layers of paint. This makes things stronger and guarantees that the color looks the same everywhere. Remember this when you’re figuring out how much paint to get. You might need a separate paint can for each layer, depending on how the surface feels and how thick the paint is.
4. Consider the Base
The color of the wood you start with can change how your paint looks in the end. If the wood is dark and you’re painting it a lighter color, you might have to put on more layers of paint to make it completely covered.
5. Test and Adjust
Before you begin the main project, try spraying a small and hidden area with the paint first. This helps you see how well the paint covers and lets you change your plan if needed.
Best Spray Painting Furniture

1. Rust-Oleum Studio Color Paint
Rust-Oleum Studio Color Paint changes wooden furniture projects easily. With many bright color options and a non-shiny look, it’s a big improvement. Just make sure the wood is clean and dry before you spray. Put on thin, even layers of paint, holding the can 8-12 inches from the furniture. Let each layer dry before adding more.
This paint sticks to wood well, so you don’t have to prime as much. It doesn’t smell strong and dries fast, which is great for people who love doing DIY projects. Whether you’re making an old wooden chair look new or giving a table a burst of color, Rust-Oleum Studio Color Paint makes it look like a pro did it.
2. DIY Epoxy Coasters
Epoxy coasters add a fun touch to your wooden furniture. Epoxy resin is a special material that makes surfaces shiny and tough, which is great for keeping wood safe. Making your epoxy coasters is simple. First, gently sand the wood to help the epoxy stick well. Get epoxy resin that can resist UV rays to stop it from turning yellow as time passes.
Mix the epoxy well, and if you want, add colors or small decorations like dried flowers. Pour the epoxy on the wooden coasters, and it will spread out and remove any air bubbles by itself. Follow the instructions for how long to let it dry. This way not only keeps your furniture safe but also makes it look cool and artsy.
3. Rust-Oleum Chalk Paint
Rust-Oleum Chalk Paint is a flexible choice for turning old wooden furniture into attractive, well-worn pieces. It sticks well to different surfaces and needs only a bit of preparation. To begin, clean the furniture to get rid of dust and dirt.
Use a brush to put on the chalk paint, giving your furniture the texture you want, whether plain or a bit worn. After the first layer dries, you can add another for even better coverage.
What’s special about chalk paint is that it’s okay if it’s not perfectly even; any little mistakes make the furniture more unique. Once the paint is dry, you might want to put on a wax or sealant to keep the finish safe.
Rust-Oleum Chalk Paint doesn’t just give the furniture a classic, flat look. It also makes it easy to get that old-fashioned, country-style appearance.
Conclusion
Getting a professional-looking finish spray-painted furniture is easy if you follow the right steps. As we’ve shown above, make sure to clean and sand the wood for a smooth surface.
Find a well-ventilated place to spray and shield the surroundings from overspray. Use a primer to help the paint stick better. While spraying, keep a consistent distance and use plain strokes. Let each coat dry before adding the next one. It’s better to use multiple thin coats than one thick layer.
To prevent drips or uneven coverage, start and stop spraying away from the wood. Lastly, pick the right paint for the wood and follow what the label says. Remember, practice makes you better; don’t get discouraged at first. With time, your skills will improve, and you’ll get that pro finish you want.
So, take these tips and turn your wooden pieces into amazing art with a perfect spray-painted finish.


