Make It Yourself: Easy Concrete Stencil Designs
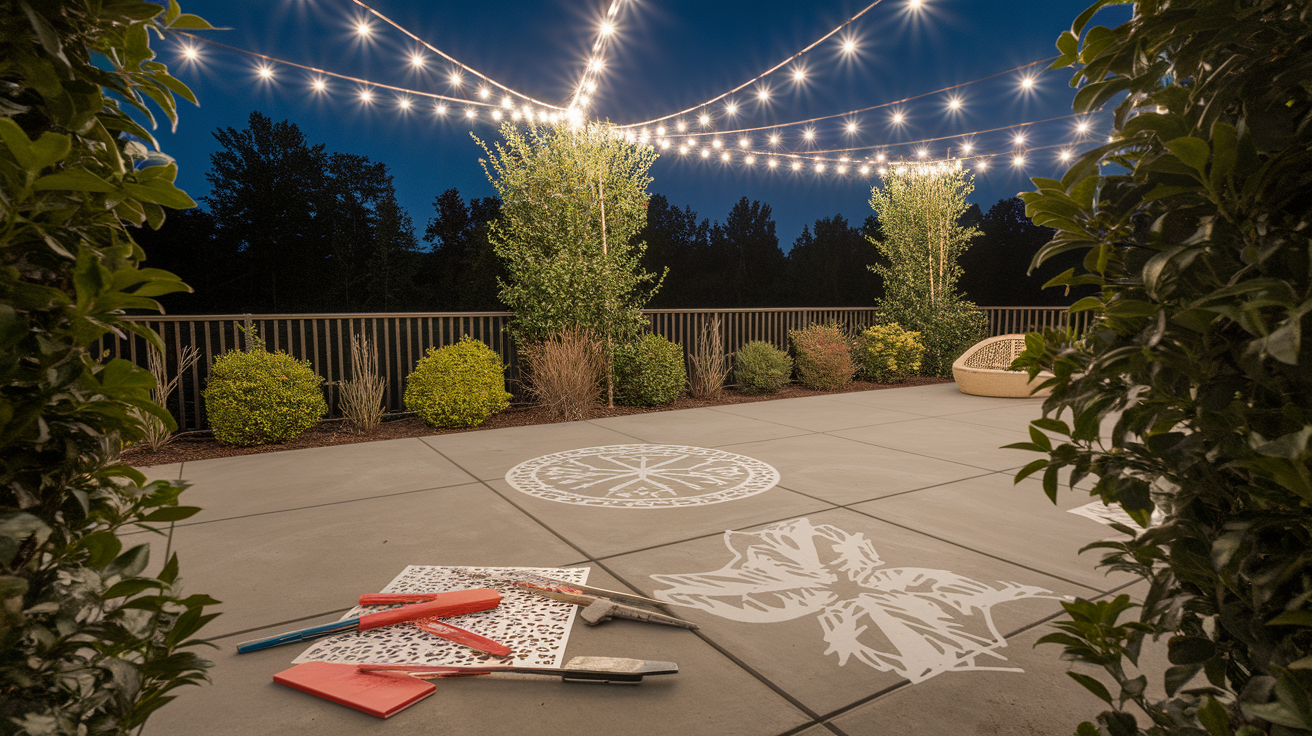
Make your boring outdoor space into a designer showpiece without breaking the bank! Stenciling your concrete patio creates the look of custom tile work at a fraction of the cost.
This beginner-friendly project requires minimal artistic skill but delivers maximum impact. With just some paint, a few basic tools, and a weekend of work, you can completely reinvent your outdoor living area.
The beautiful patterned finish is not only visually appealing but also adds texture and character to what was once a plain concrete slab.
DIY Stencil Tiles On Cement Outdoor Patio
When creating a tiled look on your concrete surface, it’s important to choose the right materials and tools to achieve a professional and long-lasting finish. Below are the Step-by-step guide and materials you’ll need for this process:
Materials
- Leaf blower or broom
- Driveway and concrete cleaner
- Scrub brush
- 2-inch painter’s tape
- Exterior flat paint (Benjamin Moore Ben recommended)
- Half-inch nap roller and extension pole
- 2-inch paintbrush for cutting in edges
- Stencil of your choice (diamond tile pattern used in example)
- Repositionable spray adhesive
- Dense foam roller for stenciling
- 1.5-inch stencil brush for texture
- Small artist brush (fitch) for touch-ups
- Water-based spar varnish (exterior polyurethane)
- Measuring tape
- Pencil
Step 1: Preparation

Begin by using a leaf blower to thoroughly remove all debris, leaves, dust, and dirt from the patio surface.
Once clean, mix driveway and concrete cleaner with water according to the manufacturer’s instructions.
Apply cleaning solution to the entire patio and scrub thoroughly with a brush to remove any stubborn dirt or stains.
After scrubbing, allow the patio to dry completely before moving on to the next step. Proper cleaning ensures better paint adhesion and a more professional-looking finished project.
Step 2: Masking and Protecting Adjacent Surfaces
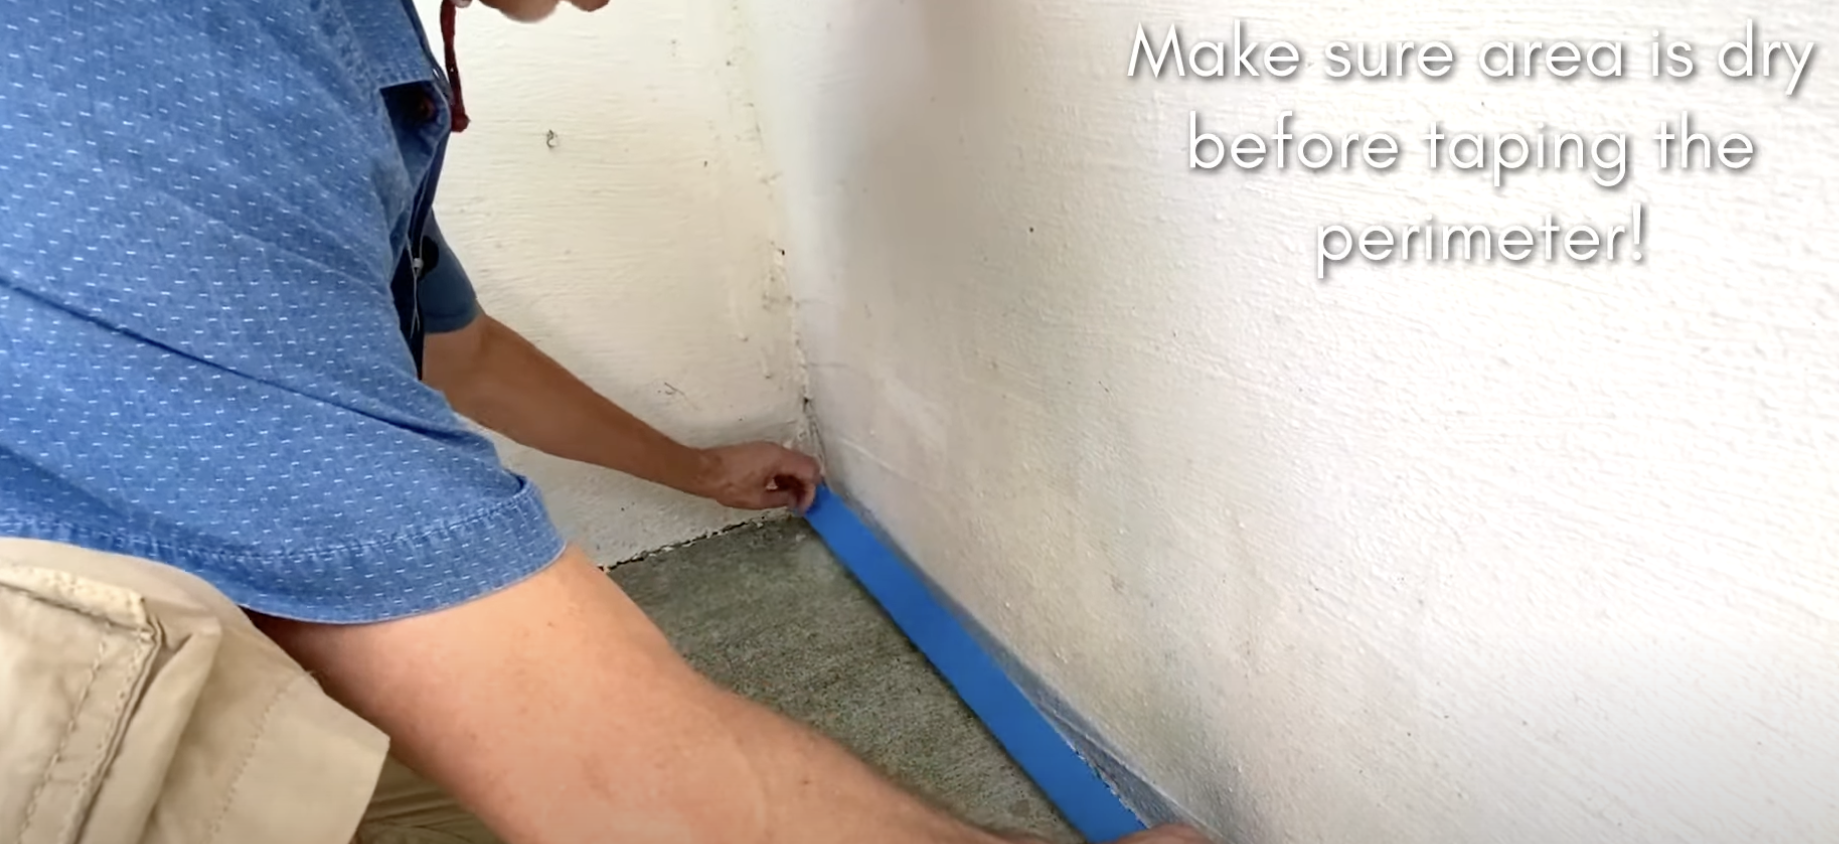
Apply 2-inch painter’s tape to mask off any walls, surfaces, or areas adjacent to the patio that you don’t want to paint.
Press the tape firmly against the surfaces to create a tight seal that will prevent paint from bleeding underneath.
Take your time with this step. Careful masking will result in clean, professional-looking edges that won’t require touch-ups later.
Step 3: Applying the Base Coat
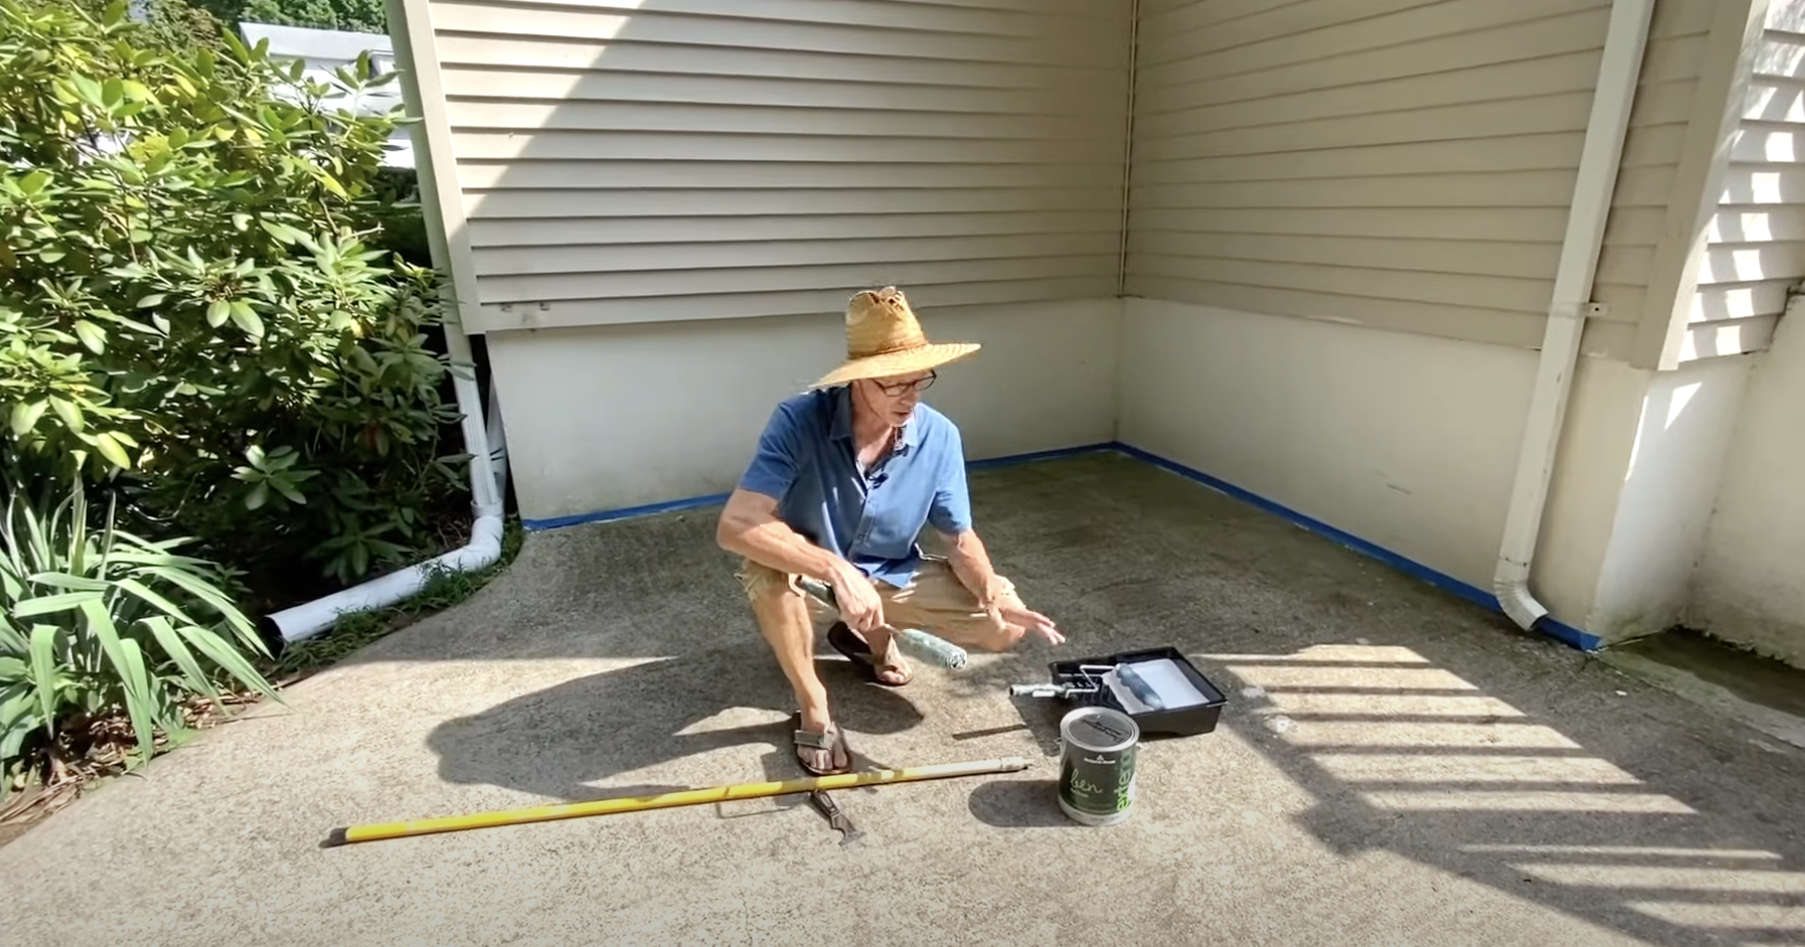
Select an exterior flat paint for your base coat. Benjamin Moore Ben is recommended. The flat sheen works best for stenciling because, due to its porosity, it allows the stencil paint to dry faster.
Begin by using a 2-inch brush to cut in around the edges and corners of your patio where the roller won’t easily reach.
Then attach a half-inch nap roller to an extension pole the thicker nap is crucial as it helps the paint get into all the textured crevices of the concrete surface.
Roll the base coat evenly across the entire patio, working in manageable sections and maintaining a wet edge.
Allow the base coat to dry completely according to the paint manufacturer’s instructions before proceeding to the stenciling phase.
Step 4: Preparing Your Stencil
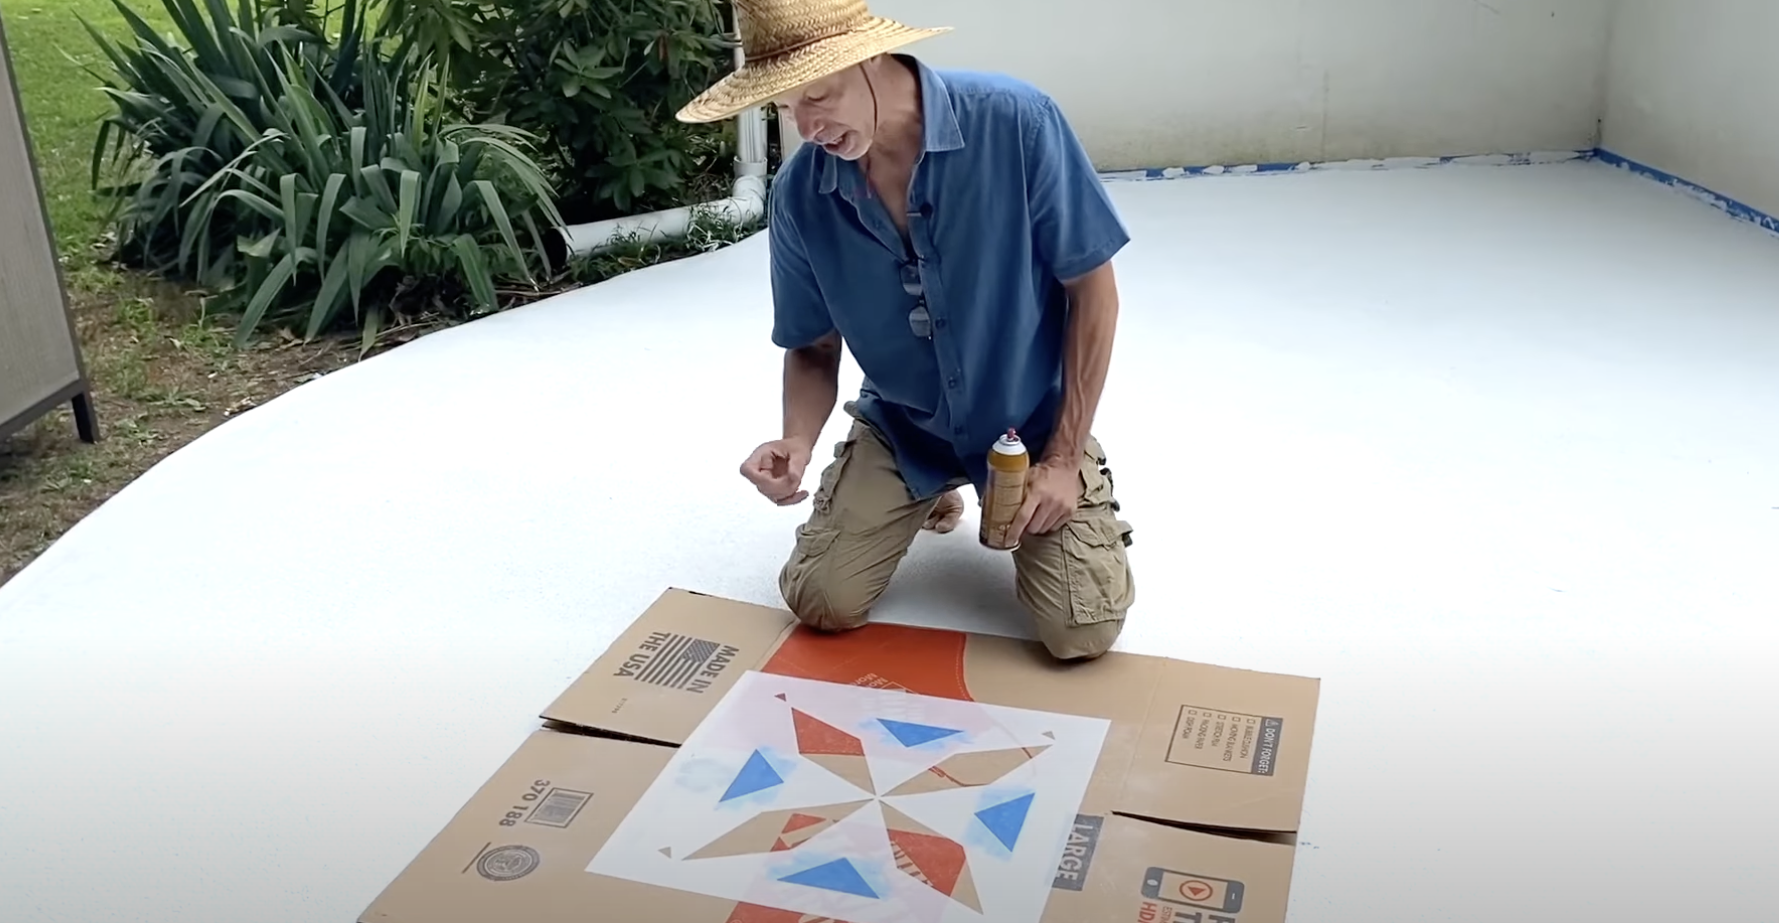
If you want to simplify or customize your stencil pattern, you can use tape to mask off sections of the stencil you don’t want to transfer, for example.
In that case, you might mask triangular sections between diamonds for a simplified look. Take your stencil outside and apply a repositionable spray adhesive to its back side.
Apply two even coats of adhesive, then let it dry for about two minutes until it reaches what’s called knuckle tack a state where it’s tacky enough to stick to your knuckle but not wet enough to transfer and create a mess.
This tackiness will help hold the stencil in place during painting while still allowing you to reposition it as needed.
Step 5: Positioning the First Stencil
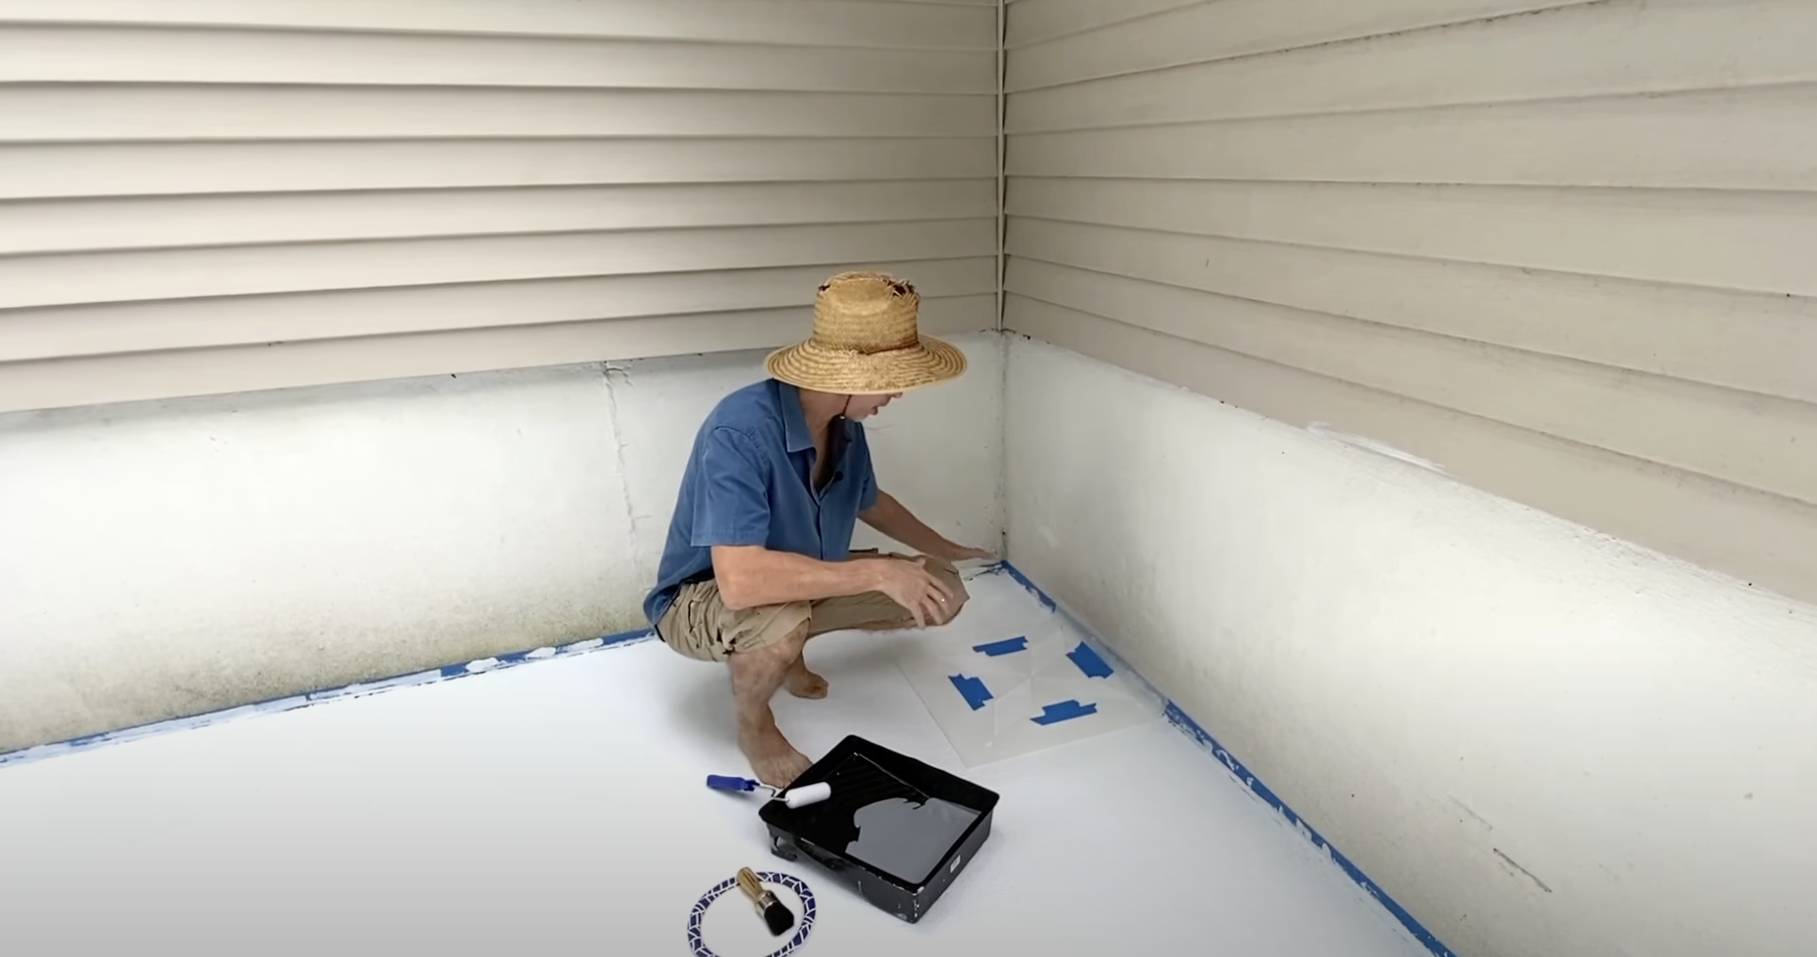
Start your stenciling from a corner and plan to work your way outward. For a stencil with a 16-inch repeat pattern, measure 16 inches from each wall and make small pencil marks.
Place an X at the intersection of these measurements to mark the position of your first stencil placement. Align your stencil’s corners with these measured marks to position it.
This strategic positioning ensures your first print is perfectly placed so the pattern will align correctly throughout the entire patio, especially important when the pattern needs to meet at corners.
Step 6: Applying the Stencil Paint
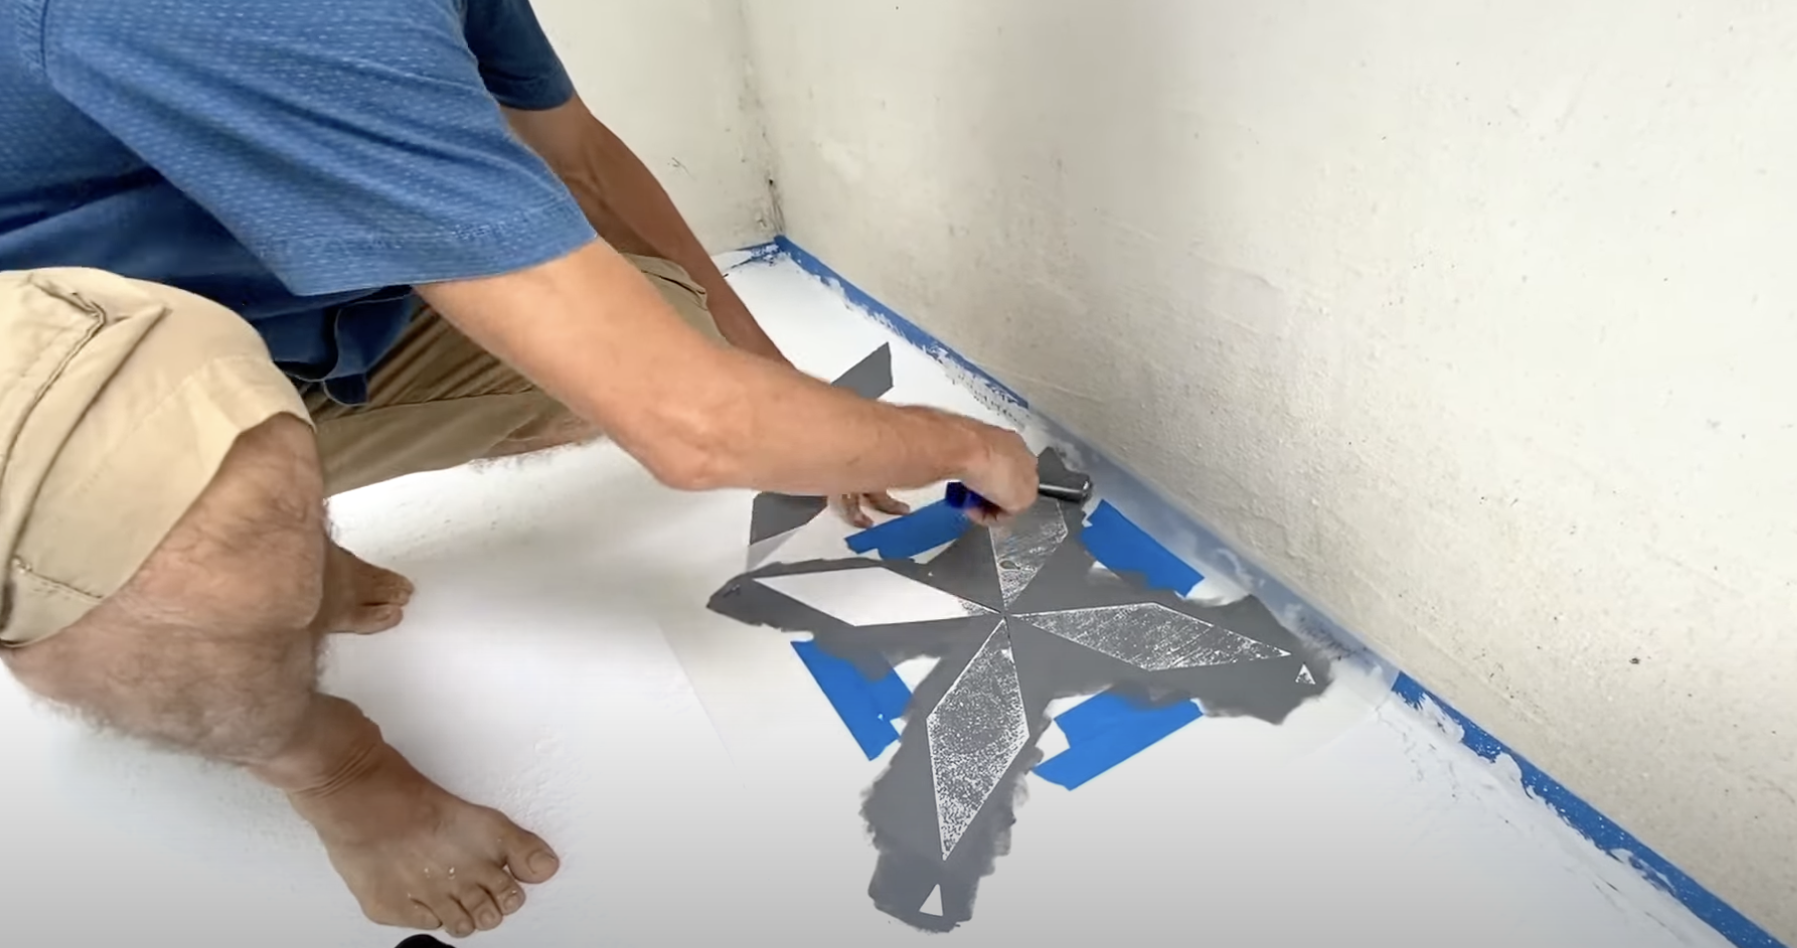
Use flat paint in your chosen stencil color, the example uses Benjamin Moore Rock Gray. Exterior paint provides better UV protection, especially important if you’re using bright colors that might fade.
Load a dense foam roller with paint, being careful not to overload it, which could cause bleeding under the stencil edges.
Roll over the stencil with medium pressure, ensuring coverage while avoiding pushing paint under the edges.
Pay special attention to the registration marks (small triangles) on the stencil, as these will help align subsequent placements.
For textured concrete surfaces with nooks and crannies that the roller might miss, use a 1.5-inch stencil brush with a vertical pouncing technique to reach these areas.
The pouncing motion helps push the paint into textured areas while minimizing bleed under the stencil.
Step 7: Continuing the Pattern
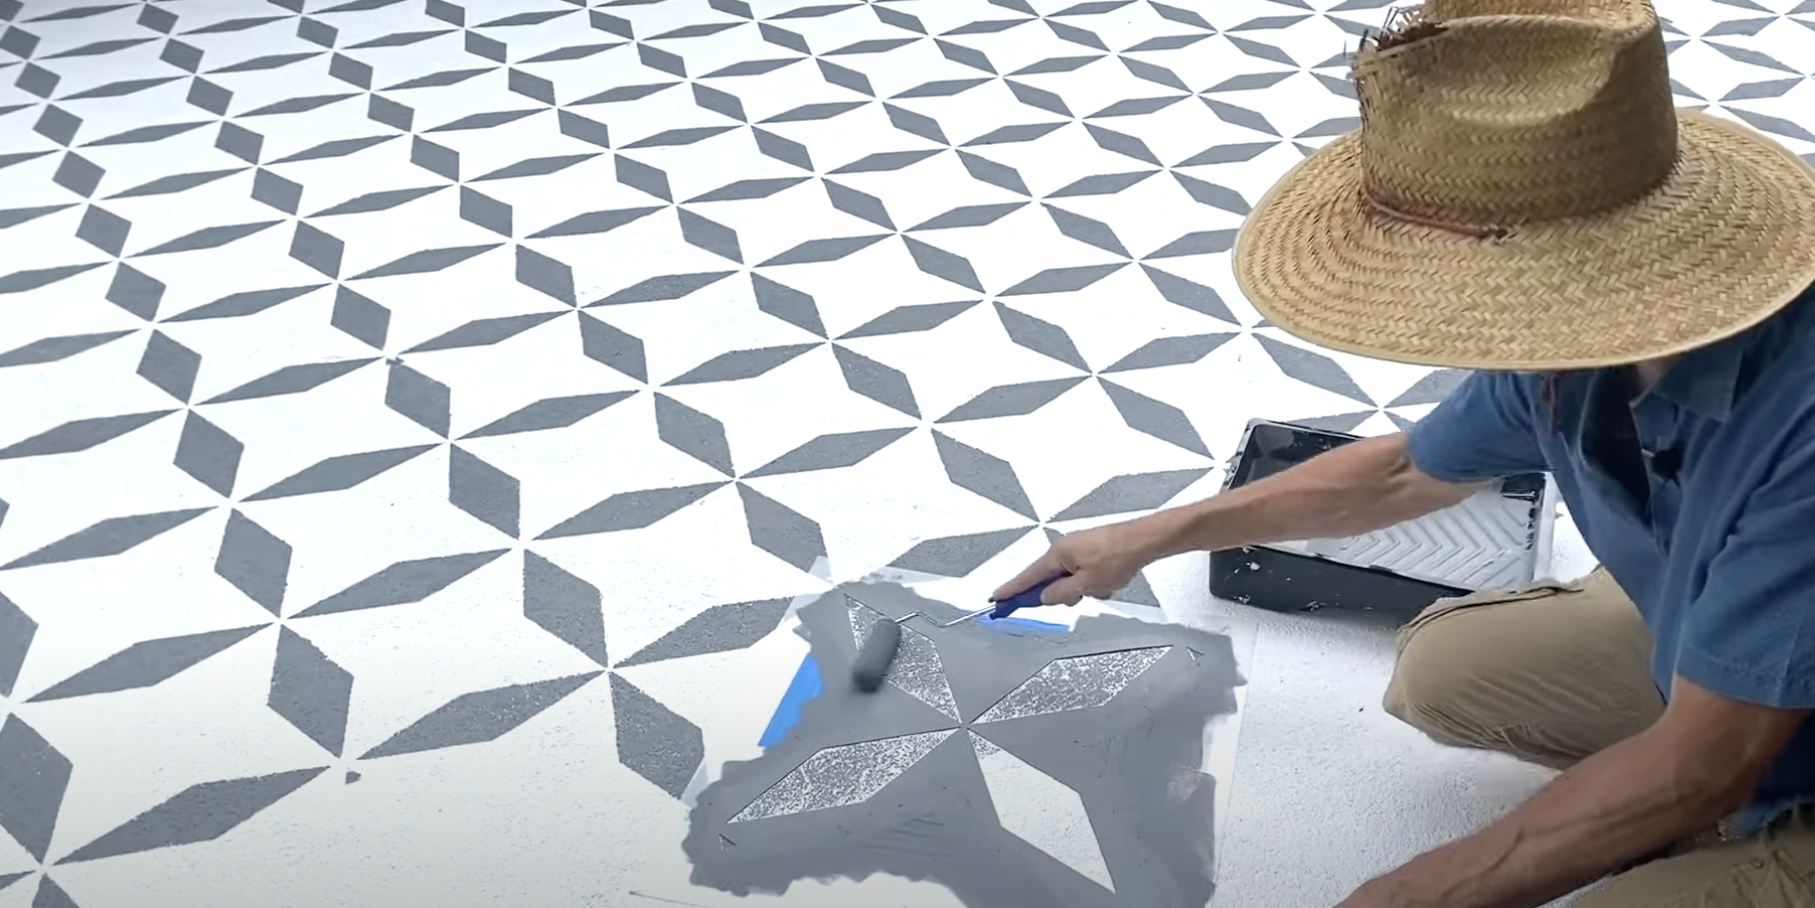
After completing the first section, carefully lift the stencil to reveal your work. For the next section, align the registration marks on the stencil with the corresponding marks from your previous print.
These registration marks ensure your pattern remains consistent and properly aligned throughout the project.
Press down the stencil firmly, especially at the edges, and repeat the painting process. Continue this pattern across the entire patio, working methodically to maintain alignment.
Remember that absolute perfection isn’t possible or necessary when working on textured concrete surfaces. Minor imperfections won’t be noticeable when viewing the overall pattern from a normal distance.
Step 8: Touch-Ups
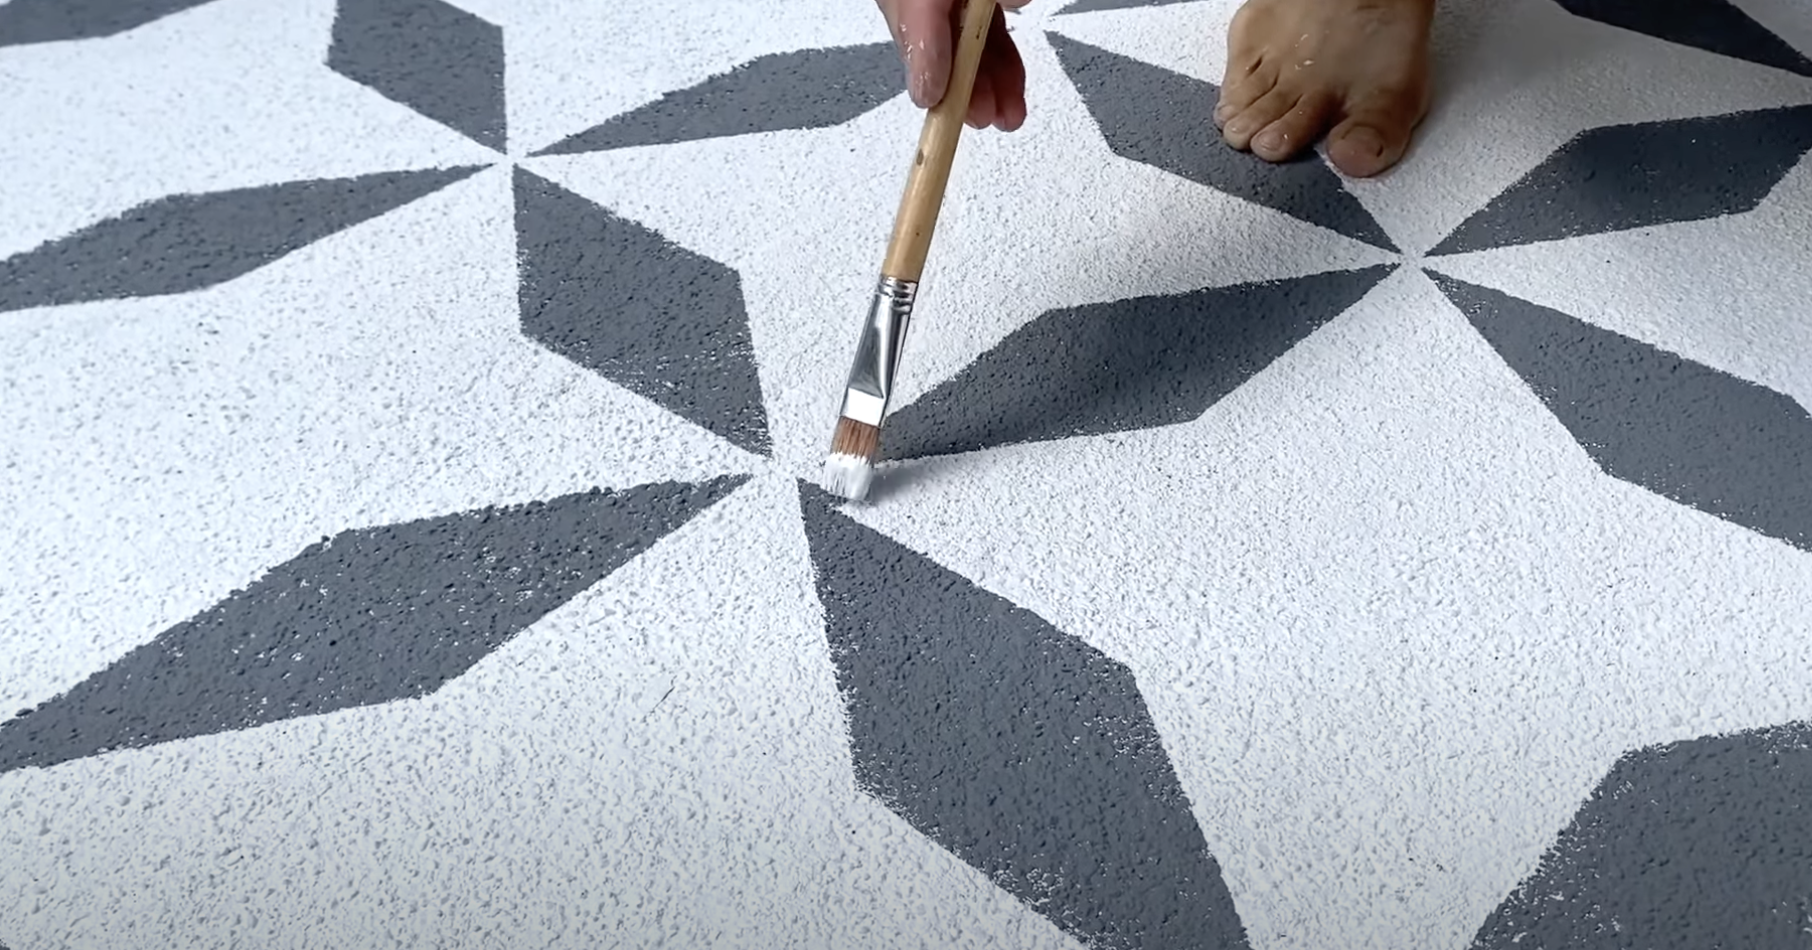
After completing all stenciling and allowing the paint to dry thoroughly, examine the entire patio for any imperfections or areas that need attention.
Use a small artist brush (called a fitch) with your base coat color to touch up any spots where the stencil paint may have bled beyond the pattern lines.
This step helps refine the overall look, giving your stenciled patio a more professional, finished appearance.
Take your time with touch-ups, as this final detailing can significantly increase the quality of your project.
Step 9: Sealing and Protecting
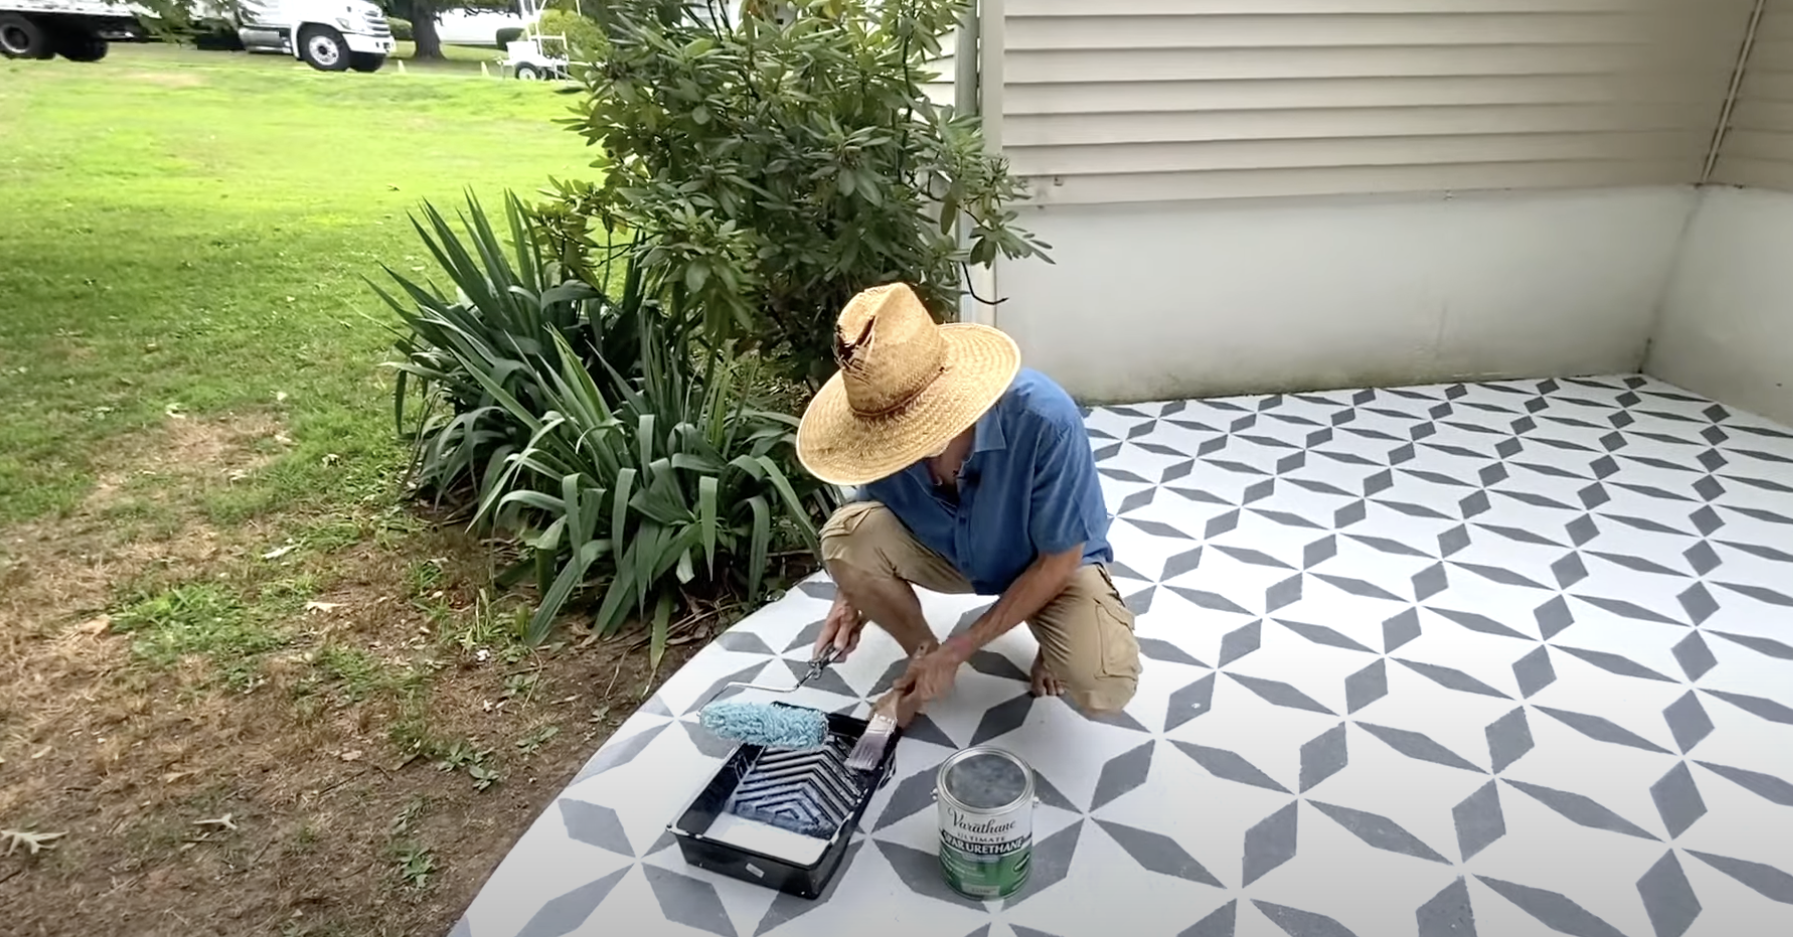
After your stenciled pattern is complete, dried, and touched up, protect your artwork with a water-based spar varnish (exterior polyurethane).
This specialized exterior sealer provides crucial UV protection to prevent your colors from fading in the sunlight.
Begin by using a 2-inch brush to carefully apply the clear coat around the perimeter and in any tight spaces. Then use a half-inch nap roller with an extension pole to cover the main areas efficiently.
For maximum protection, apply at least two coats of sealer, allowing the proper drying time between coats as specified by the manufacturer.
This protective layer preserves the colors and makes the surface more resistant to wear, weather, and occasional cleaning.
Here’s a detailed YouTube video on stenciling tiles on a cement outdoor patio:
Types of Concrete Stencils
Choosing the right stencil for your concrete surface can greatly impact the overall look and feel of your design. Here are a few types of concrete stencils that you might want to check out
- Adhesive Stencils: These feature a sticky backing that temporarily adheres to concrete surfaces, creating a tight seal to prevent bleeding and ensure clean lines. They’re perfect for detailed work but typically can only be used once.
- Reusable Plastic Stencils: Made from durable materials like mylar or polyethylene, these non-adhesive stencils can be cleaned and used multiple times. They’re cost-effective for repeated projects and come in various thicknesses for different applications.
- Interlocking Stencils: Designed to fit together like puzzle pieces, these stencils allow you to create seamless patterns across large concrete surfaces. They’re ideal for covering extensive areas with continuous designs without visible breaks.
- Custom Laser-Cut Stencils: These precision-cut stencils are created to exact specifications for unique designs. They offer exceptional detail and are perfect for one-of-a-kind projects or brand logos.
Maintenance Tips for Concrete Stencils
| Tip | Description |
|---|---|
|
Clean After Use |
Rinse stencils immediately with warm water. Use a soft brush for stubborn spots. |
|
Storage |
Store flat to avoid creases. For intricate designs, place stencils between paper or cardboard. |
|
Inspect Regularly |
Check for tears. Small rips can be fixed with tape; larger damage requires replacement. |
|
Handle with Clean Hands |
Avoid oils and dirt that can affect adhesion, especially for adhesive stencils. |
|
Proper Storage Conditions |
Keep stencils in a cool, dry place away from direct sunlight to prevent brittleness and mildew. |
Conclusion
There you have it, everything you need to know about concrete stencils! From the step-by-step guide, various types available, and essential maintenance tips, you’re now equipped to transform ordinary concrete into stunning decorative surfaces.
Remember that proper care will extend the life of your stencils and ensure consistent results across multiple projects.
They’re accessible for DIY enthusiasts yet versatile enough for professional contractors.
Ready to start your concrete makeover? Pick the stencil type that best suits your project, follow our guidelines, and let your creativity flow! Your neighbors will soon be asking for your secret to such beautiful concrete work.

