17 Repurposed Ideas for Old Dressers Without Drawers
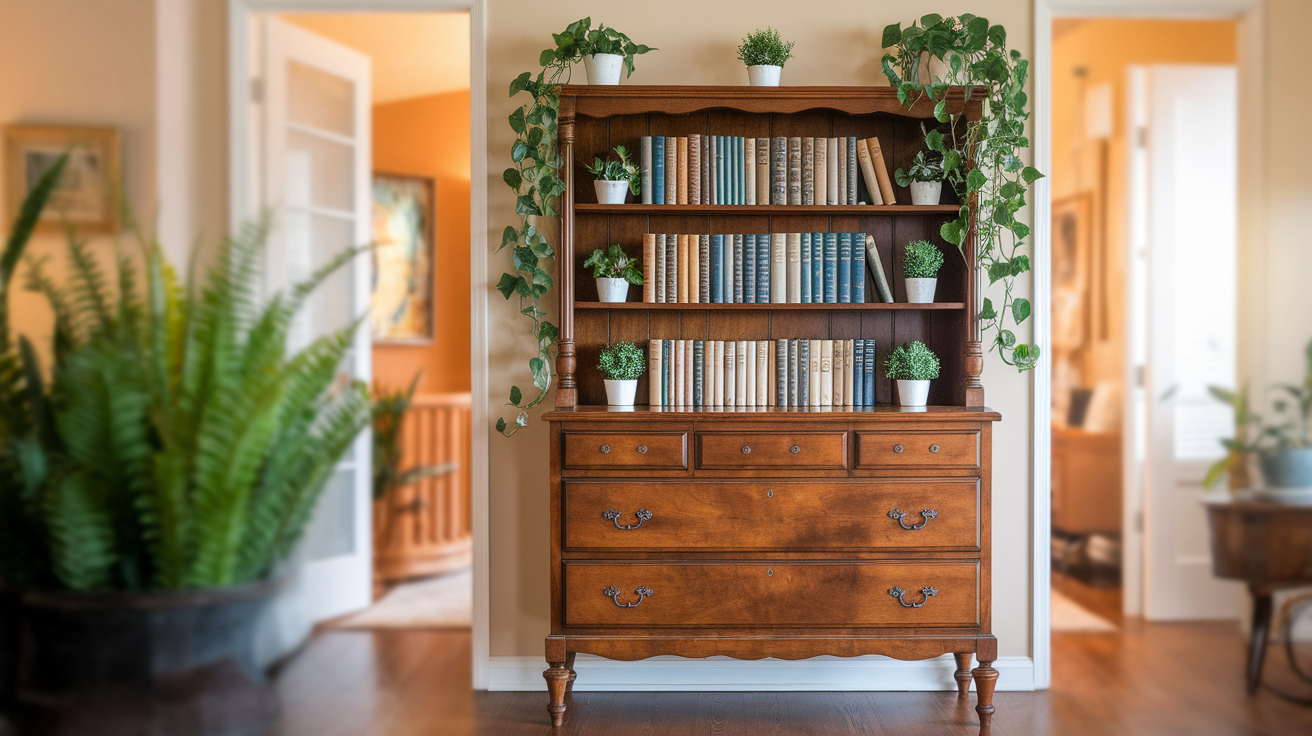
Do you have an old dresser without drawers in your home? It might look useless now, but it has so much potential!
Many people throw away their broken dressers, but with a bit of work, you can turn that empty frame into something useful and beautiful.
Old furniture can find new purposes with just a little creativity. Empty dressers offer a blank canvas for new ideas and fresh uses in any home.
This blog covers several ideas for giving new life to those drawer-less dressers. These projects don’t need fancy tools or special skills.
With basic supplies and a free weekend, you can change that forgotten furniture into something you’ll love to show off.
Ways to Repurpose Dressers Without Drawers
Let’s talk about what you can do with that old dresser that’s missing its drawers.
There are plenty of ways to give that furniture a second chance in your home. These ideas are simple to follow and don’t need special skills or fancy equipment.
1. Play Kitchen
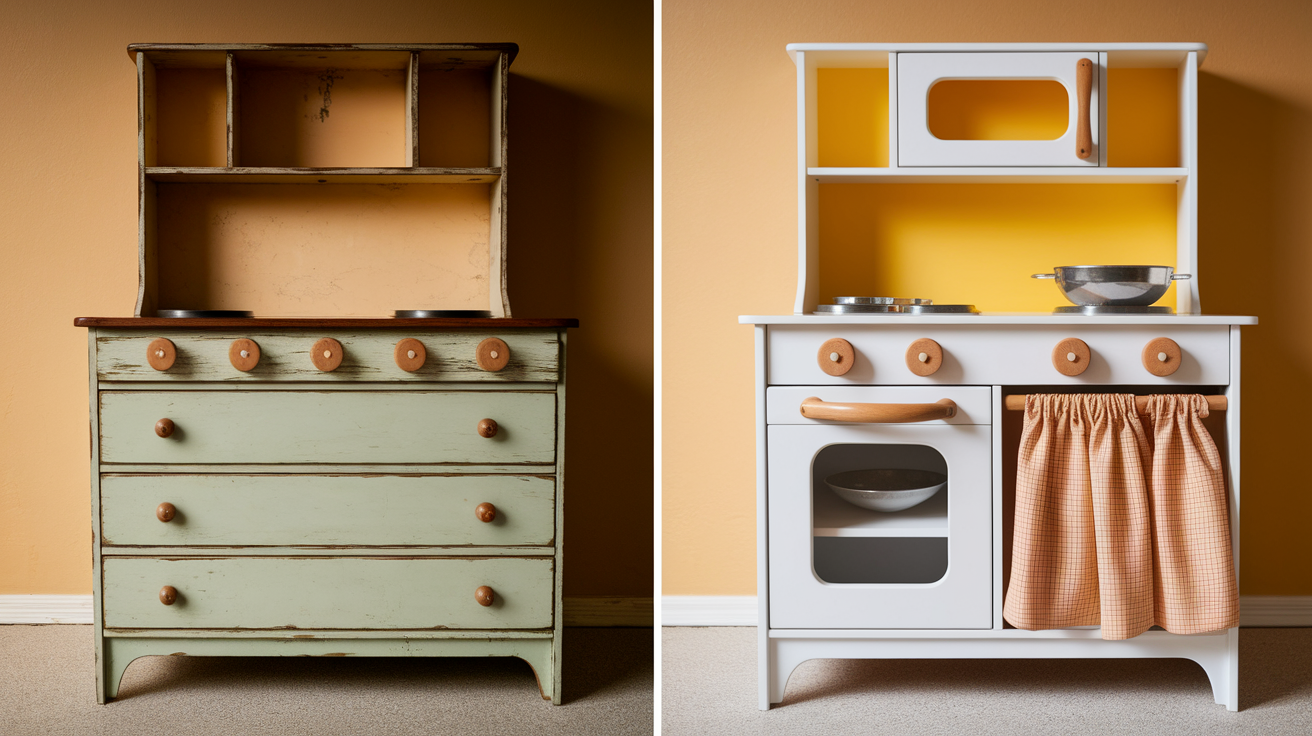
Children love play kitchens, and you can make one from an old dresser. Paint it in fun, bright colors that appeal to kids.
Add wooden knobs as pretend stove controls. Install a small shelf to act as a counter for play food prep. Cut a round hole for a play sink (a metal bowl works well here).
Add curtains to the lower spaces to create “cabinets” for storing play dishes and food. This makes a gift kids will use for years.
Aesthetic: Bright colors make it visually appealing, and curtains offer an element of surprise with hidden storage.
2. Coffee Bar
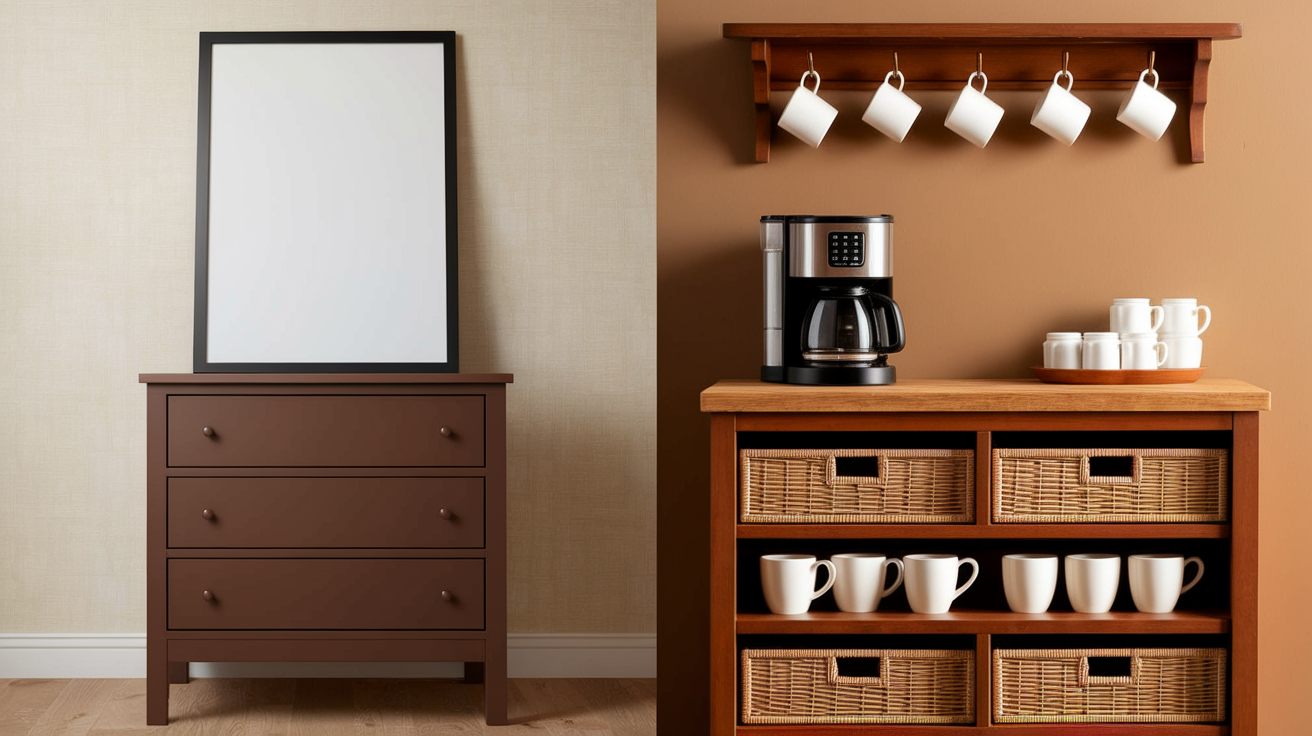
Morning coffee feels special with a dedicated coffee bar. To prevent damage, start with a heat-resistant top on the dresser and install a single shelf for mugs and cups.
Add hooks on the side for measuring spoons and tools. Place small baskets in the open spaces for coffee pods, beans, or teas.
Add a power strip for your coffee maker and other small appliances. This puts everything you need for your morning cup in one spot.
Power Integration: A power strip ensures all appliances are powered in one spot.
3. Bath Storage
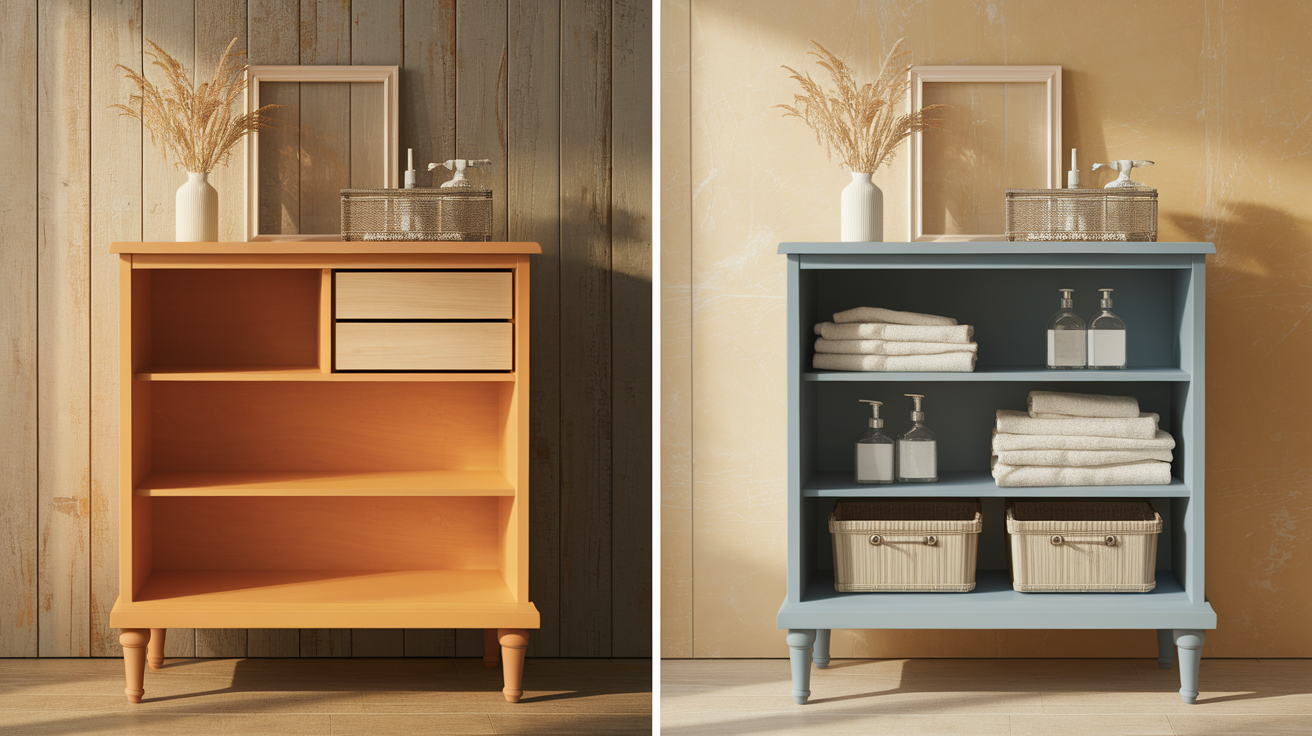
Bathrooms often need more storage space. To protect your old dresser from moisture, apply several coats of a waterproof sealer.
Add glass or plastic shelves inside the open spaces. Install a towel bar on the side for hand towels. Put bathroom items in clear containers so you can see what’s inside.
Use baskets for small items like cotton balls and soap. This looks much nicer than standard bathroom shelves.
Visual Appeal: Clear containers make it easier to spot items, keeping the area looking tidy.
4. Office Desk
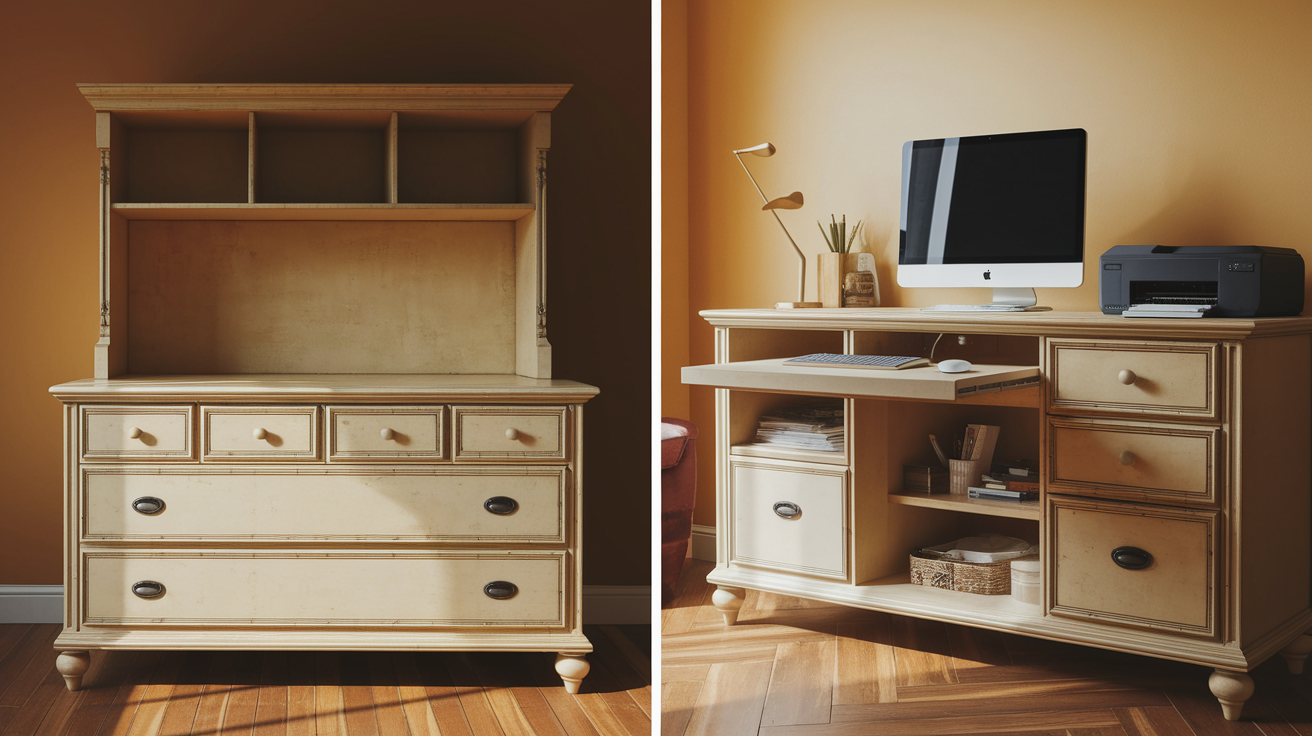
Working from home needs good desk space. Install a pull-out keyboard tray in your dresser for better typing comfort. Add a power strip with surge protection for your computer and devices.
Create paths for cables through the back panel to keep things neat. Include a shelf for your printer at a good height.
Add desk organizers in the open spaces for papers and supplies. This setup helps you work well in small spaces.
Cable Management: Paths for cables help keep the desk area tidy.
5. Hall Console
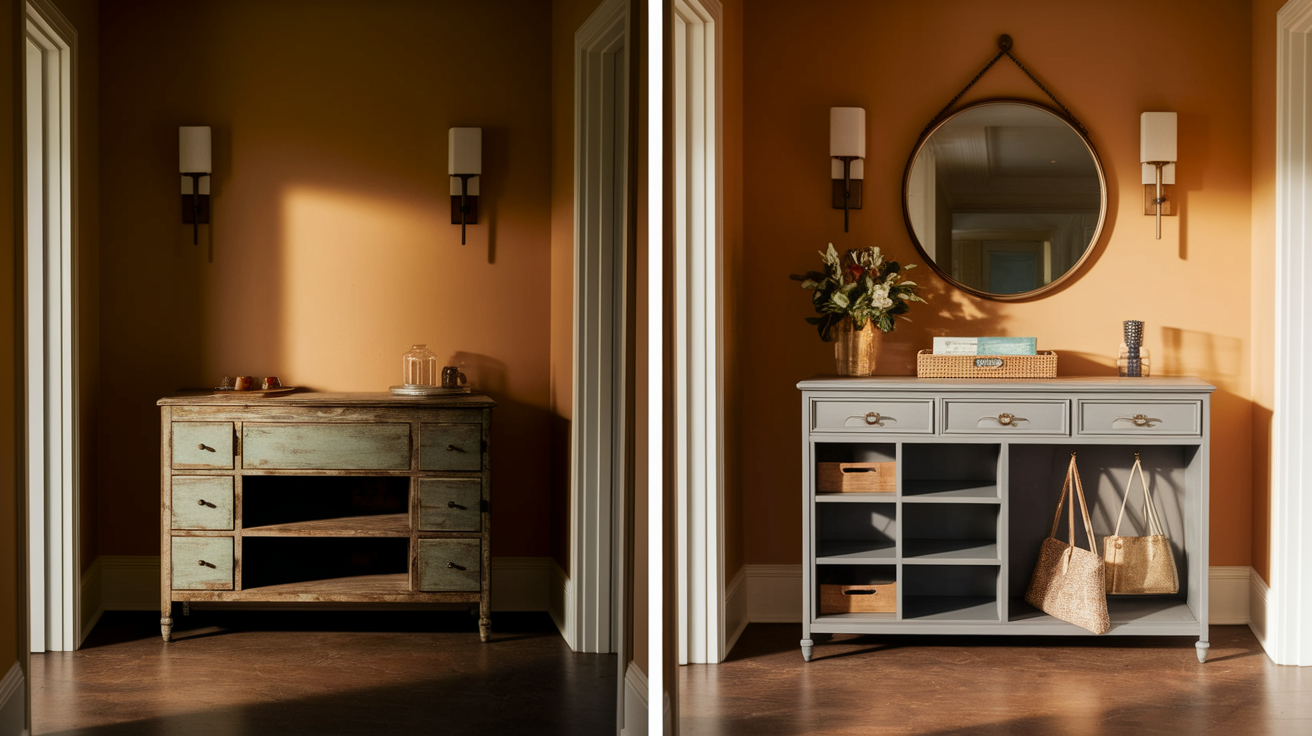
Entry halls work better with a good console table. Place a small tray on top of your converted dresser for keys and small items. Add hooks to the side for bags, coats, or hats.
Install a mail slot or box to keep papers neat. Place a small stool or seat nearby for putting on shoes.
Add a mirror above the dresser so you can check your look before leaving. This will make coming home and going out much smoother.
Mirror: An added mirror helps with last-minute checks before heading out.
6. Gardening Station
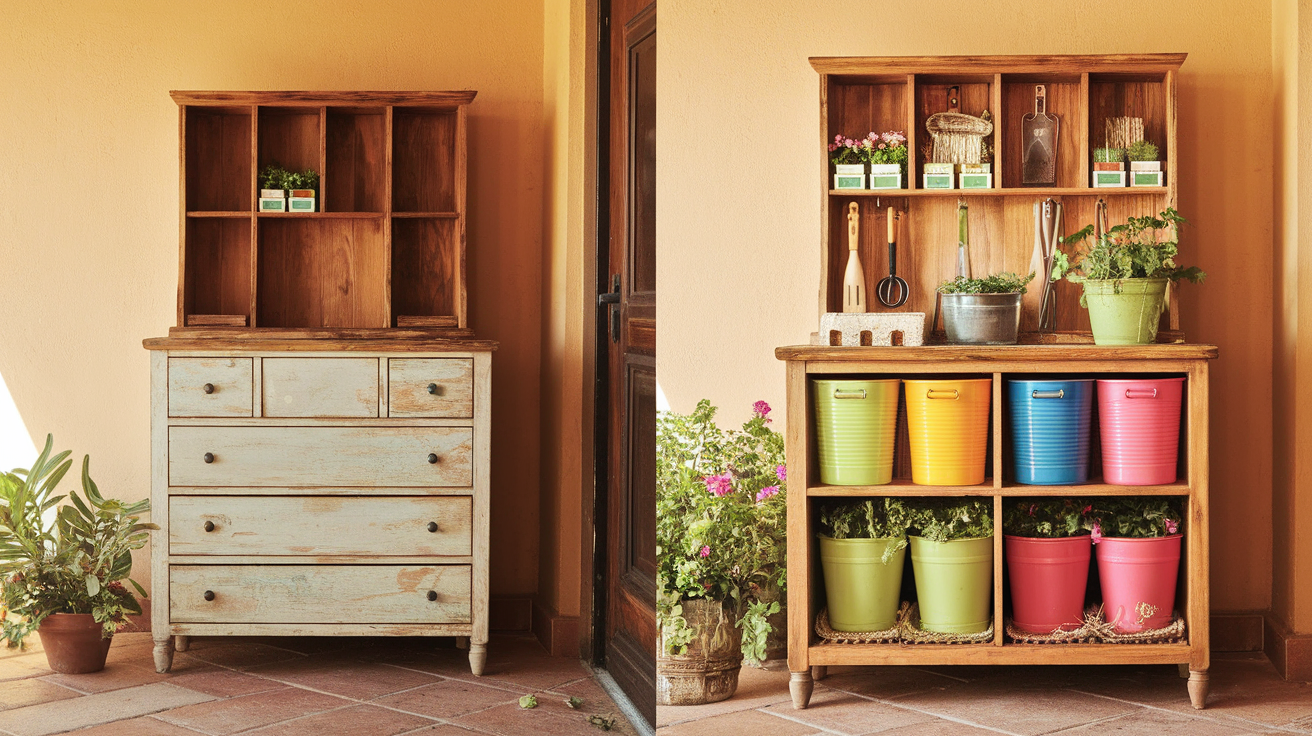
A good workstation makes garden work easier. Apply outdoor wood sealer to protect your dresser from the weather, and line the inside with plastic sheeting to prevent rot.
Install hooks for garden tools on the sides. Add a hose holder on one side for neat storage. In the open spaces, include spots for seed packets and small tools.
Place this in your yard or garage for a useful garden helper that keeps everything in one place.
Weather Resistance: Outdoor wood sealer and plastic sheeting keep the dresser functional outside.
7. Toy Storage
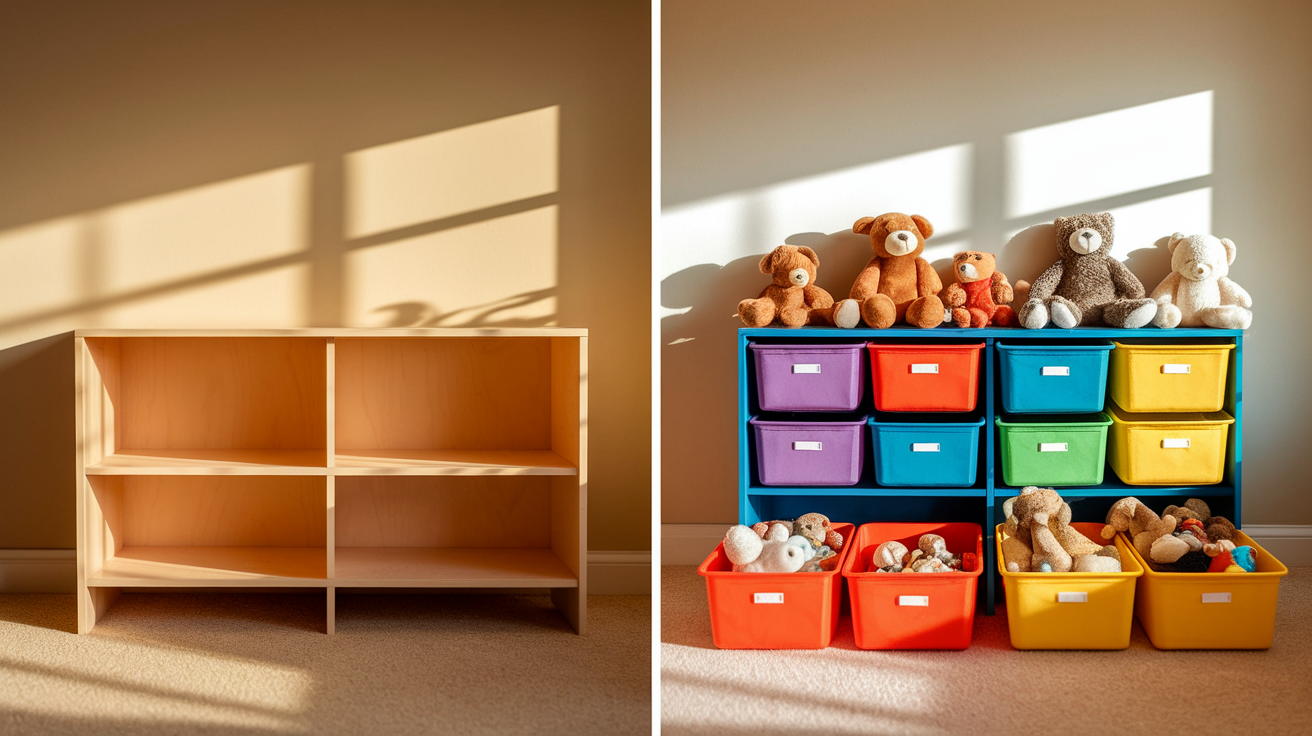
Good toy storage keeps kids’ rooms cleaner. Sand all edges of your dresser until smooth for safety. Paint with safe, non-toxic paint in fun colors.
Add colorful fabric or plastic bins that fit the open spaces. Label bins with pictures for young kids who can’t read yet. Keep this storage unit low so kids can easily reach their toys. This will help teach children to clean up after playtime.
Organization: Fabric or plastic bins and labels make it easy for kids to clean up after playtime.
8. Display Case
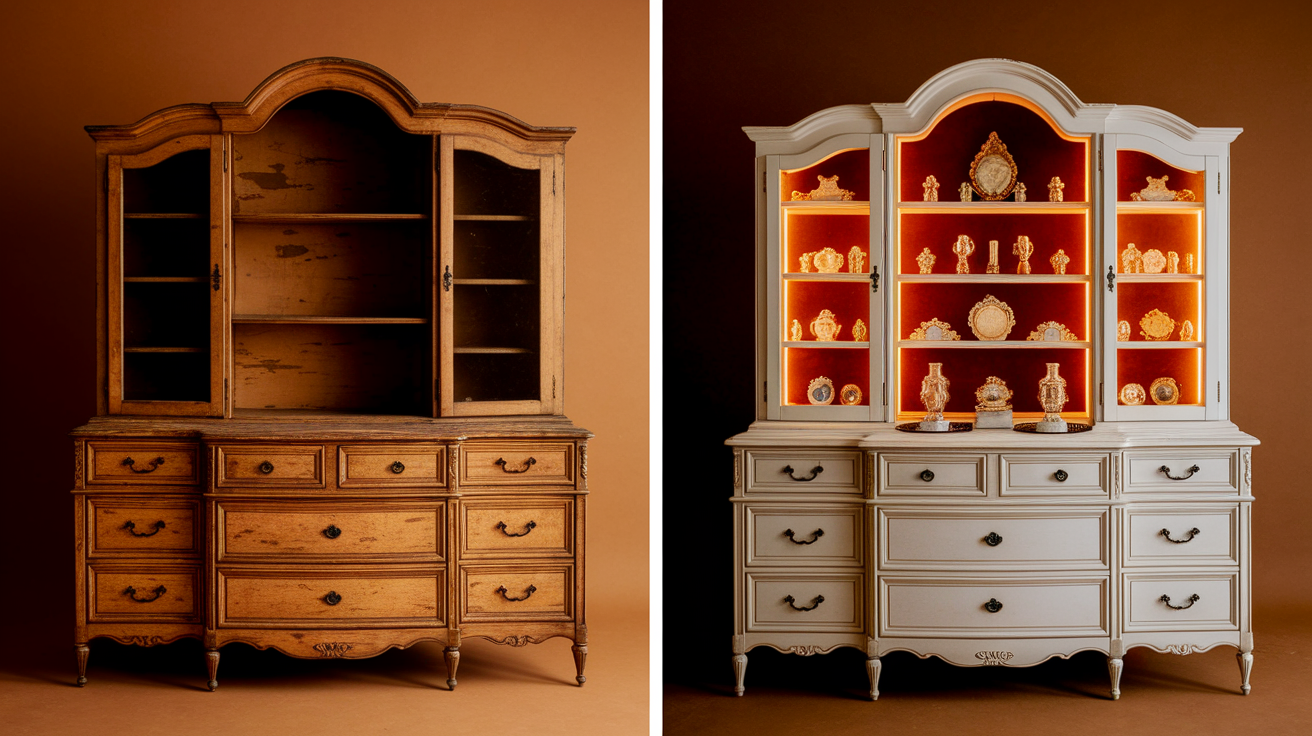
Show off items you love by making a display case. First, clean all interior surfaces well. Cut plexiglass to fit the front openings and attach with small hinges so you can still access items.
Add battery-powered lights inside to highlight your items. Line the back with felt or fabric to create a nice background.
This works well for collections, family items, or seasonal displays that you want to protect while still seeing them.
Versatility: Perfect for collections, seasonal items, or family heirlooms.
9. Bookshelf
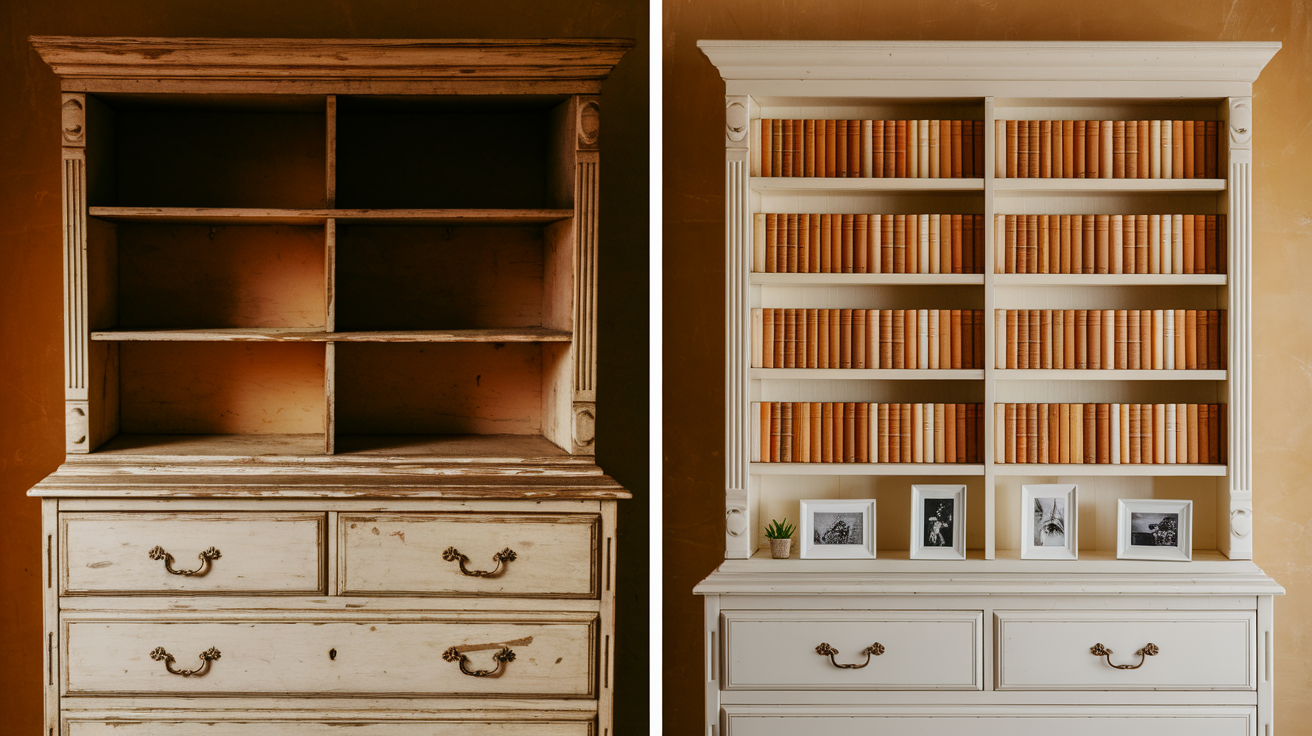
To create a bookshelf from your old dresser, start by taking out all the drawer rails with a screwdriver. Sand any rough spots for safety, then cut plywood pieces that fit each space.
Fix these new shelves in place with wood glue and small nails. Finish with paint or stain that matches your home style.
This simple project turns unused furniture into a useful spot for books, photos, and small items.
Personalization: The option to paint or stain to match home décor enhances the visual appeal.
10. TV Stand
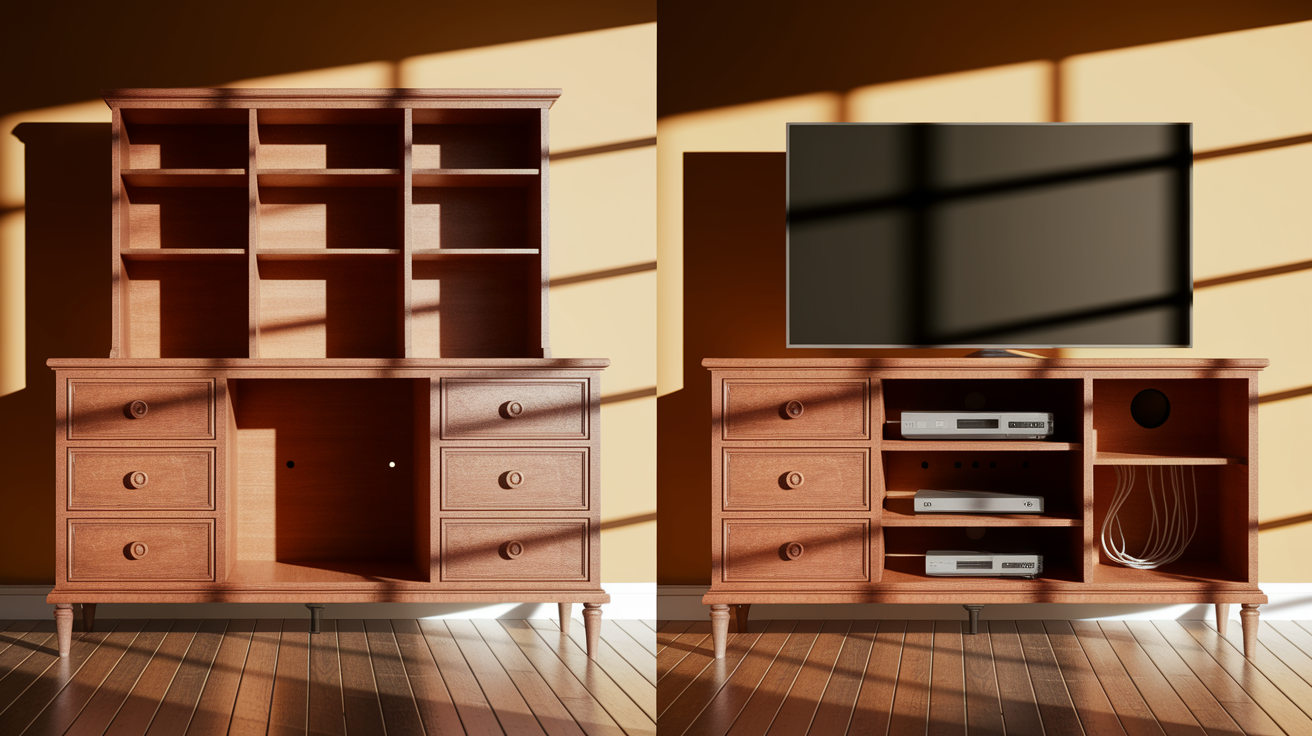
Making a TV stand is easy with an old dresser frame. First, remove all interior hardware, then add a plywood middle shelf to hold cable boxes and game systems.
Drill holes in the back panel for cords and cables. Sand the entire unit and apply fresh paint that fits your room. Put felt pads on the bottom to keep your floors safe.
The top surface works well for your TV, while the open spaces below hold all your media items.
Cable Management: Holes in the back for cords prevent them from becoming tangled or messy.
11. Kitchen Island
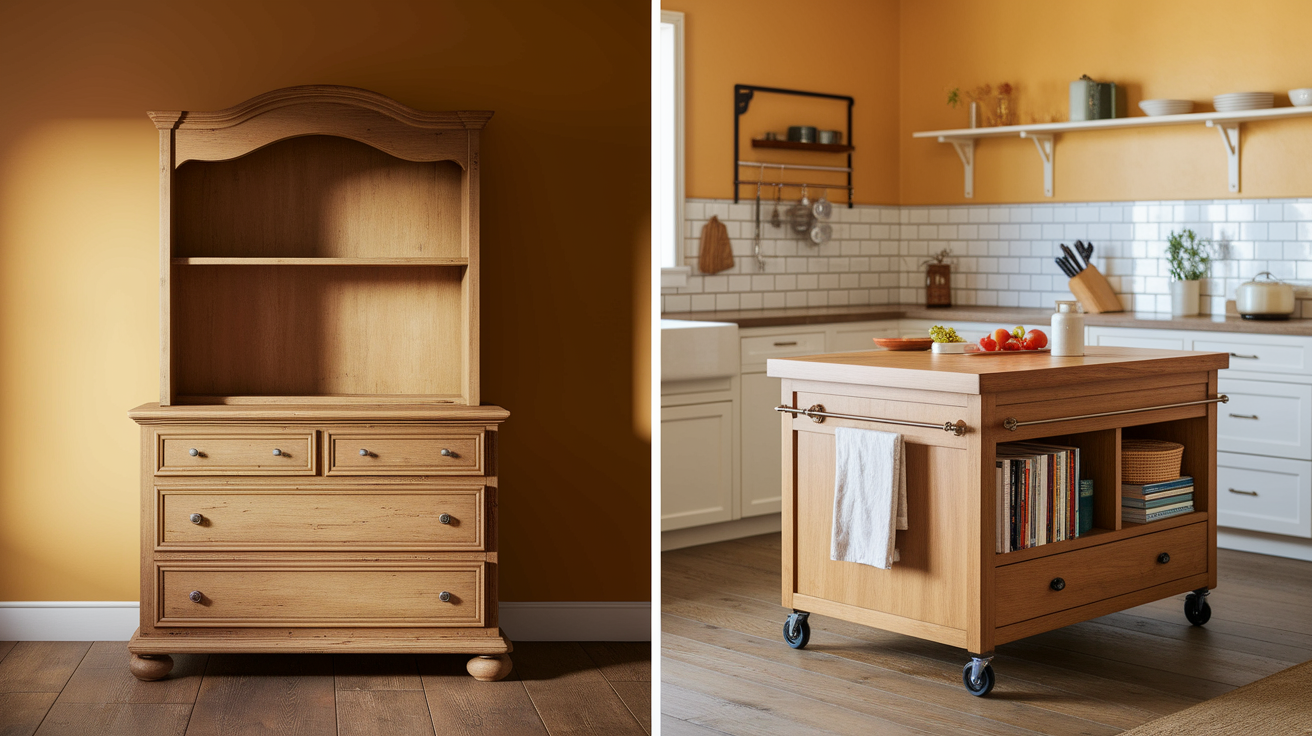
Turn that old dresser into a useful kitchen helper by adding a solid top made of butcher block or sealed wood. Fix the wheels to the bottom so you can move it where needed.
Add some towel bars or hooks to the sides for easy access. Install a shelf inside to hold pots, pans, or appliances.
Seal all surfaces with a food-safe finish to keep them clean and safe. This makes a perfect prep area for small kitchens.
Mobility: Wheels allow for easy movement around the kitchen.
12. Pet Bed
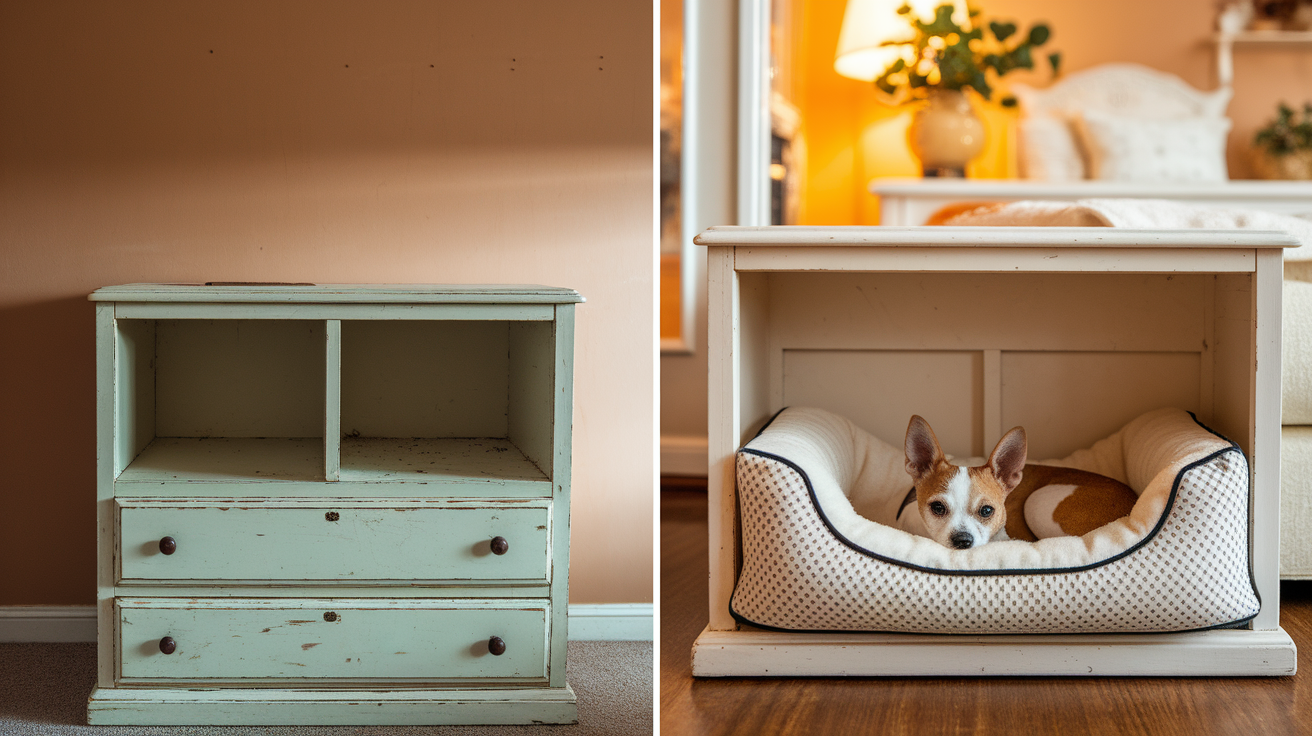
Your pet will love having a special bed made from an old dresser. Clean the inside area well and sand it smooth.
Cut foam to fit the bottom and cover it with washable fabric that matches your room. If you have a small pet, you might want to add a low front piece to keep it secure.
Place the finished pet bed in a quiet corner where your furry friend can rest. This looks much nicer than store-bought pet beds.
Custom Fit: Tailor the size to your pet’s needs and the space available.
13. Plant Stand
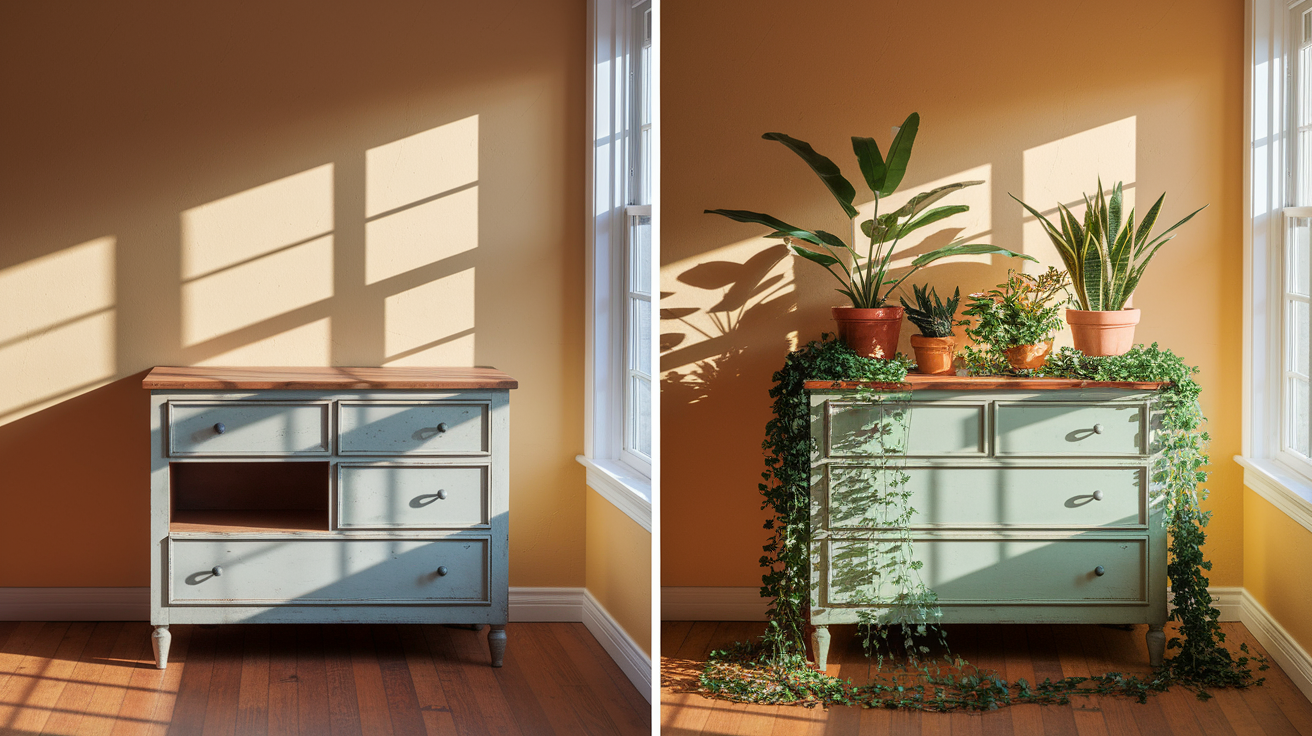
A dresser without drawers makes a great plant display. First, seal the wood well to prevent water damage. Line the inside with plastic sheeting for added safety.
Place saucers under each pot to catch extra water. Group your plants according to their need for light.
Put the stand near a window where your plants will get good light. This setup allows you to show off many plants in a small space.
Stylish: Sealed wood and the ability to add a variety of plant pots make this a beautiful addition to your home.
14. Craft Station
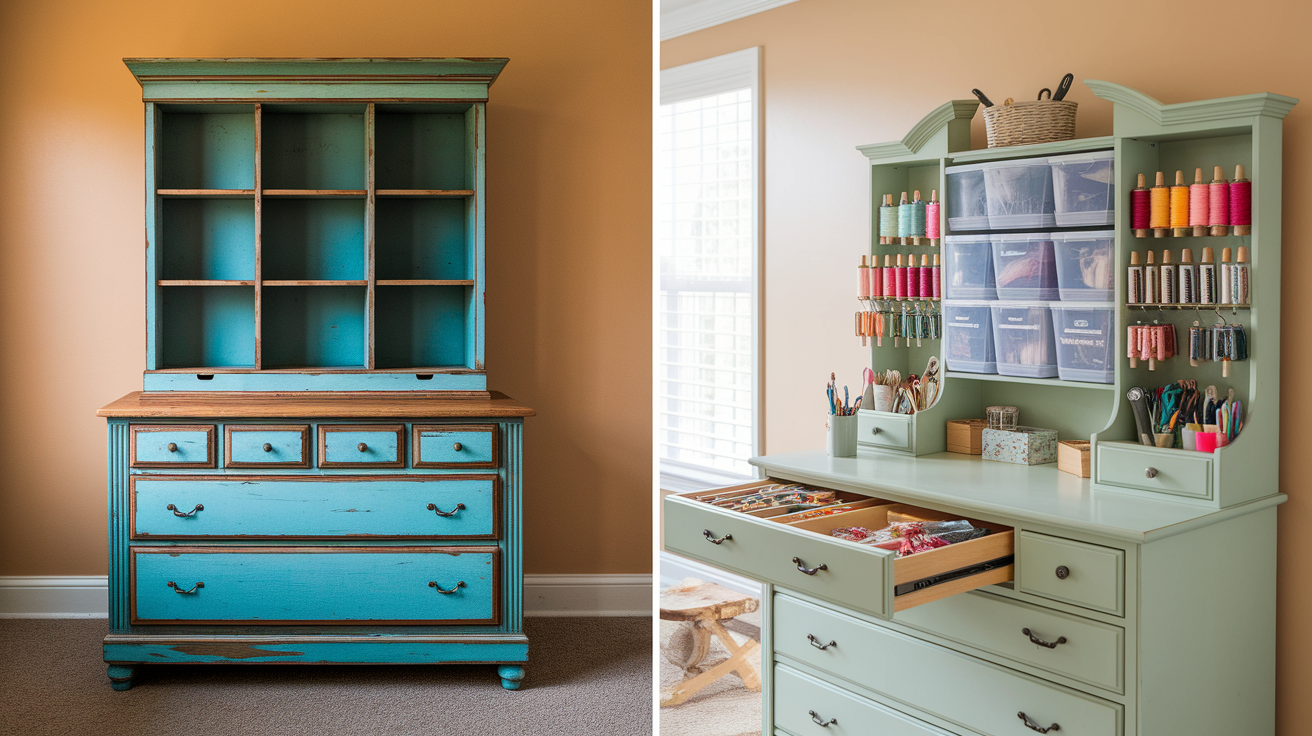
Crafters need good storage, and an old dresser can help. Install a fold-down front panel to create a work surface when needed.
Add small shelves inside for craft supplies and tools. Put cup hooks along the sides to hang tools and items you use often. Find bins that fit the open spaces to hold fabric, yarn, or paper.
Label each container so you can find things quickly. When not in use, everything stays neat and hidden.
Neatness: Everything has its own place, ensuring a clutter-free environment.
15. Bench Seat
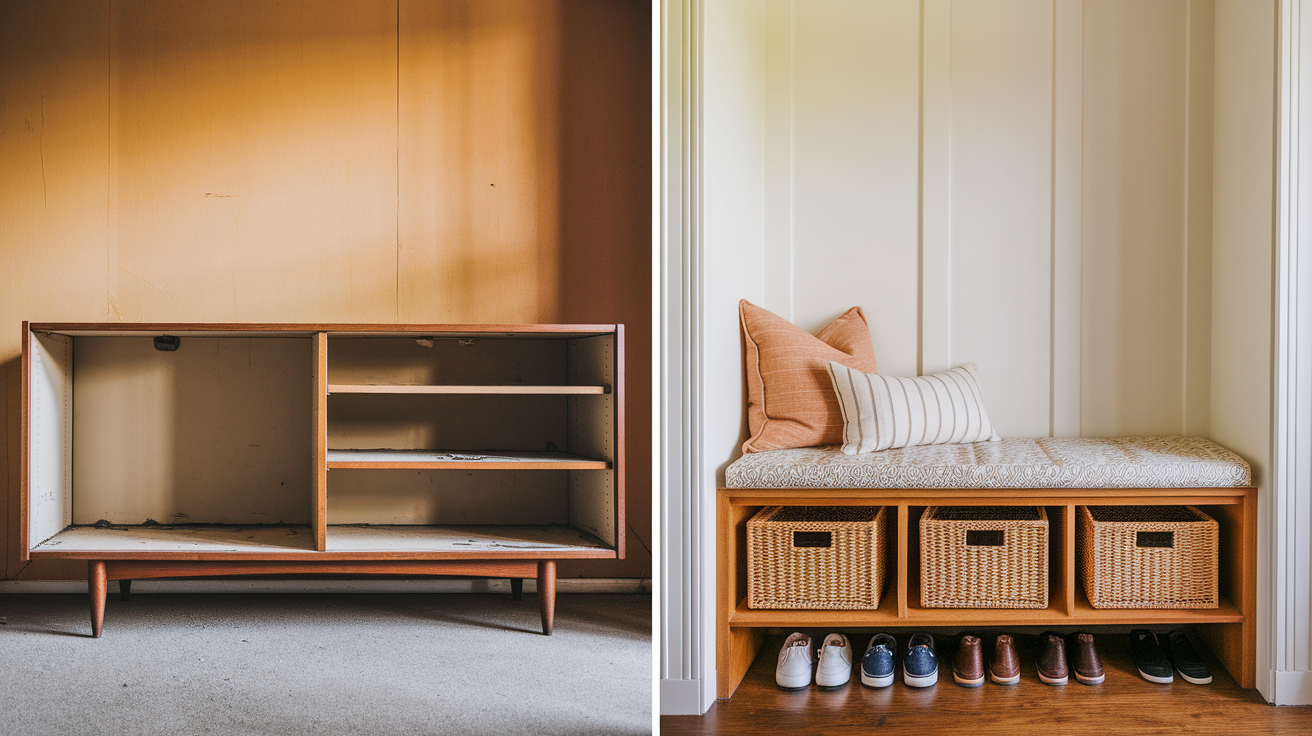
To create a useful bench, build a solid base where the drawers once were. Add thick foam on top for comfort, and cover it with tough fabric that can handle daily use.
Secure the fabric with staples on the underside where they won’t show. Place some nice baskets below for hidden storage.
This bench works well in an entry, at the foot of a bed, or in any room where extra seating helps.
Durability: Tough fabric ensures the bench stands up to daily use.
16. Wine Rack
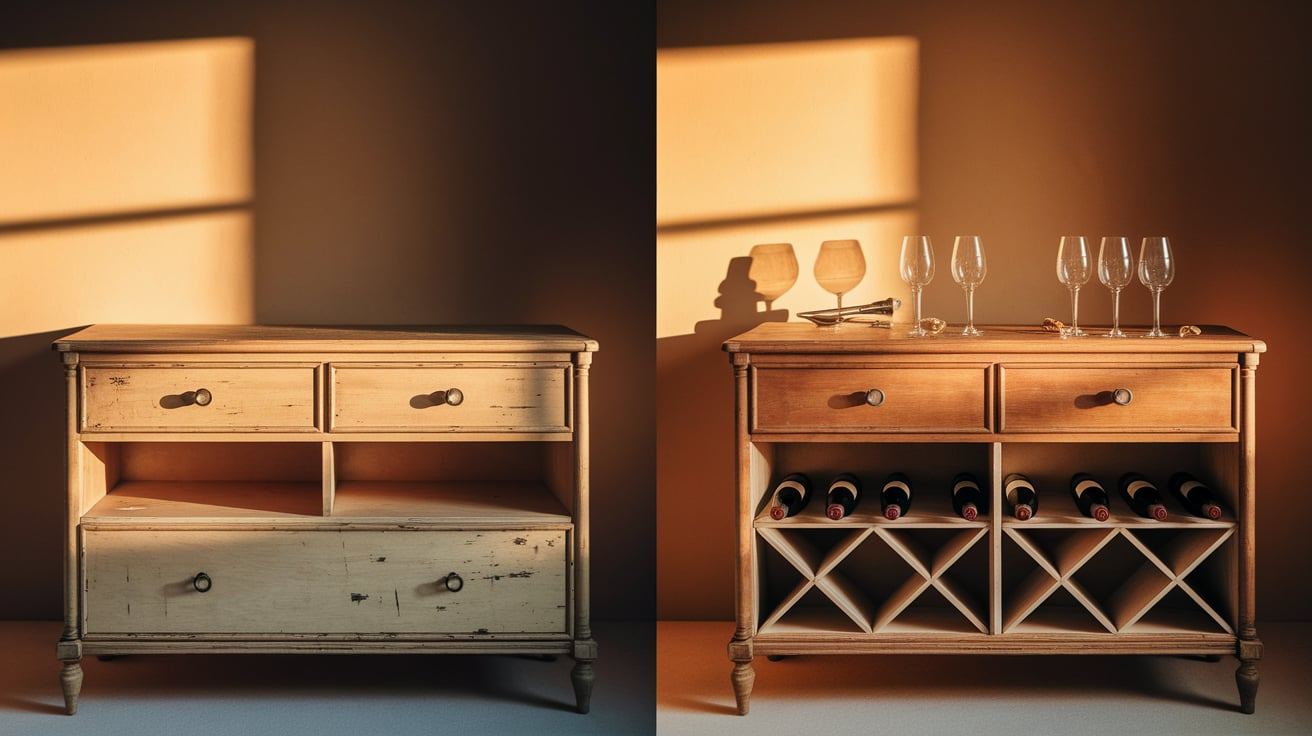
Wine bottles fit perfectly in old dresser spaces. Measure your bottles first, then cut wooden X-shapes to create slots that hold each bottle safely.
Sand all edges until smooth to prevent splinters and damage to labels. Secure these dividers with wood glue and small nails.
Finish with a good wood sealer to protect from spills. The top of the dresser still works well for glasses, openers, and serving items.
Stylish: Adds a rustic or chic touch to your kitchen or dining area.
17. Shoe Storage
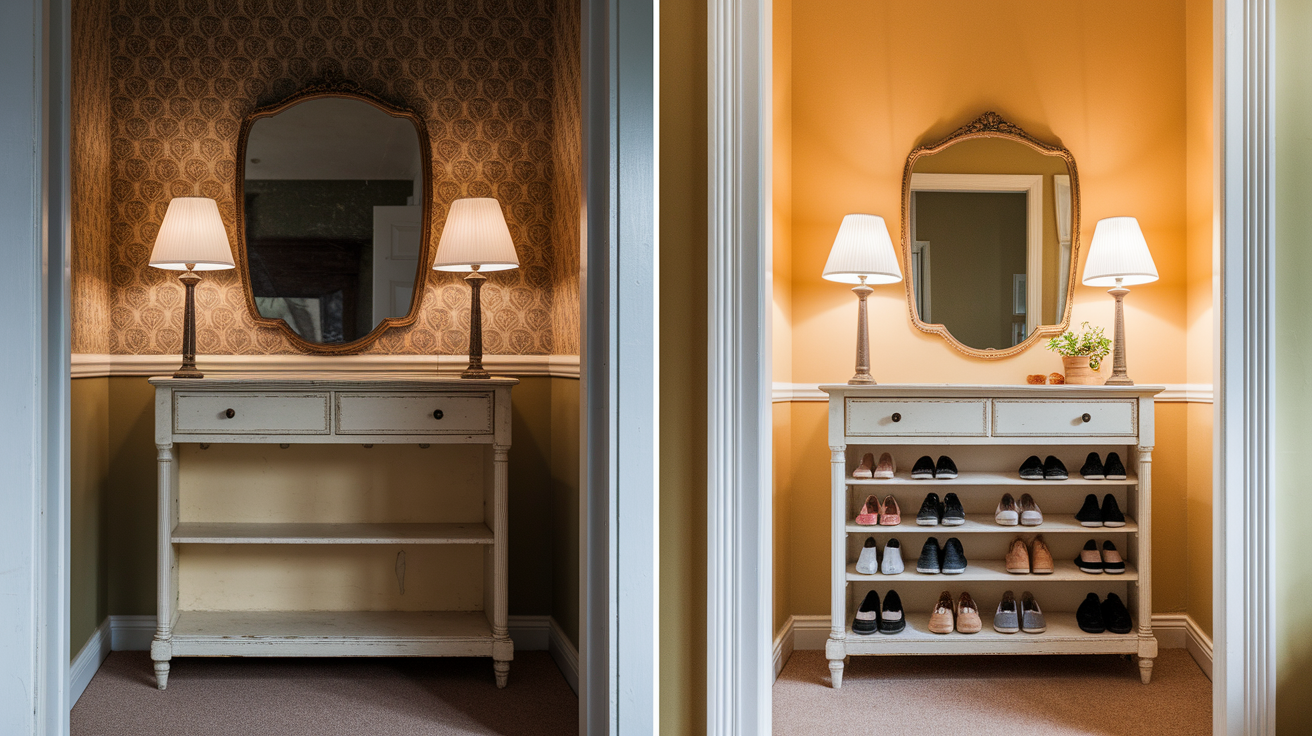
Turn your dresser into shoe storage to keep shoes neat and easy to find. Measure your typical shoe heights, then cut and install small shelves at slight angles so that shoes sit well.
Sand and paint all new wood to match the dresser. For extra help, add a shoehorn hook on the side.
Place this by your front door to make coming and going much faster. No more hunting for matching shoes in the morning!
Practicality: Hooks for a shoehorn help with organization and easy use.
Final Thoughts
Now you have ways to use that old dresser without drawers! There’s no need to throw it away when it can become something useful in your home.
Which idea fits your needs? A bookshelf for your living room? A pet bed for your furry friend? Or maybe a play kitchen for the kids in your life?
The key is to work with what you have. Sand rough edges, add a fresh coat of paint, and think about how the piece will be used in your home.
Don’t forget to share a comment if you try any of these ideas! Others might find help from seeing your project. Happy building, and enjoy your newly useful furniture!

