Step-by-Step Guide to Build Laundry Room Shelves

Ever thought about making your laundry room more useful and organized? Laundry room shelves are a smart way to add storage and keep everything in its place.
Building your own shelves is easier than it sounds. With a few tools, some basic materials, and a little time, it’s possible to create strong and simple shelves that fit your space.
Shelves help hold detergent, baskets, and all those small items that can make the room feel messy.
Even if the goal is to free up floor space or just make laundry day a bit smoother, learning how to build laundry room shelves is a great place to start.
Know Your Space Before You Pick Up a Drill
Before you begin building your laundry room shelf, it’s important to understand the space you’re working with. Here’s what to keep in mind:
- Wall Width: Measure the wall and leave 2–3 inches near corners or appliances.
- Ceiling Height: Measure from the floor to the ceiling. For tall ceilings, plan 3-4 shelves, keeping 12–15 inches of space between them.
- Shelf Depth: The standard depth is 12–16 inches; use 8–10 inches for shelves above machines.
- Washer/Dryer Clearance: Leave 2–3 inches between shelves and machines.
- Wall Support: Find strong areas on the wall to attach the shelves.
- Obstacles: Avoid outlets, vents, or water lines, sketch or tape out your layout first.
Tools & Materials Required
Before you start building your laundry room shelves, gather all the necessary tools and materials.
Having everything ready will make the process smoother, faster, and less stressful.
Essential Tools & Materials
These are the must-have items you’ll need to successfully build sturdy laundry room shelves from start to finish.
| Item | What It’s For |
|---|---|
| Wood boards | To make the shelves |
| Shelf holders | To hold the shelves on the wall |
| Screws | To attach the holders and shelves |
| Tape measure | To measure your space and wood |
| Pencil | To mark where to cut or drill |
| Saw | To cut the wooden boards |
| Sandpaper | To make the wood smooth |
| Drill or screwdriver | To put screws into the wall and wood |
Optional Tools & Materials
These tools and materials aren’t required, but can make the project easier, faster, or give your shelves a more polished look.
| Item | What It’s For |
|---|---|
| Thin wood strips | To cover the rough edges of the shelves |
| Wood stain or paint | To color and protect the shelves |
| Small wood blocks | For extra support under shelves or in corners |
| Paintbrush or rag | To put on stain or paint (if coloring wood) |
| Iron | To stick thin wood strips on shelf edges |
| Clamps | To hold wood pieces together while working |
NOTE – If you already have basic tools, building one or two wood shelves for your laundry room will cost $30–$60 (and not $70-120) for wood, brackets, screws, and paint or stain.
Step-by-Step Guide to Building Laundry Room Shelves
Building laundry room shelves is a straightforward project that improves your space’s organization.
With these easy-to-follow steps, you’ll be able to create functional and sturdy shelves in no time.
Step 1: Look and Measure Your Space

Before you start, check where you want to put your shelves in the laundry room. Move anything that’s in the way, like an old shelf or boxes. Think about what fits best for you.
Use a tape measure to find the length and width for your new shelf.
Leave some extra space so your machines can move if needed. Measuring carefully helps everything fit well later.
Step 2: Cut and Fit the Wood

After measuring, get your wood ready. You can use thick wood for the top shelf and thinner wood for the bottom one.
If you don’t have a big saw, a small hand saw works fine. Just draw a straight line to cut along.
Try fitting the shelves in place. Walls might not be perfectly straight, so you may need to trim or cut a small piece to make the shelf fit tightly. It doesn’t have to be perfect, just close.
Step 3: Cover the Shelf Edges

The sides of plywood can look rough, so cover the front edge with a thin strip of wood, almost like a sticker.
Use a strip that has glue on the back. Heat it with an iron and press it on until it sticks.
After it cools, use a sharp tool or small knife to trim the extra strip so it matches the shelf. Rub the edge with sandpaper to make it smooth. This makes your shelves look neat and finished.
Step 4: Sand and Color the Wood

Now, make your shelves look nice!
Sand all the wood with fine sandpaper and wipe off the dust. If you want to color the wood, start by applying a small amount of color liquid to help the color go on evenly.
Put on the color with a rag, following the lines in the wood. You might need two coats for the color you want. Let it dry, then add a clear coat to protect the wood.
This helps your shelves last longer and look good.
Step 5: Put Up the Shelf Holders

With your shelves ready, it’s time to put up the holders.
Measure and mark where you want the shelves on the wall. Hold a holder in place and mark the screw holes by pressing a screw into the wall.
Find the strong wooden parts inside the wall and screw the holders into them. If you want extra support, use small wood blocks in the corners. Drill small holes first so the wood doesn’t split.
Step 6: Cut Spaces and Add Edge Strips

If necessary, cut small spaces in your bottom shelf for pipes or plugs. Use a ruler to make straight lines before cutting. This helps the shelf fit flat against the wall.
Add a thin strip of wood to the ends of your shelves to stop things from falling behind your machines.
Hold the strip in place, drill holes, and nail it down. This keeps small items safe and easy to find.
Step 7: Finish and Check Your Work

Put your shelves on the holders and screw them down. Use any extra holders for more support if you have them. When done, step back and enjoy your new shelves!
Remember to clean your brushes after painting or coloring.
Always make sure holders are screwed into the strong parts of the wall so your shelves stay strong. Take your time and be proud of your work!
Check How It’s Done: DIY Laundry Room Shelves
For a detailed tutorial, you can check out this video by Schonz.
Shelving Ideas That Are Both Stylish and Practical
Once you’ve learned how to build a shelf, it’s time to explore some creative shelving ideas for your laundry room that are both functional and stylish.
If you’re aiming for a simple design or something more unique, here are some great options to consider:
1. Minimalist Floating Shelves

Minimalist floating shelves are a great choice for keeping your laundry room organized and stylish. Here’s why:
- Space for Essentials: These shelves provide storage for laundry essentials, including detergent, towels, and fabric softeners.
- Airy Feel: They are perfect for smaller laundry rooms, creating a spacious look without adding clutter.
- Versatility and Style: Use them for both practical items and decorative touches, like plants, combining style and functionality in your space.
2. Open Wooden Shelving for Baskets
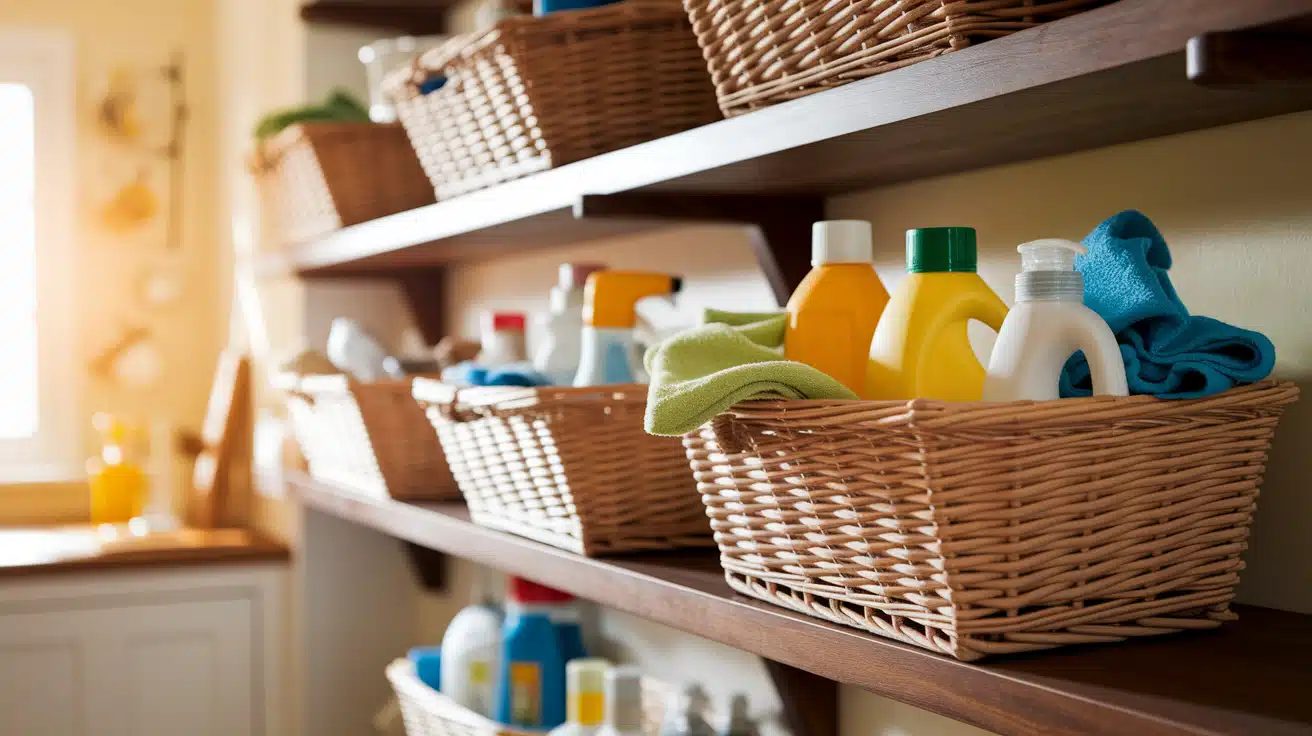
Open wooden shelving with baskets underneath provides a simple yet effective storage solution for your laundry room.
Here’s why this design works well:
- Organized Storage: Baskets help keep detergents, clothes, and cleaning tools neatly arranged and easy to access.
- Rustic Aesthetic: The design creates a warm, rustic feel, adding charm to your laundry room.
- Customizable Look: You can stain or paint the wood to match your existing decor, offering a personalized touch.
- Functional and Stylish: The open shelves make it easy to reach your items while enhancing the room’s overall look.
3. Metal-Frame Utility Shelves

Metal-frame utility shelves bring a modern, industrial touch to your laundry room with their sleek, sturdy design. Here’s why they work:
- Durable and Long-Lasting: These shelves are built to withstand heavy use, holding larger laundry items like detergent containers, bins, and cleaning supplies.
- Easy Installation and Maintenance: They’re simple to set up and maintain, offering a practical storage solution.
- Bold, Utilitarian Style: With their strong design, they add character to your laundry room without overcrowding the space.
The Bottom Line
Building laundry room shelves is a fun way to make your home more useful and better organized while saving money.
When you choose the right materials and follow each step carefully, you can create shelves that last for years and look great in any space.
A good set of shelves keeps your laundry supplies close, makes the room feel bigger, and turns a simple chore into something easier.
Take your time, measure well, and enjoy the satisfaction of building something that works for you and your home.
What’s your favorite laundry room shelf style or idea? Tell us, share with us in the comments below.


