White Wax Before and After Results on Furniture
Are you looking for ways to refresh your old wood furniture? I’ve found that white wax can make a big difference. Many people don’t know about this simple trick that can change how wood pieces look in your home.
In this blog, I’ll show you what happens when you use white wax on wood furniture. You’ll see clear before-and-after examples that might surprise you.
I’ve tried this method on several pieces in my own home with great results. White wax is easy to use and doesn’t cost much.
It can give new life to tables, chairs, and cabinets that seem dull or dated. The change can be subtle or bold, depending on how you apply it.
I’ll walk you through the steps, share tips from my own trials, and help you avoid common mistakes. Let’s look at how white wax can update your wood furniture.
The Basics of White Wax for Wood Finishing
White wax is a type of finish that adds a light, soft look to wood surfaces. It’s made of natural waxes mixed with white pigments that settle into the wood’s grain. I find it works well on both new and old pieces.
Unlike paint, white wax allows the wood grain to show through while adding a subtle hint of white color. This makes it perfect for styles like farmhouse, cottage, or French country decor.
You can buy white wax at most home stores. It comes in tins and is solid at room temperature. You’ll need a soft cloth or wax brush to apply it to your wood.
The best part is that it’s not hard to use. Even if you’ve never fixed up furniture before, you can get good results.
How to Apply White Wax in Simple Steps
Applying white wax to wood isn’t difficult if you follow a few key steps. I’ve found that taking your time leads to the best results.
Let me show you my tried method that has worked well for all my projects.
Materials Required
- White Furniture Wax: Comes in tins and gives that soft, aged look to wood.
- Lint-Free Cloths: Old t-shirts work great for this job.
- Paint Brush: Helps get wax into carved areas and details.
- Fine Sandpaper: Makes the surface smooth for better wax grip.
- Wood Cleaner: Removes dirt that might show under the wax.
- Protective Gloves: Keep your hands clean during the process.
Step 1: Clean the Wood Surface
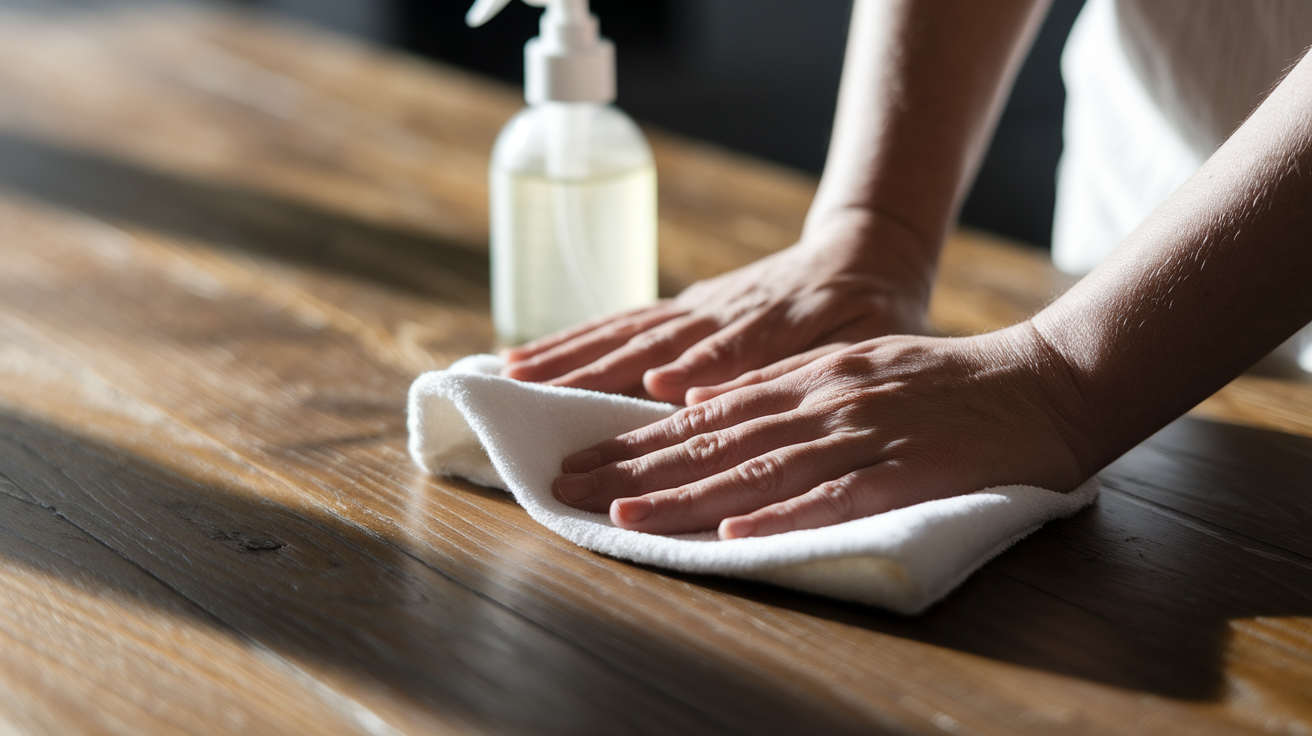
Make sure your furniture is free of dust and grime. Use wood cleaner and allow it to dry completely. Any dirt left behind will show up under the white wax and may ruin your finish.
I like to wipe down the piece twice to be sure it’s totally clean.
Step 2: Light Sanding
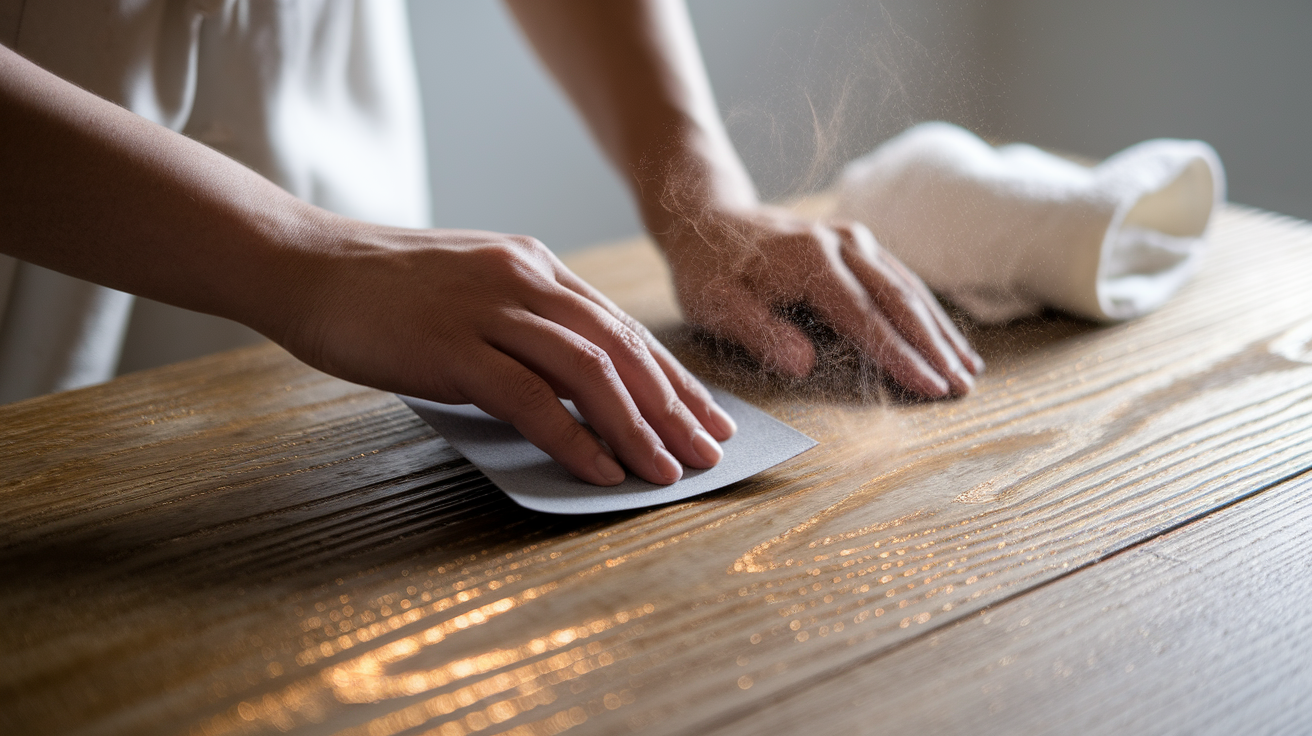
Sand the surface lightly with fine paper. This helps the wax stick better to the wood.
You don’t need to sand hard – just enough to rough up the surface a bit. Wipe away all dust with a damp cloth after sanding.
Step 3: Apply the Wax
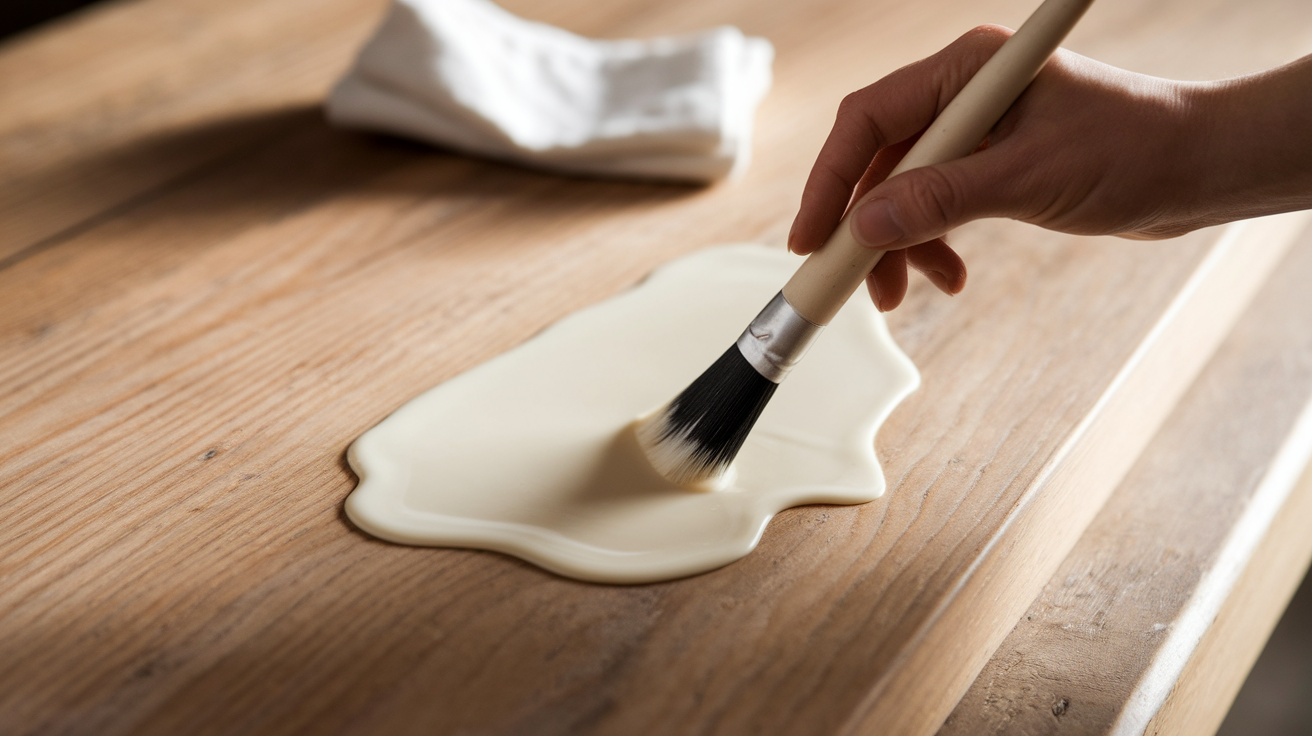
Use a cloth or brush to put a thin layer of wax on the wood, going with the grain. Start with small areas so the wax doesn’t dry before you can work with it.
I find that using a brush for cracks and details, then a cloth for flat areas, works best.
Step 4: Let It Sit
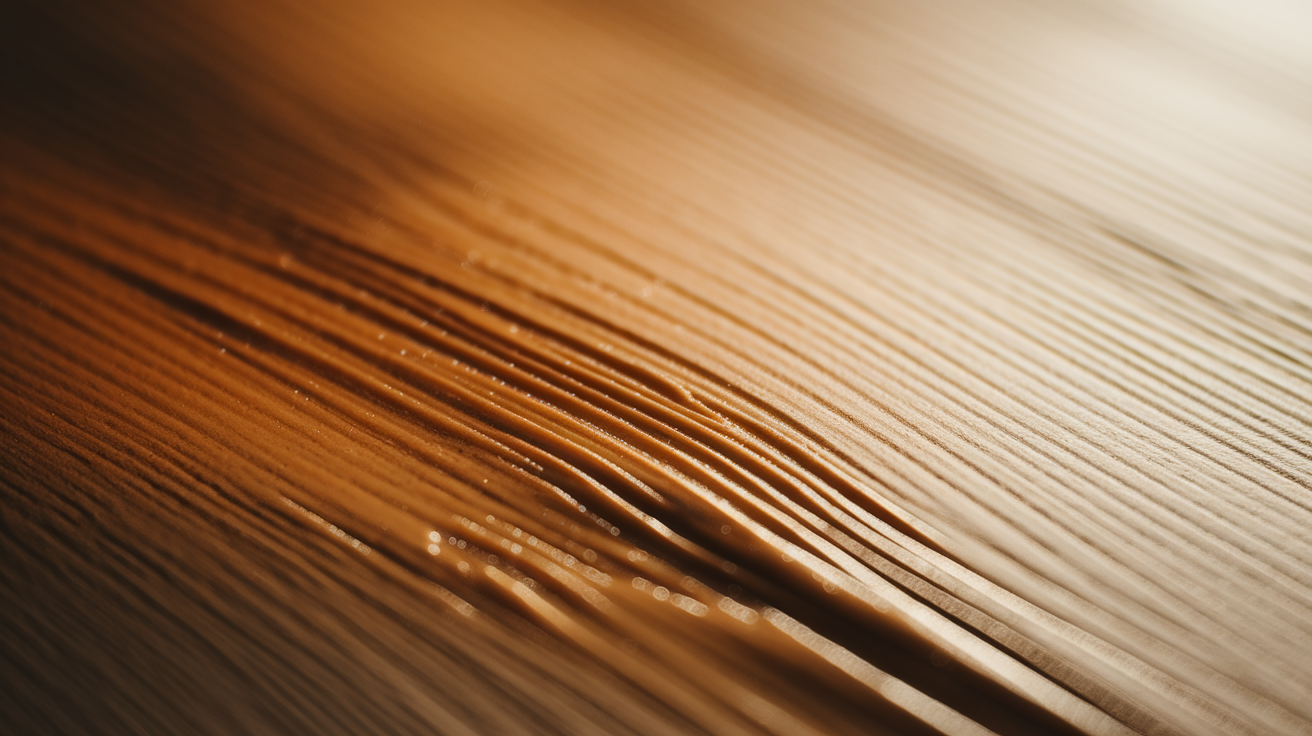
Wait about 5-10 minutes for the wax to start setting up on the surface. This wait time is key – too short and the wax will smear, too long and it gets hard to work with.
The wax should feel tacky but not wet when you touch it.
Step 5: Buff the Surface
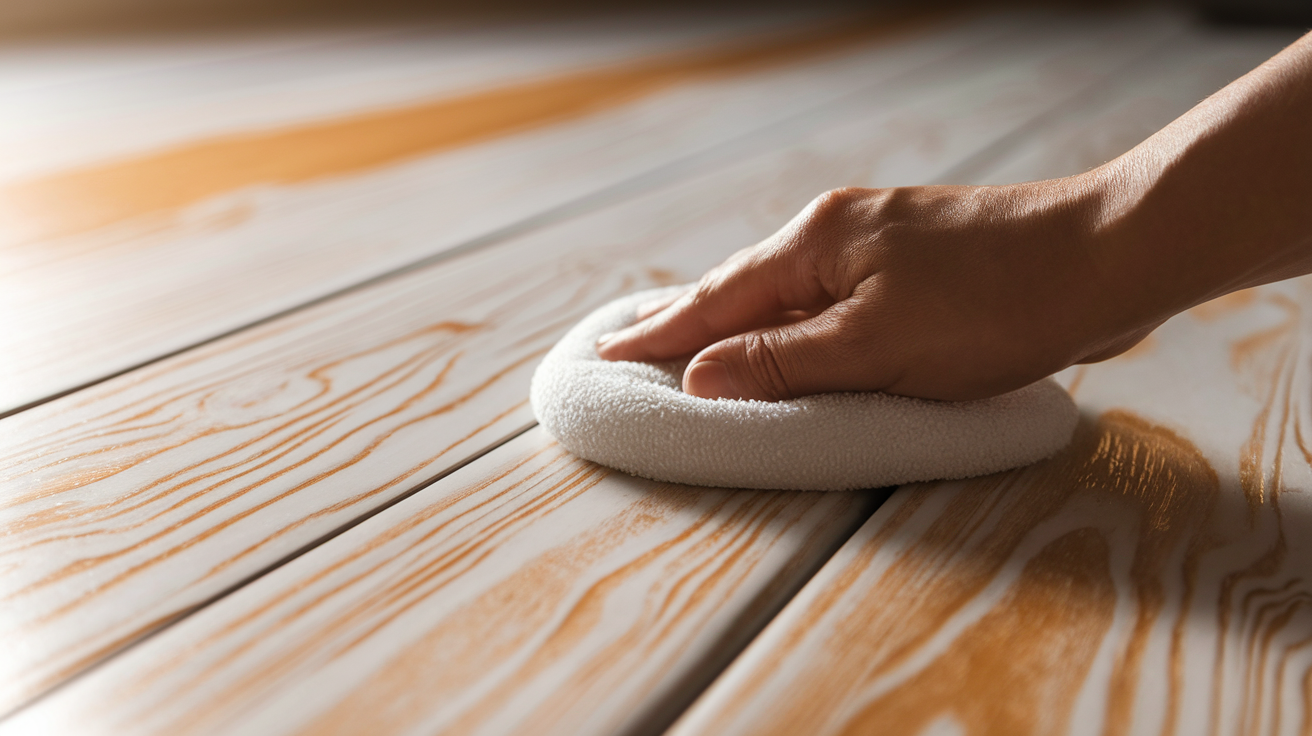
With a clean cloth, buff the wax in small circles until you get the look you want. More pressure removes more wax, giving a subtle look.
Light pressure leaves more white behind. Keep a fresh side of your cloth ready as you work.
Step 6: Add More Layers if Needed
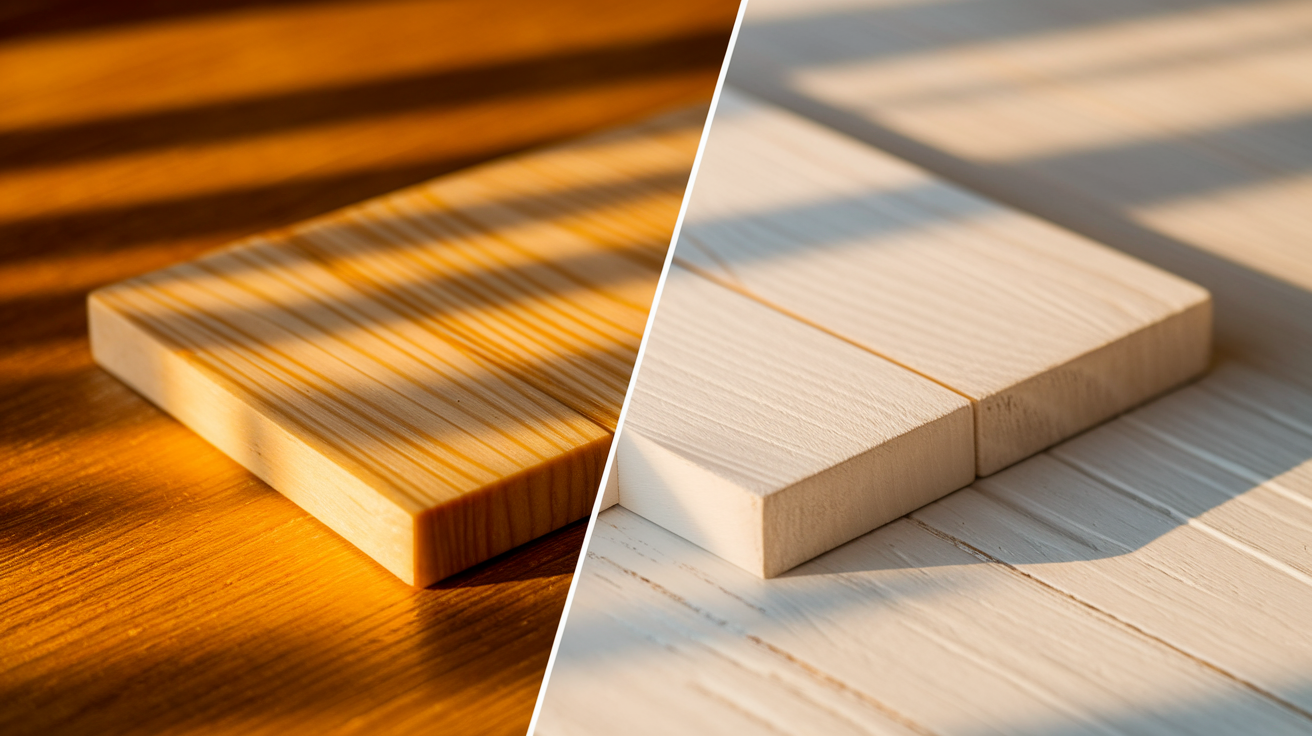
For a stronger white effect, add another thin coat after the first one dries. Wait at least 24 hours between coats for the best results.
Each layer will make the white clearer, so stop when you like what you see.
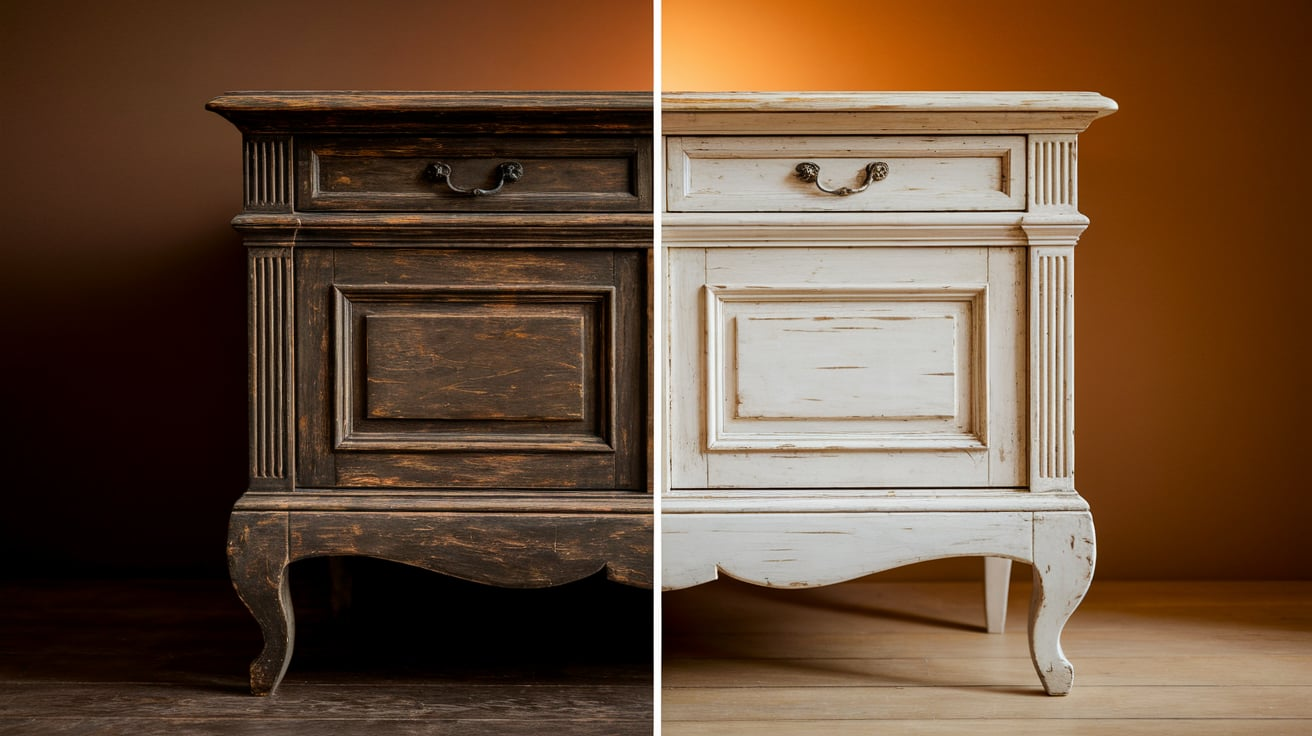
Before and After Applying White Wax
I’ve used white wax on several pieces of furniture in my home, and the results have always impressed me.
Below are examples showing what different wood pieces looked like before and after I applied white wax. These examples may help you visualize the types of changes you can expect in your projects.
1. Oak Dining Table
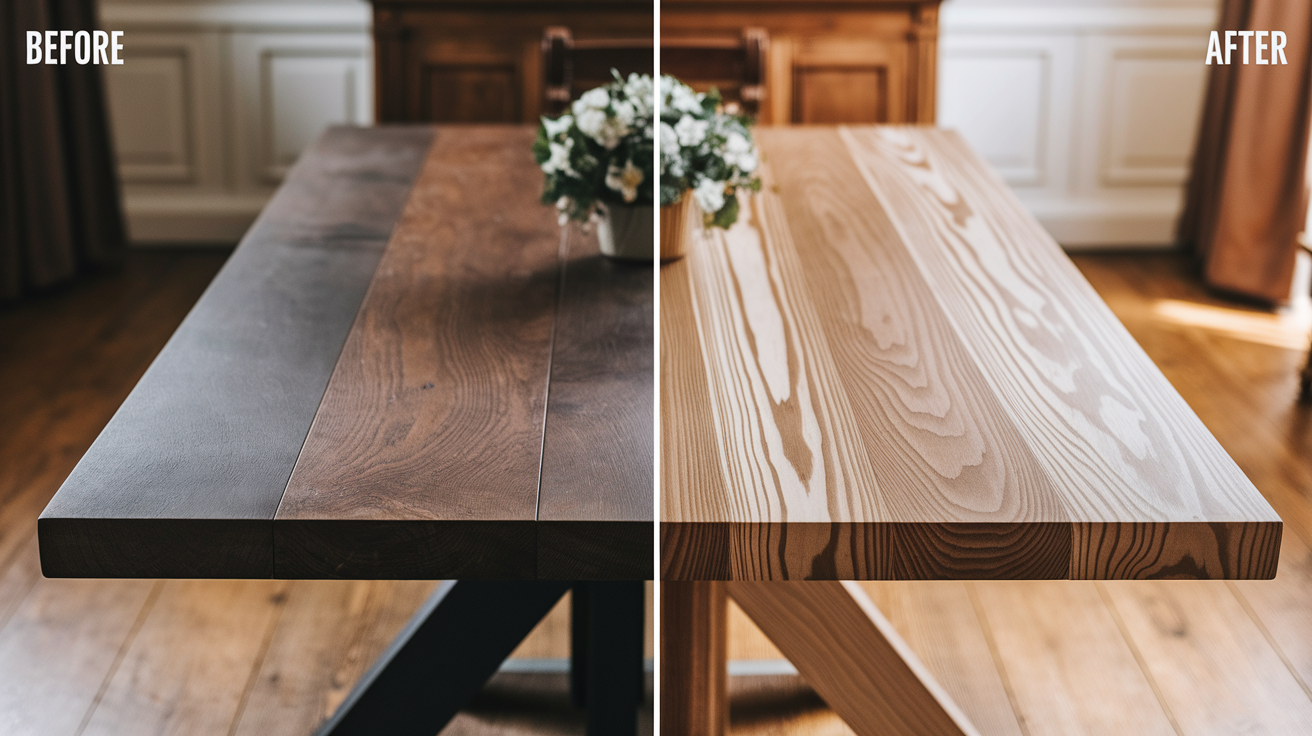
Before: Dark brown with visible grain, the table looked heavy and dated in my dining room.
After: Soft, muted brown with white highlights in the grain. The table now feels lighter, and the beautiful grain pattern stands out more.
2. Pine Bookshelf
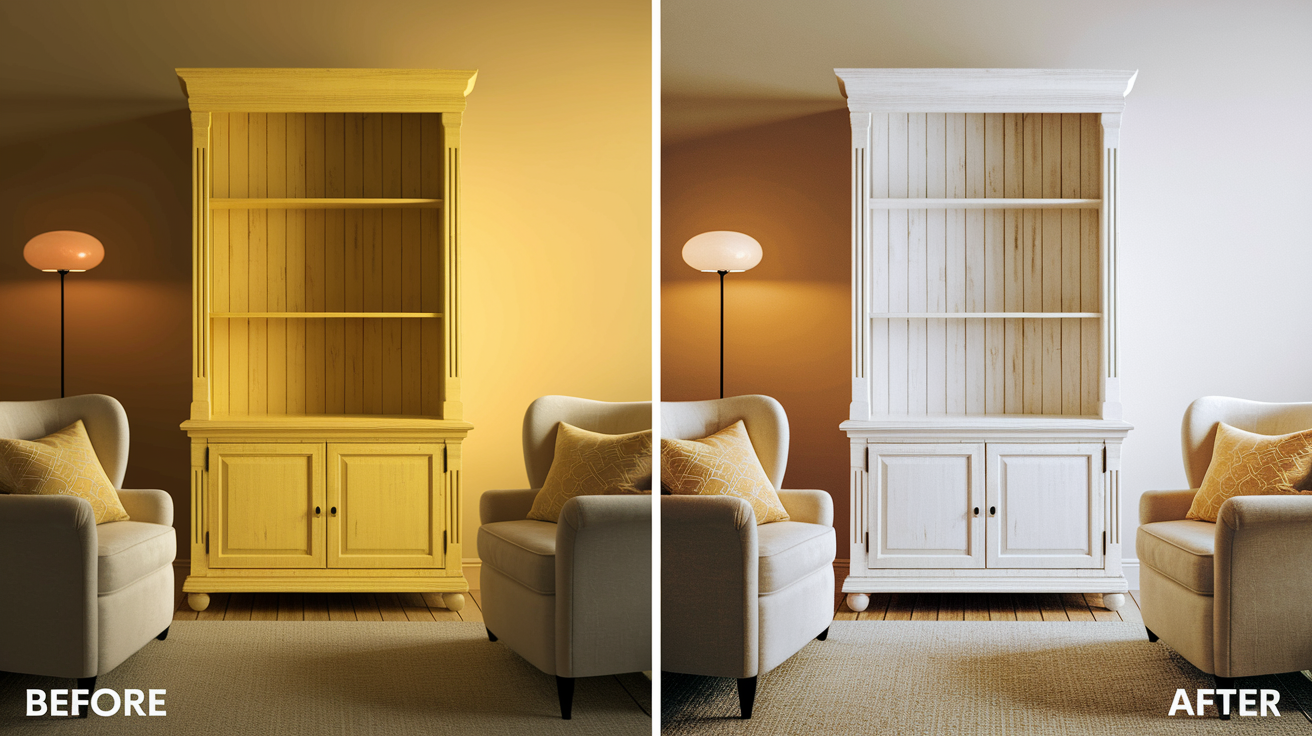
Before: Yellow-toned raw wood that clashed with my other furniture pieces.
After: Subtle whitewashed look with natural texture still visible. The yellow tone is gone, and it matches my other furniture better.
3. Mahogany Chest
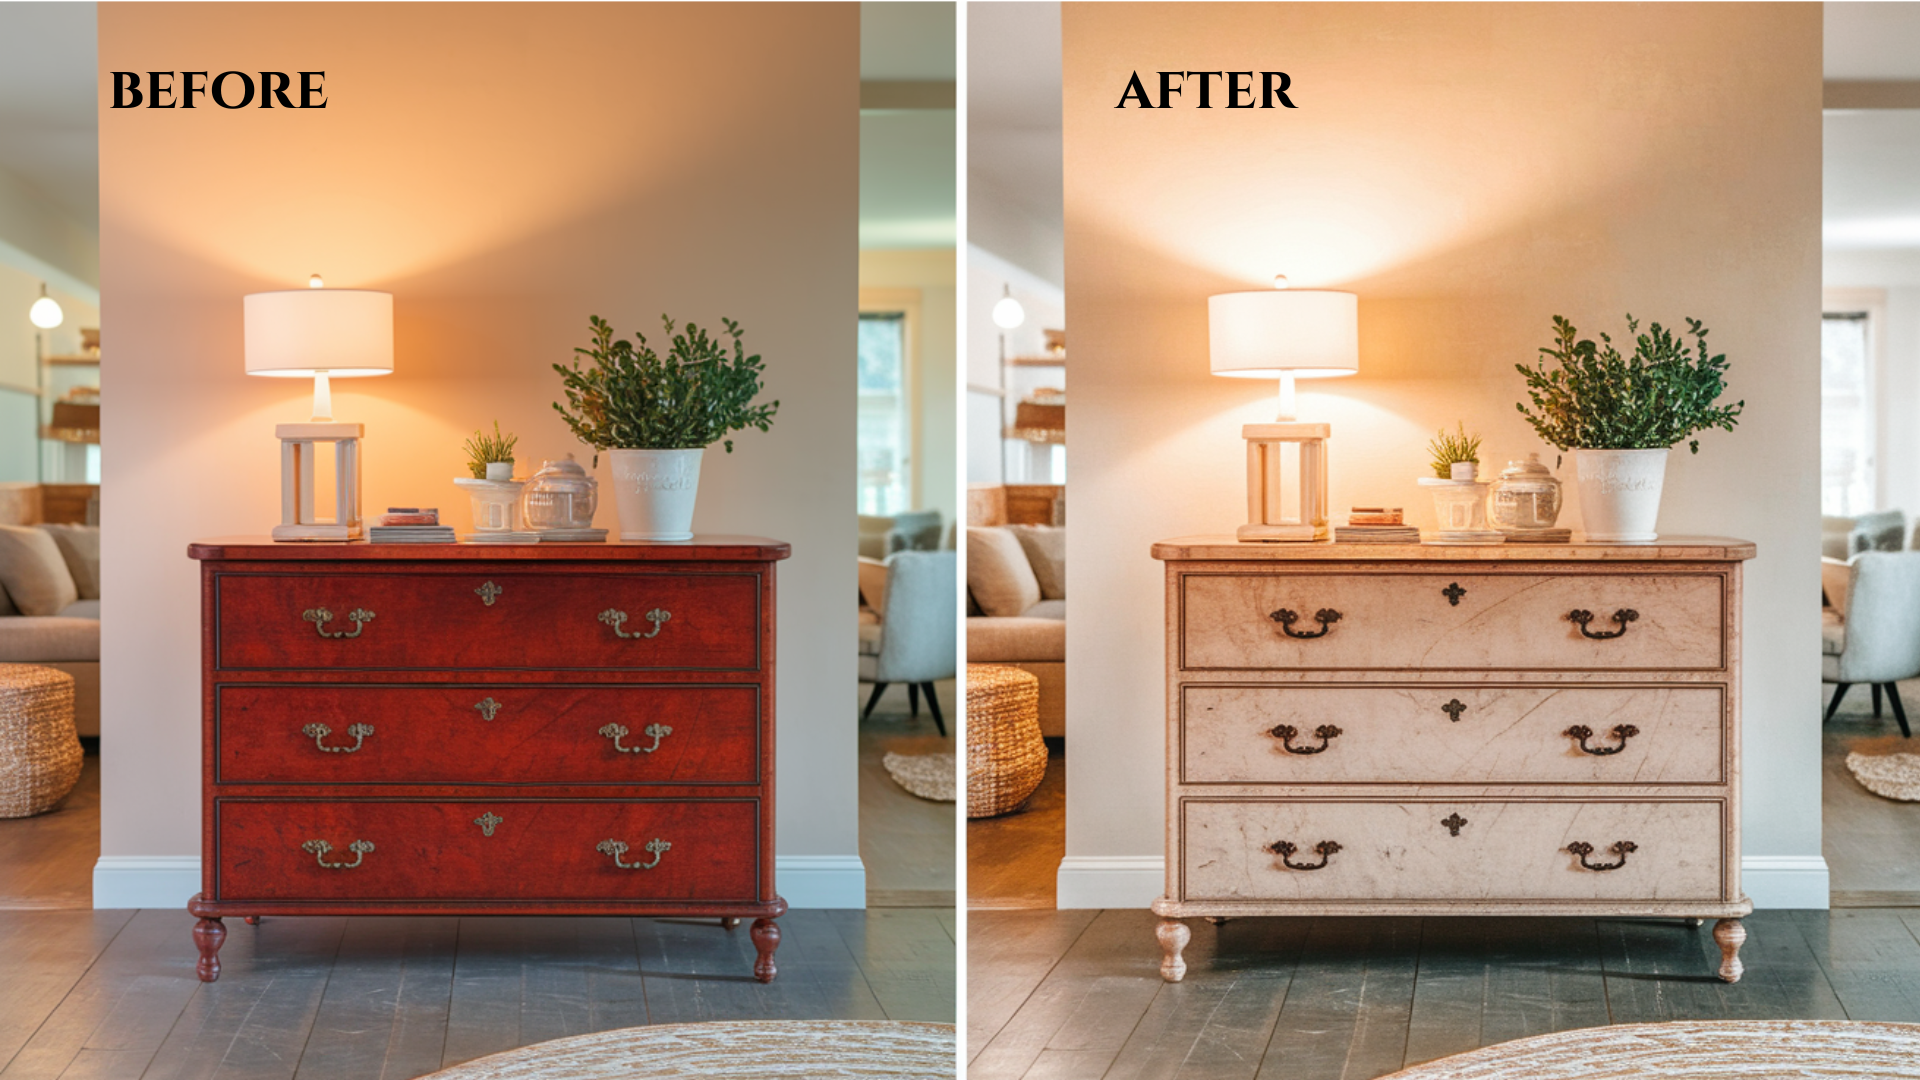
Before: Rich red-brown with a very formal look that felt out of place in my casual home.
After: A gentle antique finish with reduced red tones, it now looks more casual and fits better with my country-style decor.
4. Walnut Coffee Table
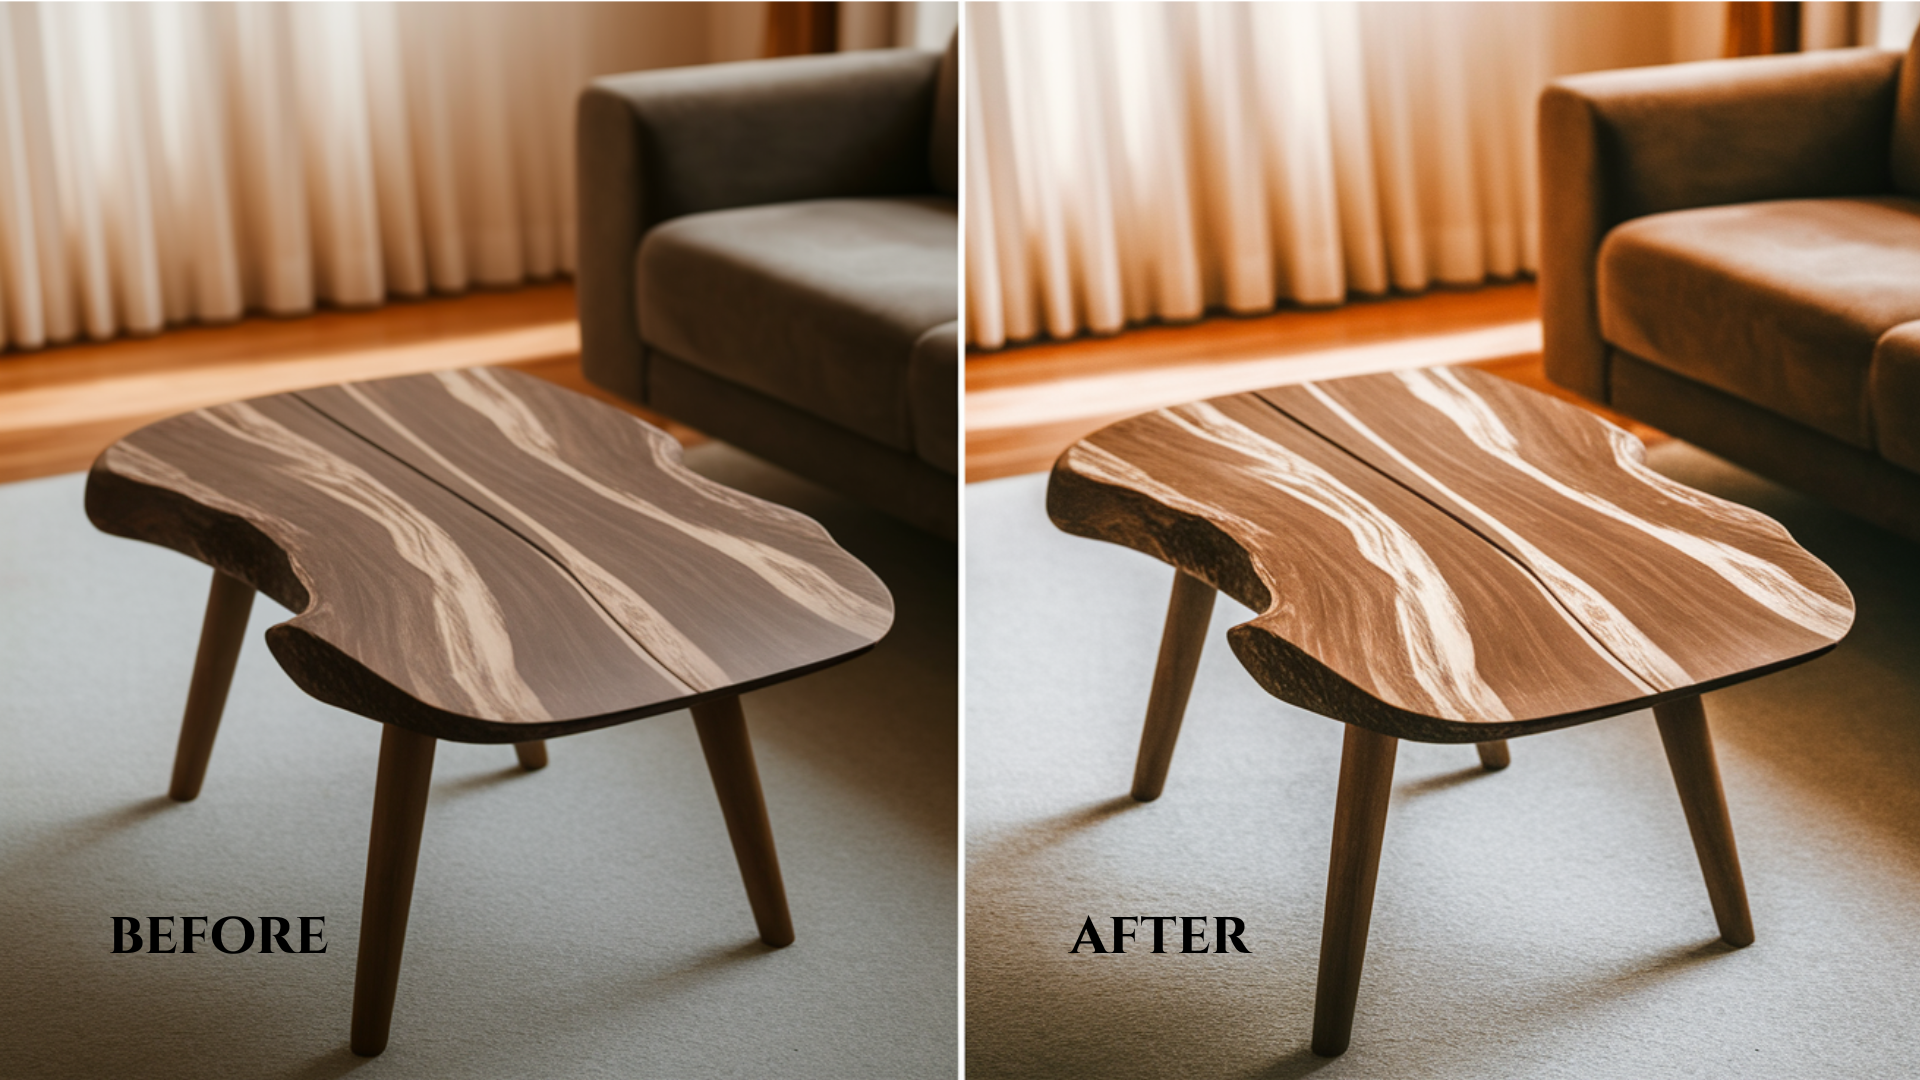
Before: Almost black-brown finish that showed every scratch and mark.
After: Medium brown with white-filled grain, the scratches are less visible, and it looks intentionally aged rather than worn.
5. Maple Side Table
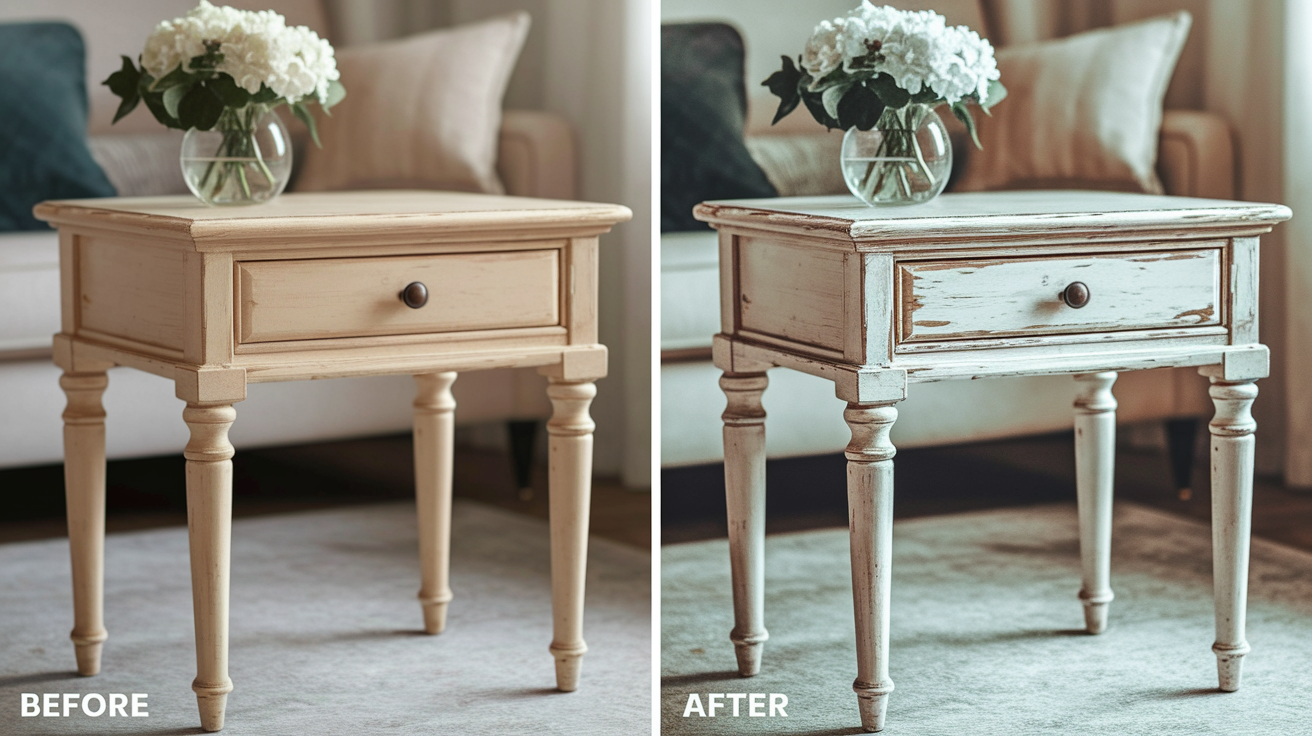
Before: Light, plain wood look without much character.
After: Textured, aged white finish that gives it personality, it gained character, and now looks like an heirloom piece.
Things That Can Go Wrong
When I first started using white wax on furniture, I made several mistakes that taught me valuable lessons. Learning from my mistakes has helped me perfect my technique over time.
If you’re new to white waxing, these are some common pitfalls I’ve experienced firsthand that you might want to avoid for better results.
- Applying Too Much Wax at Once: I once put on a thick layer, thinking it would save time, but it created a patchy, uneven finish that was hard to fix.
- Not Cleaning the Surface Properly: The first time I waxed my bookshelf, I skipped thorough cleaning, and every speck of dust showed up in the white finish.
- Rushing the Drying Time: When I was impatient with my coffee table project, I buffed too soon and created streaks across the surface.
- Using the Wrong Cloth: Cotton t-shirts work great, but I once used a polyester cloth that left tiny fibers stuck in the wax.
- Not Testing in a Hidden Spot: I jumped right into waxing my dining table and was surprised by how white it turned out—a test spot would have helped me adjust.
- Forgetting to Stir the Wax: The white pigment settles at the bottom, and I once used mostly clear wax from the top of the tin by mistake.
- Buffing Too Hard: On my pine shelf, I buffed with too much pressure and removed most of the white effect I was trying to create.
- Applying Against the Grain: This created a cloudy look on my oak table when the wax caught in the grain going the wrong way.
Conclusion
White wax is a wonderful way to breathe new life into wood furniture. As you’ve seen from the before and after examples, this simple technique can change dark woods, make them better, and hide minor imperfections without costly replacements.
The beauty of white wax lies in its simplicity. With basic supplies and the steps I’ve outlined, you can create noticeable changes in your home decor.
I’ve used this method on various pieces in my house, from dining tables to bookshelves, with results that continue to impress visitors.
I suggest starting with a small piece, such as a side table or stool, to build your confidence. Take your time with the process, and remember those common mistakes I shared from my own learning curve.
I’d love to hear about your own white wax projects in the comments section below. Happy waxing!

