How to Make DIY Drop Cloth Curtains in 7 Easy Steps
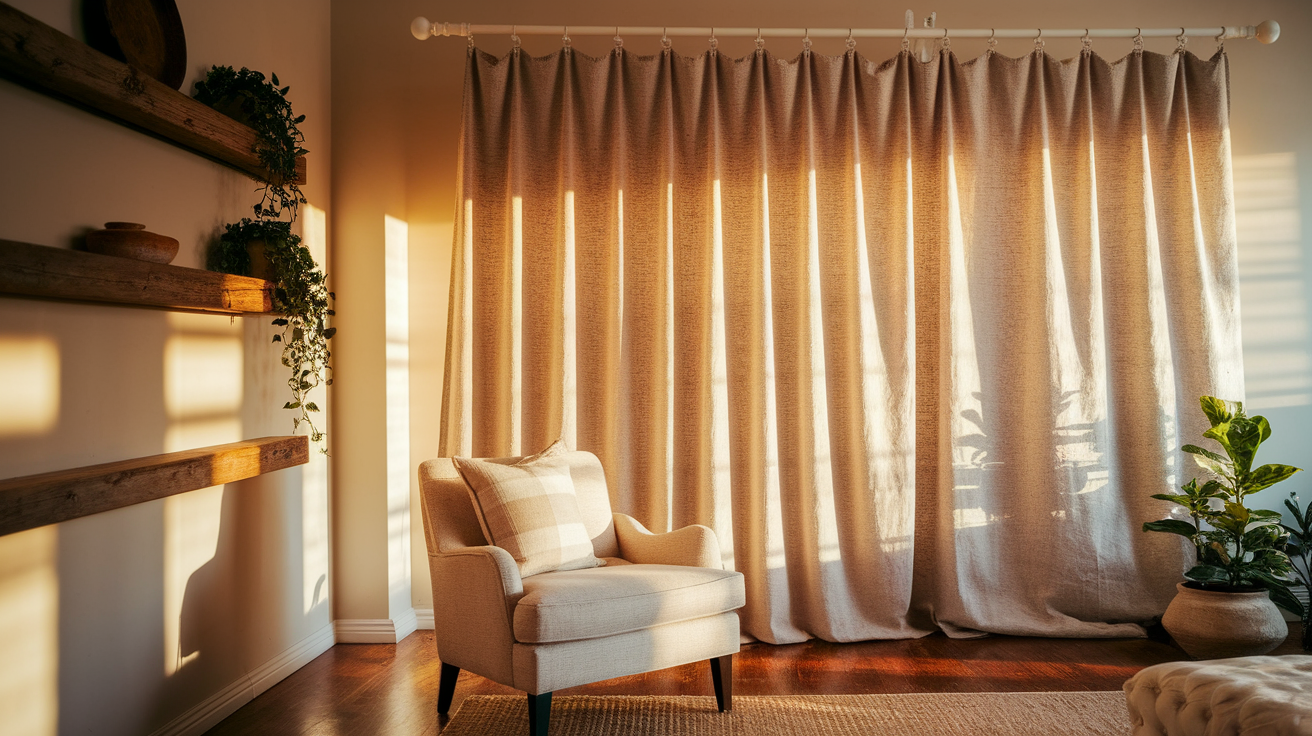
Want to give your room a fresh new look without spending a lot? Drop cloth curtains are a fun and low-cost way to do it! They look nice, hang well, and require no sewing skills.
We’ll go over why drop cloths make great curtains, what tools and supplies you’ll need, and guide you step-by-step to make your own. You’ll also learn a simple way to hang them so they look neat and adorable.
Once you’re done, you’ll be surprised at how much better your room looks with your handmade curtains!
What Makes Drop Cloths Great for Curtains
Drop cloths are great for curtains because they’re thick and hang nicely, almost like expensive ones from the store. You don’t need to sew anything; just clip them up, and you’re done!
They’re also much cheaper, which is perfect if you want to save money. The colors are simple and match well with different room styles, whether the space is bright or calm.
Another cool thing about drop cloths is that you can wash and reuse them, so they last a long time. Overall, drop cloths make your room look nice without spending too much or doing a lot of work.
Step-by-Step Process of Making Drop Cloth Curtains
Before you begin making your drop cloth curtains, it’s important to gather all the materials you’ll need to ensure a smooth and easy process. Here’s a list of what you’ll need:
Materials required for this DIY project:
To get started, you only need a few simple things, most of which you might already have at home!
- Drop cloths: These are big fabric sheets, like the ones painters use. Pick a size that fits your window.
- Curtain rod: This is where your curtains will hang. A tension rod works, too, if you don’t want to drill holes.
- Clips or curtain rings: These help attach the cloth to the rod. Super easy to use!
- Measuring tape: This is so you know how wide and long your window is.
- Iron: This helps get rid of wrinkles if the drop cloth looks a little messy.
- Fabric paint or dye (Optional) – Only if you want to add some color or cool design
And that’s it! With just these few items, you’re ready to make your cool curtains.
Step 1: Measure Your Window

Let’s start by measuring your window. Use a tape measure to check its width and height. Be sure to write down the numbers so you don’t forget.
You can add a few inches on each side if you want the curtain to hang lower or a little wider than the window. This step helps you pick the right size cloth to cover your window well.
Step 2: Buy the Right Size Drop Cloth

Now that you have your window size, it’s time to pick a drop cloth. Choose one that’s a bit bigger than your measurements so it fully covers the window when you hang it.
You can find drop cloths at home stores or online. Cotton ones are a great choice because they hang nicely, are soft, and are easy to fold. Make sure the color matches your room.
Step 3: Wash and Dry the Drop Cloth

Before you hang your drop cloth, put it in the washing machine with a little detergent. Washing helps the fabric feel softer and gets rid of any smells or dirt.
After that, dry it in the dryer. It might shrink a bit, but that’s totally fine. Once it’s dry, it will be easier to work with and ready to use as your curtain.
Step 4: Fold the Drop Cloth to Fit

If the cloth is too long for your window, fold the top part down until it looks right. You don’t need to cut anything or sew. Just make a clean fold and press it down with your hands.
Folding helps make the curtain shorter and gives it a smooth line at the top where the clips will go. Simple and neat!
Step 5: Add Curtain Clips
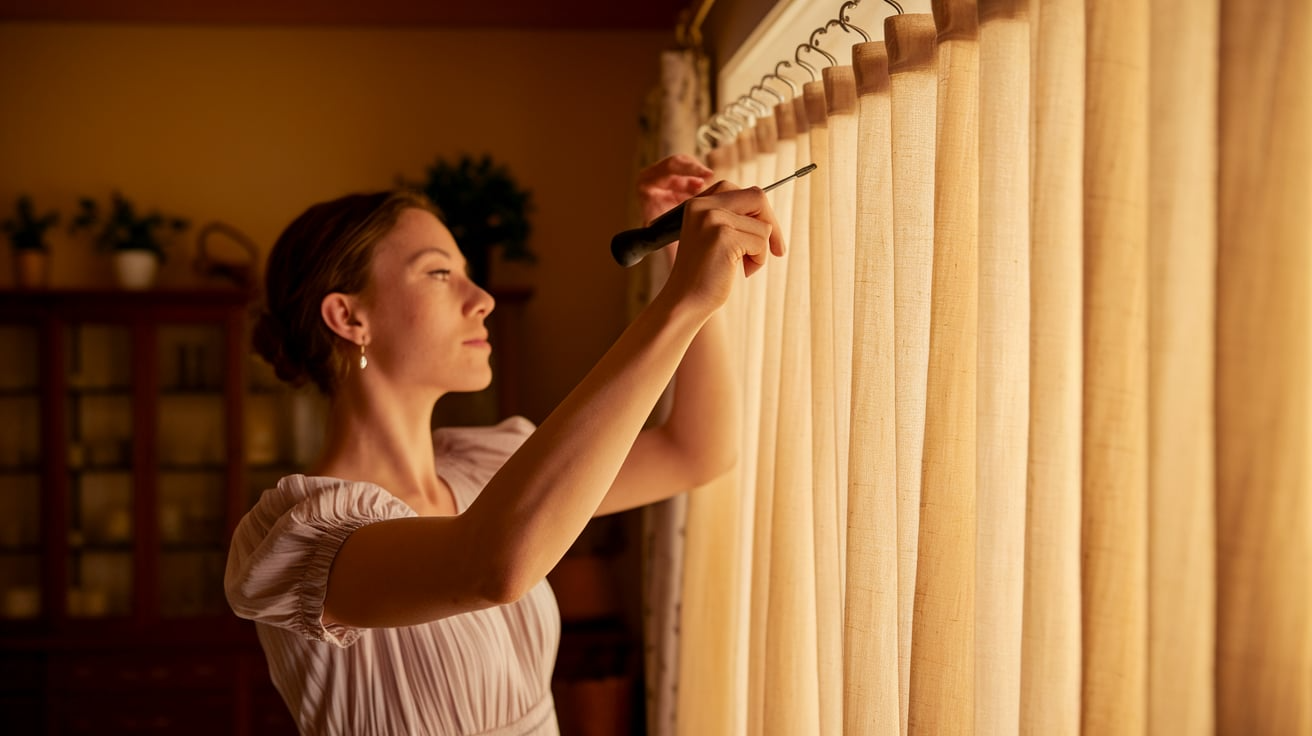
Grab your curtain clips and start clipping them across the top of the folded part. Try to keep the clips spaced out evenly so the curtain hangs straight. Usually, 7 to 10 clips work well for one panel.
Make sure each clip is tight enough to hold the fabric. This step is fun because it brings your curtain one step closer to being finished!
Step 6: Hang it Up

Now it’s time to hang your curtains. Slide the clips onto the curtain rod. Then, lift the rod and place it on the wall hooks.
If it’s hard to reach, ask an adult to help you out. Once the rod is in place, step back and check it out—it’s hanging up and already looks good. You’re almost done!
Step 7: Fix and Style It

Take a look at how your curtain is hanging. If one side looks longer or uneven, adjust the fold or move the clips around a bit. You can tie the curtain on one side with a ribbon or just let it hang loose.
Add your fun touch to make it match your space. Great job! You made your very own curtain from start to finish!
For a more detailed tutorial on how to make and hang drop cloth curtains, check out the video below:
How Much Does it Cost to Make Drop Cloth Curtains
Making your drop cloth curtains is not only fun but also saves money. Here’s a quick look at what you might spend:
| Item | Cost Range |
|---|---|
| Drop Cloths | $10–$20 each |
| Curtain Rod | $10–$25 |
| Curtain Clips or Rings | $5–$10 per pack |
| Optional Fabric Paint/Dye | $5–$15 |
Total Cost per Window: $25 to $50 approximately
Fun Finishing Touches for Your DIY Curtains
Once your drop cloth curtains are up, you can still have fun making them look even cooler! You don’t need fancy tools—just a little creativity.
Try some of these simple ideas to add your style. These small touches can really make your curtains stand out and better match your room.
1. Paint the Curtain Rod
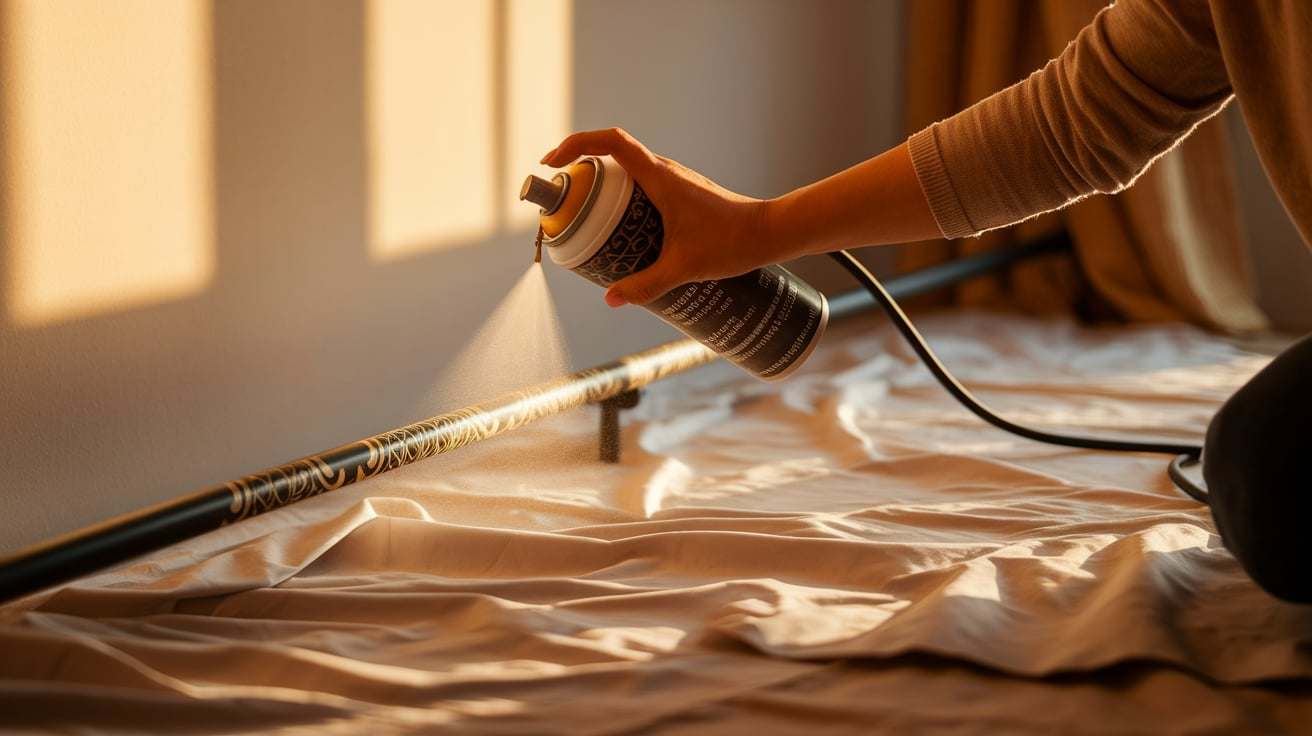
If your curtain rod doesn’t match your room, paint it! Use spray paint in a color you like—black, gold, white, or anything that fits your space.
Let it dry before using. This small step makes the curtains look neat and helps everything blend together nicely in your room.
2. Add More Panels

Want your curtains to look thicker and cozier? Add a second or third drop cloth next to the first one. The extra fabric makes the curtains look fuller and fancier.
It also helps block more light and gives your window a soft, rich appearance without much additional work.
3. Decorate with Fun Touches
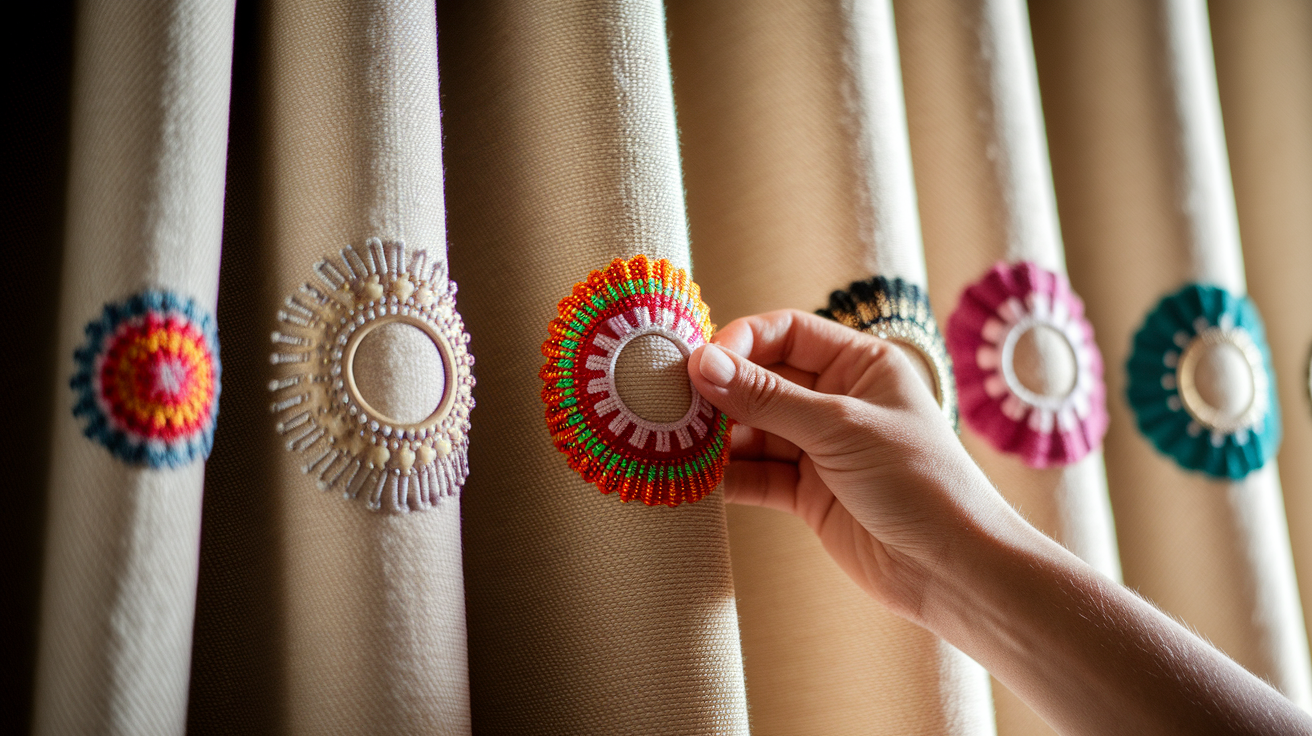
Add fun decorations to make your curtains unique. You can use curtain rings with cool designs, iron-on patches, or even fabric stickers.
Pick things that show your style or match your room’s theme. These small details can turn plain curtains into something fun, creative, and totally your own.
How to Keep Your Drop Cloth Curtains Looking Fresh
You’ve got your cool drop cloth curtains up—now, let’s keep them looking amazing! It’s easy, and with just a little effort, they’ll stay attractive. Here’s how:
- Shake it out: Now and then, give your curtains a good shake or use a vacuum to remove dust. It’s like a mini-workout for your curtains!
- Spot clean: Got a little spill? No problem! Grab a damp cloth, add a little soap, and gently clean the spot. Your curtain will thank you!
- Wash with care: When it’s time for a wash, use cold water and low heat. You can also hang them up to air dry and let nature do its thing!
- Wrinkles? No worries! Use an iron or steamer to smooth out wrinkles, or keep that relaxed, crinkled vibe—it’s totally up to you.
- Say no to harsh chemicals: Avoid bleach and strong cleaners—they’ll mess with the fabric. Could you keep it simple and gentle?
By following these simple steps, your drop cloth curtains will stay looking fresh and stylish for a long time. Plus, they’ll be ready to impress any guests who come by!
Conclusion
To wrap it up, making your drop cloth curtains is a fun and easy project that won’t cost a lot. All you need are a few simple materials and some time to follow the steps.
In Case you’re new to DIY or have done it before, this project is a great way to add a personal touch to your room. So grab your drop cloths, get started, and enjoy your new curtains!
Ready to try it out? Grab your supplies today and share your DIY curtain results with us; we’d love to see how they turn out!


