Should You Use 1 or 2 Coats of Primer on New Drywall?
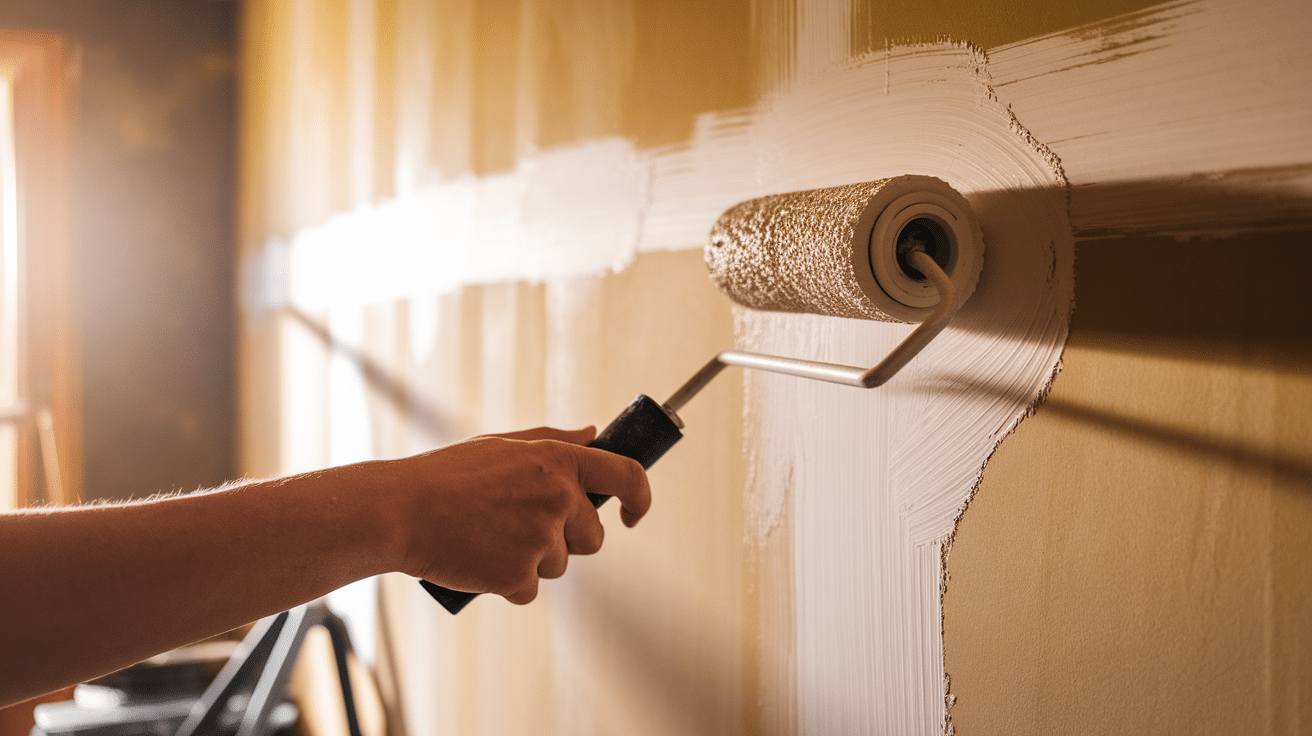
Painting drywall may look easy, but skipping primer can ruin your walls.
Without it, paint soaks in like water on a sponge, leaving patchy spots.
Primer is the secret step that makes paint stick, smooths the surface, and brings out the true color.
Many people ask if new drywall needs one coat of primer or two for the best results.
We will be telling you about how many coats of primer are needed, the types of primer, and tips for smooth painting.
Before discussing the required coats, let’s first discuss the importance of priming the drywall.
Why Priming New Drywall Is Essential?
Priming is more than just an extra step; it’s the secret to a smooth, lasting paint job.
Think of primer as the unsung hero of home painting.
It helps paint stick better, evens out imperfections, and keeps your paint job from looking like a disaster.
Without it, your paint might soak in unevenly, and you’ll find yourself repainting a lot sooner than you’d like.
Also, primer helps seal up drywall and joint compound, making your final colour pop without any blotchy spots.
It’s like prepping your skin before makeup; you need that smooth base!
How Many Coats of Primer Are Needed for New Drywall?
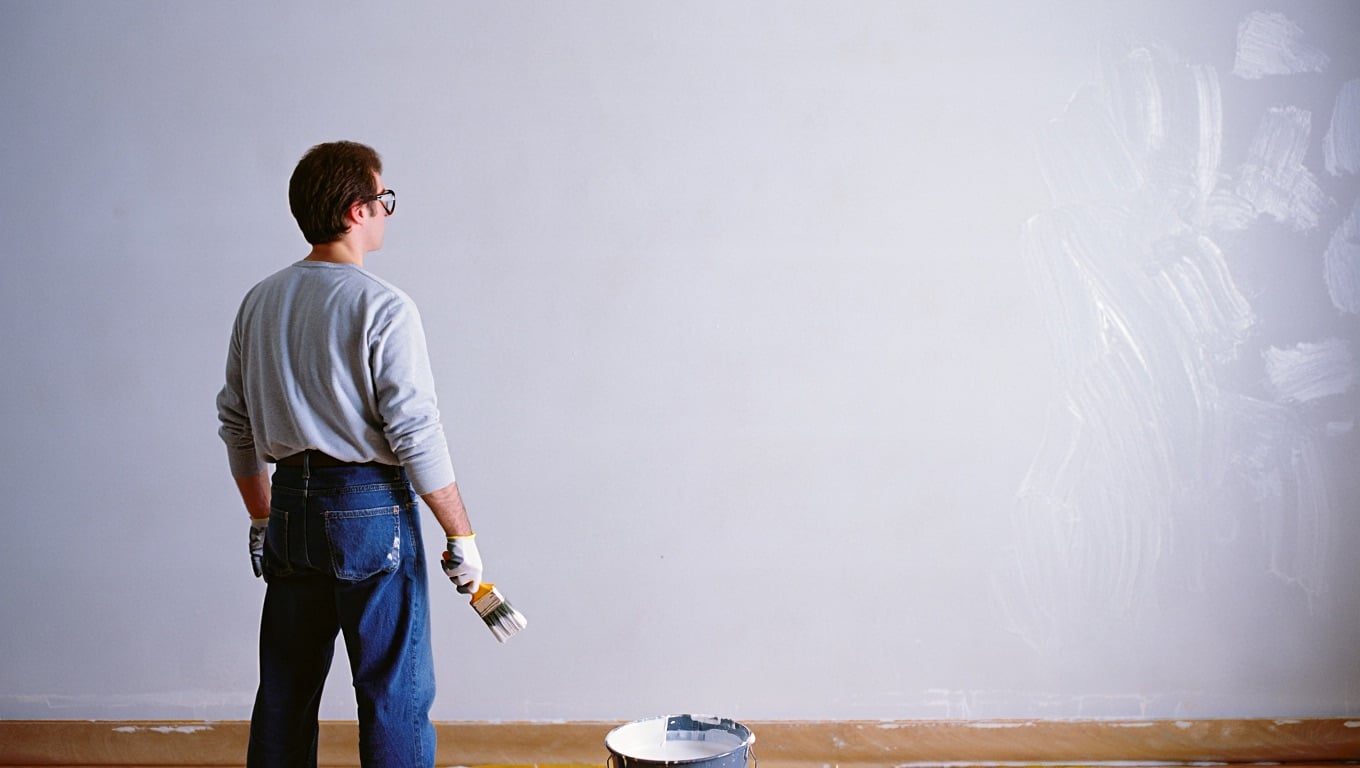
When priming new drywall, many wonder if one coat is enough or if two are better.
The answer depends on the surface and color.
One coat of primer usually works if your drywall is smooth, in good shape, and you are painting with a light color or using pre-tinted primer.
Two coats are best for fresh drywall that has never been painted before, because the first coat seals the surface and the second coat creates even coverage.
This helps your final paint look smooth and professional.
Note: If you are unsure, apply two coats instead of one, since it is always safer to add extra primer than risk a patchy finish that ruins the paint.
Step-by-Step Guide to Priming Your New Drywall
Ready to prime? Let’s get to it.
Step 1: Prep the Surface
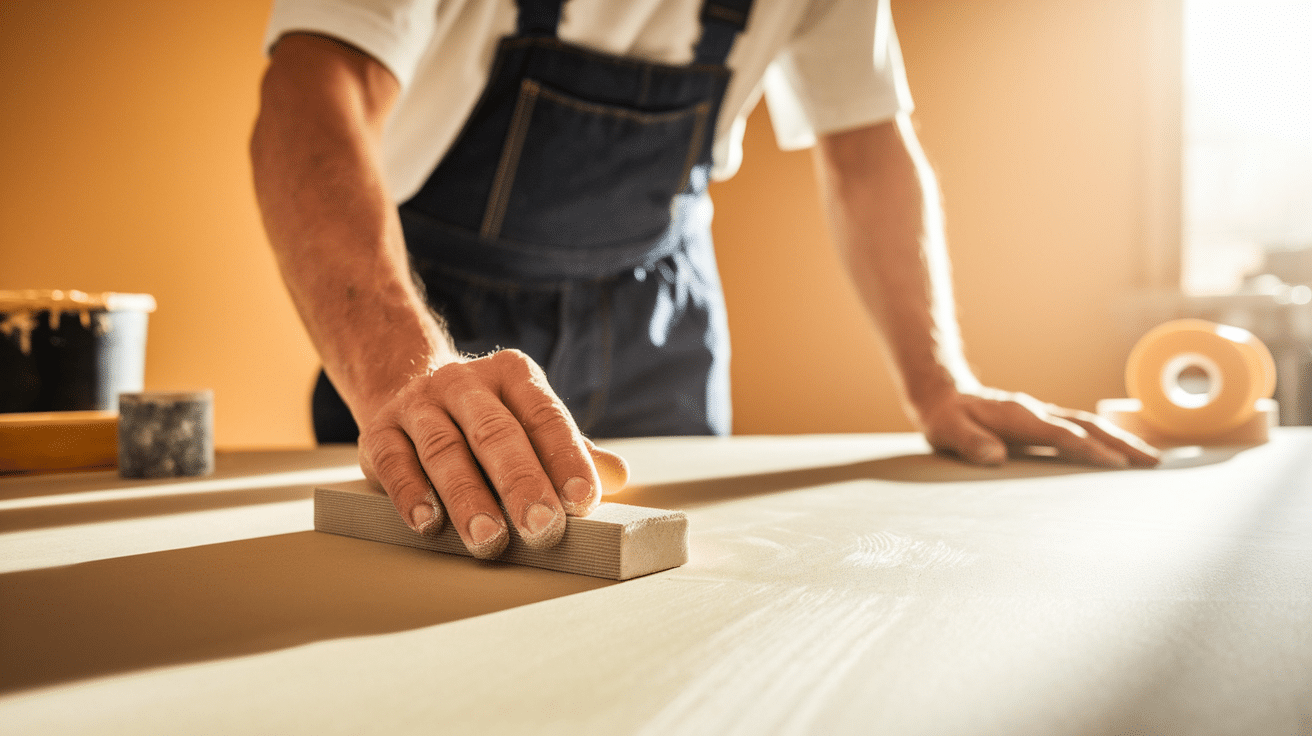
Before applying primer, clean drywall thoroughly to remove dust, dirt, or debris that can stop primer from bonding well and lasting long.
Repair any holes or cracks using joint compound, and allow them to dry.
Then, sand patched areas smooth to create an even surface that ensures consistent adhesion and avoids flaws in the final painted finish.
Step 2: Gather Your Tools
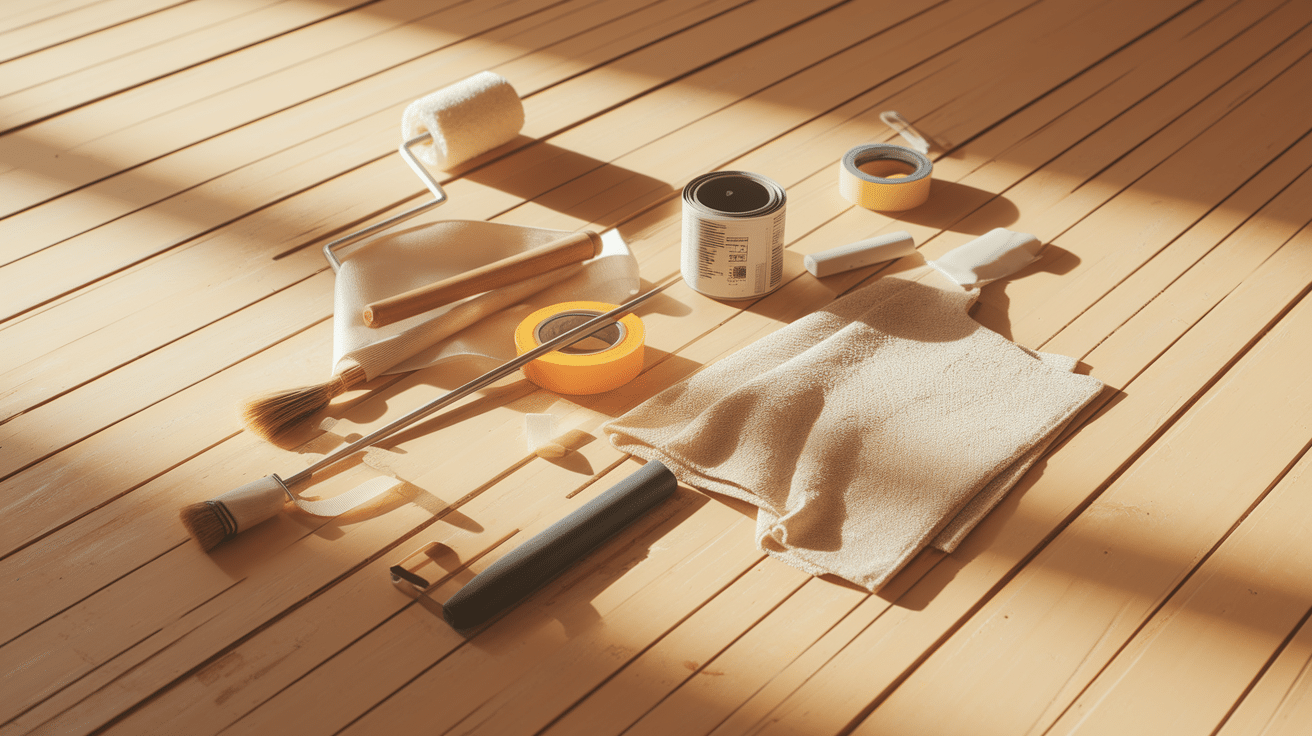
Before starting the project, organize essential tools, including a roller for large areas, a brush for corners, drop cloths, and painter’s tape.
Having everything ready helps maintain efficiency, prevents delays, and ensures you work smoothly without interruptions.
It gives the entire priming process a professional structure and a clean, controlled workflow.
Step 3: Apply the First Coat of Primer
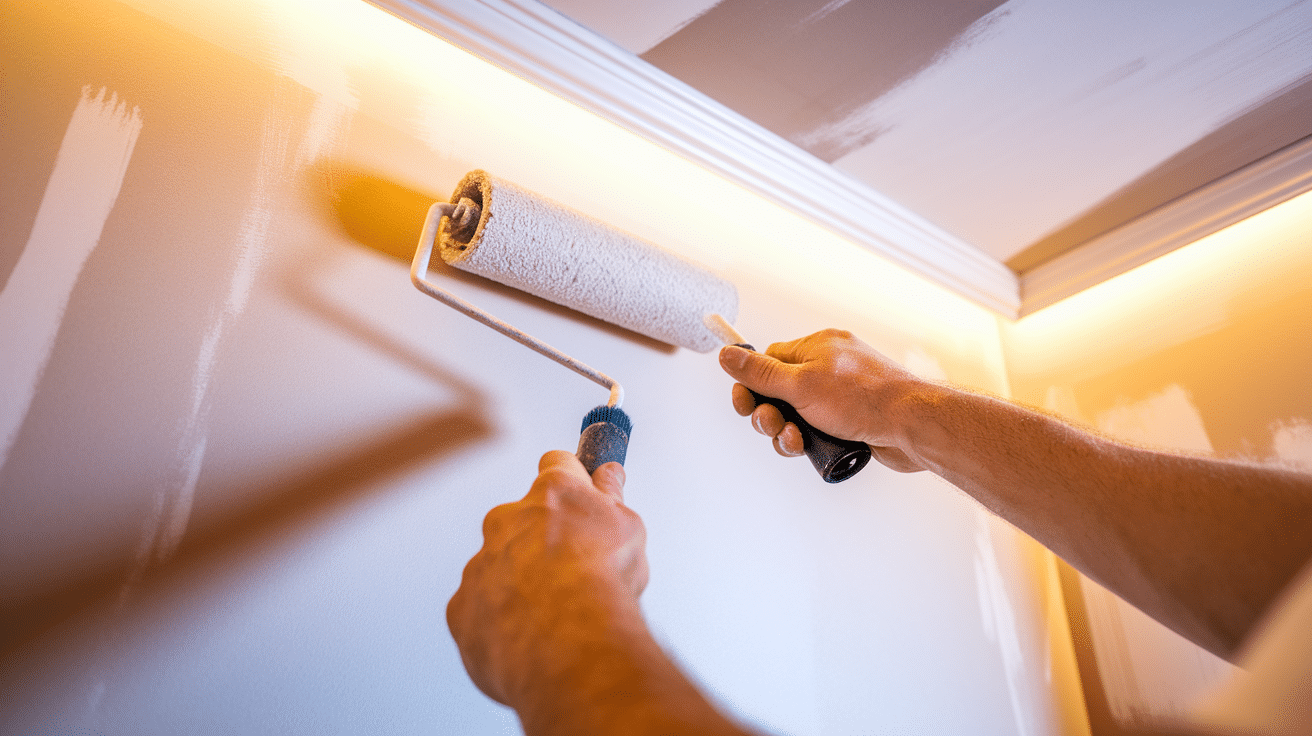
Start by using a brush to carefully cut in around corners, ceilings, trim, and baseboards before moving to wide wall sections.
Next, apply primer evenly with a roller using thin, consistent coats.
Thick or uneven coverage can cause streaks, blotchy absorption, and poor adhesion that weakens your final painted surface.
Step 4: Let the Primer Dry
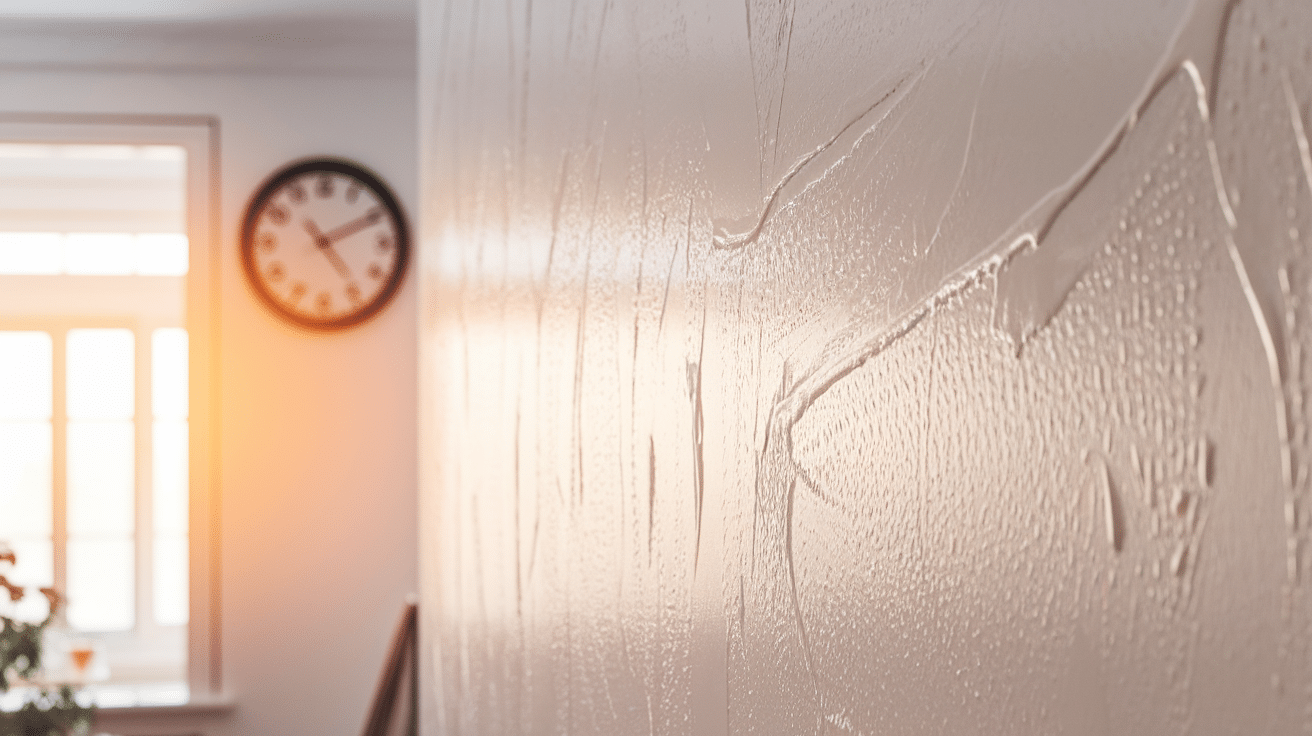
Always allow primer to dry completely, typically between one and four hours, depending on product instructions provided by the manufacturer’s label.
If drying time is rushed, adhesion weakens, paint peels prematurely, and the final finish loses smoothness.
Patience here is essential to achieving a professional and durable paint application.
Step 5: Apply the Second Coat (If Needed)
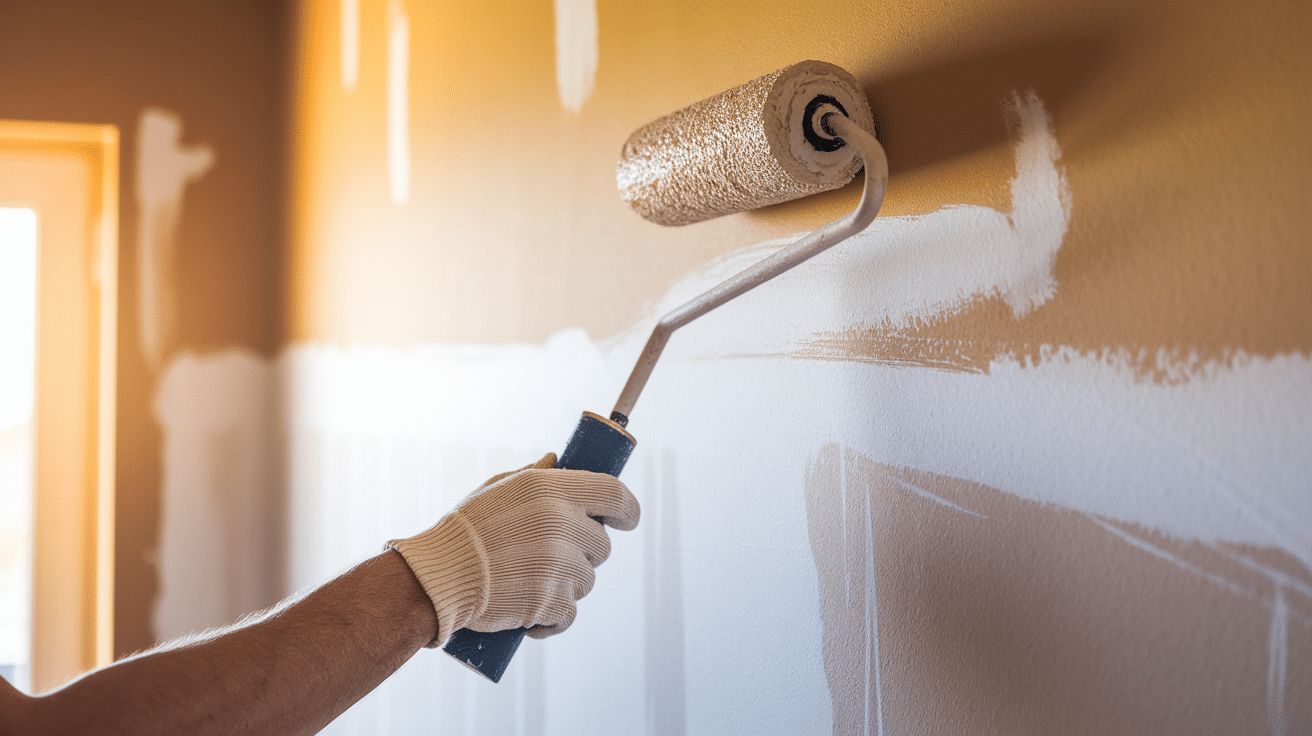
Once the first coat dries, carefully check the surface for thin spots, patchy absorption, or visible drywall seams that remain uncovered.
If issues appear, apply a second coat using the same brush-and-roller process
Layering primer creates even coverage, seals pores completely, and produces a balanced surface for smooth painting.
Step 6: Sanding (Optional, But Worth It)
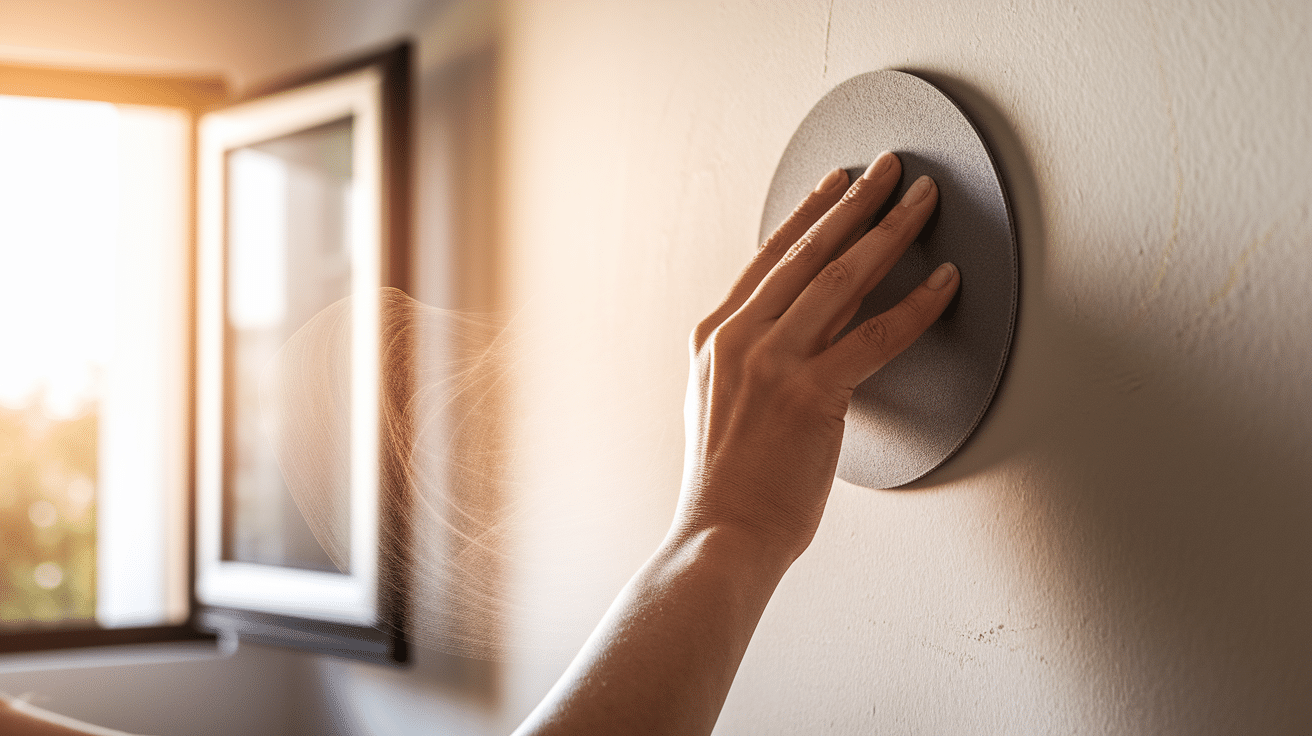
When the final coat of primer is dry, gently sand with fine-grit sandpaper to smooth ridges, brush strokes, or roller marks.
Sanding improves adhesion, enhances appearance, and helps the paint glide evenly across the wall, producing a refined finish without damaging the sealed primer surface underneath.
Step 7: Wipe It Down
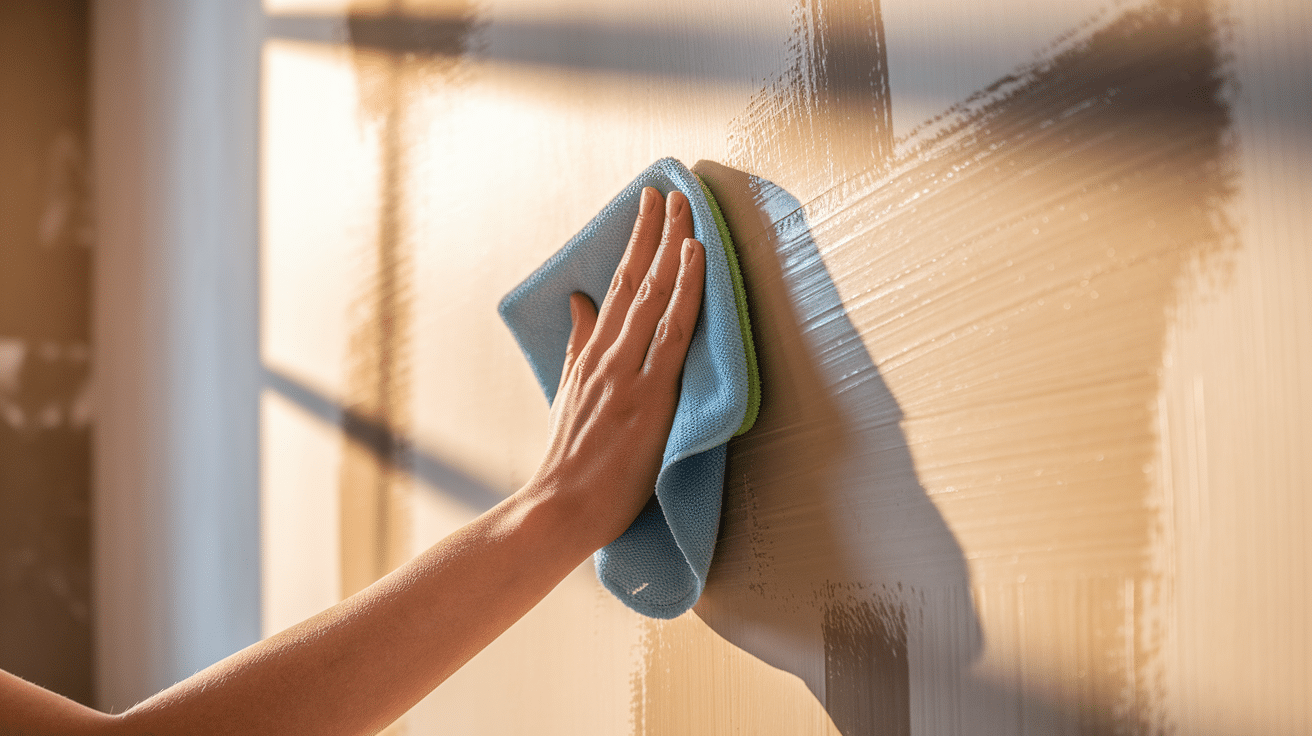
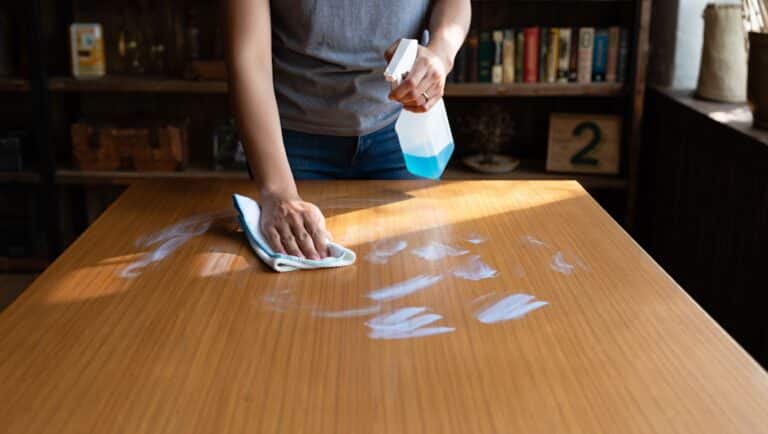
After sanding, clean the walls using a damp, lint-free cloth to remove fine dust or primer residue that weakens paint adhesion.
This final cleaning step ensures the surface remains perfectly smooth, free of debris, and ready to accept paint, guaranteeing professional results with long-lasting durability.
Step 8: Get Ready for Paint
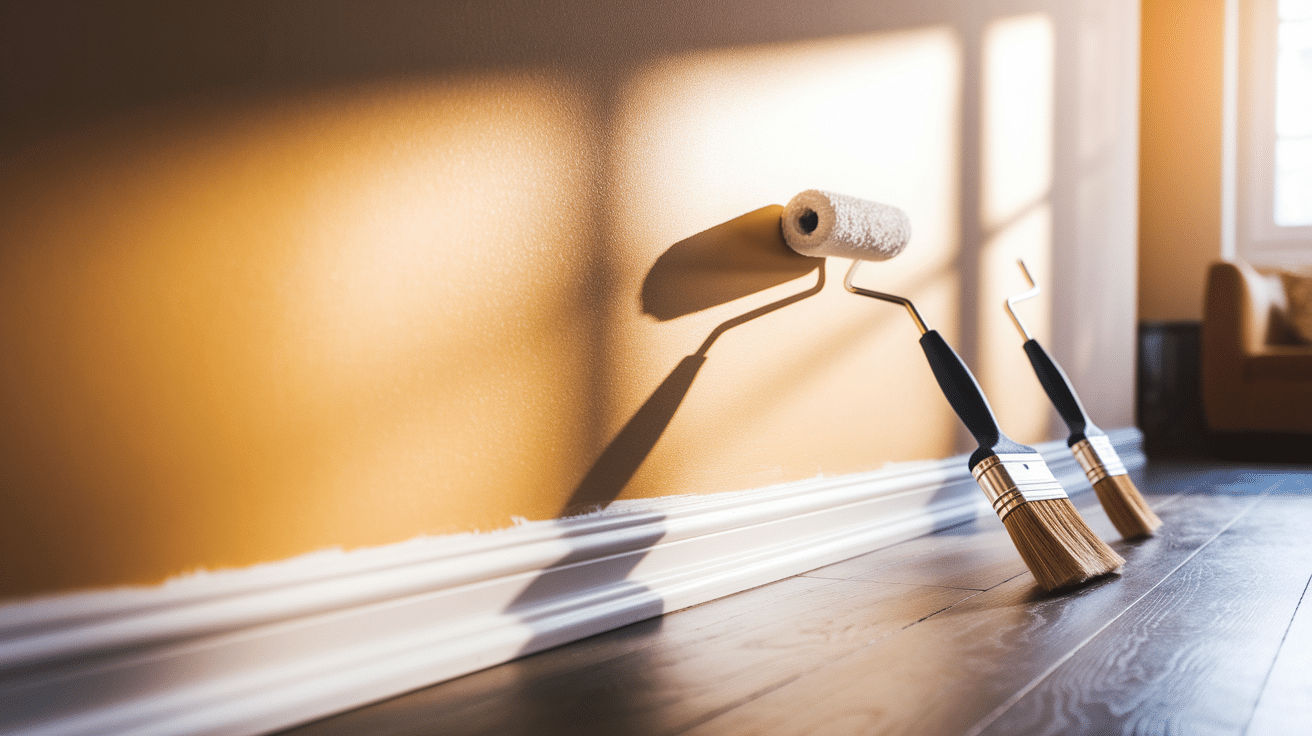
With primer dry, sanded, and cleaned, your walls are ready for paint to apply smoothly and bond strongly for long-term performance.
Proper preparation makes colors appear richer, enhances finish quality, and delivers a flawless result that reflects the time and effort invested in your project.
Common Mistakes to Avoid
Priming drywall sounds simple, but small mistakes can hurt your finish.
One of the biggest errors is skipping cleaning.
Dust and dirt prevent primer from sticking, leaving blotchy coverage. Another mistake is skipping sanding after the first coat, which often creates a rough surface instead of a smooth one.
Choosing the wrong primer is also a problem because it can stop paint from bonding well. Just as important, always allow the primer to dry fully before adding another coat.
Most primers need 1 to 4 hours, so be patient and let each coat dry before moving forward.
How to Handle Tough Drywall Situations?
Not all drywall is the same, and some areas need more care to get a smooth finish. Here are a few fixes that help:
- For patchy areas, add primer directly to the spots before coating the full wall.
- For water stains, use a stain-blocking primer to stop them from bleeding through paint.
- For textured drywall, apply a second coat of primer to even out rough surfaces.
- For uneven walls, lightly sand after priming to smooth ridges and bumps.
- For large repairs, prime those areas separately before painting the entire surface.
With these simple fixes, you can handle tricky drywall and create a base that makes your paint job look fresh, smooth, and long-lasting.
DIY vs. Professional Primer Application: What’s Best for You?
When it comes to priming your drywall, the choice between DIY and hiring a professional can make a big difference, not only in the outcome but also in the cost.
Below is a cost comparison to help you decide which route works best for your budget and time.
| Factor | DIY Primer Application | Professional Primer Application |
|---|---|---|
| Cost of Materials | $30 – $100 for primer, brushes, rollers, etc. | $150 – $300 for materials (based on room size) |
| Labor Costs | Free (your time) | $200 – $500, depending on the complexity of the job |
| Time Required | 1–2 days (including drying time) | 4–6 hours for a professional crew |
| Skill Level | Beginner-friendly, but some learning curve | Expert-level, no learning curve needed |
| End Result | Decent to great, with careful effort | Flawless finish, professional-grade results |
| Potential Extra Costs | Tools, additional coats of primer, or mistakes | None (unless additional services requested) |
| Overall Cost | $50 – $150 (for smaller rooms) | $300 – $800 (based on room size and job scope) |
The Bottom Line
Priming new drywall is the step that truly decides how your paint will look and how long it will last.
A little extra care with primer gives your walls a smooth surface, stronger adhesion, and colors that shine brighter.
Whether you do the work yourself or call a professional, the key is not skipping the process, because it builds the foundation for a finish you can feel proud of every day.
What about you? Do you usually go with one coat or two when priming drywall?
Tell us, share with us in the comments below.

