Can You Paint Stained Wood Without Primer
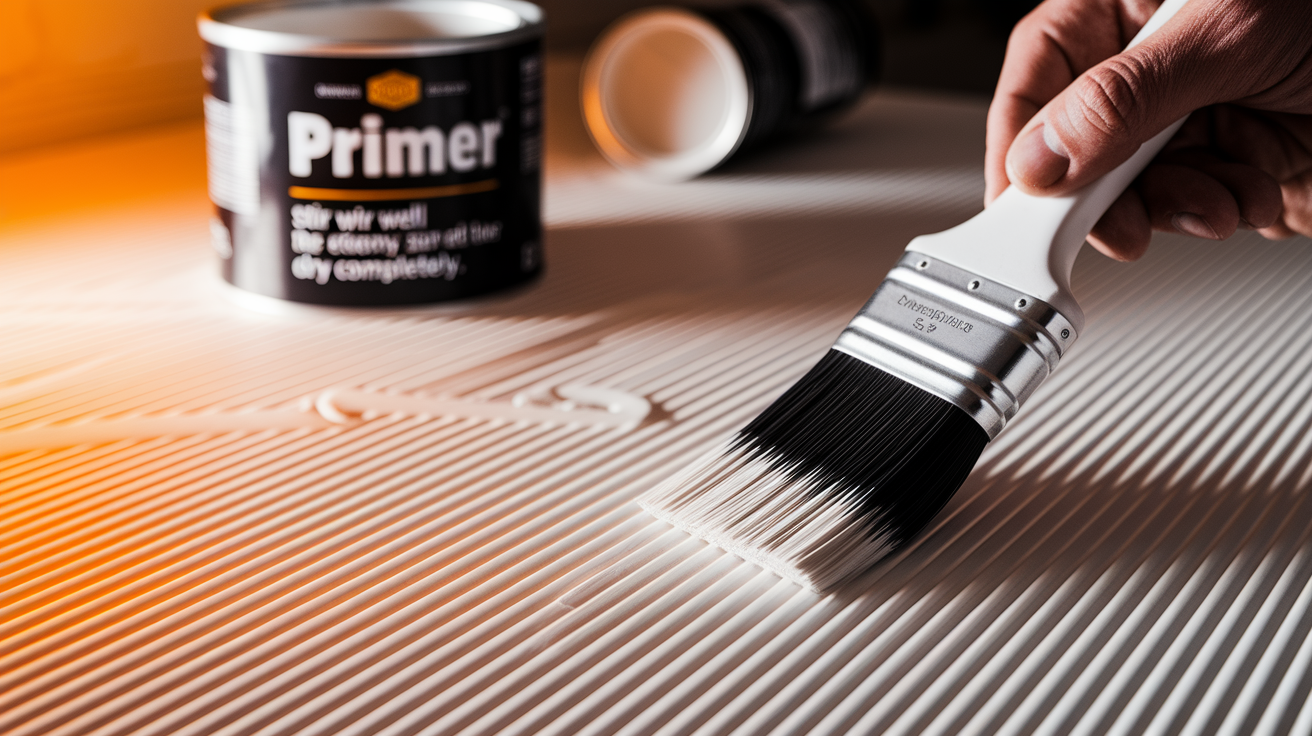
Painting over stained wood without primer may seem tempting for a quick fix, but it can lead to uneven results and a shorter lifespan for your paint job.
Stain often seeps deep into wood, making it tricky for paint to adhere properly. Without primer, the stain may bleed through, creating unsightly spots and patchy areas.
But is it always necessary to use primer? In this blog, you will know whether skipping primer is a good idea, compare the pros and cons, and discuss the best primer options for stained wood.
Also, provide you with step-by-step instructions for a flawless paint job. Plus, highlight common mistakes to avoid along the way.
Can You Paint Stained Wood Without Primer
Painting stained wood without primer is generally not recommended, but it can be done with careful preparation. Here’s why primer is typically necessary:
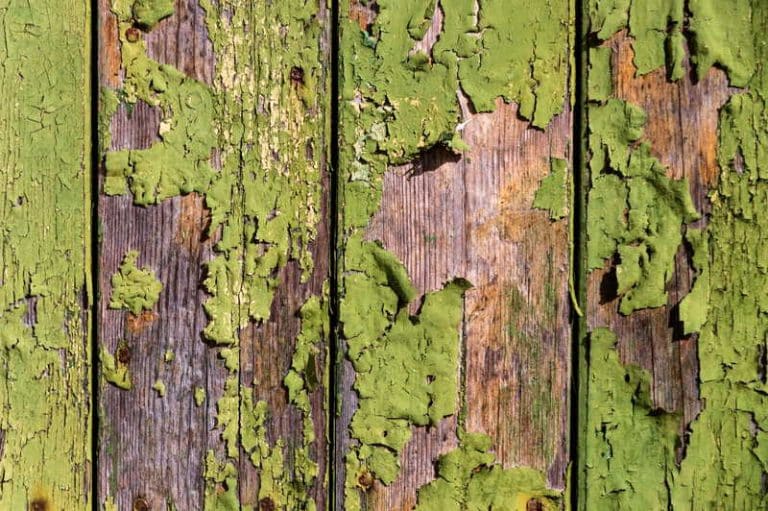
- Adhesion Issues: Stain often creates a slick, sealed surface that makes it harder for paint to stick properly. Without primer, the paint may not adhere well, leading to peeling or chipping over time.
- Stain Bleeding: Wood stain seeps deeply into the fibers of the wood. If you try to paint over it directly, the stain can bleed through the paint, causing discoloration and unsightly spots.
- Uneven Coverage: Without primer, you may need multiple coats of paint, and even then, the finish may appear blotchy or uneven.
When You Can Skip Primer
In some cases, you can skip primer, but only if you’re using paint designed for direct application on stained wood, or if the stain is very light and well-sanded.
However, this is more of an exception than a rule. Generally, using a primer ensures better results by creating a uniform surface for the paint to adhere to.
- If the stain is minimal or the wood has been sanded thoroughly.
- If using a paint that’s formulated for direct use on stained or finished wood.
- For small, low-traffic areas that don’t require the same durability as high-traffic surfaces.
Primer vs. No Primer: Key Difference
| Factor | Using Primer | Skipping Primer |
|---|---|---|
|
Initial Cost |
Higher (includes primer + paint) | Lower (only paint cost) |
|
Amount of Paint |
1-2 coats are usually required | 3-4 coats (or more) needed |
| Project Time | Longer (waiting for primer to dry) | Faster start (no drying time for primer) |
| Finish Quality | Smooth, even, and uniform color | Blotchy, with possible stain bleeding |
|
Longevity |
Lasts for years without peeling | May chip or peel within months |
|
Maintenance |
Rare touch-ups needed | Frequent touch-ups required |
| Long-Term Cost | Lower (one-time investment for lasting results) | Higher (reapplication may be needed) |
Primer Options For Stained Wood
When painting over stained wood, choosing the right primer is key to getting a smooth, long-lasting finish. Some primers are made to block tough stains and stop wood tannins from bleeding through.
Kilz and Zinsser are two trusted brands known for stain-blocking. They work well on dark or glossy stains.
- Oil-Based Primers: Stick well and block heavy stains, but take longer to dry.
- Water-Based Primers: Are easy to clean and great for mild stains.
- Shellac Primers: Dry fast and block strong odors and deep stains.
Steps to Properly Painting Over Stained Wood
Painting over stained wood doesn’t have to be complicated, but following the right steps makes a huge difference in how your project turns out.
Here’s everything you need to know to get a beautiful, long-lasting finish.
Step 1: Assessing the Stained Surface
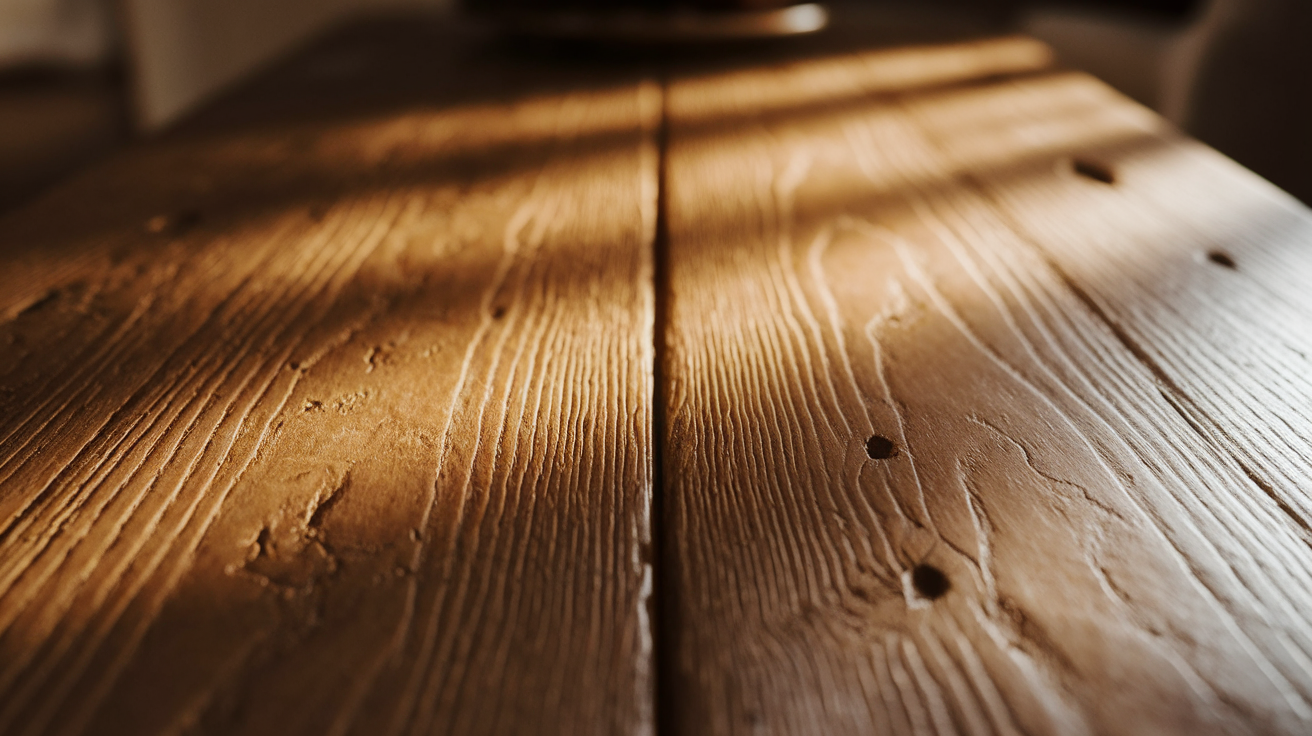
Before grabbing any tools, take a good look at what you’re working with. Understanding your starting point helps you plan the right approach.
- Check how dark the stain is – darker stains need extra steps to cover up
- Look for any damage, like scratches or dents, that need fixing first
- Test if the surface has a top coat by dropping water on it – if water beads up, there’s a protective layer
- Check corners and edges for extra buildup of stain or finish
Step 2: Cleaning and Preparation
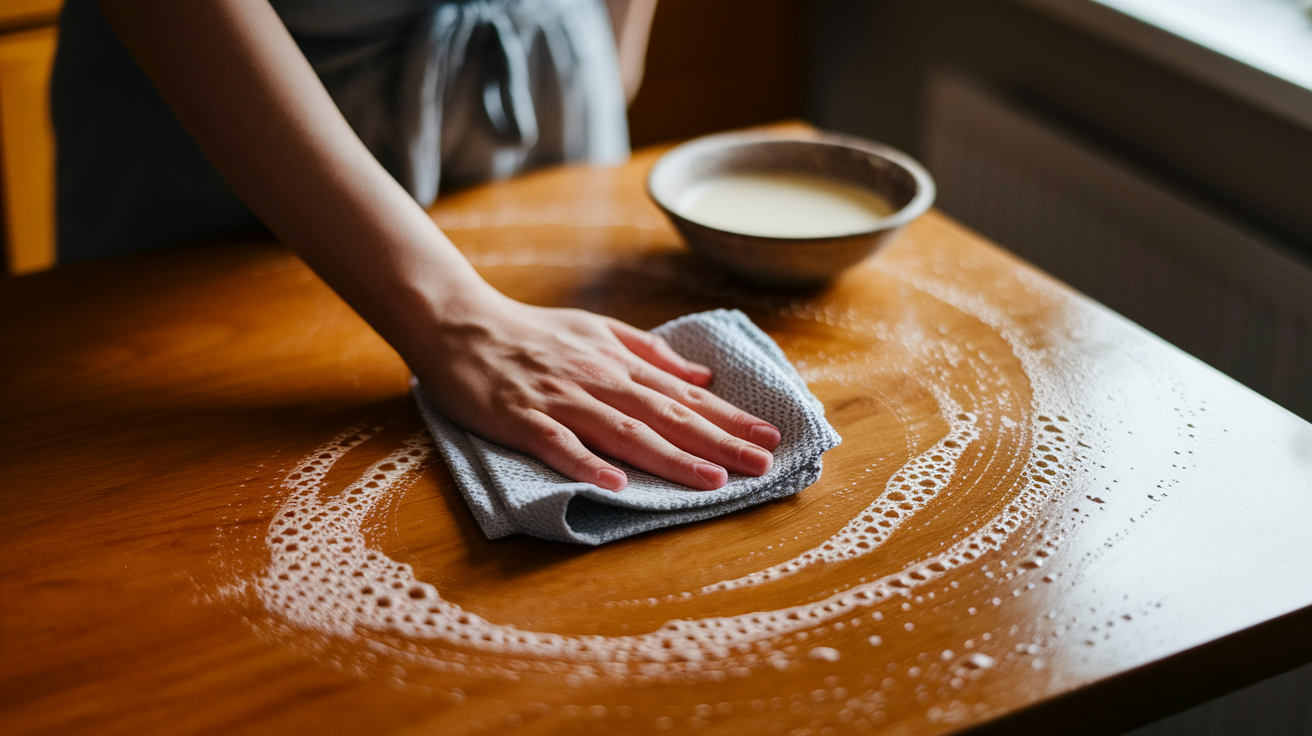
Paint won’t stick well to dirt or dust. A clean surface is super important for a paint job that lasts.
- Wipe down the wood with a damp cloth to remove dust and dirt
- For greasy spots, use a mix of water and dish soap
- Let the wood dry completely before moving on
- Remove any hardware like knobs or handles and store them in a safe spot
Step 3: Sanding Techniques For Different Wood Types
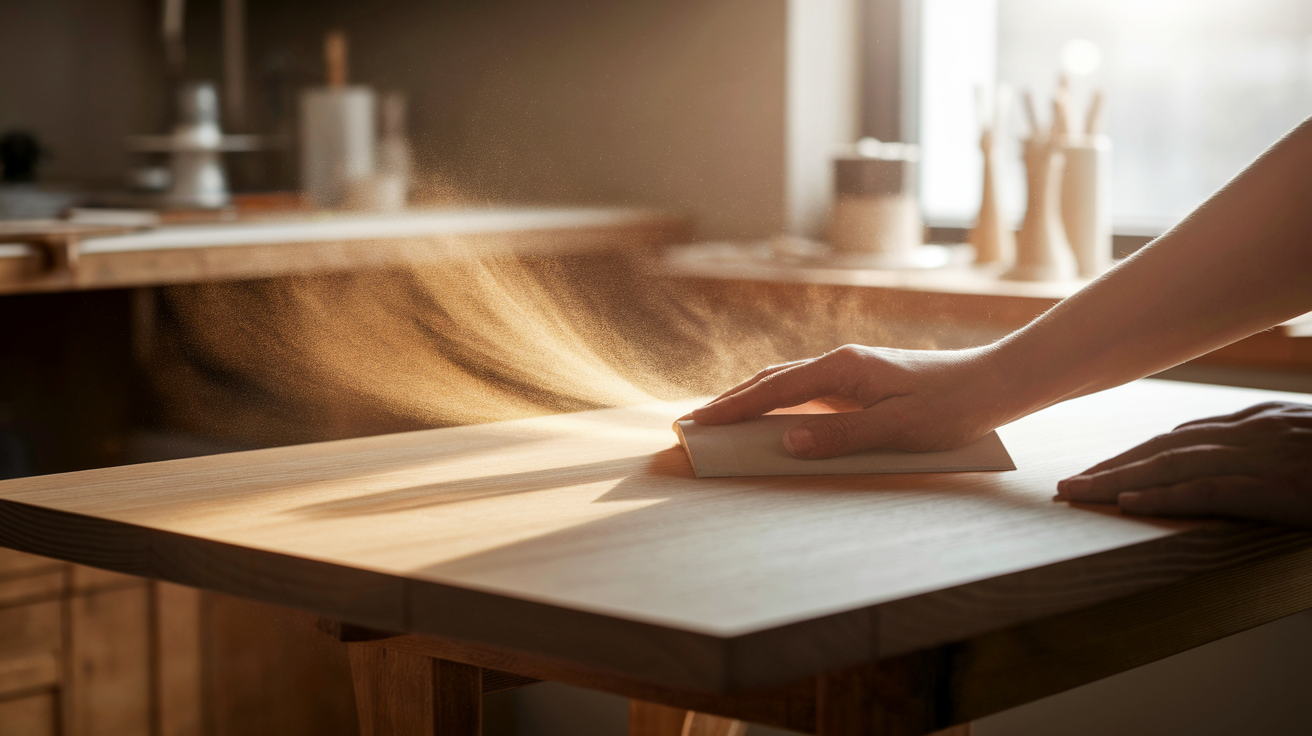
Sanding creates tiny scratches that help paint grip better. Think of it like making the wood’s surface a bit rough so the primer has something to hold onto.
- For most wood, use 120-grit sandpaper to rough up the surface
- Sand in the direction of the wood grain, not against it
- Soft woods like pine need gentle sanding to avoid making dents
- Hardwoods like oak can handle more pressure when sanding
Step 4: Choosing the Right Primer
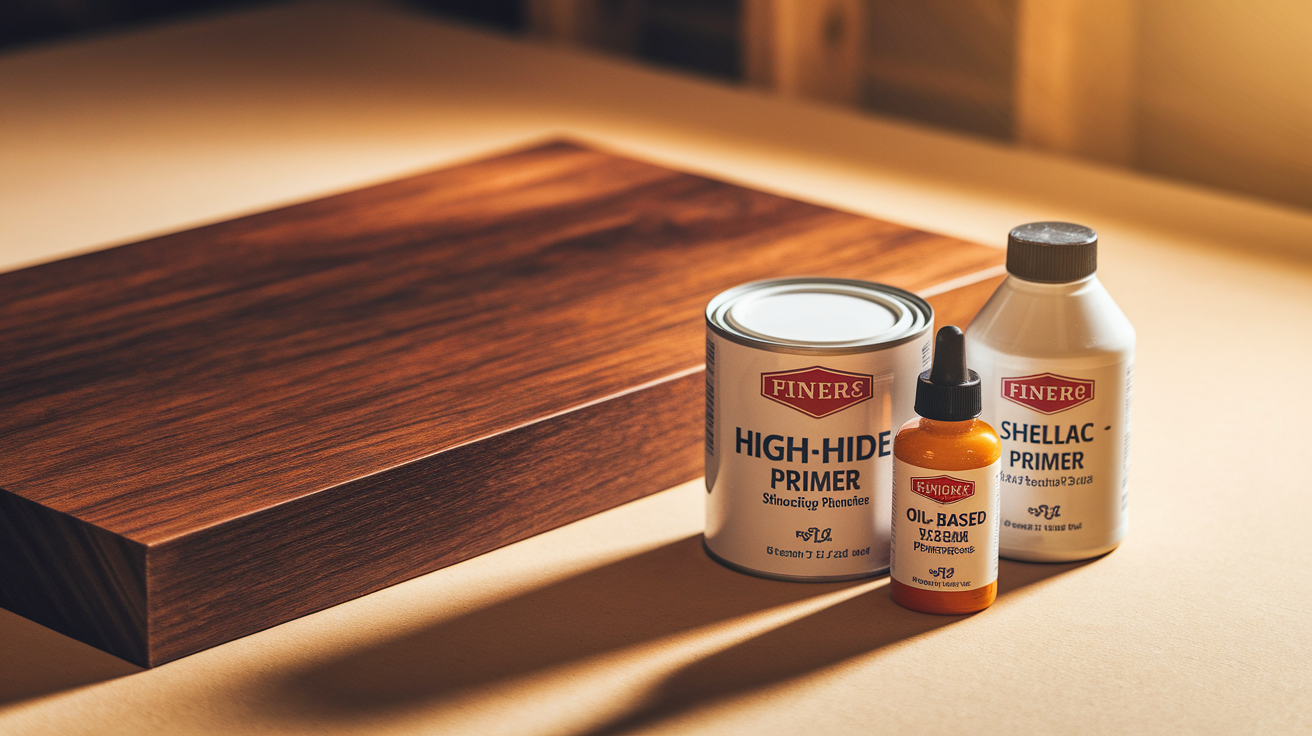
The right primer makes a huge difference in how your project turns out. Think of primer as the bridge between your stained wood and the new paint.
- For dark stains, pick a stain-blocking primer that says “high hide” on the label
- Oil-based primers work best for most stained wood projects
- Water-based primers are easier to clean up, but may not block stains as well
- Shellac-based primers dry super fast and block tough stains, but smell strong
Step 5: Applying Primer Correctly
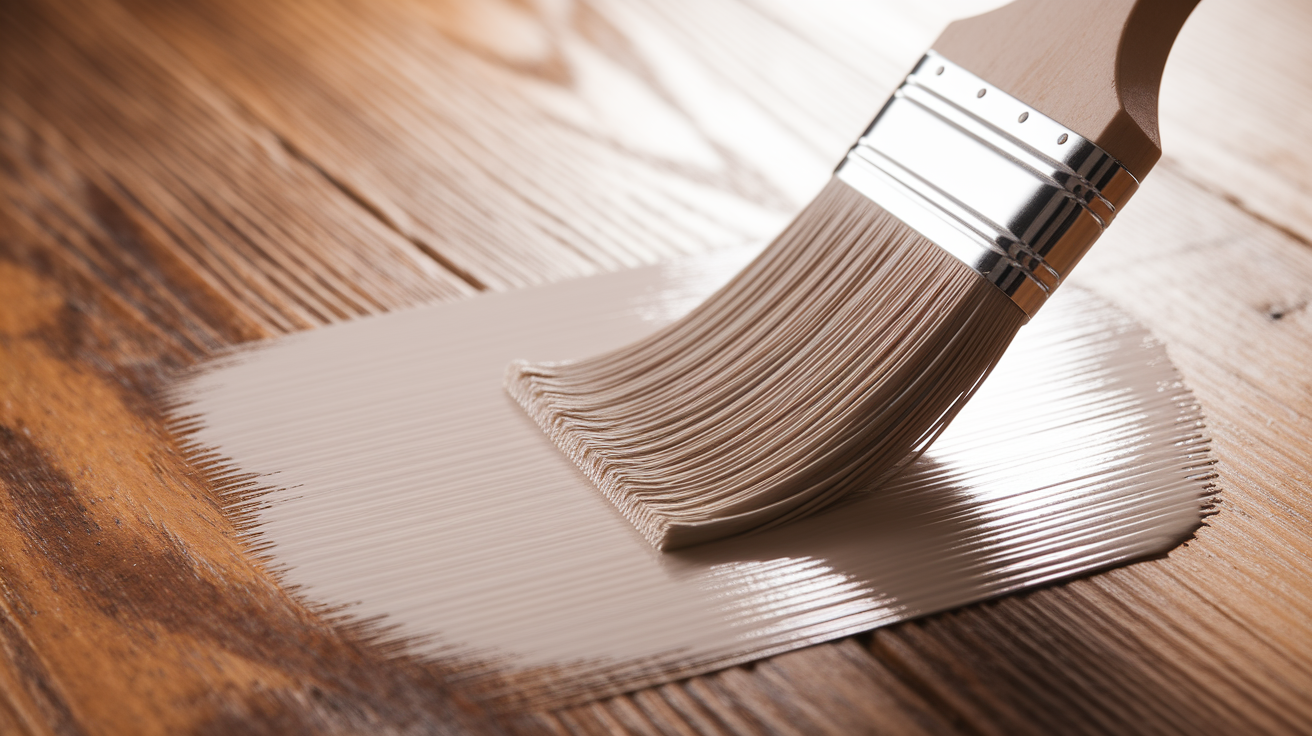
How you apply primer is just as important as which primer you choose. Taking your time here pays off with better results later.
- Stir the primer well – don’t shake it (shaking makes bubbles)
- Use a good-quality brush or foam roller made for smooth finishes
- Apply thin, even coats rather than one thick coat
- Let the primer dry completely – check the can for how long this takes
Step 6: Selecting Compatible Paint
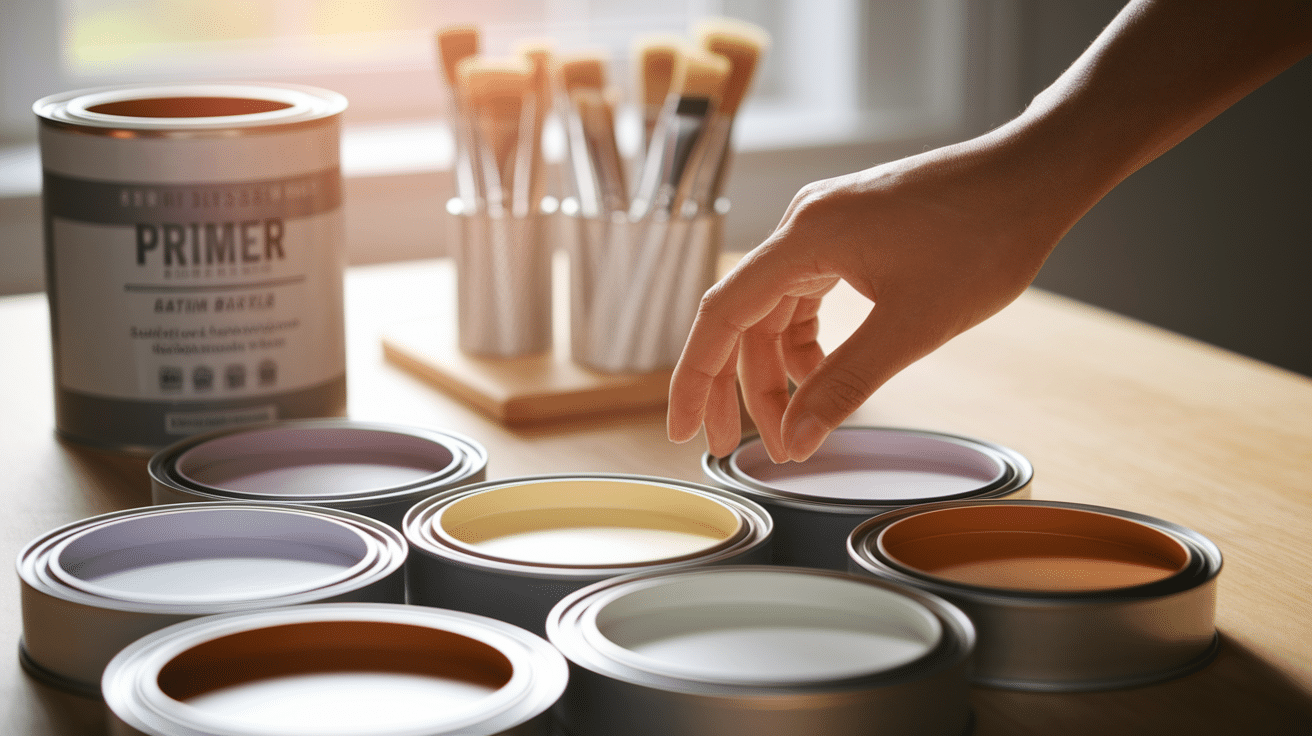
Not all paints work well together or on all surfaces. Picking the right paint helps ensure your hard work lasts for years.
- Make sure your paint works with your primer – check the label to be sure
- Satin or semi-gloss finishes are good for most furniture
- Latex (water-based) paints are easier to clean up
- Oil-based paints are tougher but take longer to dry
Step 7: Painting Techniques For Best Results
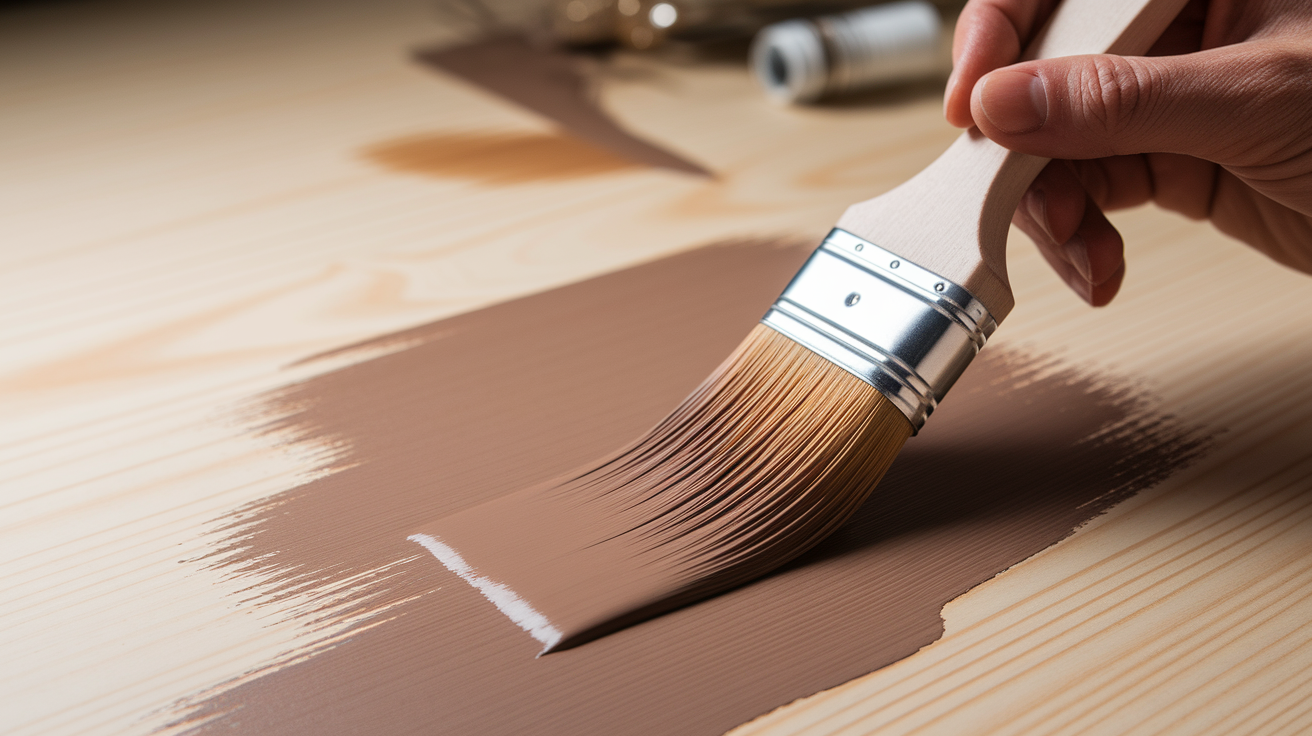
The way you apply paint affects how it looks when dry. Good technique leads to a smooth, professional-looking finish.
- Use long, smooth strokes that go with the wood grain
- Thin coats work much better than thick ones, even if you need more coats
- Let each coat dry before adding another one
- Use a high-quality brush that doesn’t leave bristles behind
Step 8: Drying and Curing Times
Patience pays off when painting wood. Rushing can ruin your hard work, so understanding drying times is super important.
- Drying means the paint feels dry to the touch, usually a few hours later
- Curing means the paint has fully hardened – it can take days or weeks
- Don’t put heavy items on painted surfaces until fully cured
- Temperature and humidity affect drying time – warm, dry days are best
Step 9: Adding Protective Topcoat (When Necessary)
Some painted items need extra protection, especially if they’ll get a lot of use. A clear topcoat acts like a shield for your paint job.
- For surfaces that get lots of use, like tables, add a clear protective coat.
- Water-based polyurethane works well and won’t yellow over time
- Apply with a foam brush for fewer bubbles
- Two thin coats give better protection than one thick coat
Common Mistakes to Avoid
When painting over stained wood, even small mistakes can lead to disappointing results. One common pitfall is skipping the cleaning step—dust, dirt, or grease can prevent paint from adhering properly.
Another mistake is not sanding enough; without light sanding, the slick, stained surface won’t allow primer or paint to grip well.
However, sanding too much can also be problematic, as it may damage the wood and cause an uneven surface.
Using the wrong primer is another issue, as regular primers may not effectively block wood stains from bleeding through.
Additionally, applying thick coats of primer or paint can create problems; they take longer to dry and often result in drips and an uneven texture.
Final Thoughts
While painting over stained wood without primer might seem like a time-saver, it can lead to frustration and uneven results.
Without primer, the paint struggles to adhere properly, stains may bleed through, and the finish can be uneven, diminishing the lifespan of your paint job.
Using a primer ensures better adhesion, prevents stain bleeding, and provides a smooth, durable finish. For the best results, it’s recommended to use a primer specifically designed for stained wood.
This will help achieve a flawless and long-lasting paint job. Following the steps outlined in this guide and avoiding common mistakes will ensure your DIY project is a success.
Ready to start your painting project the right way? Don’t skip the primer—your wood will thank you!
Frequently Asked Questions
Can Chalk Paint Be Applied Directly to Stained Wood?
Yes, chalk paint can often be applied directly to stained wood without primer. However, dark stains might still bleed through, so a quick sanding and stain-blocking primer is safer for very dark stains.
How Many Coats of Primer are Needed Over Dark Stains?
For light to medium stains, one coat of stain-blocking primer is usually enough. Dark stains, such as cherry or mahogany, typically require two coats for complete coverage.
Is Sanding Always Necessary Before Painting Stained Wood?
Yes, light sanding is almost always necessary before painting stained wood. It creates a slightly rough surface that helps paint stick better and removes the glossy finish.
Can I Paint Over Varnished Wood Without Priming?
No, varnished wood definitely needs primer after a light sanding to rough up the surface. Skipping these steps will likely result in paint that peels off easily within weeks.


