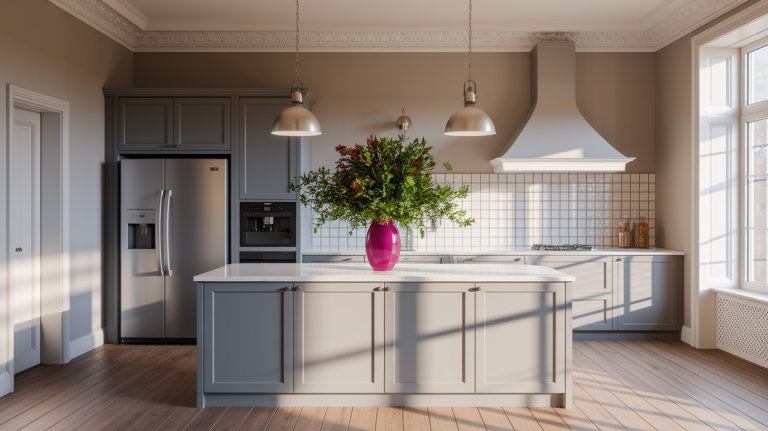
DIY Guide for Extending Your Kitchen Cabinets to the Ceiling
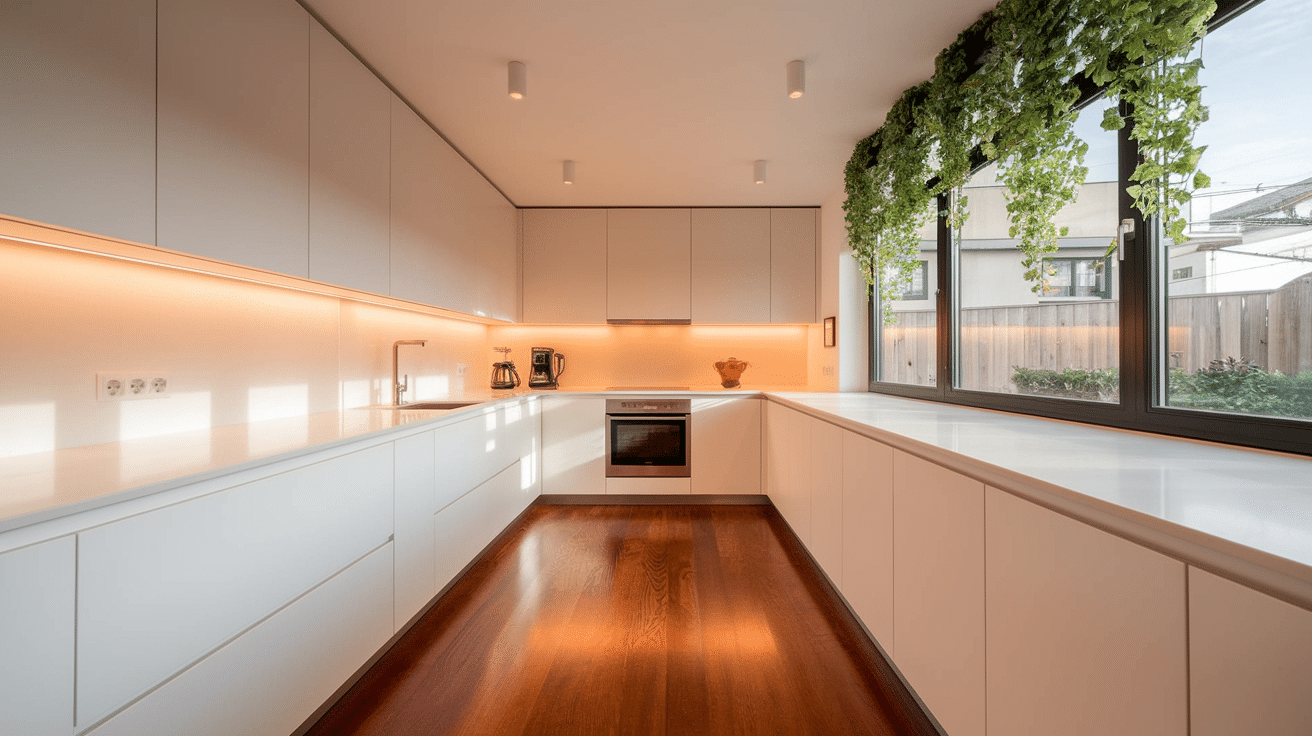
Looking to maximize storage in your kitchen without the hassle of major renovations?
Extending your kitchen cabinets to the ceiling is an easy and cost-effective way to gain valuable space while refreshing your kitchen’s look.
In this blog, you’ll learn how to add height to your existing cabinets using basic tools and materials.
With just a little planning and effort, you can change the wasted space above your cabinets into practical storage or a place to showcase your favorite items.
This step-by-step guide is perfect for homeowners who enjoy tackling DIY projects over the weekend. By the end, you’ll have a kitchen that not only feels more spacious but is also highly functional.
Why Extend Cabinets to the Ceiling
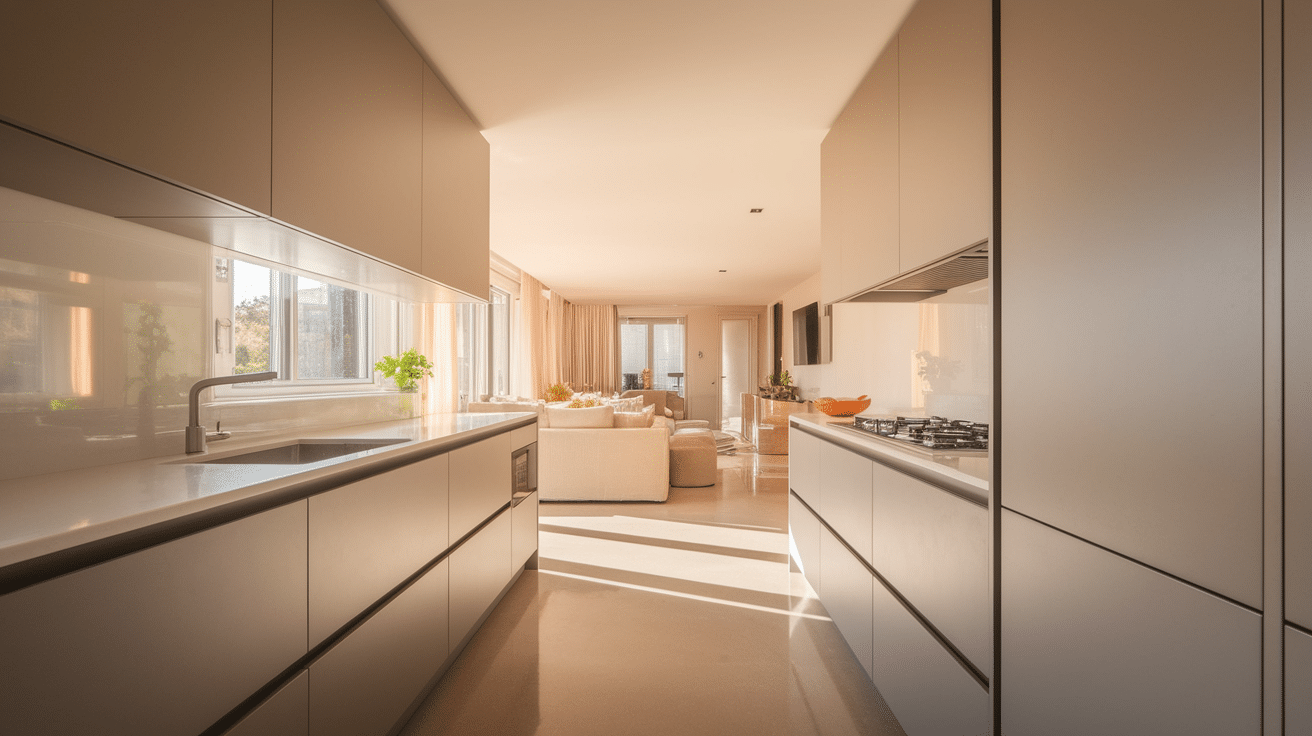
Extending your kitchen cabinets to the ceiling offers several real benefits beyond looks. First, you get lots more storage space, perfect for items you don’t use daily but still need handy.
This extra storage helps keep your countertops clear and your kitchen less cluttered. The space between standard cabinets and the ceiling often collects dust and grease that’s hard to clean.
By closing this gap, you eliminate a major dust trap in your kitchen. Full-height cabinets also make your kitchen look bigger by drawing the eye upward and creating an impression of higher ceilings.
This small change can make even modest-sized kitchens feel more open and spacious. Plus, this update can improve your home’s value.
Buyers often look for kitchens with maximum storage, and ceiling-height cabinets signal a well-thought-out, complete kitchen design that stands out from others on the market.
Tools and Materials You’ll Need
To extend kitchen cabinets to the ceiling, you’ll need:
- Measuring tape
- Pencil
- Level
- Stud finder
- Drill/driver
- Saw (circular or miter)
- Sandpaper
- Paintbrushes/rollers
- Safety glasses
- Ladder
- Wood glue
- Clamps
Approximate DIY Cost: $100–$300 ( for a small kitchen) and $300–$600+ ( for a Large kitchen)
Steps for Extending Your Kitchen Cabinets
Follow these steps to seamlessly extend your kitchen cabinets, improving both storage space and the visual appeal of your kitchen.
Step 1: Planning & Preparation
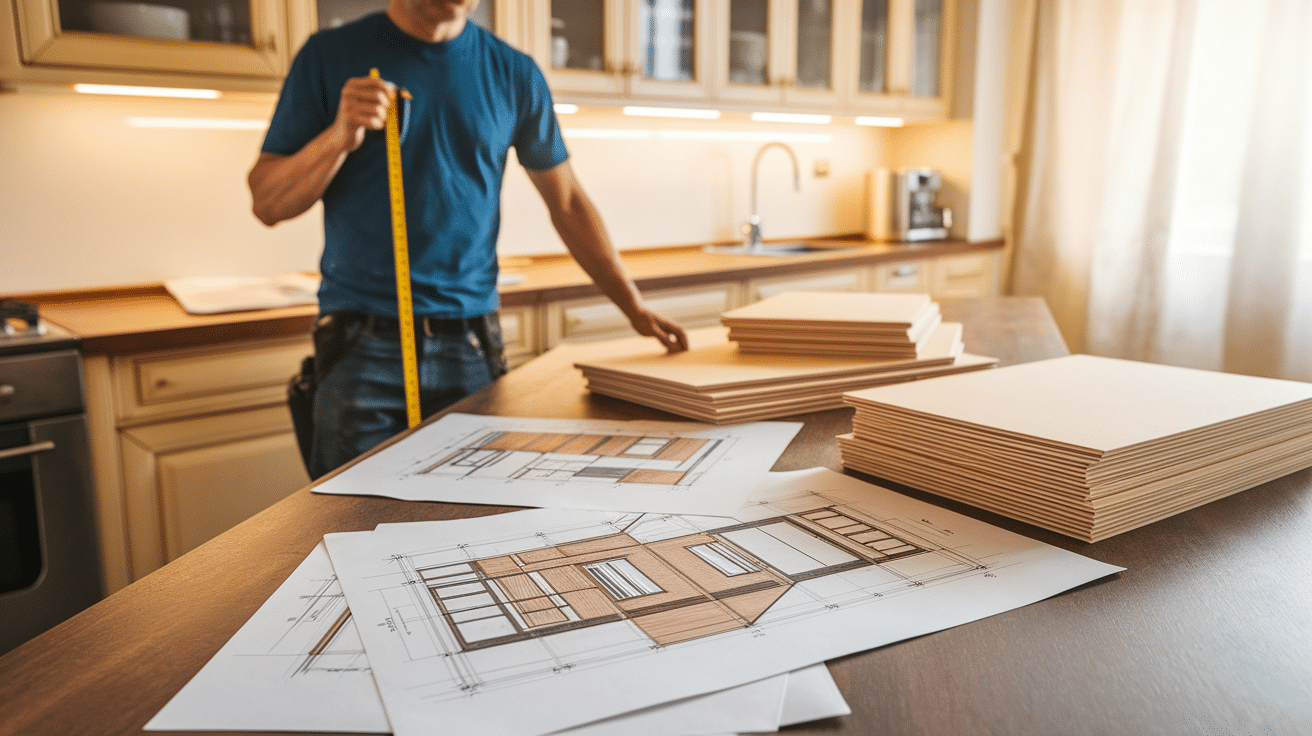
Before you build, it’s essential to prepare the space and gather your materials to ensure a smooth process.
- Measure the space between your cabinets and ceiling in multiple spots to account for uneven ceilings.
- List all needed materials: matching wood panels, trim, hinges, handles, screws, glue, and finishing products.
- Inspect behind and above cabinets for wires, pipes, or vents that may interfere with installation.
- Sketch out your extension plans to visualize the design and dimensions.
- Clear countertops and cabinet tops, and cover surfaces with drop cloths to protect from dust and debris.
Step 2: Building the Cabinet Extensions
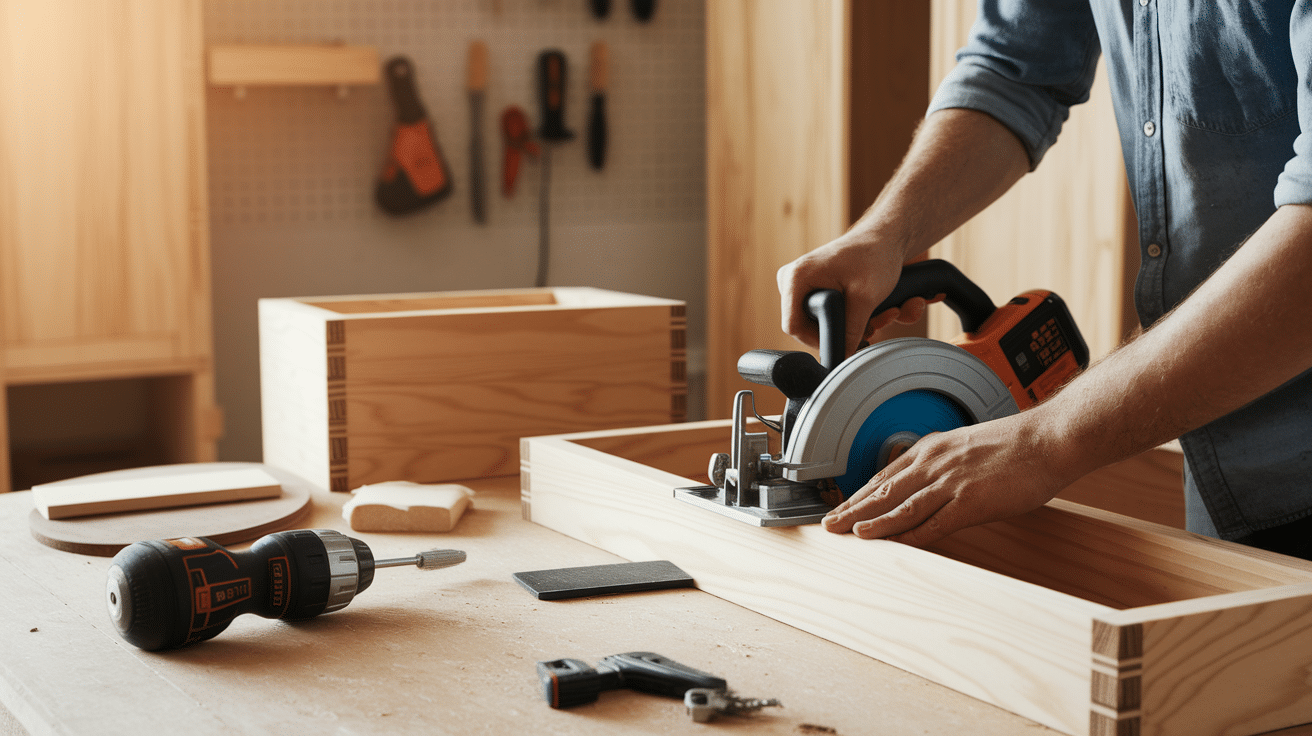
Now it’s time to build the structure of your cabinet extensions using your measured dimensions:
- Remove existing crown molding carefully and save it if it’s reusable.
- Cut wood panels to the desired height and width to form each extension box.
- Assemble the panels into a bottomless box using wood glue and screws.
- Secure the box to the wall studs for stability, especially if the extension is deep.
- Sand all edges for a smooth, splinter-free surface ready for painting or staining.
Step 3: Blending with Existing Cabinets
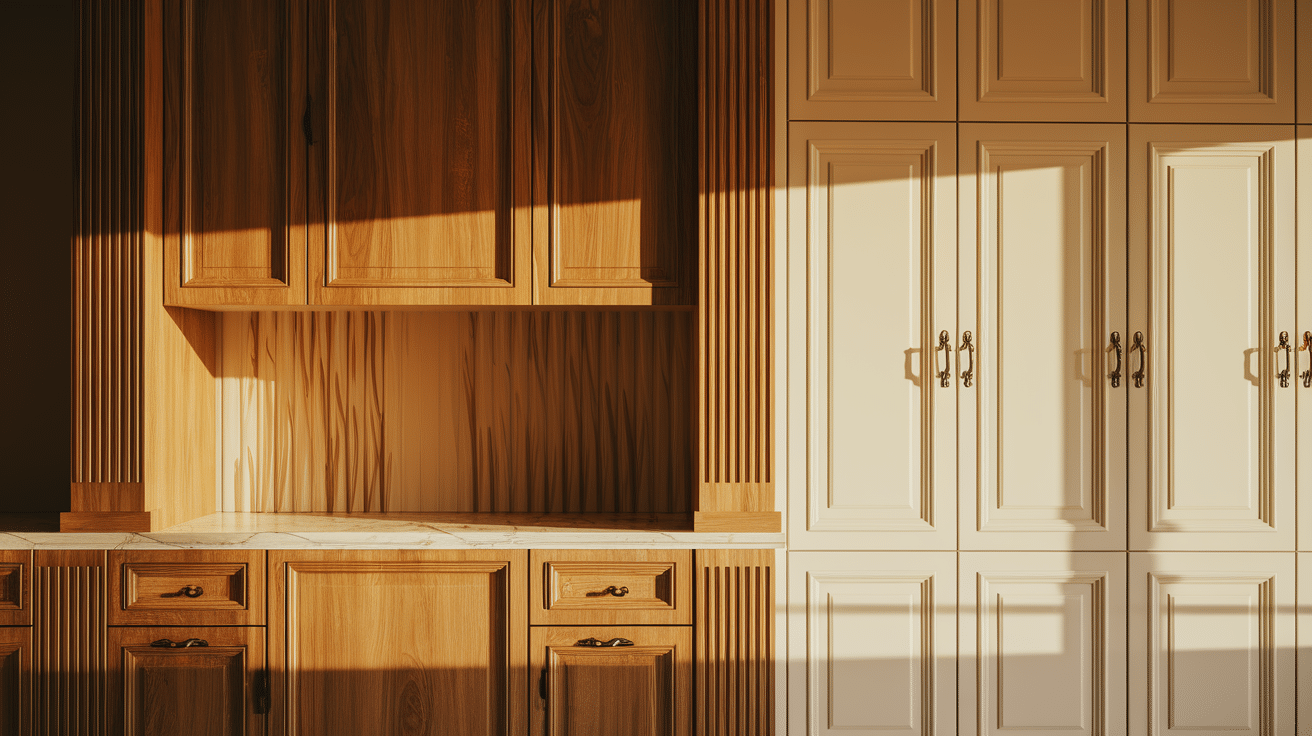
To make the extensions look original, match the style and finish of your current cabinetry:
- Use wood filler to smooth gaps or seams, then sand for a seamless transition.
- Prime all surfaces with a wood primer for even paint or stain coverage.
- Apply matching paint or stain in layers, allowing each coat to fully dry.
- Add trim where the new cabinets meet existing ones and the ceiling to conceal seams.
- Replicate any design details like paneling or routed edges from your original cabinets.
Step 4: Installing Doors & Hardware
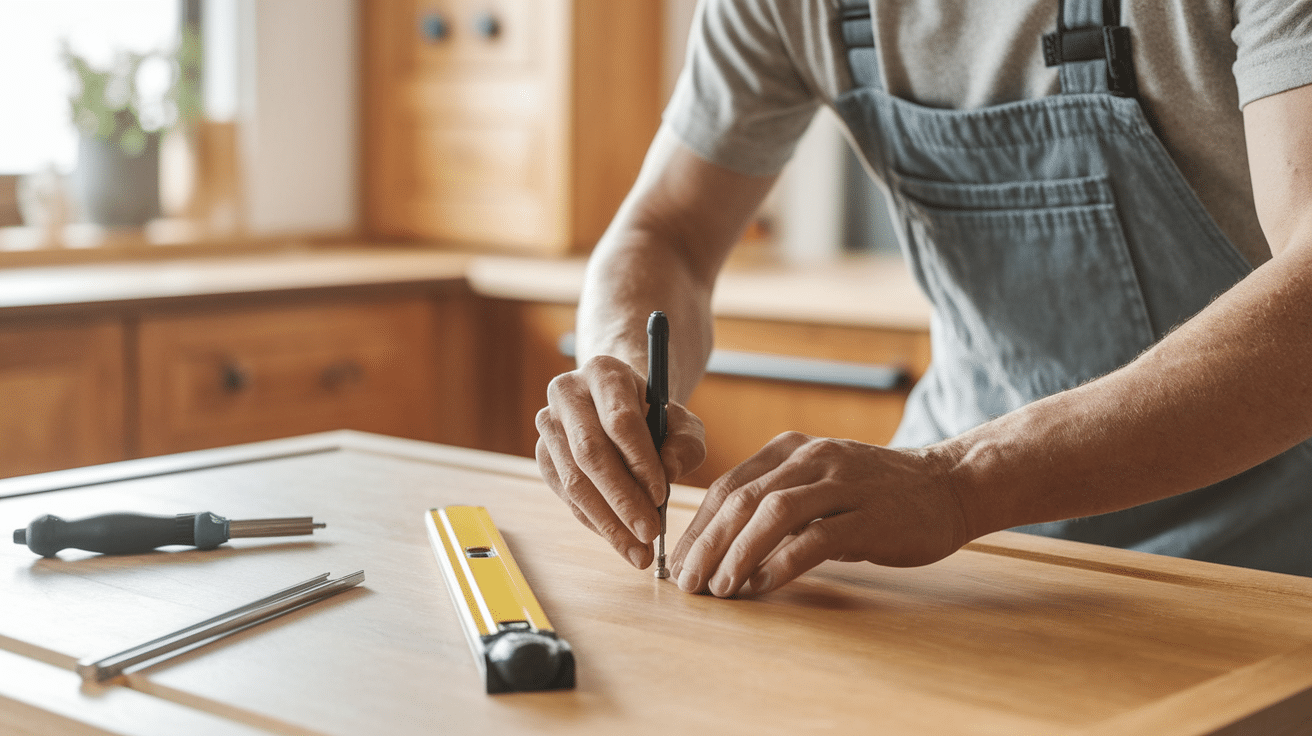
Attaching doors and hardware completes the look and brings function to your cabinet extensions:
- Measure carefully and choose doors that match your existing cabinet style and thickness.
- Opt for standard-size doors if available, or custom-order/make doors for a perfect fit.
- Attach hinges to the doors first, then mount them with help for easier installation.
- Use the same knobs or handles and align them with your existing cabinet hardware.
- Test all doors to ensure they open and close properly, adjusting hinges as needed.
Step 5: Final Touches & Maintenance
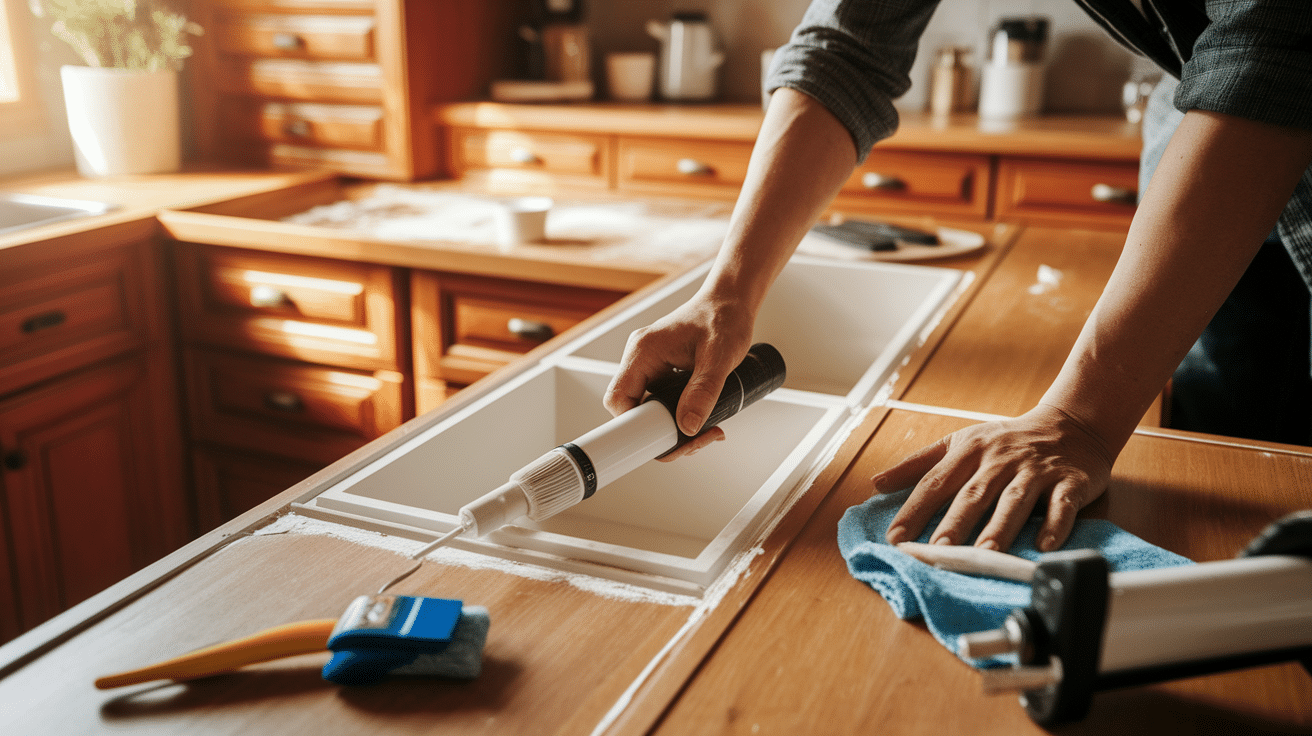
Wrap up the project with final details and ongoing maintenance tips to keep your extensions in great shape:
- Fill any gaps with caulk where the cabinets meet the ceiling for a clean, sealed finish.
- Touch up paint or stain using a small brush to fix any scuffs from installation.
- Wipe all surfaces with a gentle cleaner to remove dust and fingerprints.
- Consider installing under-cabinet lighting to brighten up your kitchen space.
- Dust monthly and apply cabinet polish twice a year to maintain shine and protection.
Step 6: Adding Crown Molding or Decorative Trim
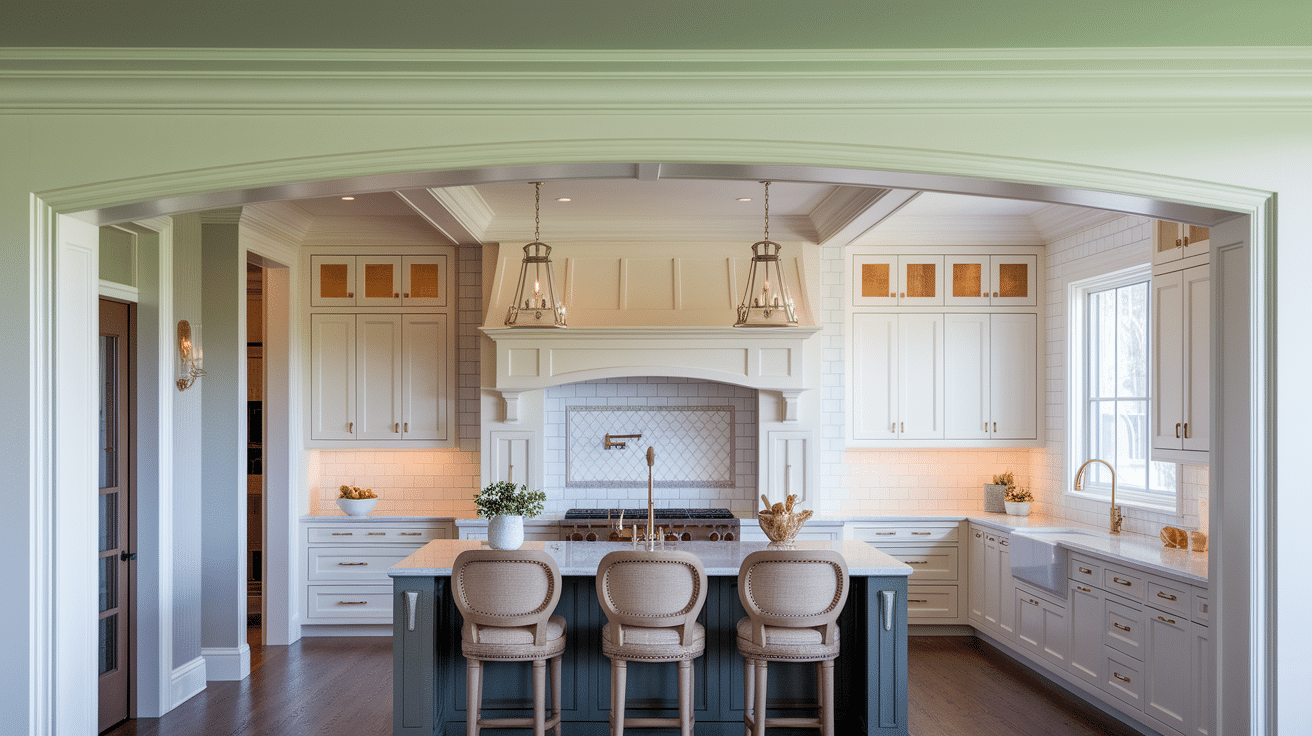
Add charm and visual height with molding that ties the design together.
- Choose molding that matches your kitchen’s style: modern, classic, or rustic.
- Measure and cut precisely with mitered corners for clean joints.
- Attach with finishing nails and fill any gaps with wood filler.
- Sand and finish the molding to match the rest of the cabinets.
- Use trim creatively to bridge the gap between the ceiling and the cabinets.
Step 7: Storage & Functional Extras
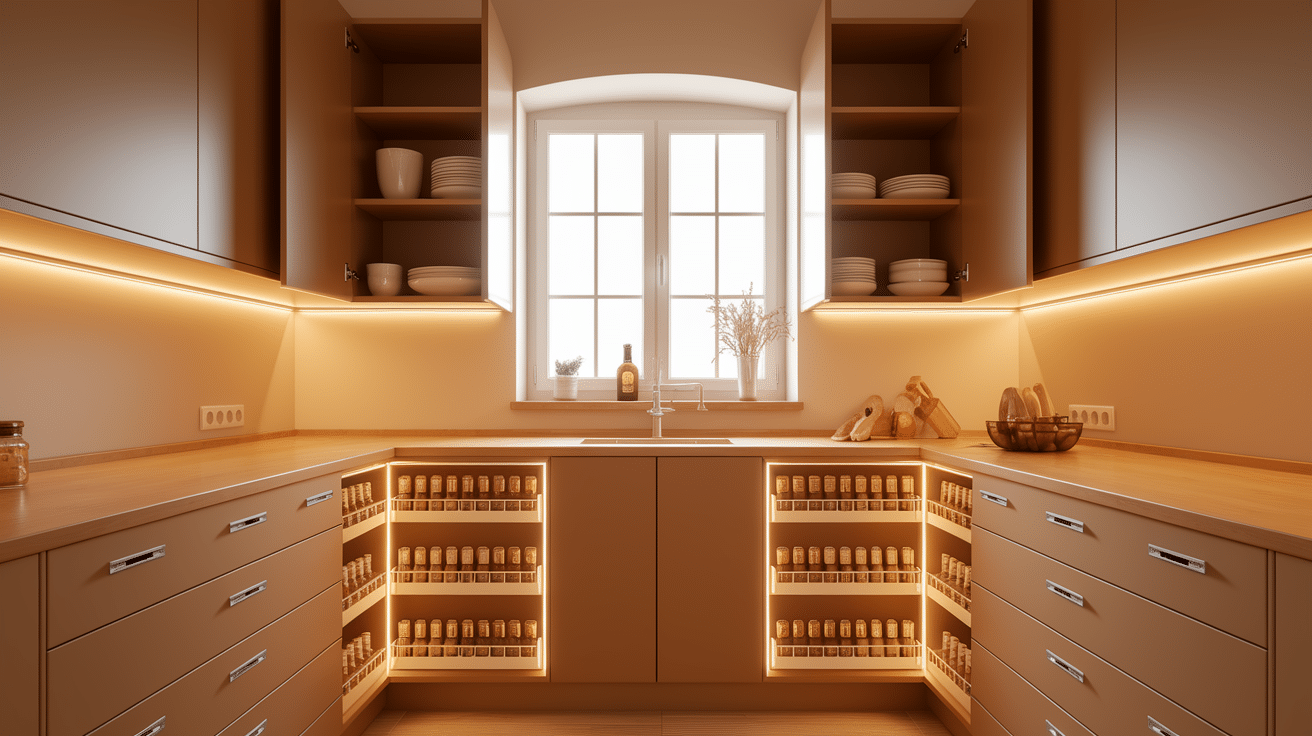
Maximize the new space with smart, functional storage ideas.
- Use the top cabinets for items you don’t use daily, like holiday dishes or linens.
- Install pull-down shelves for easier access to high spaces.
- Add inside-door racks for spices or cleaning supplies.
- Incorporate soft-close hinges for a smooth, quiet experience.
- Consider USB ports or lighting for added convenience and tech-friendly use.
Step 8: Ensuring Wall & Ceiling Stability
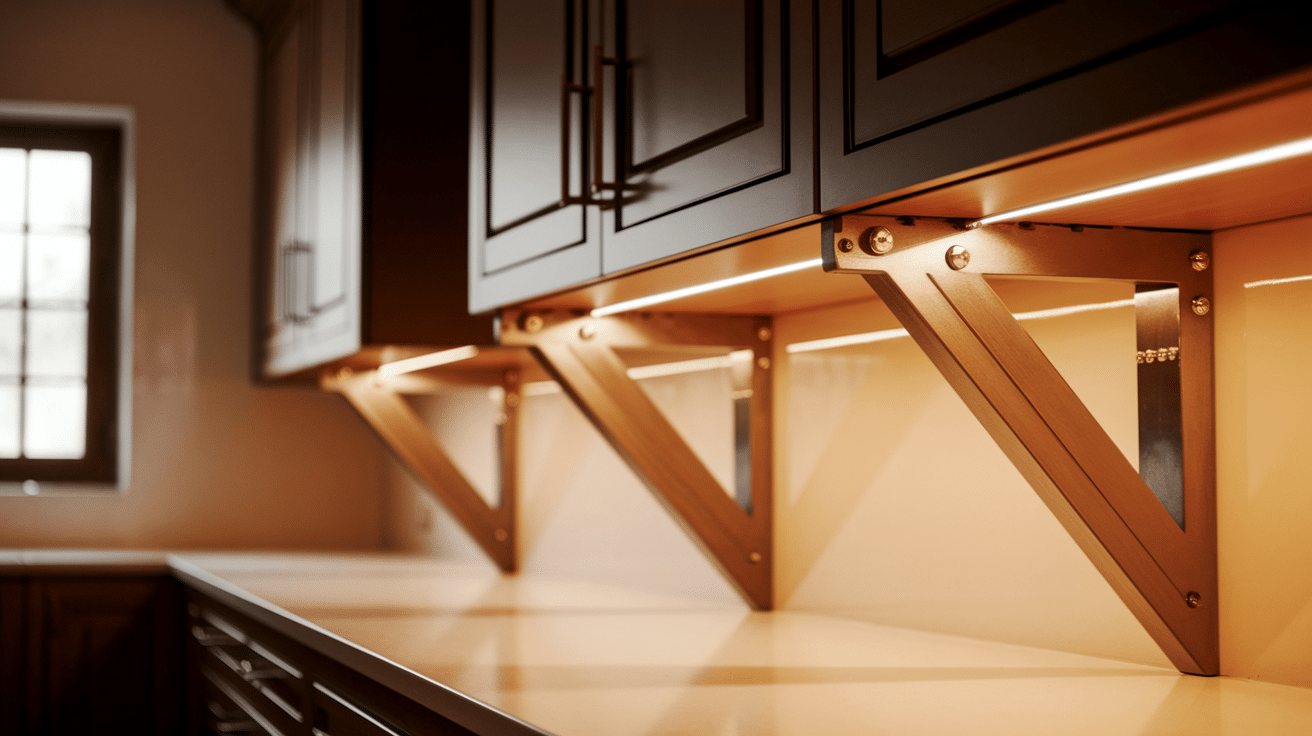
Double-check structural support to ensure long-lasting results:
- Secure extensions to wall studs or ceiling supports for safety.
- Use corner brackets or cleats behind the cabinet for reinforcement.
- Check weight limits if storing heavy items up top.
- Reinforce where needed to prevent shifting or sagging over time.
- Inspect for level installation to ensure everything is square and sturdy.
Step 9: Celebrate & Style Your New Space
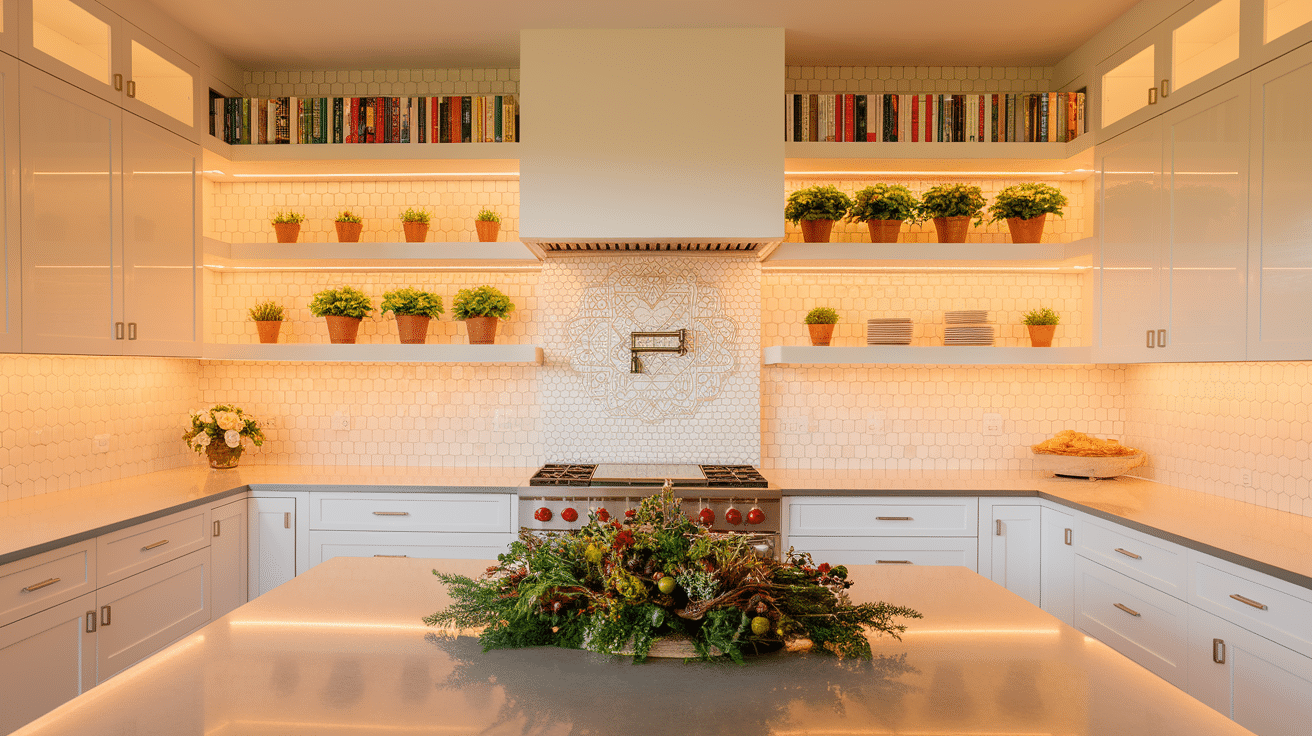
Enjoy the finished result and add some personality to your upgraded kitchen.
- Decorate the new area with cookbooks, plants, or a favorite vase.
- Update the backsplash or nearby wall art to reflect the new height.
- Use open shelves or ledges to break up visual space if needed.
- Take a moment to admire your added storage and the polished new look.
- Share your success as you’ve changed your kitchen without a full renovation.
Cost Breakdown
The cost of extending your kitchen cabinets to the ceiling depends on material choice, kitchen size, and whether you already own the necessary tools.
| Item | Cost Range (USD) | Description |
|---|---|---|
| Materials | ||
| Lumber (Wood for boxes) | $50 – $200 | Depending on wood type (e.g., pine, MDF, plywood) and quantity |
| Plywood | $50 – $150 | For creating cabinet sides and shelves |
| Hardware (Screws, nails, glue) | $20 – $50 | Essential for assembly |
| Finishing Materials (Paint/Stain, Primer, Sealer) | $30 – $100 | To match existing cabinets |
| Cabinet Doors/Fronts | $50 – $300+ | Depending on style, material, and whether custom-made |
| Hinges & Knobs/Pulls | $20 – $50 | For doors and drawers |
| Tools | ||
| Drill/Driver | $40 – $150+ | For screwing and drilling |
| Measuring Tools (Tape, Level) | $20 – $50 | Accurate measurements are crucial |
| Sandpaper & Sanding Block | $10 – $30 | For smoothing surfaces |
| Brushes & Rollers | $10 – $30 | For painting or staining |
| Optional | ||
| Lighting (LED Strips) | $30 – $100+ | Under-cabinet or in-cabinet lighting |
| Crown Molding | $20 – $100+ | For a finished look at the top |
| Professional Help (if needed) | $100 – $500+ | For tasks like electrical work, custom cabinet building, or installation assistance |
| Total Estimated Cost | $440 – $2010+ |
Note: These costs are estimates and can vary based on location, material choices, and project complexity.
Design Ideas & Style Inspiration for Kitchen Cabinets
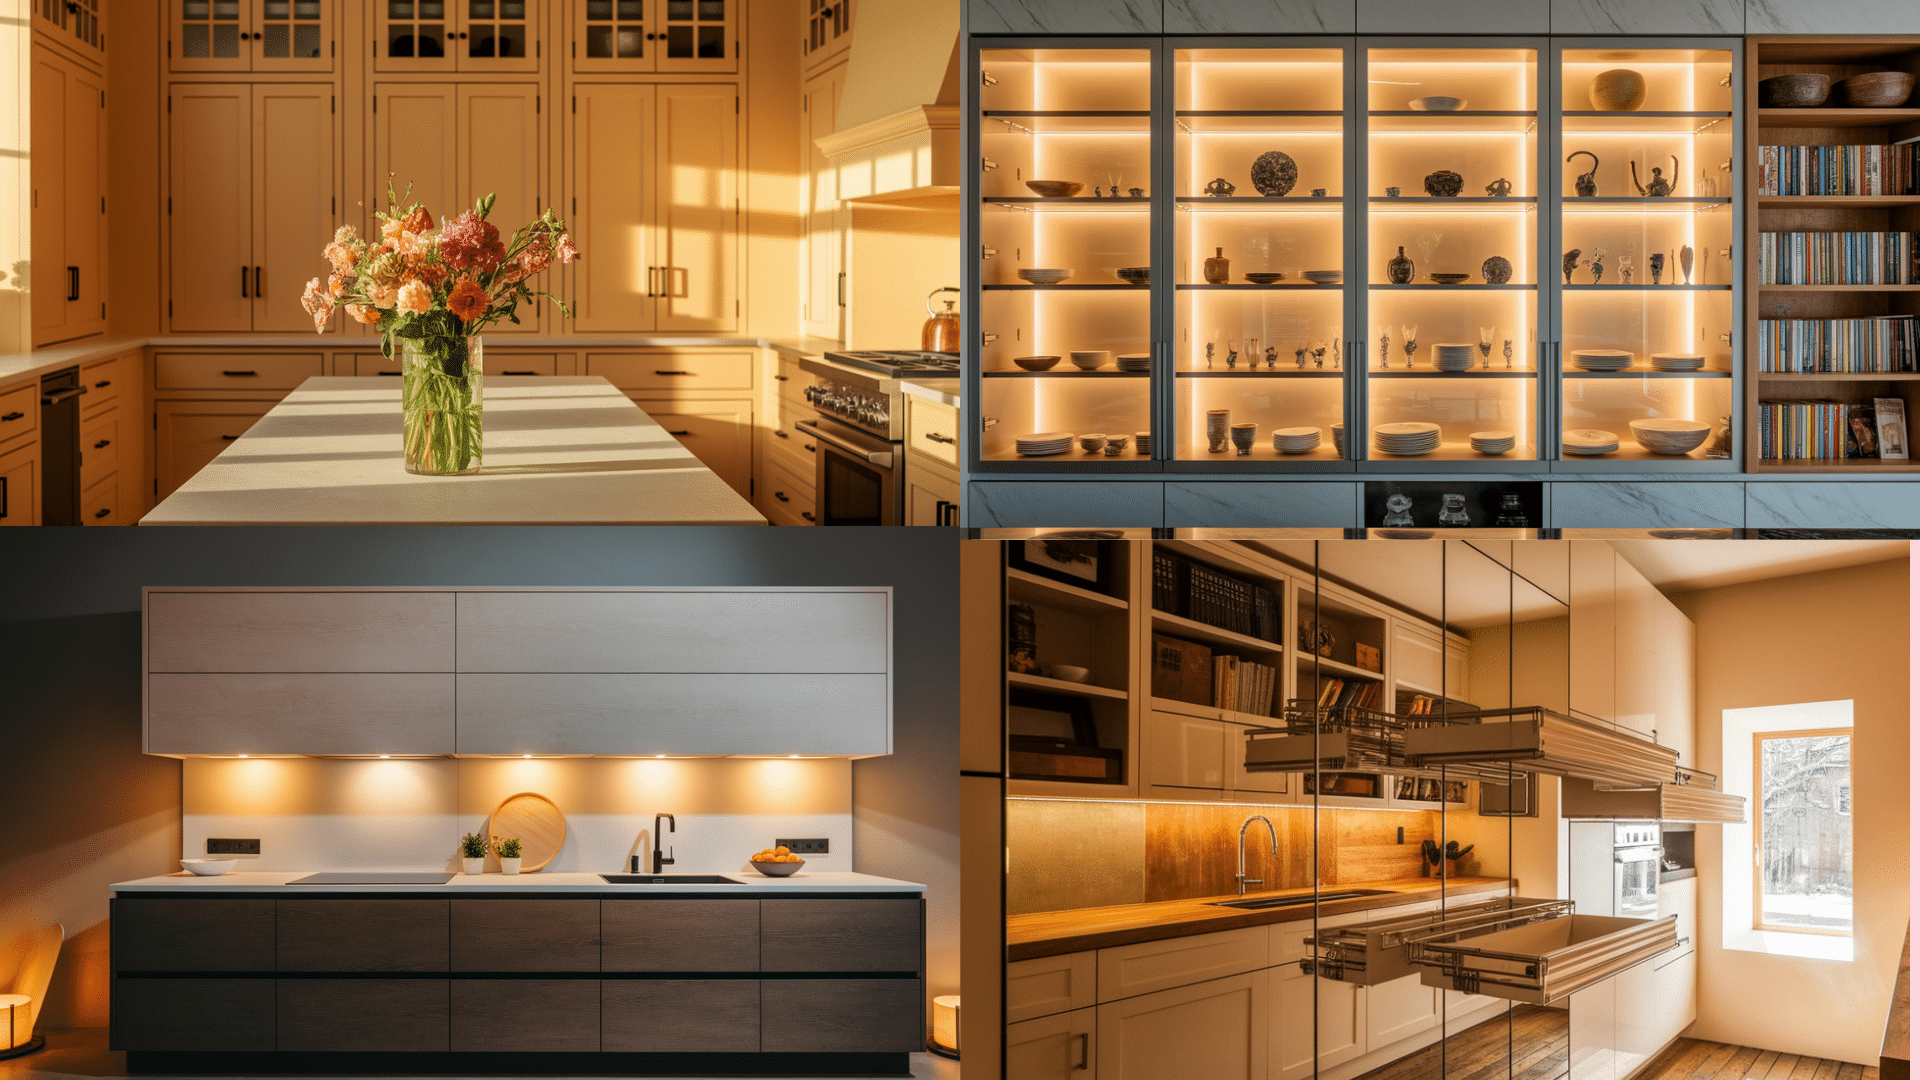
When extending cabinets, you have options beyond just matching what’s already there.
- Glass-Front Doors on Upper Extensions: Add visual lightness and create a place to display special dishes or collectibles.
- Open Shelving on Extensions: Gives a modern look and easy access to frequently-used items like cookbooks or decorative bowls.
- Task Lighting Under Original Cabinets: Better lighting for work surfaces, especially now that the cabinets go all the way up.
- Two-Tone Look for Cabinets: Paint the extensions a different color to create contrast. Lighter colors on top and darker colors below can make ceilings appear higher.
- Taller Cabinets for Visual Balance: Use taller cabinets at the end of a run to frame the kitchen, especially in unusual layouts.
- Mirrored Doors on Extensions for Small Kitchens: Makes the room feel bigger while hiding the contents.
- Pull-Down Shelving Systems: Makes high cabinets more practical for storing rarely-used items that you still need from time to time.
Common Mistakes to Avoid When Extending Cabinets
| Mistake | Description |
|---|---|
| Not Checking for a Level Ceiling | Failing to measure at multiple points can result in unsightly gaps due to uneven ceilings. |
| Skipping Surface Cleaning | Grease or debris can prevent adhesives from bonding properly, affecting installation. |
| Using Too Few Support Screws | Ensure extensions are secured to wall studs every 16 inches and anchored to the original cabinets to handle weight safely. |
| Forgetting Crown Molding Dimensions | Factor in crown molding height when measuring extensions to avoid size issues later. |
| Rushing the Finishing Process | Not allowing paint, primer, or finish to dry between coats leads to a rough, uneven look. |
| Ignoring Weight Limits | Heavy extensions on weak or improperly anchored cabinets can cause sagging or structural failure. |
| Not Labeling Doors During Installation | Mixing up cabinet doors during installation can result in poor alignment and fit issues. |
Conclusion
Extending your kitchen cabinets to the ceiling is a smart upgrade that boosts storage, eliminates dust-collecting gaps, and improves the overall space.
With the right planning and basic tools, this budget-friendly project can be completed over a weekend.
Just remember to ensure level ceilings, secure all components properly, and focus on finishing touches for a polished look.
If you are organizing holiday dishes or showcasing cherished items, this simple change can make a big difference.
Ready to upgrade your kitchen? Start planning your cabinet extension today and change your space with ease.

