How to Build a Homemade Outdoor Wood Stove Pictures
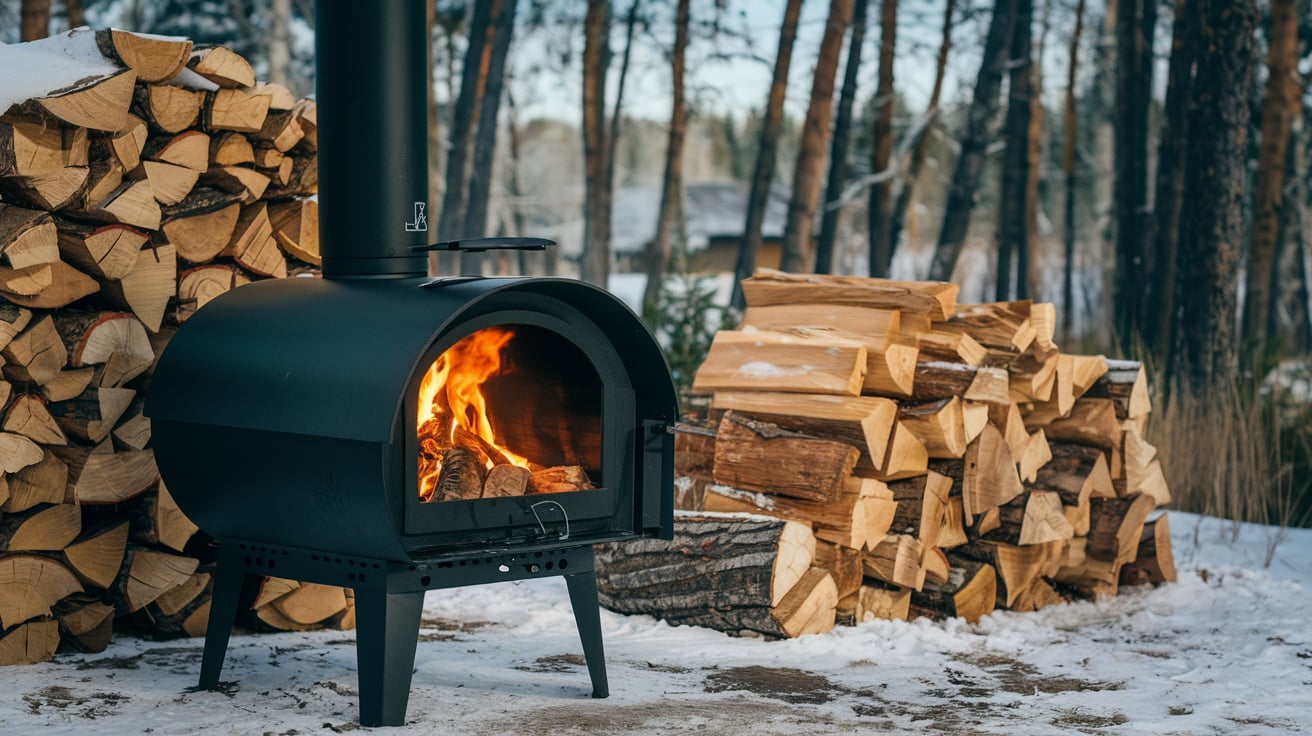
Ever wanted to cook outdoors but are tired of flimsy grills that break after one season?
Building your own wood stove might be the answer you’ve been looking for.
A homemade outdoor wood stove gives you the freedom to cook anywhere. You can take it camping, use it during power outages, or enjoy cooking in your backyard. Plus, there’s something special about food cooked over wood that gas grills can’t match.
This guide walks you through making a sturdy, useful outdoor wood stove using basic tools and materials.
You’ll learn which metals work best, how to cut and shape them safely, and a few tricks that make your stove work better.
Materials & Tools Required for Outdoor Woodstove Building
Here’s a clear list of tools and materials required for building a homemade outdoor wood stove:
| Tools Needed | Materials Required |
|---|---|
| Metal Saw or Angle Grinder | Steel Drum or Metal Sheet |
| Drill with Metal Bits | Steel Pipe |
| Metal File | Grill Grate |
| Measuring Tape | High-Temperature Paint |
| Marker or Scribe | Metal Screws or Bolts |
| Safety Gear | Metal Mesh Screen |
| Pliers | Fire Bricks (Optional) |
Step-by-Step Guide to Building an Outdoor Stove
Building your own outdoor wood stove is both practical and rewarding. With basic tools and materials, you can create a durable cooking solution for camping trips, backyard gatherings, or emergencies.
This step-by-step guide will walk you through the process, from preparing materials to enjoying your first fire.
Step 1: Prepare Your Drum
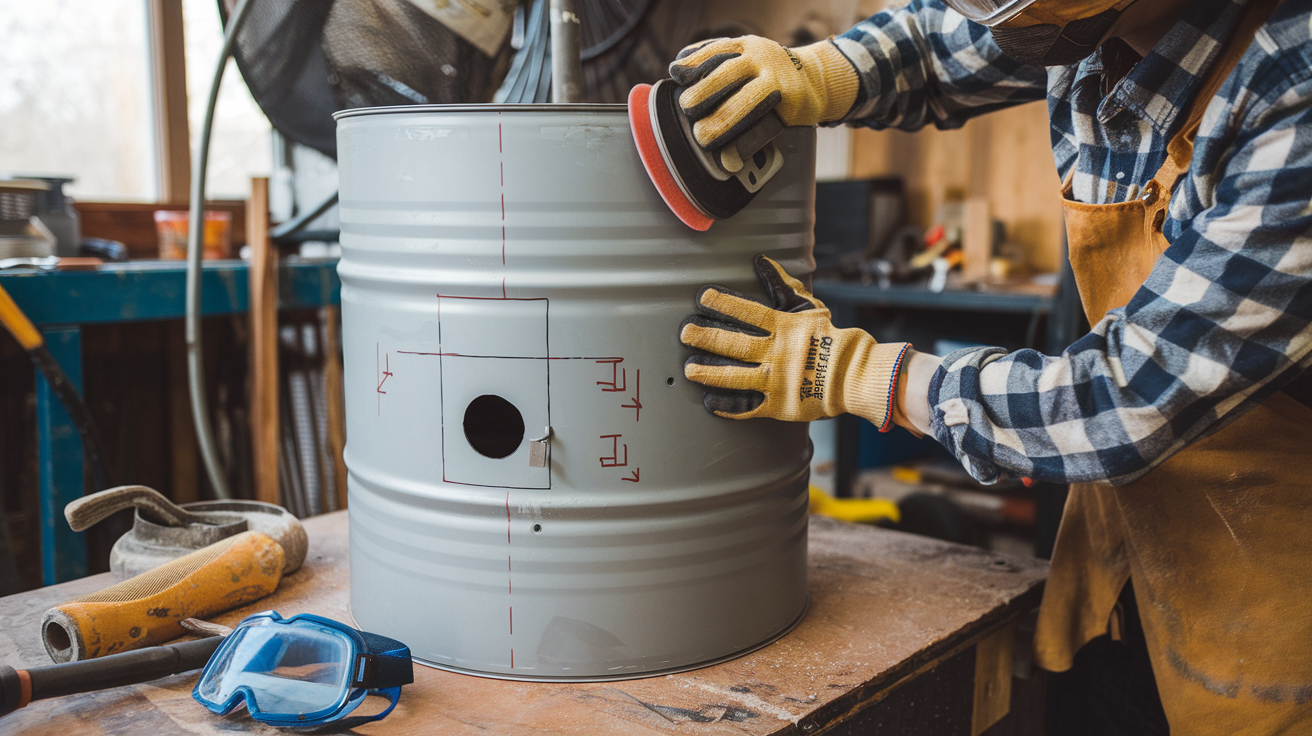
Choose a clean metal drum and mark where to cut the door and chimney hole. Safety first – wear gloves and eye protection when working with metal.
Remove any paint or coatings from the drum by sanding. This prevents toxic fumes when the stove gets hot. Work in a well-ventilated area to avoid breathing in dust.
Step 2: Cut the Door
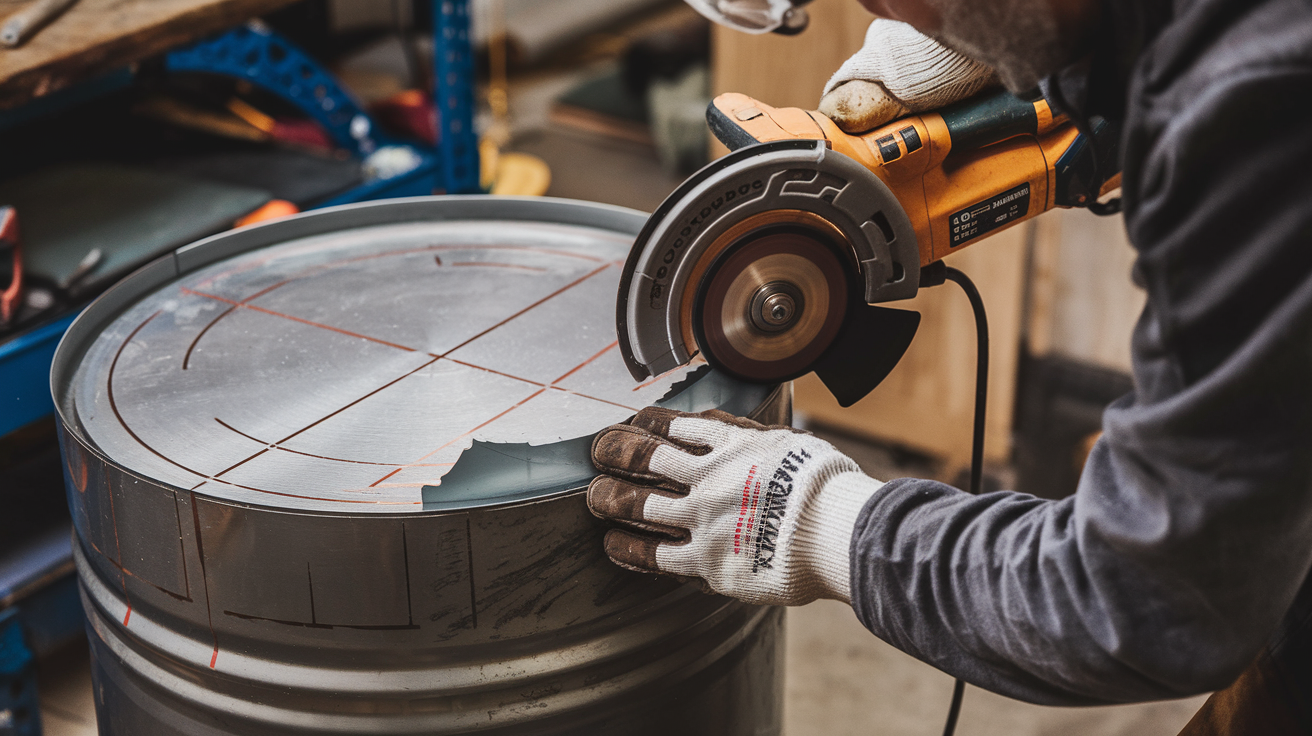
Cut along your marked lines using the angle grinder or metal saw. Go slowly and keep the cutting tool steady for clean edges.
Save the cut piece to use as the actual door. File down any sharp edges to prevent cuts when using your stove later.
Step 3: Create Air Vents
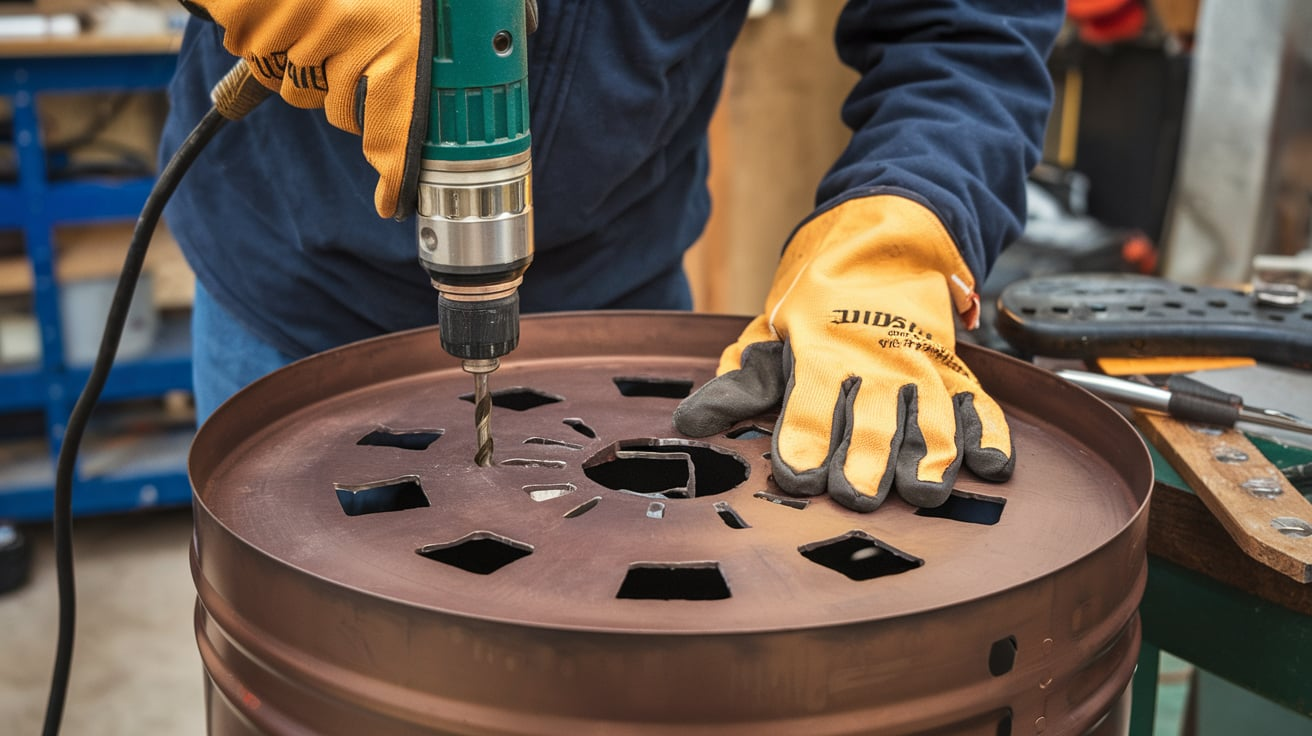
Drill several small holes at the bottom of the drum. These let air flow in to feed the fire and help with clean burning.
Cut squares and attach movable metal flaps with bolts to create adjustable vents. This helps control the temperature during cooking.
Step 4: Install the Door Hinges
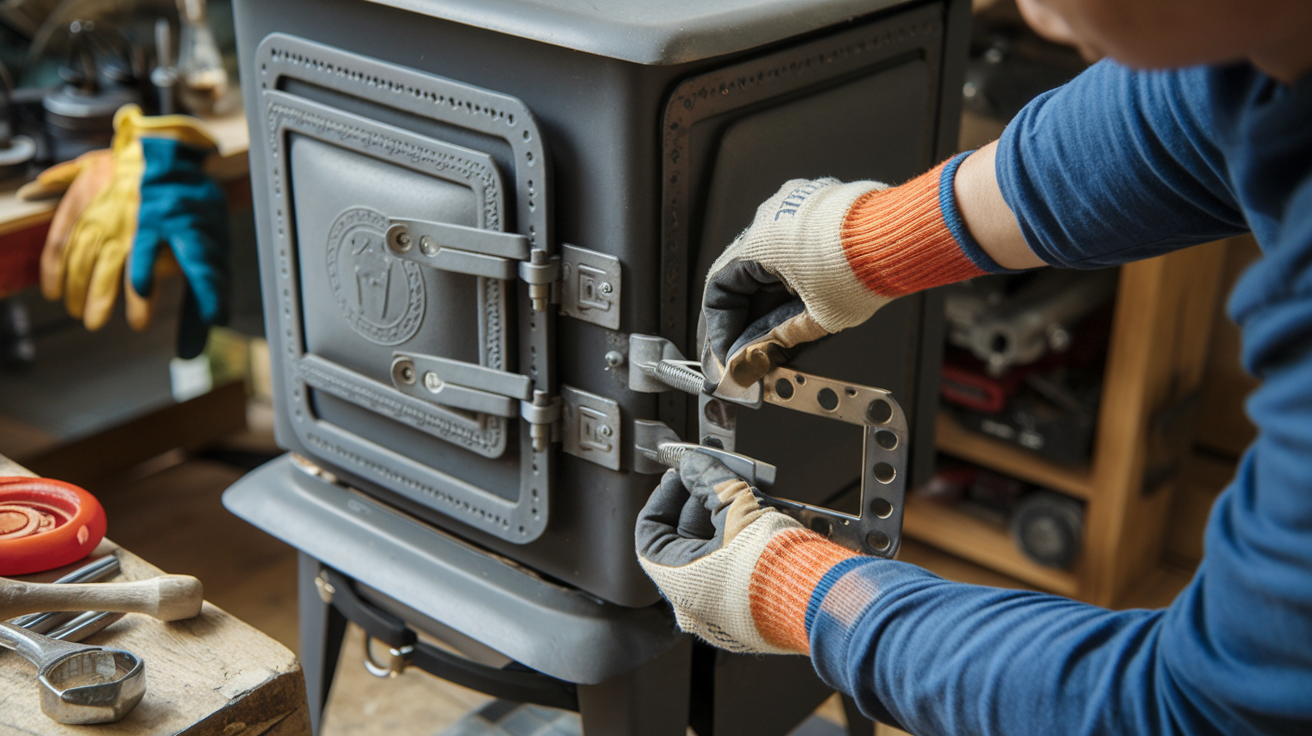
Attach hinges to the door piece and main body using metal screws. Make sure the door opens and closes smoothly.
Add a simple latch or handle to keep the door closed while the stove is in use. Test it several times to ensure it works well.
Step 5: Add the Chimney
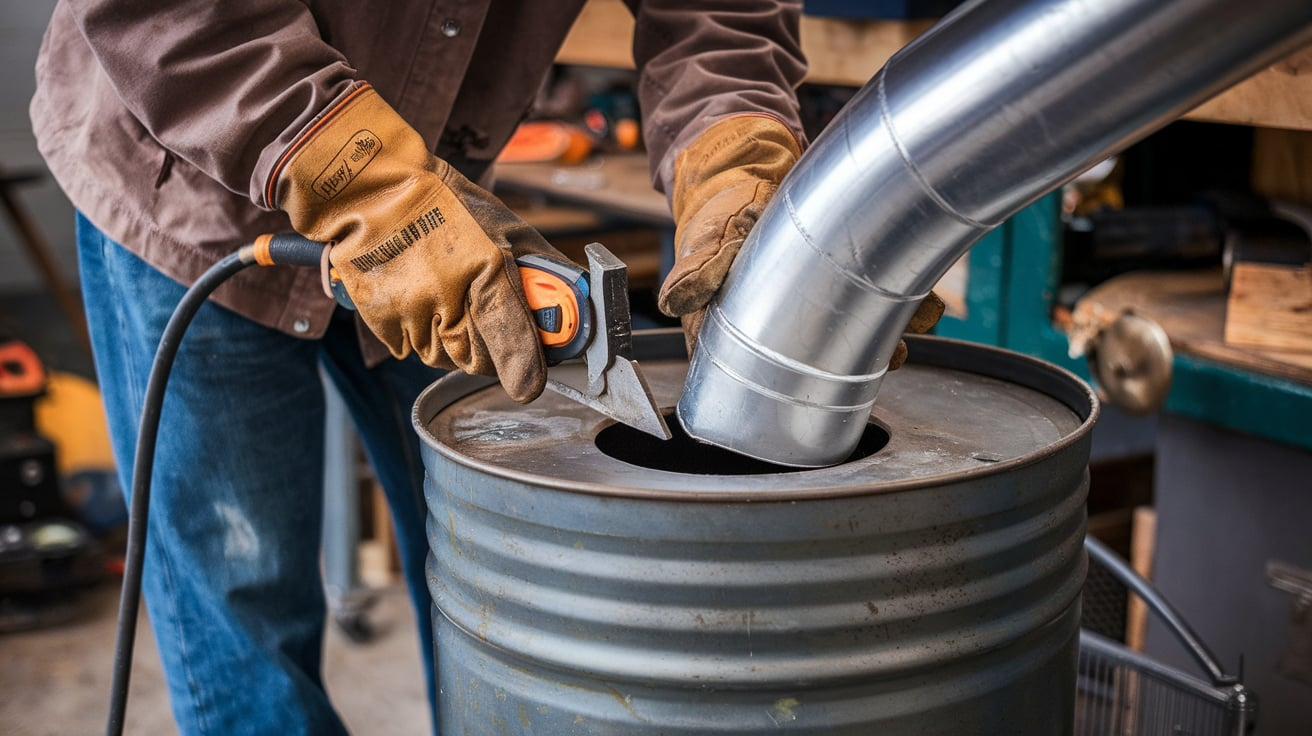
Cut a hole in the top of the drum for the steel pipe chimney. Make it slightly smaller than the pipe for a tight fit.
Insert the pipe through the hole and secure it with heat-resistant sealant or by welding. Ensure it extends at least 2 feet above the stove.
Step 6: Install the Cooking Surface
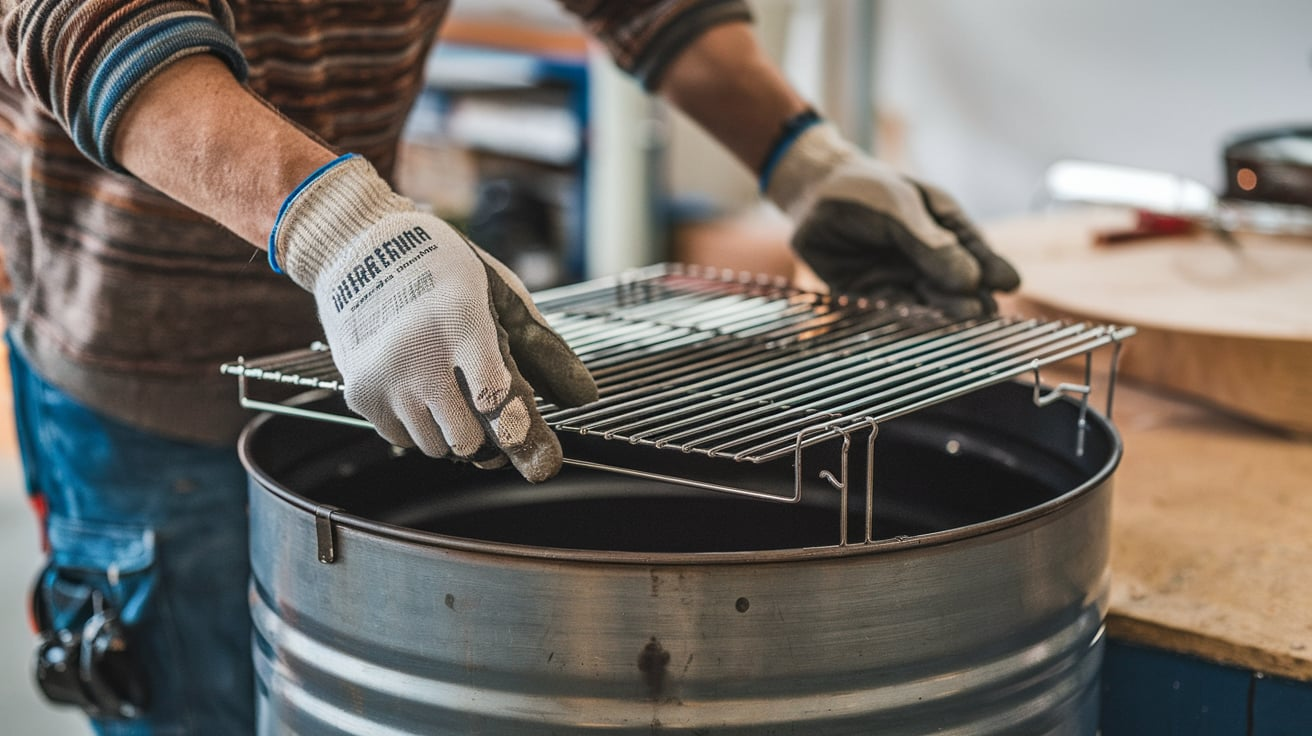
Place the grill grate on top of the drum or create a flat surface by cutting the top. Make sure it’s level and stable.
Consider adding metal supports inside to hold the grate if needed. The grate should sit firmly without wobbling when you place pots on it.
Step 7: Add Internal Improvements
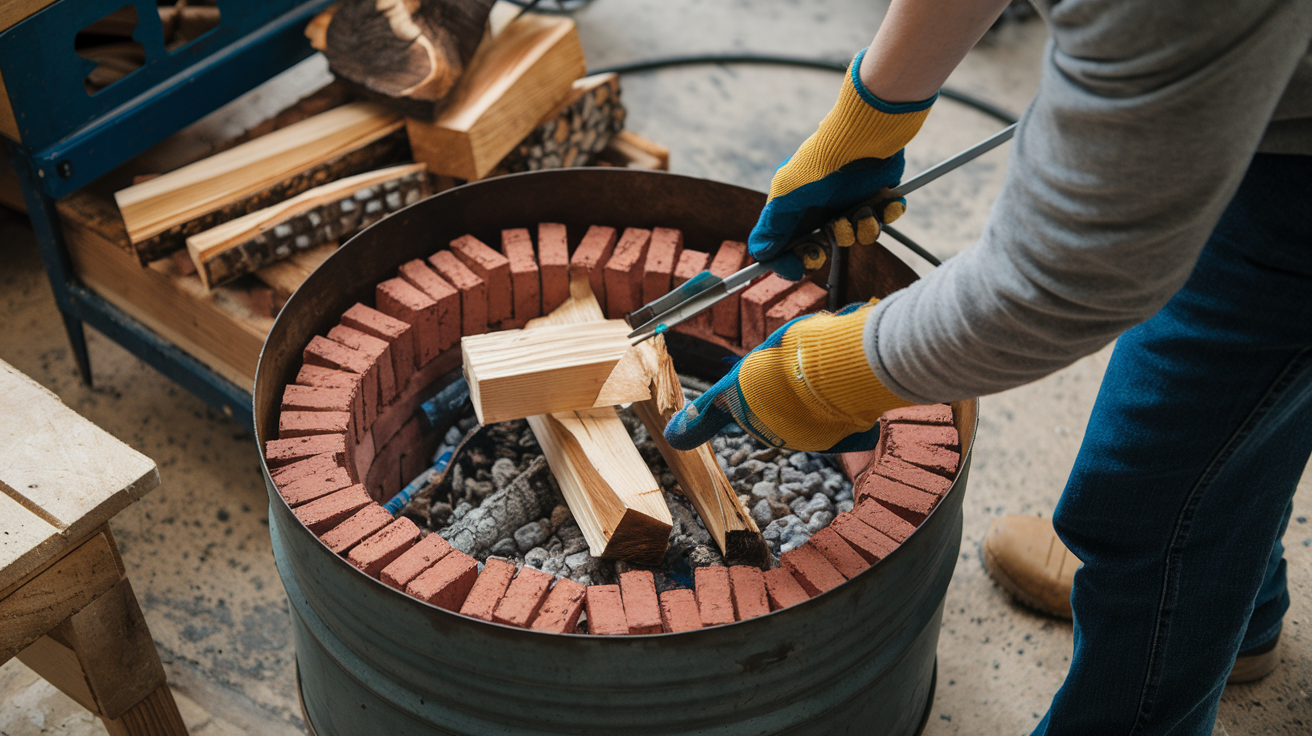
Line the bottom with fire bricks if available. They help retain heat and protect the metal drum from warping over time.
Create a small platform inside to keep the wood off the bottom. This improves airflow and makes your fire burn more efficiently.
Step 8: Final Touches
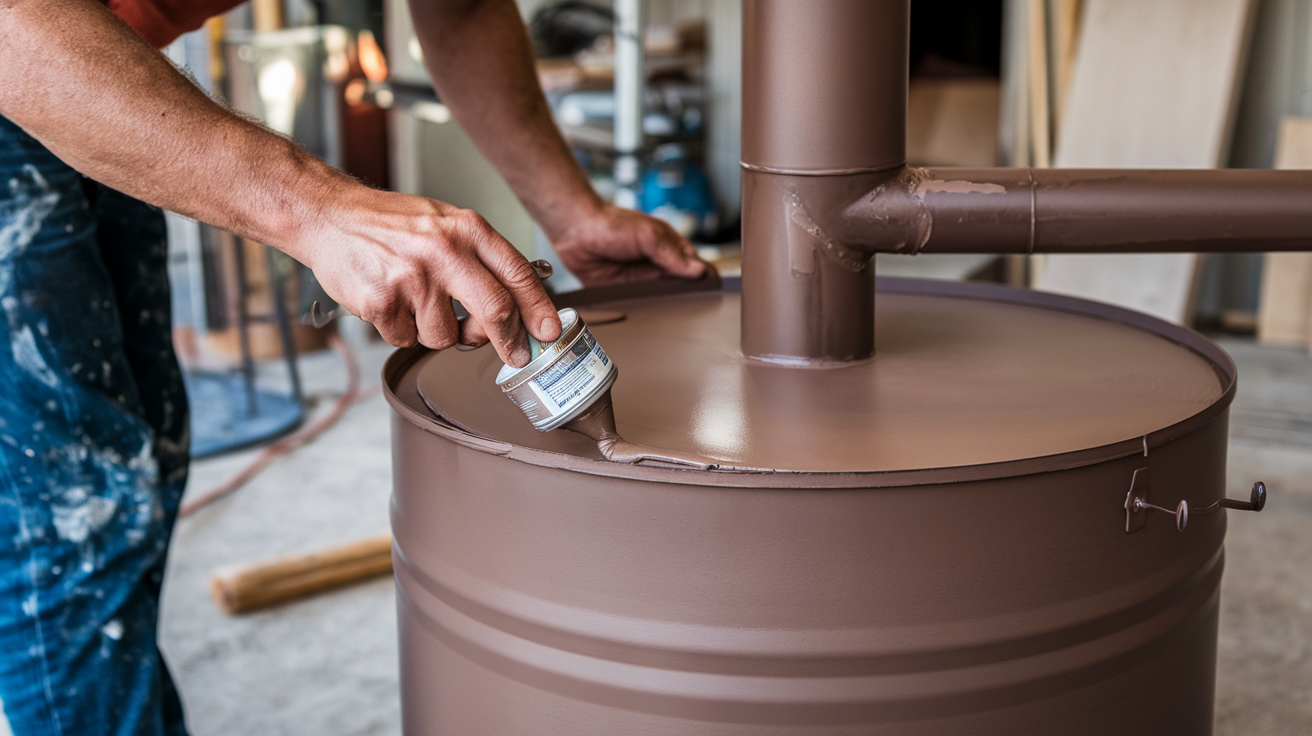
Apply high-temperature paint to all external surfaces. This prevents rust and extends the life of your stove significantly.
Let the paint dry completely before first use. Then, do a test burn without cooking to cure the paint properly.
Approximate Cost of DIY Outdoor Wood Stove
Building your own outdoor wood stove can indeed be a cost-effective alternative to purchasing a commercial unit. Here’s a breakdown of the typical costs involved in building a DIY outdoor wood stove:
A homemade outdoor wood stove can be built affordably with basic supplies. A steel drum costs $0-30 (often free if recycled), while a steel pipe for the chimney runs $15-25. You’ll need a grill grate ($10-20), high-temperature paint ($10-15), metal fasteners ($5-10), and mesh screen ($5-10). Optional fire bricks add $15-25.
If you already own tools, your total cost ranges from $45-110. If purchasing all materials and tools, expect to spend $120-250 total.
Advantages of DIY
- Cost Savings: The DIY approach is much cheaper than buying a commercial unit.
- Customization: You can tailor the stove to your specific needs and space constraints.
- Environmental Benefits: Using recycled materials reduces waste and supports sustainability.
However, keep in mind that a DIY stove might not be as efficient or durable as a commercial model, and it may require more maintenance. Additionally, ensure that your DIY project complies with local building codes and safety regulations.
Comparison to Commercial Options
- Commercial outdoor wood furnaces typically range from $8,000 to $20,000, including installation.
- Building your own stove can save you a significant amount of money.
- Using recycled materials further reduces your costs.
- Already owning the necessary tools makes the project even more affordable.
Types of Homemade Outdoor Stove Designs
This is a list of homemade outdoor stove designs that offer unique features, designs, and cost ranges that you can make in your home.
1. Rocket Stove
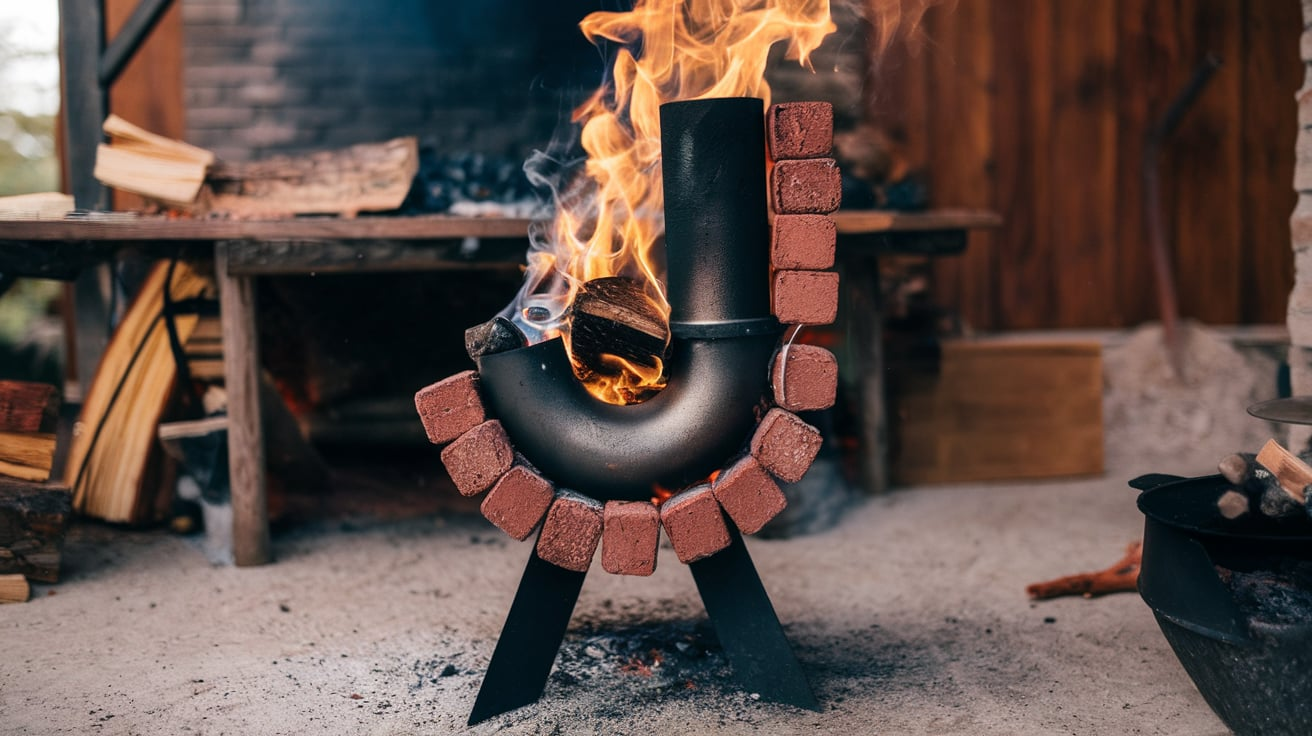
Rocket stoves are known for their efficiency and can be made with various materials, including bricks and metal cans.
- Description: Efficient, uses minimal wood, and creates intense heat through a J-shaped combustion chamber.
- Cost: $15-40, depending on materials like bricks or metal cans.
2. Drum Stove
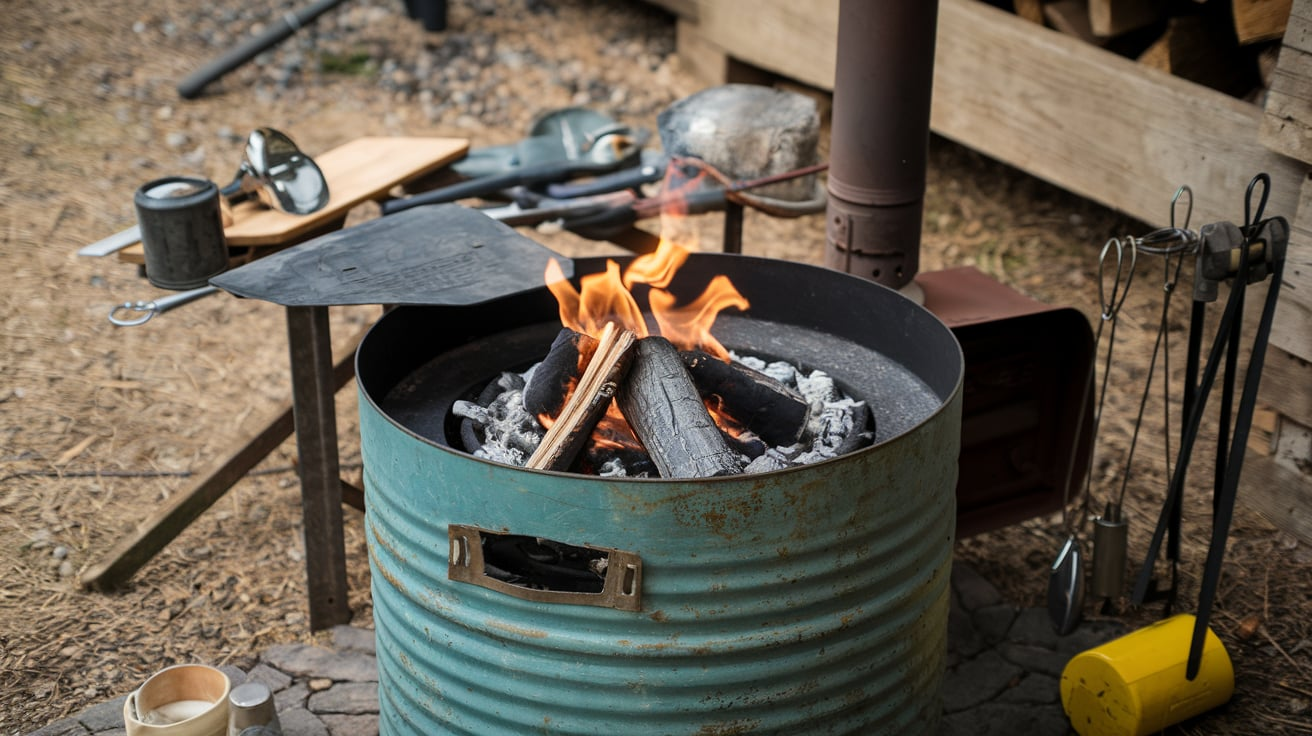
Drum stoves are common DIY projects, and costs can vary based on the drum’s availability and condition.
- Description: Made from a repurposed steel drum, offers cooking surface area.
- Cost: $50-100, depending on the drum source.
3. Dakota Fire Hole
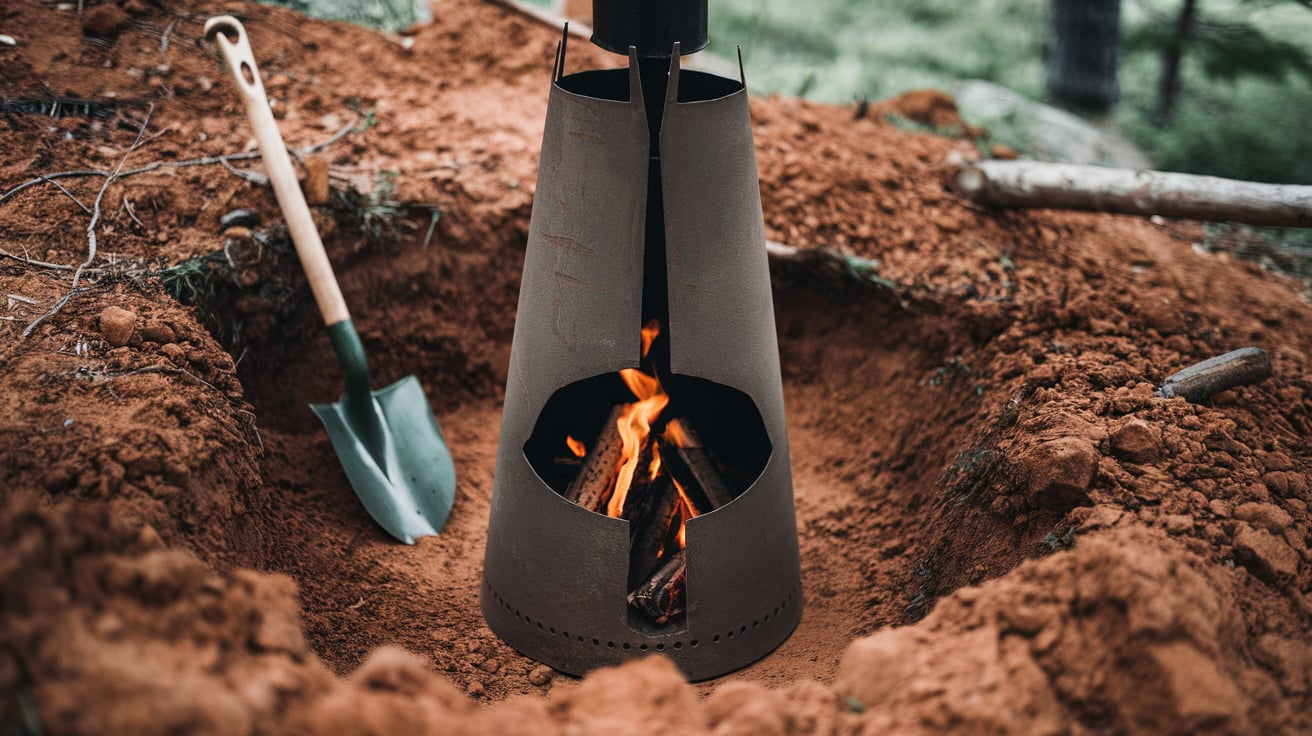
This design is simple and cost-effective, ideal for minimal environmental impact.
- Description: In-ground stove with two holes for fire and air intake.
- Cost: Free or about $10 for a folding shovel.
4. Brick Rocket Stove
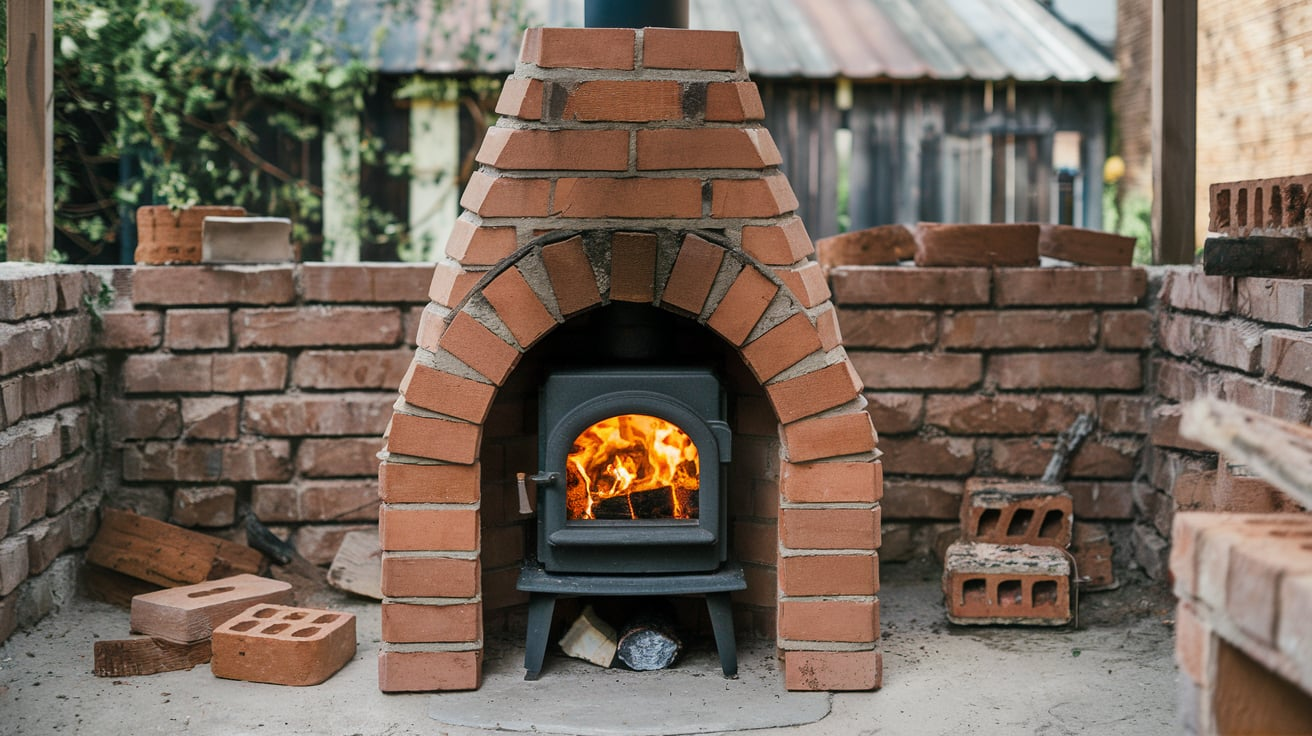
Brick rocket stoves are more permanent and can offer better heat retention, aligning with the cost range provided.
- Description: A permanent version of the rocket stove using bricks or cinder blocks.
- Cost: $30-80, depending on materials.
5. Tin Can Buddy Burner
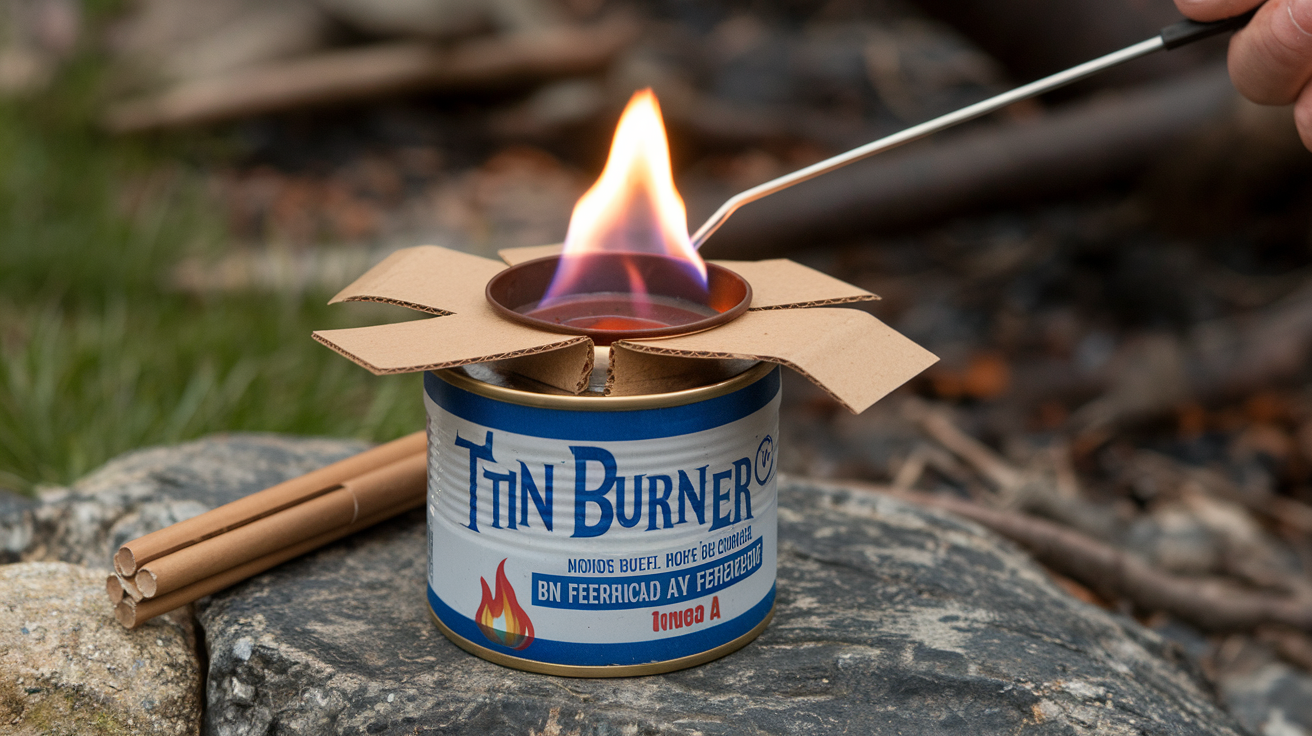
This design is affordable and suitable for emergency kits or beginners or any other first-timers.
- Description: Simple design using a tuna can with cardboard and wax.
- Cost: $5-10, often using household materials.
6. Cinder Block Stove
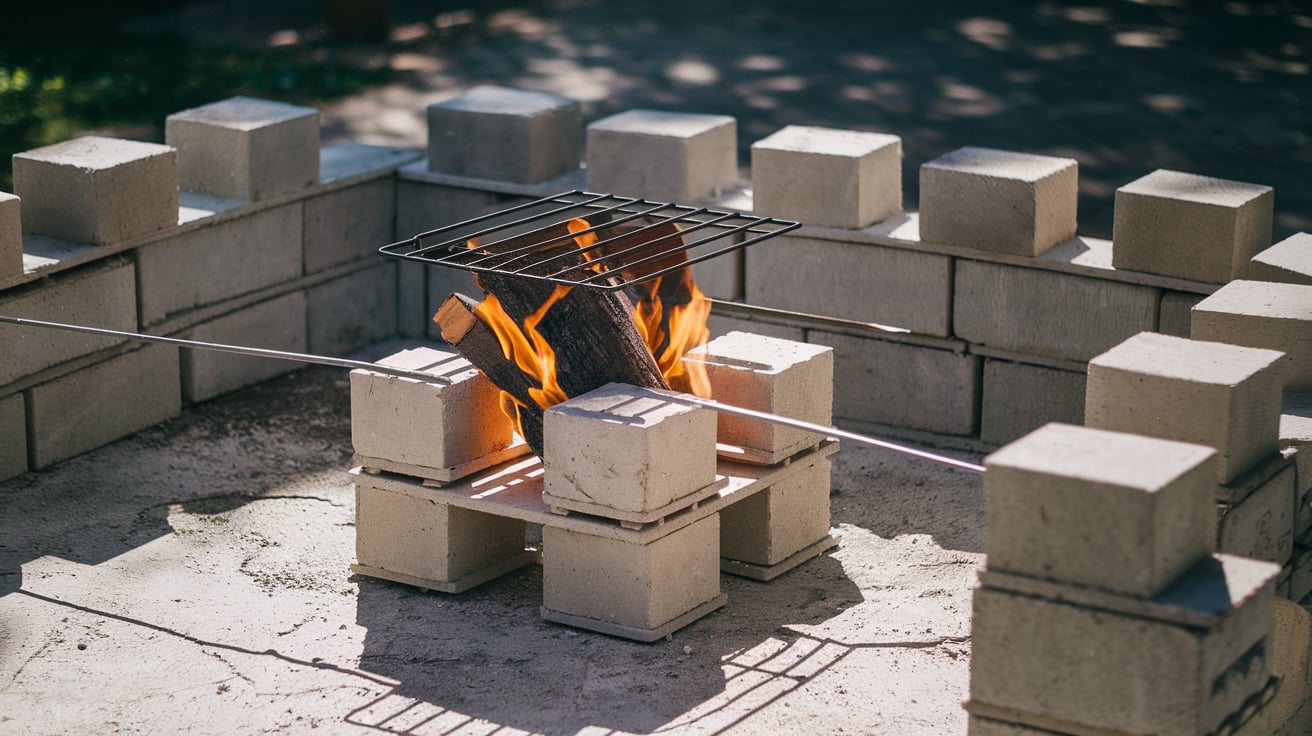
Cinder block stoves are versatile and can be reconfigured easily, fitting the cost range provided.
- Description: Built with cinder blocks and a grate.
- Cost: Approximately $25-50.
7. Hobo Stove
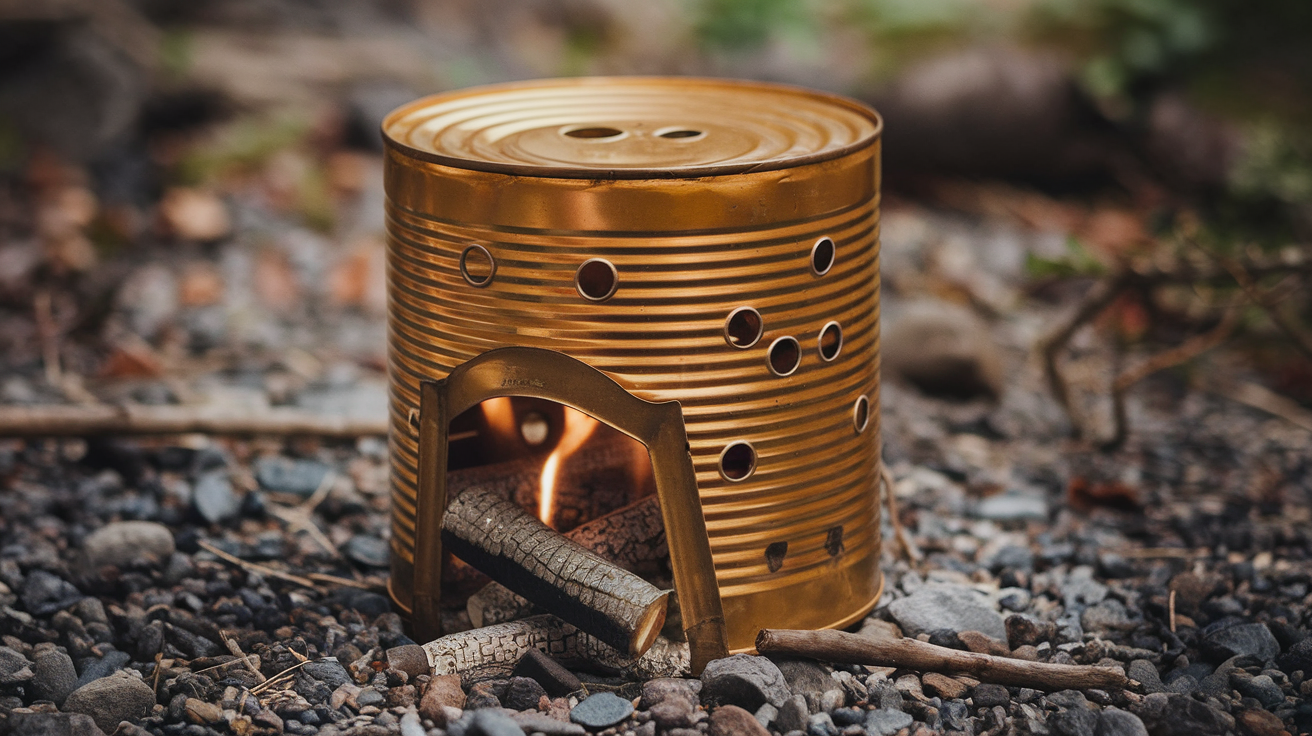
Hobo stoves are lightweight and budget-friendly, often made from recycled materials.
- Description: Made from a large tin can with air holes.
- Cost: $0-5 if using recycled cans
8. Clay Pot Chiminea
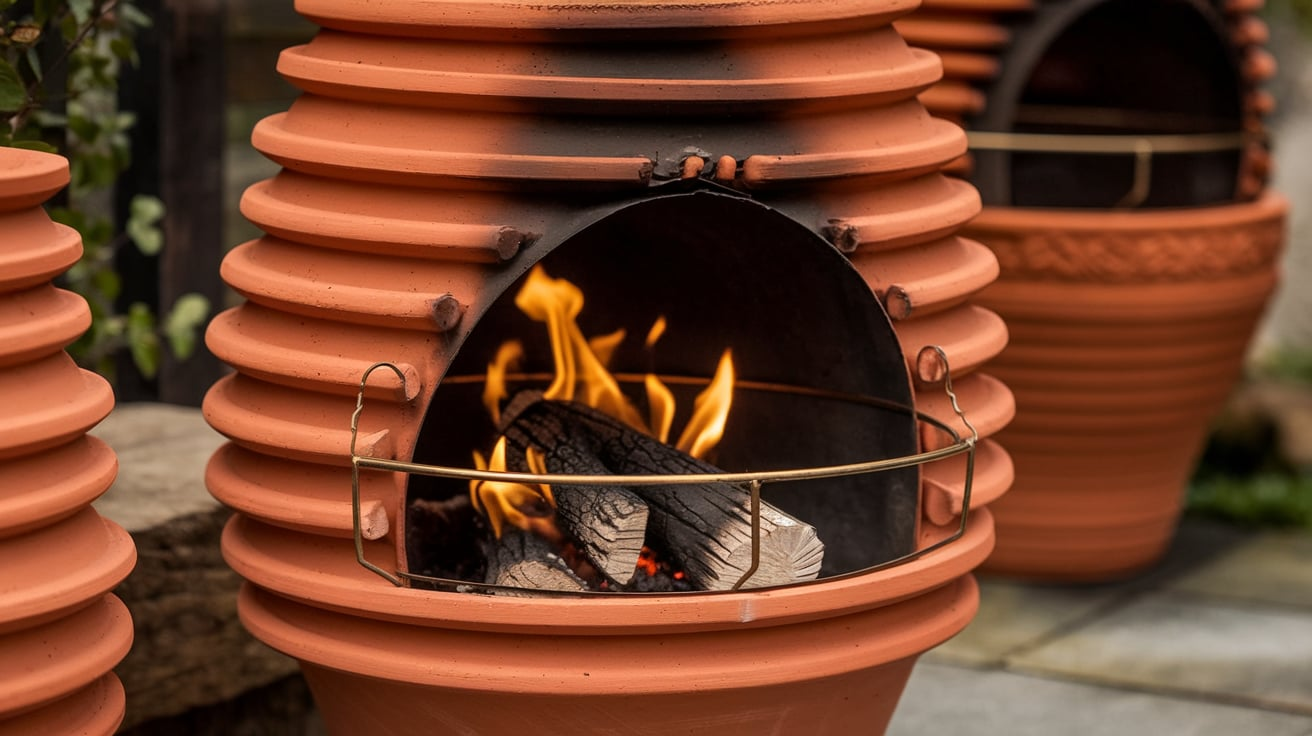
Clay pot chimineas are attractive and functional, providing good heat distribution.
- Description: Made from stacked terracotta pots and a metal grate.
- Cost: Approximately $40-70.
9. Washing Machine Drum Stove
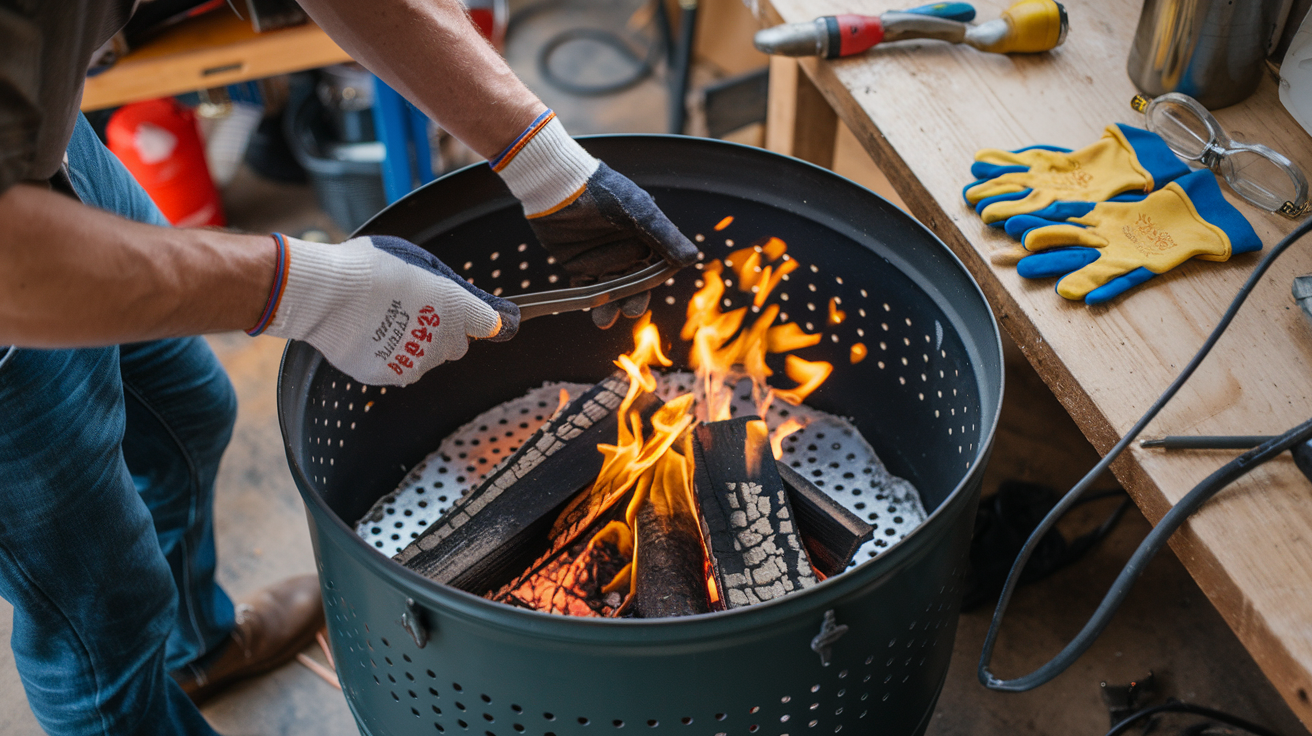
This design offers better airflow and can be used as both a cooker for your BBQ nights and as a fire pit for colder nights.
- Description: Repurposes the inner drum of an old washing machine.
- Cost: $20-50 if using a used machine.
10. Propane Tank Stove
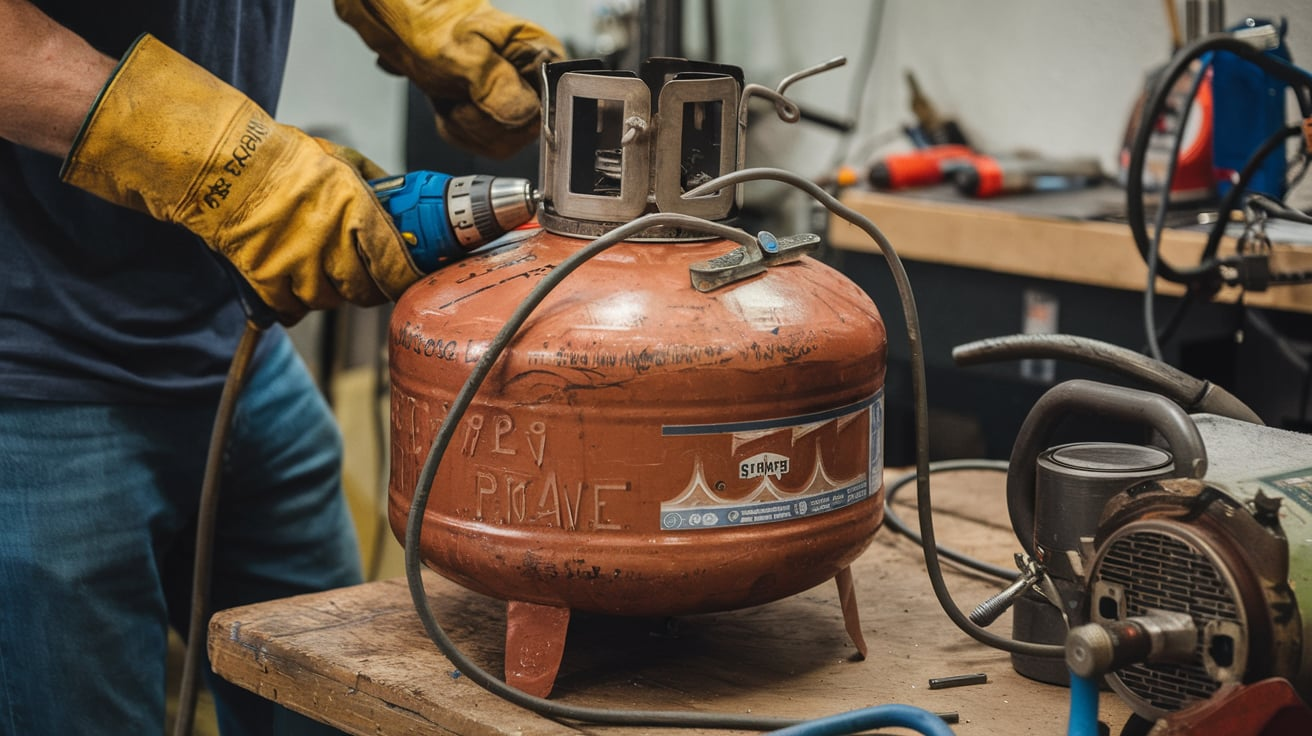
Propane tank stoves are durable and weather-resistant, requiring proper preparation before use.
- Description: Converts an old propane tank into a stove.
- Cost: $60-120, depending on additions and tank availability.
Maintenance and Care Tips to Keep in Mind
| Maintenance Task | Description |
|---|---|
| Regular Cleaning |
|
| Rust Prevention |
|
| Structural Checks |
|
| Grate Maintenance |
|
| Seasonal Storage |
|
| Door Seal Checks |
|
| Annual Overhaul |
|
Conclusion
Building your own outdoor wood stove is both practical and rewarding. You’ve now learned how to create a functional cooking solution that costs a fraction of commercial options.
Remember, safety comes first. Always place your stove on level ground away from flammable materials, and never leave it unattended. Regular cleaning and maintenance will extend its life for years of enjoyable outdoor cooking.
Ready to try making your own stove? Gather your materials and set aside a weekend for this project.
Share your thoughts and photos of homemade stoves in the comments below!

