How to Fur Out a Wall: Simple Steps for Big Results
If you’ve ever heard someone mention “furring out a wall,” you might be scratching your head, wondering what it actually means.
Don’t worry, it’s not a complicated thing at all.
Furring out a wall is a little trick that can make a big difference in home improvement projects without doing a big overhaul.
It’s like giving your wall a fresh start with minimal effort, especially when you need a smooth surface or some extra space.
Let’s learn when and why you should fur your wall!
What Does It Mean to Fur Out a Wall?
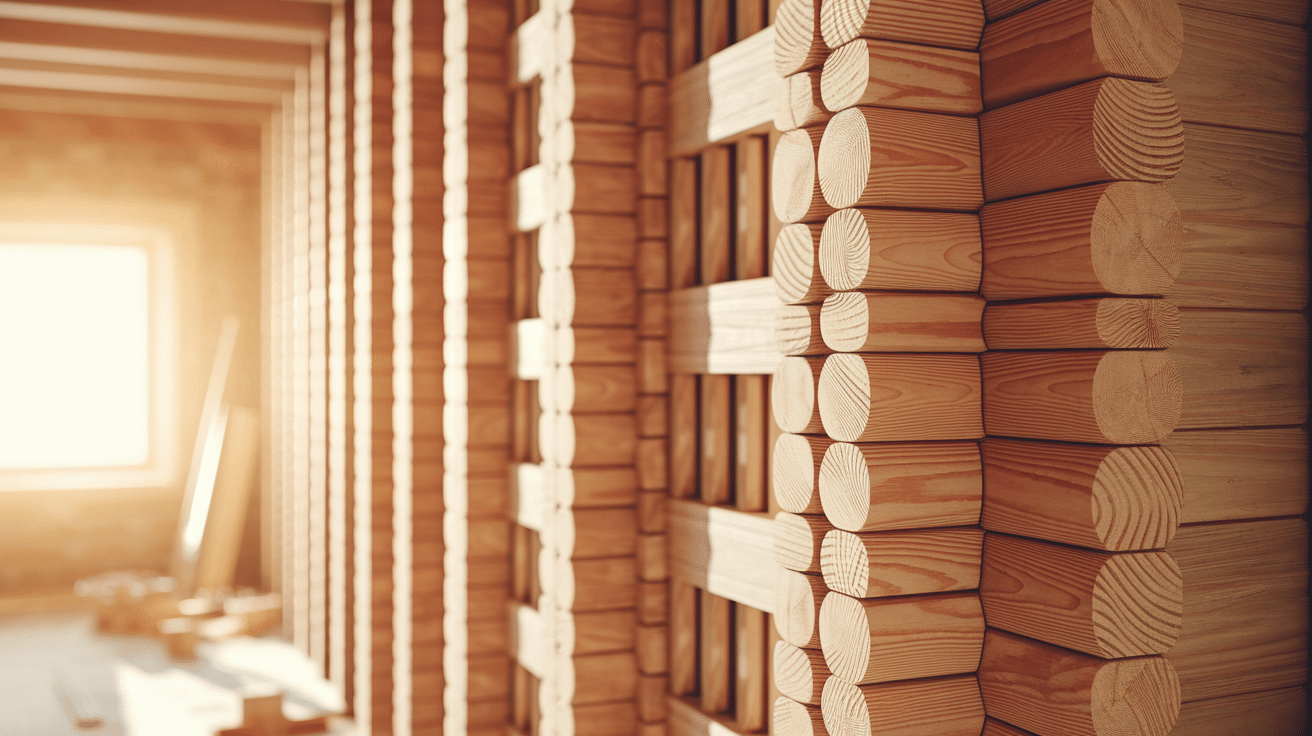
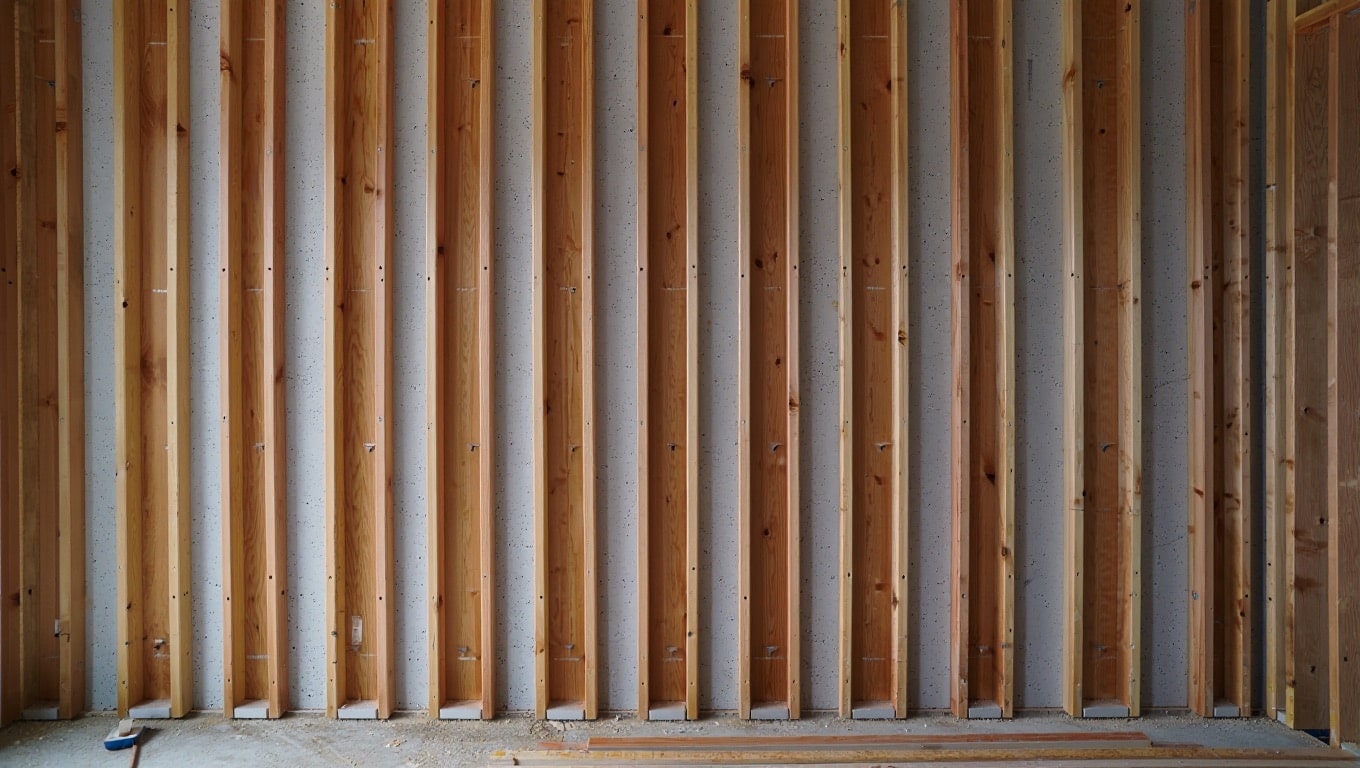
Basically, “furring out” just means adding some thin strips of wood or metal to a wall.
These strips make the wall a bit thicker, or they create some extra space between the wall and the surface you want to attach, like drywall or panelling.
To put it professionally, “Furring out a wall means adding thin strips of wood or metal to create a gap between the wall and whatever surface you’re attaching, like drywall.“
It’s a simple trick to make sure your wall is smooth, level, and ready for the next step. Easy peasy!
Why and When to Fur Out a Wall?
You must have heard, “little details can make a big difference”, and in a home improvement project.
Furring out the wall is one of them. It is one of those steps that can completely change how your space feels and functions.
But why would you need to do it, and when is the right time? The answer to this question is right beneath these lines:
Why Fur Out a Wall?
Furring out a wall can help smooth out uneven surfaces, create space for insulation, or even make it easier to install new materials like drywall or panelling.
It’s a simple way to make sure your walls are ready for whatever you’re planning to add next.
Plus, it’s a cost-effective fix that doesn’t require tearing everything down.
When Should You Fur Out a Wall?
Furring out is a good idea when:
- You need to fix uneven walls without major construction work.
- You want to add insulation and need extra space.
- You’re installing new materials that need a stable surface to attach to.
So, it doesn’t matter while you are working on a small DIY project or tackling a bigger renovation, furring out a wall can help get things done smoothly.
Got it till here? Then let’s learn about how to use this handy technique!
Materials & Tools Required for Furring Out a Concrete Wall
Before starting the process of finishing your concrete wall, it’s important to gather all the right tools and materials. Here’s a clear list of what you’ll need to get started:
| Materials | Tools |
|---|---|
| Pressure-treated furring strips (1×2 or 1×3 wood) | Drill with a masonry bit |
| Construction adhesive | Hammer or impact driver |
| Concrete screws or masonry nails | Level |
| Foam board insulation (optional) | Tape measure |
| Plastic vapour barrier (optional) | Circular saw or handsaw |
| Drywall sheets or panel boards | Utility knife |
| Shims (if needed) | Caulking gun (for adhesive) |
Step-by-Step Process To Fur Out a Concrete Wall
Here’s a simple step-by-step process to help you build a smooth, ready-to-finish wall with confidence.
Step 1: Clear and Clean the Wall
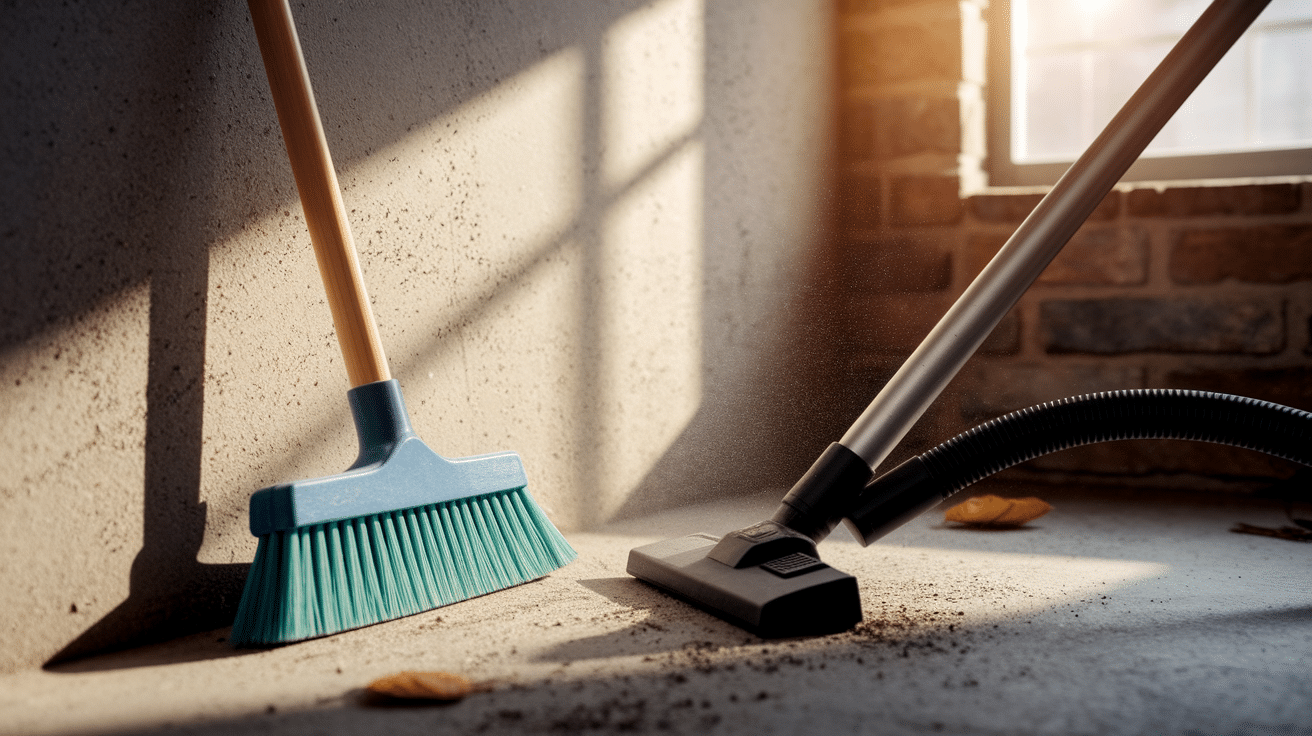
Begin by thoroughly cleaning the concrete surface. Use a broom or shop vacuum to remove all dust, cobwebs, and debris.
If there’s any mold or grime, scrub it off using a mild bleach solution. Let the wall dry completely before starting the next step.
Step 2: Mark Vertical Lines
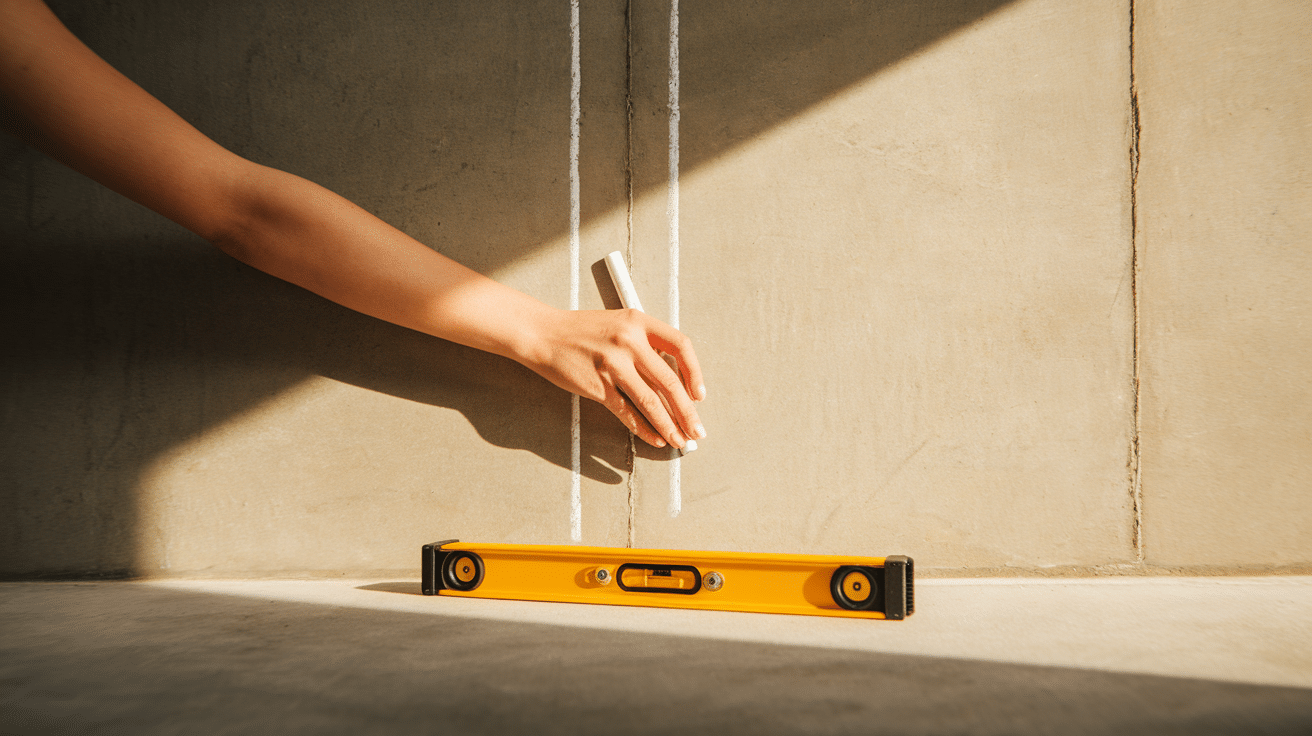
Use a measuring tape to mark where each furring strip will go, usually every 16 or 24 inches apart.
Snap chalk lines or use a long level to draw perfectly straight vertical lines on the wall.
These guides will help ensure your furring strips are evenly spaced and vertically aligned.
Make sure you use a good quality and colorful chalk, so that the chalk marks don’t disappear, and you can easily see your markings.
Step 3: Cut the Furring Strips
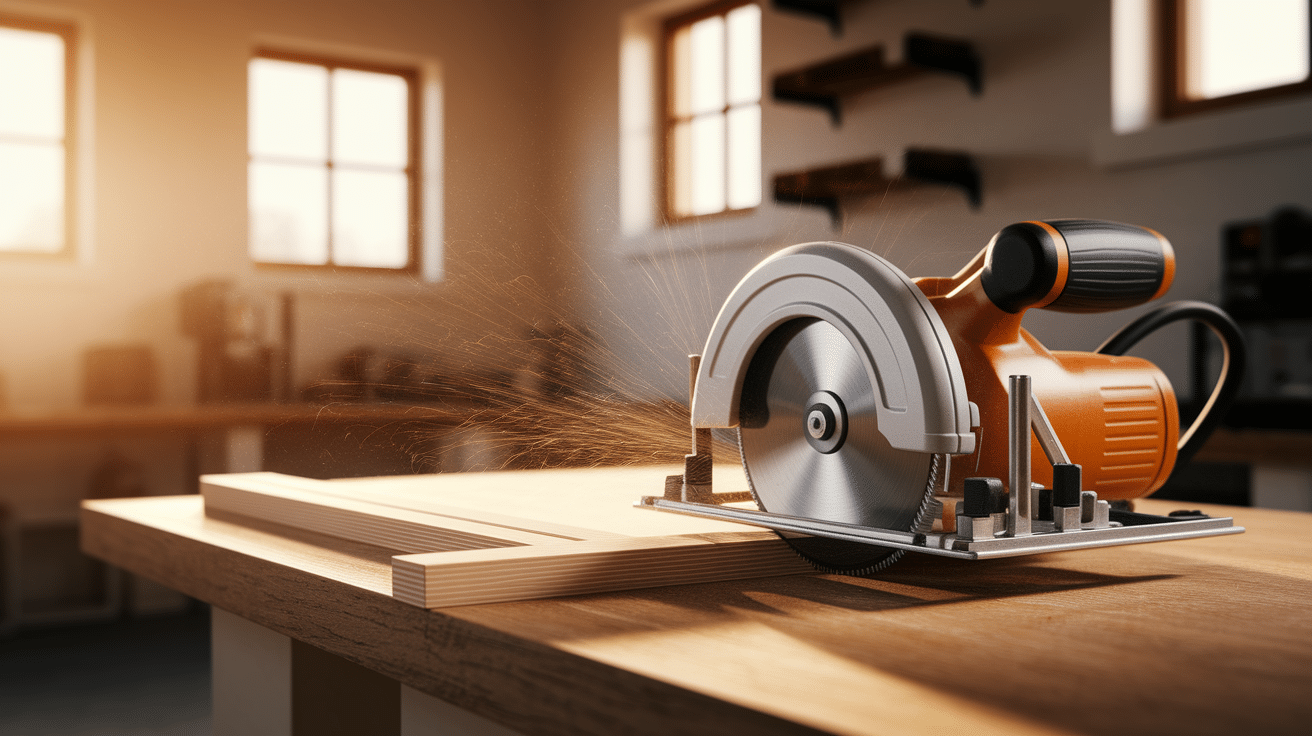
Measure the height of your wall from floor to ceiling. Then cut your pressure-treated furring strips (1×2 or 1×3 wood) to that length.
Use a circular saw or handsaw and make clean, even cuts for a snug fit.
Double-check your measurements before cutting to avoid wasted materials or mismatched lengths.
Step 4: Apply Construction Adhesive
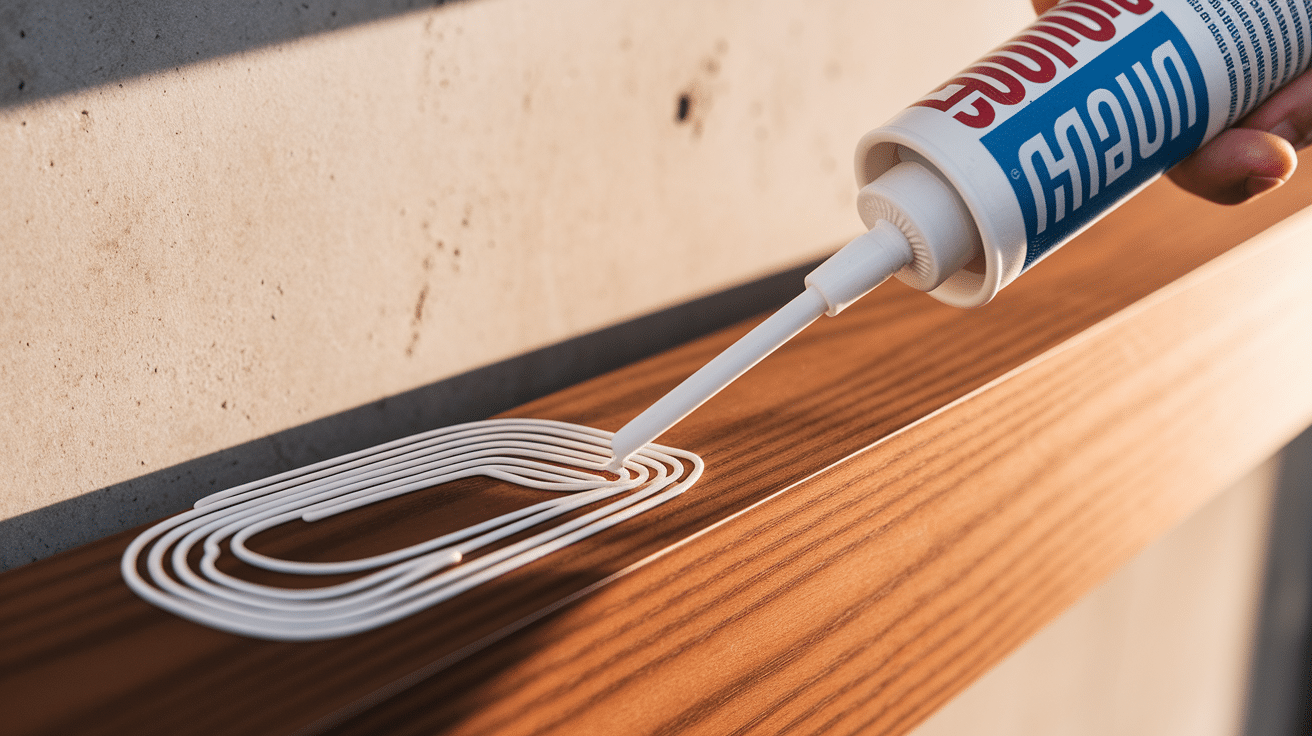
Apply heavy-duty construction adhesive in a zigzag or straight line along the back of each furring strip.
This helps the wood grip tightly to the concrete.
Make sure to apply the adhesive just before pressing the strip onto the wall to avoid drying.
Don’t apply too much glue, as it can increase drying times, messiness, and sometimes weaker or gummy bonds.
Step 5: Attach to the Wall
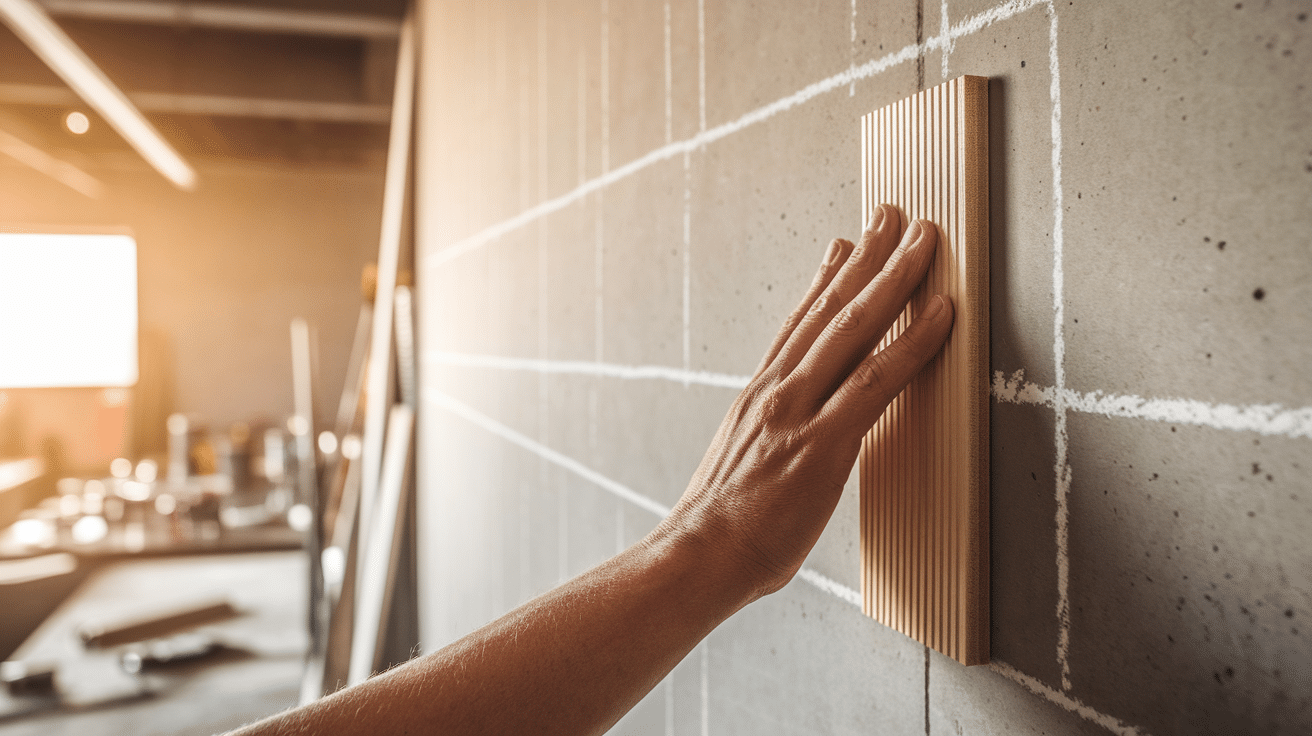
Press each furring strip firmly onto the concrete where you’ve marked your lines.
Hold in place for a few moments so the adhesive bonds well.
Repeat for each strip, spacing them evenly across the wall.
Make sure each strip lines up straight with your chalk guide for a clean and even layout.
Step 6: Reinforce with Screws
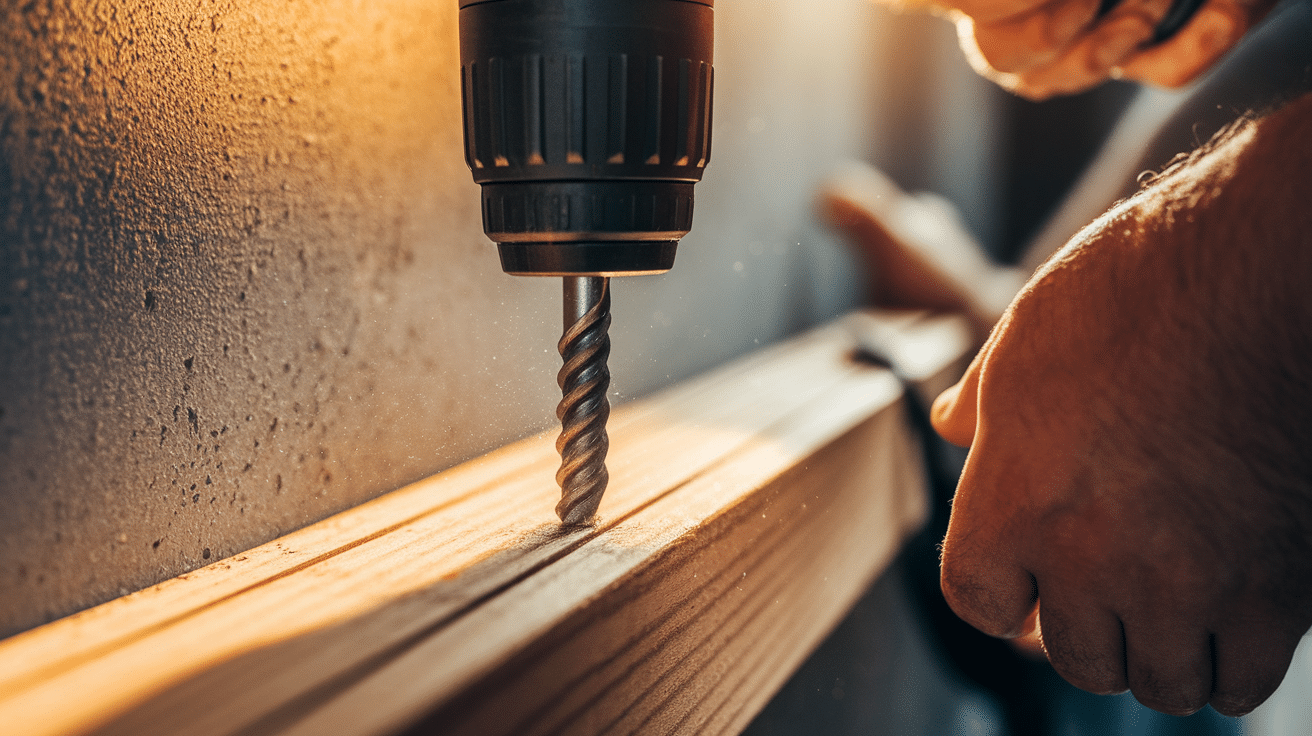
Once the adhesive sets, drill pilot holes through each strip into the concrete using a masonry bit.
Then drive in concrete screws or masonry nails to secure the strip firmly in place.
This ensures long-term stability and strength. Work slowly and keep the drill steady to prevent cracking the concrete or splitting the wood.
Step 7: Check and Shim for Level
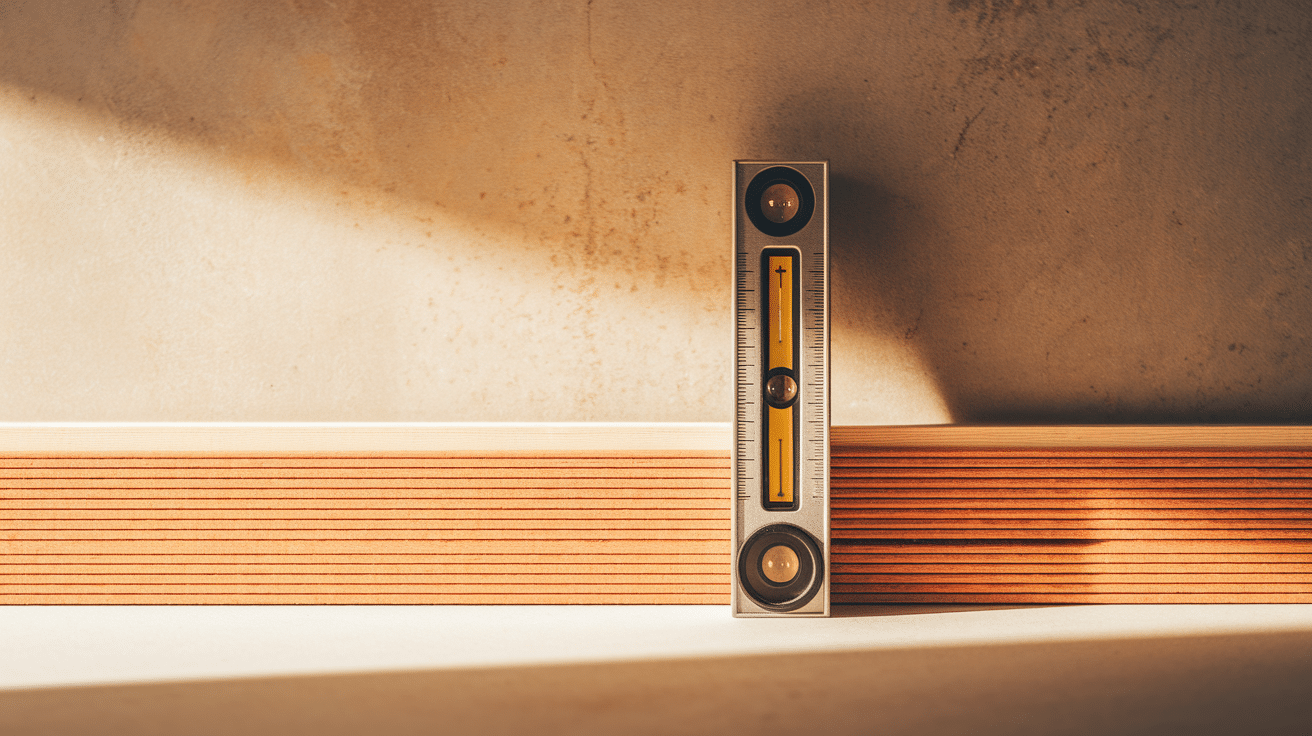
Place a level vertically against each strip to check if it’s perfectly plumb.
If the wall is uneven, slide thin shims behind the strip before screwing it in.
This creates a flat surface for drywall later on. Take your time during this step; it’s key to avoiding uneven or wavy finished walls.
Step 8: Insert Foam Insulation (Optional)
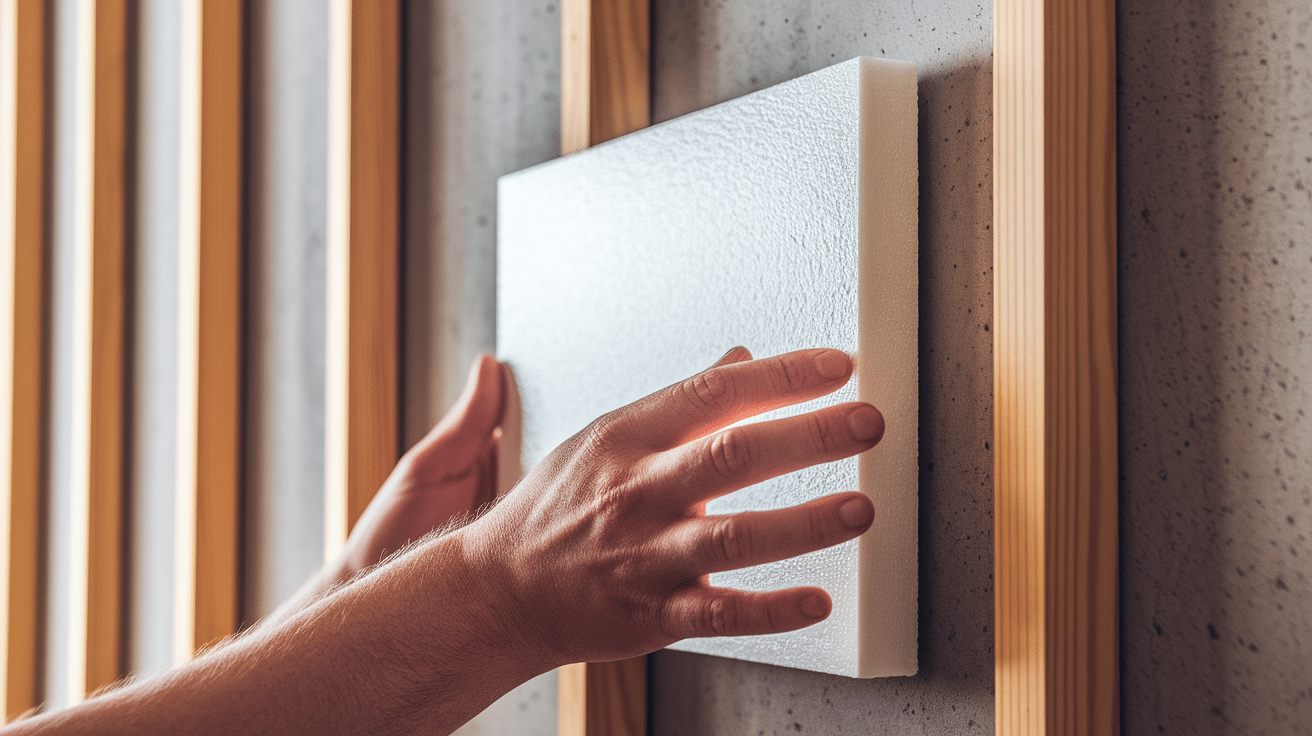
If you want to insulate, cut rigid foam boards to fit between the strips and press them into place.
This helps regulate temperature, cooler in summers and warmer in winters, and reduces moisture buildup.
Make sure the foam boards fit snugly with no gaps.
Use a utility knife to cut the foam boards evenly.
Step 9: Install Drywall or Panels
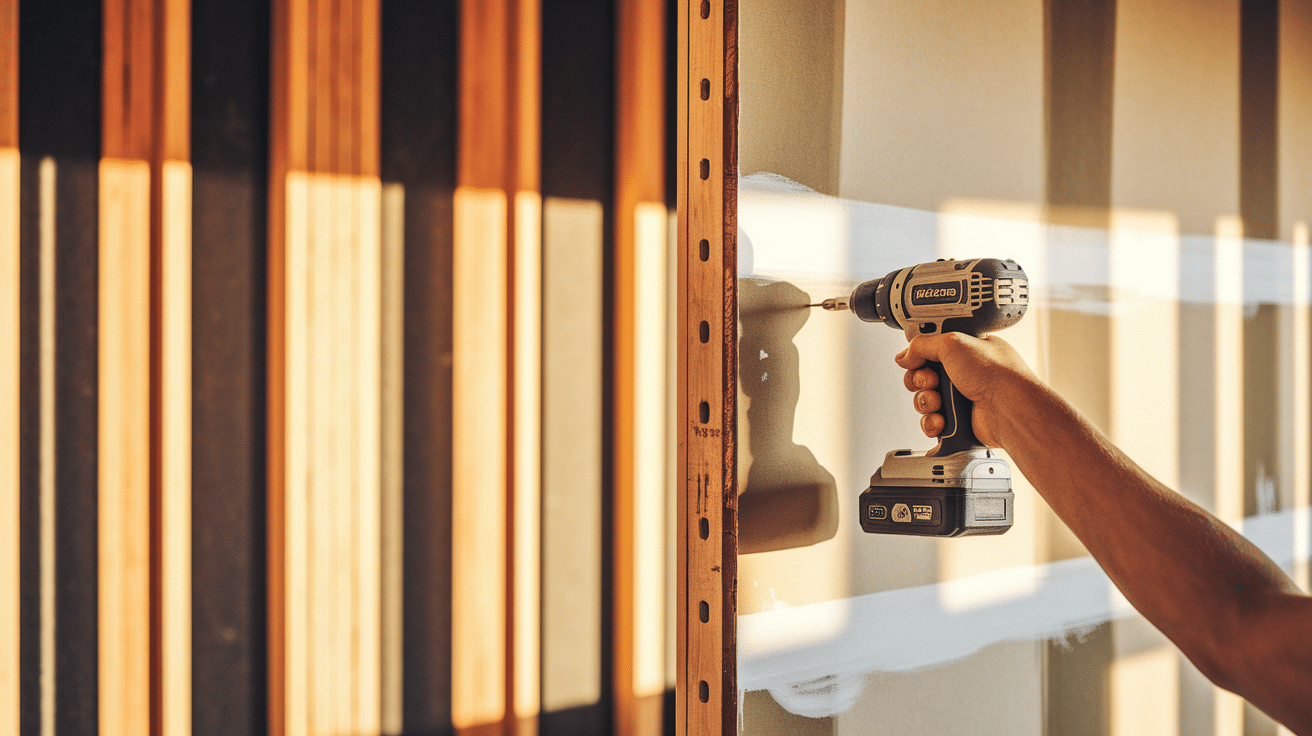
Attach drywall sheets or panels by screwing them into the furring strips, spacing screws about 12 inches apart.
Ensure seams align over the center of each strip for proper support and stagger them for added strength.
Once all panels are secure, tape and mud the seams, cover screw holes, and sand smooth.
Apply a second coat if needed, leaving the wall ready for paint or finishing.
Material and Tools Required for Fur Out a Wall with Wood Studs
If you have a wall with wood studs, the method changes a bit.
Here’s a clear list to help you stay organised and ready for every step of the project.
| Materials | Tools |
|---|---|
| 2×3 or 2×4 Wood Studs | Measuring Tape |
| Bottom and Top Plates (matching your stud size) | Pencil or Marker |
| Construction Adhesive (optional) | Circular Saw or Miter Saw |
| Concrete or Masonry Screws (if attaching to concrete) | Hammer or Nail Gun |
| Wood Screws or Nails | Power Drill with Bits |
| Foam Board or Batt Insulation (optional) | Level (4-foot or laser level) |
| Vapor Barrier (optional) | Speed Square or Framing Square |
| Drywall or Panel Boards | Chalk Line |
Step by Step Guide to Fur out a Wall with Wood Tuds
Follow this step-by-step guide to build a sturdy frame that’s ready for drywall or panelling:
Step 1: Measure and Mark the Layout
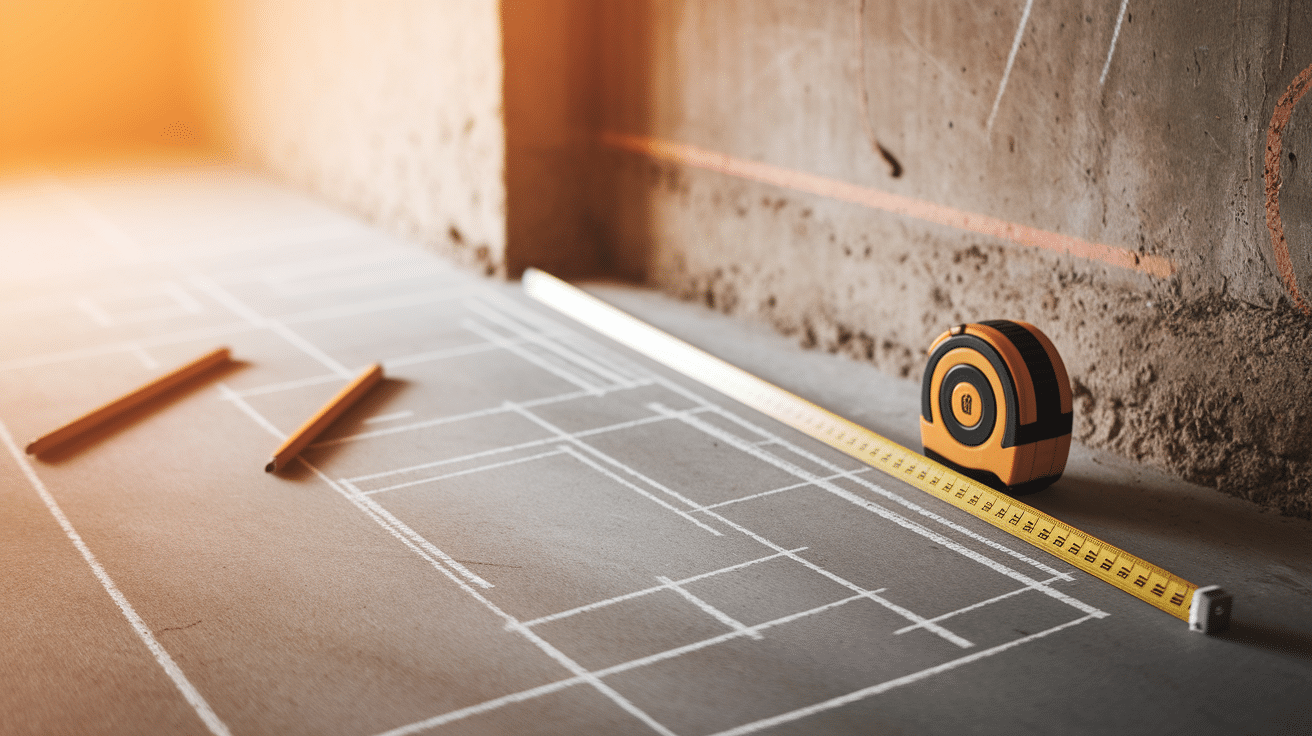
Measure the total height and width of your wall.
Use a chalk line or pencil to mark where your bottom and top plates will go. Also, mark vertical lines 16 or 24 inches apart for the studs.
Double-check your spacing for accuracy, as this will guide the entire frame layout.
Clear markings help prevent mistakes during plate and stud installation later on.
Step 2: Cut the Plates and Studs
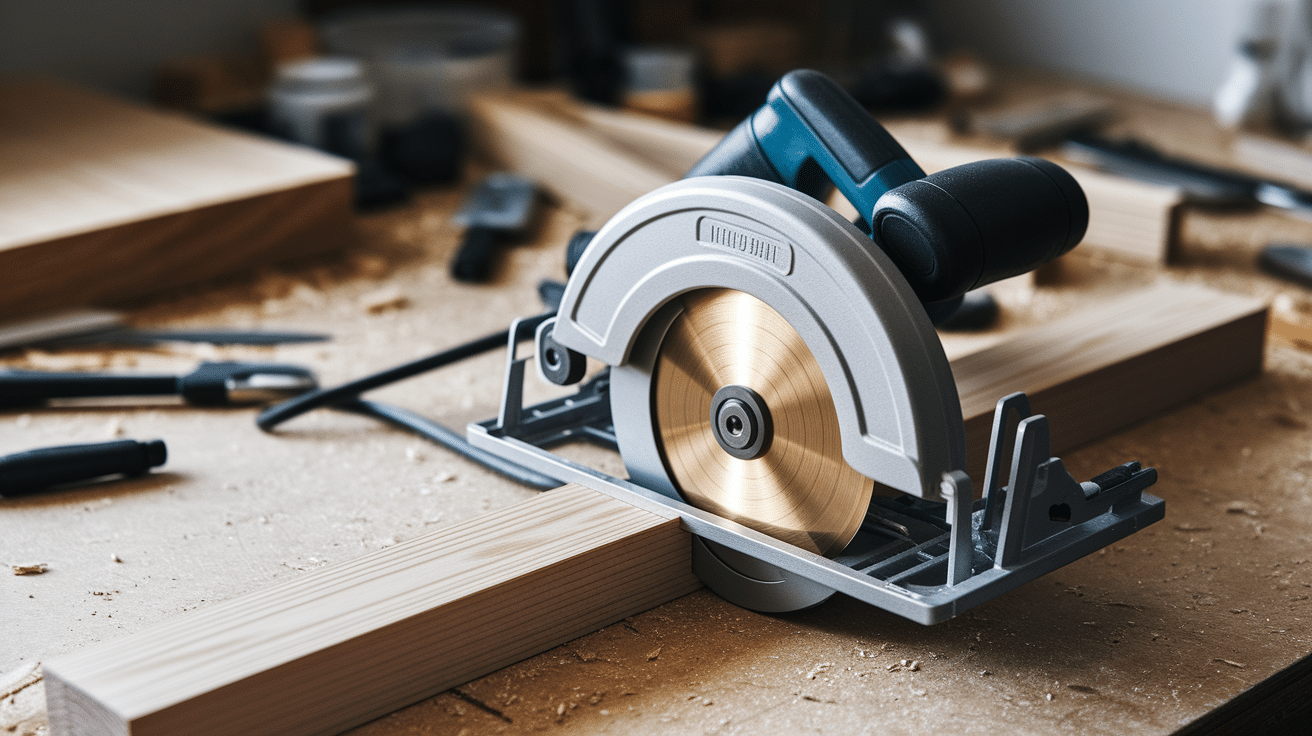
Cut your top and bottom plates to fit the length of the wall.
Then cut your vertical studs to match the wall height, subtracting the thickness of both plates.
Use a circular saw or mitre saw for clean, accurate cuts. Label each piece if needed to keep track during assembly and reduce confusion later.
Step 3: Secure the Bottom Plate
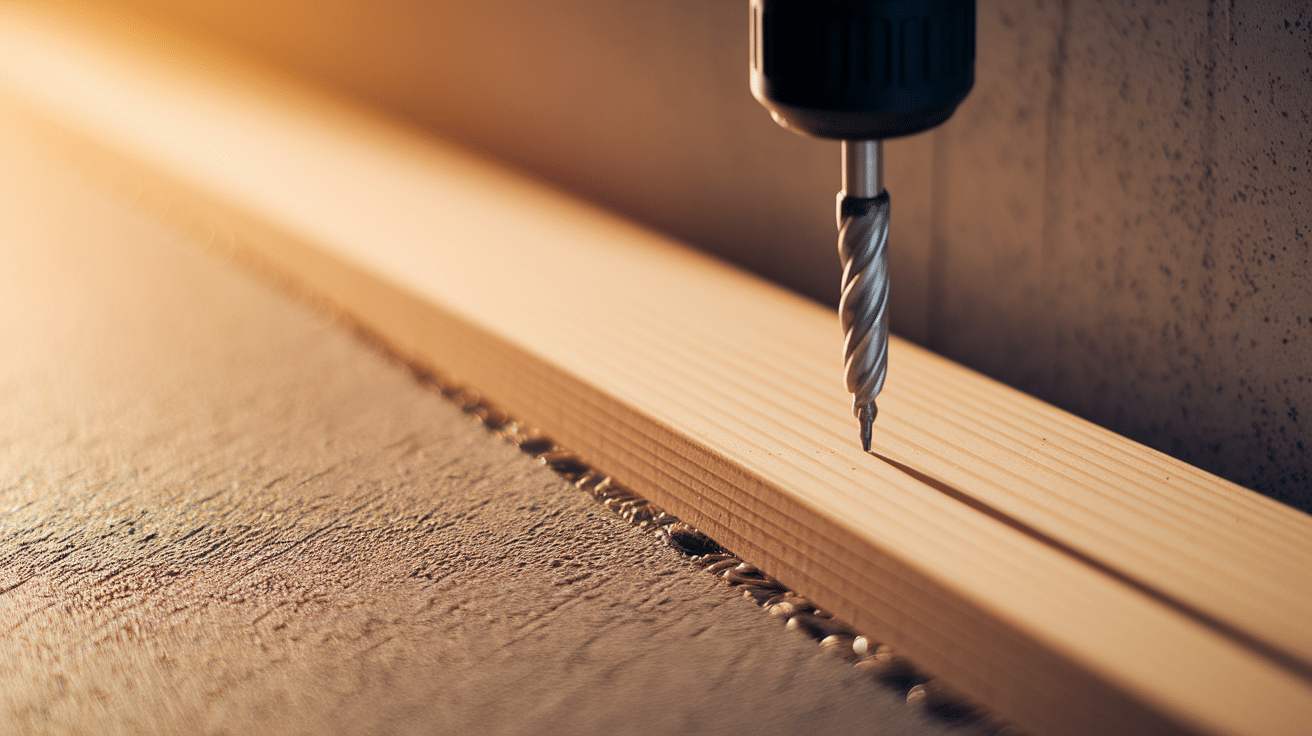
Place the bottom plate along your marked line.
If attaching to concrete, drill pilot holes and use concrete screws to secure it firmly to the floor.
Make sure the plate sits flat with no gaps between the wood and the floor. Use a level to confirm it’s straight before tightening all the screws.
Step 4: Attach the Top Plate
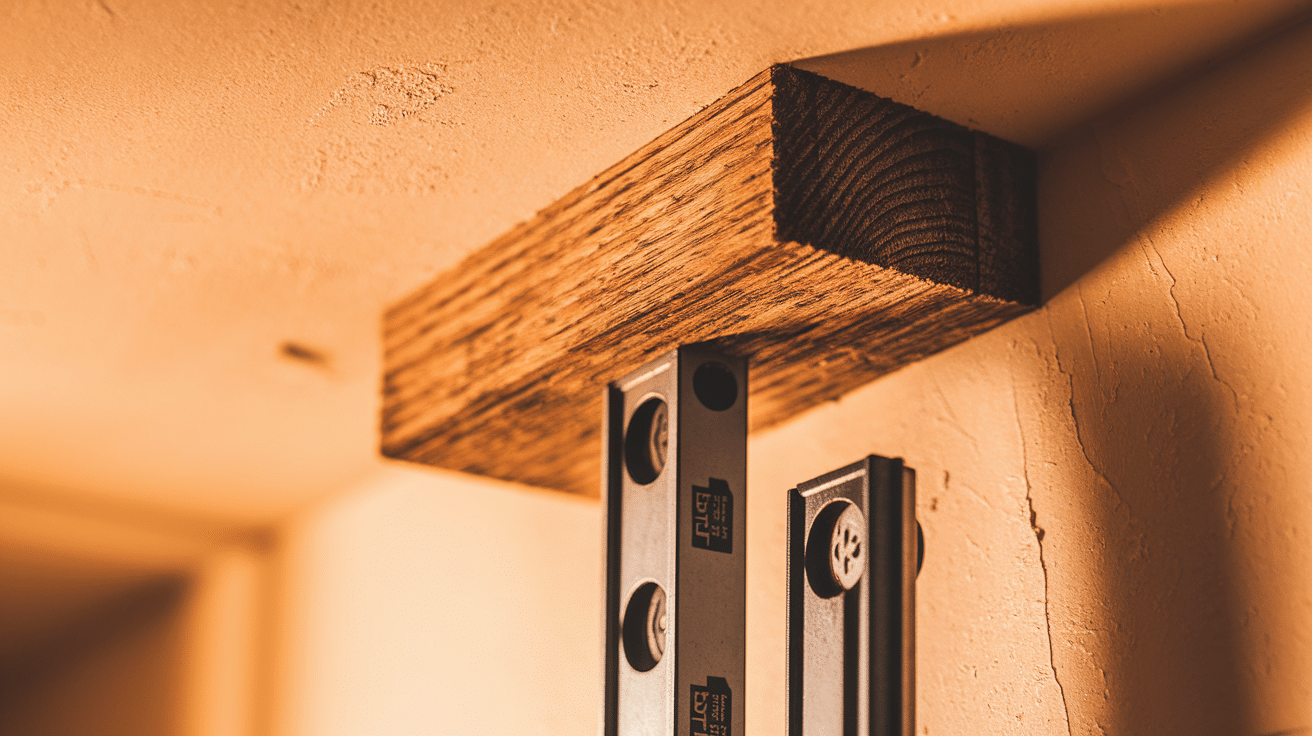
Align the top plate vertically above the bottom one using a level or plumb line.
Secure it to the ceiling using appropriate fasteners based on the ceiling material.
Check that the top and bottom plates are perfectly aligned for accurate stud placement. Mark the stud positions directly onto the top plate to match those on the bottom.
Step 5: Install Vertical Studs
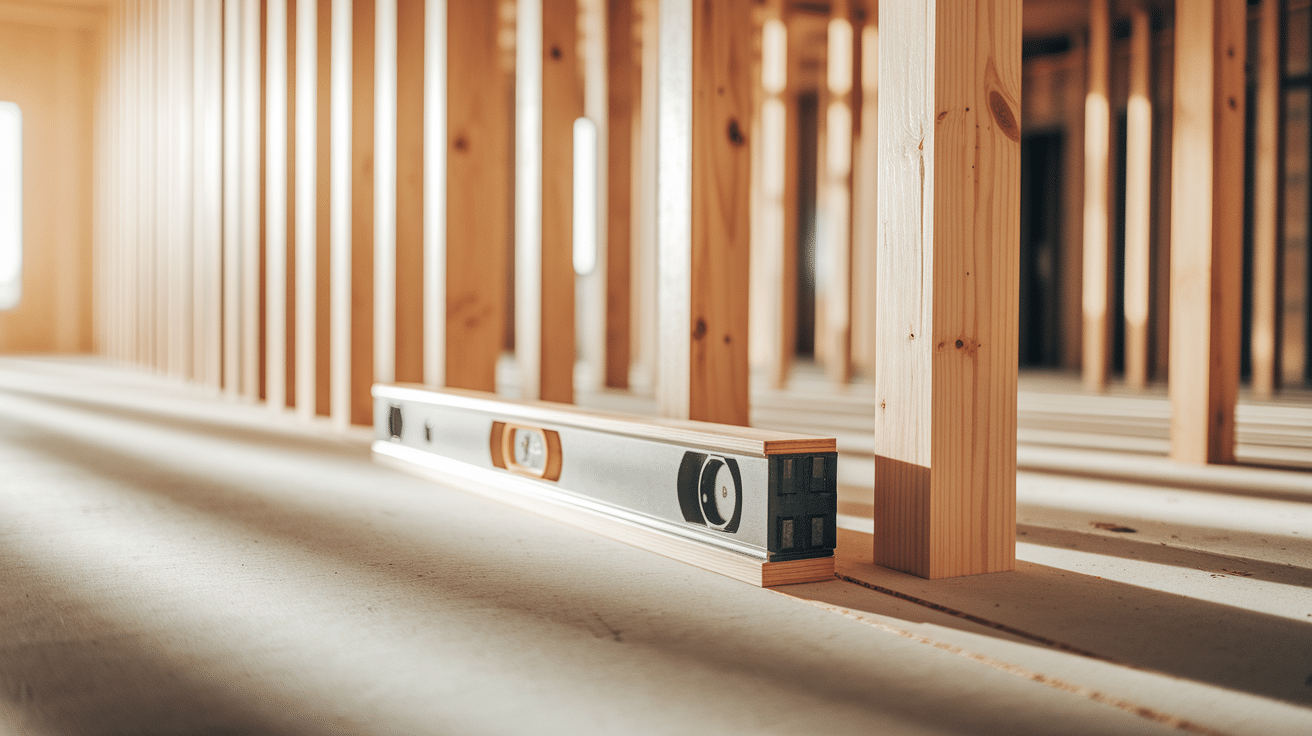
Position studs between the plates at your marked intervals.
Nail or screw each one into the top and bottom plates, making sure they’re plumb.
Use a level to check each stud before securing it fully in place. Secure both ends tightly to prevent shifting when attaching drywall later.
Step 6: Check for Level and Adjust
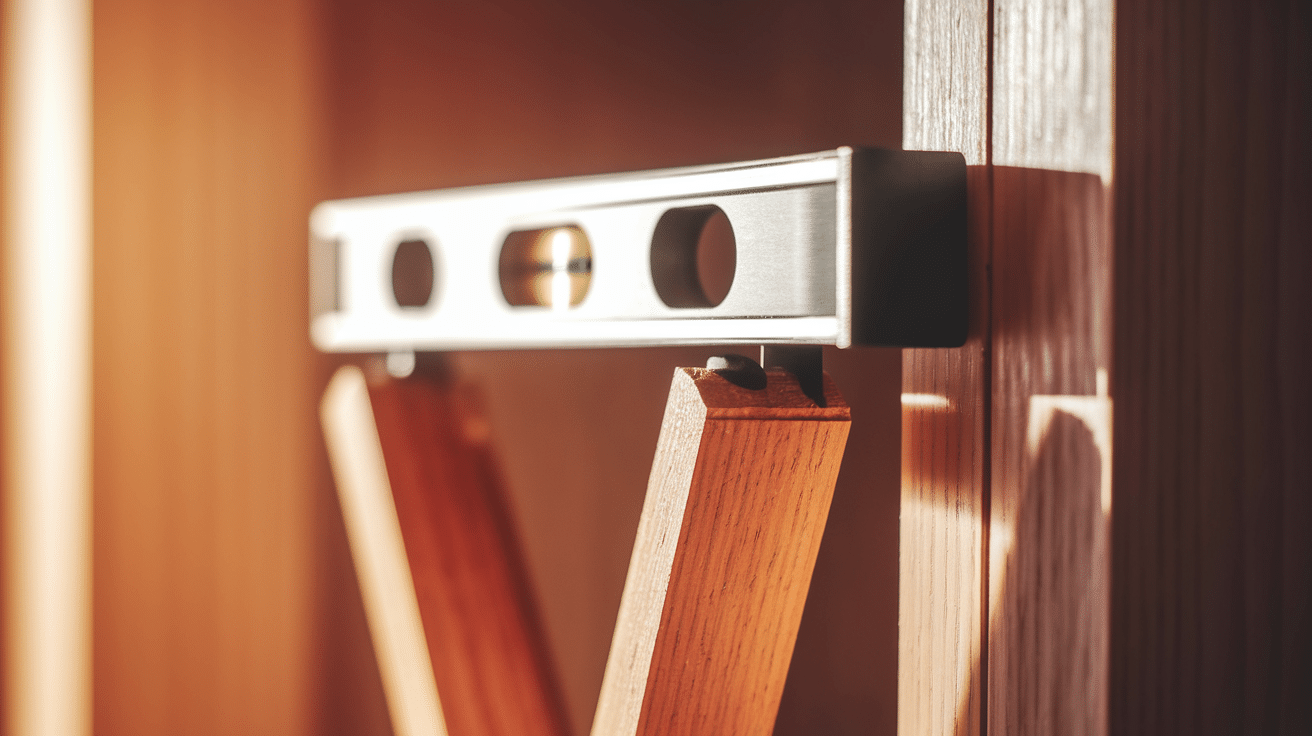
Use a level on each stud to ensure they’re straight.
Add shims behind the bottom or top of a stud if the floor or ceiling is uneven.
This helps correct any gaps between the stud and the plates. Secure the shim in place before fastening the stud fully.
A perfectly straight frame will make drywall installation much easier and neater.
Step 7: Add Insulation (Optional)
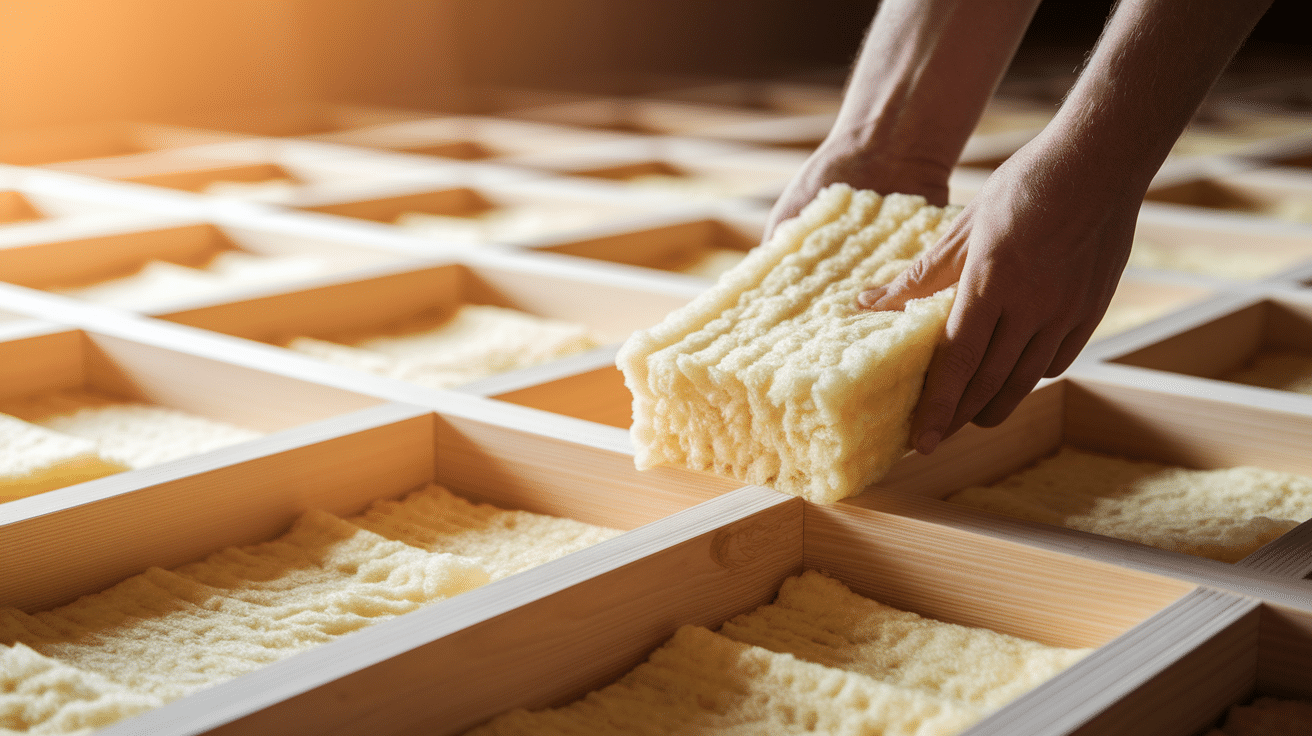
If needed, install foam board or batt insulation between the studs.
Fit the pieces snugly and seal any gaps with tape or spray foam.
Cut the insulation to size using a utility knife or insulation saw for a tight fit.
Avoid compressing batt insulation, as it reduces its effectiveness. Proper insulation helps with temperature control, soundproofing, and moisture resistance.
Step 8: Staple Vapor Barrier (Optional)
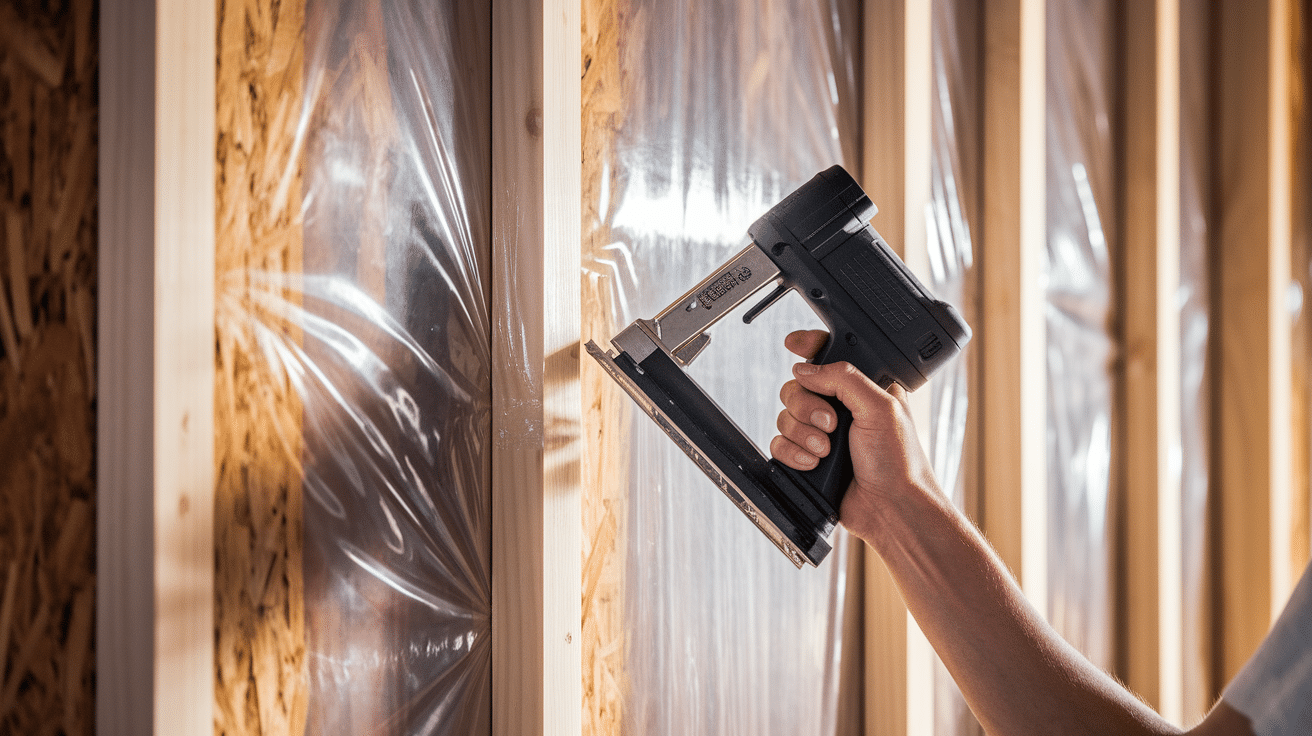
Stretch plastic sheeting across the wall and staple it to the wood studs.
Overlap seams and seal them with construction tape. Make sure the barrier is smooth and tight to prevent air pockets or sagging.
Use a utility knife to neatly trim any excess plastic along the edges.
This added layer helps block moisture from reaching your insulation or drywall.
Step 9: Install Drywall or Panels
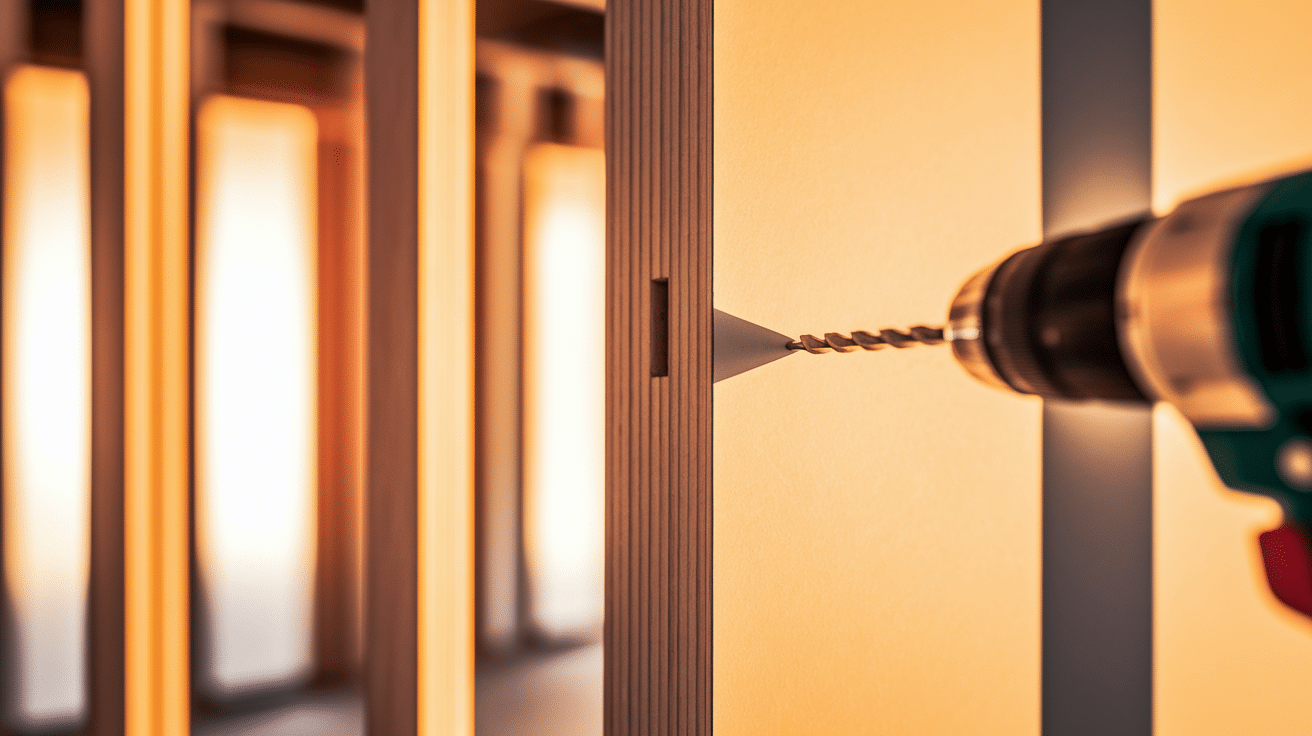
Lift drywall sheets and screw them into the wood studs.
Make sure edges meet over the centre of each stud for secure fastening.
Space screws about 12 inches apart along each stud for a firm hold.
Use a drywall lift or a helper to handle large sheets more easily.
Once all sheets are up, tape and mud the seams for a smooth, finished look.
Step 10: Finish the Wall
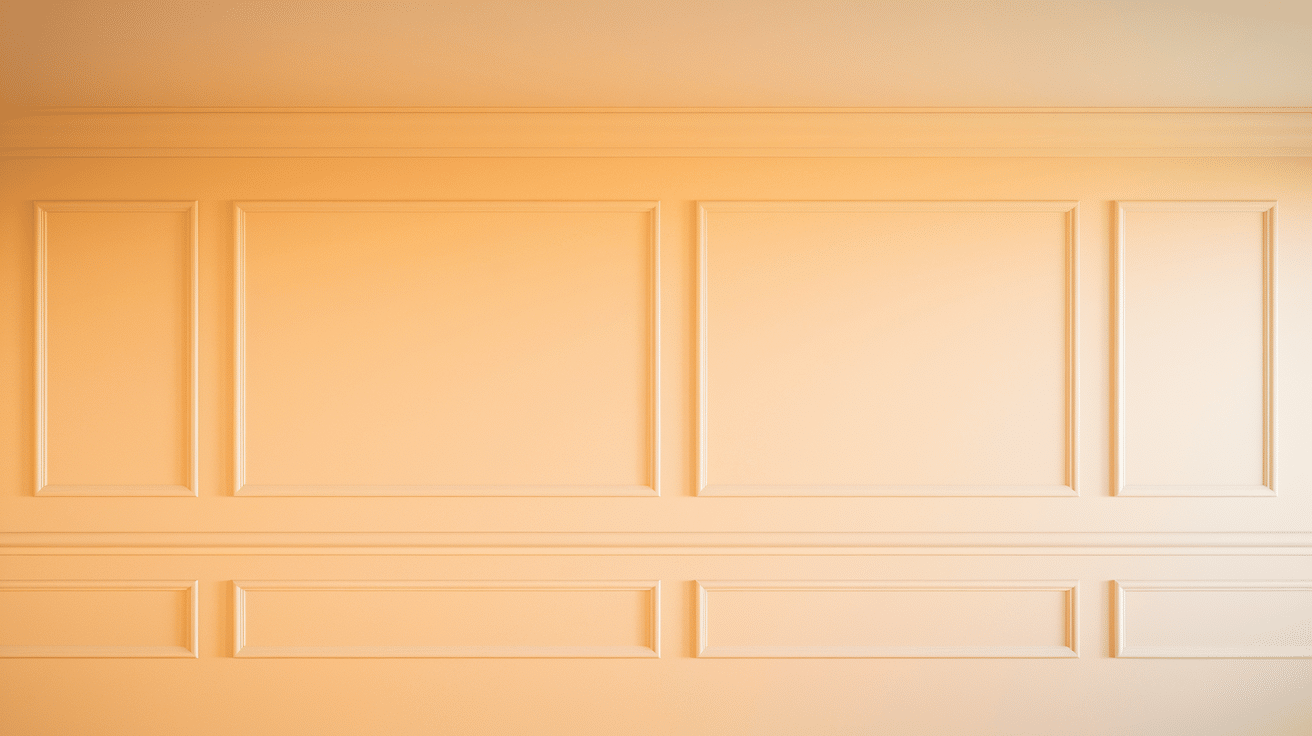
Tape and mud the drywall seams, sand them smooth, and apply paint or any wall finish you prefer. Your furred-out wall is complete!
Use a sanding block or pole sander for even results without gouging the surface.
Let the paint or finish dry completely before moving furniture or items against the wall.
Cost Considerations for Furring Out a Wall
The cost of furring out a wall varies depending on whether you hire a professional or take the DIY approach.
Hiring a contractor typically ranges from $560 to $1,200 for a standard 10×8 ft wall, which includes both materials and labor.
This option ensures precision, efficiency, and time savings, though it comes at a higher price.
For those who prefer a hands-on approach, a DIY project generally costs between $160 and $400, covering only the materials such as furring strips, fasteners, and drywall.
While this approach significantly reduces expenses, it requires your time, effort, and basic construction skills.
When deciding, consider not only the direct costs but also the value of your time, attention to detail, and the quality of the final result.
The Bottom Line
Furring out a wall gives you a strong and level base that makes future projects easier and helps your room look cleaner and more polished.
This method adds value by creating space for insulation, improving comfort, and preparing the wall for drywall or panels without needing major construction.
It is simple enough for a homeowner to attempt while still being effective enough for professional use, making it a smart solution for different projects and budgets.
Have you ever considered furring out a wall or done it in your home? Tell us, share with us in the comments below.

