How to Stain Exterior Brick for a Fresh Look
No doubt, staining exterior brick offers a budget-friendly way to refresh the look of a home.
However, brick walls that appear faded or outdated can gain new life with the right stain application. Unlike paint, stain sinks into the brick rather than sitting on top, which maintains the natural texture while changing the color.
This process works well for homes built decades ago that need a style update without major construction. The results can transform dull, worn surfaces into walls that look fresh and renewed.
So, before starting this project, understanding the proper techniques and materials proves essential for good results.
This guide breaks down everything needed to know about staining exterior brick for that desired new appearance.
Tools & Materials Required to Stain Exterior Brick
Gather these tools and materials to ensure a smooth and successful brick staining project with professional-quality results.
- Brick cleaner or trisodium phosphate (TSP)
- Garden hose with spray nozzle
- Stiff-bristle brush (not wire)
- Bucket
- Drop cloths or plastic sheeting
- Painter’s tape
- Masonry stain (water-based or acid-based)
- Paint roller with extension pole
- Paintbrushes (various sizes)
- Paint tray
- Rubber gloves
- Safety goggles
- Dust mask
- Optional: Brick sealer
- Optional: Pressure washer (for tough stains; use cautiously on older brick)
- Sturdy ladder
- Optional: Scaffolding (for working on higher areas)
- Sufficient masonry stain (estimate 1 gallon for 250–400 sq. ft., depending on brick porosity and coats needed)
Step-by-Step Guide for Staining Exterior Brick
Follow these simple steps to prepare your exterior brick. This will ensure the stain sticks properly and achieves a long-lasting, polished finish.
Step 1: Prepare the Brick Surface
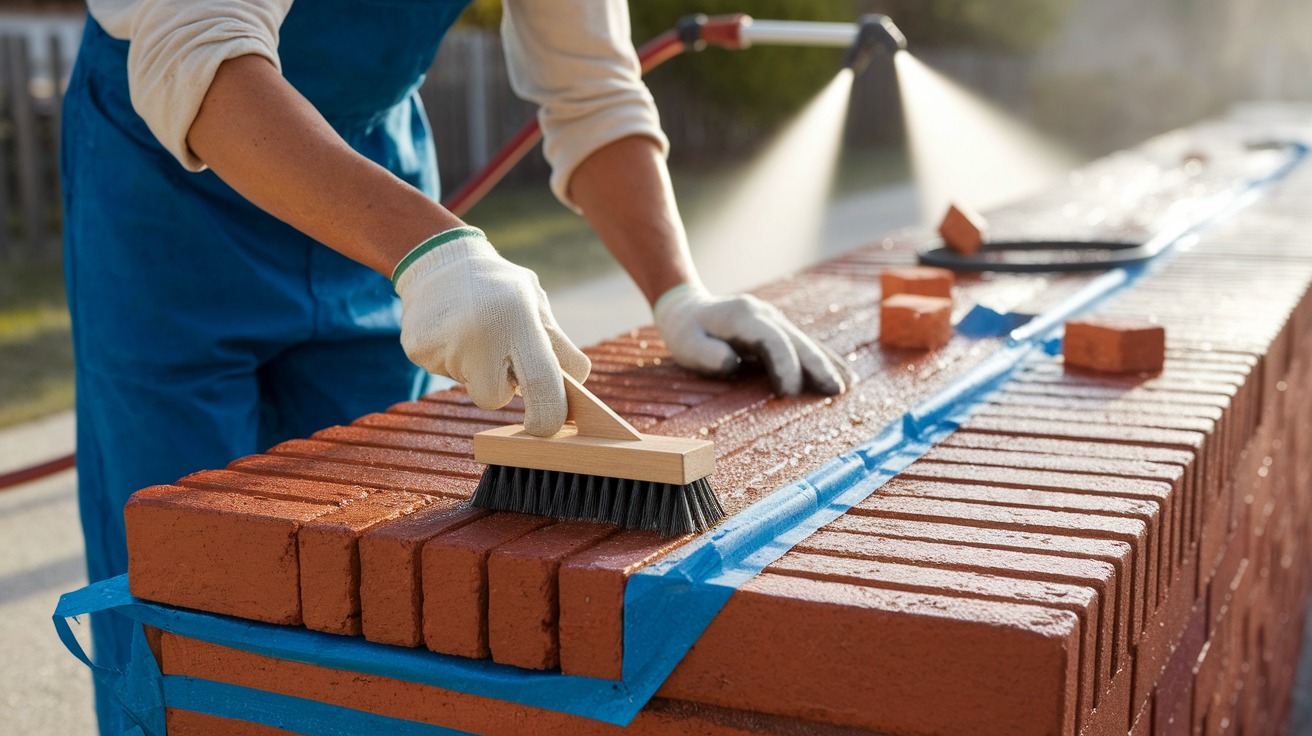
Prepare the bricks by cleaning off dirt, mold, or debris using trisodium phosphate (TSP). Scrub gently or use a pressure washer under 1500 PSI.
Fix any damage, let the bricks dry for 24-72 hours, and protect nearby areas before staining.
Ensure all tools and materials are ready before starting to streamline the preparation process and achieve flawless staining results.
Step 2: Test & Choose Your Stain
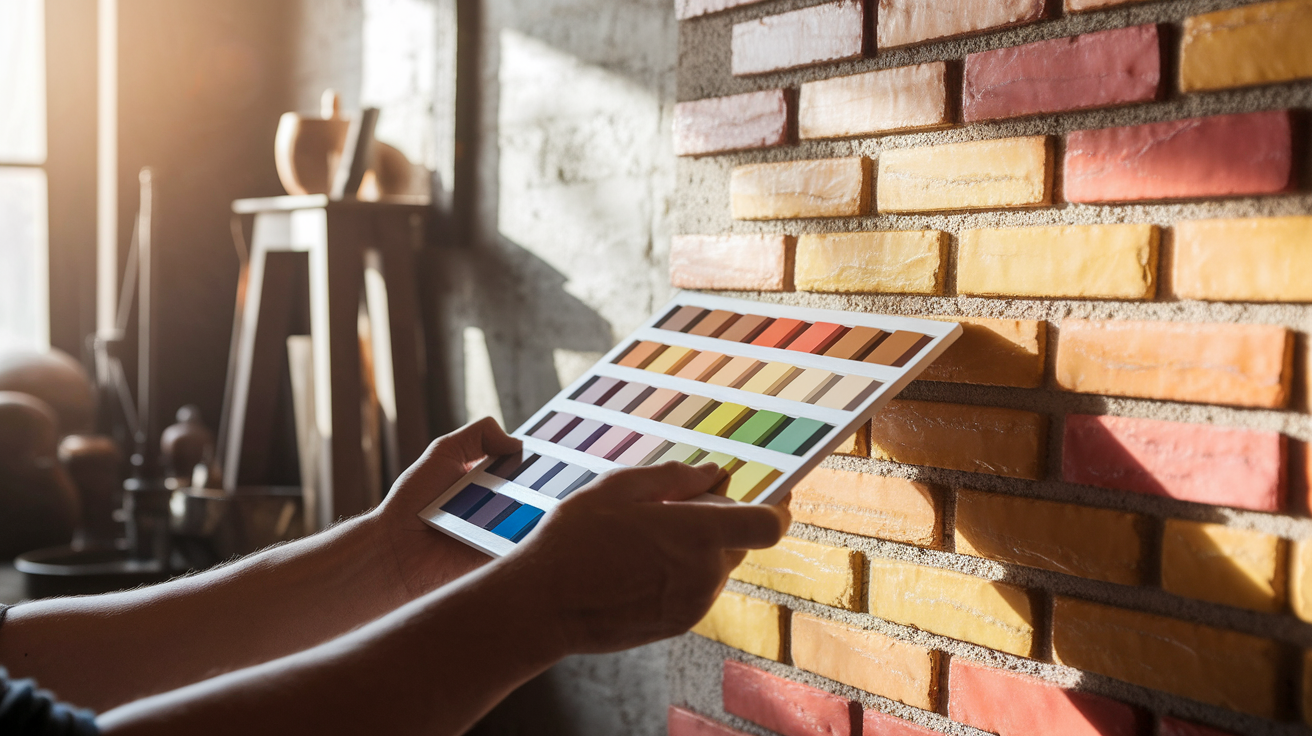
Test stain types and colors before starting. Water-based stains are easy to apply with more options, while acid-based stains are durable and natural-looking.
Try stains on a hidden spot, check in different lighting, and factor in design style and surroundings.
Choose semi-transparent for natural variation or opaque for uniform coverage.
Step 3: Apply the Stain
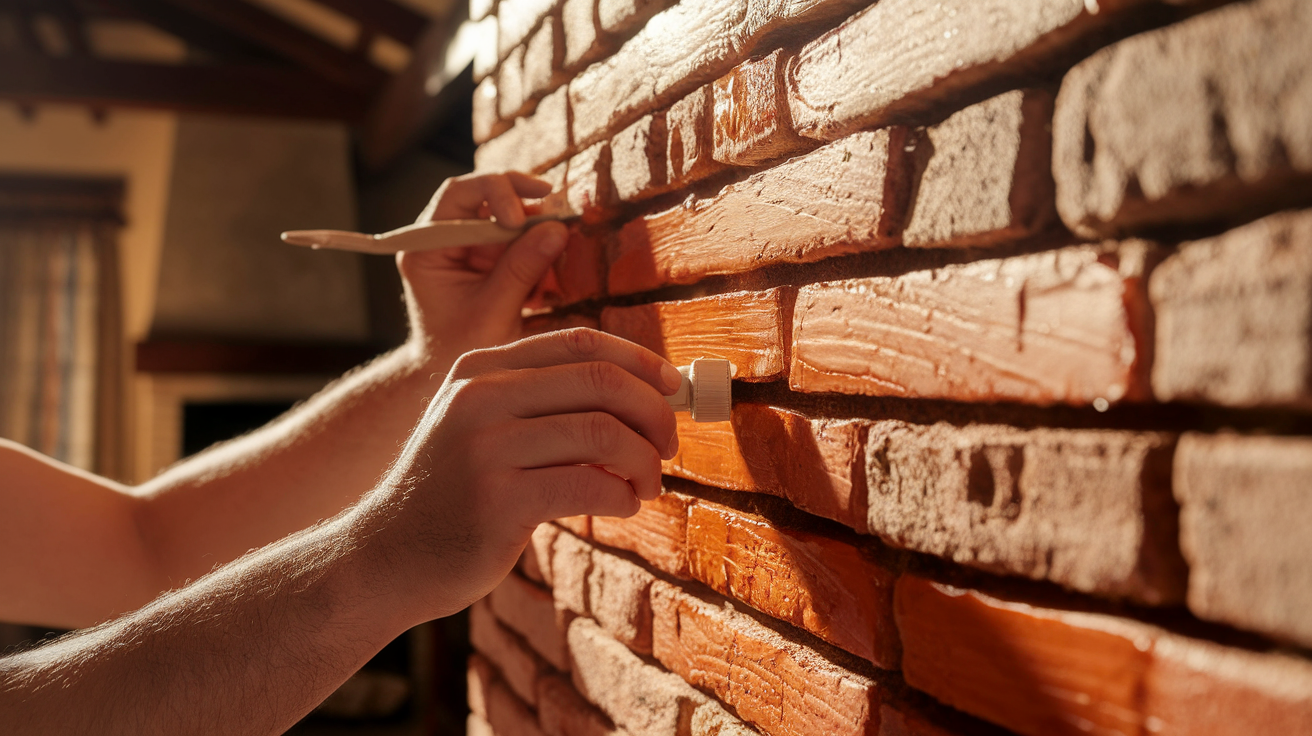
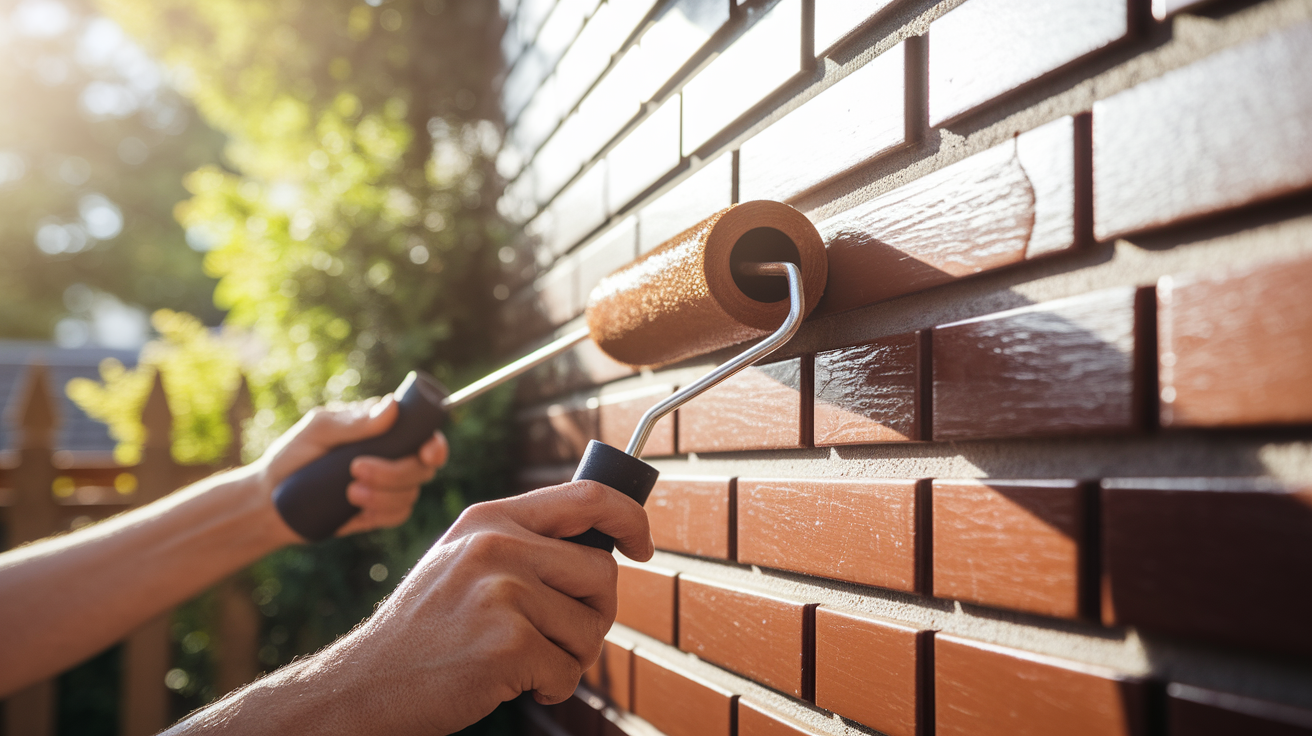
Applying brick stain takes care and precision. Start at the top and work down in small sections.
Use a thick-nap roller for large areas and a brush for edges and details. Apply evenly to avoid drips, and reload when the roller or brush drags.
Overlap sections to keep a wet edge. If drying is uneven, lightly mist with water to blend. Focus on mortar lines as they absorb stain differently.
Step 4: Let It Dry & Apply a Second Coat
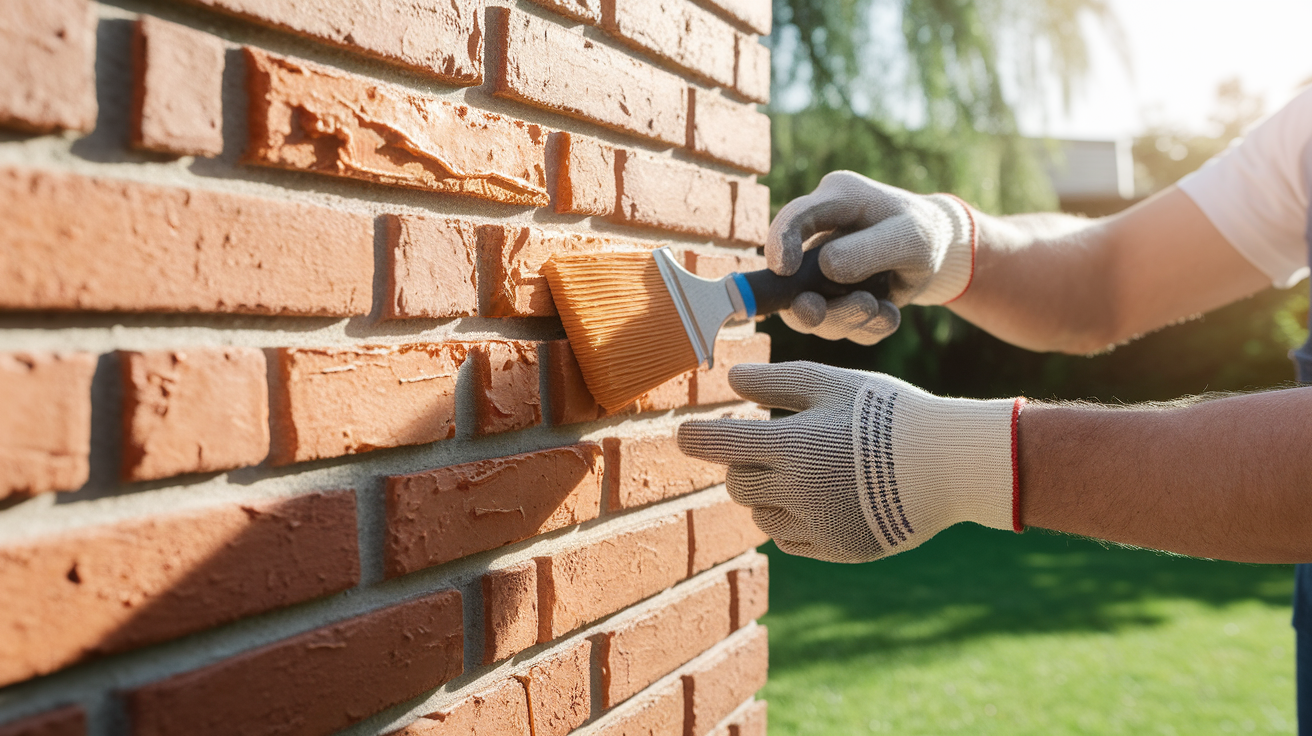
After the first coat, let the stain dry fully as per the instructions, usually within 4-24 hours, based on conditions.
The bricks should feel completely dry, not tacky or cool. Inspect for streaks or uneven spots, and apply a second coat if needed to enhance color and coverage.
Use slightly less stain to avoid drips, and note that the second coat may dry faster than the first.
Step 5: Seal the Brick
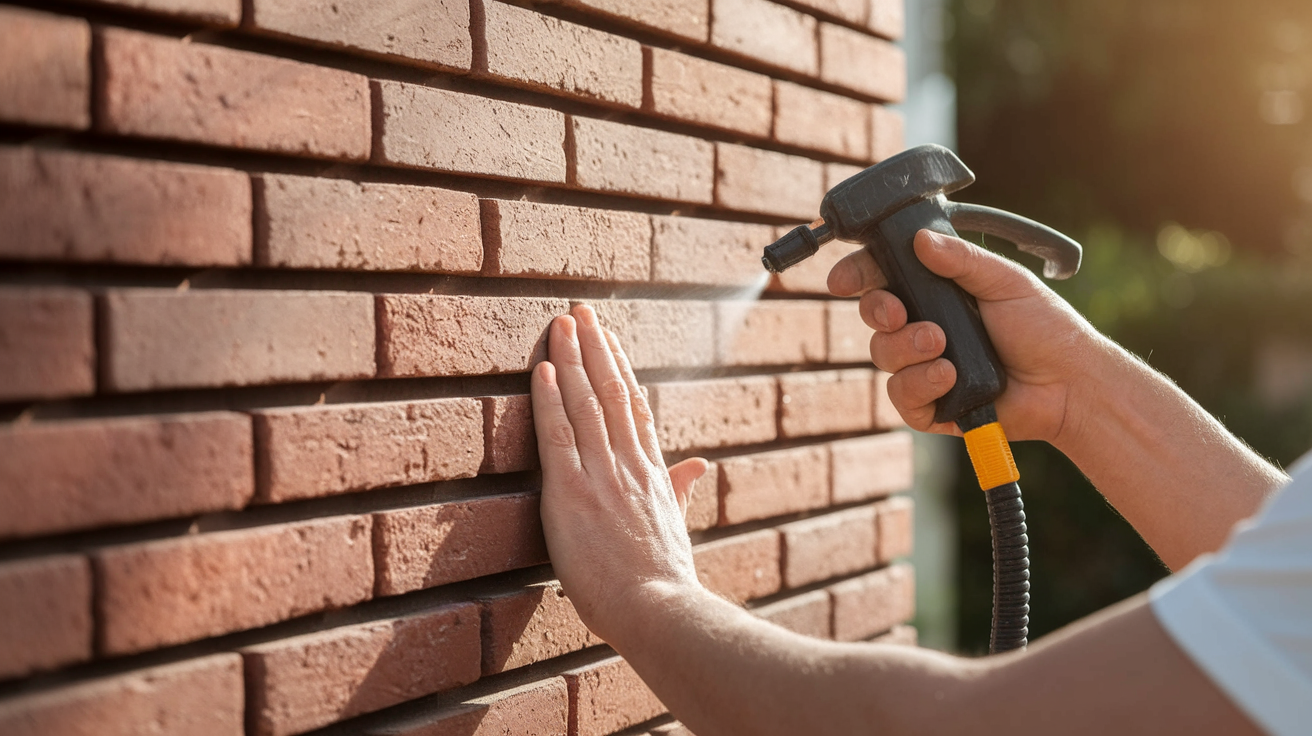
Wait 24-48 hours for the stain to dry before sealing. Use breathable silane or siloxane sealers to protect the brick while allowing vapor to escape.
Apply with a pump sprayer or roller, starting at the bottom to avoid streaks.
Use thin, even coats without puddles unless a glossy finish is desired. Reapply every 5-10 years for lasting protection against weather, moisture, and UV damage.
Types of Brick Stains & Finishes
Brick stains and finishes come in various types, each designed to uplift your home’s style, protect the surface, and provide the desired appearance, whether subtle, bold, or long-lasting.
Brick Stains
These are the different types of brick stains to find the perfect option for achieving your desired look and durability.
- Water-Based Acrylic Stains: It is easy to use, eco-friendly, and available in many colors. They offer UV resistance but may require more frequent touch-ups.
- Acid-Based Stains: React chemically with the brick for long-lasting results. Color choices are fewer but very durable.
- Semi-Transparent Stains: Ideal for a subtle, natural color change.
Finish Options
Choose a finish that suits your style, from natural matte to refined satin or bold gloss for standout bricks. Here are some of the options.
- Matte Finish: No shine, giving a natural, authentic brick appearance. Also good at concealing surface imperfections.
- Satin Finish: This finish offers a slight sheen for a soft, unique look. It balances natural texture with subtle reflection.
- Gloss Finish: Highly lustrous and bold, this finish gives bricks a shiny, standout look, making it ideal for dramatic or modern styles.
Benefits of Staining Exterior Bricks
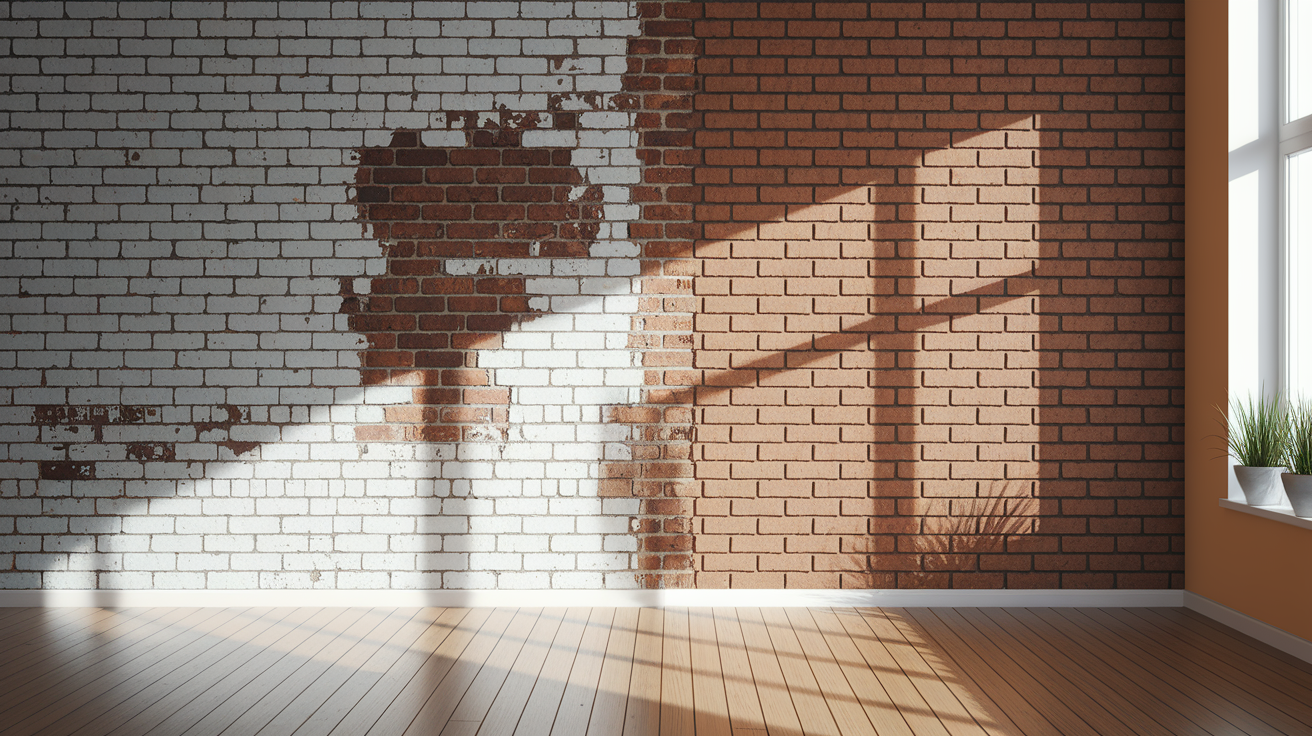
Staining brick offers several benefits over painting. When paint is applied to brick, it creates a layer on top that can peel, chip, and trap moisture underneath.
However, stain soaks into the brick, preserving its natural texture while changing its color. This allows the brick to continue “breathing,” which helps prevent moisture buildup and damage.
Staining typically lasts longer than painting and requires less maintenance over time. While paint completely covers the brick’s character, stain enhances its natural look and keeps the texture visible.
For older homes with weathered brick, staining can update the appearance without hiding what makes brick special. The cost of staining often proves lower in the long run since it doesn’t need to be redone as frequently as paint.
These factors make staining a more practical choice for most brick homes.
How to Choose the Right Stain Color for Your Brick

Choosing the right stain color is crucial to achieving the perfect blend of style, harmony, and lasting visual appeal for your home.
- Consider your home’s architectural style. Traditional styles suit classic tones, and modern styles work with bold or unusual shades.
- Factor in fixed elements like roof color, stone accents, and landscaping that will remain unchanged.
- Observe neighboring homes to choose a color that complements the area without blending in too much.
- Test sample colors on small brick sections and view them at different times of day for accuracy.
- Keep in mind that darker stains make the home look smaller and grounded, while lighter stains make it appear larger.
- Remember that stain colors usually dry darker than they appear when wet.
- Use natural lighting to judge the final appearance, as sunlight greatly affects color perception.
Staining Brick vs. Painting Brick
| Feature | Staining Brick | Painting Brick |
|---|---|---|
| Appearance | Preserves brick texture & character; subtle color change. | Completely changes brick appearance; uniform color. |
| Breathability | Allows brick to “breathe,” preventing moisture damage. | Can trap moisture, potentially leading to mold & deterioration. |
| Maintenance | Refreshing is needed every 15-20 years. | Repainting often needed every 3-5 years (peeling/chipping). |
| Cost | Typically more expensive upfront. | Usually less expensive upfront. |
| Long-Term Savings | Saves money long-term due to less frequent maintenance. | It may cost more long term due to frequent repainting. |
| Best For | Older/historical homes (preserves character); brick in good condition. | Damaged/mismatched brick (uniform coverage); modern look. |
Common Mistakes to Avoid for Smooth Brick Staining
Avoid these common pitfalls to ensure a smooth and successful brick staining project with a professional and long-lasting finish.
- Dirty brick prevents proper stain absorption, leading to patchy and uneven results.
- Moisture trapped in the brick causes blotchy color and sealing problems.
- Exterior projects require exterior-grade stains to prevent rapid fading and wear.
- Over-application results in an unnatural, painted appearance.
- Quick drying can cause lap marks and uneven color distribution.
- Skipping test patches might lead to unexpected final colors.
- Without drop cloths or tape, you risk staining plants, paths, or other surfaces.
Conclusion
Staining exterior brick offers a practical way to refresh a home’s look while protecting the material. With the right tools, materials, and techniques, this project can change an outdated exterior into something fresh and appealing.
With careful preparation and application, stained brick can look great for 15-20 years before needing a refresh.
The natural look of stained brick, which keeps the texture visible while changing the color, gives homes a character that paint cannot match.
So, always remember that brick staining is an excellent option for anyone looking to update their home’s exterior without the maintenance issues of paint.

