The Complete Guide to Planting Emerald Green Arborvitae
Are you wondering how far apart to plant Emerald Green Arborvitae for a thick, healthy hedge? Or maybe you are unsure how to plant Emerald Green Arborvitae correctly for lasting results?
You are not alone; many gardeners want to get spacing and planting just right.
We will answer all your questions about planting Emerald Green Arborvitae, from choosing the best spacing to mapping out your plan and caring for your trees.
No matter if even if you are planting a full privacy screen or just a few trees along a fence, we will help you get started with confidence and grow a neat, attractive hedge.
What is Emerald Green Arborvitae?
Emerald Green Arborvitae is a popular evergreen tree that stays green all year round.
It grows tall and narrow, making it perfect for small yards or creating a natural privacy screen.
These trees usually grow up to 10 to 15 feet tall and about 3 to 4 feet wide, so they do not take up much space.
They grow slowly and have a neat, column-like shape, meaning you do not need to trim them often. Emerald Green Arborvitae loves full sunlight and well-drained soil.
It is also a great choice if you want a low-maintenance plant that gives your yard a clean and beautiful look.
How Far Apart to Plant Emerald Green Arborvitae?
To grow a thick and healthy hedge, it is important to plant Emerald Green Arborvitae with the right spacing.
The best distance is 3 to 4 feet apart, measuring from the trunk of one tree to the trunk of the next.
For fast privacy, plant them 3 feet apart to allow them to grow close together.
If you have more space and want better airflow, consider placing them 4 feet apart. This also helps the trees stay healthy and avoid problems like mold or disease.
Remember, these trees grow about 3 to 4 feet wide, so proper spacing gives them room to grow without crowding each other.
How to Plant Emerald Green Arborvitae?
Planting Emerald Green Arborvitae is easy if you take it step by step. Here’s how to do it right for strong, healthy growth:
1. Pick the Right Spot
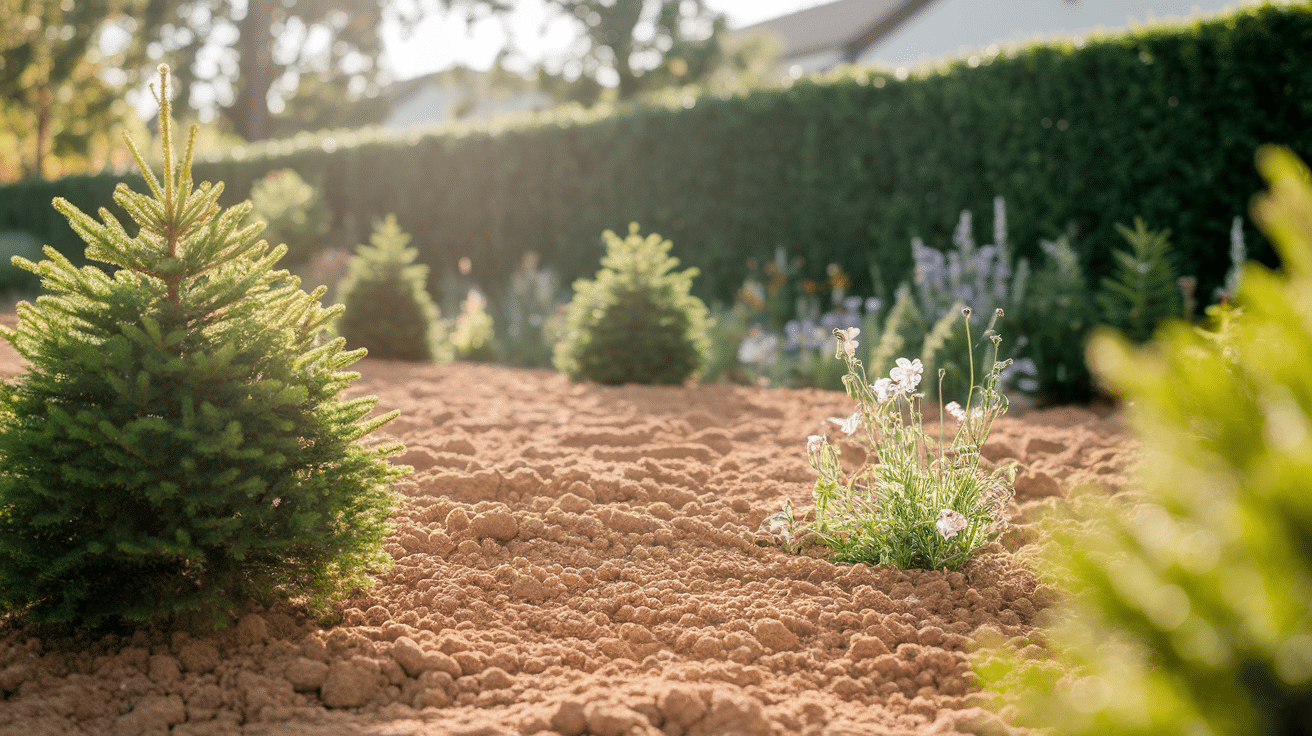
Start by choosing a spot that gets full sun for at least 6 hours each day.
These trees love sunlight and grow best in bright areas.
Ensure the soil drains well, so water doesn’t puddle for too long after rain. Avoid planting in low spots where water collects.
If the area stays too wet, the roots can rot, which will hurt or even kill the tree.
Good airflow around the trees is also helpful to prevent disease.
2. Dig the Hole
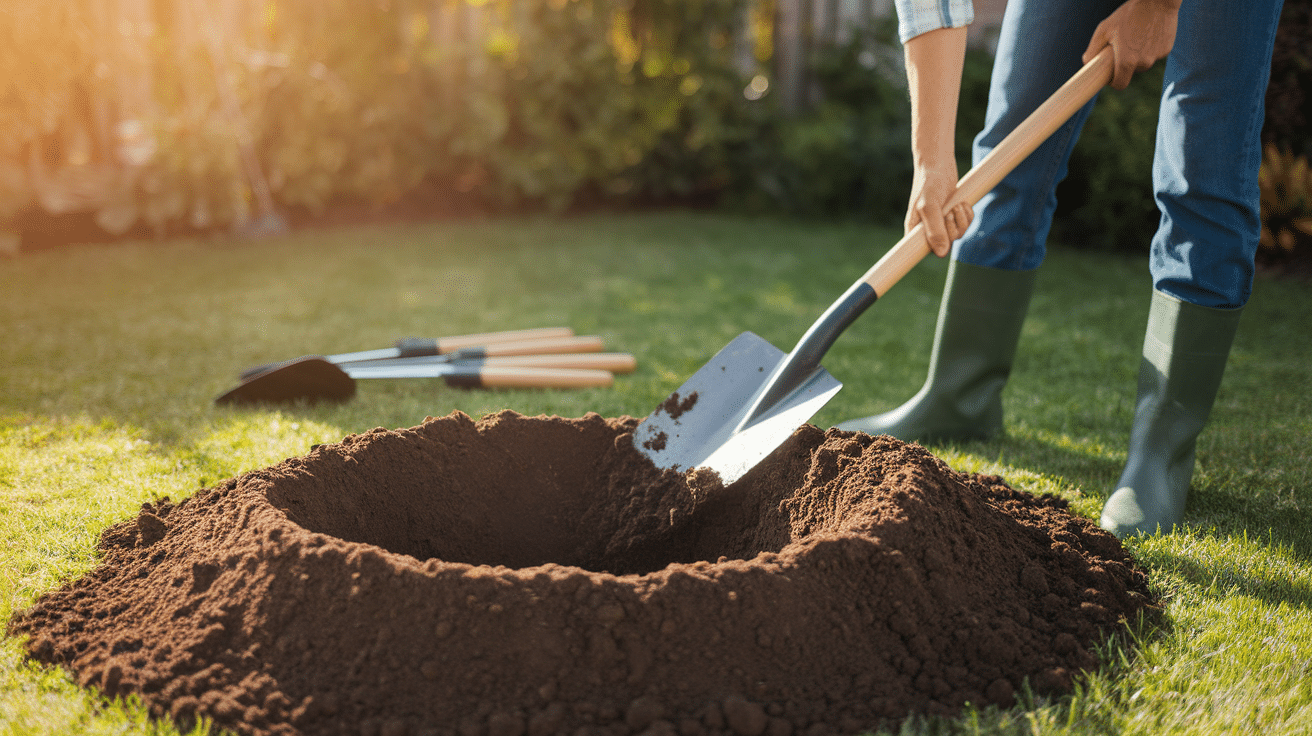
Use a shovel to dig a hole that is the same depth as the tree’s root ball and about twice as wide.
This gives the roots plenty of space to grow outward and settle into the soil.
If the hole is too deep, the tree might sink over time. If it is too shallow, the roots may dry out.
Loosen the soil at the bottom of the hole to help the roots grow more easily.
3. Place the Tree
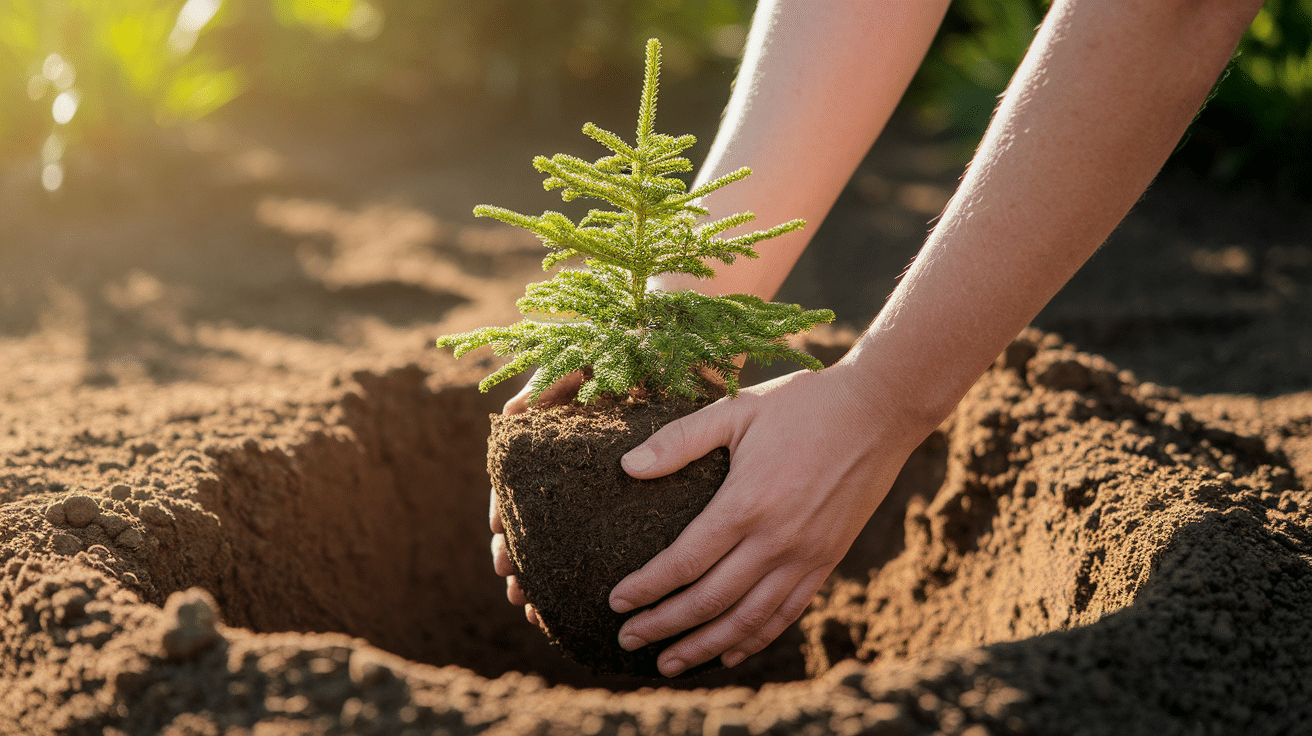
Gently remove the tree from its pot or container. Be careful not to break the roots.
If the roots are circling the bottom tightly, gently loosen them with your hands.
Place the tree in the center of the hole and make sure it stands up straight.
The top of the root ball should be level with the surrounding ground.
If it is too low, add a little soil underneath. Double-check that the tree is not leaning before you fill in the hole.
4. Fill and Water
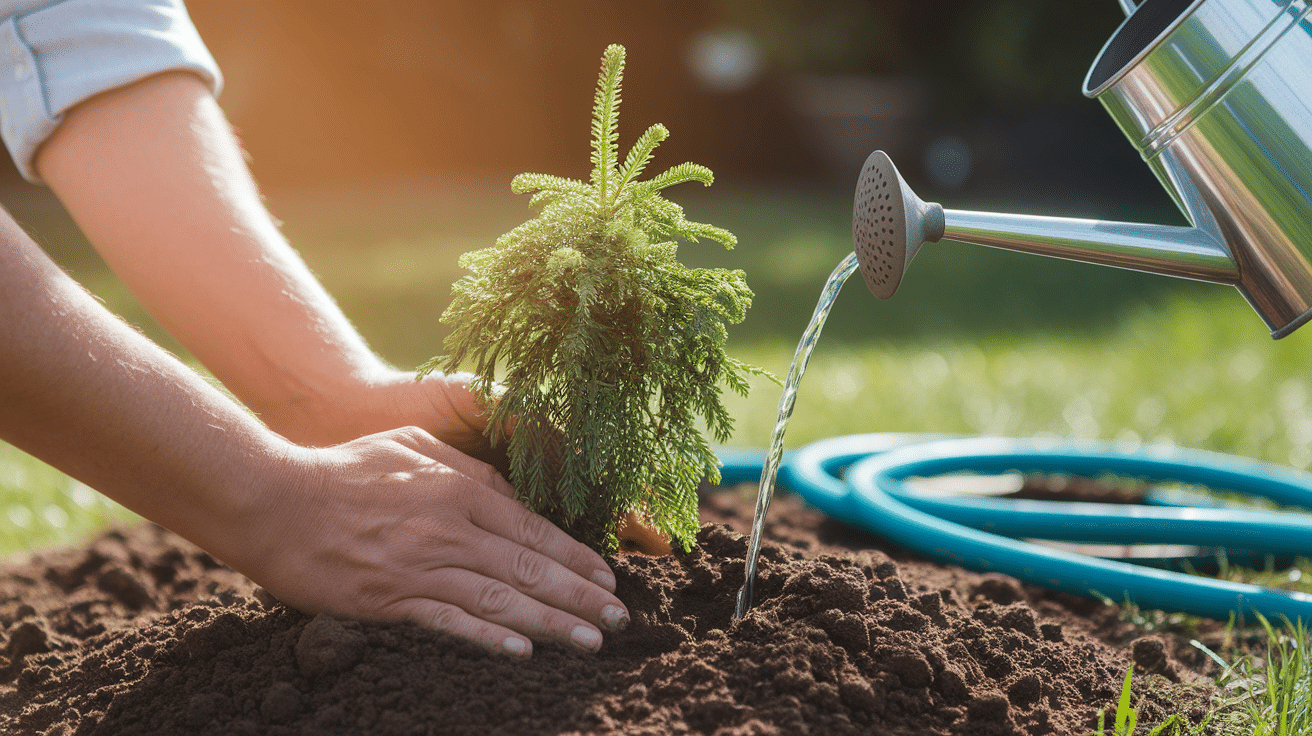
After the tree is placed, begin filling the hole with the same soil you dug out.
Press the soil down gently as you go to remove air pockets.
Once the hole is filled, water the tree deeply and slowly to help the soil settle around the roots.
This first watering is very important it helps the roots connect with the new soil.
You can also build a small ring of soil around the base to help hold water.
5. Add Mulch
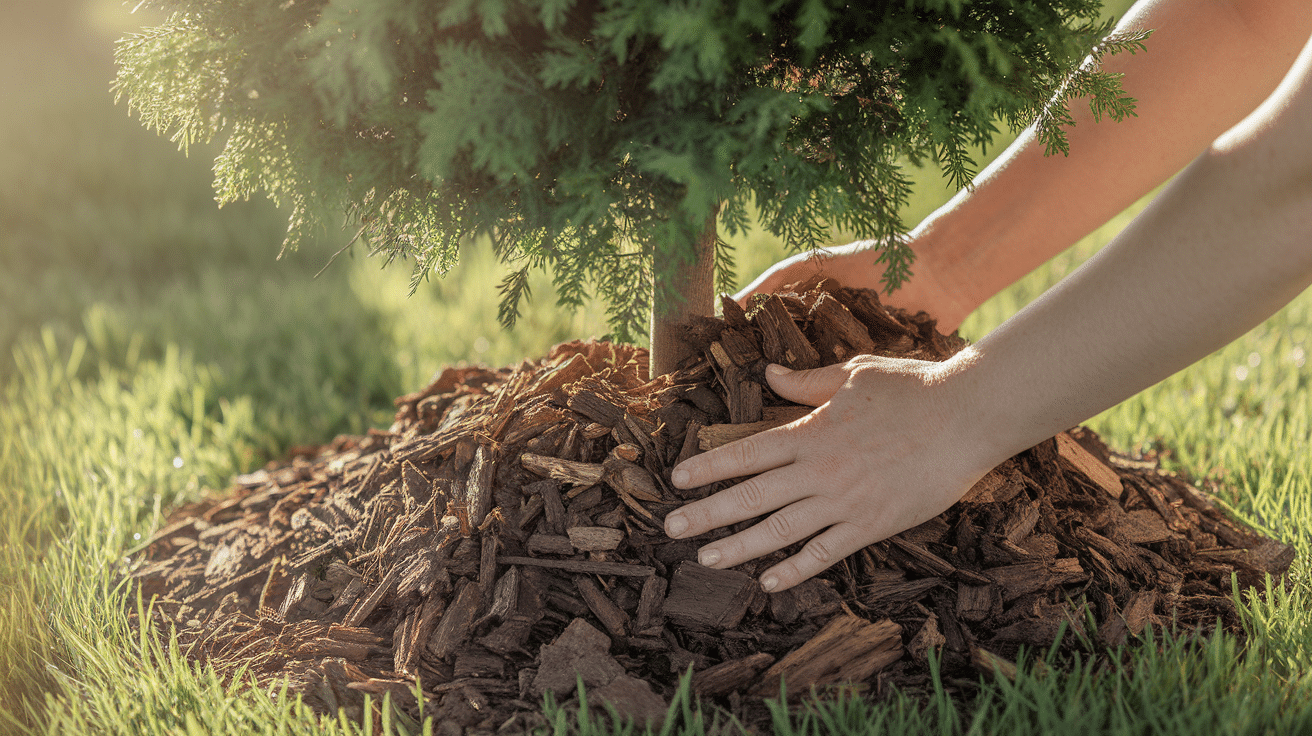
Spread a 2 to 3-inch layer of mulch around the base of the tree in a circle.
Keep the mulch a few inches away from the trunk to avoid trapping moisture against the bark, which can cause rot.
Mulch helps the soil stay moist, keeps weeds away, and protects the roots from hot or cold weather.
Refresh the mulch every year to keep it working well and looking neat.
6. First-Year Care
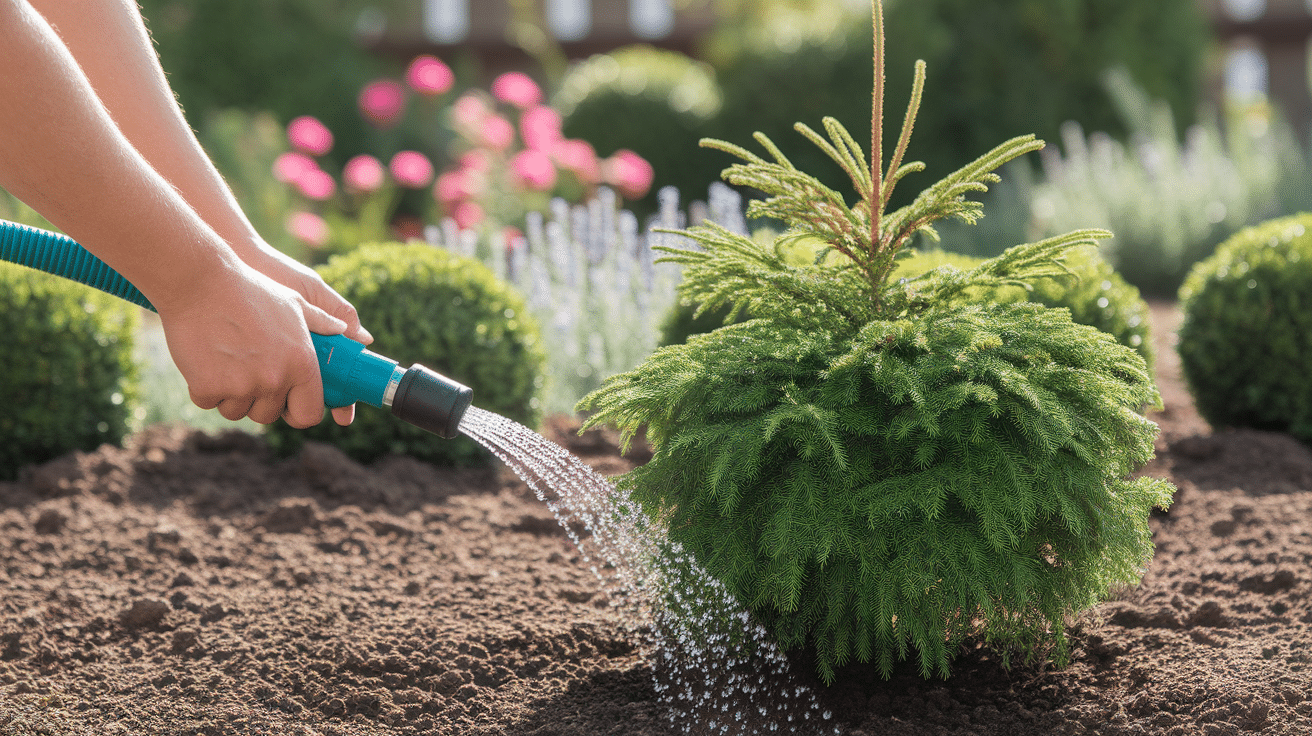
During the first year after planting, your Arborvitae will need extra care. Water it regularly, especially during hot days or if it has not rained.
Stick your finger in the soil near the base. If it feels dry a couple of inches down, it is time to water.
Avoid overwatering, which can lead to root rot. You do not need to fertilize during the first year.
Just focus on keeping the soil moist and watching for any signs of stress, like yellowing leaves.
Tips for Growing a Healthy Arborvitae Hedge
Once you have planted your Emerald Green Arborvitae, a little care goes a long way to keep them healthy and looking good. Follow these easy tips:
- Water Regularly: Water your trees often, especially during the first year. Keep the soil moist but not soaked. In dry seasons, water once or twice a week.
- Add Mulch Every Year: Refresh the mulch each year to keep the soil cool and help hold in moisture. Use 2–3 inches of mulch, but don’t let it touch the tree trunks.
- Use Fertiliser in Spring: Feed your Arborvitae in early spring with a slow-release fertilizer. This gives them the nutrients they need to grow strong and green.
- Trim Gently When Needed: You usually do not need to trim these trees much. If you want a neater shape, trim lightly in late spring or early summer. Don’t cut into the old, brown wood.
- Watch for Pests and Problems: Check your trees often for signs of bugs or browning leaves. Remove any dead branches and treat pests early to keep the hedge healthy.
Common Spacing Mistakes to Avoid
Getting the spacing right is very important when planting Emerald Green Arborvitae.
Here are some common mistakes people make and how to avoid them:
- Planting Too Close Together: Planting trees less than 3 feet apart causes crowding, reduces air flow, and risks disease and browning.
- Planting Too Far Apart: If trees are too far apart, you may not get a full hedge, leaving gaps and reducing privacy.
- Forgetting to Plan for Full Growth: Remember that each tree can grow 3 to 4 feet wide. If not planned, they may touch buildings, fences, or each other too closely.
- Not Measuring the Area First: Eyeballing the space instead of measuring can cause uneven planting. Use a tape measure and mark each tree’s location before digging.
The Bottom Line
Planting Emerald Green Arborvitae is a great way to create a green, natural fence for your yard.
With the right spacing, you can grow a strong, healthy hedge that looks good and gives you privacy.
By planning ahead, knowing how many trees you need, and following easy planting steps, you will set your trees up for success.
Don’t forget to water them regularly, use mulch, and check for any problems as they grow.
With a little care and the right start, your Arborvitae hedge will stay green and beautiful for years.
Happy planting!
Frequently Asked Questions (FAQs)
How Fast Does Emerald Green Arborvitae Grow?
Emerald Green Arborvitae grows slowly, usually about 6 to 9 inches per year. It may take a few years to grow into a full privacy hedge.
Do Emerald Green Arborvitae Lose Their Leaves in Winter?
No, they are evergreen trees, which means they stay green all year, even in winter.
Are Emerald Green Arborvitae Safe for Pets?
These trees are not highly toxic, but it is best to stop pets from chewing on them. Eating too much of any plant can cause stomach upset.


