How to Make an Easy Throw Pillow
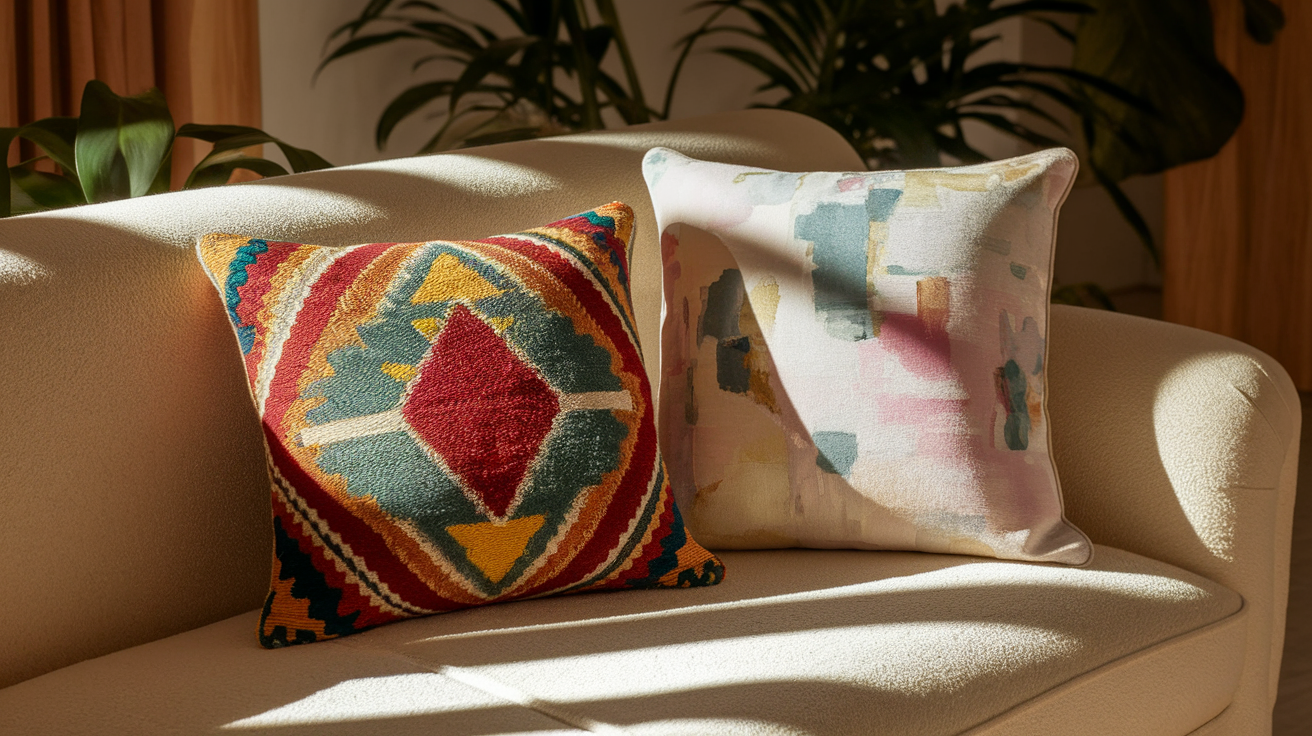
Looking to refresh your space without spending too much? Making your own throw pillow is an easy and affordable way to add personality to any room.
In this step-by-step tutorial, you’ll learn how to craft a custom pillow from scratch using simple materials. No fancy tools or sewing experience are needed.
This walkthrough is for complete beginners, casual DIYers in need of a weekend project, and small business owners exploring handmade products.
In an hour, you’ll have a stylish new pillow that shows your taste and saves you money.
Tools & Materials Required to Make a Throw Pillow
Below is the list of materials you will need to make a throw pillow.
| Item | Purpose |
|---|---|
| Fabric scissors | For cutting fabric cleanly |
| Measuring tape & ruler | To measure and draw straight lines |
| Tailor’s chalk | To mark fabric for cutting/sewing |
| Pins | To secure fabric before sewing |
| Sewing machine | For sewing the pillow (can be done by hand too) |
| Needle & thread | For topstitching or small fixes |
| Fiberfill/stuffing | To fill the insert and make it fluffy |
| Zipper | To make the cover removable |
| Main fabric | Decorative front of pillow |
| Lightweight fabric | For pillow insert |
Step-by-Step Instructions to Make a Throw Pillow
Making your own throw pillow doesn’t have to be hard. With some basic tools and a bit of patience, you’ll have a new pillow in no time. This guide breaks down the process into easy-to-follow steps.
Step 1: Decide Your Pillow Size
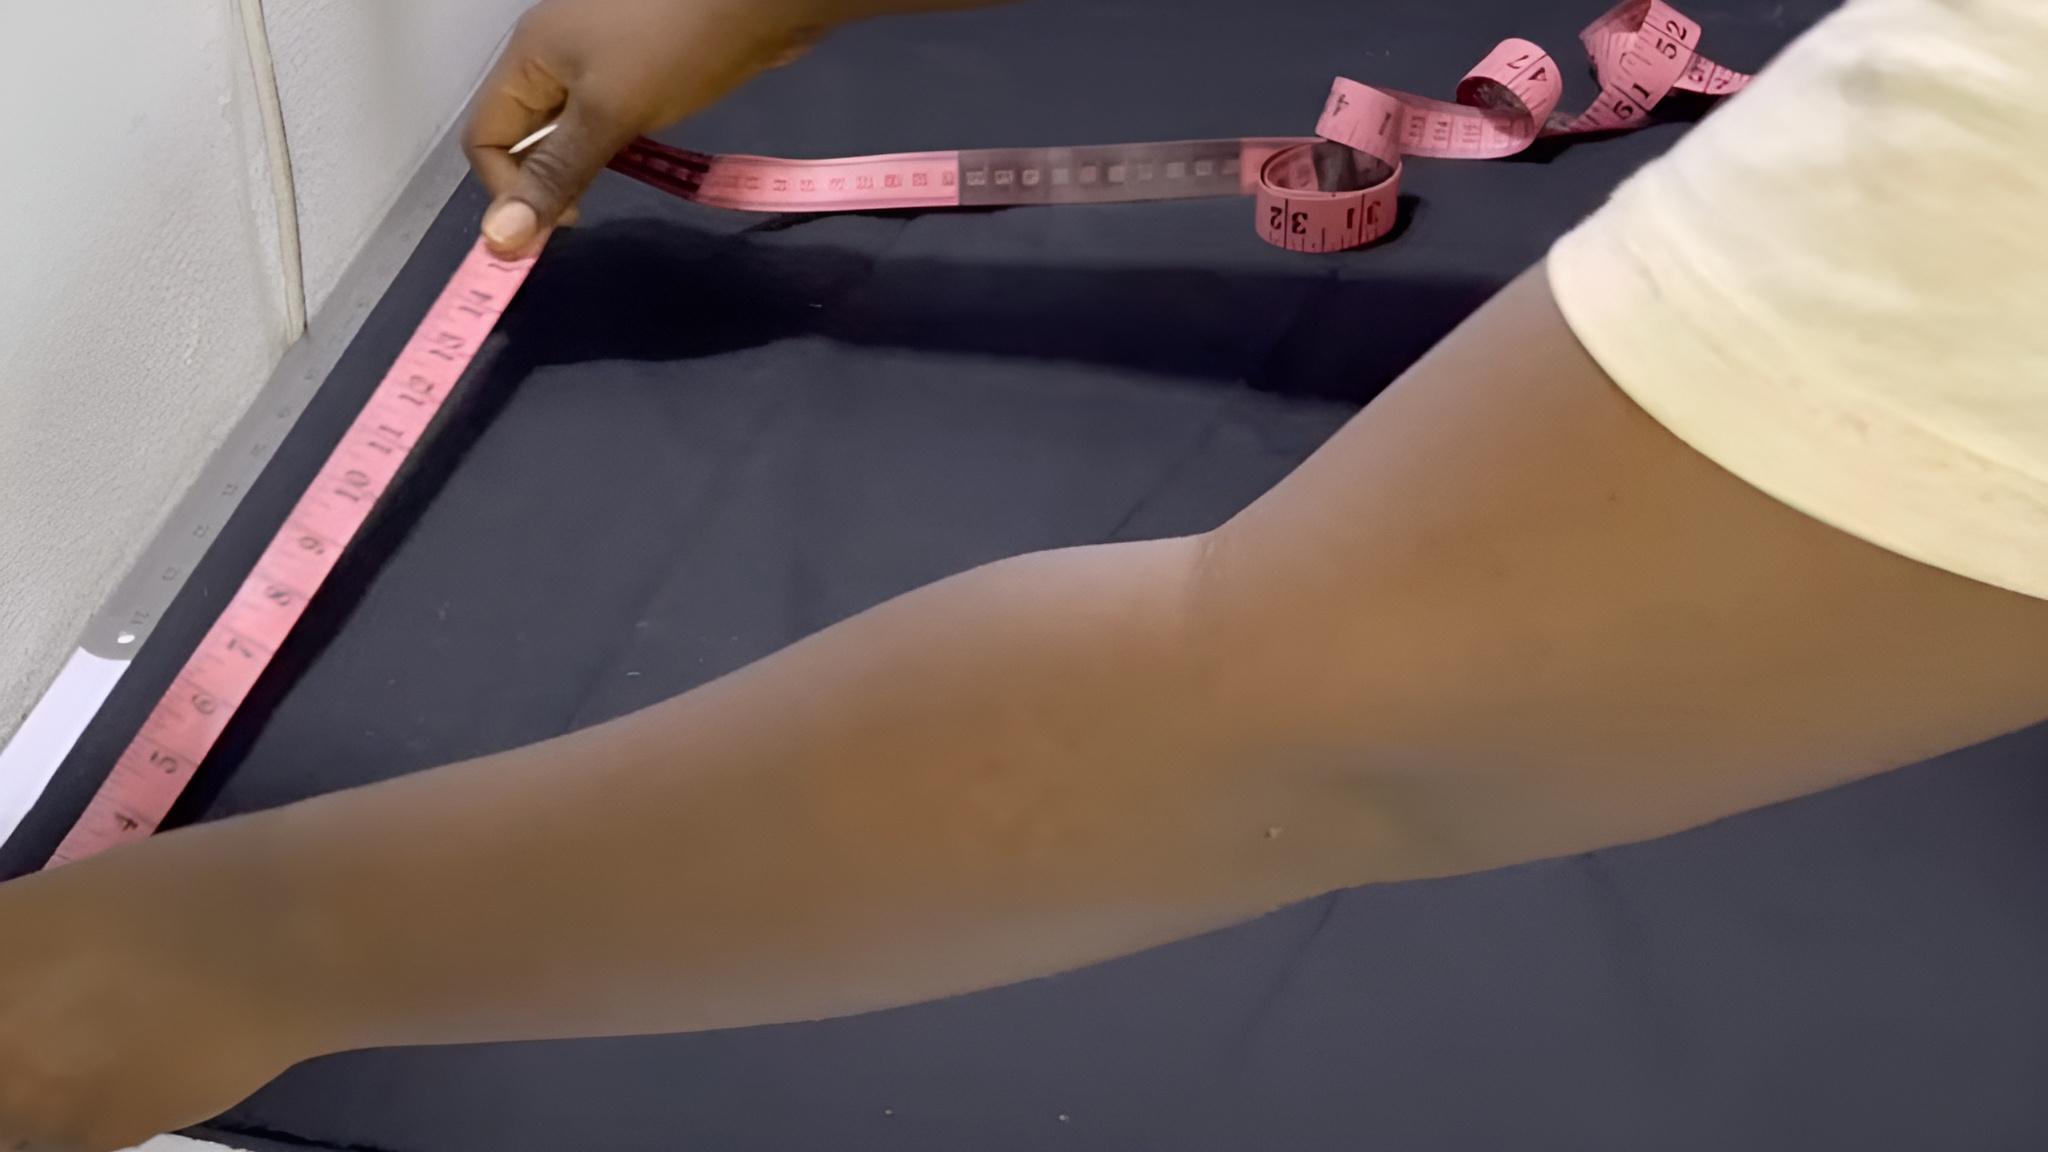
Pick the right size for your needs. Most throw pillows range from 16-20 inches square.
- Final pillow size: 16 x 16 inches (example)
- Insert size: 18 x 18 inches (insert should be slightly larger for fullness)
Choosing the right insert size gives your pillow that perfectly plush, full look. So don’t skip this simple step for a cozy, polished finish!
Step 2: Prepare Insert Fabric
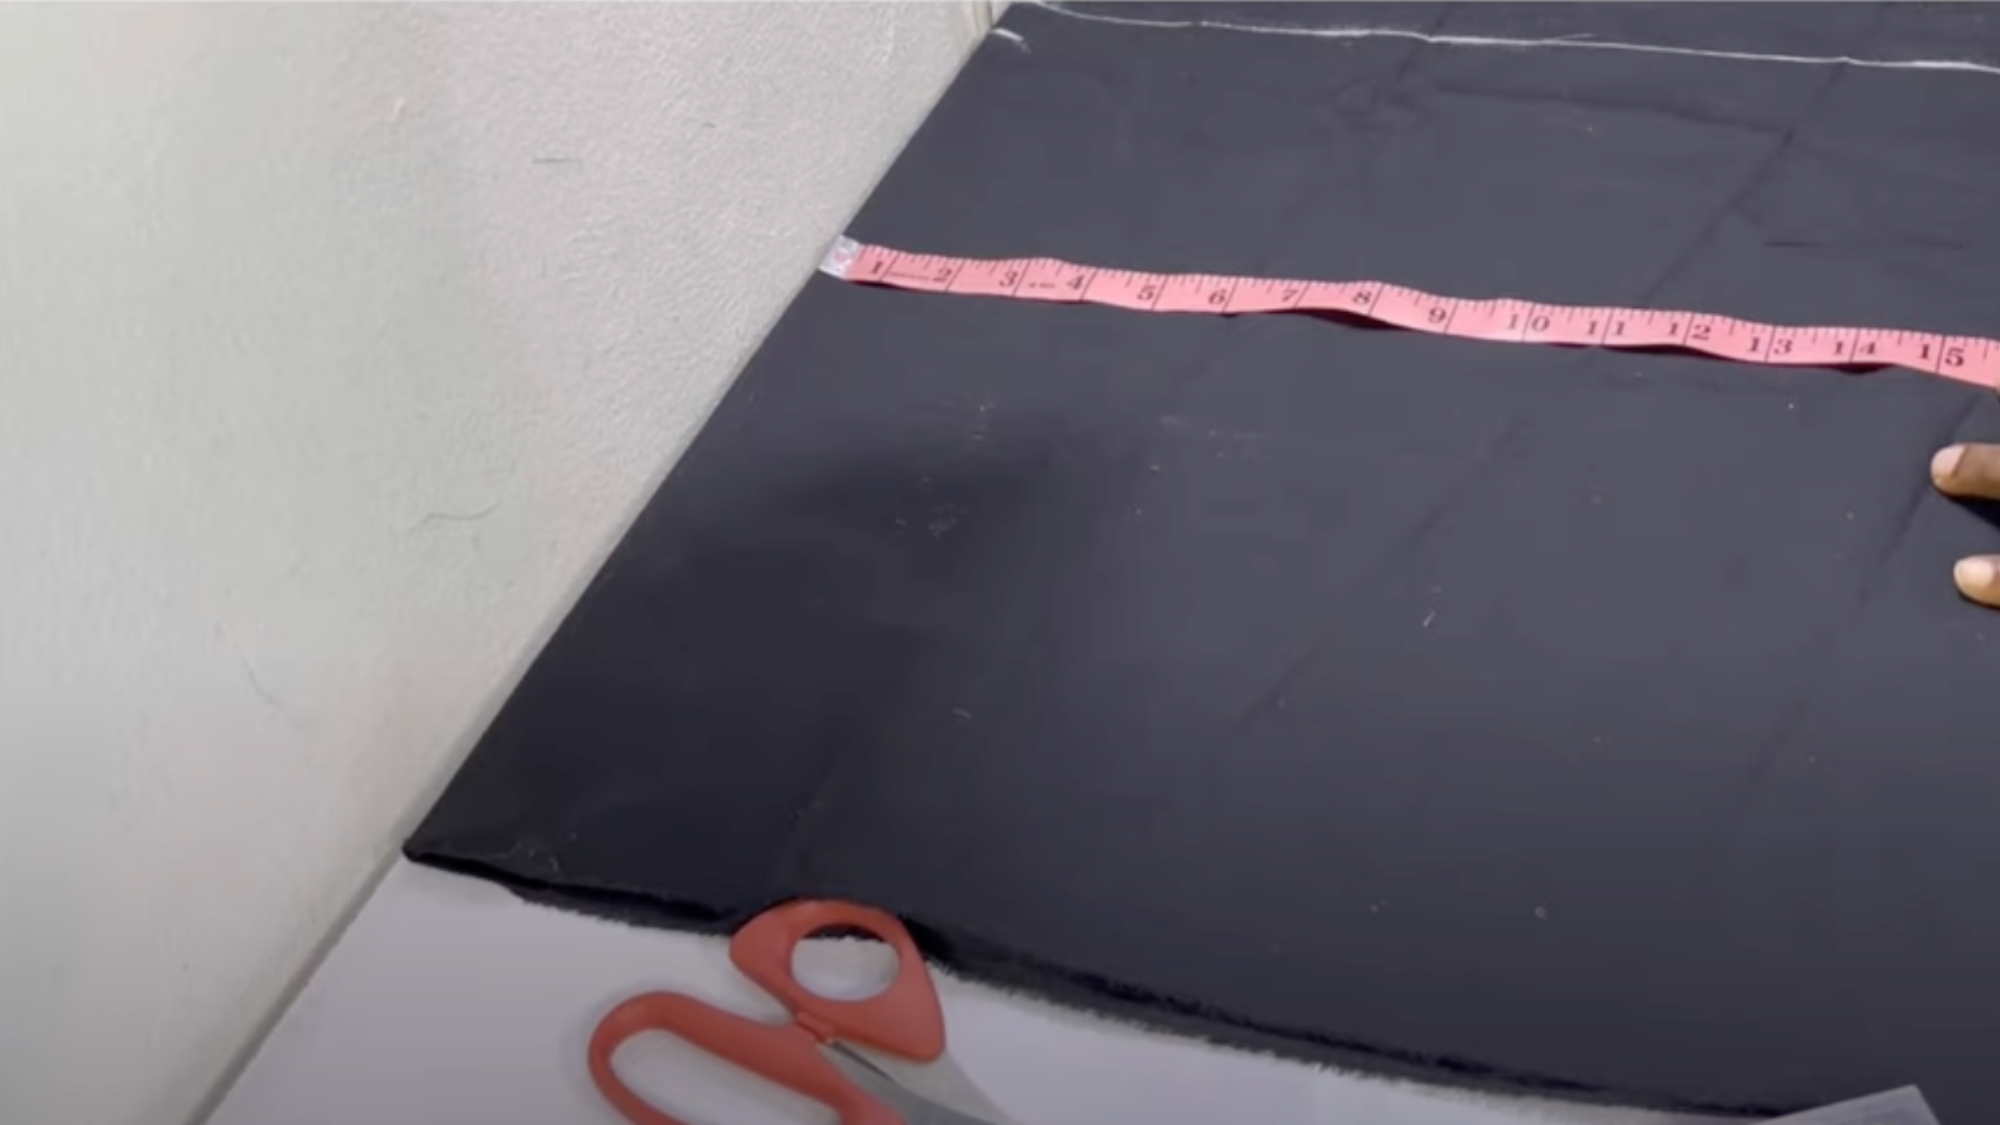
The fabric needs to be cut correctly to hold the stuffing without leaking.
- Fold your lightweight fabric in half.
- On the folded fabric, mark out 19″ x 18.5″: Width: 18″ (desired size) + 1″ (½” seam allowance on each side) and Height: Bottom is folded, so add only ½” seam allowance to the top.
A little extra fabric ensures your insert stays sturdy and well-shaped.
Step 3: Create a Tab Opening for Stuffing
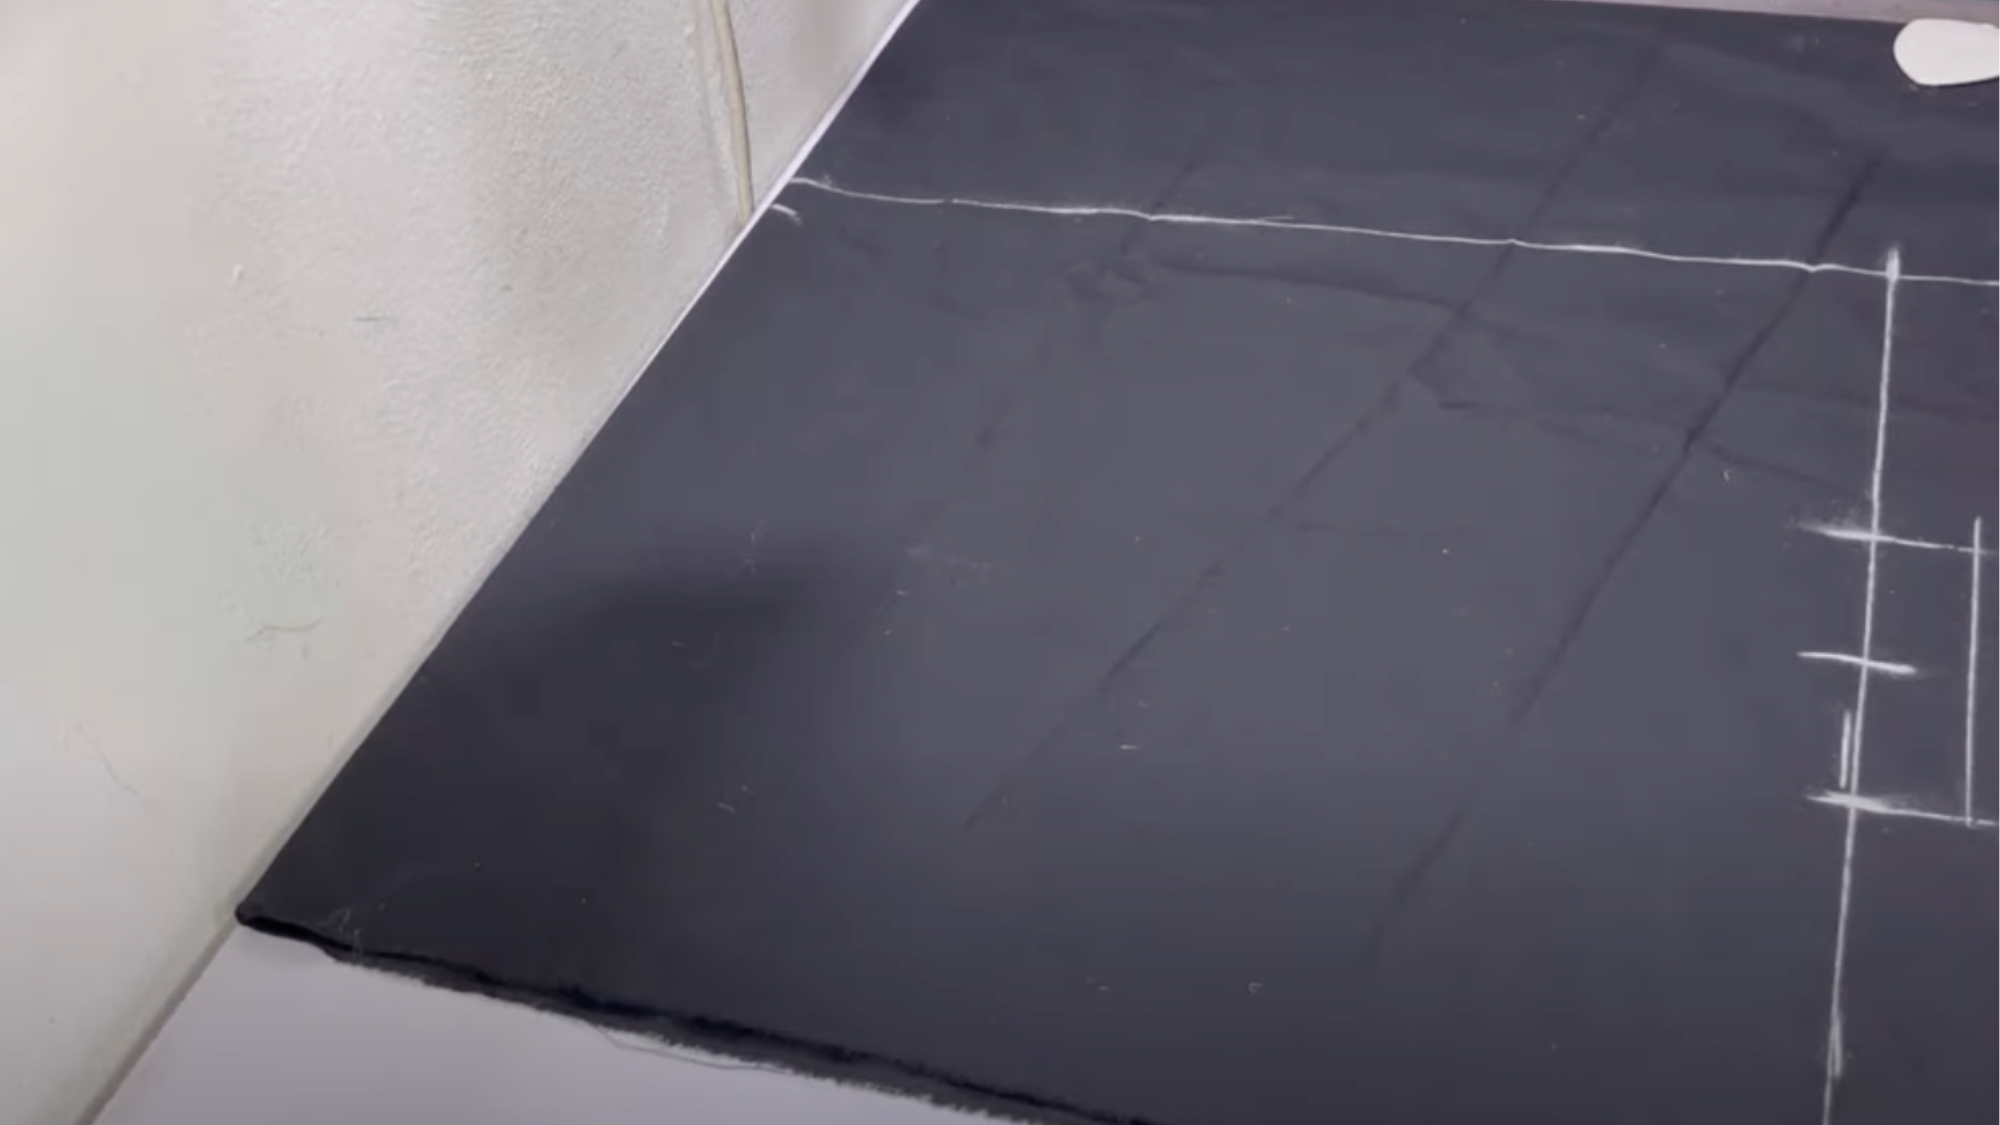
A proper opening makes stuffing much easier and gives a cleaner finish.
- Find the center of the top edge and mark 2.5″ to the left and right (5″ gap total)
- Draw a rectangular tab flap around that gap — this will help with closing the insert after stuffing.
This handy tab makes stuffing a breeze and ensures your pillow insert stays neatly sealed for a polished look.
Step 4: Cut and Sew Insert
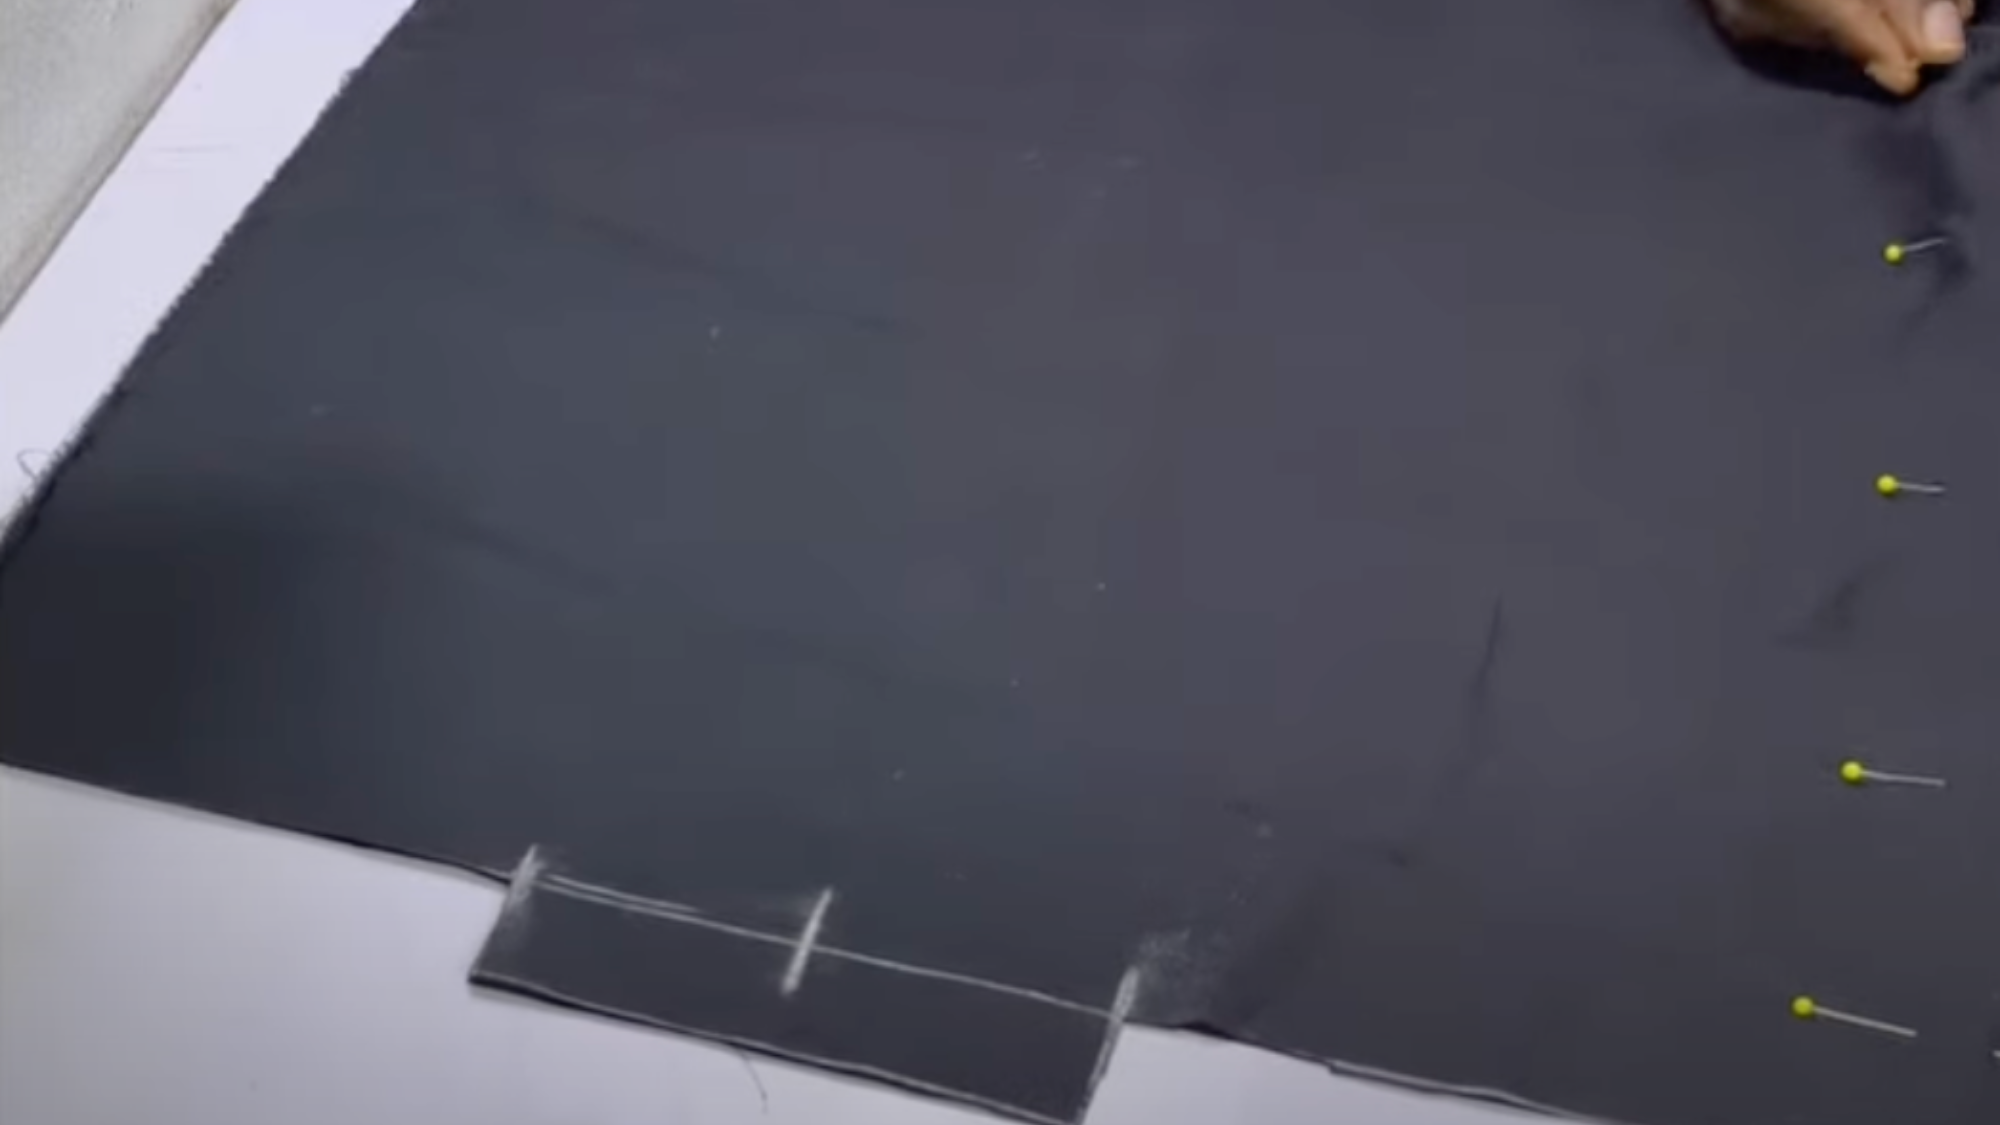
Take your time with this step to make sure your seams are strong.
- Cut out the fabric, including the tab and pin around the edges.
- Sew along the lines with ½” seam allowance, leaving the 5″ gap open
Step 5: Stuff the Insert and Stitch the Gap Closed
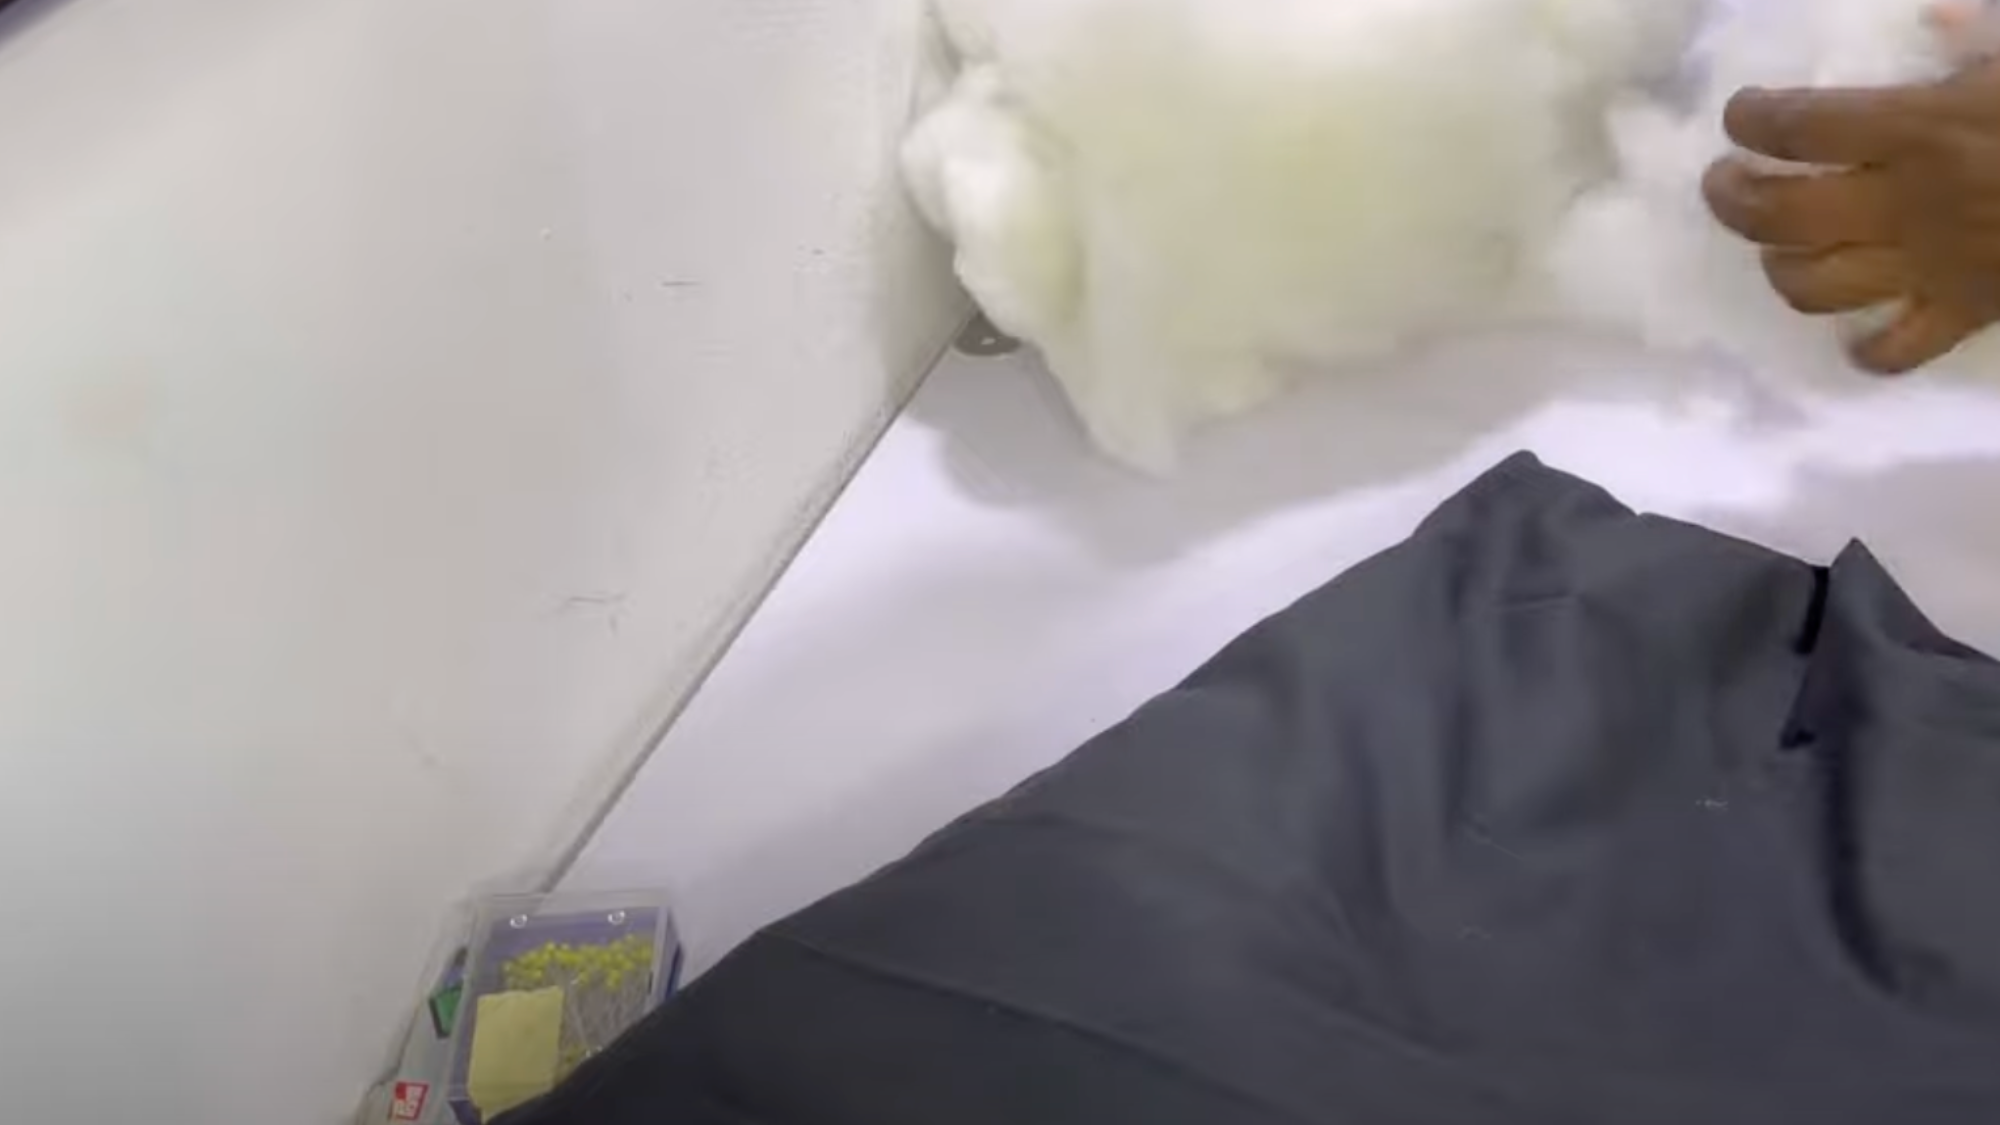
The stuffing step can be fun but messy. Work on a clean surface.
- Clip the corners and turn the fabric’s right side out. Fill with fiber, pushing into the corners to ensure even, not-too-lumpy stuffing.
- Fold and pin the tab, then stitch it closed neatly to finish the insert.
Step 6: Cut the Main Fabric
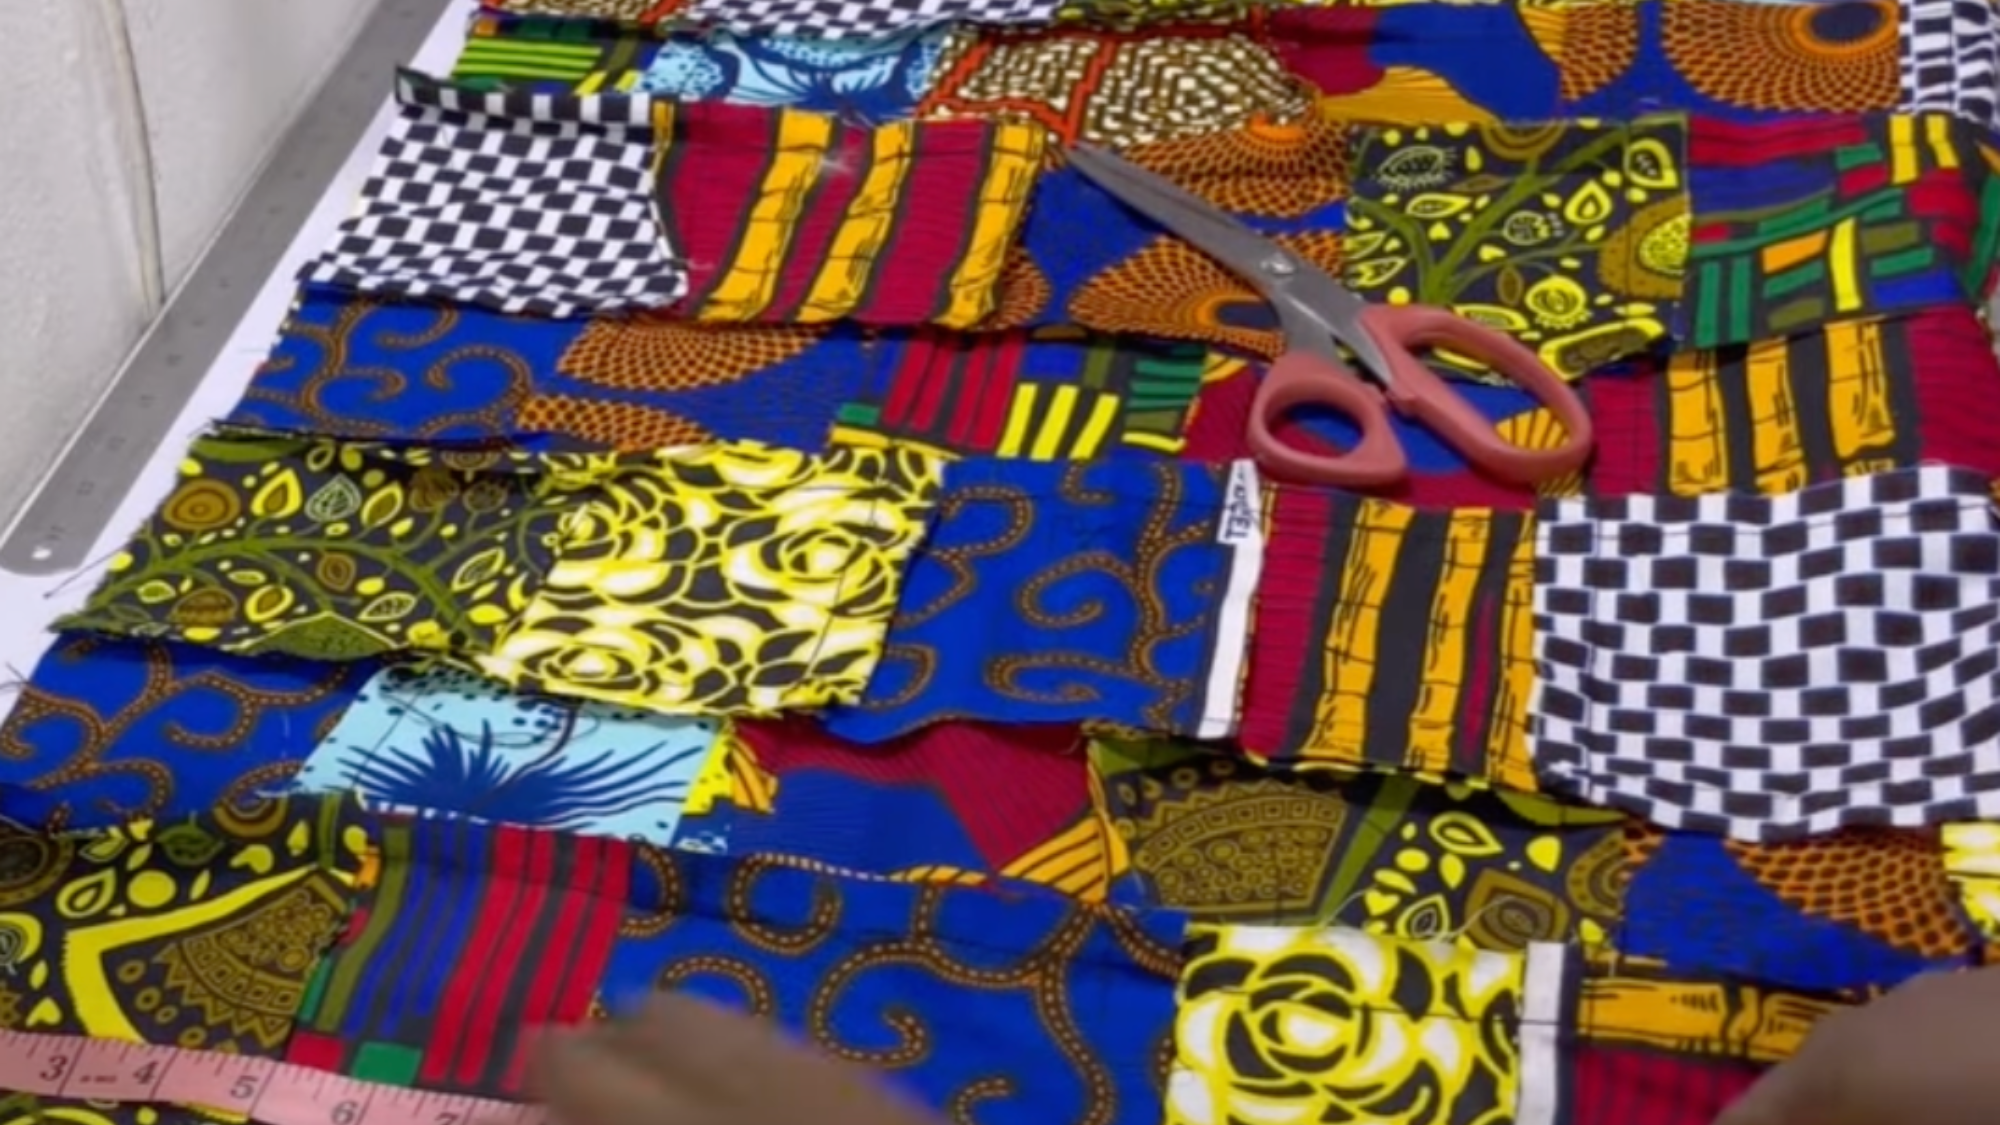
Taking time to cut accurately now saves headaches later.
- Target pillow cover size: 16 x 16 inches
- Add ½” seam allowance to all sides- cut two 17″ x 17″ squares
Precise cuts now mean a flawless, professional finish later.
Step 7: Prepare for Zipper
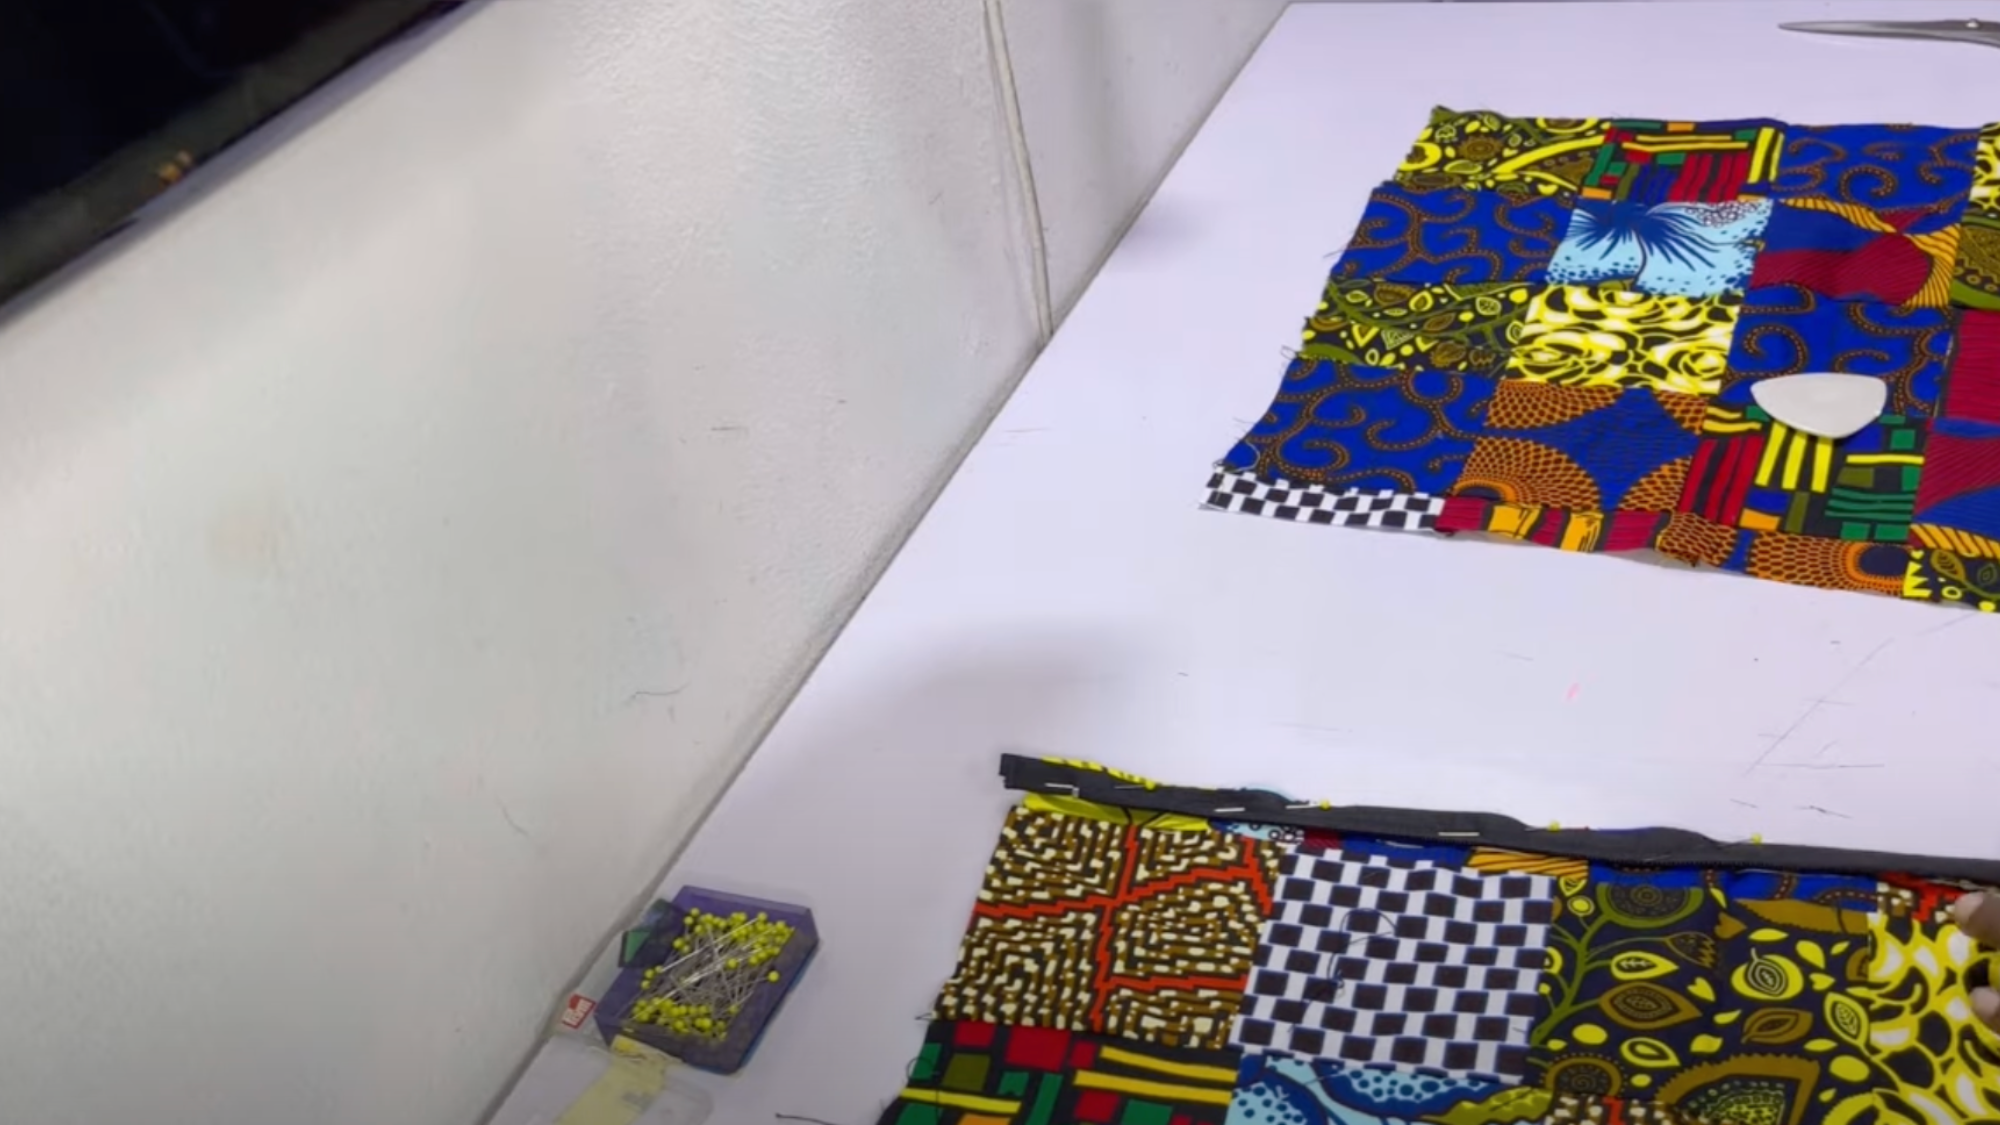
Adding a zipper makes your cover both functional and professional.
- On one side of each fabric piece, mark a ½” zipper allowance
- Place the right sides of the fabric and zipper facing each other
- Pin and sew the zipper on one side and repeat for the other side of the zipper with the second fabric piece
- Topstitch both sides for a clean, professional look
Step 8: Sew the Pillow Cover
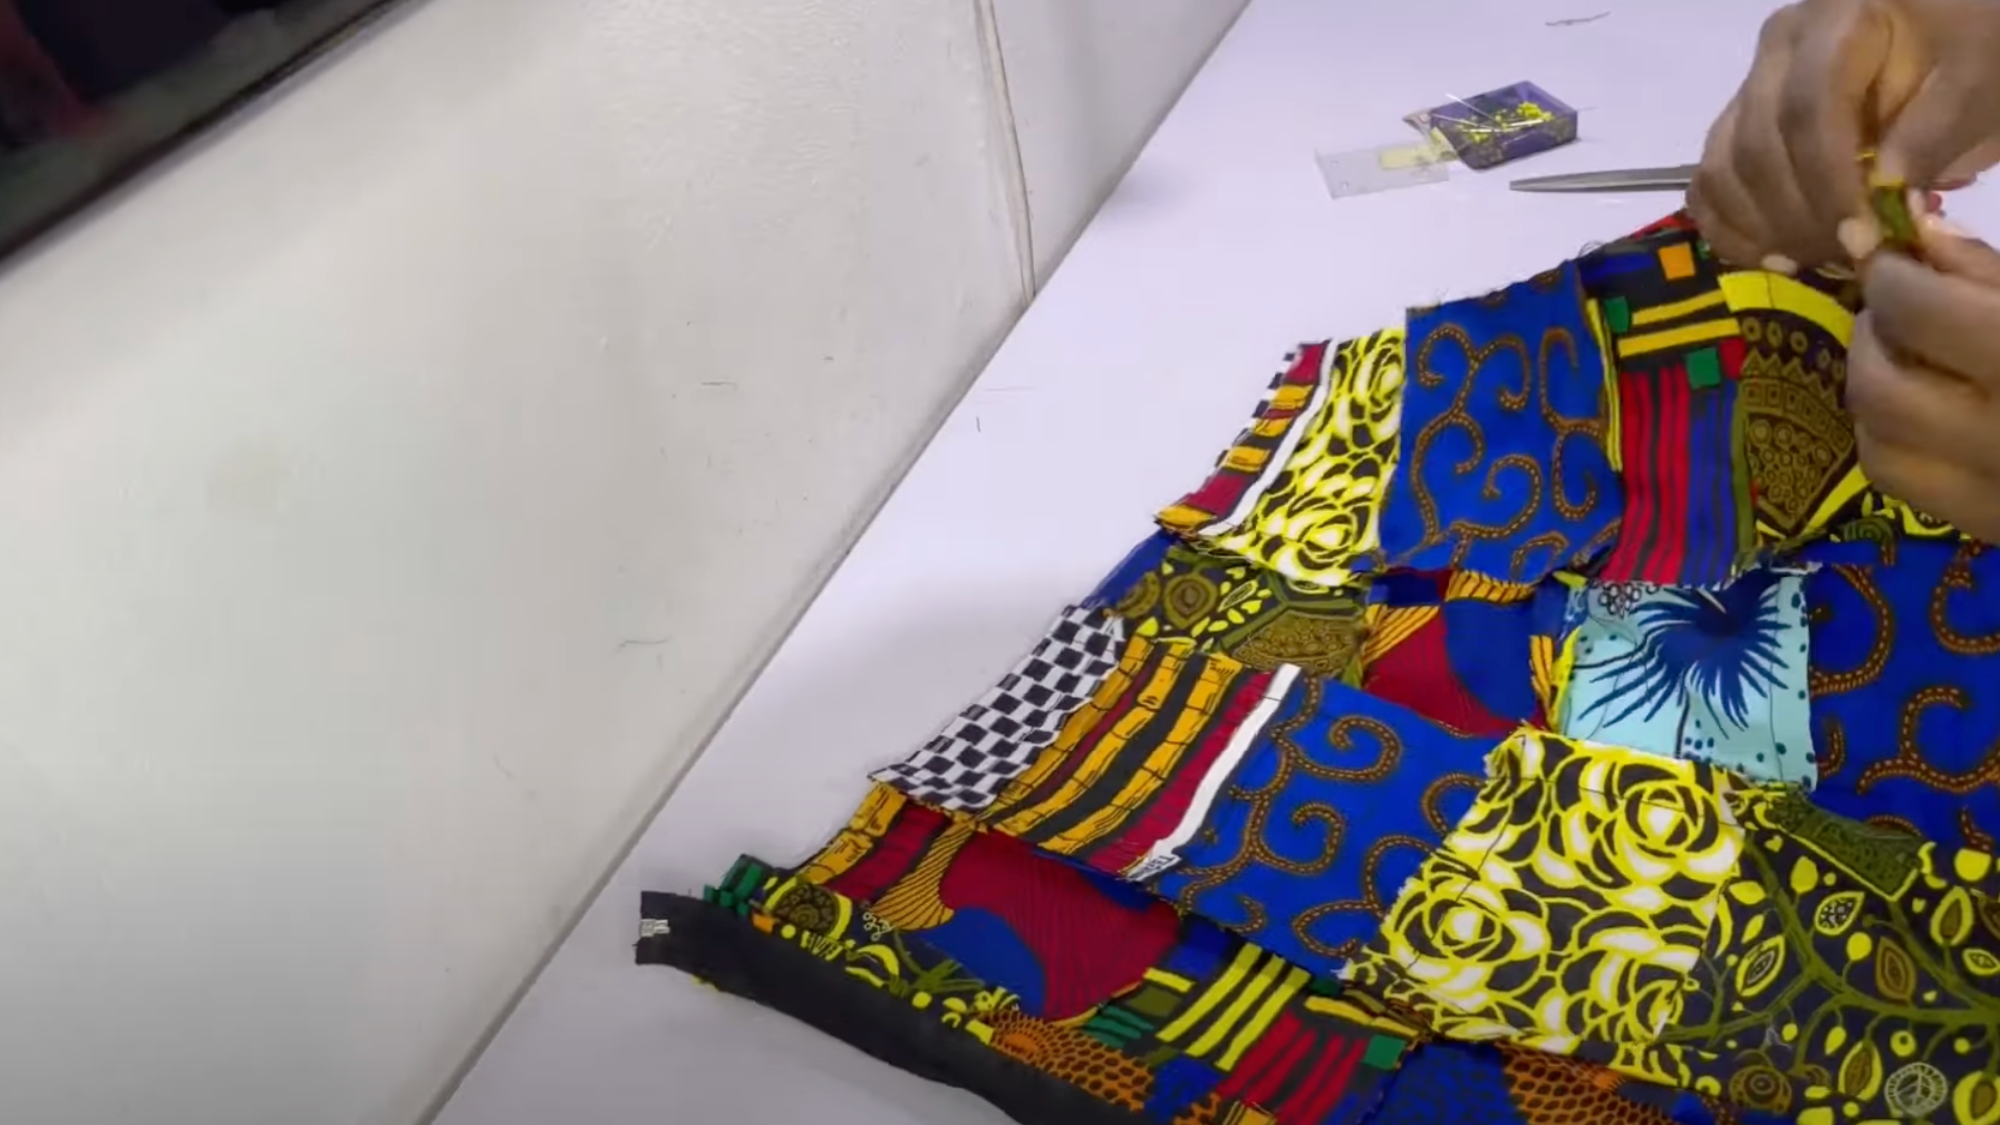
Take care with this step to make sure your corners look sharp.
- Open the zipper halfway (so you can turn it inside out later)
- Pin the remaining three sides together and sew with ½” seam allowance
- Clip corners and trim any excess zipper or thread
Step 9: Turn and Insert the Pillow
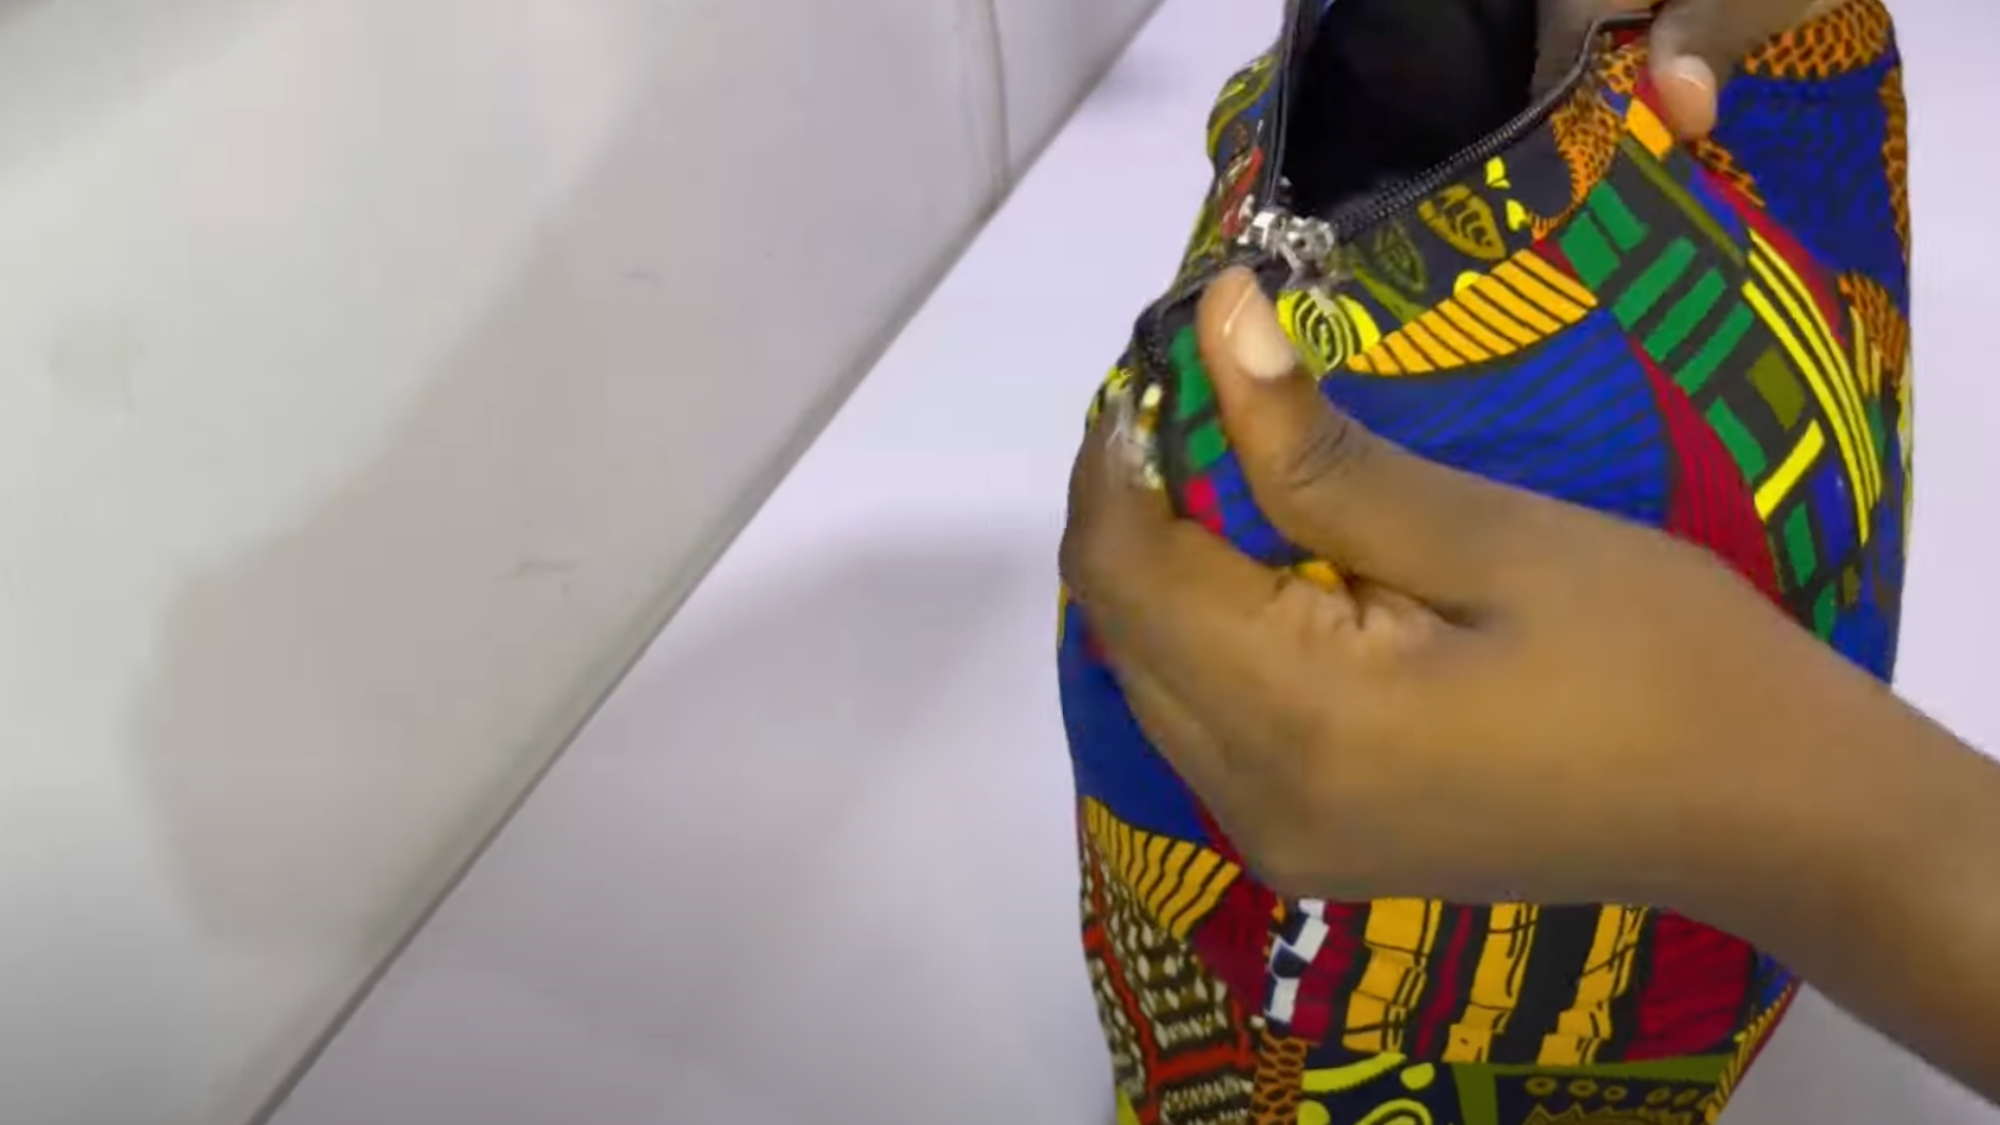
This step changes your work from inside-out to a finished product.
- Turn the cover’s right side out and push out the corners using a blunt pointed object (like a chopstick or knitting needle).
- Iron the pillow cover flat for a crisp finish.
- Insert the slightly larger pillow insert, zip it up, and then fluff and adjust for a full, clean look.
And just like that, your pillow is ready to brighten up your space.
For a detailed tutorial on how to make a throw pillow, check the video below:
Choose Your Pillow Cover Style
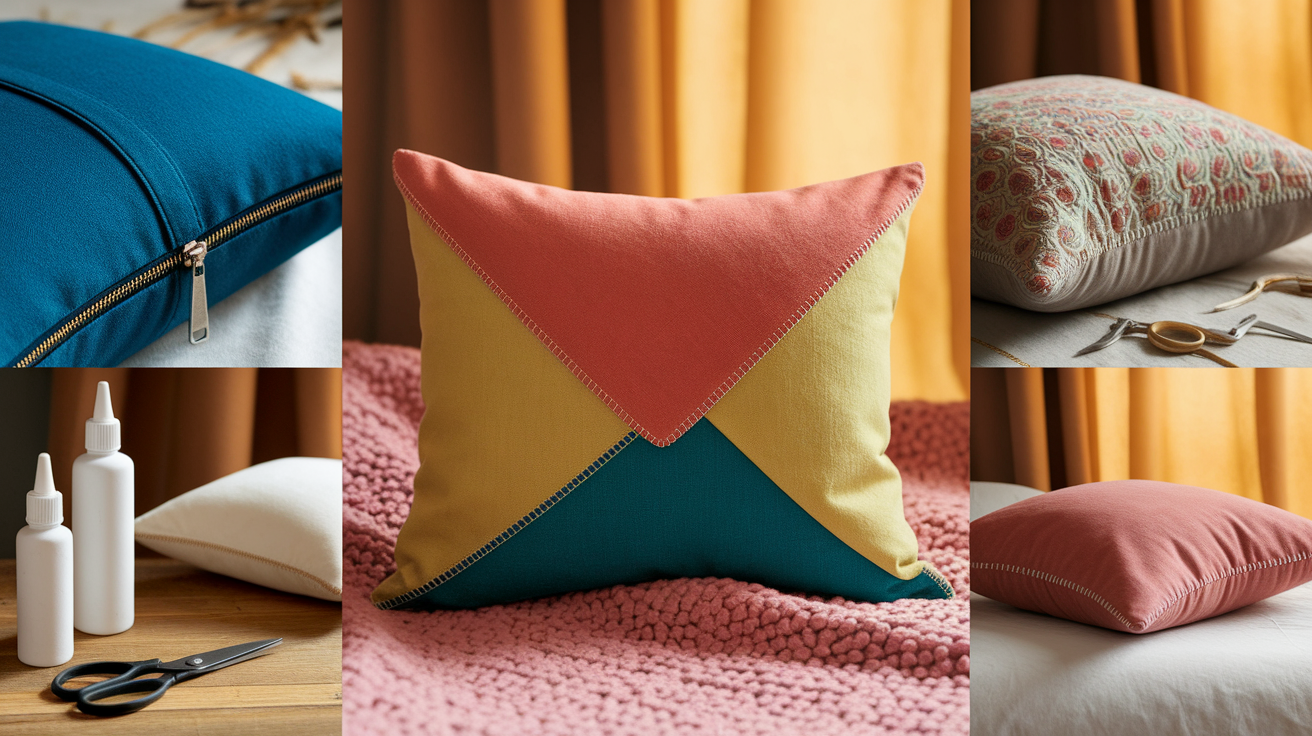
Before you start cutting fabric, consider what type of pillow cover best suits your needs. Each style has advantages and disadvantages.
Some are quick to make, while others look more finished. To help you decide, here’s a look at the most common styles.
1. Envelope Cover
An envelope pillow cover features overlapping fabric panels on the back instead of a zipper or buttons, making it quick to sew and easy to remove.
It’s beginner-friendly, takes about 30–45 minutes to make, and doesn’t require any hardware. However, it can gape open if not sized correctly, may use more fabric, and isn’t as snug as a zippered option.
2. Zipper Cover
A zippered pillow cover offers a clean, snug fit that keeps the insert securely in place. The zipper can be visible for style or hidden along a seam.
It’s fully removable for washing but requires more time and skill to install. You’ll need to purchase a zipper, and if exposed, it may scratch surfaces. It’s best for those with some sewing experience.
3. No-Sew/Glue Method
Ideal for those without a sewing machine, this no-sew method uses fabric glue or iron-on tape to hold seams in place. It’s quick (under 30 minutes), beginner-friendly, and great for kids’ projects with minimal cost.
However, it’s less durable, may not hold up well after washing, and offers fewer design options with a less polished look.
4. Slipcover vs. Stitched Shut
When making a pillow, you can choose a removable cover or one stitched shut. A removable slipcover is washable, easy to swap out seasonally, and ideal for high-use areas, but it needs more fabric, a closure, and takes extra time.
A stitched-shut pillow is the simplest option. It doesn’t have closures, is quick to make, and often looks fuller. However, it can’t be easily cleaned or updated and must be replaced when worn.
When picking a style, consider how you plan to use your pillow. For a child’s room or outdoor space, go with something easy to clean. For a fancy sofa pillow that won’t see much handling, a stitched version might work fine.
Customization & Decoration Ideas

A plain pillow works well, but adding decorations makes your creation stand out. Here are some fun ways to make your pillow unique.
- Appliqué: Appliqué is a simple way to personalize pillow covers by stitching fabric shapes like stars or letters onto the surface. Use scrap fabric, templates, and thread to add names or fun designs.
- Ruffles and Fringes: Ruffles and fringes add texture and flair to pillows. Try edge or layered ruffles or fringes like yarn, fabric, or pom-pom trim. Ruffles need extra fabric, while fringes should be securely attached for durability.
- Sublimation Printing: Sublimation prints detailed designs or photos directly onto polyester fabric using heat, making it perfect for personalized, vibrant pillows. It requires special equipment, but local print shops often offer the service affordably.
- Seasonal Covers (Holiday Themes): Switching pillow covers seasonally is an easy way to refresh your space. Try festive designs for holidays or colors that match each season.
Creating your own decorated pillows lets you match your exact color scheme. The options are almost endless, and the skills learned transfer to other sewing projects, too.
Care and Maintenance Tips for Throw Pillows
| Tip | Details |
|---|---|
| Check Fabric Labels | Follow specific washing instructions to avoid damage. |
| Spot Cleaning | Treat small stains with mild soap and a damp cloth. |
| Remove Covers Before Washing | Protects both the cover and insert during cleaning. |
| Gentle Washing | Use cold water and a gentle cycle to prevent shrinking and preserve seams. |
| Proper Drying | Air dry or use low heat to maintain shape and prevent shrinkage. |
| Regular Fluffing | Keeps pillows looking full and evenly distributes filling. |
Conclusion
Making your own throw pillows is easier than you might think. With just some basic supplies and a bit of time, you can create custom home decor that perfectly fits your style.
The steps are simple enough for beginners, but the results look like something from a fancy store. Plus, handmade pillows cost much less than pre-made ones.
Remember that practice makes perfect. Each pillow you create will turn out better than the last one. Don’t worry about small mistakes, most people won’t notice them anyway!
So grab some fabric, choose a style that works for your skill level, and start creating. Your home will look fresher, your wallet will stay fuller, and you’ll gain a useful skill that brings joy.

