DIY Deck Railing: A Step-by-Step Guide from My Own Backyard
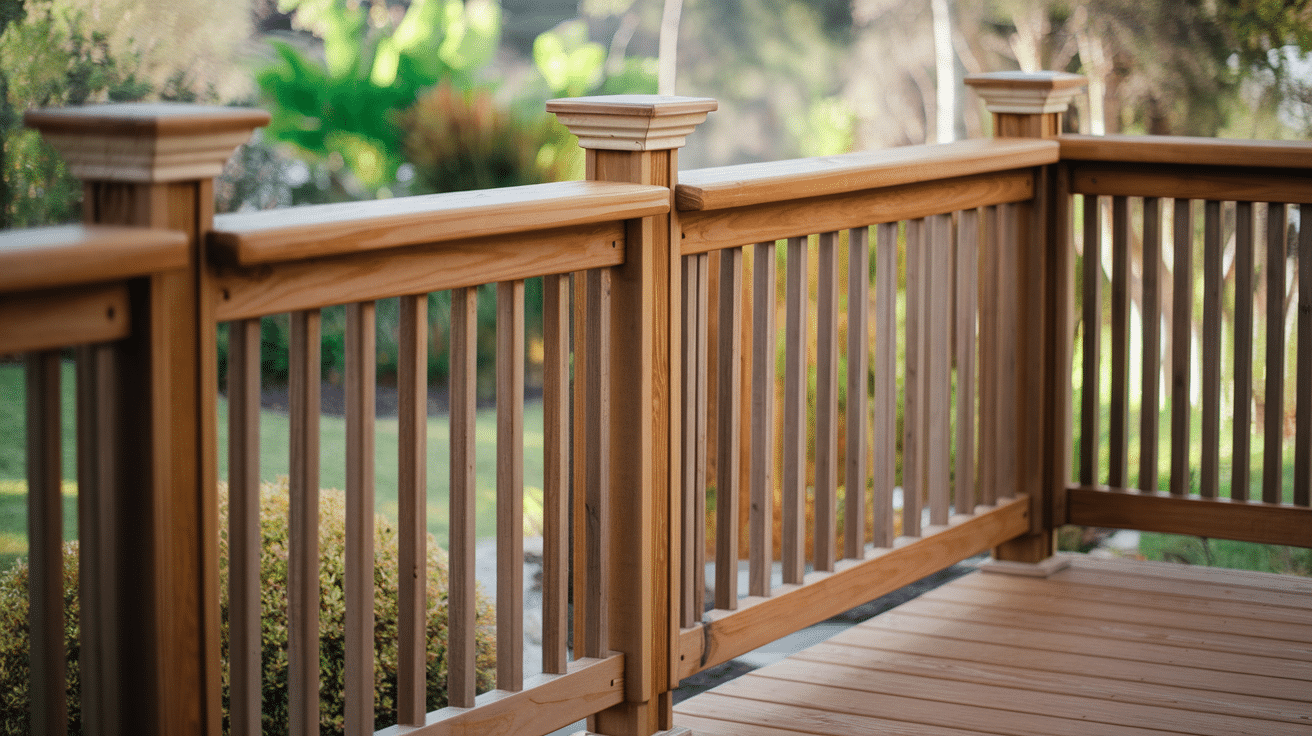
Choosing the right wood is essential when learning how to build a deck railing that’s both sturdy and attractive.
Among various options, cedar stands out as the best choice for many homeowners.
It is naturally weather-resistant, lightweight, and easy to work with, perfect qualities for a DIY railing project.
Cedar also offers a pleasant aroma when cut, enhancing the building experience.
While pressure-treated pine is more affordable, it is heavier and less visually appealing.
Redwood provides rich color but comes at a higher cost.
Tropical hardwoods like ipe offer exceptional strength but are difficult to work with and expensive.
For a balanced blend of durability, beauty, and cost, cedar remains a top pick in most deck railing projects
Best Wood for Deck Railing
Many types of wood are suitable for deck railings, but cedar often stands out as a top choice.
It offers a natural resistance to weather, is lightweight, and easy to work with. Additionally, cedar has an appealing aroma when cut.
Here’s a brief overview of common wood options used for railings:
- Cedar: Lightweight, rot-resistant, and visually attractive. Well-suited for DIY projects.
- Pressure-treated Pine: More affordable, though heavier and less visually appealing.
- Redwood: Offers rich color and beauty but tends to be more costly.
- Ipe or Tropical Hardwoods: Extremely strong and durable, though challenging to cut and expensive.
Overall, cedar provides a great balance of aesthetics, durability, and cost for many homeowners.
Tools and Materials for Your DIY Deck Railing Project
Before you start swinging that hammer, let’s make sure you have everything on hand.
Having the right tools and materials ready will save you multiple trips to the hardware store and keep your project moving smoothly.
Here’s what you’ll need to build a professional-looking deck railing:
| TOOL/MATERIAL | USE | PRICE RANGE |
|---|---|---|
| Drill/Driver | Driving screws, making pilot holes | $20 – $100 |
| Palm Sander (220 Grit) | Smoothing wood surfaces | $5 – $15 |
| Chop Saw or Miter Saw | Cutting rails and top boards | $100 – $300 |
| Tape Measure | Measuring and checking alignment | $10 – $50 |
| Square | Measuring and checking alignment | $8 – $25 |
| Safety Gloves | Protecting yourself while working | $9 – $35 |
| Cedar Rail Kit (Pre-drilled) | Pre-cut rails and spindles | $100 – $200 |
| Five-Quarter Cedar Board | Top rail “drink ledge” | $15 – $30 per board |
| 2″ & Short Screws | Fastening rails and top cap | $5 – $15 per box |
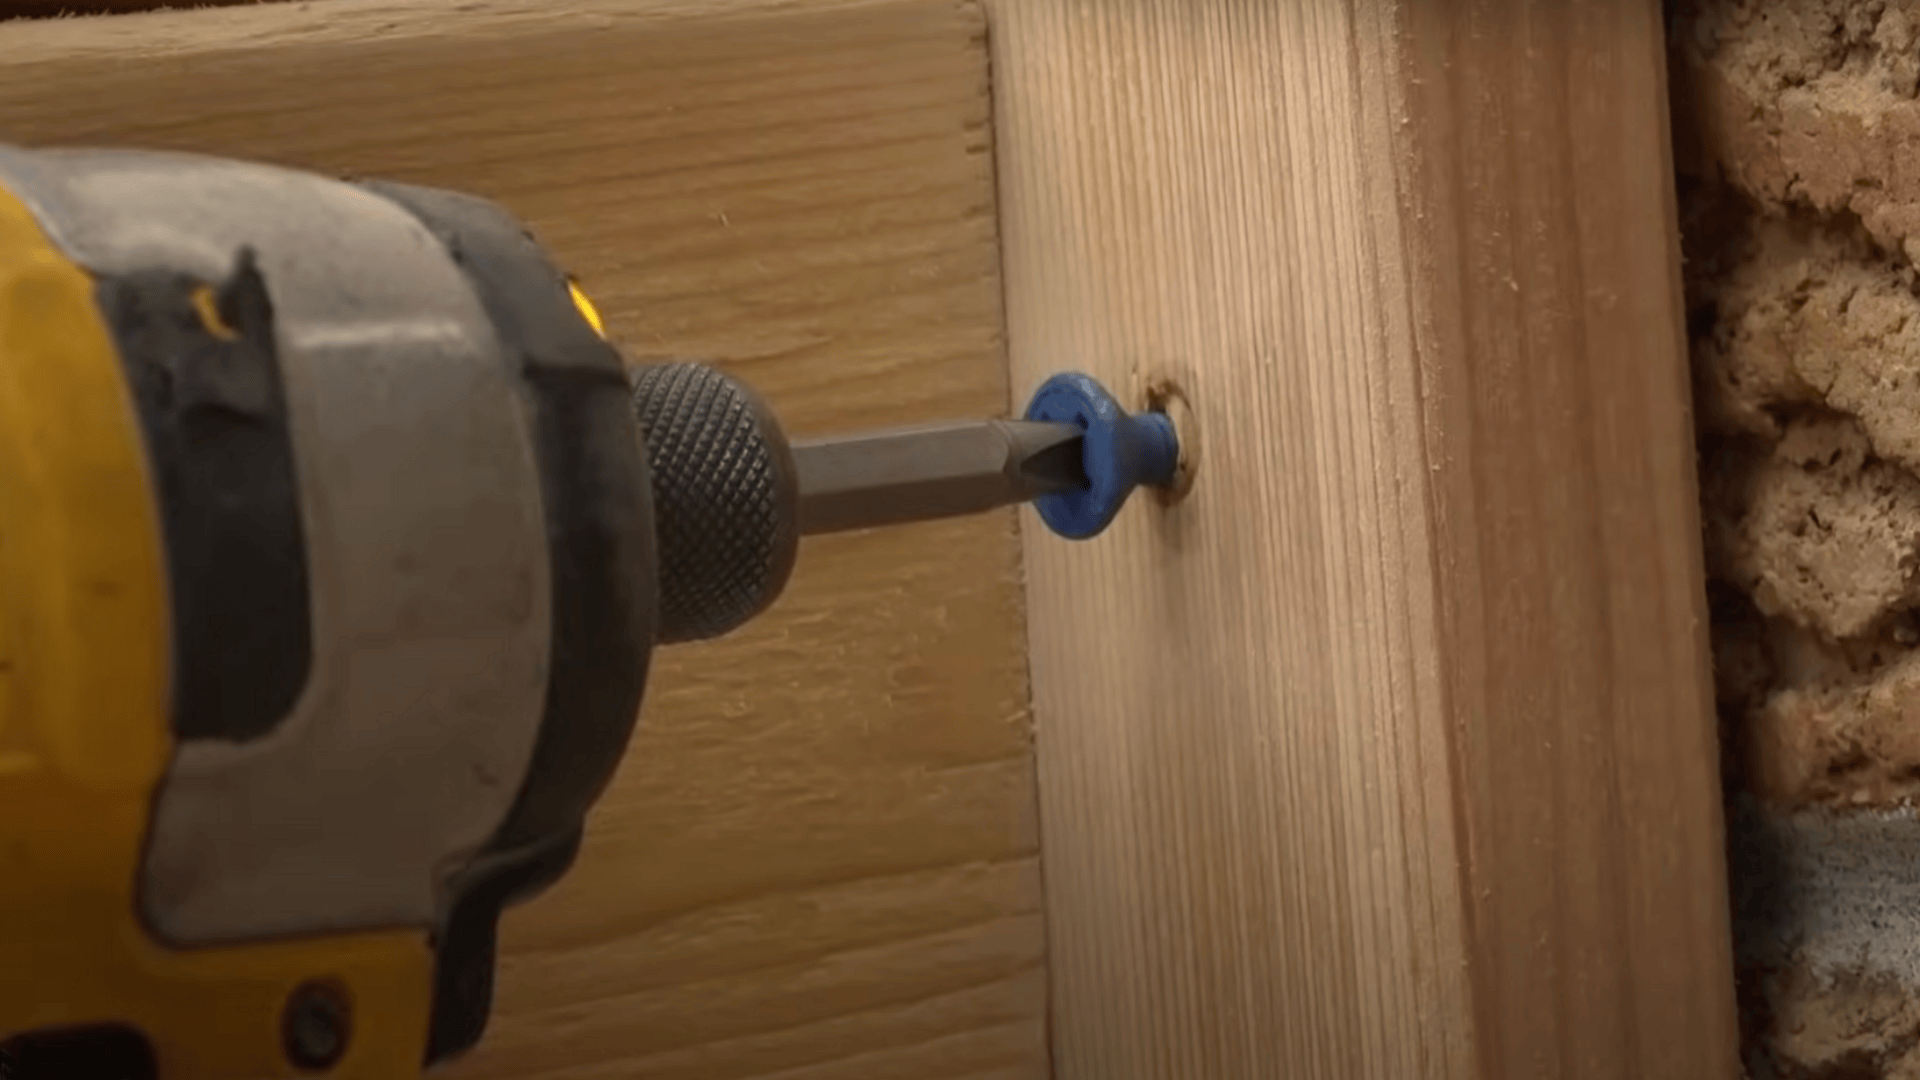
| Tapcon Masonry Screws + Bit | For attaching to brick walls | $7 – $30 |
| Wood Sealant or Clear Coat | Protects wood from water and sun | $6 – $25 |
Pro Tip: Don’t have a miter saw? Many home improvement stores will cut your boards to size for free or a small fee. Just bring your measurements and let them handle the precise cuts.
Step-by-Step Guide to DIY Deck Railing
Follow these steps carefully for a safe, strong, and attractive deck railing installation.
Step 1: Choose & Prepare Your Railing Kit
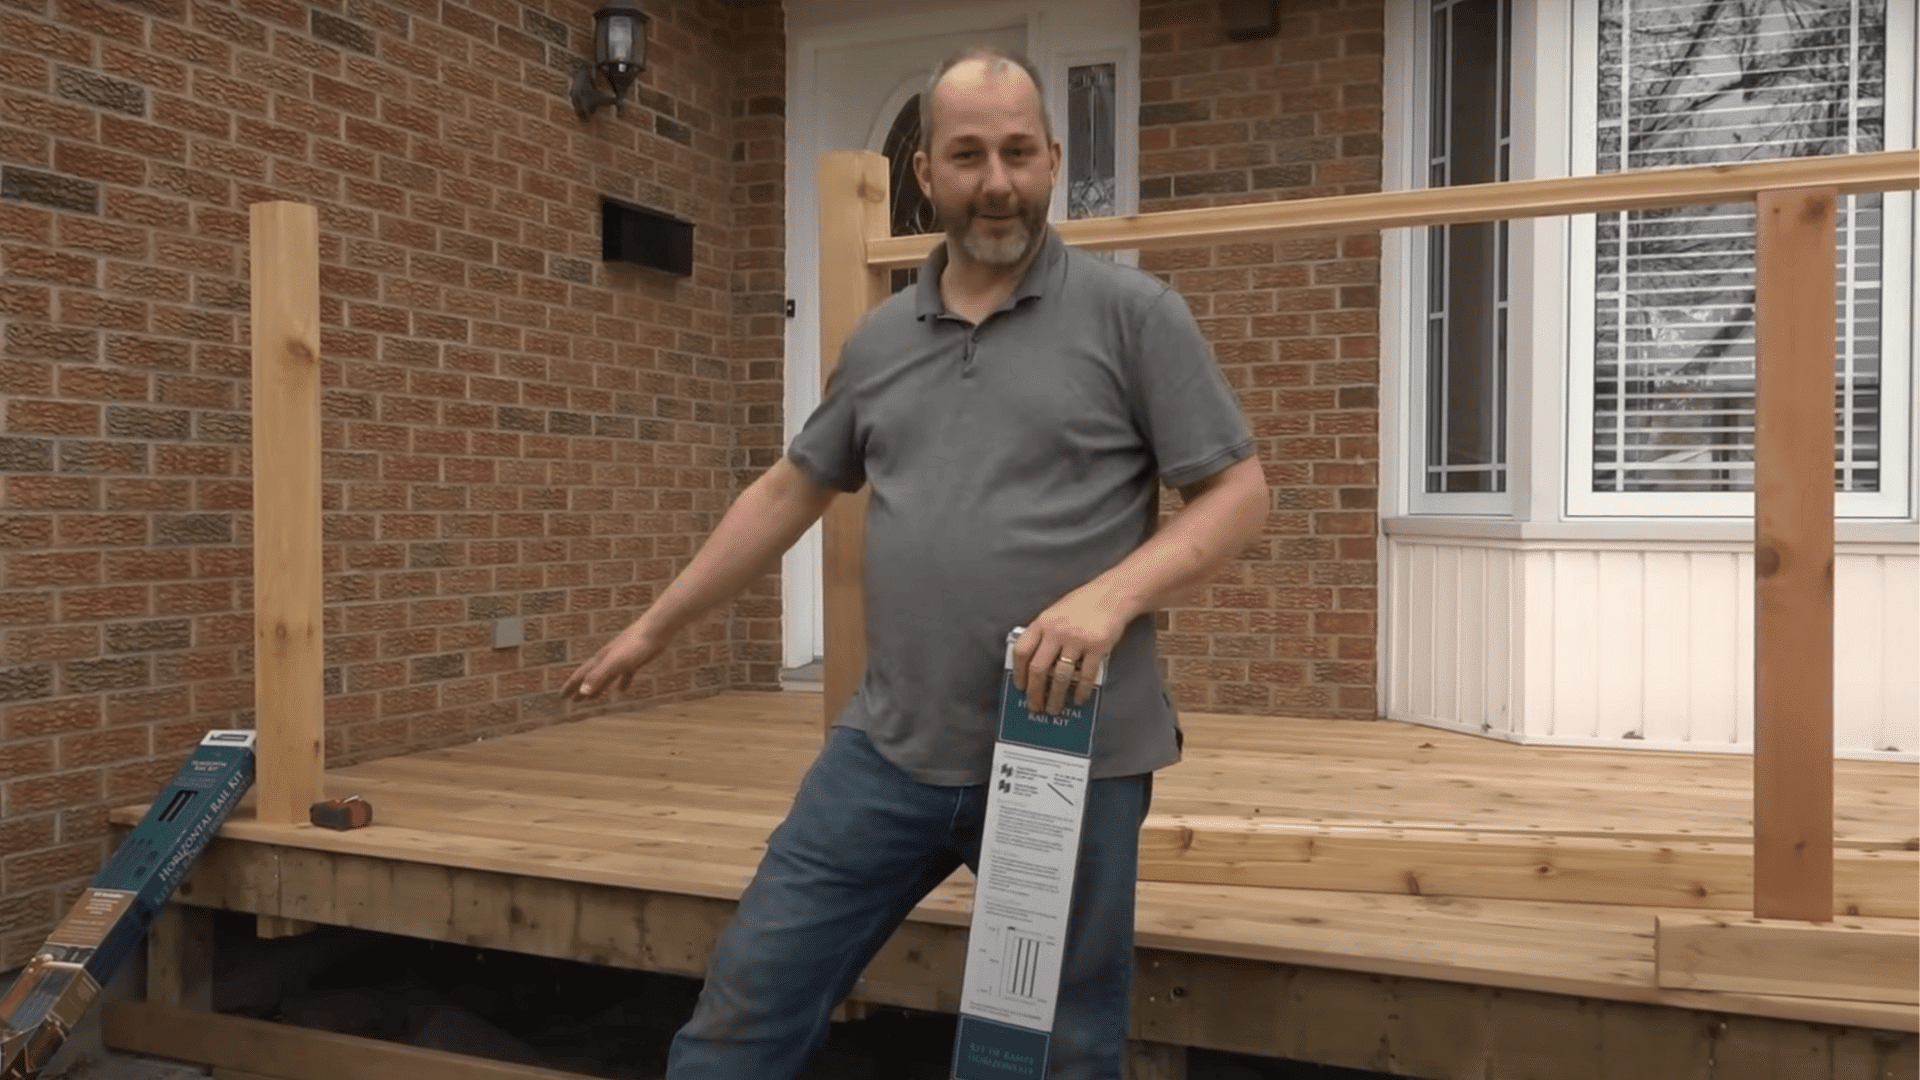
Start with a quality cedar rail kit that includes pre-drilled top and bottom rails, spindles, end caps, and screws.
Add a cedar board for the top cap, which serves as a drink ledge or leaning surface.
Pre-drilled kits simplify measuring and help ensure building code compliance.
Make sure the materials match the deck’s style and color before laying everything out for measurement and cutting.
Step 2: Measure and Cut Rails Correctly
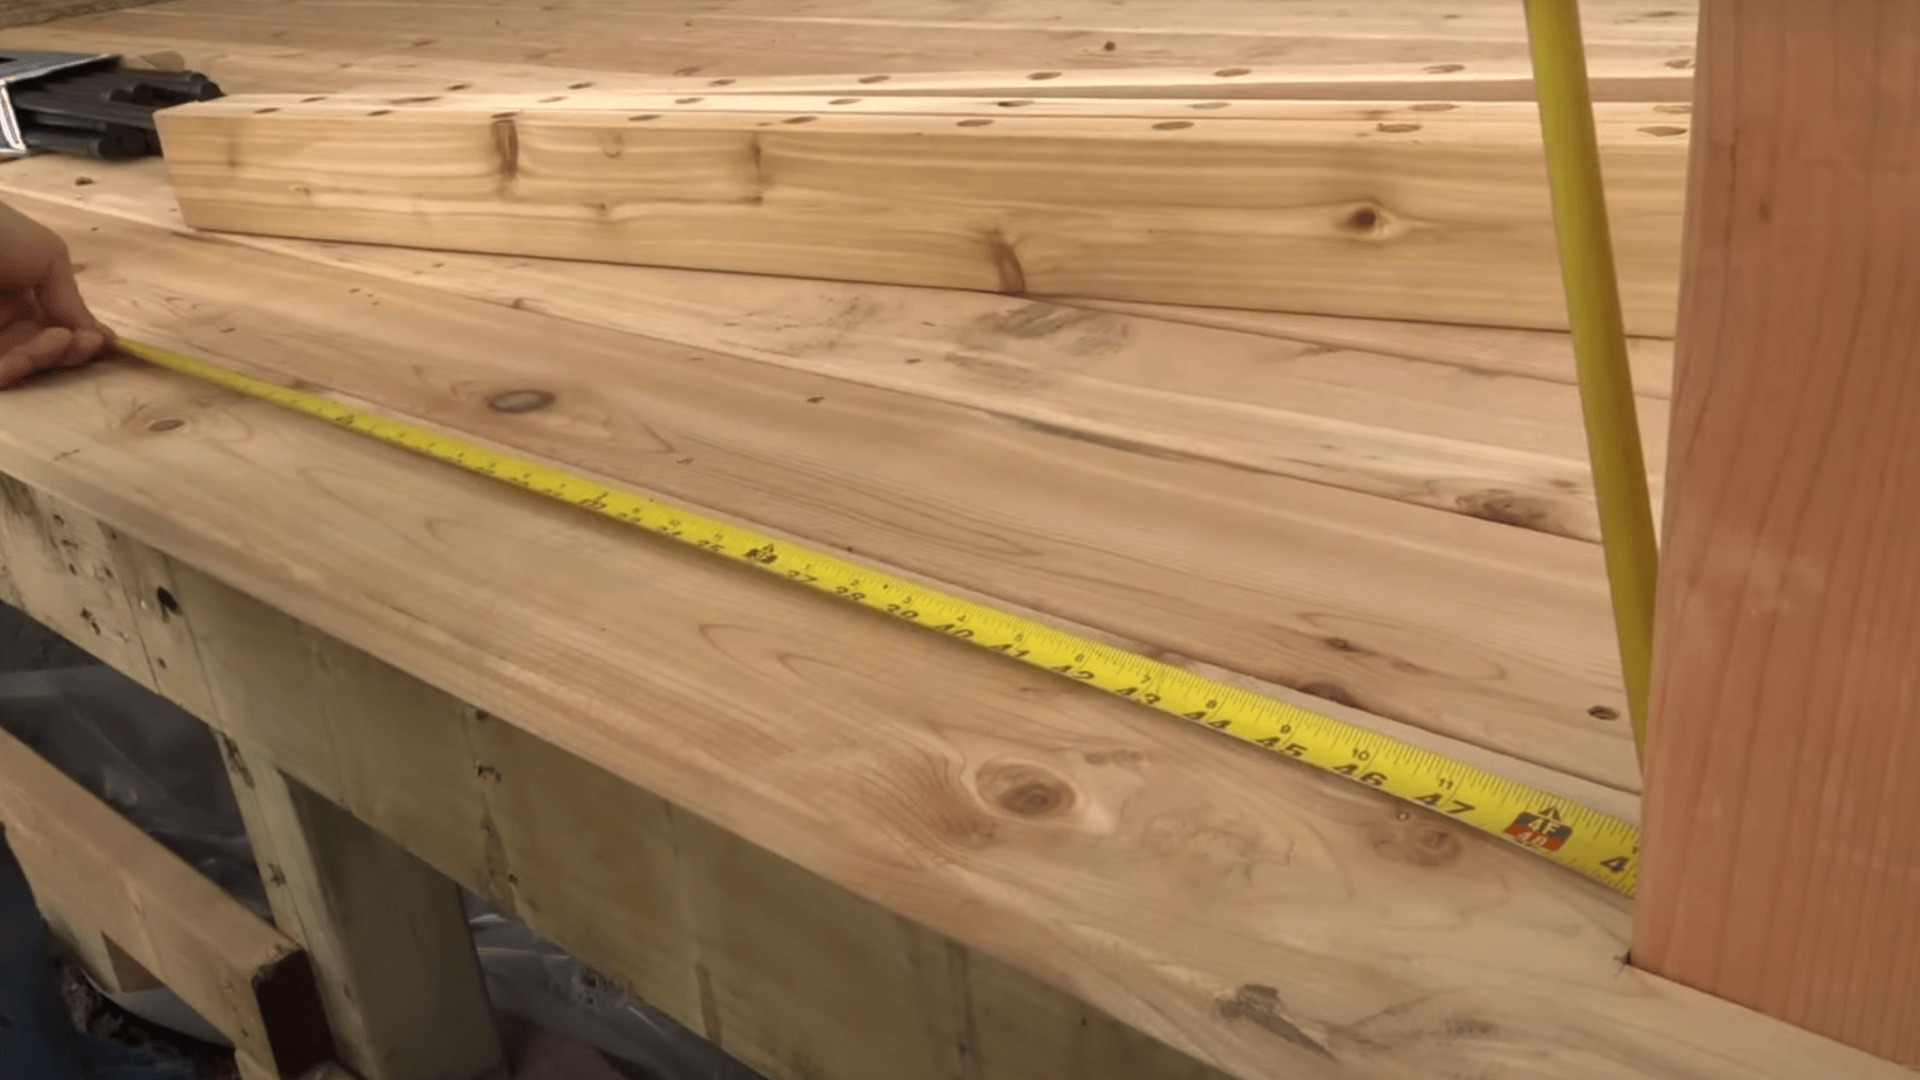
Measure from post to post at the base, then subtract ½ inch to account for the end caps.
For instance, if the posts are 49⅜ inches apart, cut the rails to 48⅞ inches.
Double-check all measurements to avoid mistakes and ensure a proper fit.
Step 3: Assemble Rail Sections
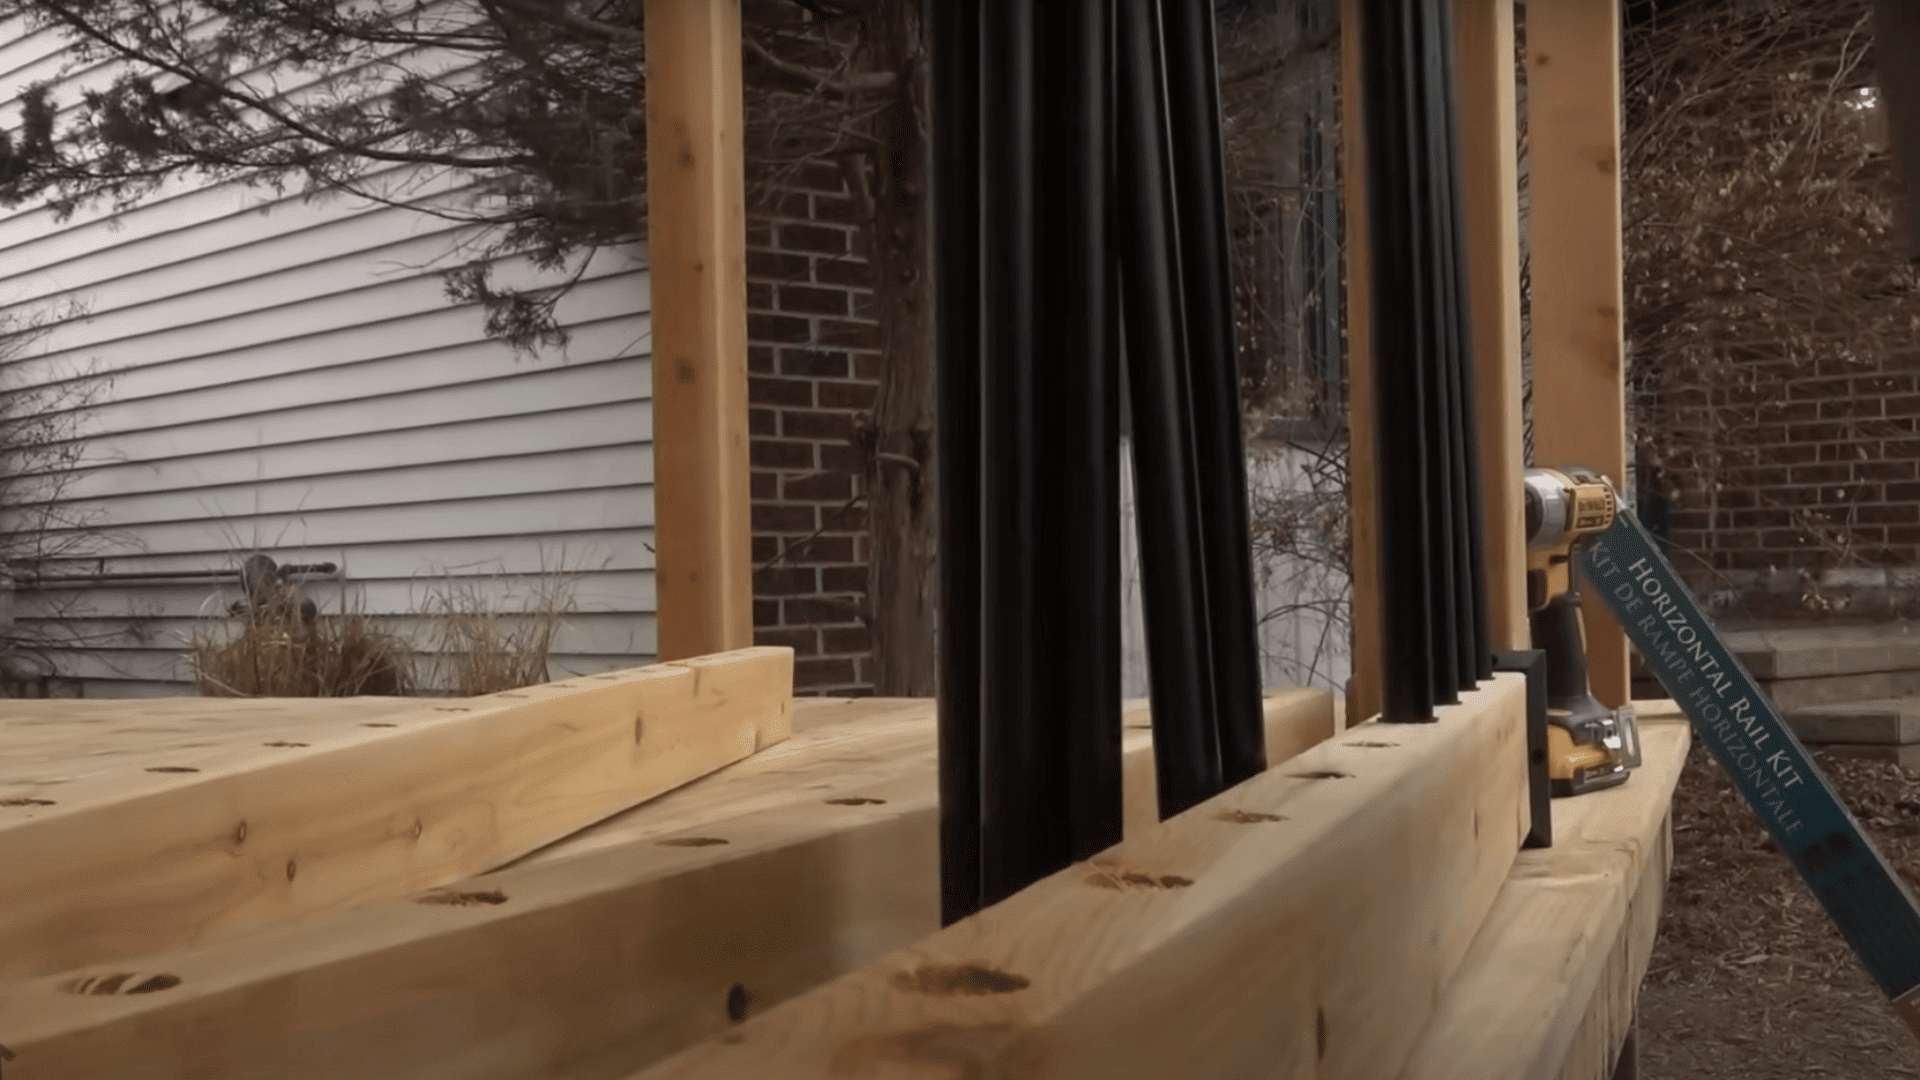
On a flat surface, slide spindles into the pre-drilled holes and secure with 2-inch screws for long-lasting strength.
Use a tapping block to avoid marking the wood while fitting parts together.
Assembling rails before installation makes the process easier.
Step 4: Install Rail Sections to Posts
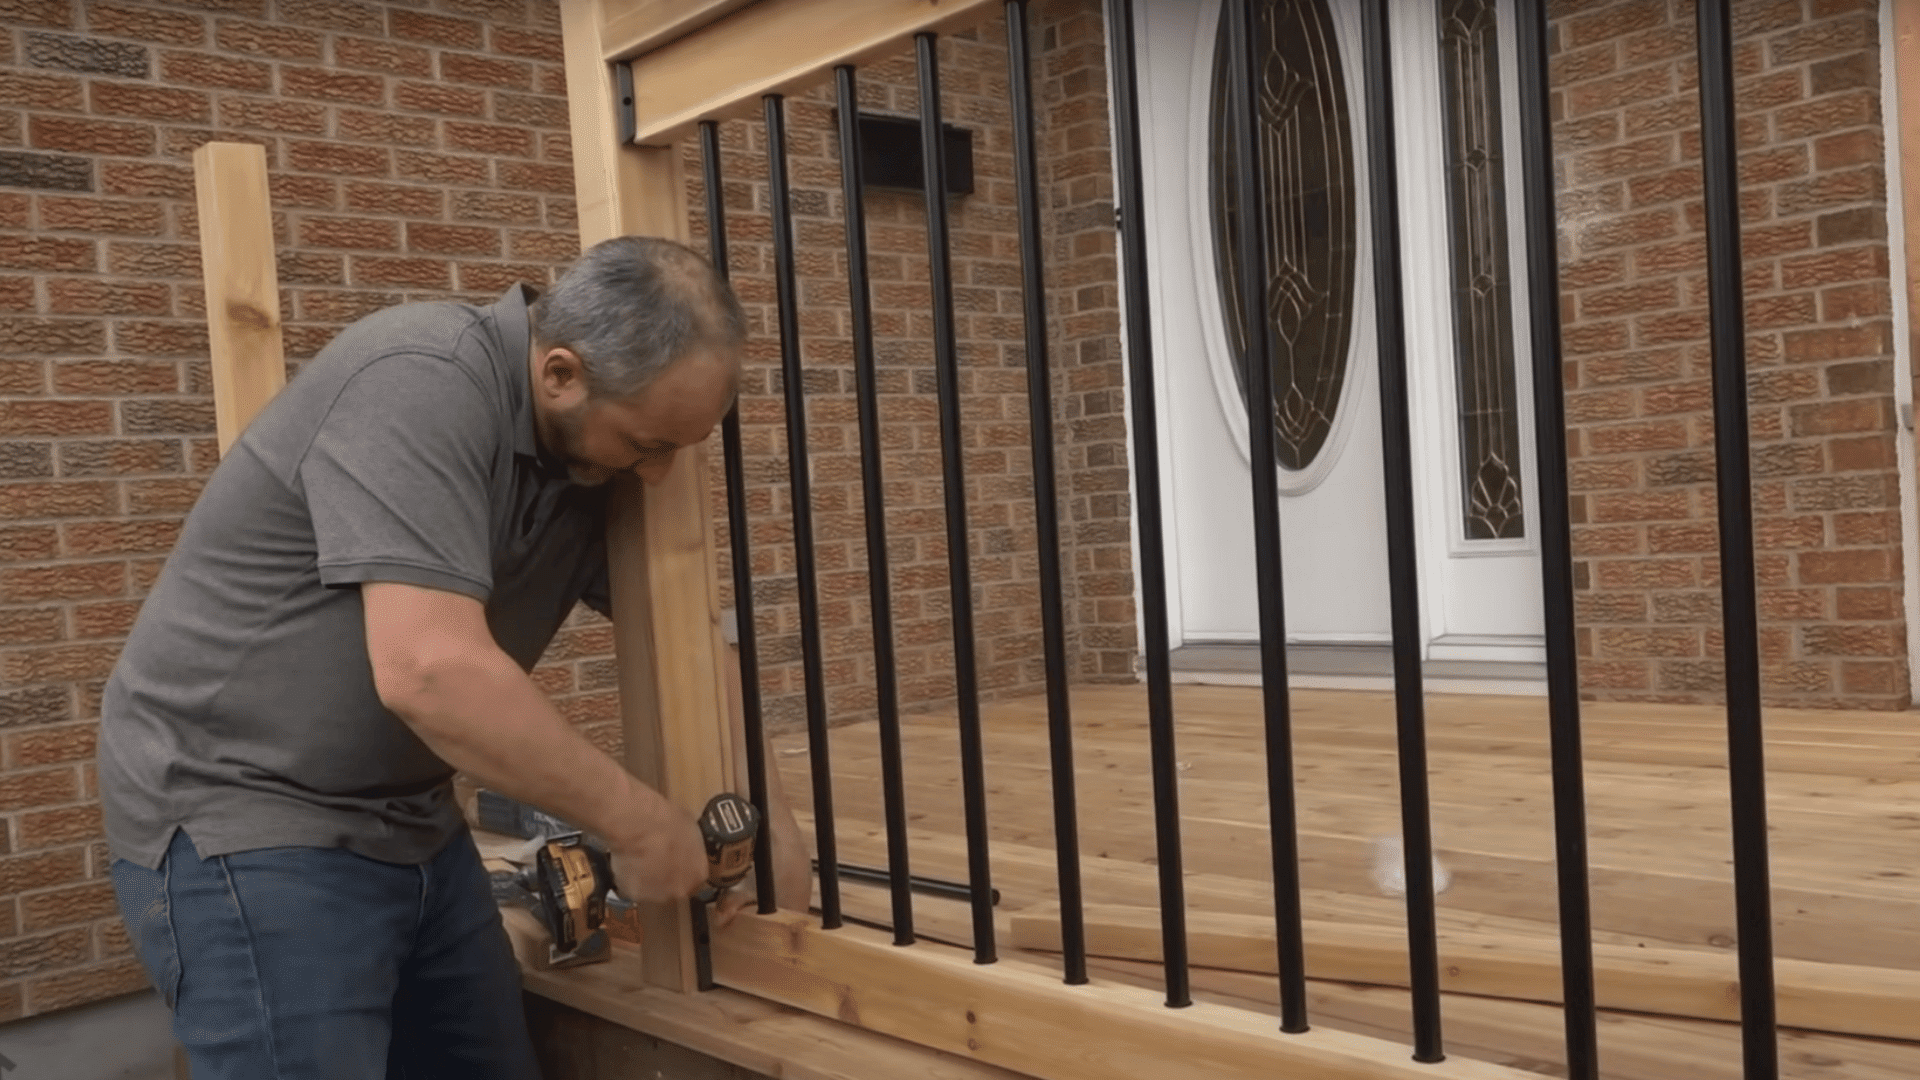
Position the assembled rails between deck posts and fasten them using screws through the end caps and brackets.
Leave about a ¼ to ½ inch space at the bottom for drainage.
Continuously check for level and plumb alignment.
Properly installing the first section ensures the rest aligns smoothly.
Step 5: Add the Drink Ledge (Top Cap)
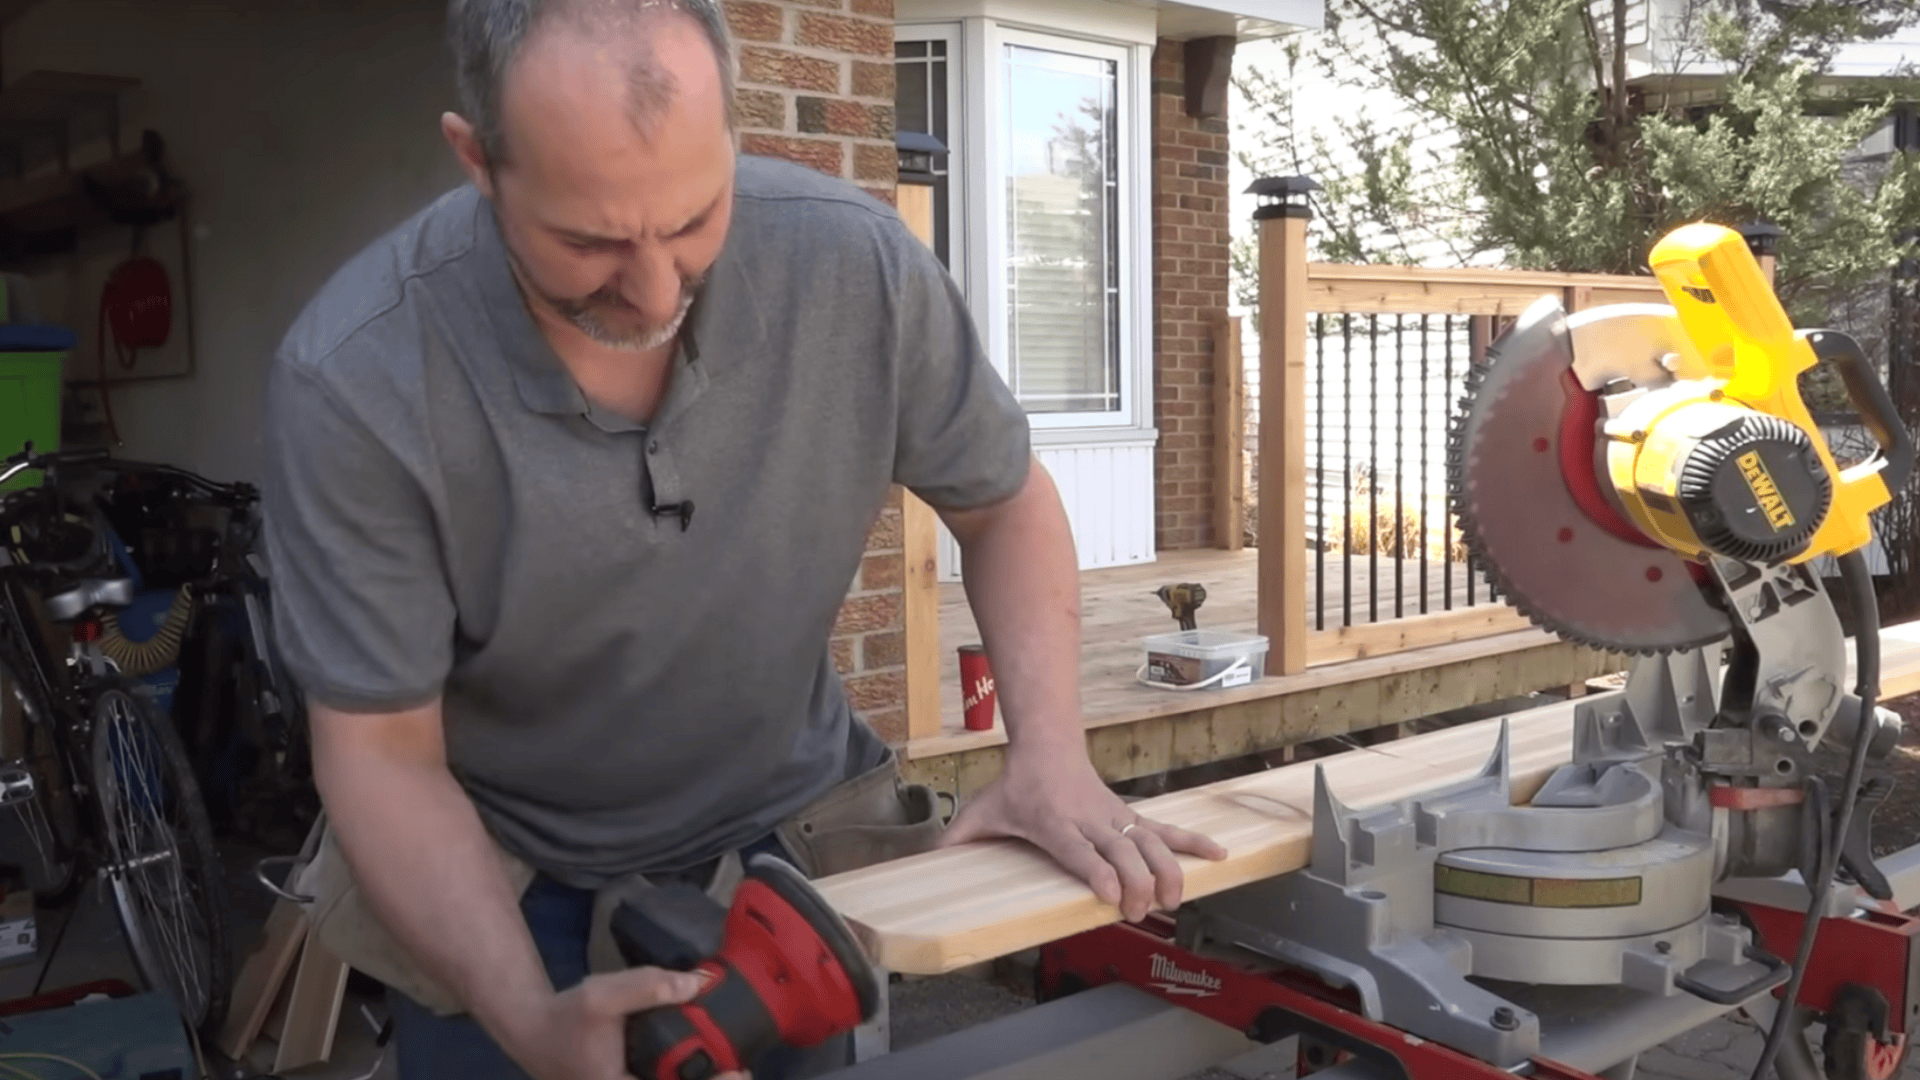
Cut the top cap board to length, soften edges with a palm sander, and secure it from underneath using 2-inch screws angled to avoid visible heads.
Sand all edges smooth to prevent splinters and provide a polished finish.
Step 6: Handle Stairs and Special Cases
For stairs, consider user accessibility by using shorter risers, such as 6 inches, for easier stepping.
Build stair stringers from 2x6s to form solid stair frames.
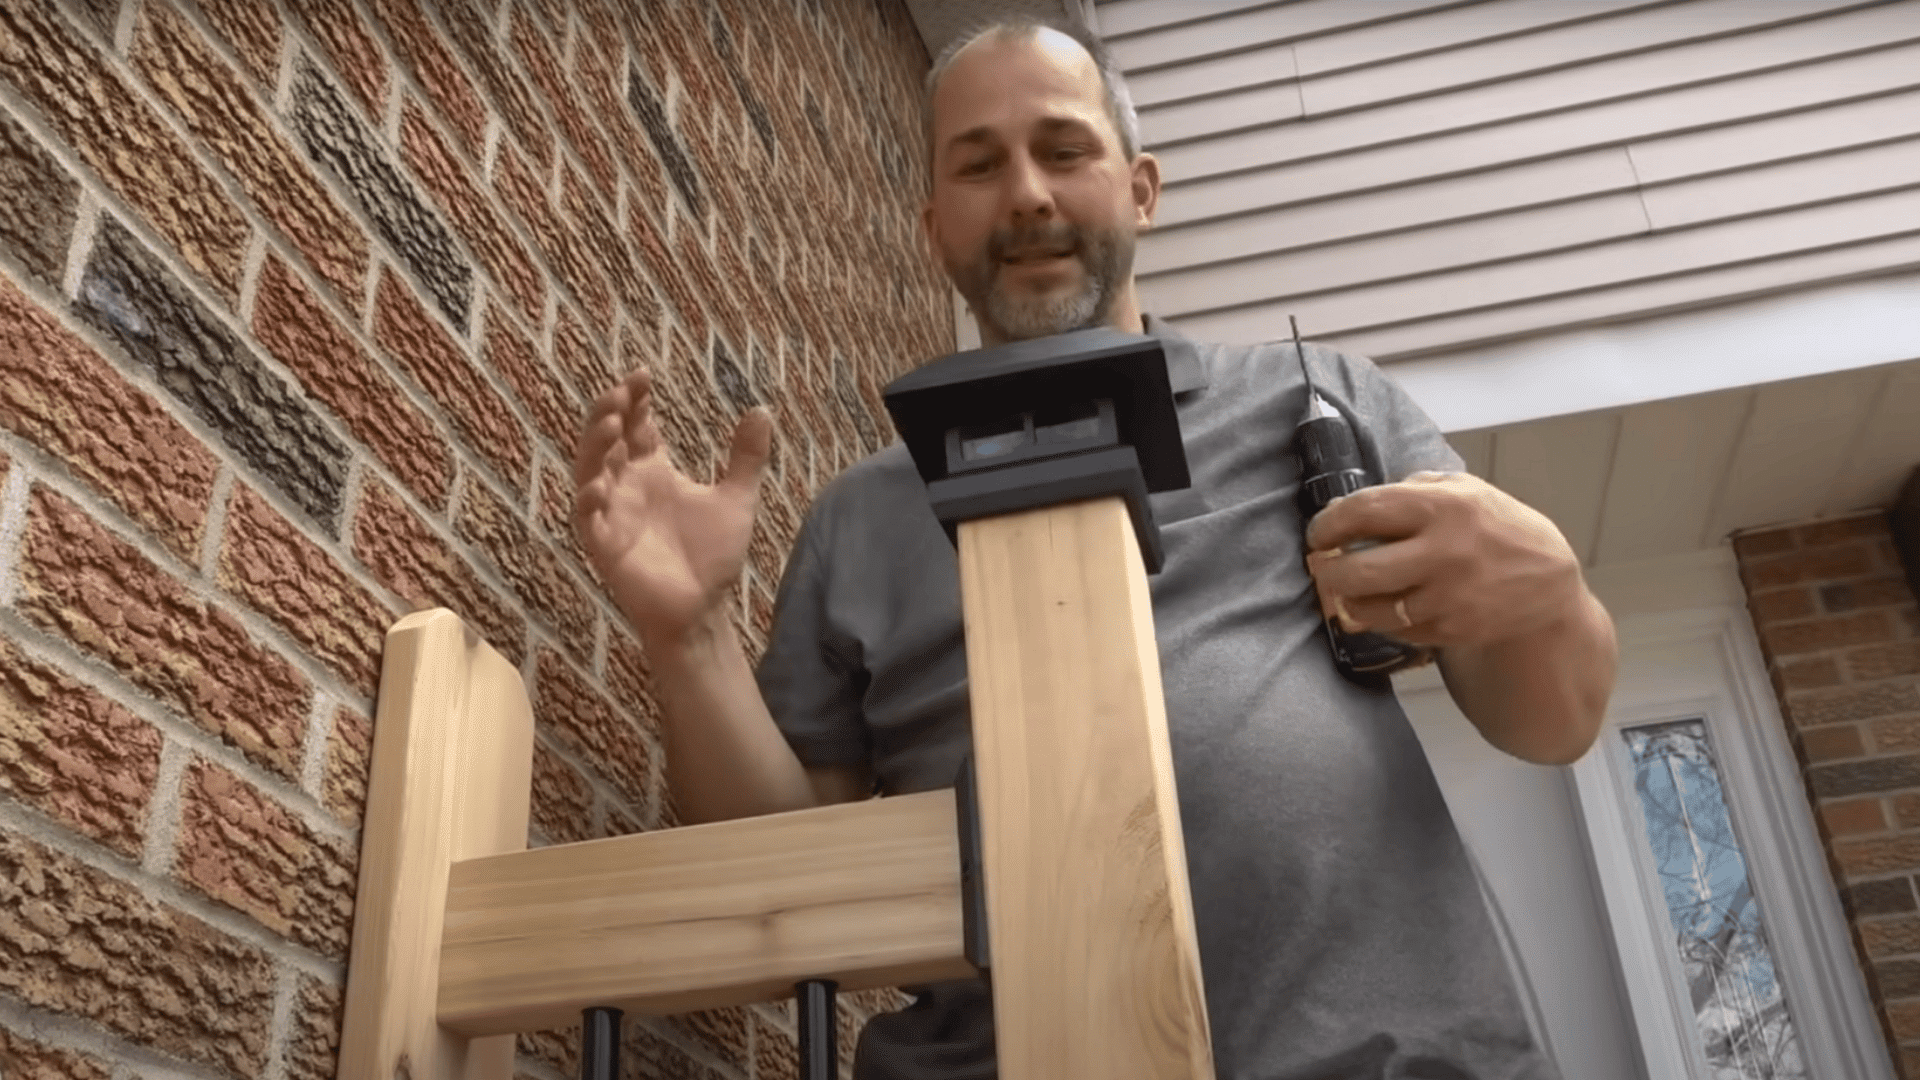
When railing ends near brick or siding walls, use a flat mounting board instead of a post.
Drill only into brick, never mortar, for secure fastening.
Step 7: Final Touches & Safety Check
Perform a thorough inspection, tightening any loose screws and sanding any rough spots.
Check for consistent alignment and absence of gaps.
After weather exposure, lightly sand cedar if it feels rough, then apply a clear protective coat.
These finishing steps ensure durability and a safe, attractive railing.
How to Maintain Your Deck Railing?
Maintaining deck railing is simple but essential for long-lasting durability and a fresh appearance.
Every few months, wash the railing with mild soap, warm water, and a soft brush to remove dirt, dust, and bird droppings without harming the wood.
Once a year, inspect the railing for loose screws, rough spots, or small cracks.
Lightly sand any sharp or splintered areas with fine-grit sandpaper, then apply a fresh coat of clear wood sealant or protective oil.
This annual care protects the wood from rain, sun, and temperature changes, keeping the railing strong, smooth, and safe for continued use.
Expert Tips for a Professional-Looking Deck Railing
These battle-tested tips will save you time, prevent mistakes, and give you results you’ll be proud to show off:
- Pre-Finish All Wood Before Installation: Stain or seal every board, especially cut ends, to prevent water damage.
- Label Each Cut Piece with Its Location: Use a pencil to mark where each board goes for easy reassembly.
- Always Pre-Drill Screw Holes in Cedar: Prevents splitting and ensures clean, tight joints.
- Use Clamps to Hold Rails in Place: Keeps everything steady while you drill and screw without fighting wobbly boards.
- Dry-Fit Everything Before Final Assembly: Check spacing and alignment to catch mistakes before they’re permanent.
- Verify Local Building Codes First: Rail height and baluster spacing requirements vary by location.
That’s a Wrap
Building your own deck railing might seem overwhelming at first, but it’s totally doable once you break it down.
You don’t need fancy tools or carpentry school: just patience, careful measuring, and following the right steps.
Hopefully, this walkthrough gives you the confidence to tackle your deck railing project head-on.
Now that you know the process, it’s time to get started.
Grab your tools, take it one step at a time, and soon you’ll be enjoying that view from behind a railing you built yourself.
There’s nothing quite like that feeling of accomplishment.

