Easy Old Truck Makeover Ideas

Want to give that dusty old trunk sitting in your attic a new and fresh look?
Old trunks have a special charm that modern storage can’t match. These vintage treasures tell stories of past times while adding warmth and character to any home.
Trunk makeovers have become quite popular recently, and for good reason.
You don’t need fancy skills or costly supplies to turn a worn-out trunk into something useful and attractive. With a bit of care and creativity, that forgotten box can become the star of your living room.
This blog covers some easy ways to fix up your old trunk without spending too much.
Why Upcycle an Old Trunk?
What makes more sense than giving new purpose to something built to last? Old trunks offer so much potential beyond collecting dust in attics or garages.
- Save Money and Resources: Fixing up an old trunk costs much less than buying new furniture.
- Unique Home Décor: Each trunk has its own character and history. No one else will have the exact same piece in their home.
- Quality Materials: Older trunks were often made with solid wood and metal that would be expensive today.
- Personal Connection: An inherited trunk keeps family memories alive. The trunk becomes a talking point and a treasure in your home.
- Versatile Use: A restored trunk can serve as a coffee table, storage space, end-of-bed seating, or display piece.
Trunk Styles and Materials
Updating an old trunk means creating something meaningful while making smart choices for your home and wallet.
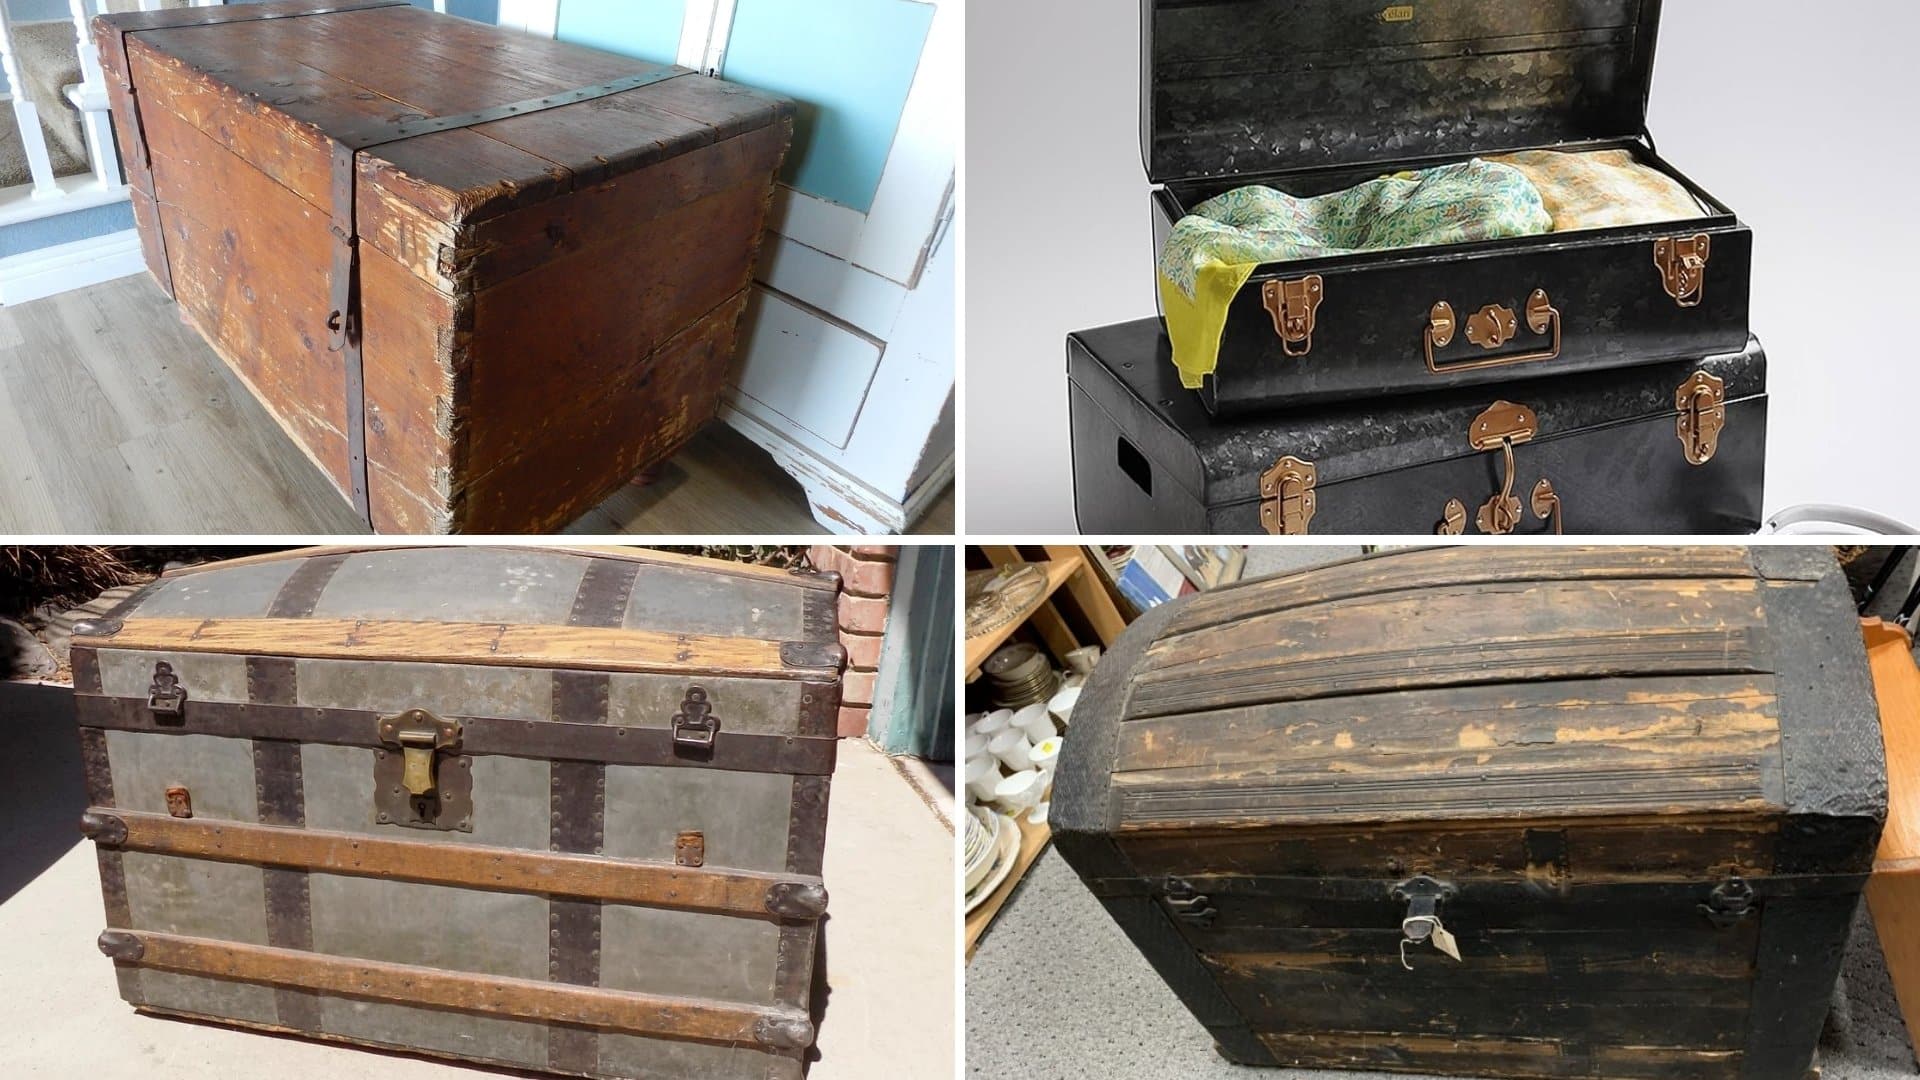
Before starting any makeover project, you need to know what kind of trunk you have. Different materials and styles need different care and offer various options for updating.
- Wood Trunks: These classic trunks often feature oak, pine, or cedar. They take paint or stain well and can be sanded down to fix scratches and dents.
- Metal Trunks: Made from tin, steel, or aluminum, these tend to be lighter than wood. They can be painted after proper priming and might need rust treatment.
- Steamer Trunks: These large, flat-topped trunks were made for long sea voyages. They typically have leather straps, metal corners, and multiple compartments inside.
- Camelback Trunks: Popular in the 1800s, these were named for their rounded tops. The domed lid makes them harder to stack but more water-resistant.
- Flat-Top Trunks: These have straight, flat lids and were designed to be stacked. They often served as both luggage and furniture in homes.
Knowing your trunk’s style helps you plan a makeover that respects its history while adding your personal touch.
Essential Supplies & Tools You Need
Getting the right supplies before starting your trunk makeover will save time and frustration.
| Category | Items |
|---|---|
| Cleaning Supplies | Old soft cloths, mild soap, vinegar solution, small vacuum for interior cleaning. |
| Safety Gear | Dust mask, gloves, and eye protection (especially for sanding or using chemical strippers). |
| Prep Tools | Screwdrivers, sandpaper (various grits), steel wool, and putty knife. |
| Primers | Water-based primer (for wood), rust-inhibiting primer (for metal). |
| Paints | Chalk paint, milk paint (for an aged look), and latex paint (which requires primer). |
| Brushes | Small detail brushes, medium flat brushes, and foam rollers for large surfaces. |
| Sealants | Clear polyurethane, wax, or varnish (based on desired finish). |
| Eco-Friendly Options | Low-VOC paints, natural waxes, citrus-based cleaners, and reclaimed materials for repairs. |
Preparing Your Trunk for Makeover
The success of any trunk makeover depends largely on how well you prepare the surface.
Step 1: Cleaning and Disinfecting
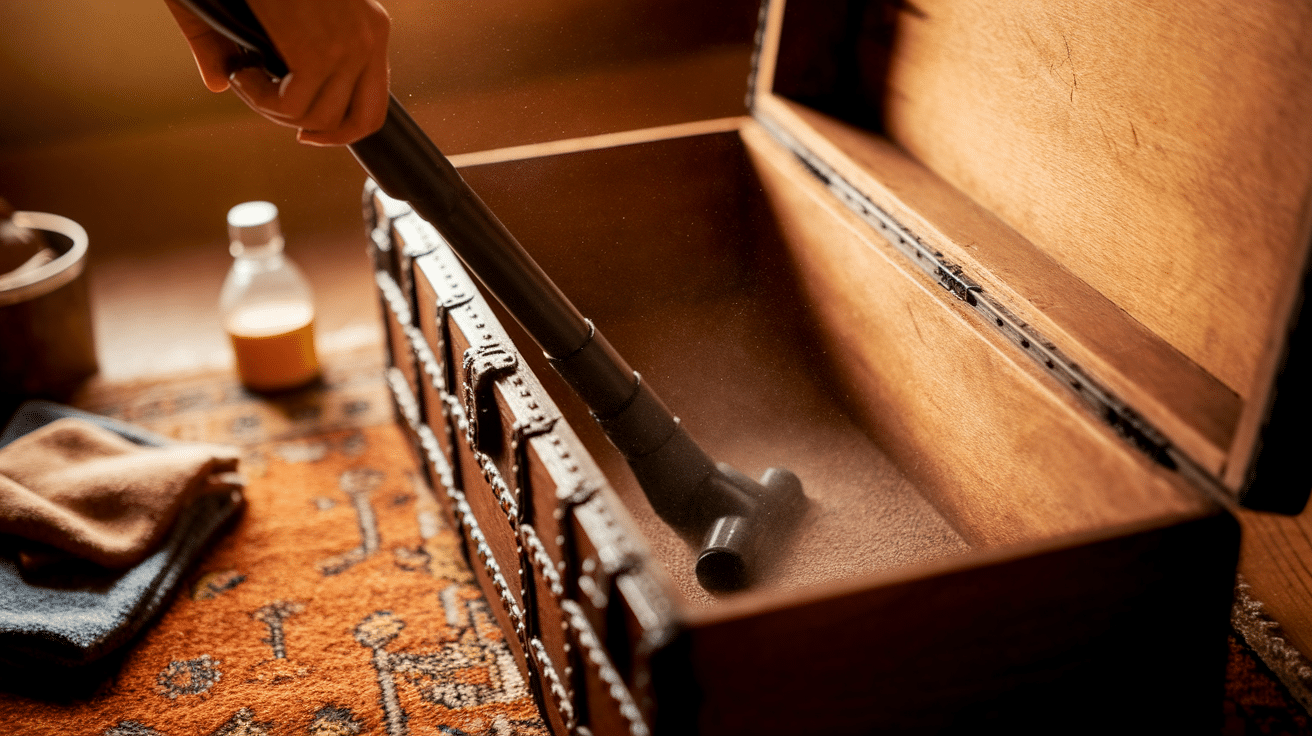
Vacuum corners and crevices, then wipe surfaces with a mild soap solution; for tougher grime, use a water-vinegar mix.
Let the trunk dry completely, then place baking soda inside for a few days to eliminate musty odors.
Make sure the trunk is completely clean, so that it doesn’t get damaged while restoring.
Step 2: Repairing Rust or Wood Damage
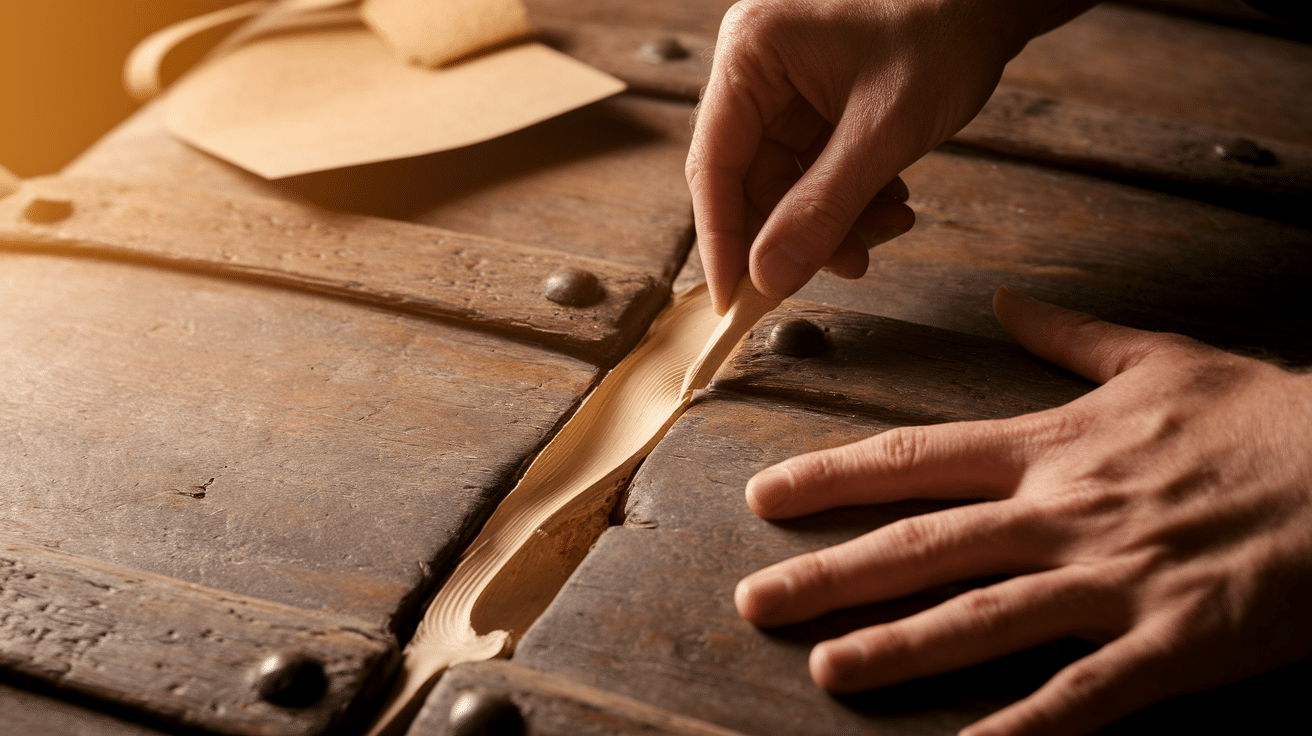
For wood, fill cracks with wood putty, replace rotted sections, and sand smooth; for metal, remove rust and apply rust converter.
Tighten loose hinges and replace broken parts to ensure stability before decorating.
This step should be done beforehand so that you can work on a clean, new trunk before using it for household purposes.
Step 3: Checking Safety Precautions

Test older trunks with a lead kit; if lead is present, use proper safety precautions or safely paint over the existing finish.
Remove old linings with gloves and a mask, as they may contain mold or insect damage.
The time spent preparing your trunk might seem boring compared to the fun of decorating, but proper prep makes all the difference in the final result.
Old Trunk Makeover Ideas & Inspiration
Now comes the fun part. Turning that old trunk into something fresh and special.
These ideas work for many trunk types and can be mixed and matched to create a look that fits your home and style.
1. Paint Upgrades
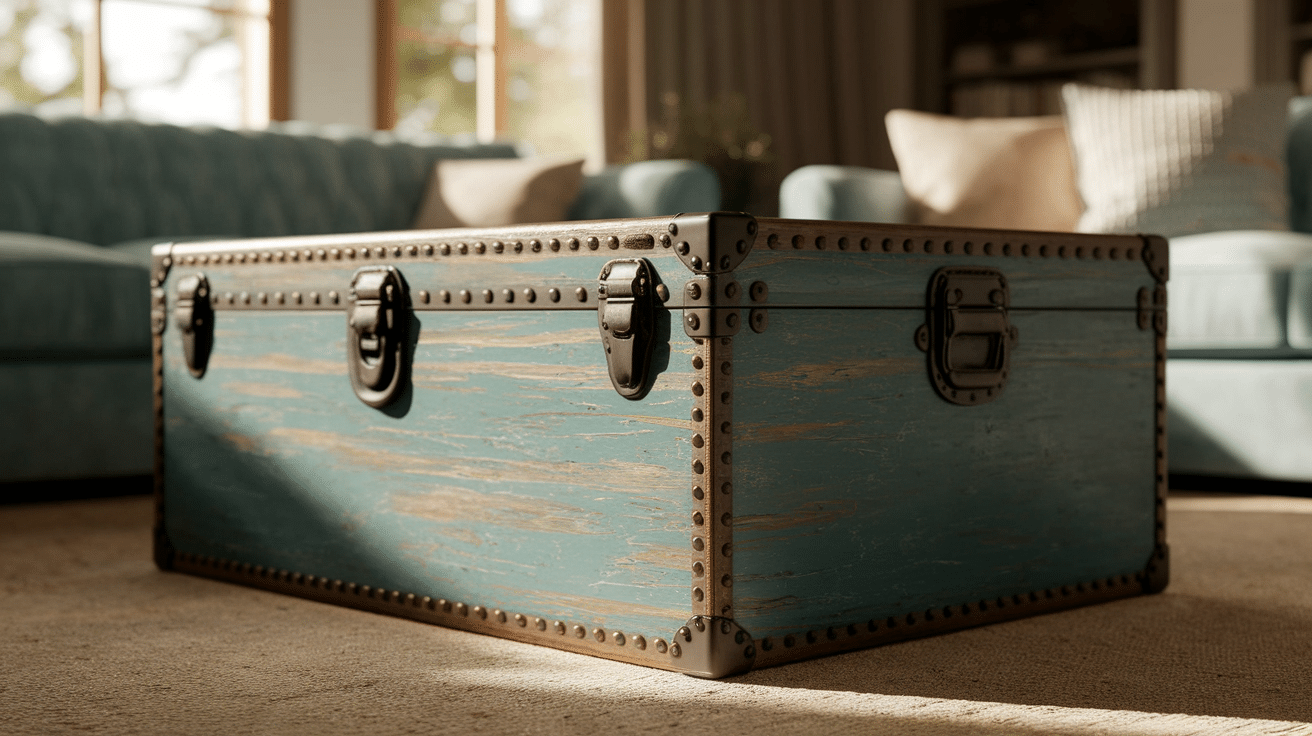
Paint offers the quickest way to change a trunk’s look.
Bold colors like navy blue, forest green, or ruby red can turn a plain trunk into a standout piece.
For a more subtle approach, try soft pastels or neutral tones that blend with your existing decor. Many people enjoy the contrast of painting just the outside while leaving the inside natural.
Distressed finishes, created by lightly sanding edges after the paint dries, give the trunk a well-loved, time-worn feel that honors its age.
2. Decoupage with Vintage Pages
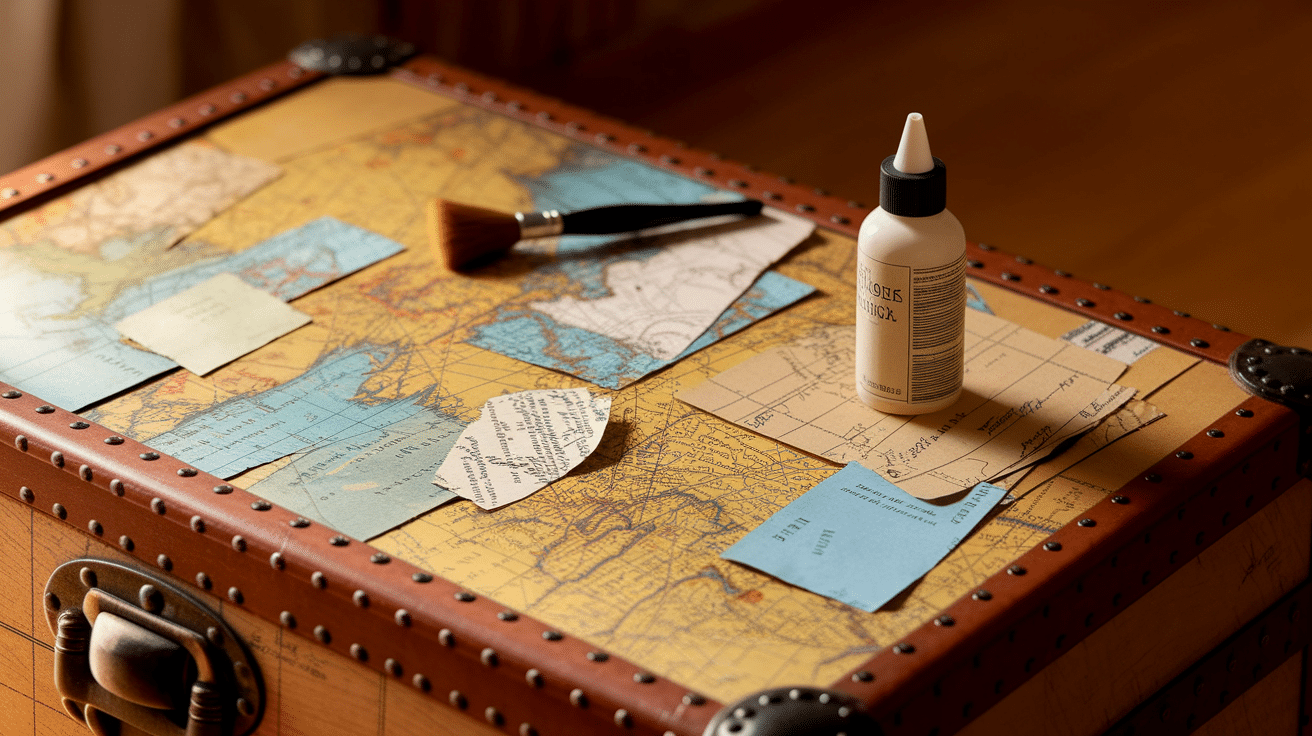
Decoupage brings character and story to your trunk.
Old maps, sheet music, book pages, or vintage postcards can cover the entire surface or just accent areas like the lid or front panel.
To try this technique, cut or tear your paper pieces, brush decoupage glue onto the trunk, place the paper, and then seal it with more glue.
The result looks complex, but the process is simple. This method works well for covering damaged areas that can’t be fully repaired.
3. Staining and Sealing Wood Trunks
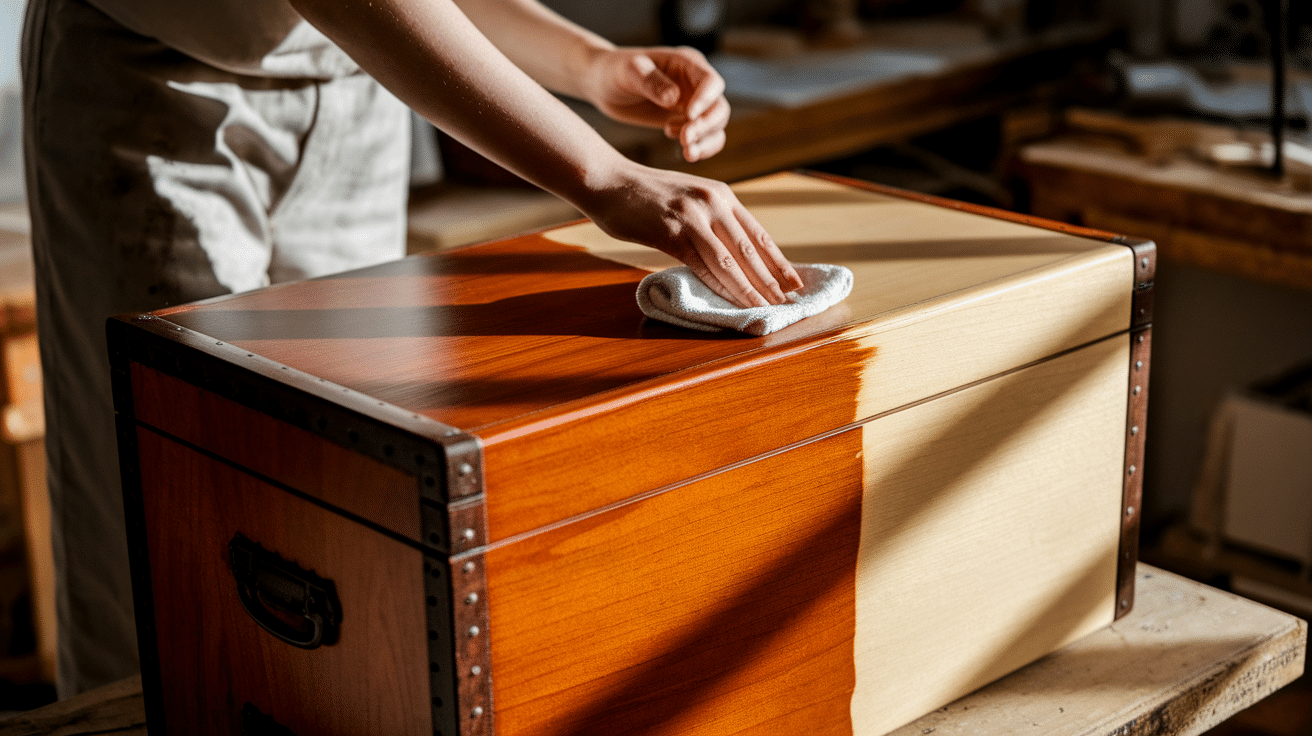
Staining preserves the natural beauty of wooden trunks with good grain patterns while adding color depth.
After thorough sanding, apply wood stain in your chosen shade, from light honey to deep walnut. Wipe away excess stain before it dries for an even finish.
Once dry, protect your work with several coats of clear polyurethane or furniture wax.
This approach highlights the trunk’s craftsmanship and age while refreshing its appearance.
4. Mixing Paint and Natural Wood
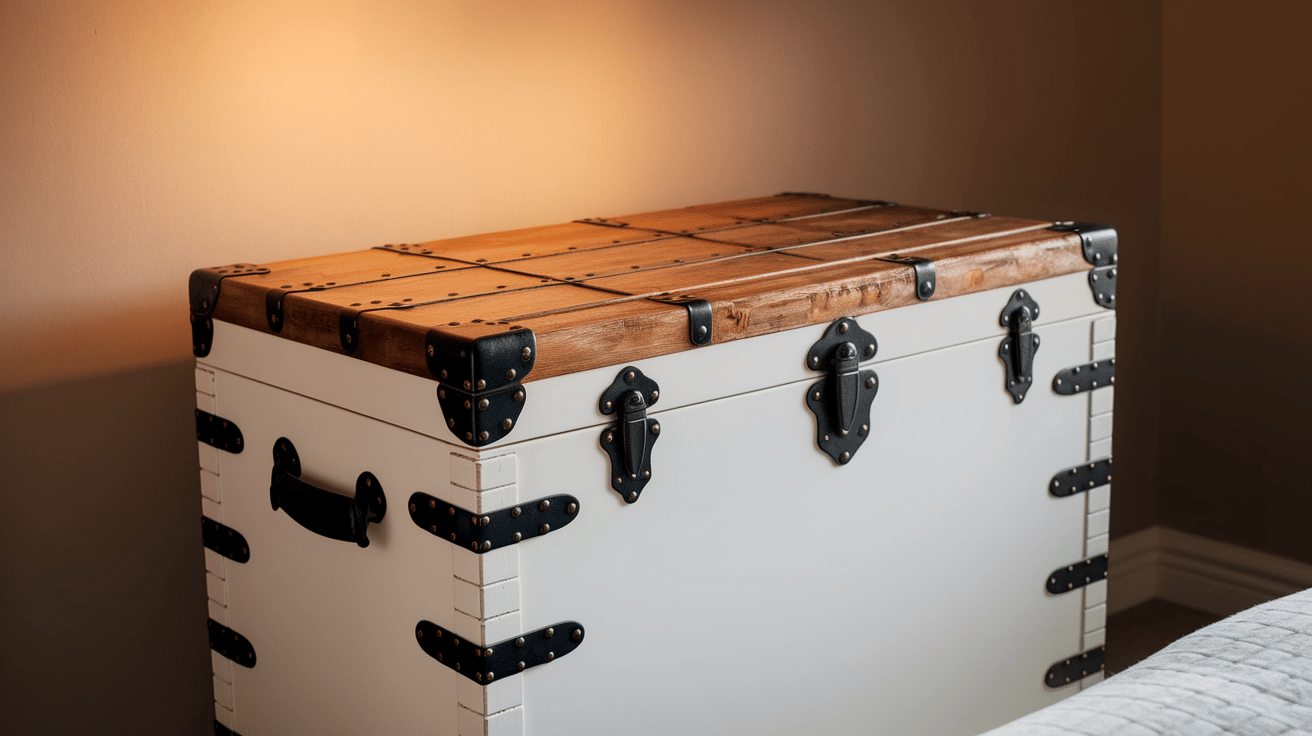
Some of the most striking trunk makeovers combine painted elements with natural wood.
Try painting just the metal hardware in contrasting colors while leaving wood surfaces natural.
Another option is creating patterns with painter’s tape, such as stripes, borders, or geometric designs that let some wood show through.
This blended approach honors the trunk’s original materials while adding modern-style touches.
Creative Repurposing Ideas for Old Trucks
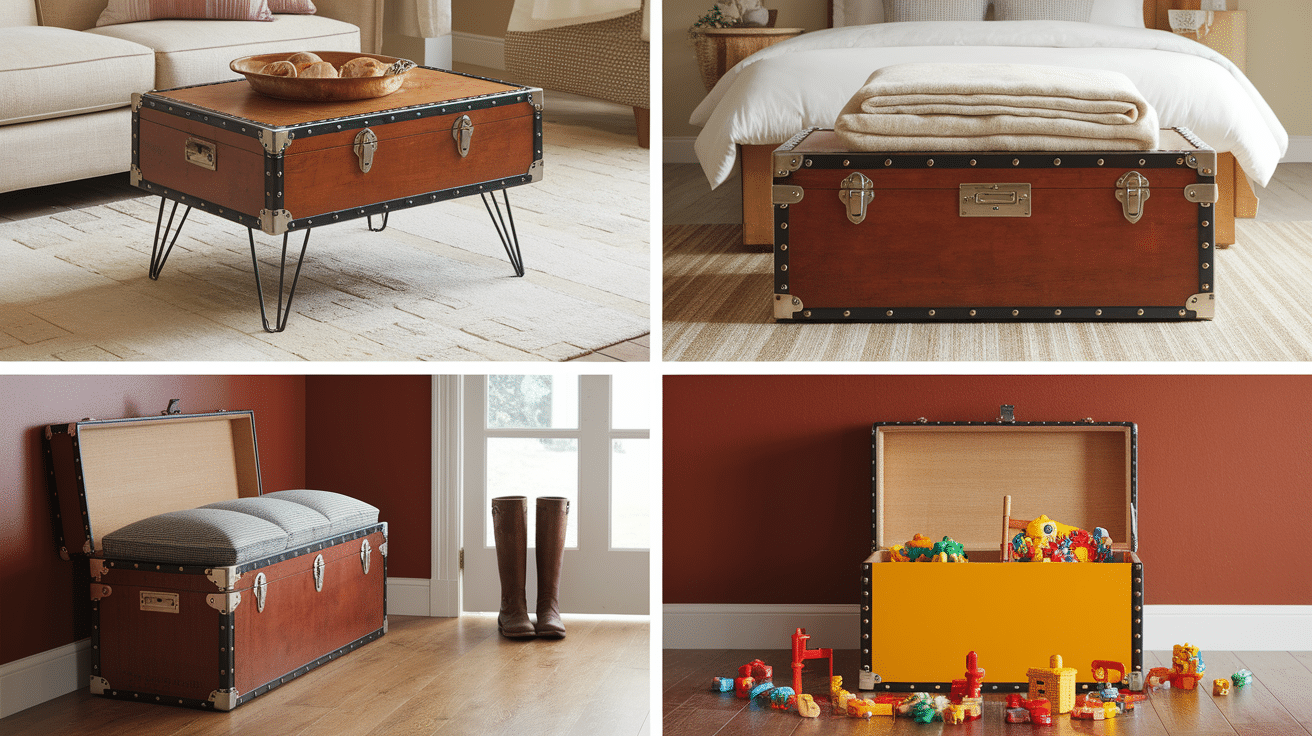
These creative repurposing ideas turn forgotten trunks into functional pieces that add character to any home.
The best part is that these projects need minimal changes to the trunk itself.
- Coffee Table Conversion: Change an old trunk into a stylish coffee table by adding legs or casters and a protective top coat. Use the deep storage for blankets, magazines, or games, and add glass for a smooth surface.
- Blanket/Storage Chest: Place the trunk at the foot of the bed to store blankets or seasonal items, and consider adding cedar blocks for freshness. Cushions or gas struts enhance safety and comfort.
- Entryway Bench: Repurpose the trunk as a bench with a cushioned top for seating and interior storage for shoes or umbrellas. It doubles as a handy surface for mail and keys in small spaces.
- Toy Box: Turn the trunk into a playful toy chest with soft-close hinges, smooth edges, and child-safe finishes. Bright paints and fun designs make it kid-friendly while promoting upcycling.
The right trunk, with a little care and imagination, becomes both a conversation piece and a practical part of daily life.
Finishing Touches
The small details often make the biggest difference in turning a basic trunk makeover into something special.
- Hardware Upgrades: Replace rusty or damaged handles, hinges, and latches with vintage-style replacements or modern alternatives that complement your design.
- Decorative Corners: Add metal corner protectors in brass, copper, or iron for both style and durability where trunks get the most wear.
- Adding Wheels or Legs: Attach casters for mobility or decorative legs to raise the trunk to a more useful height as a table or bench.
- Leather Straps: Replace worn straps with new leather versions that add texture and original vintage appeal.
- Stenciled Designs: Use adhesive stencils to add patterns, monograms, or images that personalize your trunk.
- Decorative Trims: Apply ribbon, braided trim, or decorative tacks along edges for a finished, custom look.
- Interior Paper: Line the inside lid with decorative paper or fabric that reveals a surprise when opened.
- Custom Key Tags: Add a vintage-style luggage tag or wooden charm to keys for trunks that still lock.
These final touches turn a functional piece into something truly yours and worth keeping for generations to come.
Maintenance & Care Tips

Your restored trunk will need some regular attention to keep looking its best for years to come.
- Wipe your trunk weekly with a soft, dry cloth to prevent dust buildup and surface scratches.
- Use dehumidifiers in damp areas and avoid placing trunks directly on basement floors to prevent moisture damage.
- Keep your trunk away from windows and direct sunlight to avoid fading of paint and finishes.
- Check and tighten loose screws regularly, and oil hinges if they start to squeak.
- Leave the trunk open occasionally in low-humidity conditions to prevent musty odors inside.
A few minutes of care every now and then keeps your trunk looking beautiful and extends its life for many more years.
Final Thoughts
Old trunks hold more than just storage space; they carry stories and history within their walls.
With a bit of effort and care, these forgotten pieces can find new purpose in your home.
Now you know how simple changes can turn a dusty old trunk into a standout piece of furniture. From basic cleaning to complete makeovers, each step helps preserve something valuable.
Ready to start your own trunk project? Look in attics, check yard sales, or ask older relatives if they have trunks tucked away. Then, grab your supplies and let your creativity flow.
Share your trunk makeover photos with us in the comments! We’d love to see how you’ve given new life to these classic pieces.

