How to Install String Lights Over a Pool
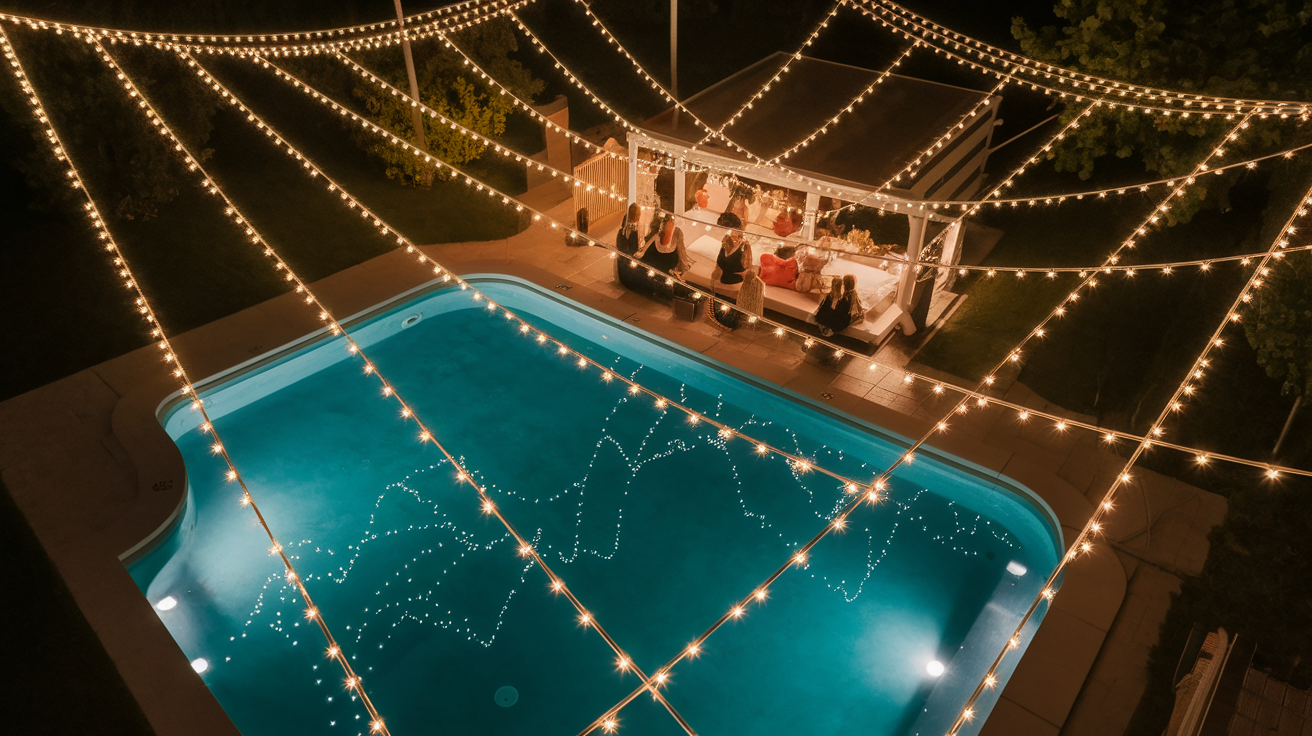
String lights can instantly improve the look of your pool area, creating a setting perfect for evening swims or outdoor gatherings.
If you’re looking to add a soft glow for a relaxing night or brighten up the space for a pool party, string lights are a simple way to make your outdoor area more inviting.
Installing string lights over your pool not only improves the space but also adds extra charm to your outdoor area.
This blog outlines the step-by-step process of installing string lights over your pool, from selecting the right lights to making sure of safety and proper maintenance.
If you’re a DIY lover or just want to make your pool area shine, this guide offers tips to make the installation process easy and safe.
Safety Considerations Before Installing String Lights Over a Pool
When installing any electrical fixtures near water, safety must be your top priority:
- Use GFCI Protection: Always connect your lights to Ground Fault Circuit Interrupter (GFCI) outlets, which cut power when they detect electrical current leaks.
- Choose Appropriate Lighting: Select lights specifically rated for outdoor and wet locations (look for an IP65 rating or higher).
- Low-Voltage Systems: Opt for 12V or 24V systems rather than standard 120V lighting when possible, reducing risk.
- Professional Help: Consider hiring an electrician for complex installations, especially if you need new electrical lines.
- Height Requirements: Install lights at least 3 feet above the maximum water level and maintain proper clearance for swimmers.
- Wire Protection: Shield all electrical connections from moisture with weatherproof boxes or covers.
Tools and Materials Required to Install String Lights
Step-by-Step Guide to Hang String Lights Over a Pool
Here is the entire process of properly installing string lights over your pool area safely, uplifting its look and safety.
Step 1: Plan Your Layout
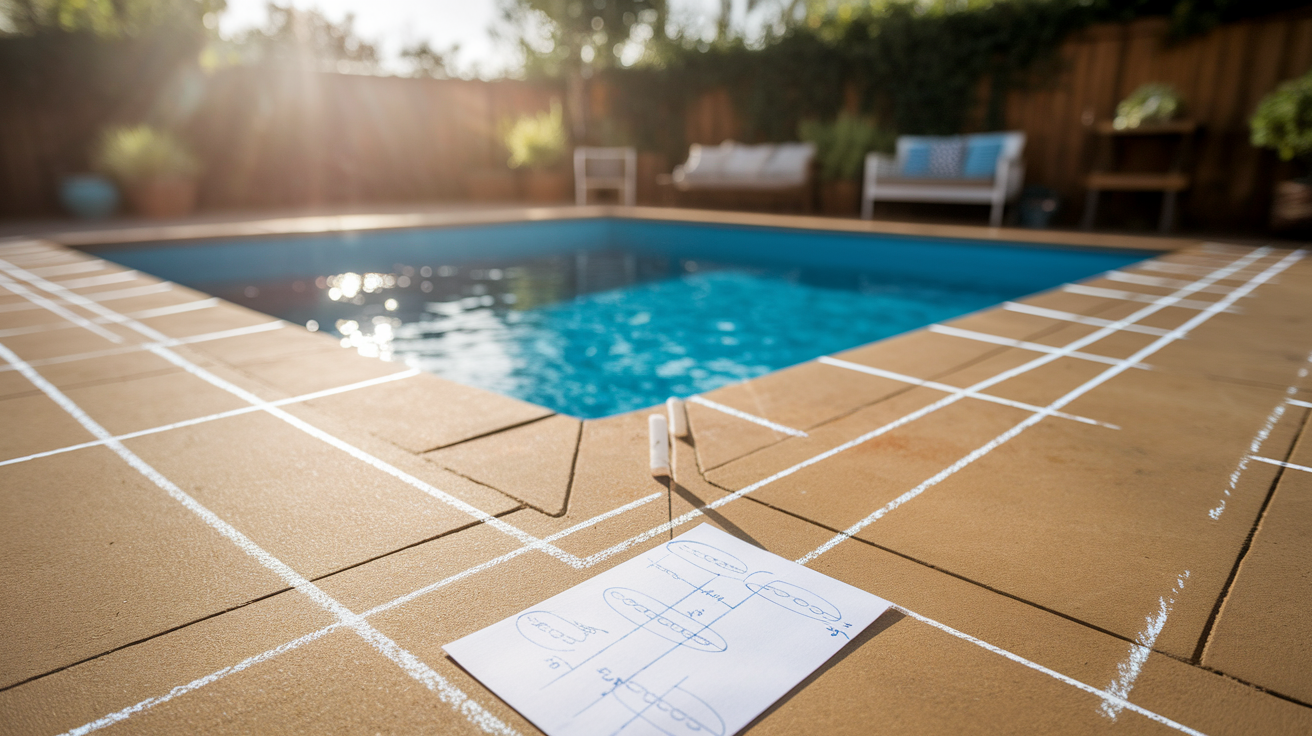
Begin by measuring your pool area carefully, noting the exact dimensions and potential mounting points. Sketch a simple diagram showing where the lights will hang and how they’ll connect visually.
Use chalk or removable markers to show attachment points around your pool area. Test these locations by applying pressure to confirm they can support the weight of your lighting system.
Map the path for power cords, making sure they remain hidden yet accessible for maintenance. Calculate the total distance to figure out how many light strings you’ll need and what extension cords might be required.
Step 2: Install Support Structures
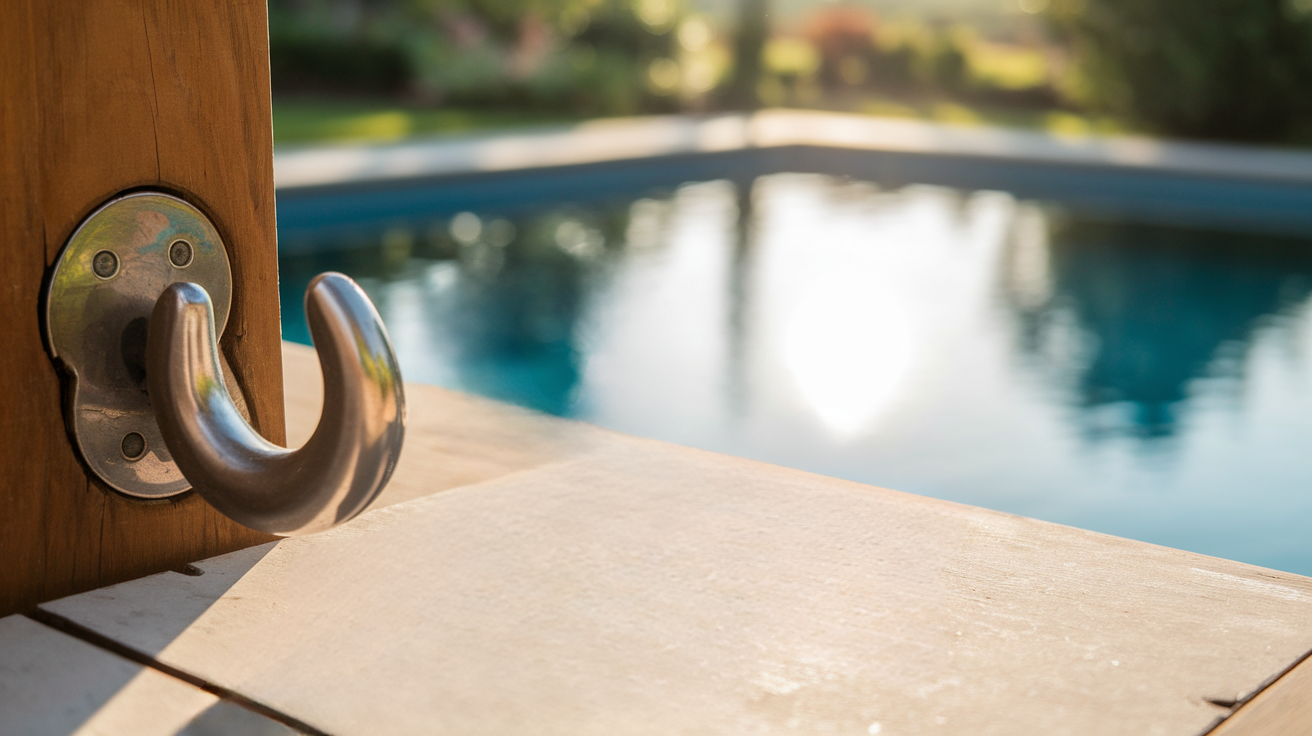
Use heavy-duty hooks rated for outdoor use. Mount these directly into solid structures, such as wooden posts or concrete walls, using proper anchors.
When covering longer distances, a guide wire system provides stability. Select a marine-grade stainless steel cable that is resistant to corrosion. Install screw eyes at each endpoint, twisting until completely secure.
Thread your steel cable through each mounting point, pulling it tight before securing. Use turnbuckles to create proper tension, then secure everything in place with wire rope clips, spacing them according to the manufacturer’s specifications.
Step 3: Hanging the Lights
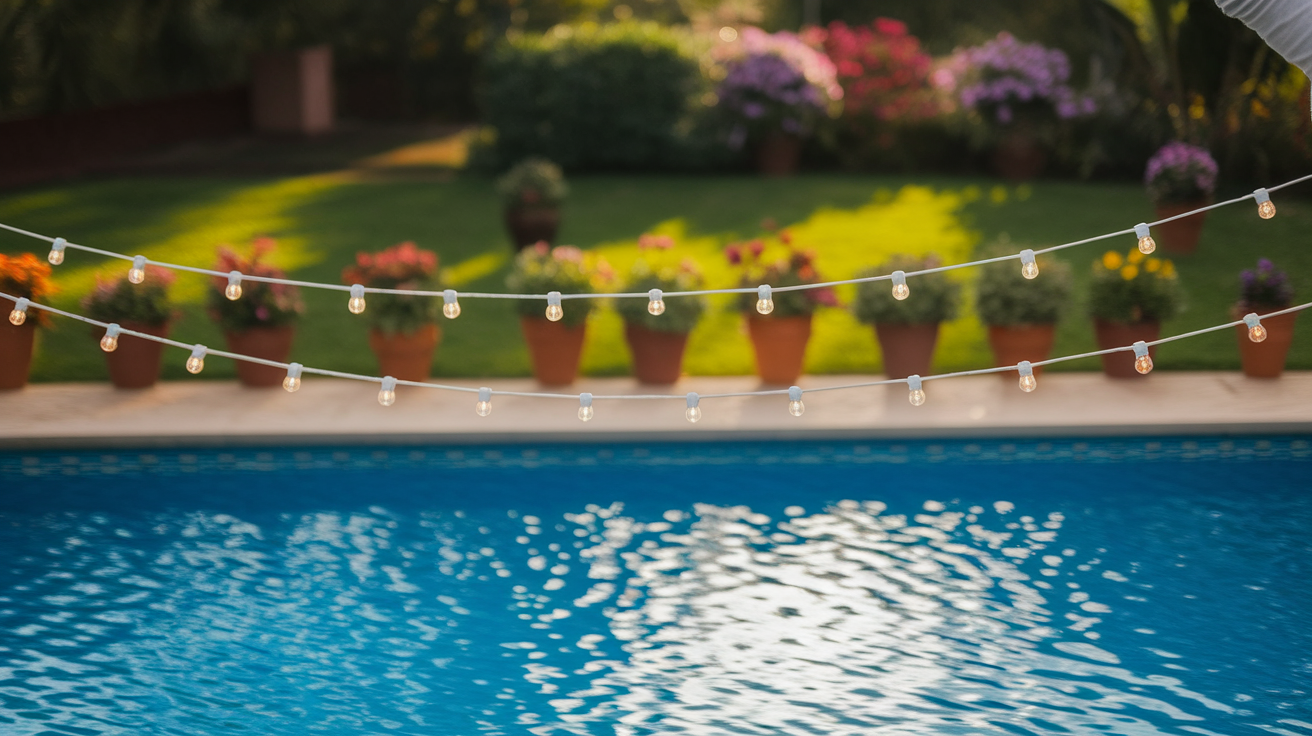
Connect your light strings to the guide wire using UV-resistant zip ties. Position these attachments at regular intervals to distribute weight evenly across the support system.
Step back frequently to check the spacing between bulbs, adjusting as needed for a consistent visual effect. This attention to detail significantly improves the final look of your lighting display.
Create gentle loops at connection points, allowing your light cord some freedom of movement. This prevents tension damage during wind or temperature changes while maintaining the intended design pattern.
Step 4: Securing Power Sources

Always connect your lighting system to GFCI-protected outlets that automatically cut power if electrical faults occur. Test these safety features before finalizing your installation to ensure proper functioning.
Cover all electrical connections with weatherproof boxes rated for outdoor use. Seal any openings thoroughly to prevent water leakage during rain or high humidity conditions.
Position transformers and power supply components in protected locations above potential flood levels. Create a maintenance schedule to inspect these critical components regularly throughout the swimming season.
Maintenance and Repair Tips
Consistent maintenance is essential for keeping your pool lights safe, functional, and visually appealing.
- Check Wires and Connections Monthly: Look for signs of wear, damage, or corrosion.
- Wipe Lights Clean: Use a soft cloth to remove dust, algae, and debris.
- Test for Loose Bulbs, Fixtures, or Attachments: Ensure everything is securely in place.
- Store Removable Components Properly: When not in use, store lighting components safely to prevent damage.
- Non-Functioning Light Sections: Check connections for looseness and inspect fuses in the light string.
- Water-Related Problems: Dry all components before testing; replace any that are damaged.
- Sun Exposure Deterioration: Replace lights showing significant fading or cracking in plastic.
- Weather Preparation: Remove or securely fasten lights before storms or high winds.
- Animal Damage: Inspect wires for any damage caused by local wildlife and make repairs as needed.
Wrapping It Up
Adding string lights over your pool is an easy and effective way to brighten up the space, creating a welcoming environment for any occasion.
With the right installation and maintenance, these lights can increase the beauty of your pool area, making it perfect for both relaxed evenings and lively gatherings.
Follow the steps and tips provided to ensure a safe and successful setup, and enjoy the cozy glow that changes your outdoor space.
Ready to get started? Share your string light setup in the comments below!

